
On the back of two losses during ![]() The Feast and
The Feast and ![]() Exodus, it’s time for Henry and the rest of the gang at
Exodus, it’s time for Henry and the rest of the gang at ![]() Devil’s Den to take the initiative and hit back at Sigismund. To do so, they’re going to need to infiltrate the enemy and find details on when they plan to move the cannon that is vital for your plans to take
Devil’s Den to take the initiative and hit back at Sigismund. To do so, they’re going to need to infiltrate the enemy and find details on when they plan to move the cannon that is vital for your plans to take ![]() Maleshov. Keep reading to learn how to become an expert spy and complete
Maleshov. Keep reading to learn how to become an expert spy and complete ![]() The Lion’s Den in Kingdom Come: Deliverance II.
The Lion’s Den in Kingdom Come: Deliverance II.
The Lion’s Den is a main quest in Kingdom Come: Deliverance II.
Table of Contents
If you want to jump to a specific section, click on the links below.
Consult with Zizka on the Next Steps to Take
Once you’ve finished Exodus, you’ll need to head back to Devil’s Den and speak with Zizka. You’ll need Samuel around for the next scenes, so if you’re going there directly after Exodus, you’ll need to pass a day or two until he arrives there himself. Additionally, if you’ve not already completed The Devil’s Pack, you’ll be forced to complete that before The !Lion’s Den will continue. During the scenes that follow, you will discuss what you can do to hit back at Sigismund and his troops, and the gang settles on taking Maleshov and von Bergow.
To do so, it’s going to require getting your hands on the cannon that he used back in Trosky, so Henry will be going into the camp to find out when it’s going to be moved. At the same time, Hans will be given the task of hunting, once you gain control, you have a very limited time to talk to him and begin the Like Old Times Task.
Meet with Katherine at the Camp and Get Enlisted
If you’ve not been there before yet, you’ll find Sigismund’s camp in ![]() Opatowitz, west of
Opatowitz, west of ![]() Suchdol. Once you reach the remains of the village, head south and into the camp, which you should now be able to access if you couldn’t before. You’ll find
Suchdol. Once you reach the remains of the village, head south and into the camp, which you should now be able to access if you couldn’t before. You’ll find ![]() Katherine at the
Katherine at the ![]() Baths, to the east of the northern entrance, however you won’t be able to talk to her until 21:00 at the earliest, so pass the time if needed. The pair will discuss all of the information that Katherine has managed to gather during her time here as a spy, and if you’re interested in pursuing a romance with her later in the adventure, you have a chance to pass a check to score some more points. While you’re here, speak with Katherine again and ask if you can help her with anything to begin The Stalker, a Task that can only be completed during this main quest.
Baths, to the east of the northern entrance, however you won’t be able to talk to her until 21:00 at the earliest, so pass the time if needed. The pair will discuss all of the information that Katherine has managed to gather during her time here as a spy, and if you’re interested in pursuing a romance with her later in the adventure, you have a chance to pass a check to score some more points. While you’re here, speak with Katherine again and ask if you can help her with anything to begin The Stalker, a Task that can only be completed during this main quest.


(1 of 2) Find Stephen Crow in his tent and speak to him to get enlisted.

Find Stephen Crow in his tent and speak to him to get enlisted. (left), Your choices don’t matter here, you’ll get enlisted regardless. (right)
To get the ball rolling with enlisting, you’ll need to go and fine Stephen Crow, the best way to do this is by passing the time until morning and then head to his tent to have a chat while he’s sitting down to eat breakfast. You’ll get a few dialogue choices here to tell Crow why you’re a good fit, but ultimately, your choice doesn’t matter, he’ll bring you along to see Ditrich Katz, the Captain of the outfit.
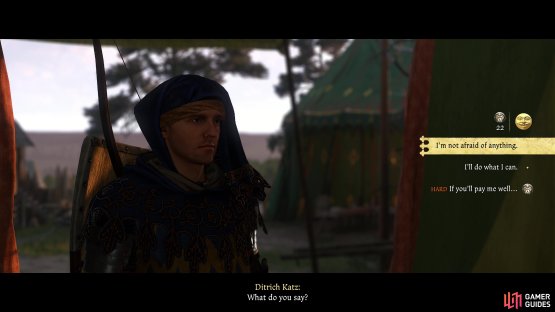
Once again, you’ll have a few choices to convince him, but Katz will give his approval regardless of what you say. You’ll eventually learn that two of his soldiers went missing, prompting the next objective, and you can press him some more to learn about an optional side quest here, Spoils of War.
Find the Lost Soldiers
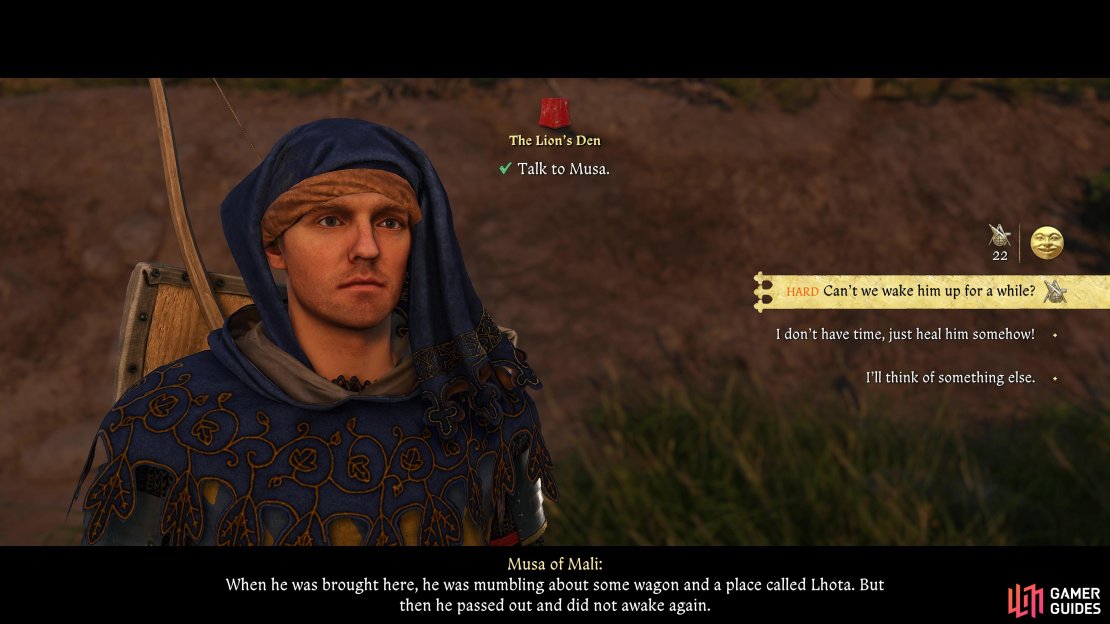
There are several ways you can go about looking for the missing soldiers, but it’s best to start with the camp and seeing if you can get anything out of the injured soldier, Myshek. You’ll find Musa, the camp’s doctor, over to the southeast side of the camp. You’ll initially learn about Myshek mumbling about ![]() Old Lhota before passing out, and that you’ll need to wait for weeks before he’s in a condition to talk more. Should your Survival skill be high enough (22 was enough for us), you can pass a skill check in asking if you can wake him up, at which point Musa will suggest a
Old Lhota before passing out, and that you’ll need to wait for weeks before he’s in a condition to talk more. Should your Survival skill be high enough (22 was enough for us), you can pass a skill check in asking if you can wake him up, at which point Musa will suggest a ![]() Strong Cockerel.
Strong Cockerel.
You won’t be able to buy this potion, so you’ll have to brew it yourself using fresher ingredients (a ![]() Valerian and two
Valerian and two ![]() Mints are needed) if you have it (or Dried if you have Perks to offset that). There’s an
Mints are needed) if you have it (or Dried if you have Perks to offset that). There’s an ![]() Alchemy bench near Musa’s tent, or you can visit a village like
Alchemy bench near Musa’s tent, or you can visit a village like ![]() Pschitoky and get the ingredients from the
Pschitoky and get the ingredients from the ![]() Apothecary there. Regardless of how you brew it, return to the Infirmary with a Strong
Apothecary there. Regardless of how you brew it, return to the Infirmary with a Strong ![]() Cockerel and speak with Myshek, then exhaust all of the dialogue options after giving him the potion to narrow down where the men are.
Cockerel and speak with Myshek, then exhaust all of the dialogue options after giving him the potion to narrow down where the men are.


(1 of 3) Pass this survival check to learn a way to get more information.
Find the Lost Charter and Deal with the Lost Soldiers
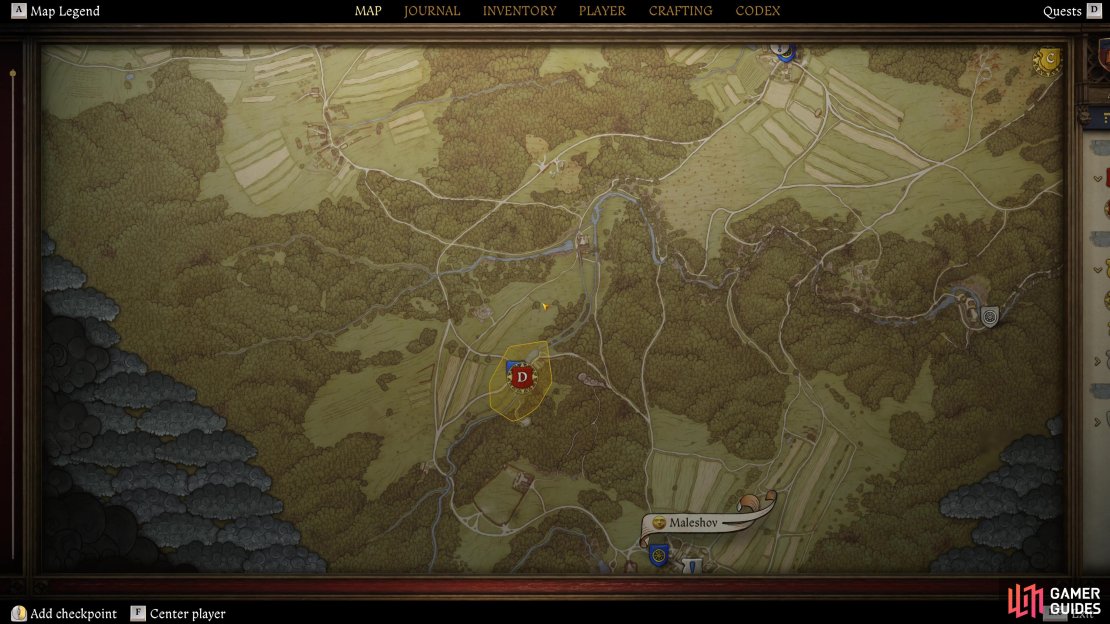
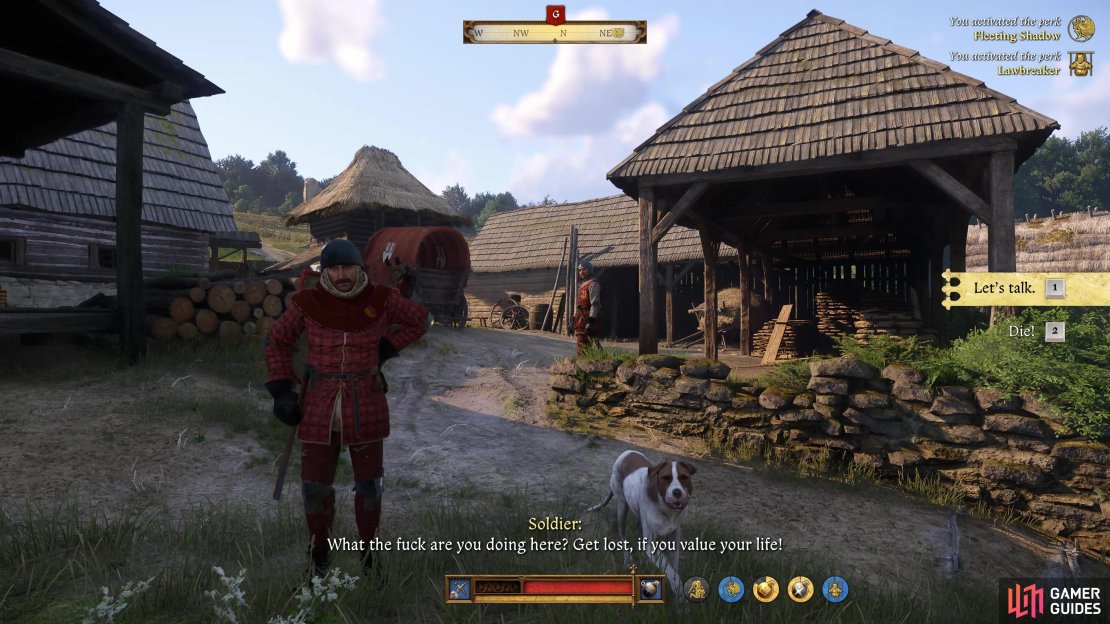
As mentioned above, you’ll need to make your way to Old Lhota, a mill located northwest of Maleshov. Once you reach the entrance, you’ll have three methods for getting your hands on that chest that Katz sent you for. The easiest, and quickest, way of doing this is without violence, and you can talk to the soldier by using a Quick Reply to say “Let’s talk.”. At this point, reply with the following responses to get free access to the area and the chest:
- I just need one document
- Katz sent me here
- Give me the charter and I’ll be on my way
- Go your own way
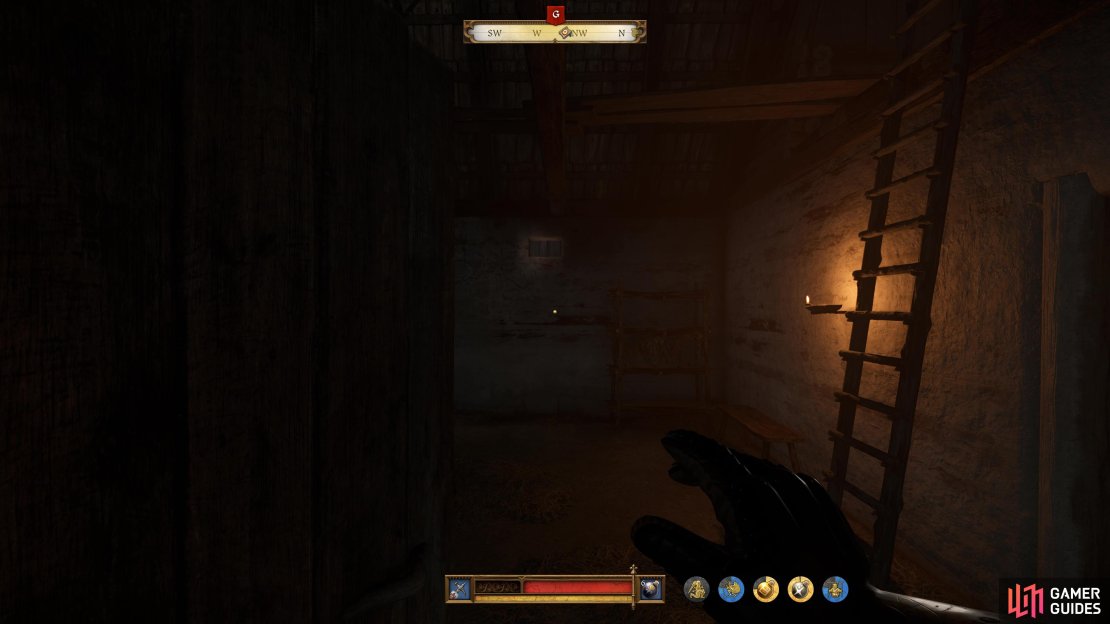
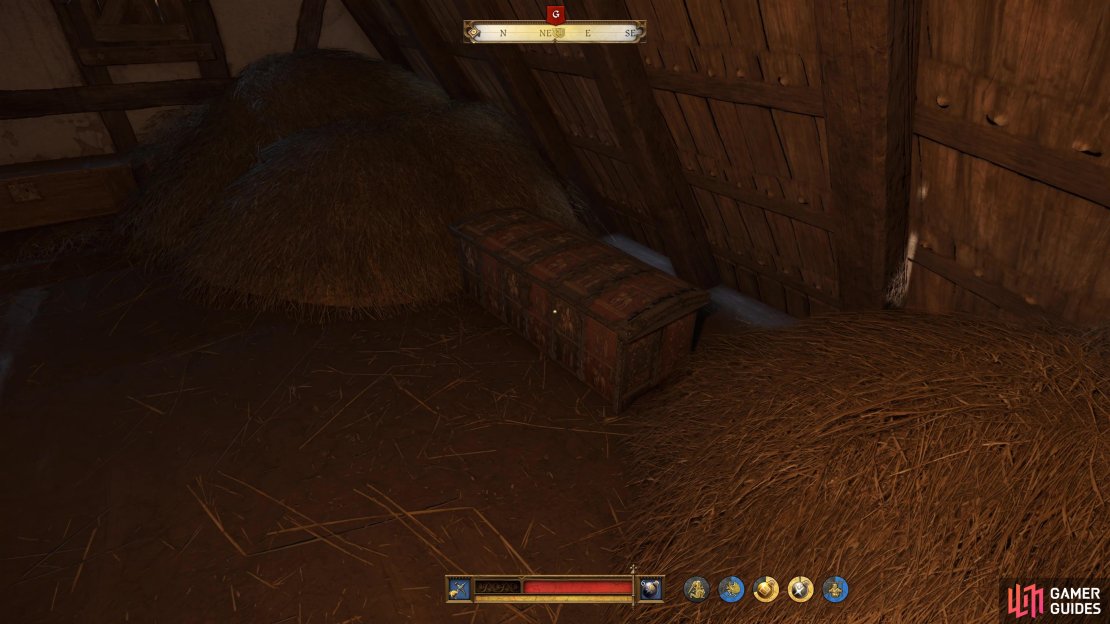
The soldier will hand over the key to the chest and then you can go into the barn in front of you and to the left a little, climb the ladder, and open the chest to your right, inside you’ll find the ![]() Lost Charter for King Sigismund inside (along with some
Lost Charter for King Sigismund inside (along with some ![]() Groschen).
Groschen).
If you’ve already found yourself under attack, back off, wait for the guise of night, and sneak into the barn and lockpick it for the same effect, just beware of the other soldiers asleep up there. Alternatively, you can always just go in and attempt to take on the entire group, although this is the riskiest as they are well armed.

(1 of 4) You can find the soldiers holed up in Old Lhota.
Take the Lost Document to the Commander
Regardless of how you got your hands on it, return to the camp and pay Katz a visit once more with the news that you have the charter, and you can then decide how you want to handle the soldiers that remain at the mill (if you didn’t already kill them). Katz will ask that you drink with him and, if you want to, play some ![]() Dice to pass the evening, your choice here doesn’t matter, so go with what you feel like.
Dice to pass the evening, your choice here doesn’t matter, so go with what you feel like.
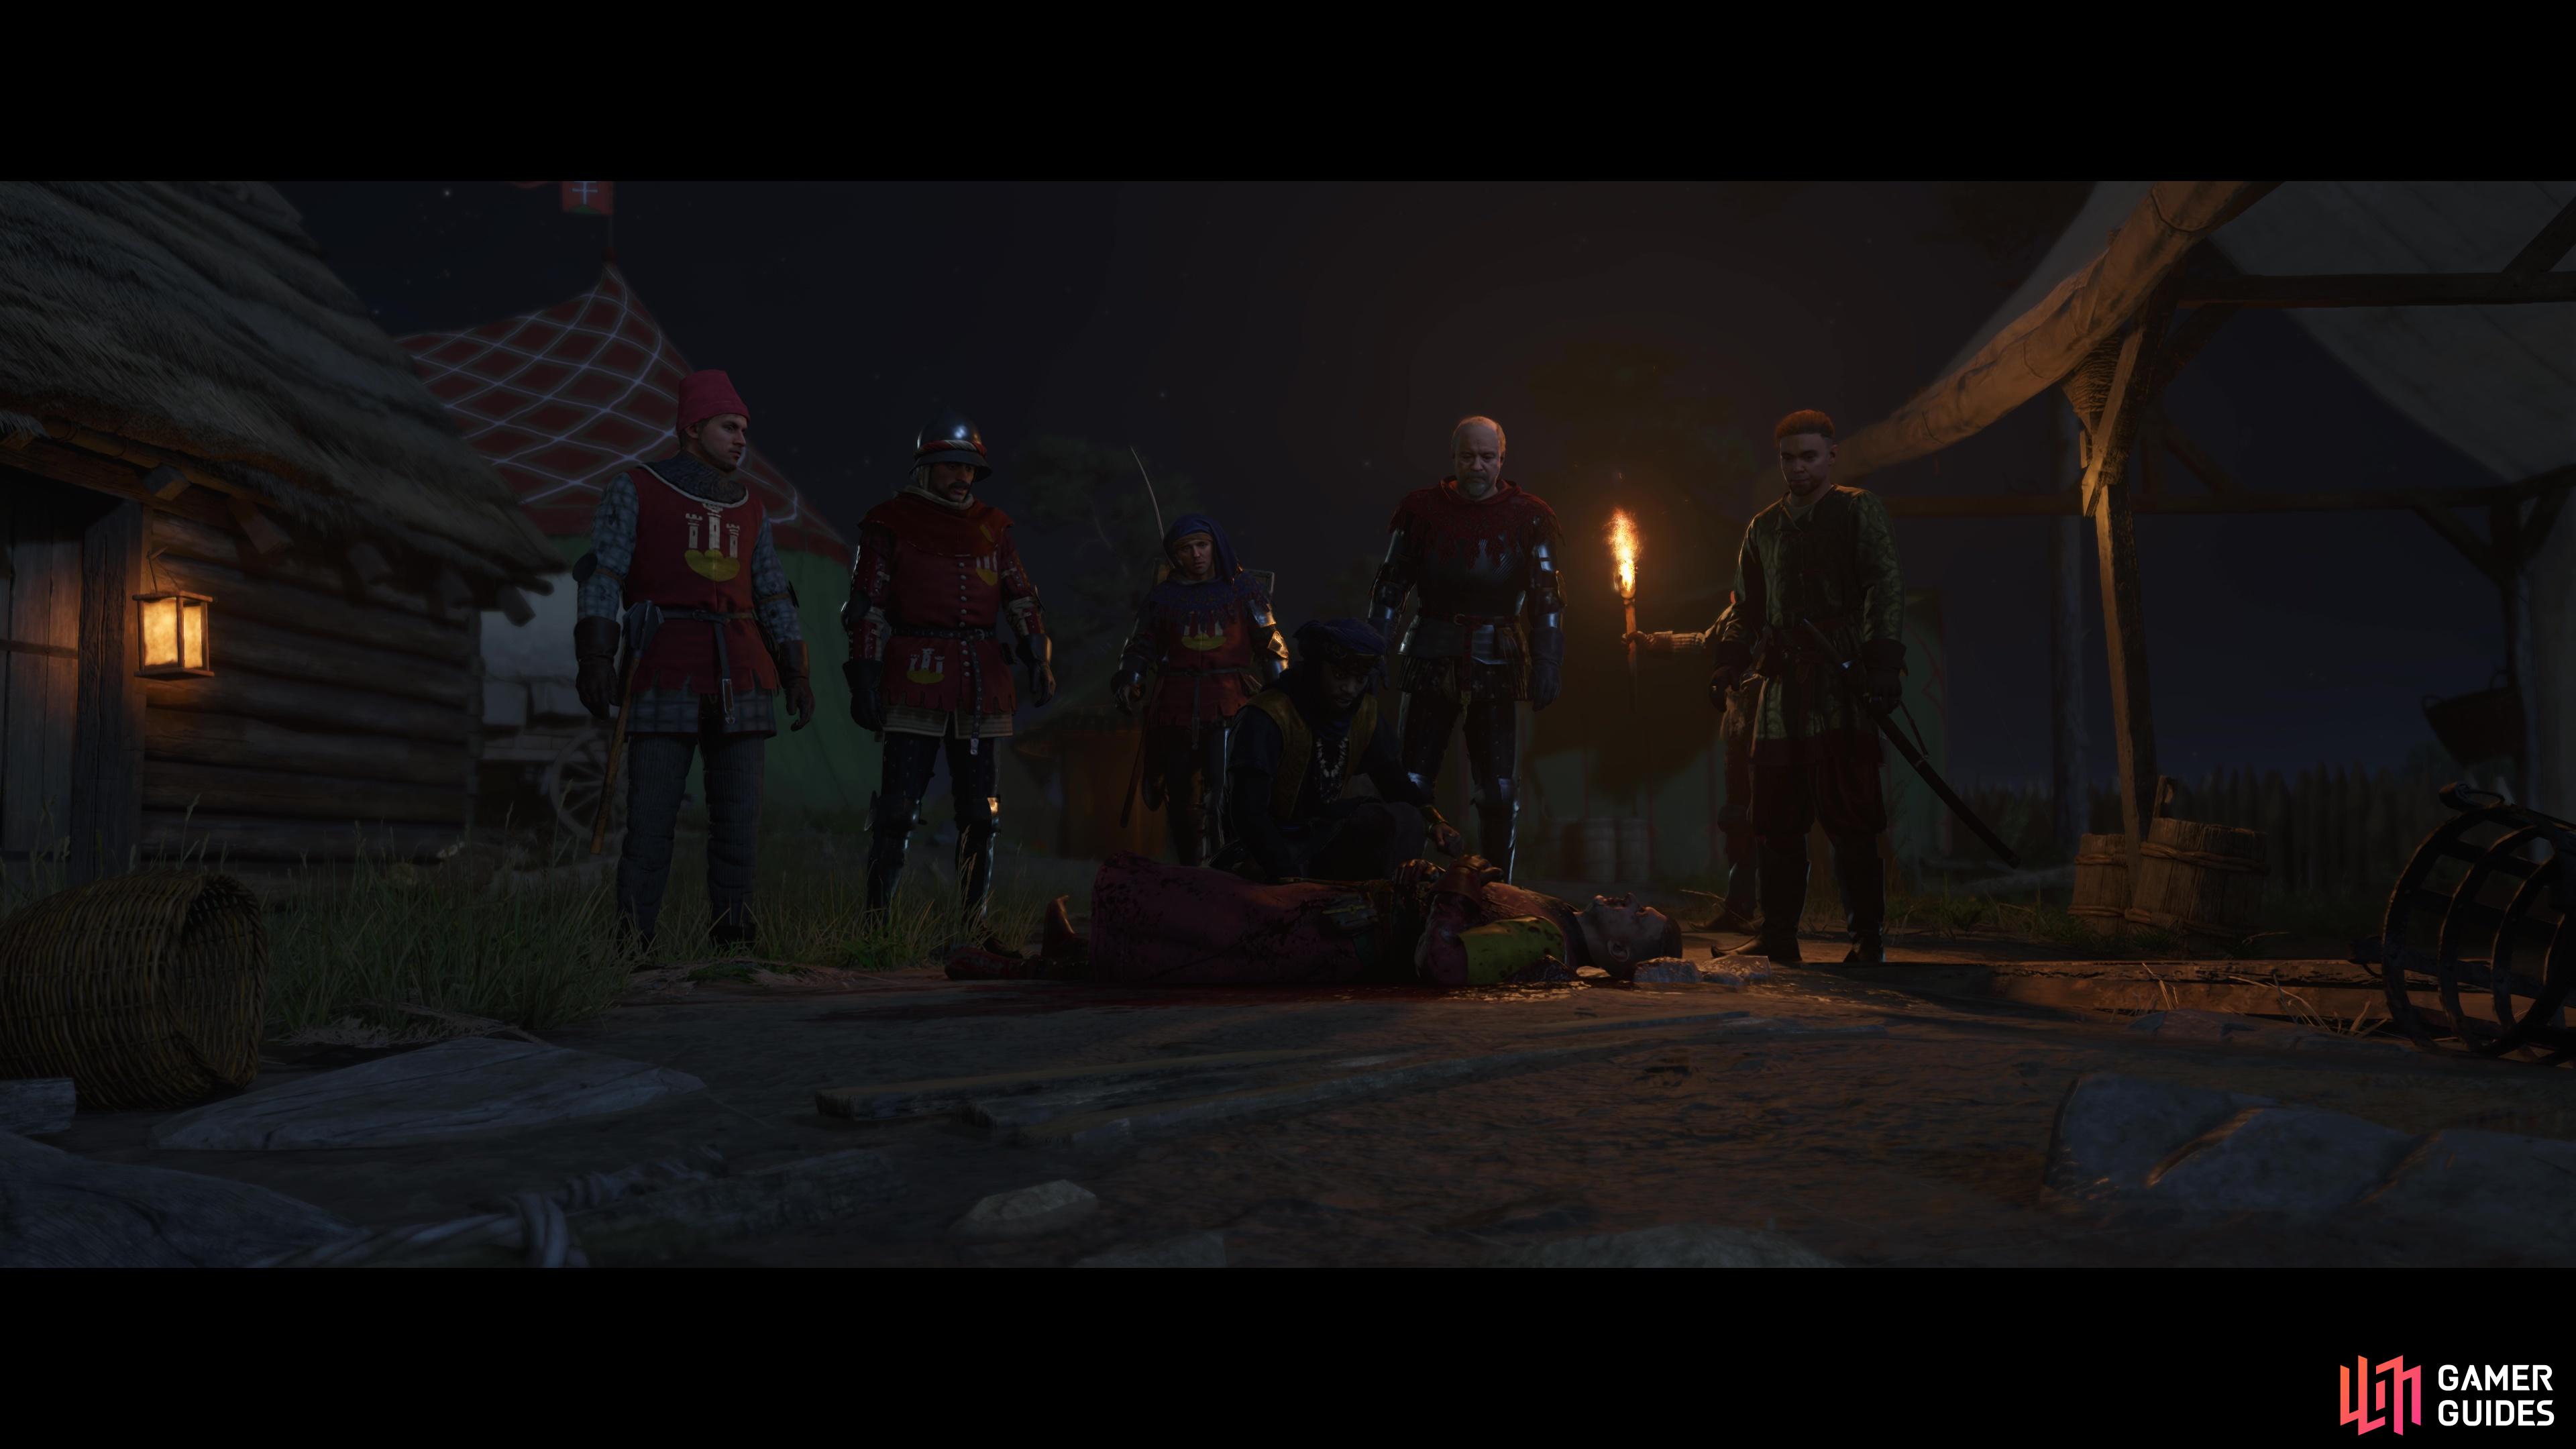
Eventually, a scene will take place as Crow comes rushing in to deliver news of a stabbing in camp, on Chertan, who leads the ![]() Cumans. He’ll be rushed off to the infirmary and then Katz will task you with searching the crime scene to see if you can find anything out on what just happened.
Cumans. He’ll be rushed off to the infirmary and then Katz will task you with searching the crime scene to see if you can find anything out on what just happened.
Search the Spot Where Chertan was Stabbed
Once you regain control, you need to examine the crime scene to update the objective, but there are more optional ones for a total that will give you a better picture of what happened. The clues you’re looking for are as follows:
- Examine the blood where you’re standing
- Examine the lock pick on the floor near the storage shed
- Examine the cannon
- Examine the floor near the cannon
- Examine the tub with blood on it outside the green tent
- Examine the chest in Chertan’s tent (the one with the tub outside)
- Pick the lock of said chest (Hard), take
 Lord Borumlaca’s bond, and read it (this is very important for a Trophy/Achievement later)


Once you’re done with all of this, return to Katz who is back in his tent in the center of this area and let him know you’ve finished your search, before you have much time to do anything else, you’re whisked off to the infirmary where you learn that Chertan has died and Grozav immediately casts the light on Musa as the perpetrator. You won’t have much time to respond, but reply with the following choices:
- (Stay Silent)
- (Stay Silent)
- (Stand up for Musa)
- (Stay Silent)
- We should help Musa
- You really don’t know what to do?
- A girl from the baths will help
Talk to Musa
If you’ve already completed The Stalker, you’ll be able to simply ask Katherine for help to get the guard to move from Musa’s tent and she’ll set off to go and do it. If you’ve not done that Task, now is the time to go and do it as you’ll lose access to this Task completely if you progress the main quest any further.
Return to Musa’s tent and wait for Katherine to work her charms, then stroll up to him and speak to him once more. He’ll reveal that he believes that someone poisoned the wine that he gave to Chertan while treating him, and that he needs help uncovering who the real killer is.

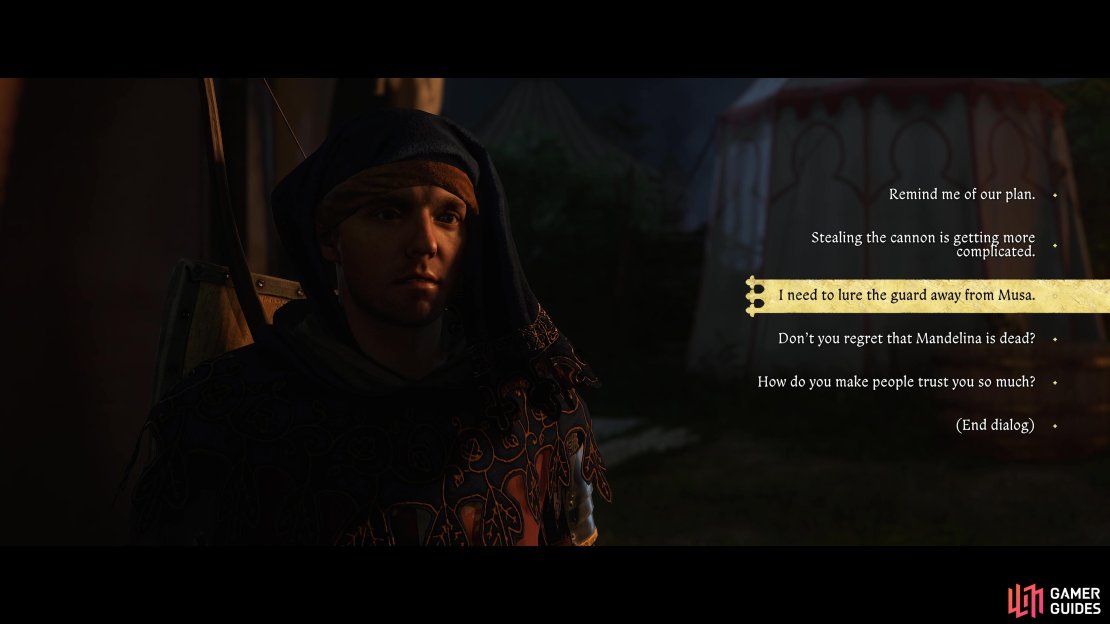


(1 of 3) Have Katherine distract the guard so you can speak to Musa and learn his suspicions.
Examine the Corpse
You’ll need to return to the infirmary now and examine the corpse for yourself to determine what poison may have caused Chertan’s death. Exhaust all of the choices here to learn what the main indicators for his cause of death is, then look for the chest next to the body and pick the lock (Easy difficulty) to find ![]() The Book of Poison that Musa mentioned. Have a read through it and you’ll be able to come to the conclusion that Kiss of Death is the most likely poison to have been used.
The Book of Poison that Musa mentioned. Have a read through it and you’ll be able to come to the conclusion that Kiss of Death is the most likely poison to have been used.
Return to Musa once more, deliver your verdict, and then the quest will update with a list of potential suspects for you to examine their tents for evidence of ingredients to make the poison. The best time to do this is in the evening while wearing an outfit that won’t make too much noise.
Investigate the Murder
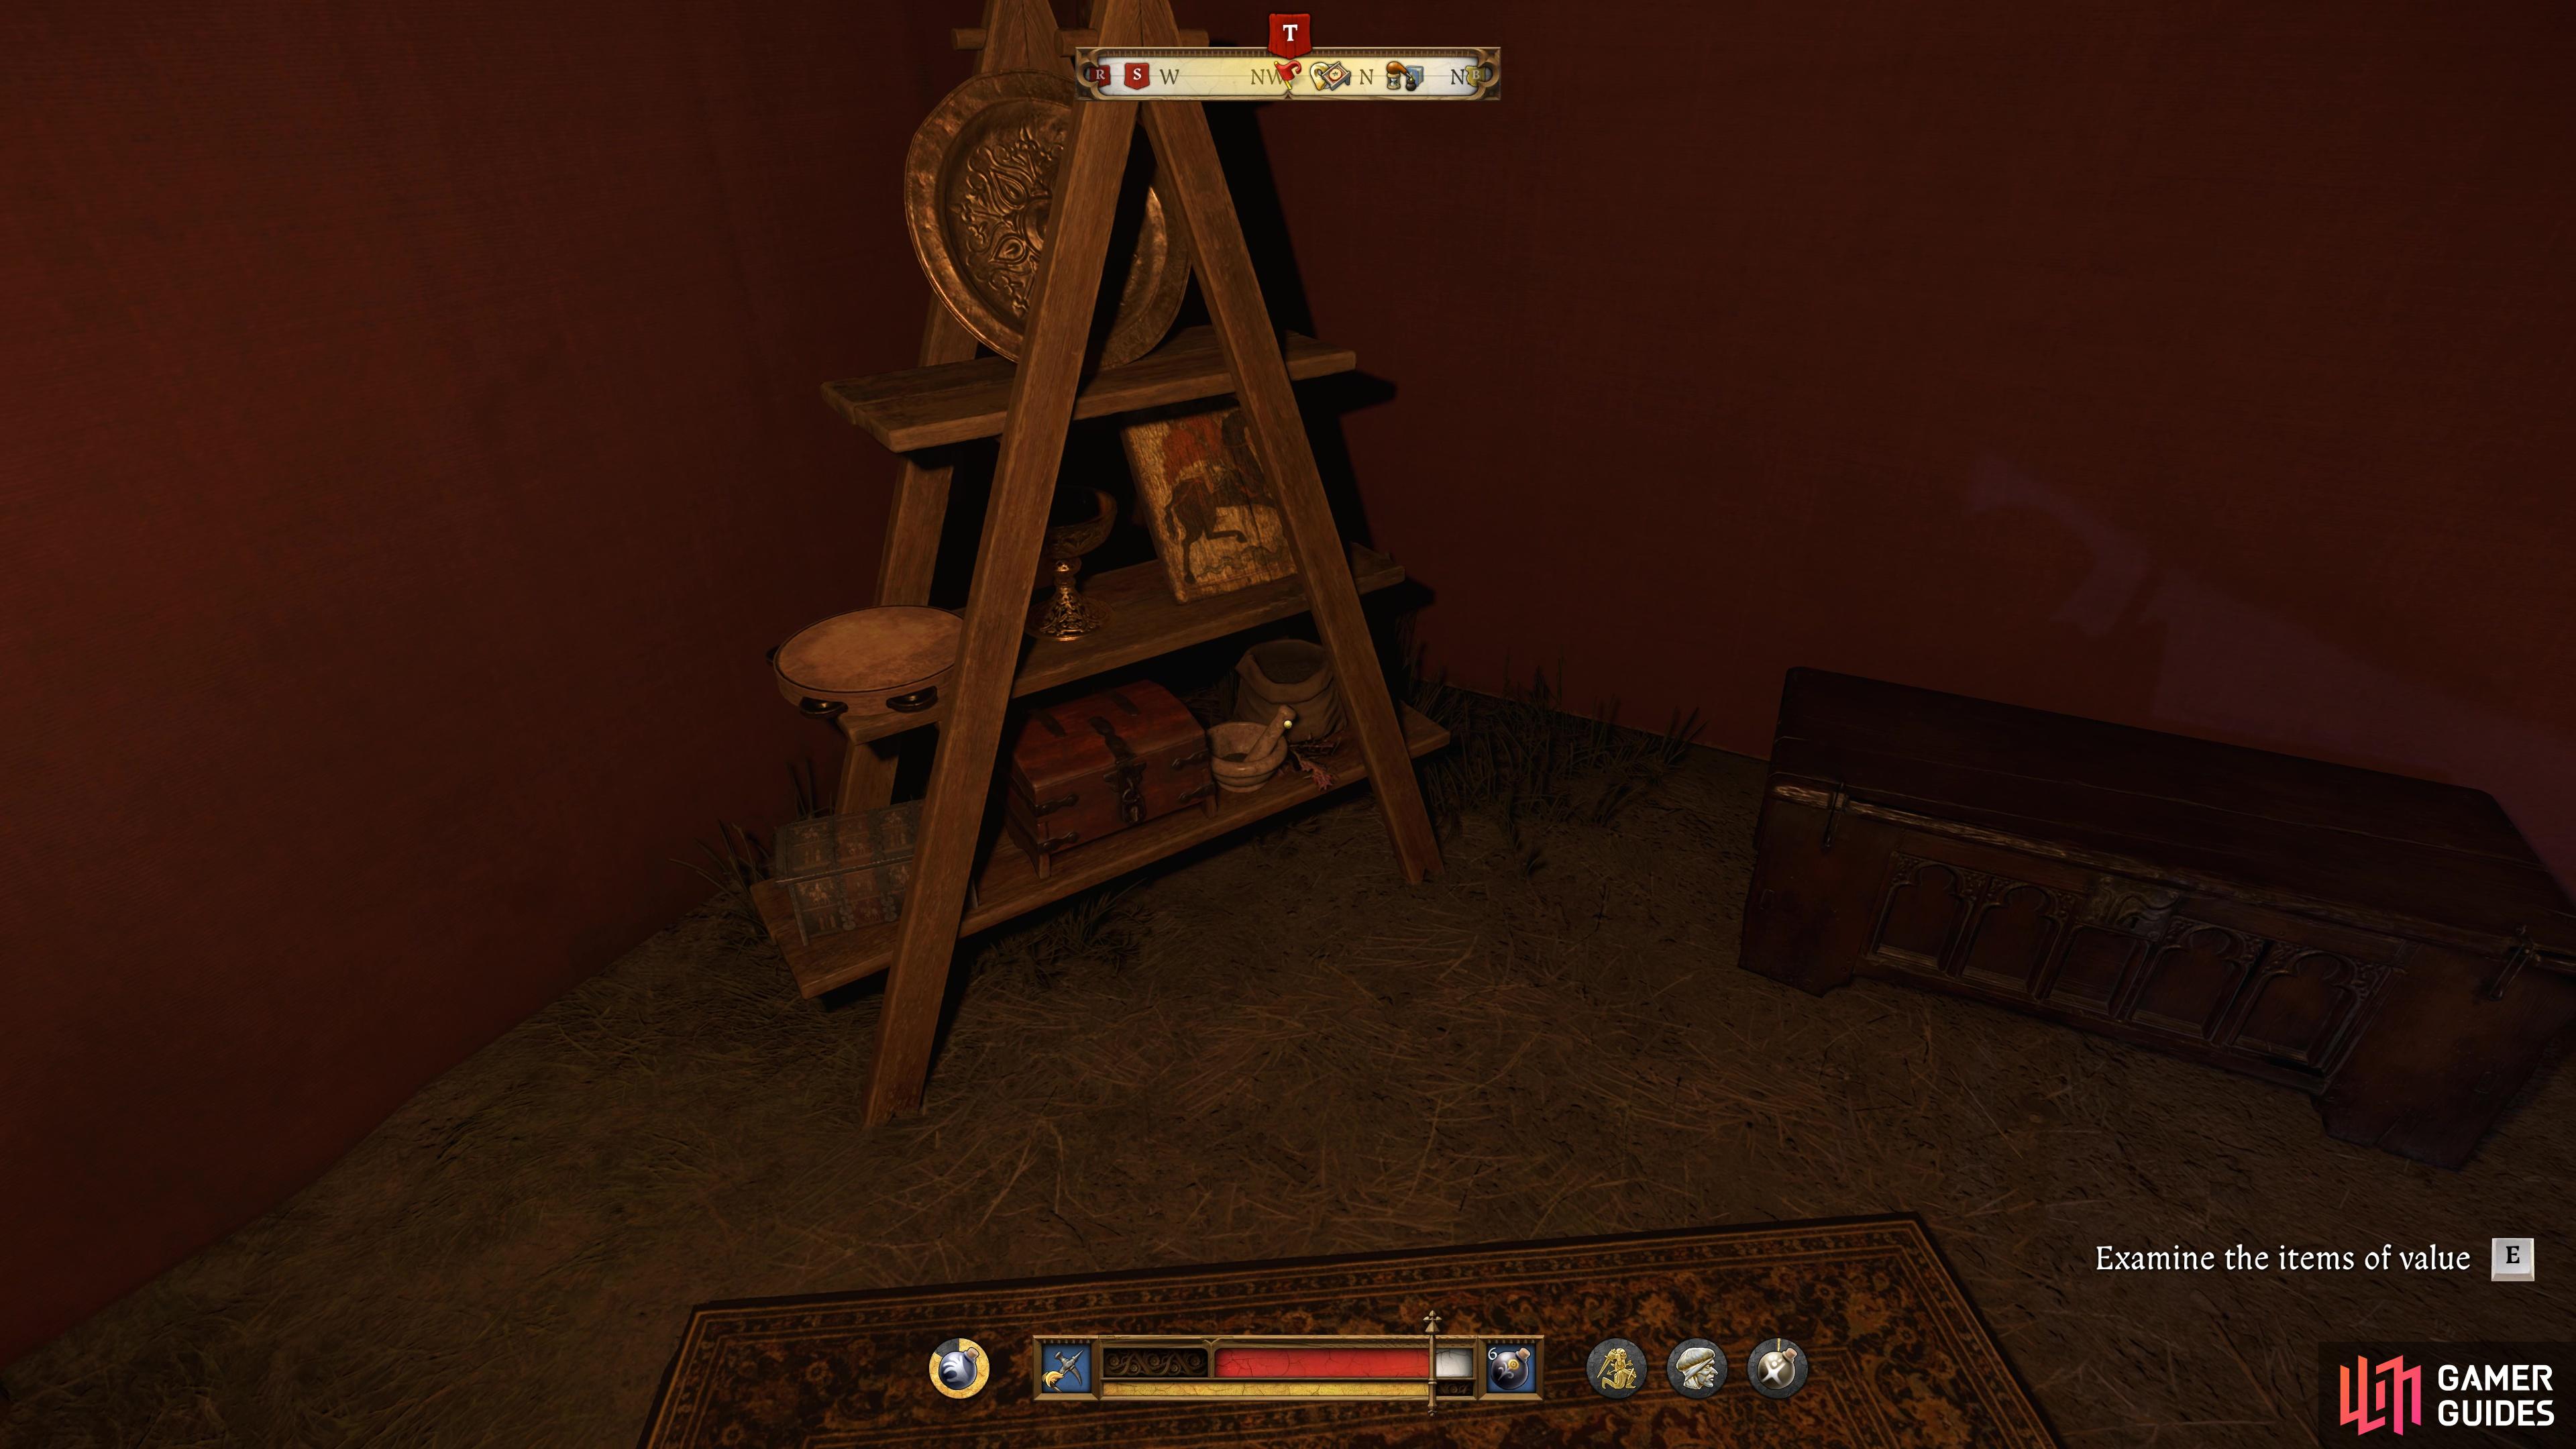
Considering one of the tents you need to examine is that of Musa himself, now is a good time to get it out of the way. You’ll want to examine the following for Musa’s Tent:
- Examine the potions on the shelf
- Examine the items of value to the right of the previous shelf
- Examine the vessel on the stand near Musa’s bed
- Examine the rug on the floor
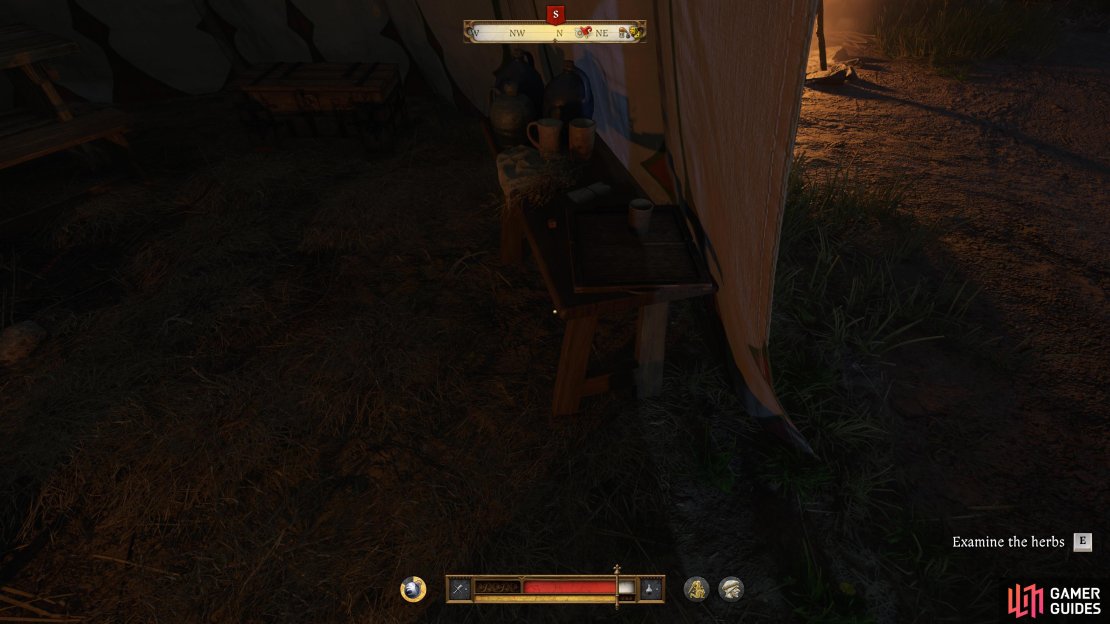
Make your way over to Grozav’s tent next, this is located just next to tent that Katz resides in and that you’ve visited many times. You’ll want to examine the following for Grozav’s Tent:
- Examine the herbs on the table to the right of the entrance
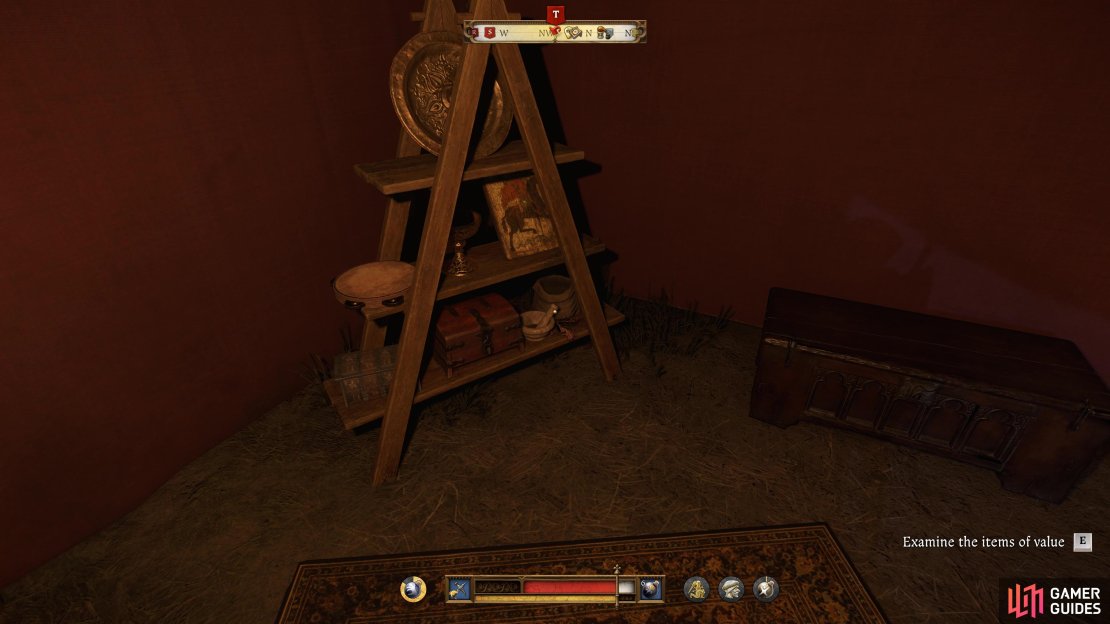


(1 of 4) Examine Musa’s tent to seemingly rule him out.
Now make your way to Stephen Crow’s tent, this is found to the southeast of the area. Once you get there, you’ll want to examine the following for Crow’s Tent:
- Examine the stain on the floor to the right of his bed
- Examine the oak wood
- Examine the nails in the corner to the left
- Examine the bowl of water near the wood
Although you may feel you’ve found your culprit at this point, you’ll still need to examine the guard’s tents to the left of Crow’s. For the Guard’s Tent, you’ll want to examine the following:
- Examine the broom to the right of the entrance
- Examine the alcohol to the left
- Pick the lock of the Easy chest
- Examine the bed to the right of the chest
Once you’re done with all of your examinations, you need to return to Katz and tell him that you’re ready to defend Musa at the trial, you must wait until the morning before this objective becomes active.
The Trial
The Trial can play out in a number of ways, but first and foremost, ensure you don’t give any incorrect answers during the process (or interrupt without requested), as after three statements of such, you’ll be accused, hung, and the game will be over. Ignoring that, there are two people you can accuse by the end of the trial, and although you may have Stephen Crow likened for the crime, you may want to consider Grozav.
Accuse Grozav if you want a chance for a Trophy/Achievement shortly.
The following choices takes in mind that you’re aiming for the above Trophy/Achievement, as such, choose these choices to get through the Trial, accuse Grozav, and have him killed:
- (Stay Silent)
- (Stay Silent)
- He was with us at the time of the stabbing
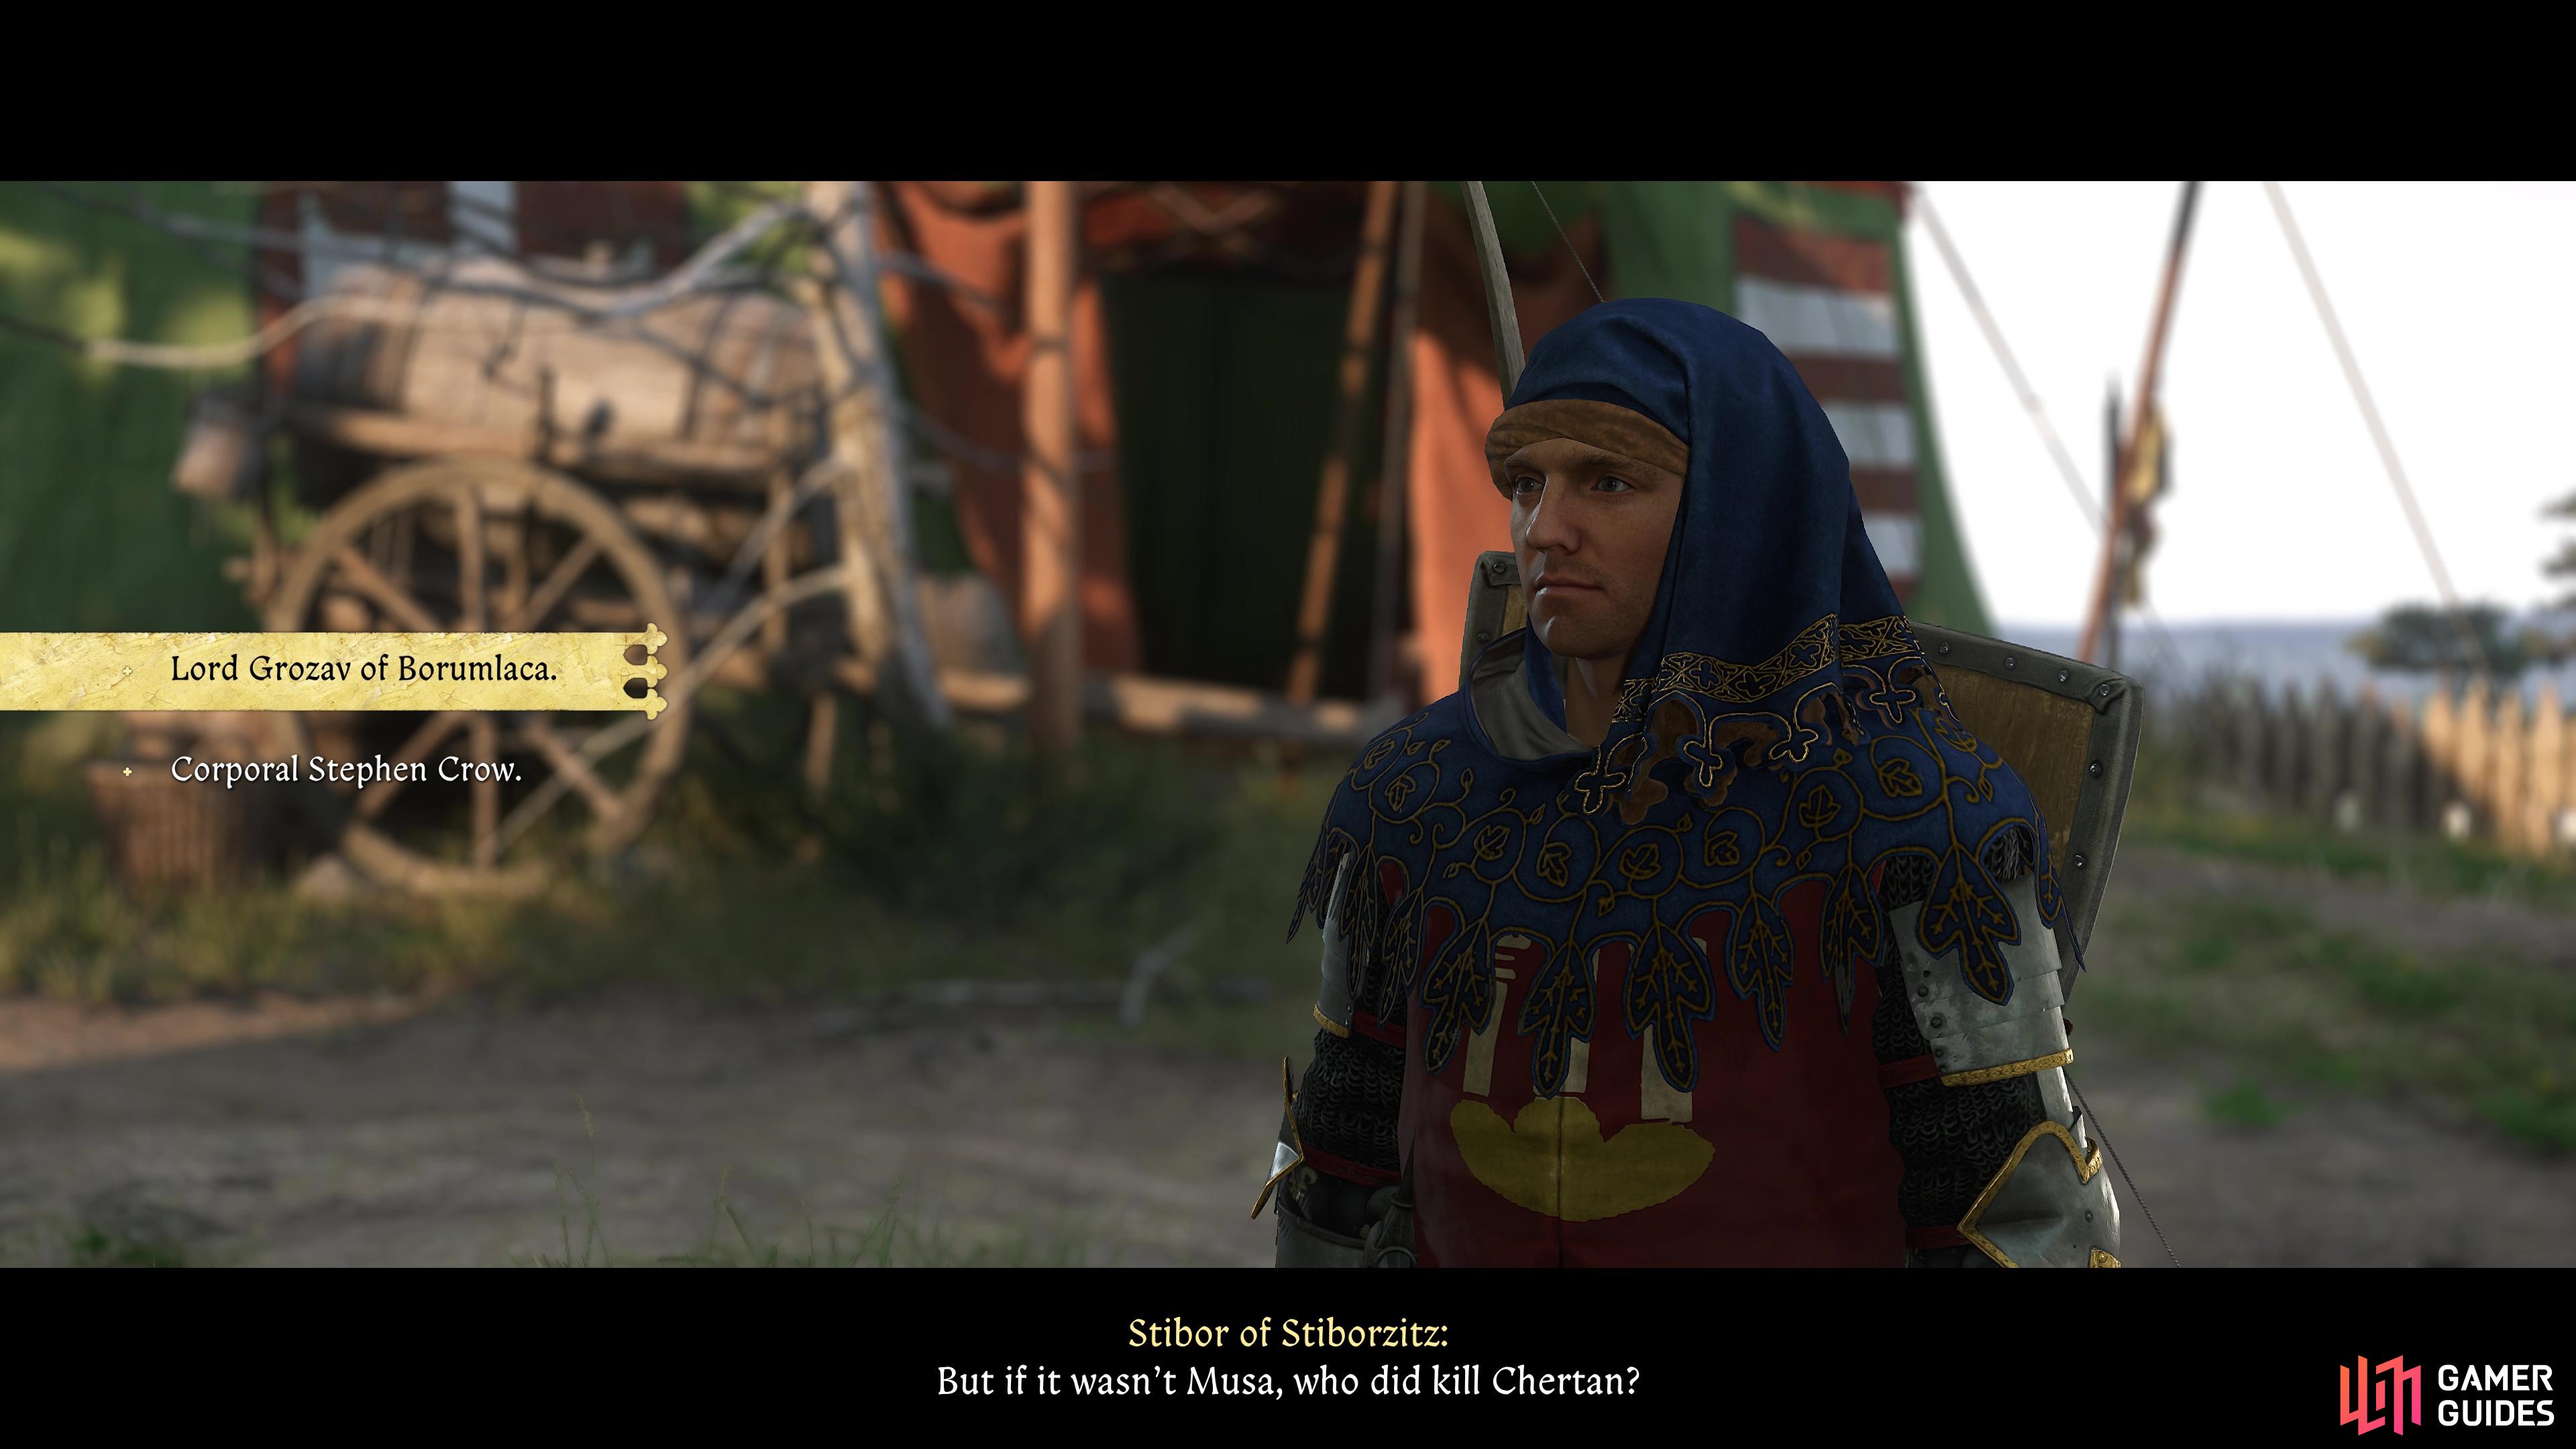
- Lord Grozav of Borumlaca
- Chertan caught Grozav in the act while he was stealing powder
- There was powder scattered all over the storeroom
- Grazov poisoned the wine before we arrived
- (Mention the found herbs)
At this point, Grozav will get out his weapon and will be quickly cut down before he has much of a chance to do anything. The Trial will come to an end and Katz will finally say he’s ready to move the cannon. Before you can set off, return to Katherine at the Baths and tell her that the cannon is about to be moved and to get the message to Zizka. Once that’s done, tell Katz you’re ready to roll out.
Defeat the Praguers
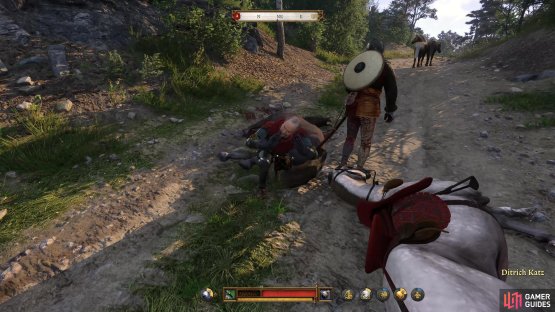
After a short scene, you’ll find yourself in the midst of a battle between Zizka and ![]() Dry Devil’s gang, and the Praguers, at which point you’ll need to help them. This is easier than it might seem, just head over to where one of your allies are and attack the Praguers from behind, making sure to use Battle Cries to give yourself a nice buff if you have the respective perks. Once the battle is over, take the time to loot the gear and call your Horse to store it all if need be and then decide if you want to kill Katz to earn The Hydra’s Head Trophy/Achievement, you’ll find him under his horse after the battle is over.
Dry Devil’s gang, and the Praguers, at which point you’ll need to help them. This is easier than it might seem, just head over to where one of your allies are and attack the Praguers from behind, making sure to use Battle Cries to give yourself a nice buff if you have the respective perks. Once the battle is over, take the time to loot the gear and call your Horse to store it all if need be and then decide if you want to kill Katz to earn The Hydra’s Head Trophy/Achievement, you’ll find him under his horse after the battle is over.

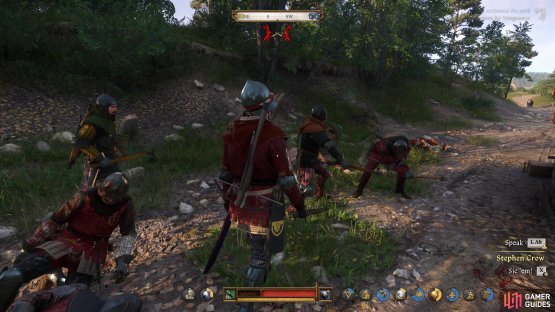
(1 of 2) Attack the soldiers from behind to make short work of them.

Attack the soldiers from behind to make short work of them. (left), Kill Katz after the battle for the Trophy/Achievement if Grozav is dead too. (right)
Once you’re done looting and deciding what to do with Katz, find Zizka and talk with him and you will have a choice to ride with him back to Devil’s Den, at which point The Lion’s Den ends and ![]() Dancing with the Devil begins.
Dancing with the Devil begins.
No Comments