
All is not as it seems in ![]() Old Kutna, a small village in
Old Kutna, a small village in ![]() Kuttenberg, as rumors of demons and a gateway to hell run amok when cattle are found dead on a local farm. This sounds like just the job for Henry, who will happily volunteer to get to the root of the problem. Keep reading to learn how to complete
Kuttenberg, as rumors of demons and a gateway to hell run amok when cattle are found dead on a local farm. This sounds like just the job for Henry, who will happily volunteer to get to the root of the problem. Keep reading to learn how to complete ![]() The Mouth of Hell side quest in Kingdom Come: Deliverance II.
The Mouth of Hell side quest in Kingdom Come: Deliverance II.
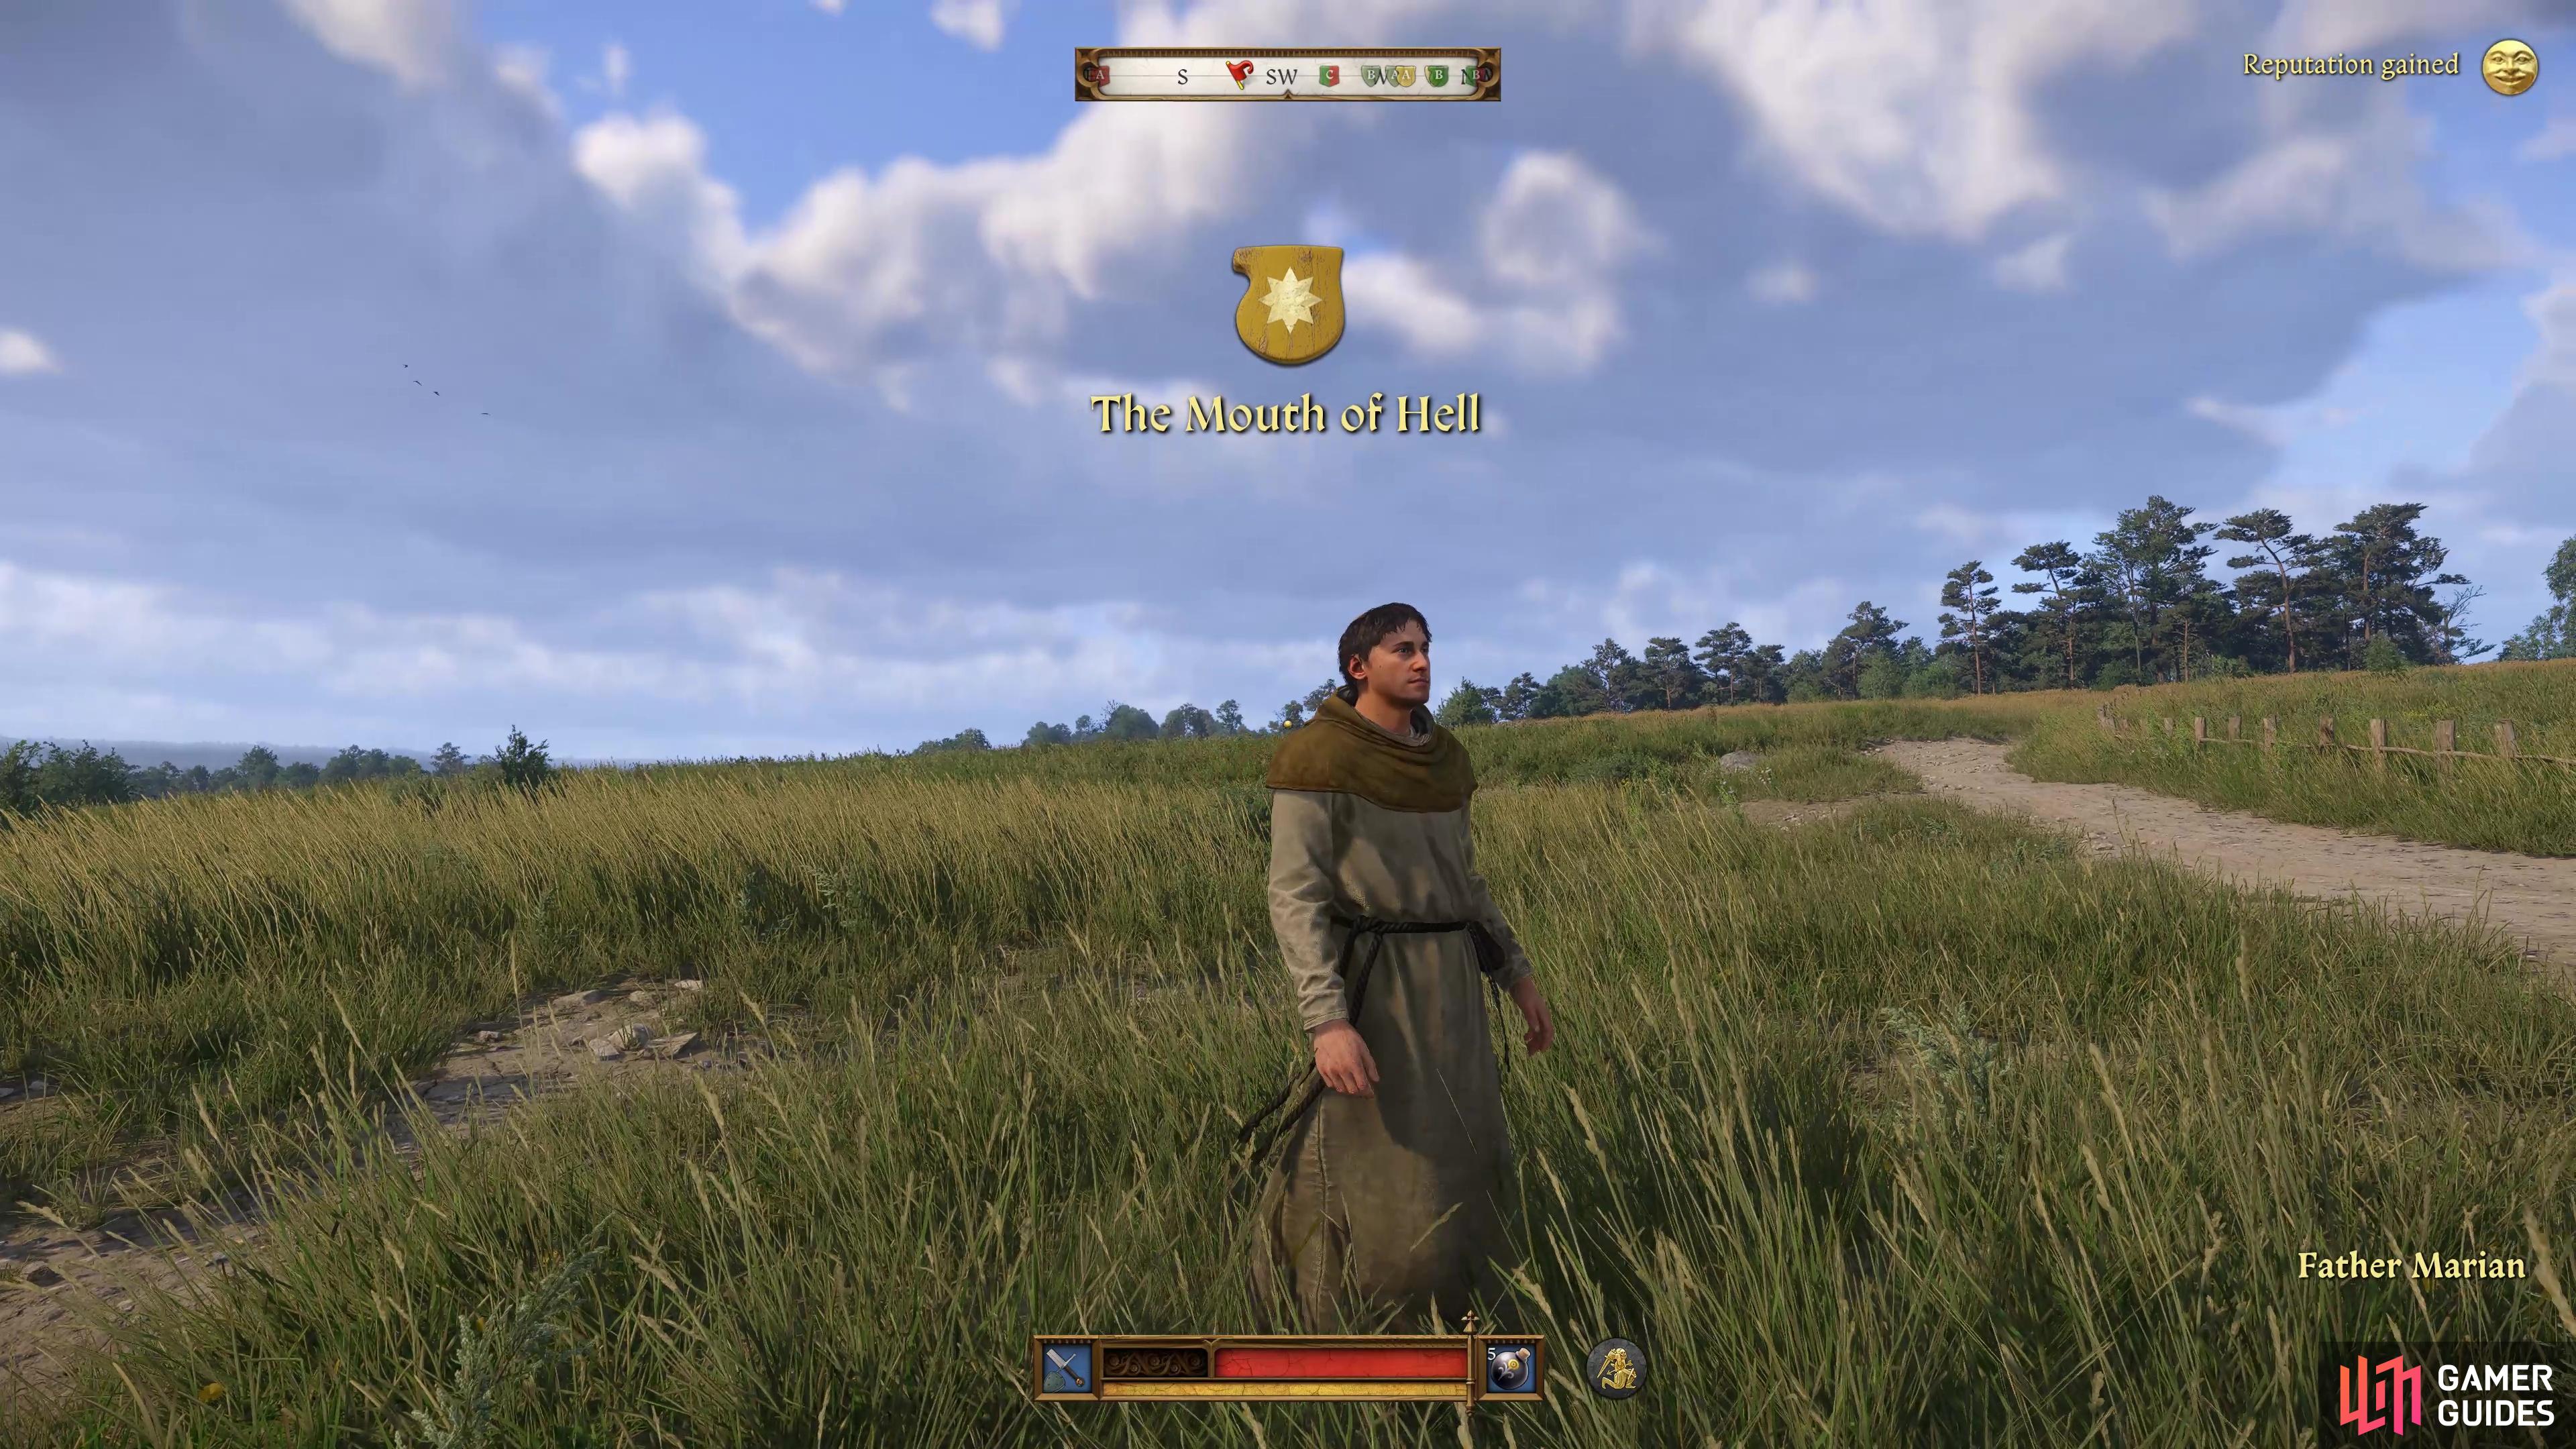
The Mouth of Hell is a side quest in Old Kutna in Kingdom Come: Deliverance II.
Table of Contents
If you want to jump to a specific section, click on the links below.
| Quickjump |
|---|
| Starting The Mouth of Hell Quest |
| Prepare an Offering for Hell in the Mine |
| Confront the Mysterious Knight |
Starting The Mouth of Hell Quest
You won’t gain access to the ![]() Kuttenberg region until you’ve progressed the main story a lot, it’s not until you complete the Storm quest that you’ll reach Kuttenberg for the first time, and then you’ll be locked into the introductory main quests of this region before you can jump on your horse and explore this massive region.
Kuttenberg region until you’ve progressed the main story a lot, it’s not until you complete the Storm quest that you’ll reach Kuttenberg for the first time, and then you’ll be locked into the introductory main quests of this region before you can jump on your horse and explore this massive region.
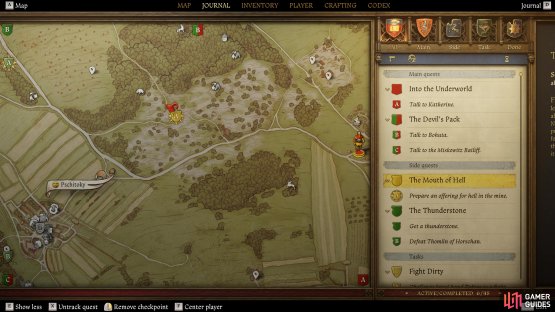
Once you can venture out on your own, you’ll want to head to the village of Old Kutna, located to the far east of the region, just northwest of the city of Kuttenberg. Once you get there, head to the farm on the southwest side of town to spot some commotion, it appears that some cattle has been slain, and rumors of devils and demons from the nearby mine are rife with speculation. Father Marian refuses to blame it on such hellspawn, and tasks Henry with getting to the bottom of the situation.
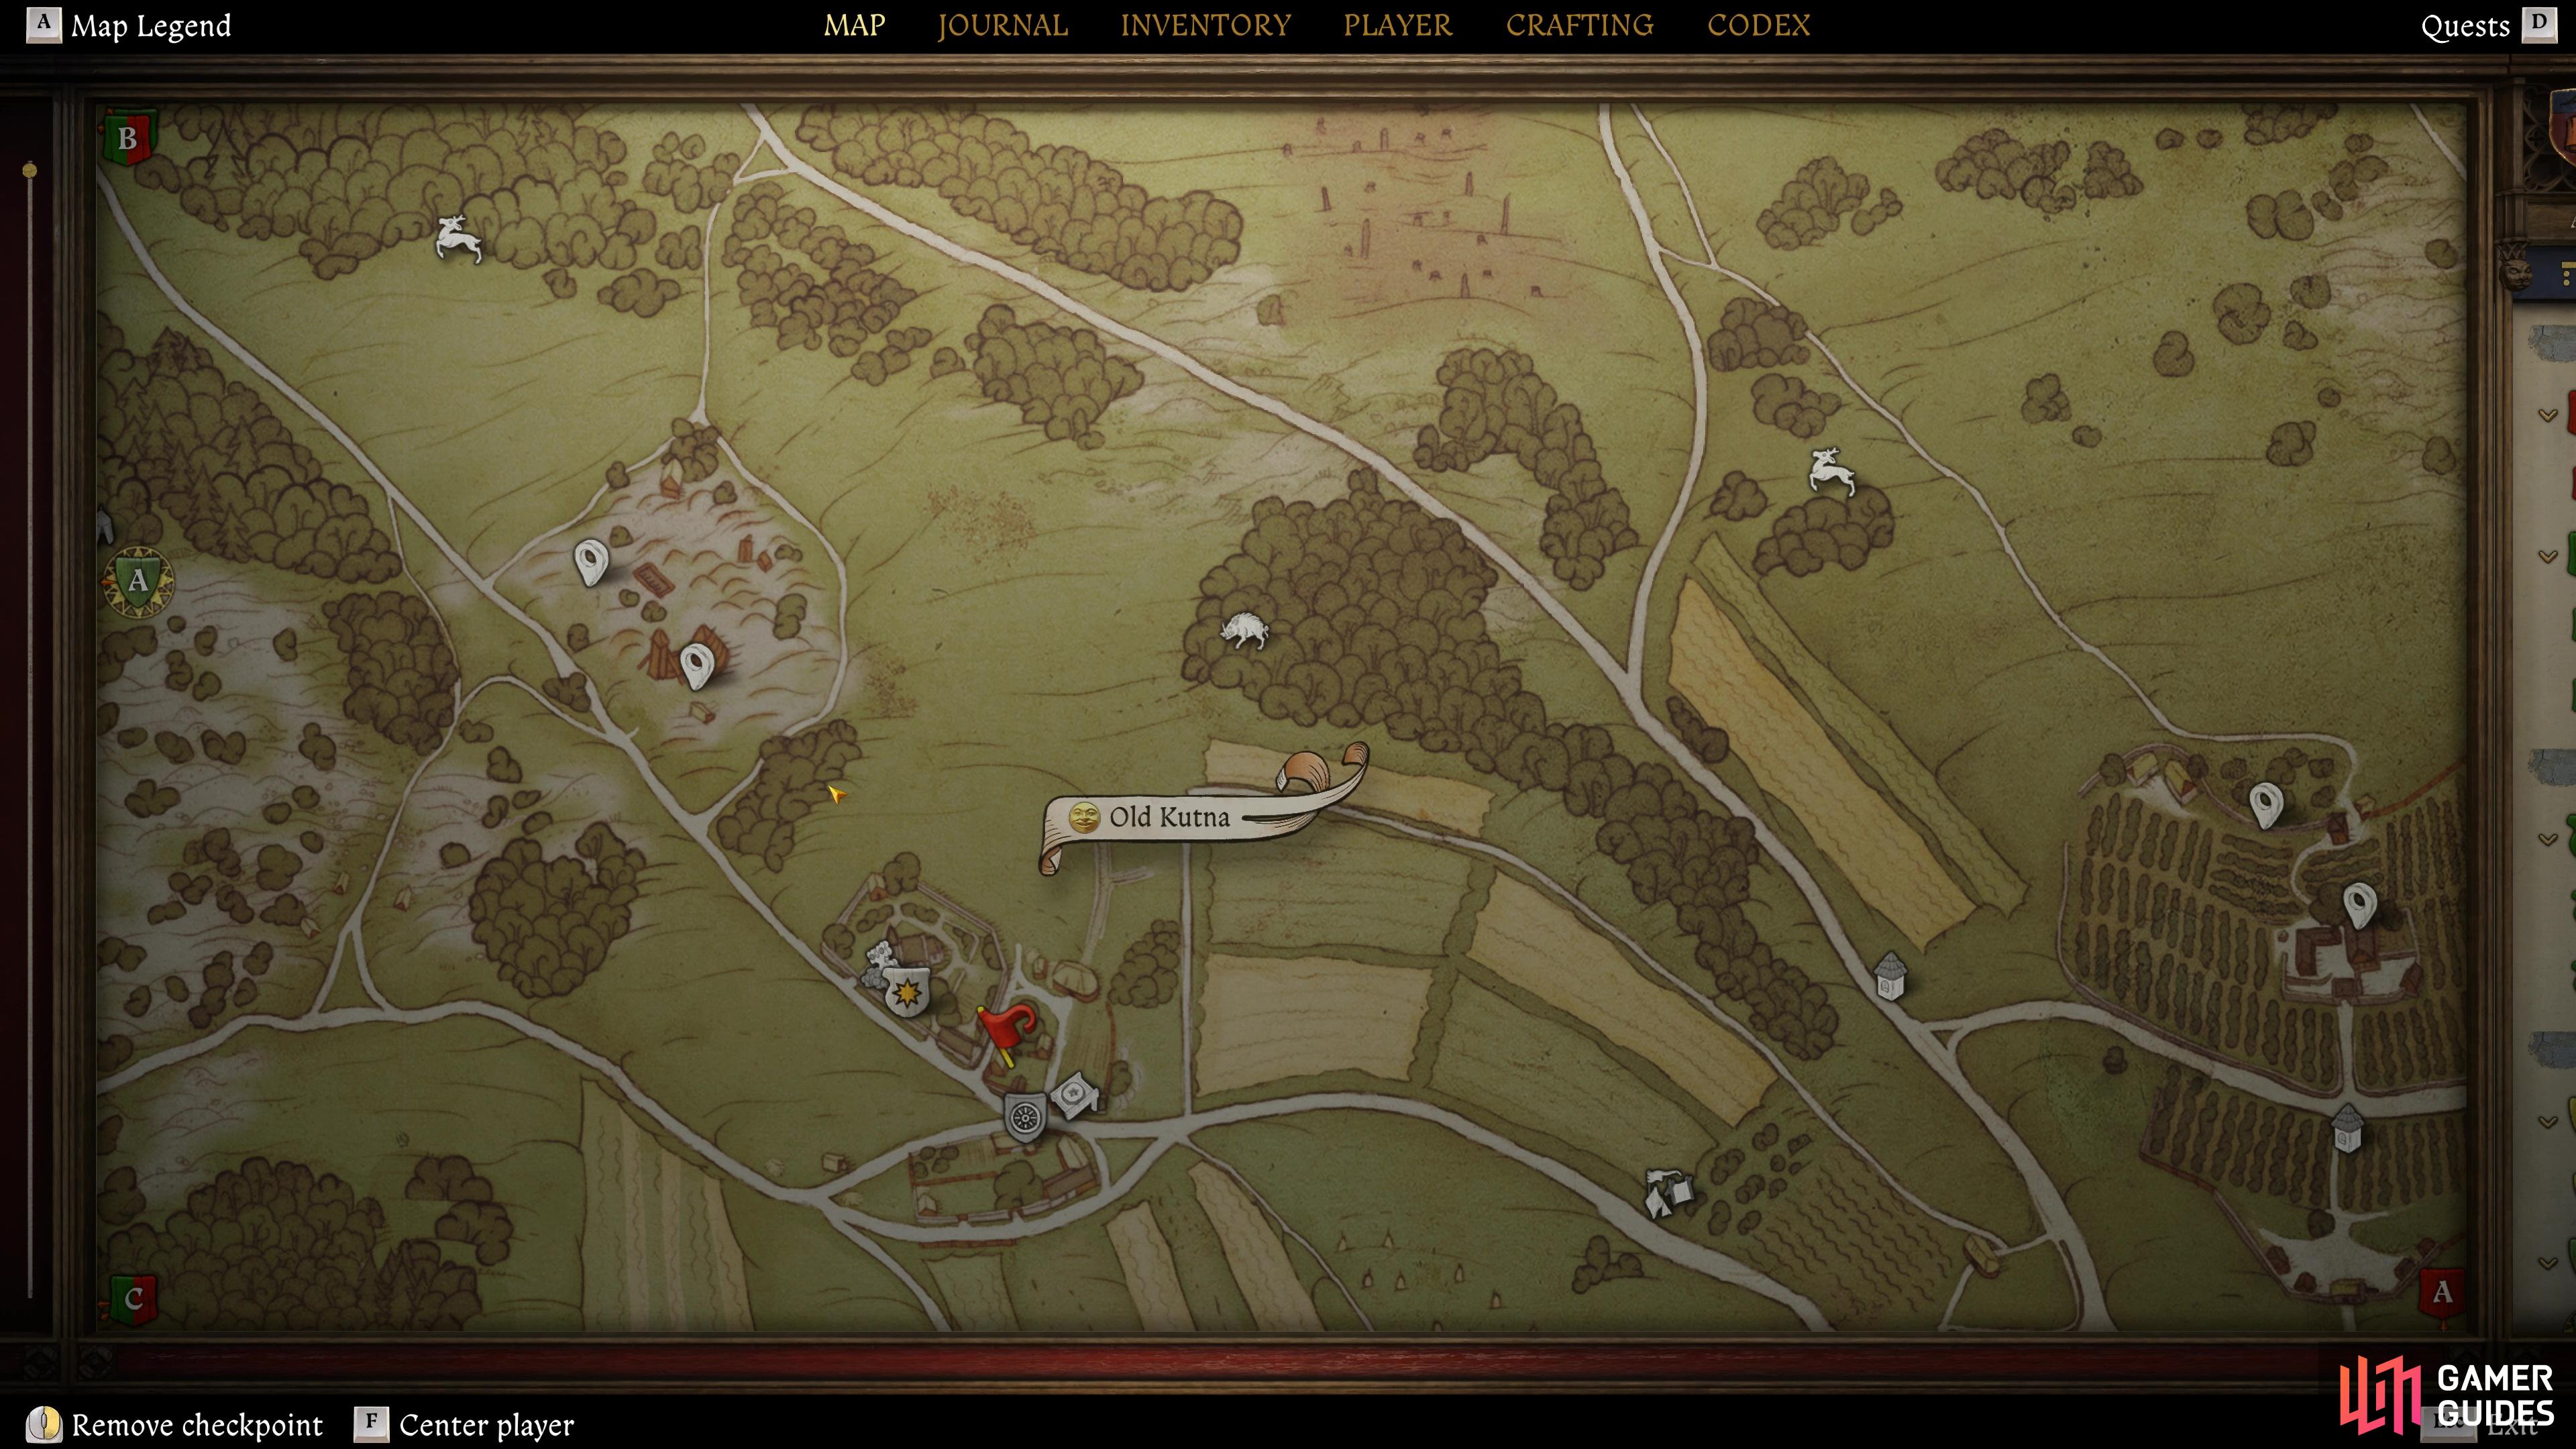

(1 of 2) You’ll find Old Kutna just to the northwest of Kuttenberg city.
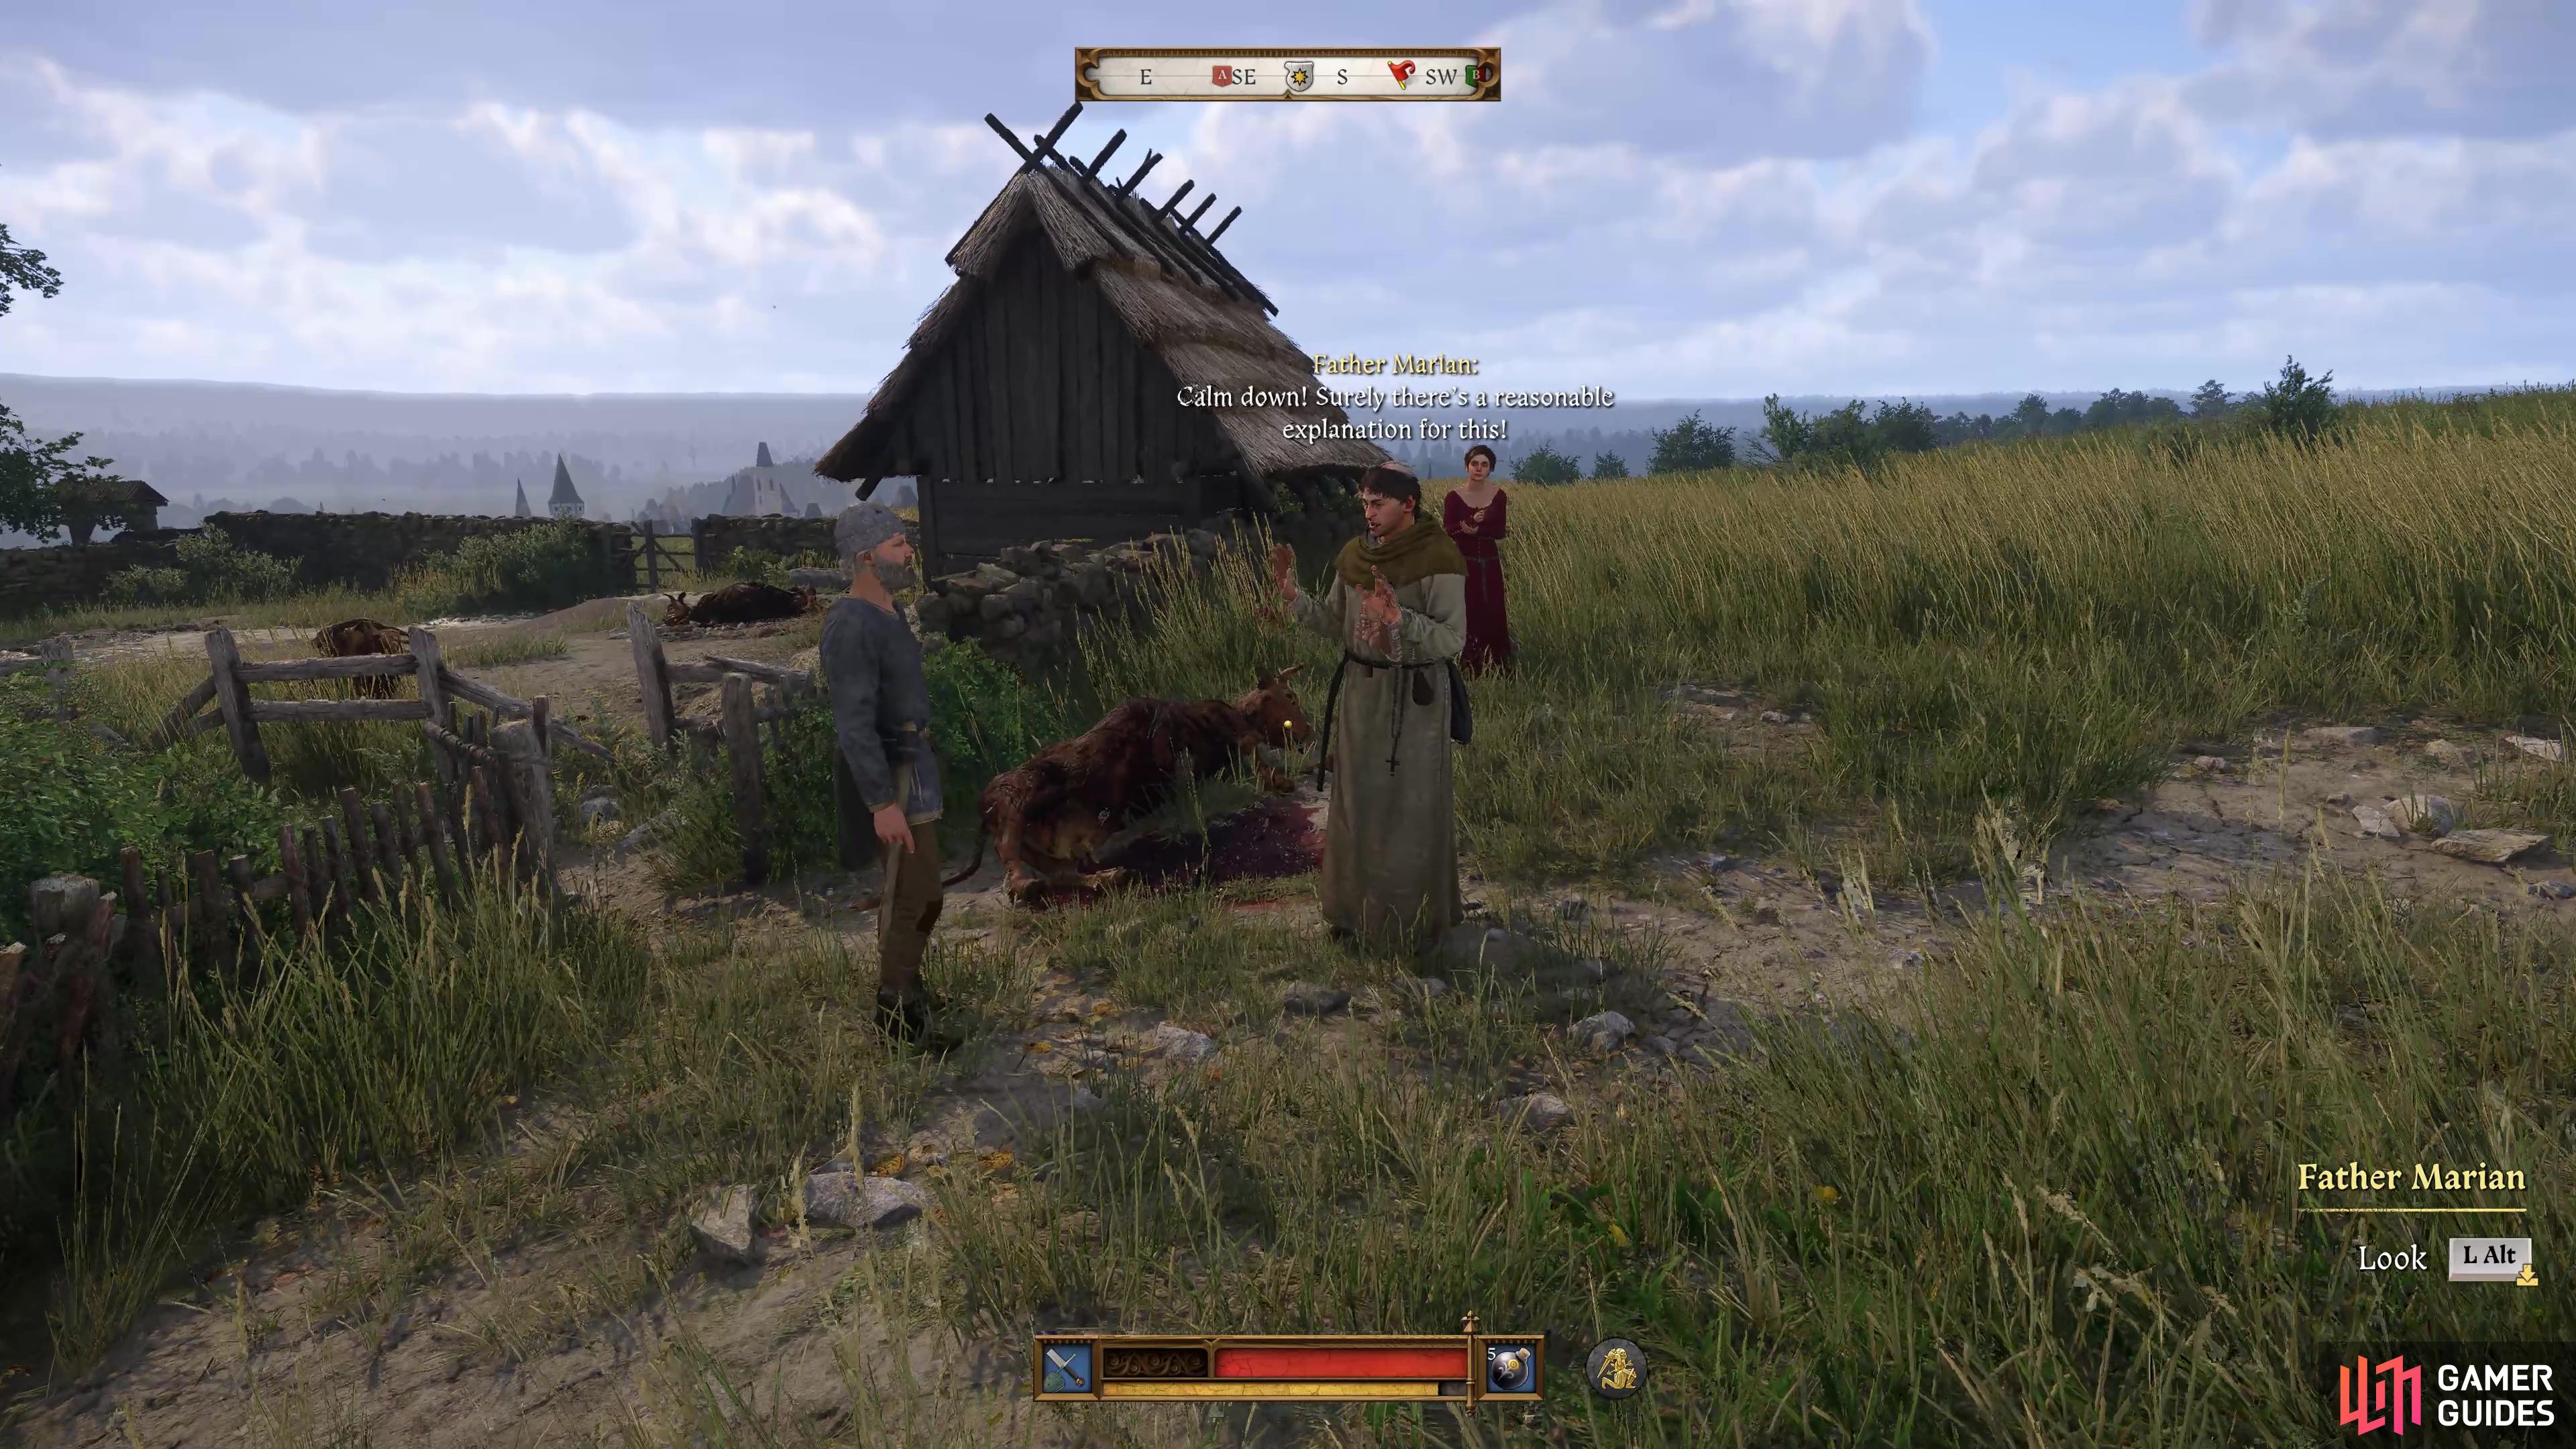
You’ll find Old Kutna just to the northwest of Kuttenberg city. (left), Head to the local farm here to spot some villagers shouting. (right)
Prepare an Offering for Hell in the Mine
The mine in question is just a short ride to the west of Old Kutna, open the map, pin the objective and mount your horse to make the ride there. You won’t need to actually bring anything with you for the offering, that will trigger automatically, so don’t worry too much about that. Once you find the mine, look for a ladder that leads down, climb down and a scene will trigger as Henry crashes to the bottom and is then dragged away by a mysterious figure.


(1 of 2) The mine is located just a short ride to the west of Old Kutna.
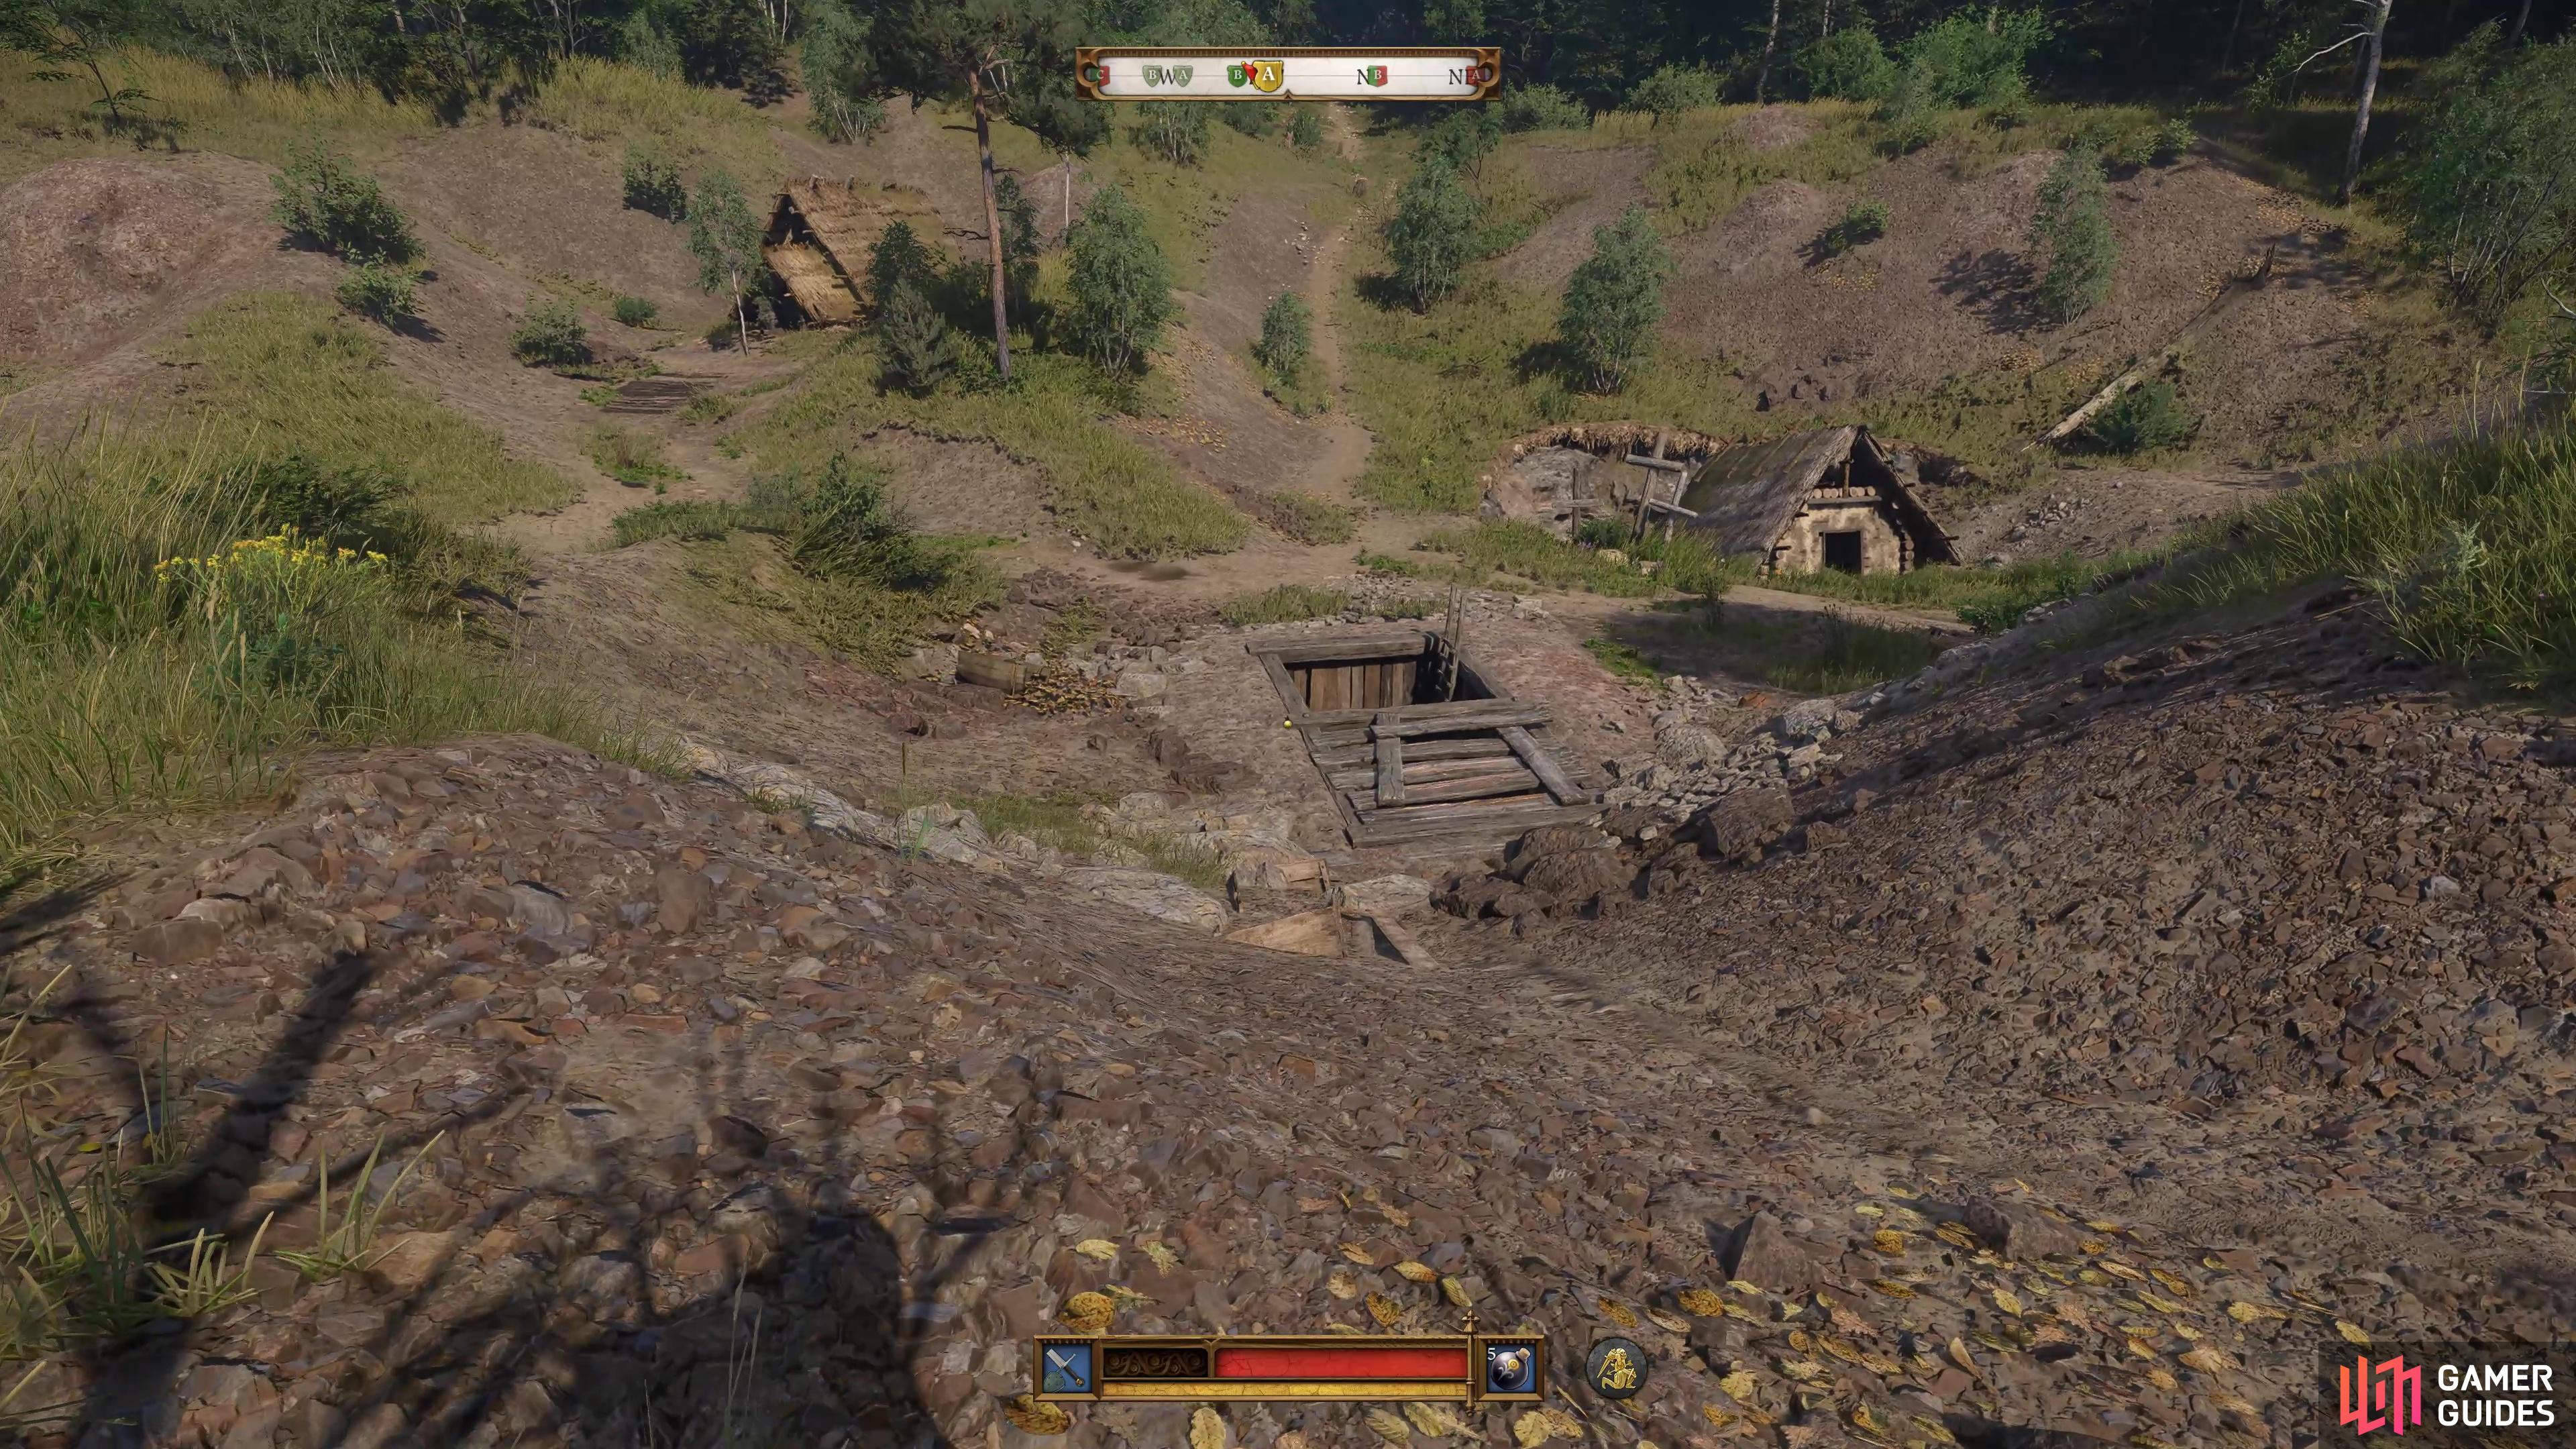
The mine is located just a short ride to the west of Old Kutna. (left), Climb down the ladder once you reach the entrance to trigger a scene. (right)
Confront the Mysterious Knight
When you awake, you’ll find yourself stripped of your belongings and seemingly trapped in the mine. There are multiple ways this can play out from here, but if you’re looking for the “best” outcome, with a lucrative reward, keep reading!
Start by, heading down the path in front of you until you reach an intersection, then go left (Northeast) until you hear some mumbling from a Tara Mura, the mysterious knight who is down here with you. You’ll see a barrel up ahead with a ![]() Torch you can grab, do so, equip it, and then get it out, being able to see down here will make a massive difference.
Torch you can grab, do so, equip it, and then get it out, being able to see down here will make a massive difference.

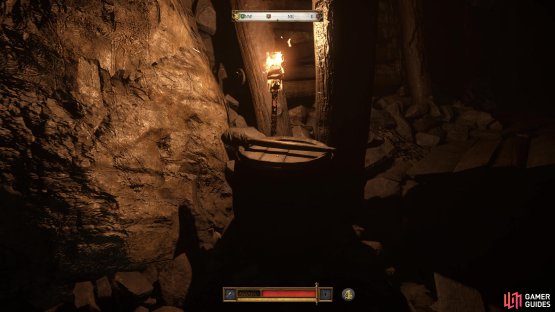
(1 of 2) Be sure to grab the Torch and use it.

Be sure to grab the Torch and use it. (left), This basket contains two Saviour Schnapps you can use to save your game. (right)
While facing the barrel, turn around and face the southeast and walk to the end to find a basket you can loot, this will contain two ![]() Weak Saviour Schnapps, perfect for if you want to make a quick save while stuck down here.
Weak Saviour Schnapps, perfect for if you want to make a quick save while stuck down here.
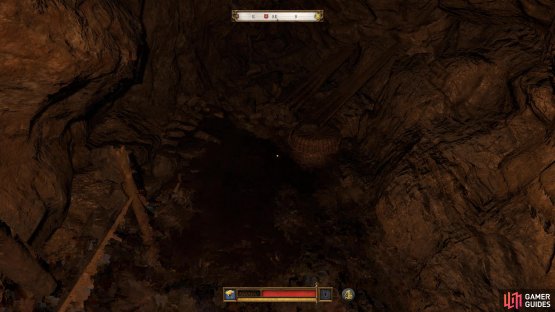
Continue to follow the linear path and you’ll hear Taras Mura once more, and reach an open area. If you look on the table to your left, you’ll find a ![]() Hunting Sword that you should equip right away, if you can’t talk your way out of an encounter, having the means to defend yourself will come in handy.
Hunting Sword that you should equip right away, if you can’t talk your way out of an encounter, having the means to defend yourself will come in handy.
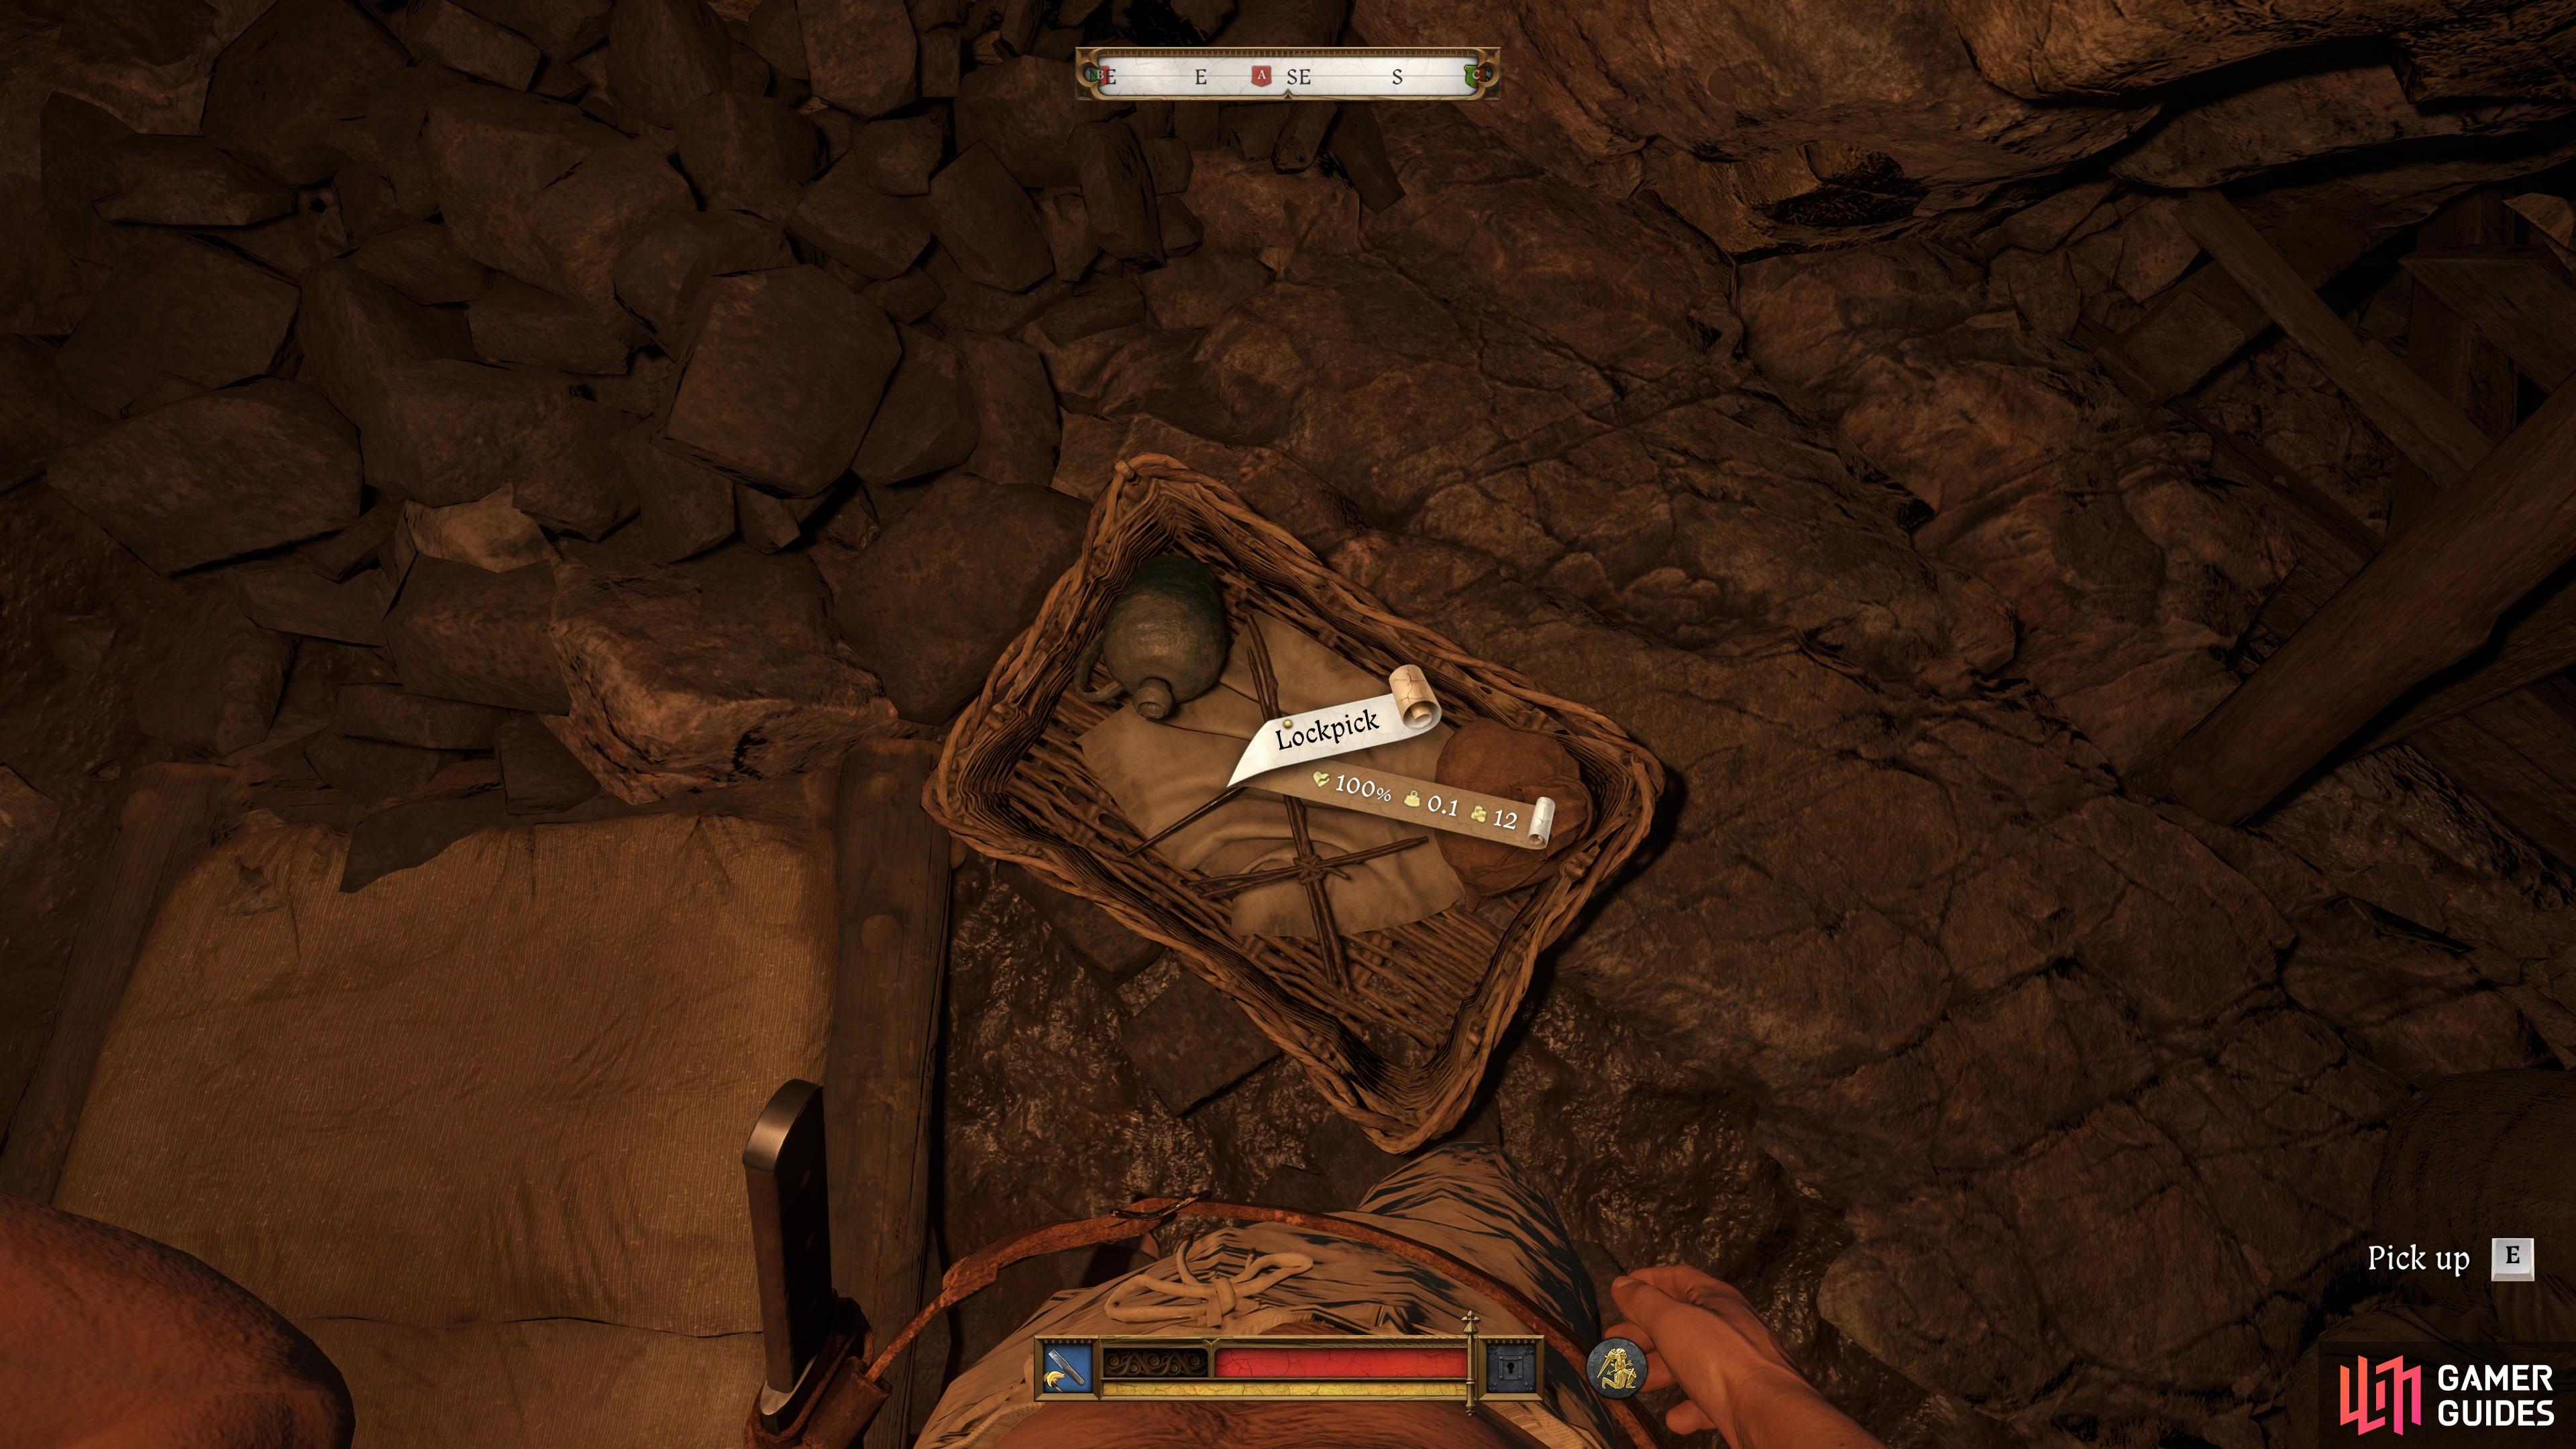
To the right of this bench is a locked chest (hard), ignore this for now and look to the basket nearby to find a ![]() Lockpick. Ignore the hard chest for now though, as you only have one Lockpick on you. Instead, use one of those
Lockpick. Ignore the hard chest for now though, as you only have one Lockpick on you. Instead, use one of those ![]() Saviour Schnapps to make a save and then attempt to pick the lock of the smaller box (medium) in front of you, succeeding at this will allow you to get the best outcome for this quest. Inside, you’ll find a
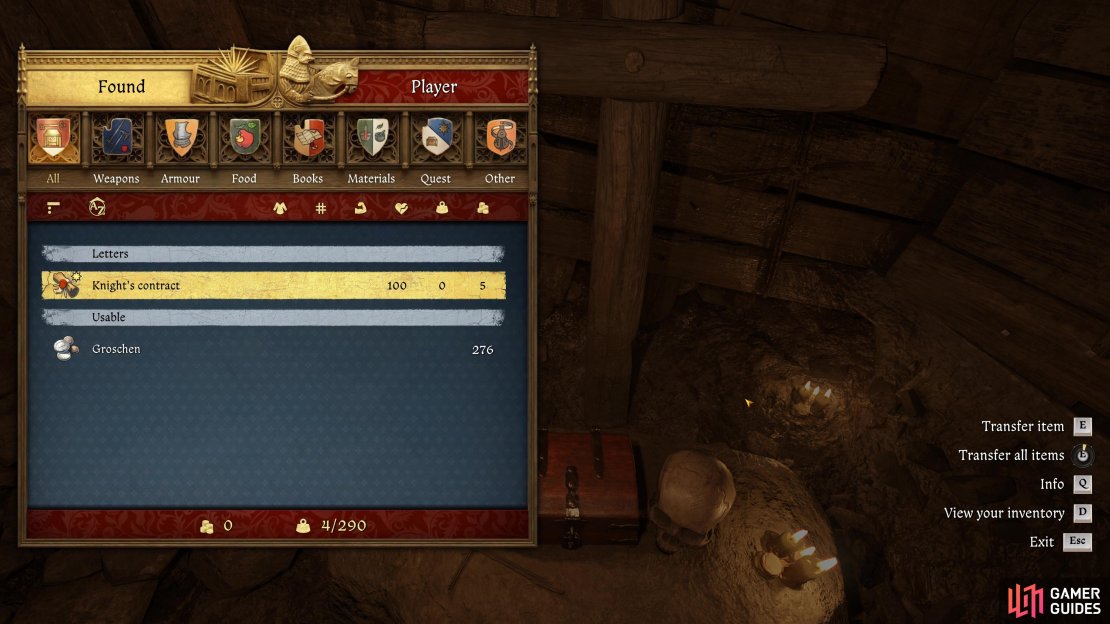
Saviour Schnapps to make a save and then attempt to pick the lock of the smaller box (medium) in front of you, succeeding at this will allow you to get the best outcome for this quest. Inside, you’ll find a ![]() Knight’s contract and 276
Knight’s contract and 276 ![]() Groschen and once you read the contract, you’ll learn more about the mysterious knight and why he’s down here.
Groschen and once you read the contract, you’ll learn more about the mysterious knight and why he’s down here.


(1 of 4) Grab the Lockpick from this basket.
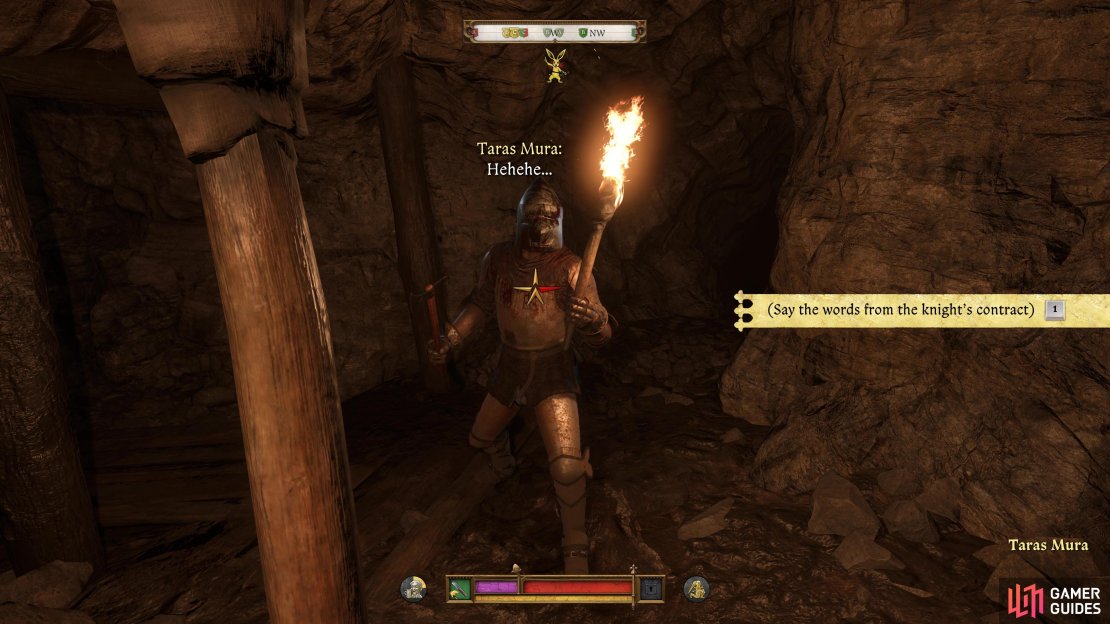
Take the ladder up now and you’ll spot him walk off, around near an intersection. If you have the contract, you can make contact with him and then Say the words from the knight’s contract to prevent him from attacking you. He’ll ask if it’s really true, so reply with “Yes, I’ll take over from you. (Lie)” and he will escort you to your gear (which you’ll automatically equip) and trigger a scene as you leave the mines.

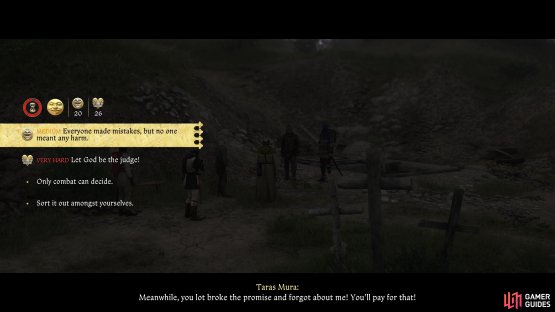
(1 of 2) Choose the top option when you leave the mine.

Choose the top option when you leave the mine. (left), Then succeed the speech check by choosing the top option to resolve the incident without any casualties. (right)
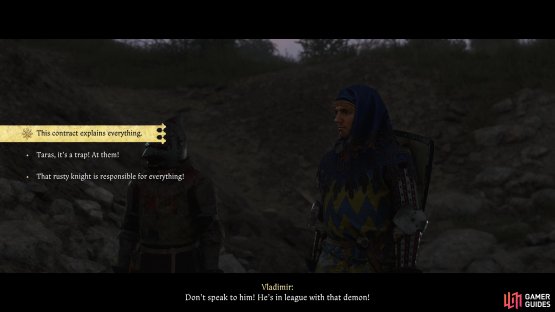
Once you exit, you’ll find that the villagers have met you like they agreed, and they’ll initially be hostile toward the knight that follows Henry out of there. Choose “This contract explains everything.” and Taras will decide that he wants the villagers to pay for leaving him down there. The easiest, and best outcome, to this choice, is to choose “Everyone made mistakes, but no one meant any harm.”, which is a medium speech check (we succeeded at Level 20 Speech). The situation will finally be resolved following a bit of deliberation and, as thanks for your work in resolving it, Father Marian will hand you 475 Groschen.
No Comments