
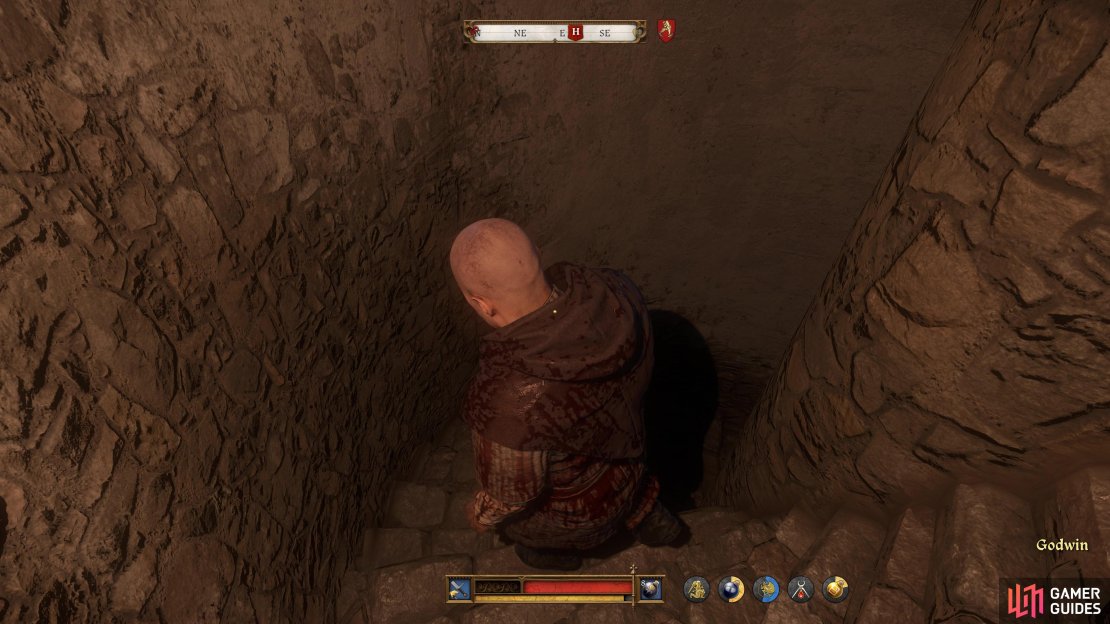
Following the dramatic events at the end of Finger of God, Henry and his group will find themselves imprisoned at Trosky Castle, subject to torture from the nefarious Istvan Toth. This is the final main quest in the Trosky region of Kingdom Come: Deliverance II, so keep reading to learn how you can get yourself out of what seems like an impossible situation!
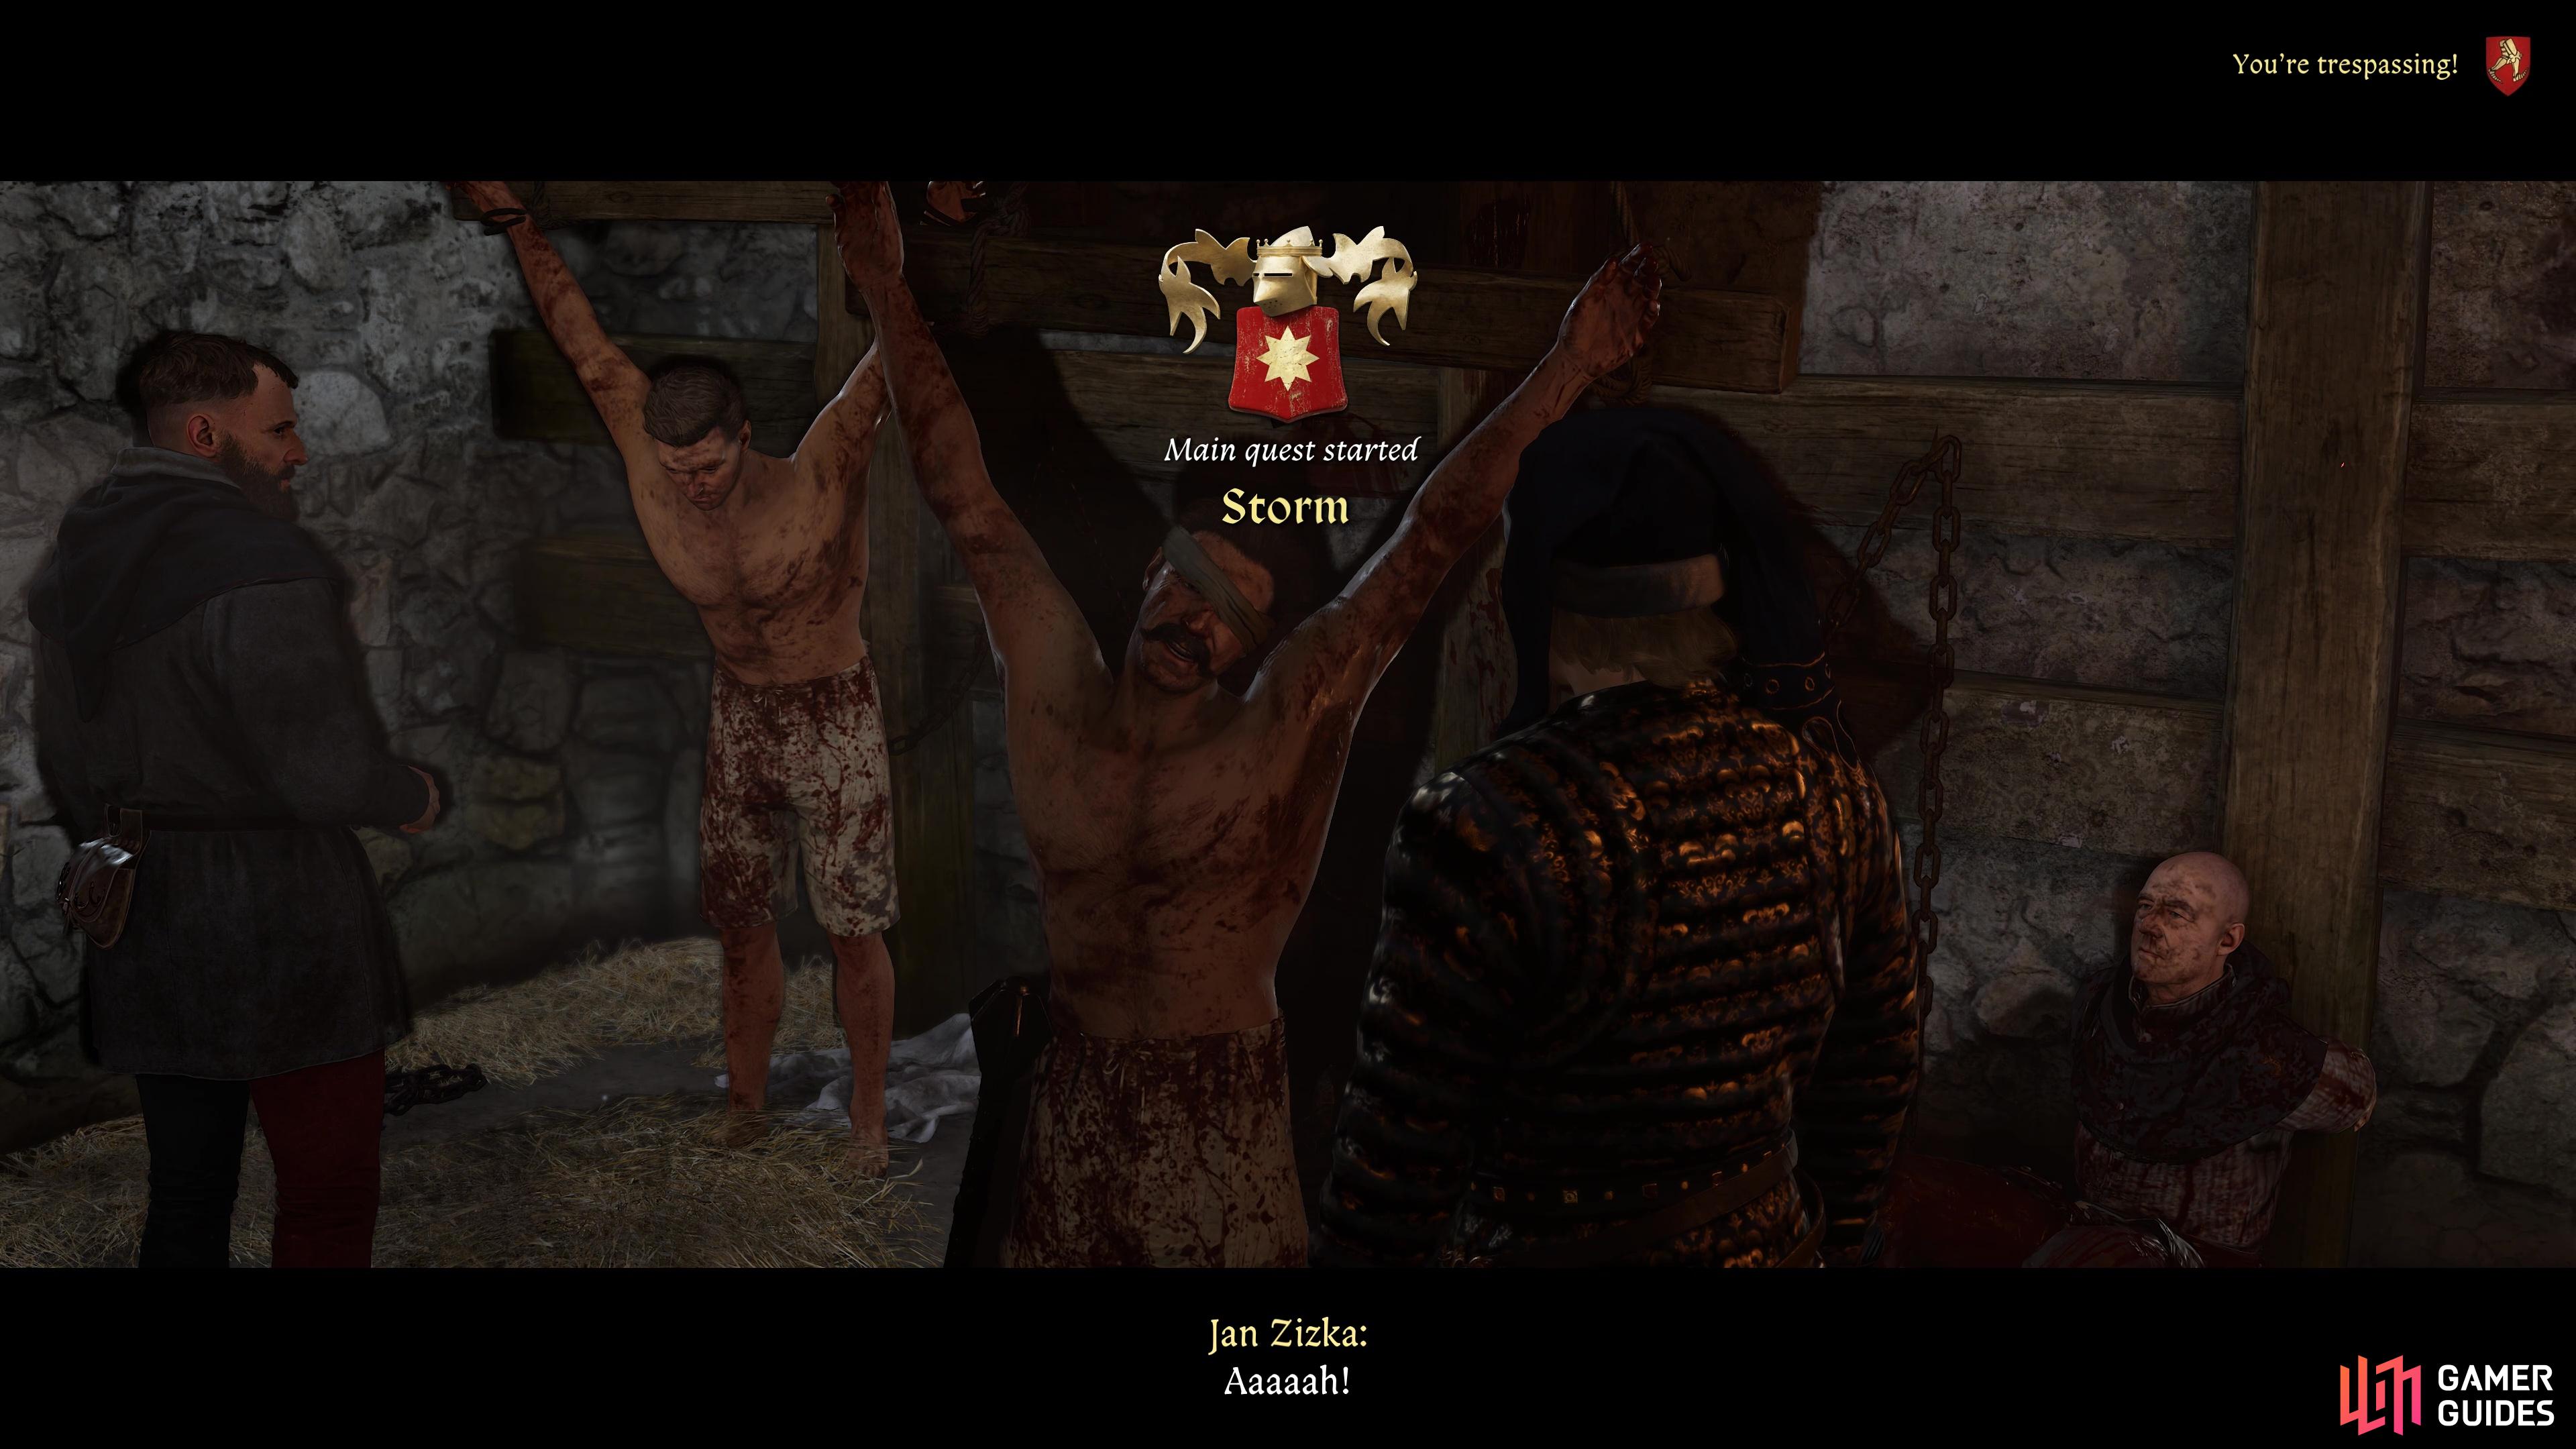
Henry, Ziska, and Godwin find themselves subject to torture in the Storm quest in Kingdom Come: Deliverance II.
Table of Contents
If you want to jump to a specific section, click on the links below.
Surviving the Torture
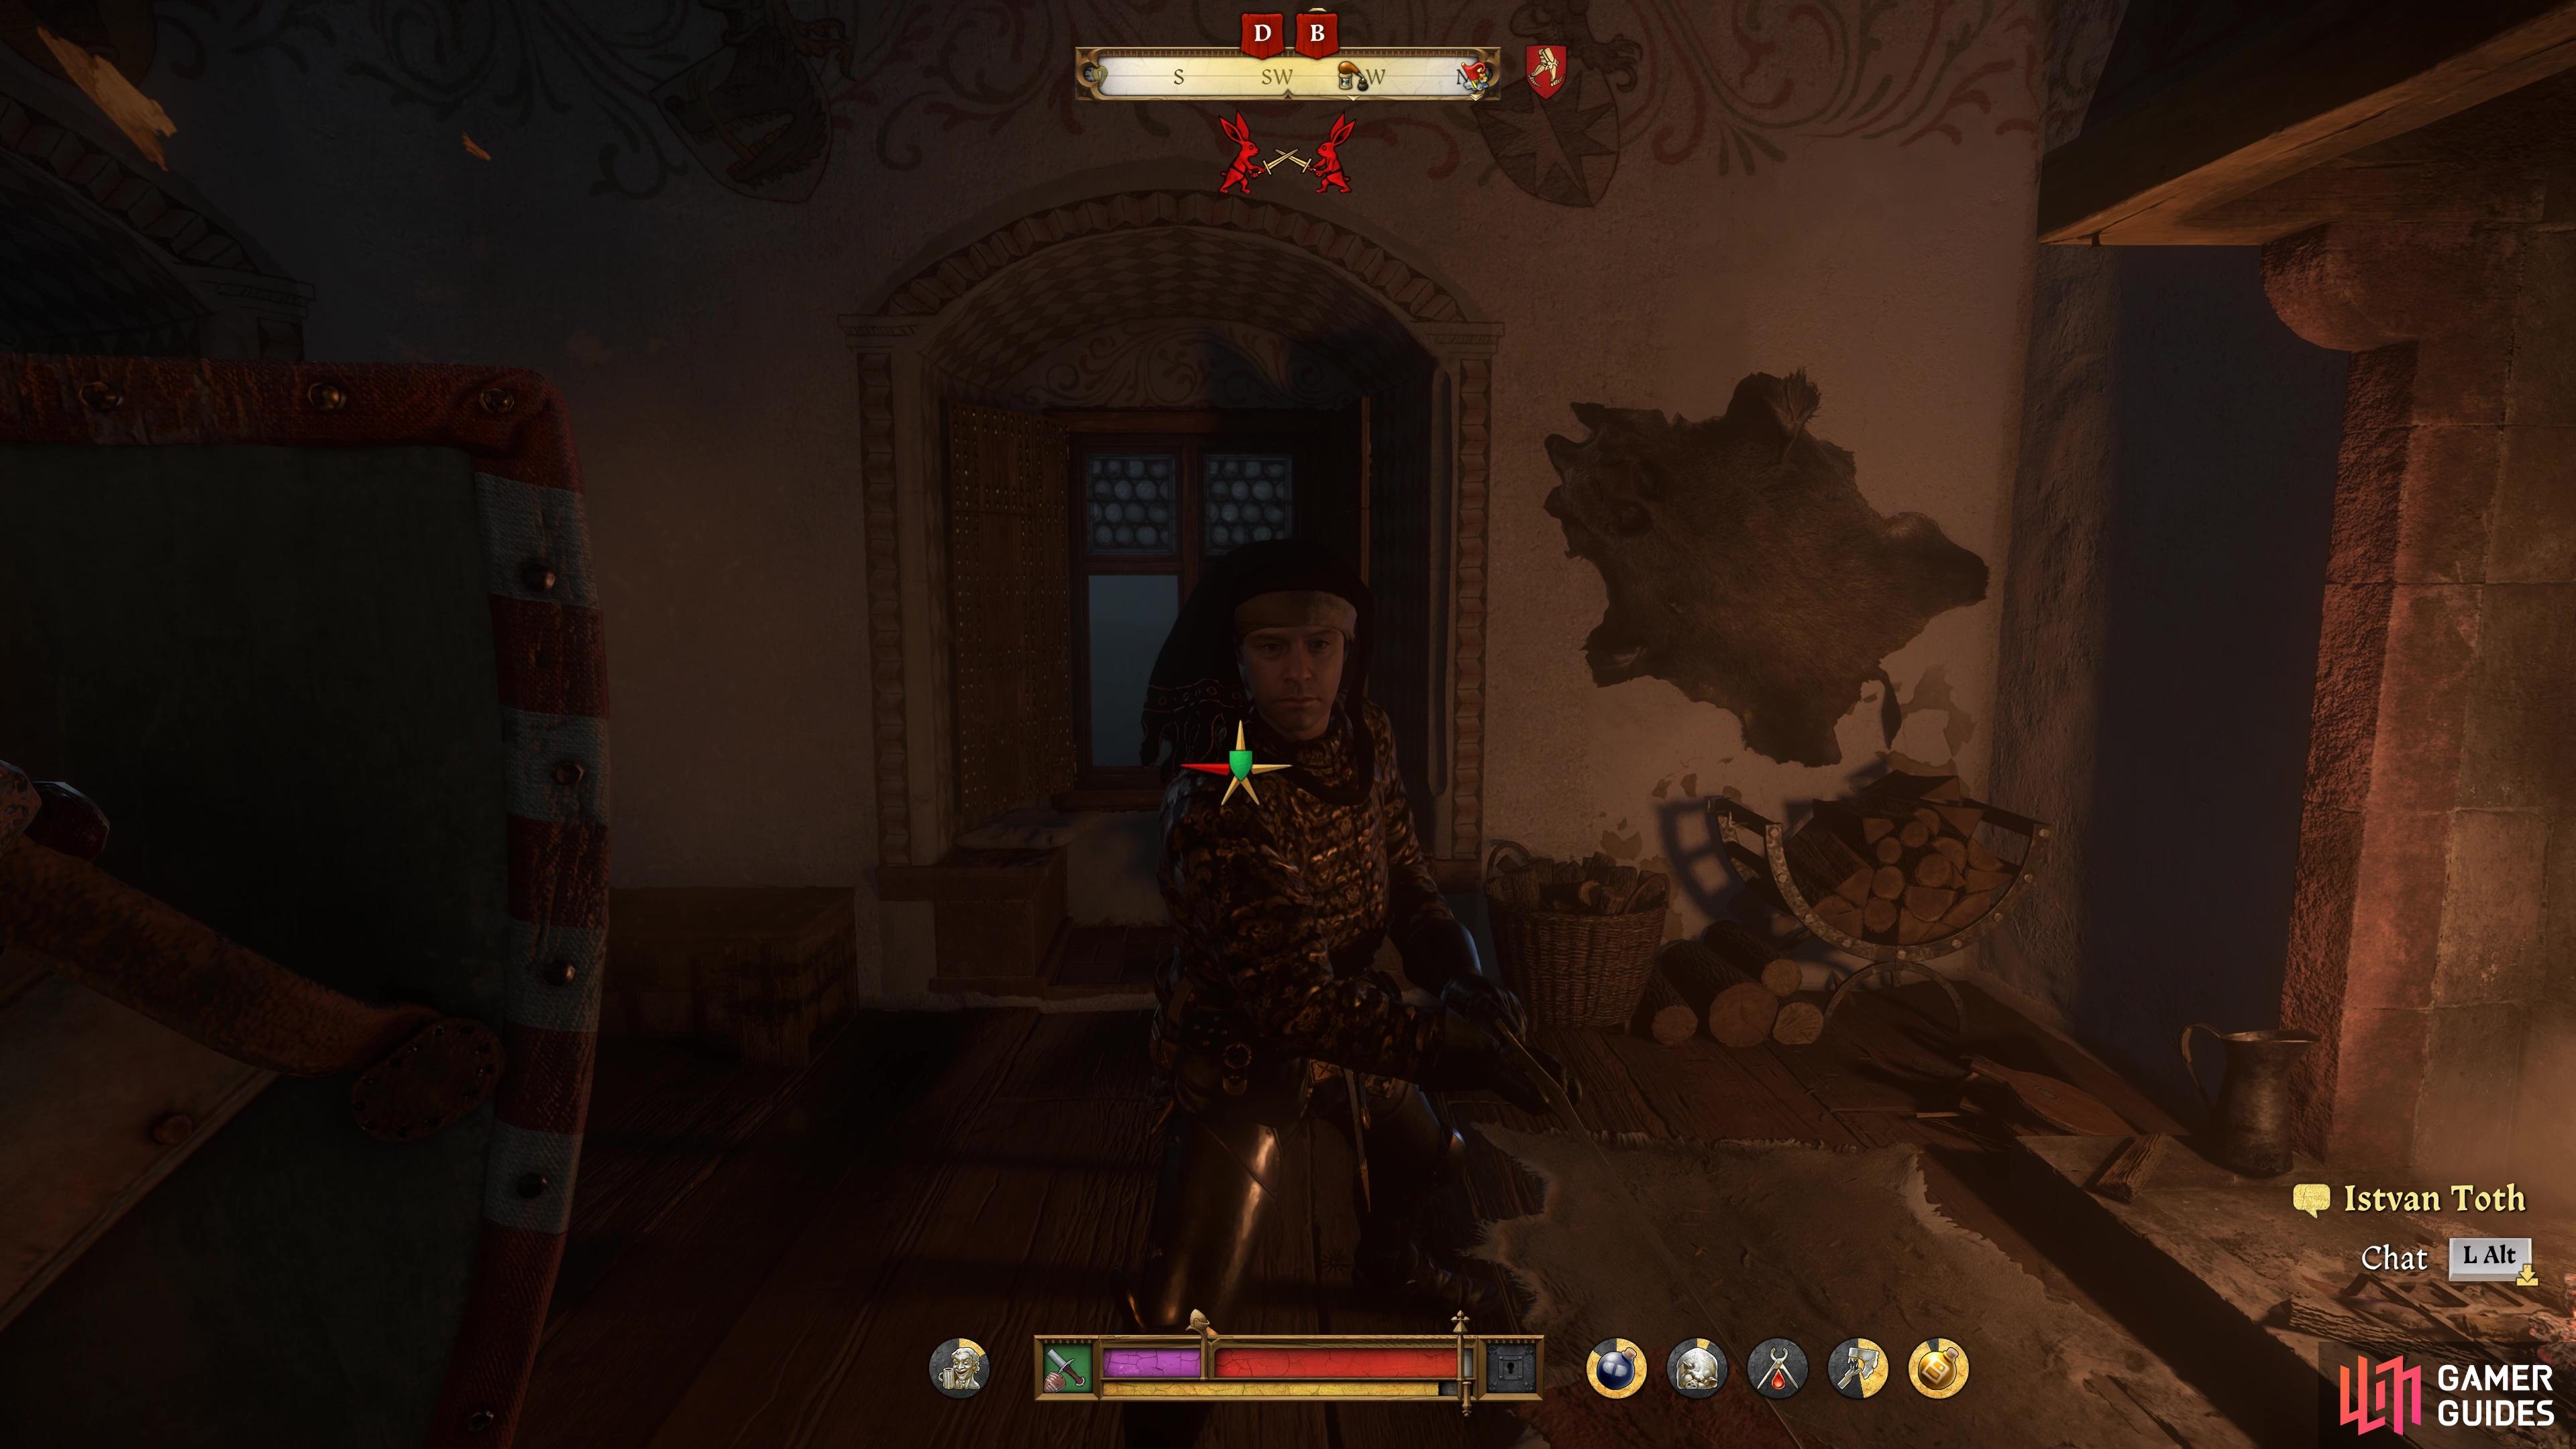
The quest opens with Henry and Ziska being tortured by Istvan Toth, and during this period, you’ll get multiple attempts to try and avoid giving out the information that he’s looking for. The various skill checks that you get during this interrogation are difficult to pass, all sitting around Medium difficulty at the lowest.
Ultimately though, there are two main outcomes of this situation and they both lead to the same outcome, that Istvan Toth will get the information he’s looking for. If you fail (or decide to talk) the skill checks, Henry will be the one to give out the information, but if you hold on long enough, Godwin will instead interject and inform them to save Henry from further pain.
Fortunately for Henry and the others, help arrives in the form of Katherine, who is finally revealed to be one of Ziska’s group, which happens to explain the strange events during the prologue. After a bit of back and forth, you’ll learn there is a secret passage out of Trosky Castle, but you’ll need to get the keys from a certain Istvan Toth first, a task that Henry gladly volunteers for.
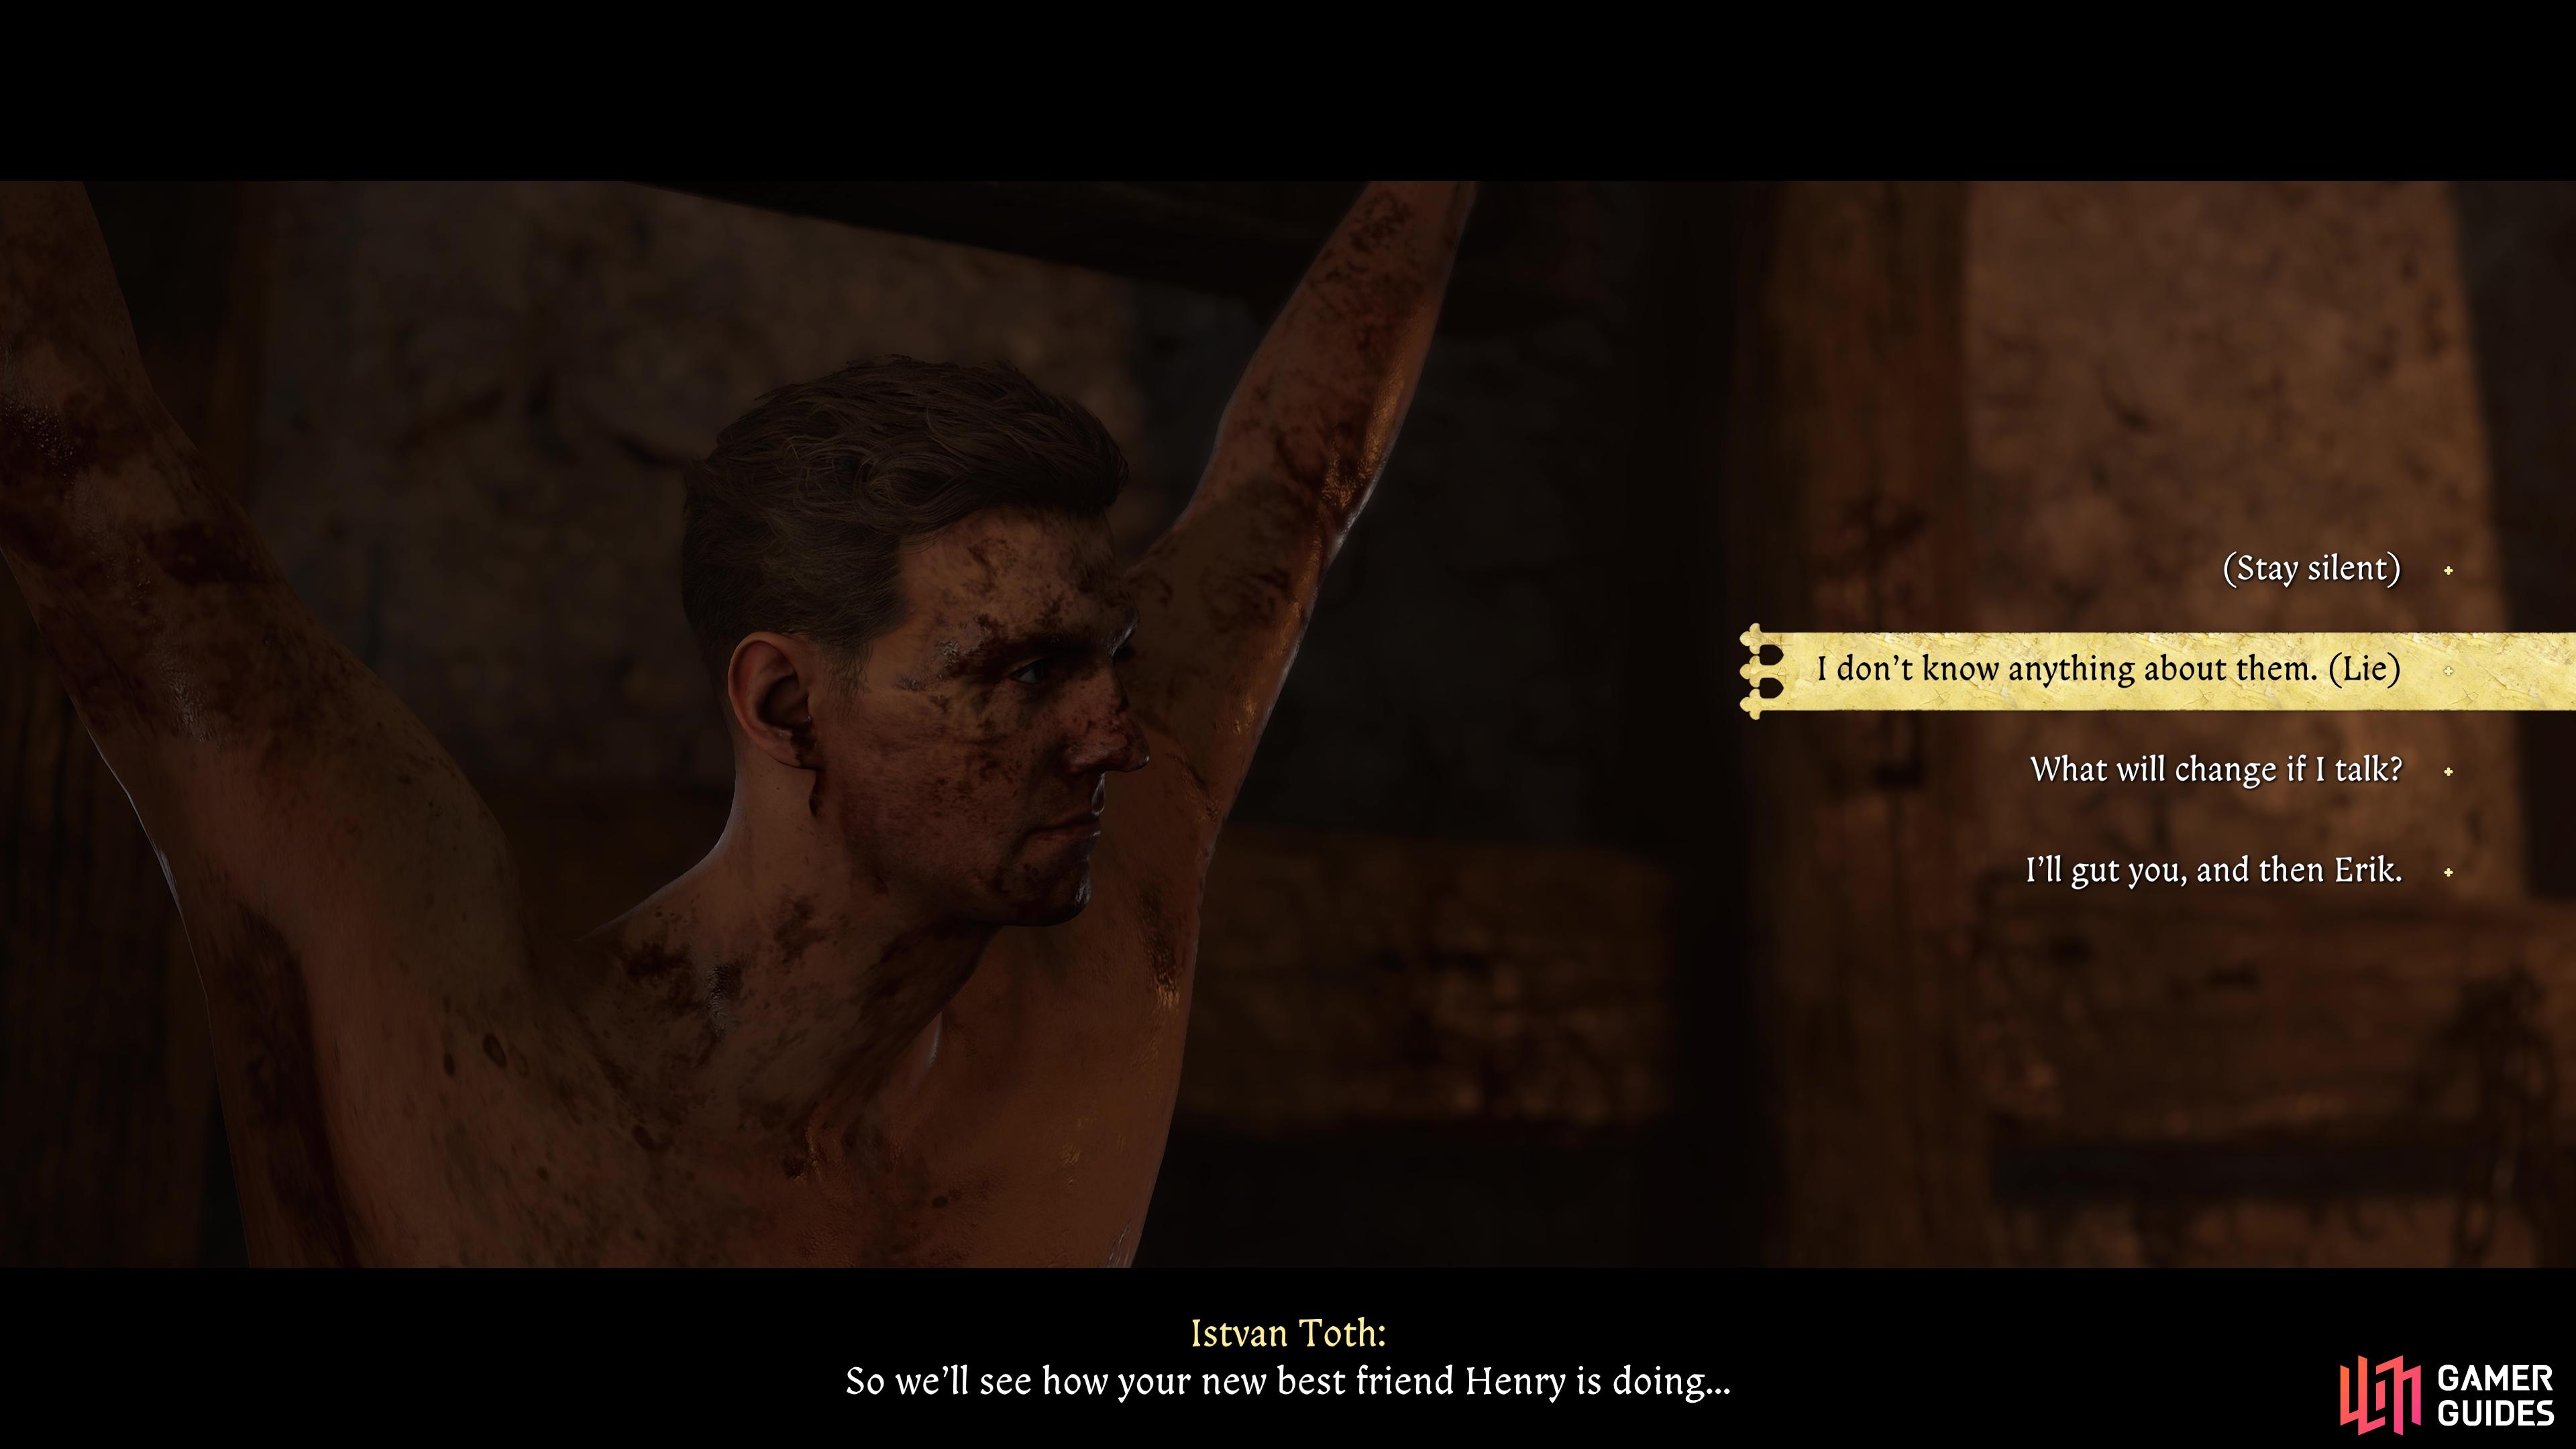


(1 of 2) You can lie during your interrogation with Istvan Toth.
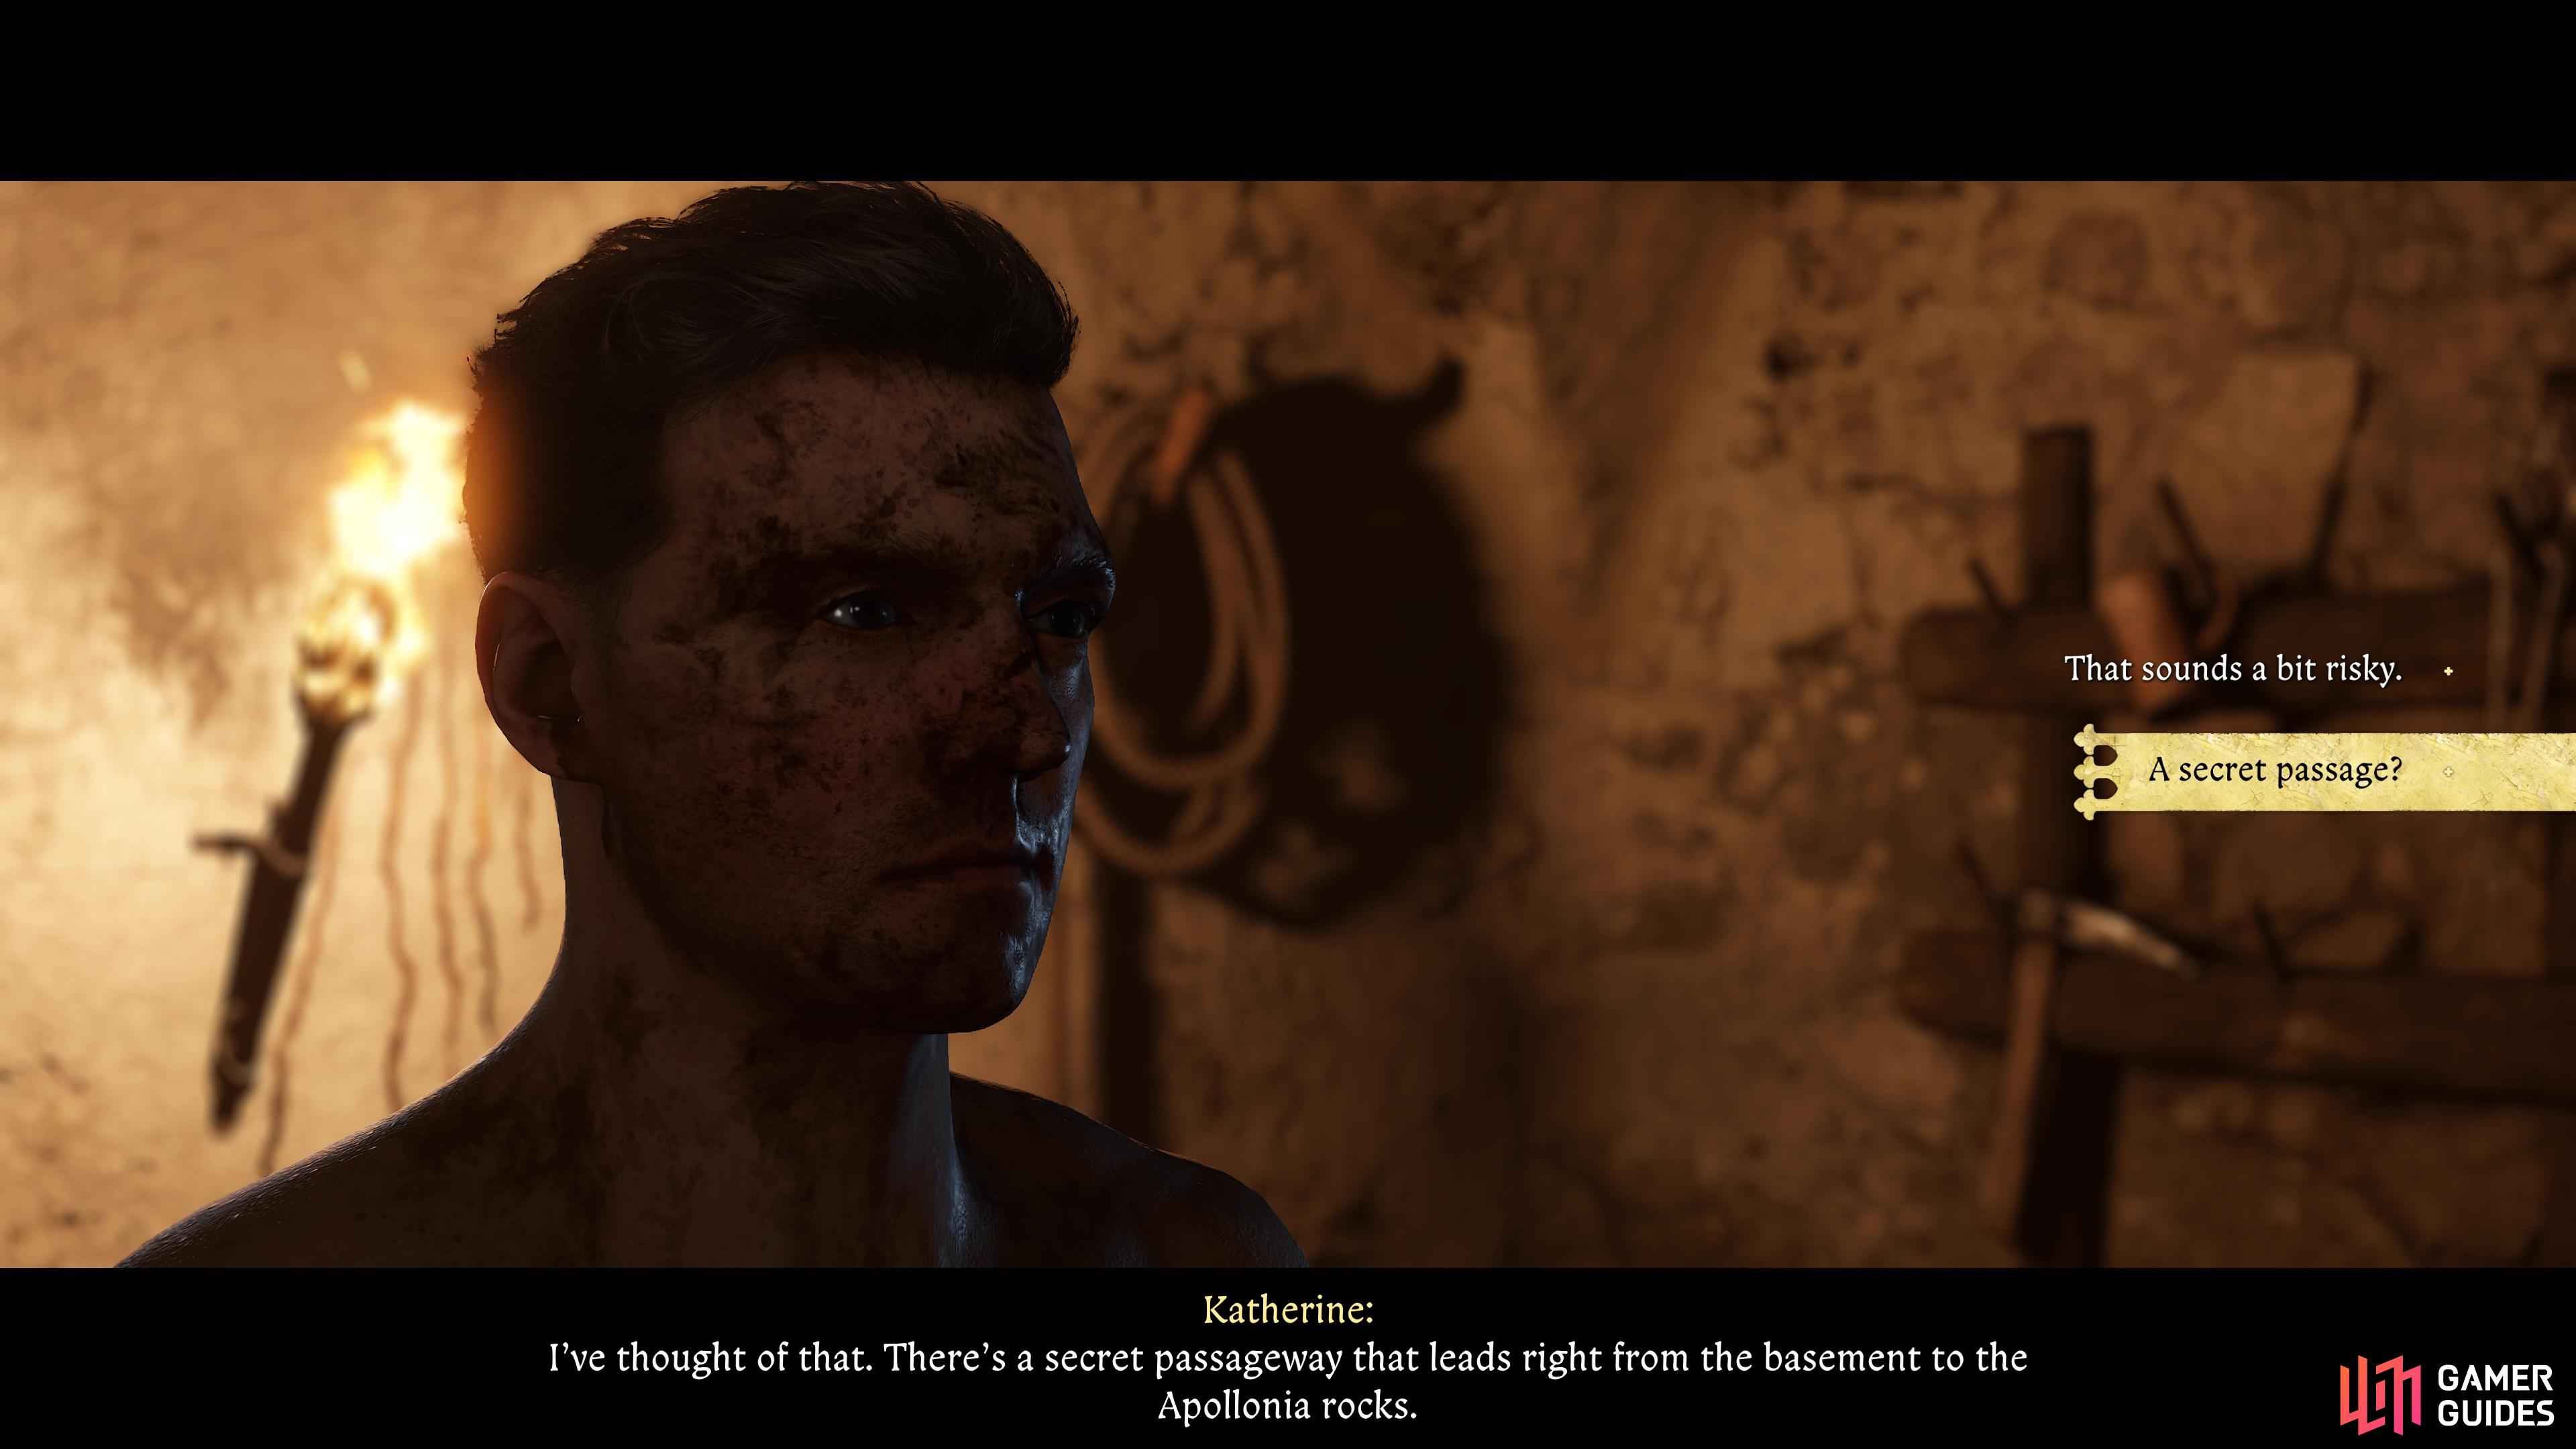
You can lie during your interrogation with Istvan Toth. (left), Katherine will then inform you of a secret passage to escape the castle. (right)
Get Back Your Confiscated Items and Find the Castle Keys
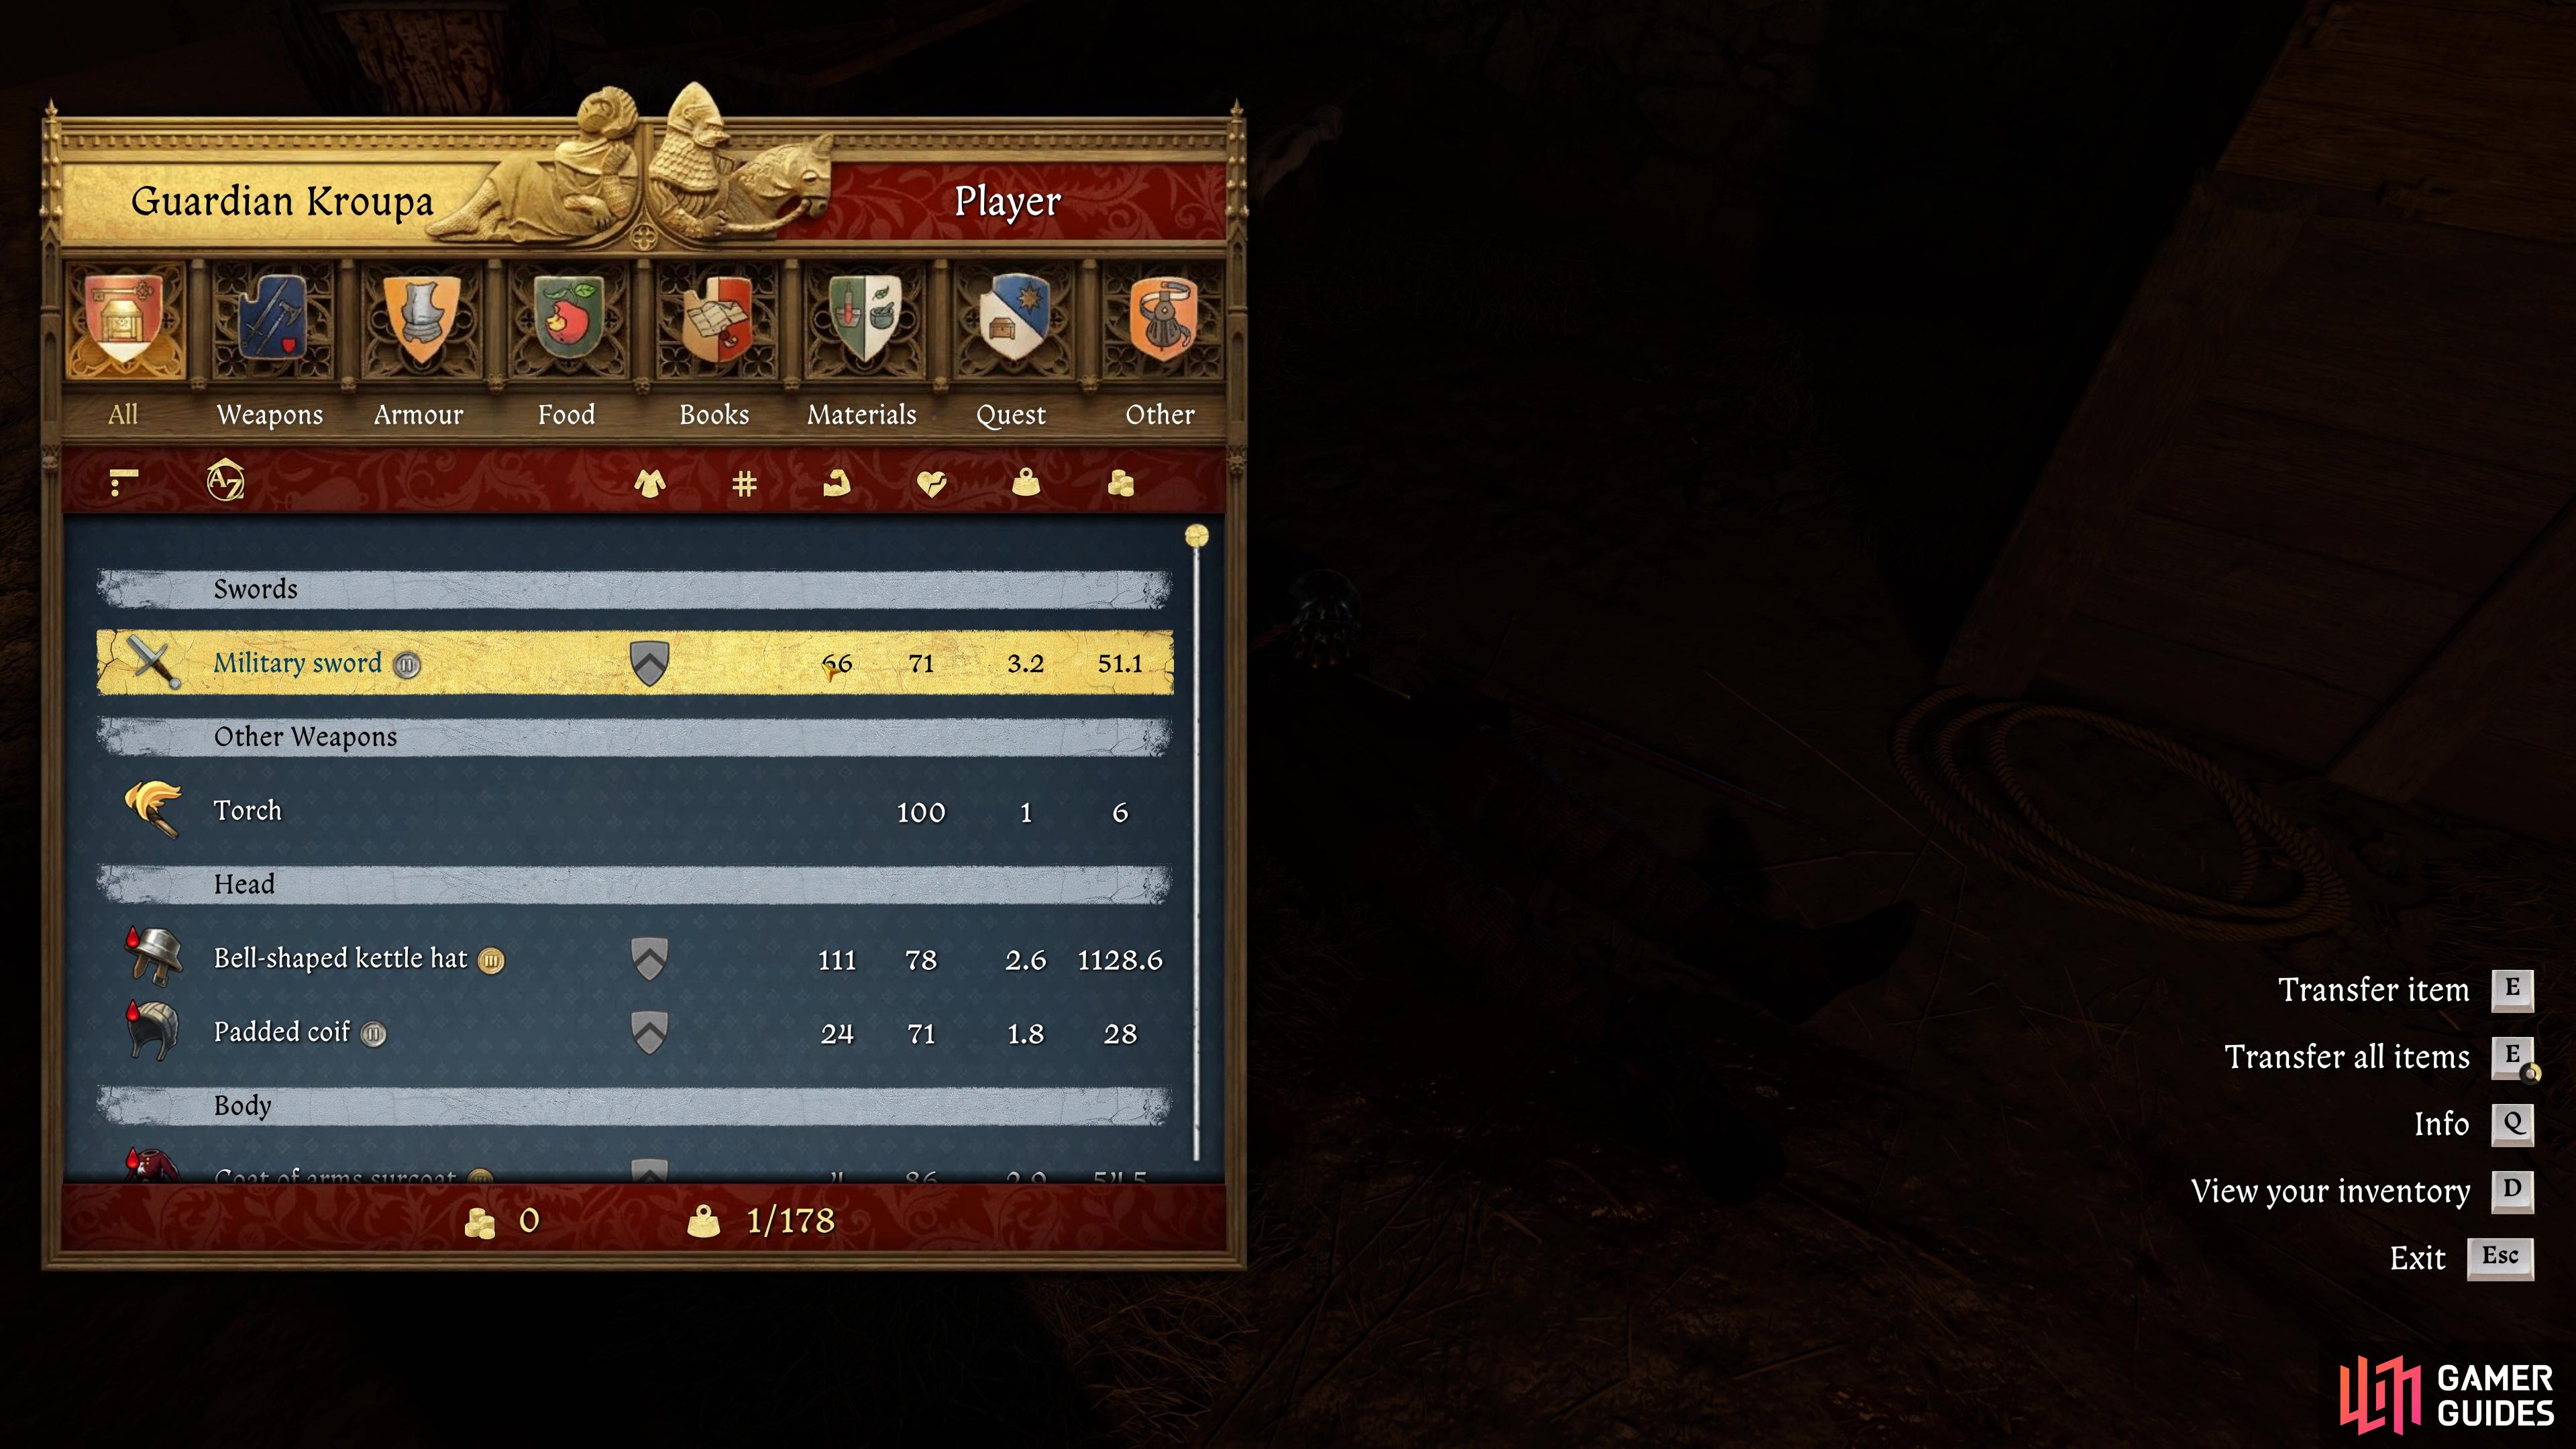
This next objective is a two-in-one, as you’ll find both your belongings and the keys in the same area, both of which involves taking out Istvan Toth. Fortunately, as to Katherine’s information, there’s only a skeleton crew at the castle right now, with the rest having gone with Von Bergow to Kuttenberg. Katherine will also hand over her dagger, so you’ll have a means to use stealth kills against the few soldiers still stationed around the castle.
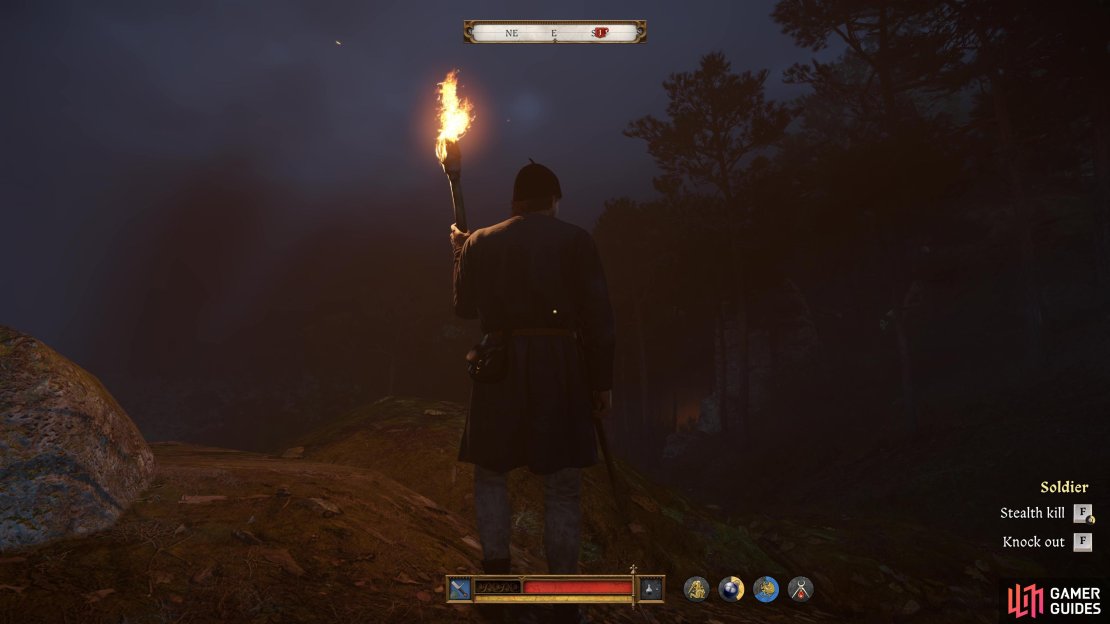
Before you leave the room, look at the soldier that Katherine killed while rescuing you and loot his equipment, it’ll make a bit more noise while you’re being stealthy, but it’ll make a battle later in this quest far easier. Leave the cells and take the stairs up in the kitchen, then, while in Stealth, make your way up the next set of stairs where you’ll find a soldier just beyond you. Quietly approach him from behind and use a Stealth Kill on him, then loot any equipment that may aid you.


(1 of 4) Loot the soldier’s body in the torture room to get some gear, you’ll need it.
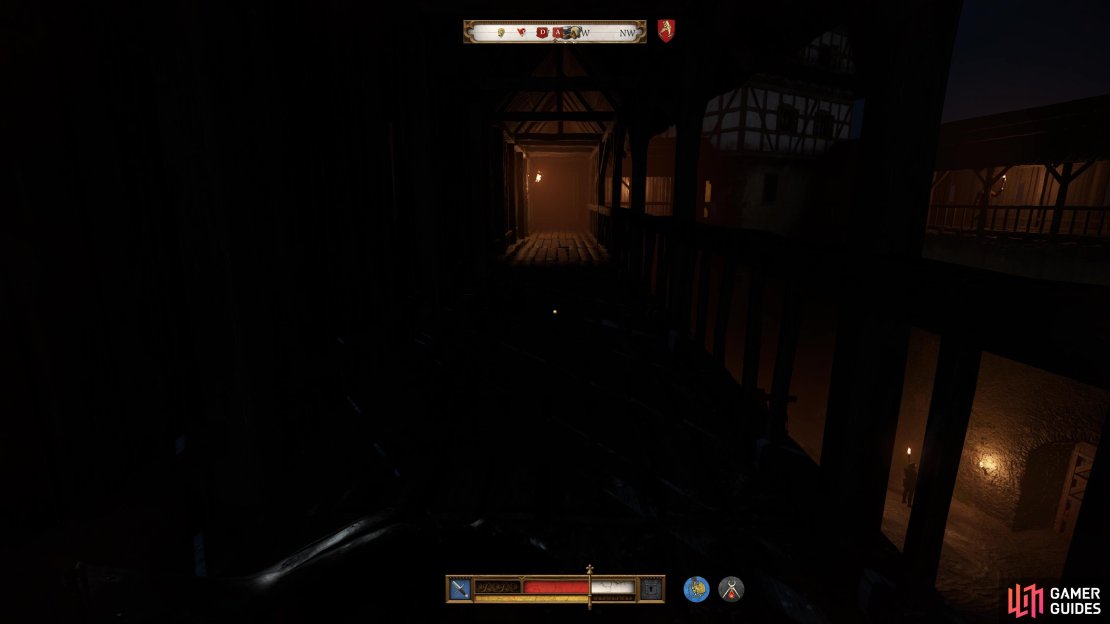
Head out the western door near the soldier and take some more stairs up (you’re on the ground floor at the moment) and then go out the western door here to reach the balcony overlooking the courtyard. Keep to Stealth to limit the noise you make and cross over to the other tower and you’ll trigger a scene between Istvan Toth and Erik. Once control resumes, continue quietly across the walkway and into the other tower.
Once inside, exit this first room to find more stairs leading up, carefully take them and you’ll find two soldiers sitting on the bench, wait for one of them to leave and then stealth kill the other, leaving his body in a safe place. You can now ignore the other soldier and take the stairs up two more flights to reach the Scribe’s chamber. You’ll need to examine various points of interest in this room in search for of the documents, so feel free to pocket any useful goodies you come across, such as a Fever tonicum in one of the chests. Once you look around the bookshelf though, Henry will declare that there’s no orders to be found here, so you’ll have to look elsewhere.
Leave the Scribe’s chambers and continue up the next few sets of stairs and you’ll reach the area where the Alchemy Bench is located (in the door to the right), this is a good opportunity to make some potions for the trials ahead, especially Saviour Schnapps so you can save your game at will. You may also want to consider making some health potions to restore your health, you’ll be able to find a lot of the ingredients in the chest in the same room (there may be a chance that this is locked if you’ve not interacted with it before, at which case it make be tough to unlock if you’ve not found a Lockpick in the castle).
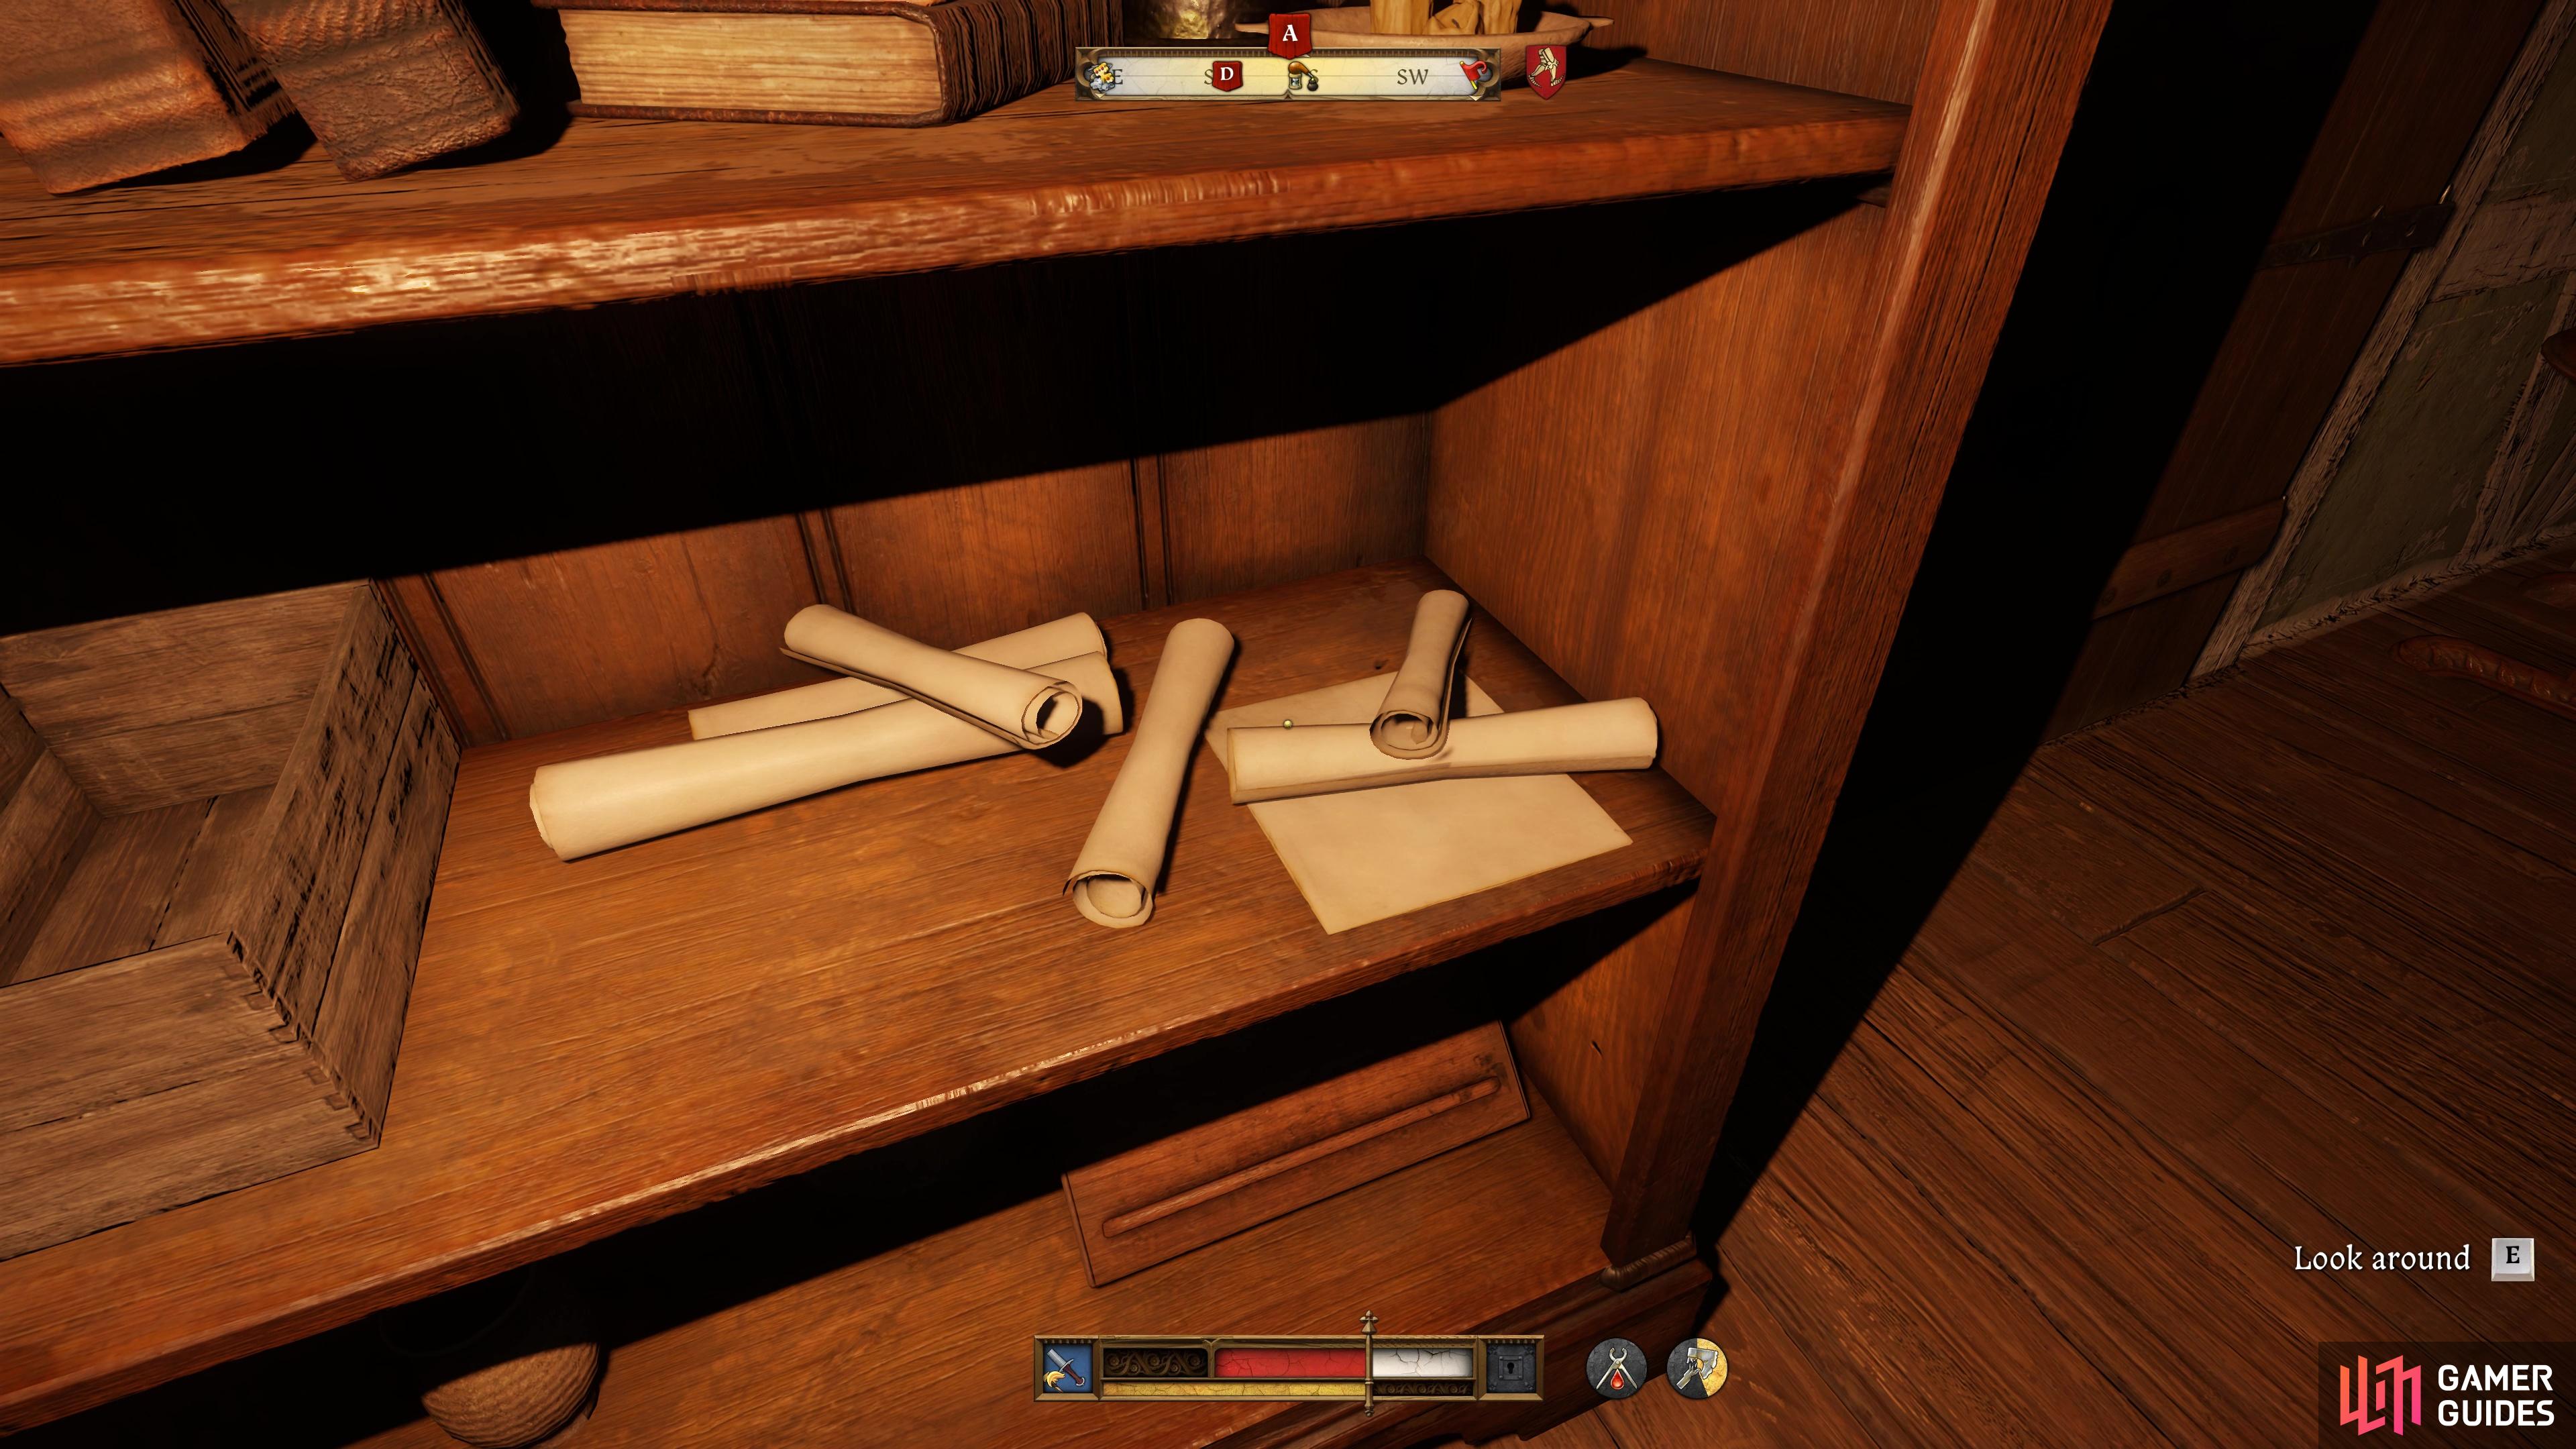
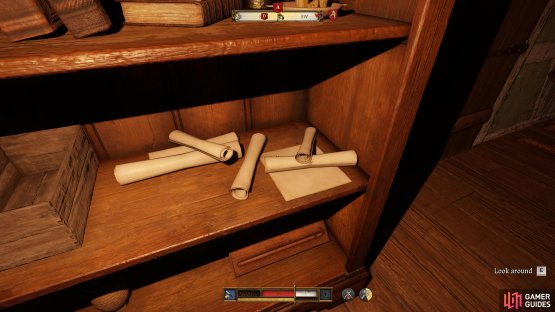

(1 of 2) Search this bookshelf in the Scribe’s chambers.
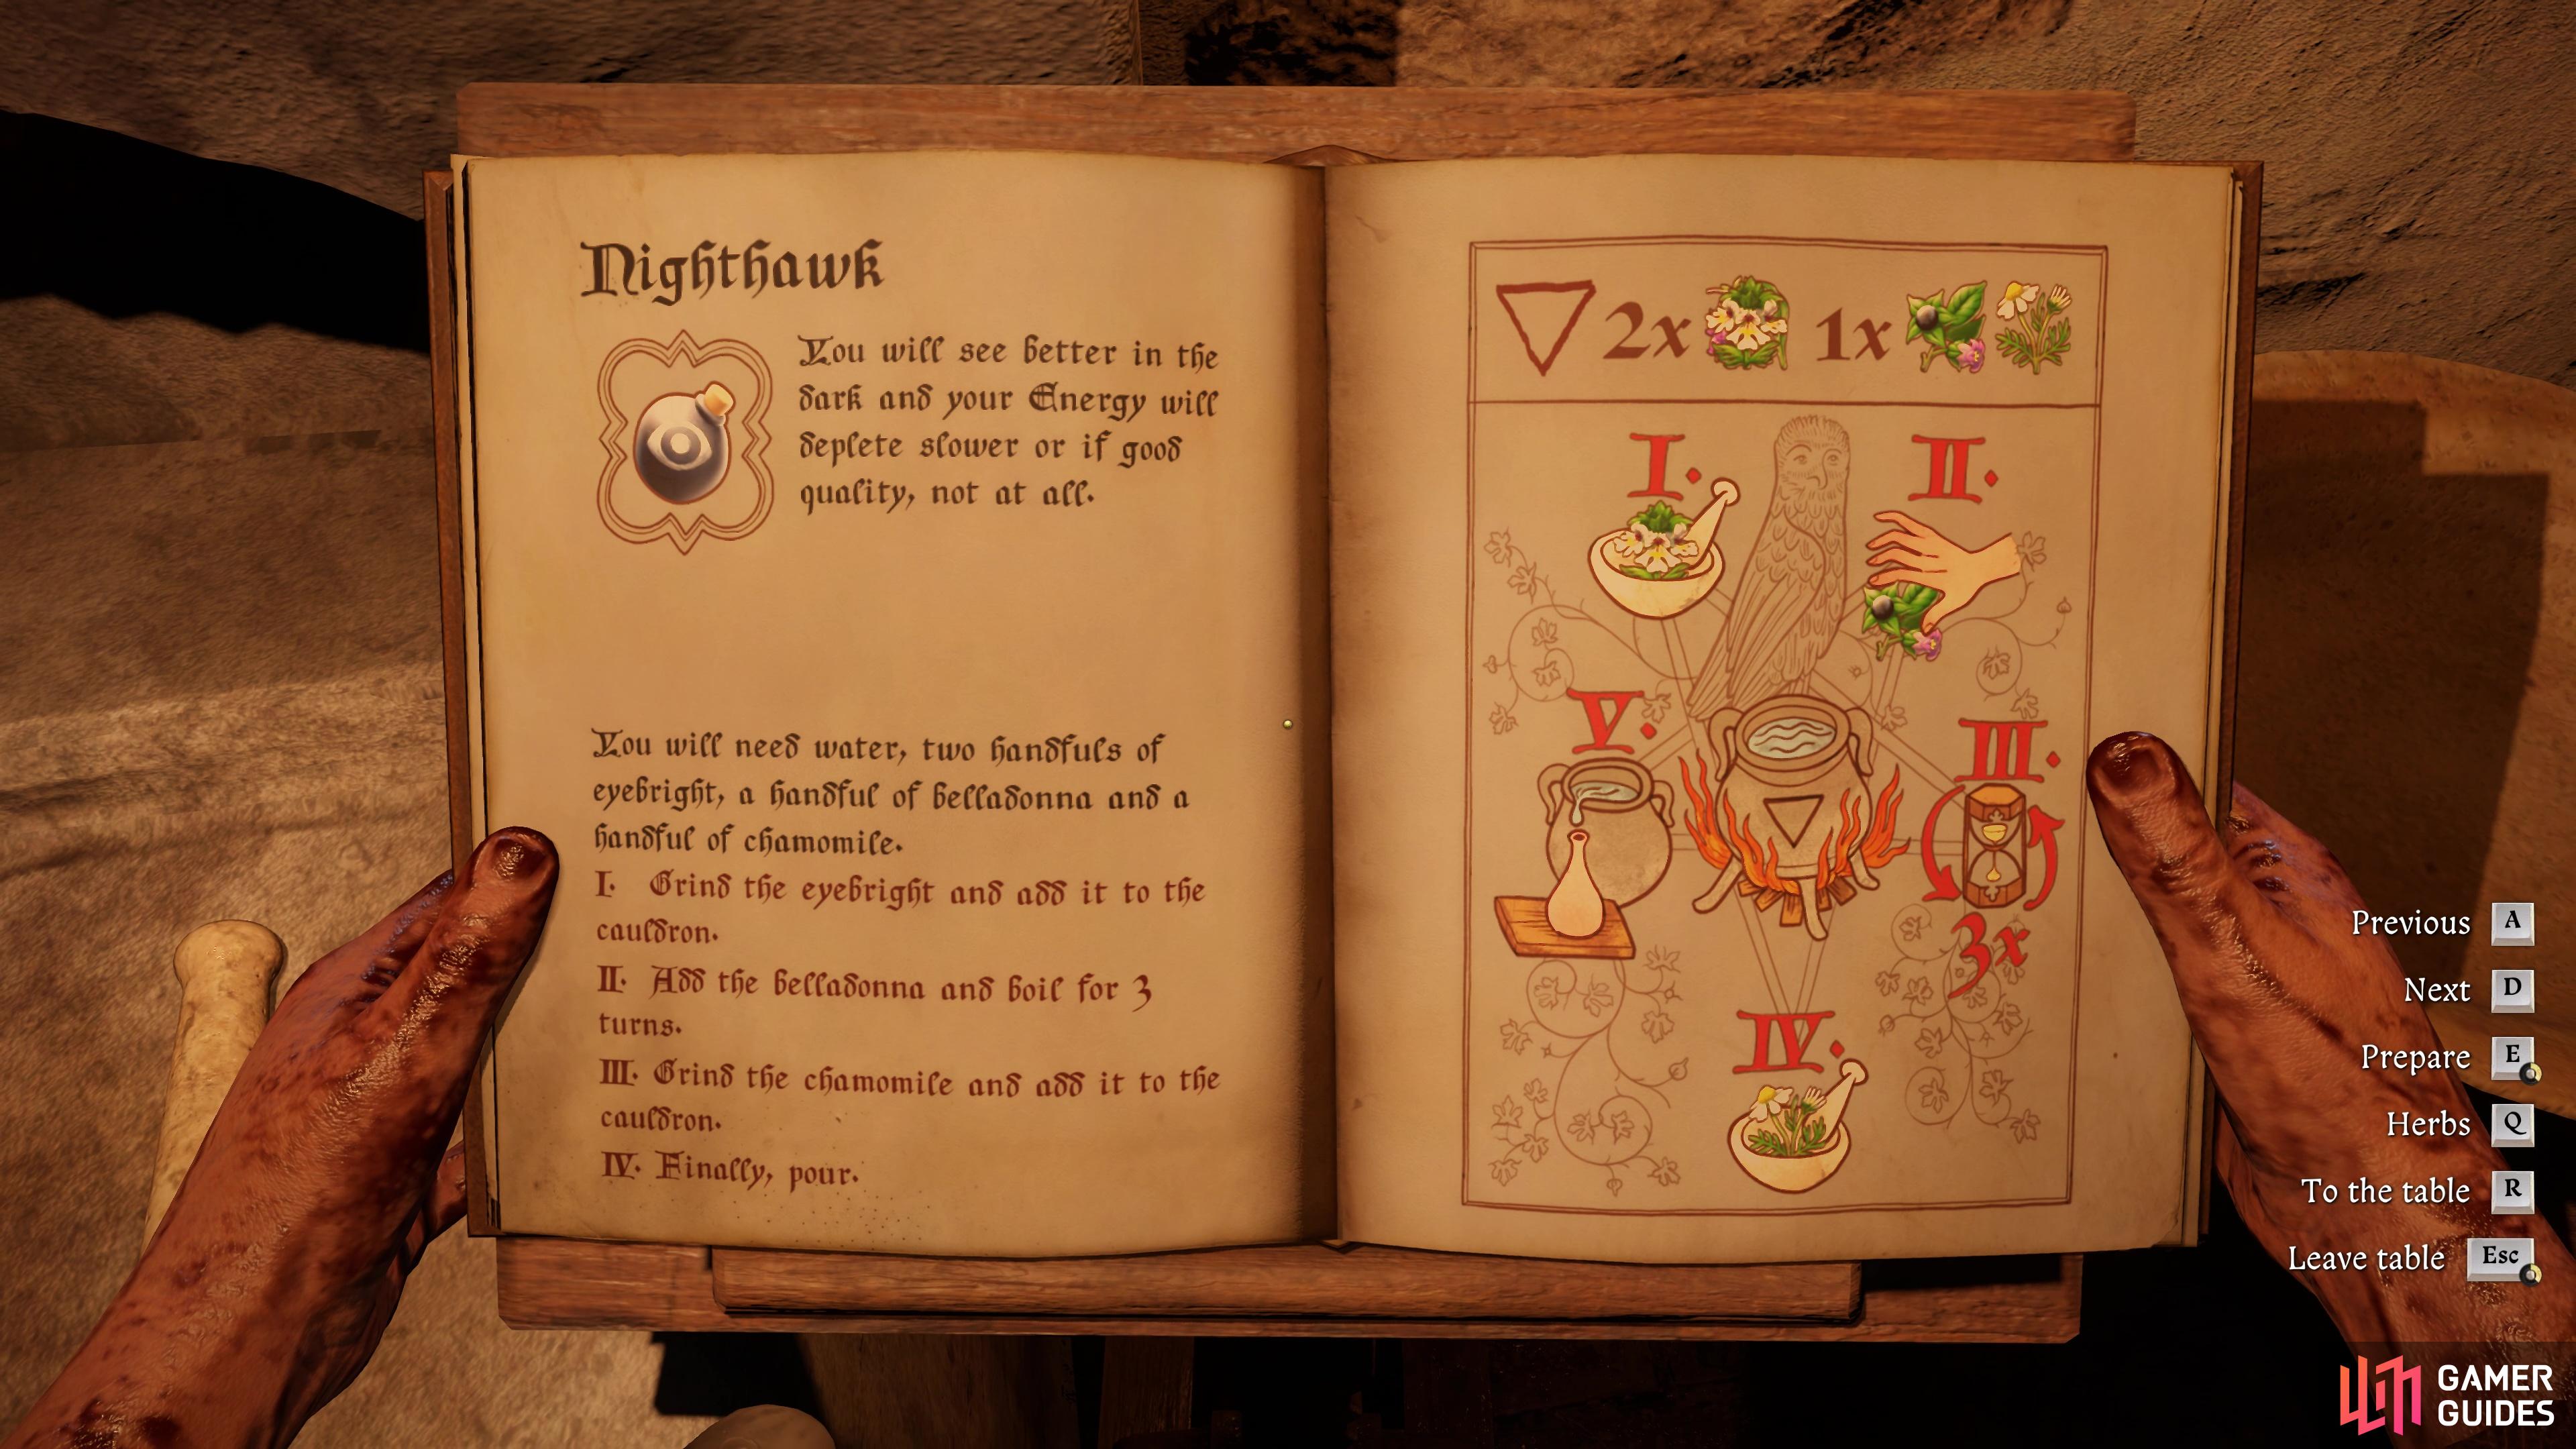
Search this bookshelf in the Scribe’s chambers. (left), And consider brewing some potions before continuing. Nighthawk will be useful very soon. (right)
Once you’re done with your brewing, leave the room, make a save, and then continue your ascent, at the top of the stairs you’ll trigger a meeting with Istvan Toth!
Kill Istvan Toth
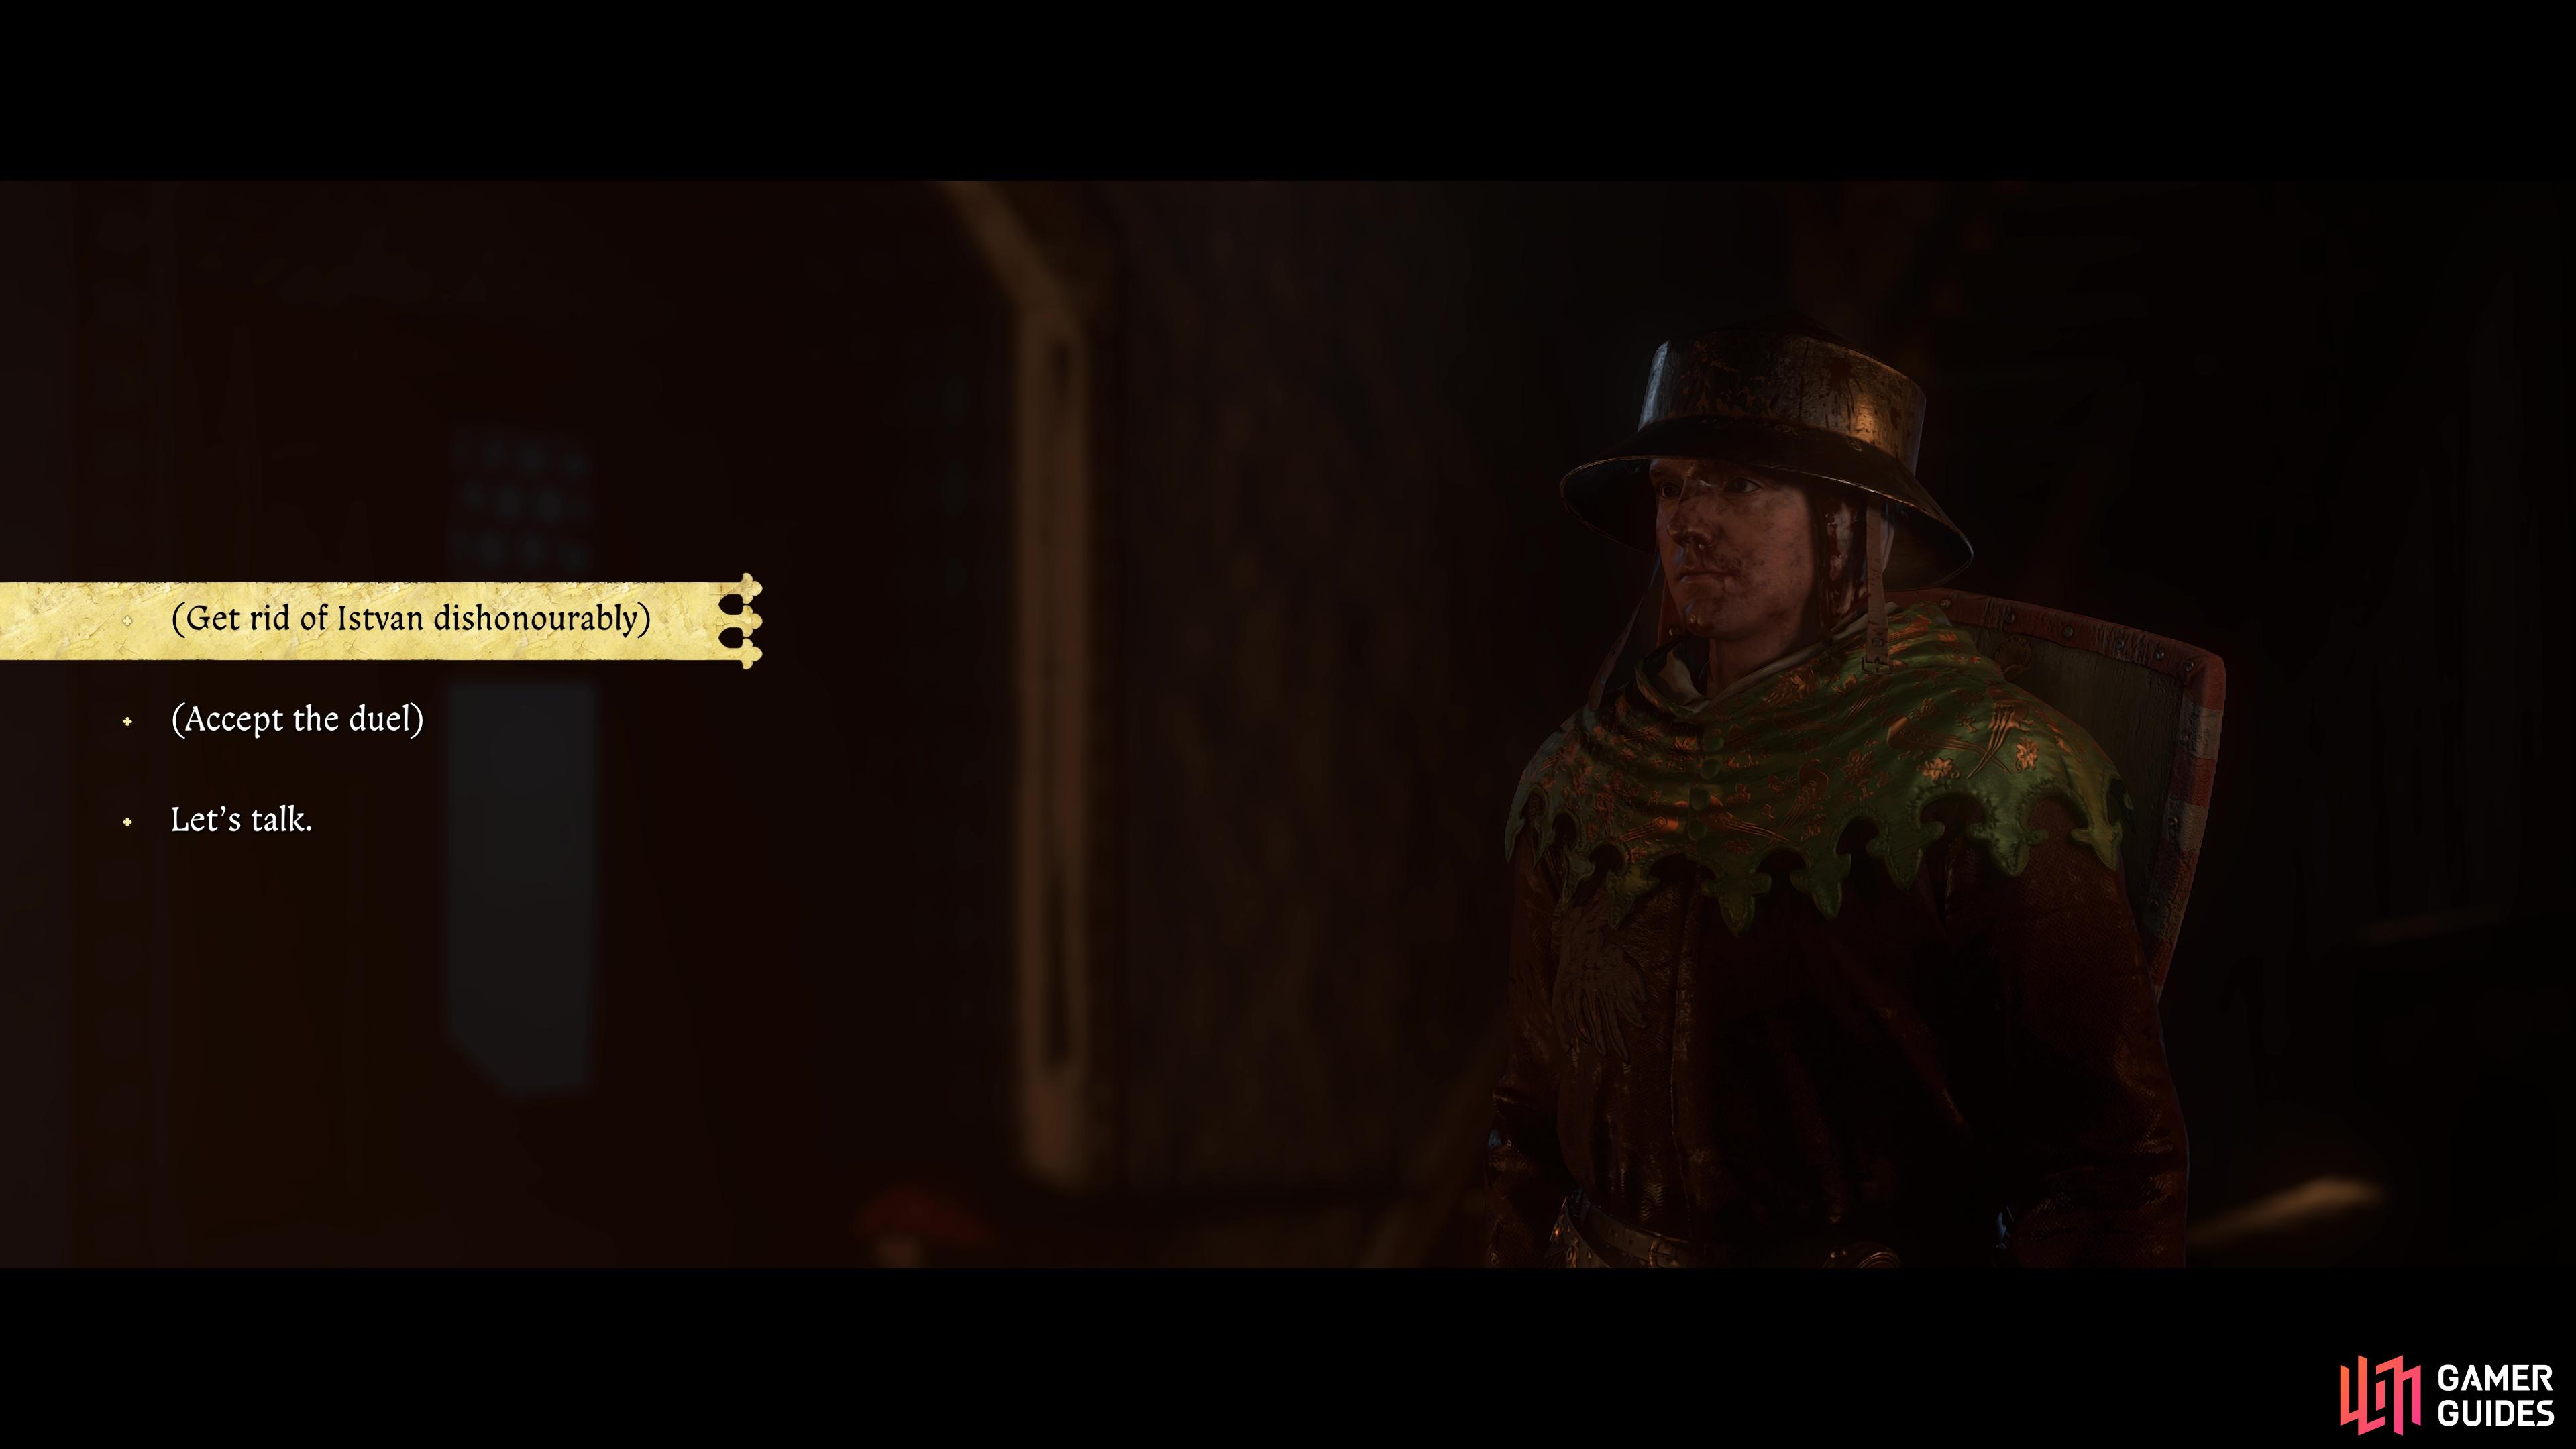
During an intense conversation with Istvan Toth, the man who took the blade belonging to Henry’s father, you’ll get an important choice to make. “Get rid of Istvan dishonorably” or Accept the duel. There is no right or wrong answer here, it’s up to you to judge how your version of Henry would handle this situation, and you may want to take stock of your current health and equipment. If you’ve taken the time to loot armor from the enemies and used potions to restore your health, the accept the duel, otherwise you can take the other option.
If you agree to the duel, you won’t have to fear too much, as Istvan surprisingly isn’t an overly tough battle. So long as you focus on letting him strike you first and you parry and counter, it’ll only take a few quick strikes to trigger the scene that signals his demise, along with you finally reclaiming Radzig Kobyla’s longsword, a very strong weapon that you should consider equipping straight away!


(1 of 2) If you challenge him to a duel, focus on parrying his blows, he’s not too difficult to defeat.
If you challenge him to a duel, focus on parrying his blows, he’s not too difficult to defeat. (left), Consider how you want to deal with Toth. (right)
Search for the Orders and Escape
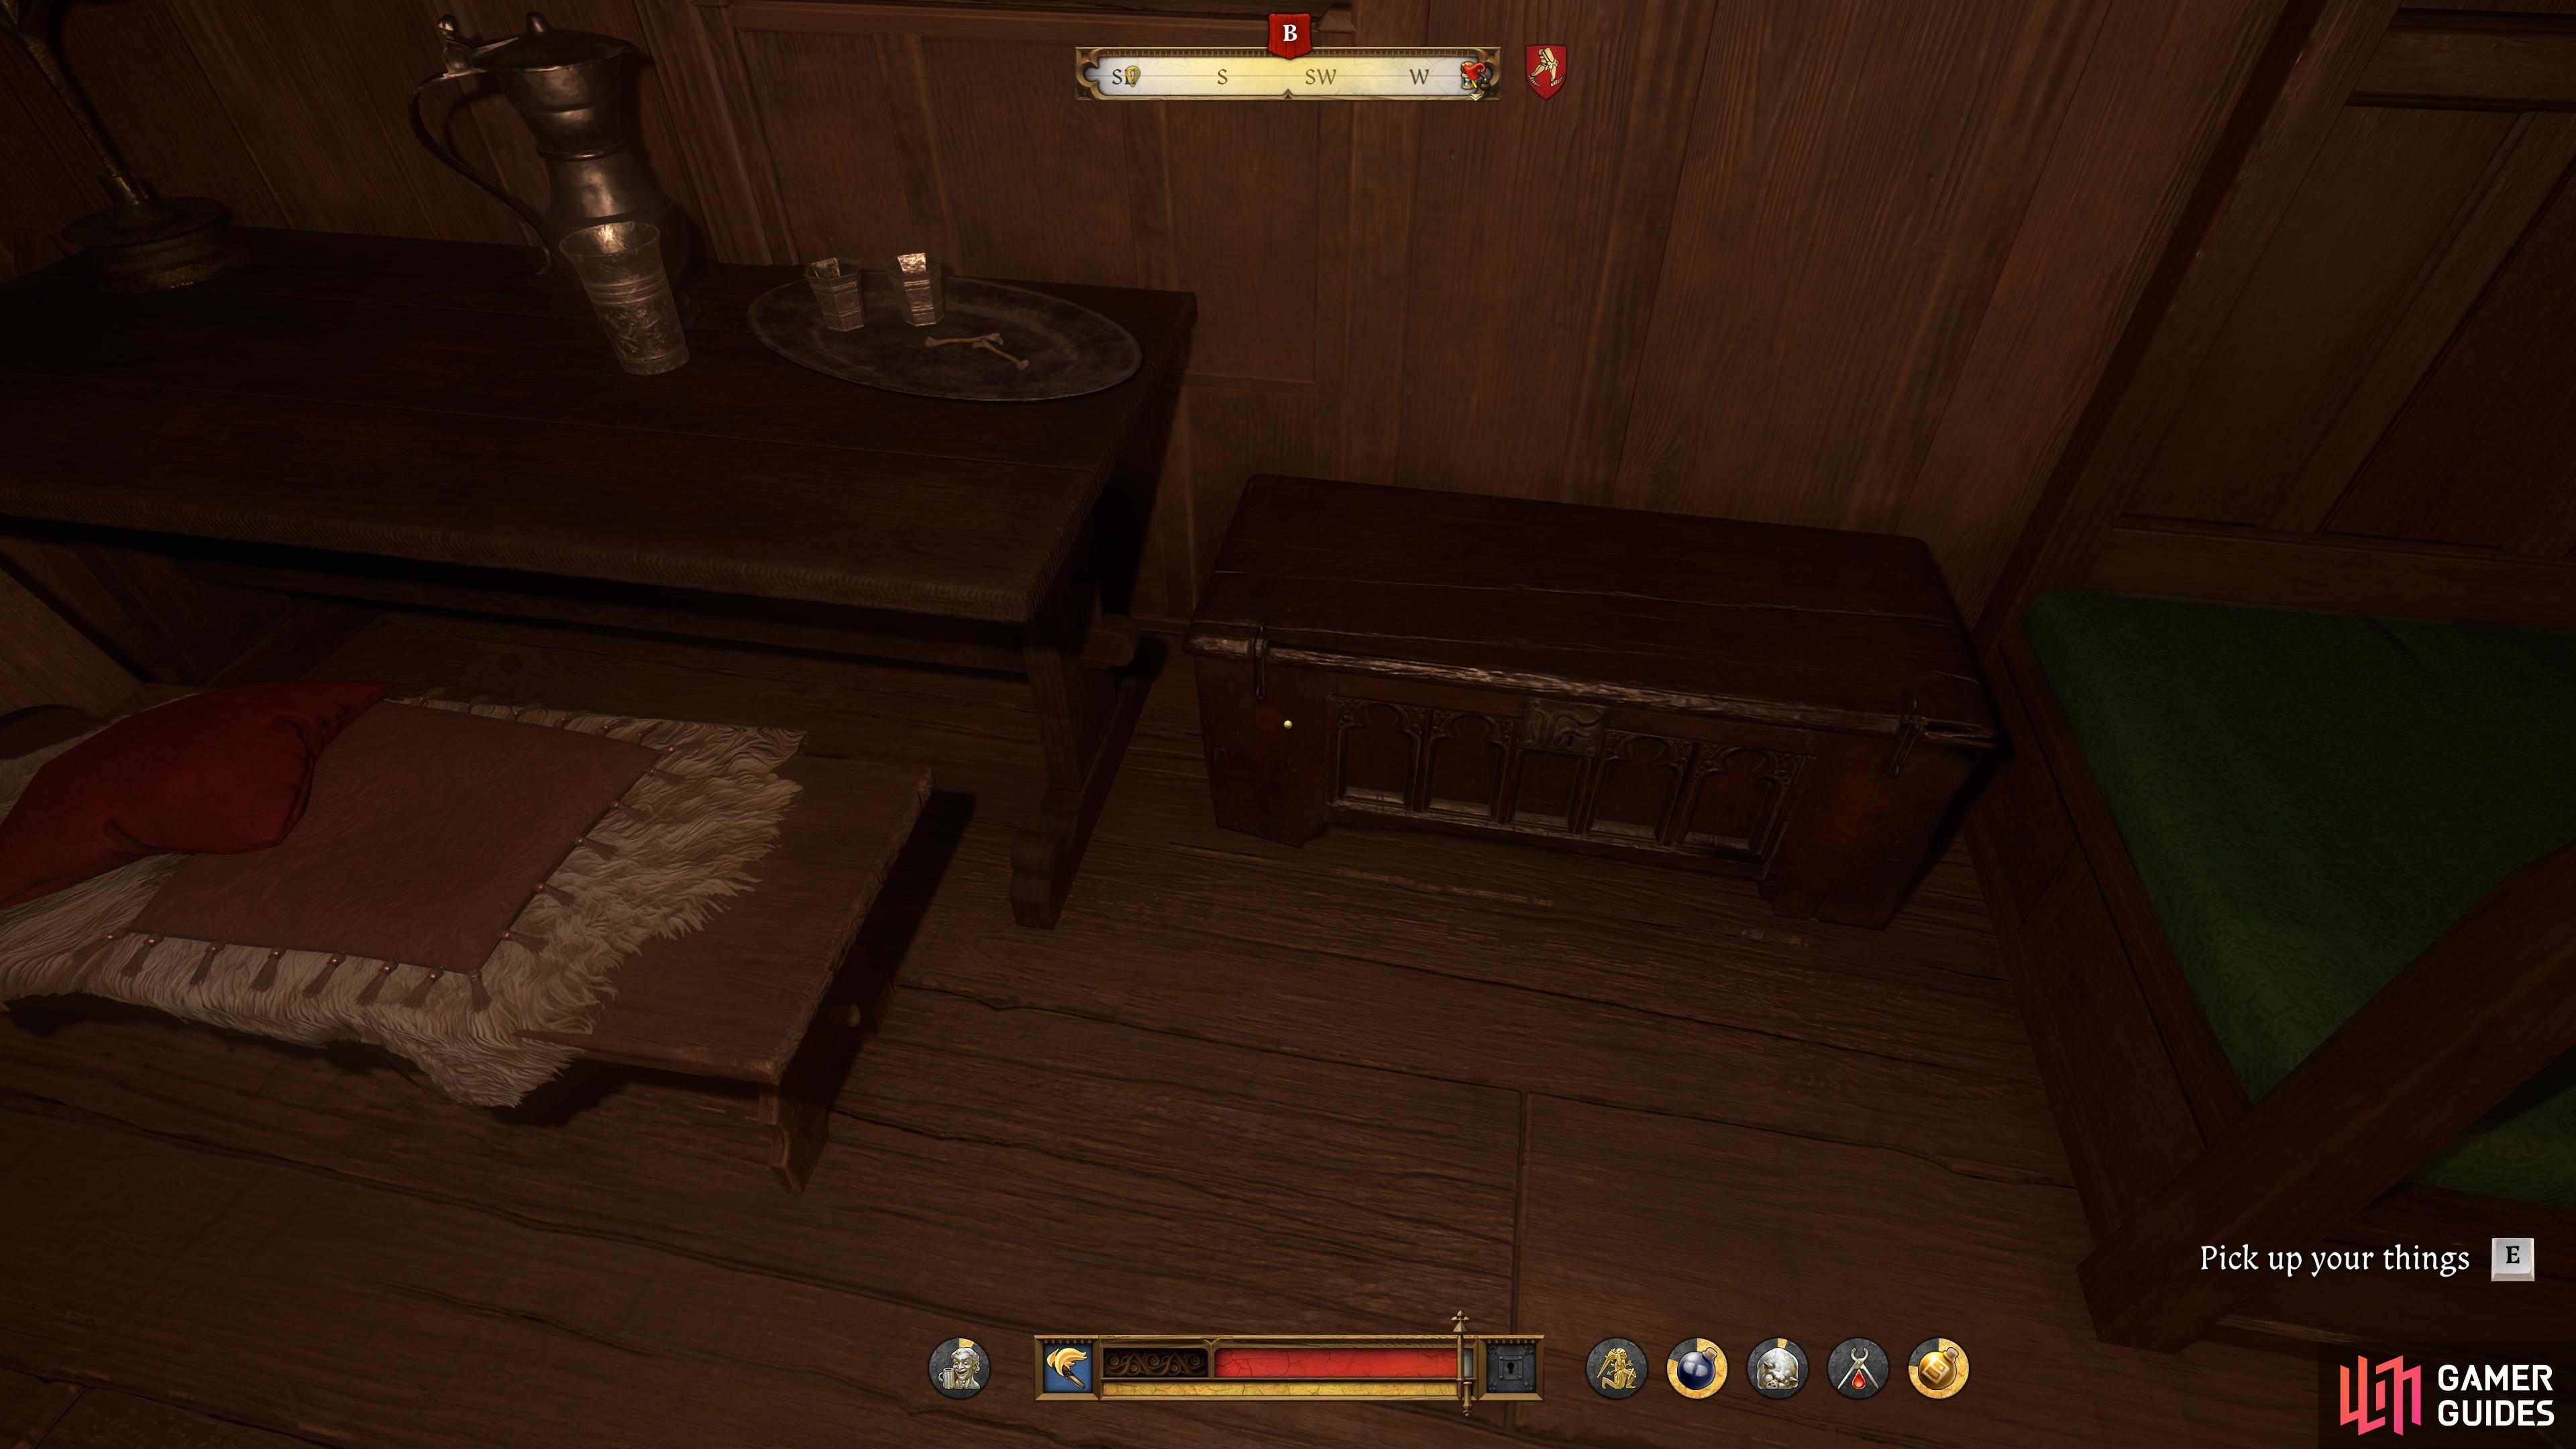
With Istvan out of the picture, go up the stairs, and through the door on the other side to reach Istvan’s chambers. You’ll find a chest with your confiscated things (along with both Ziska and Godwin’s gear), so be sure to equip yourself again (all of your gear sets will be reset unfortunately) and you’ll also notice that you looted the Trosky Castle master keys in the process too.
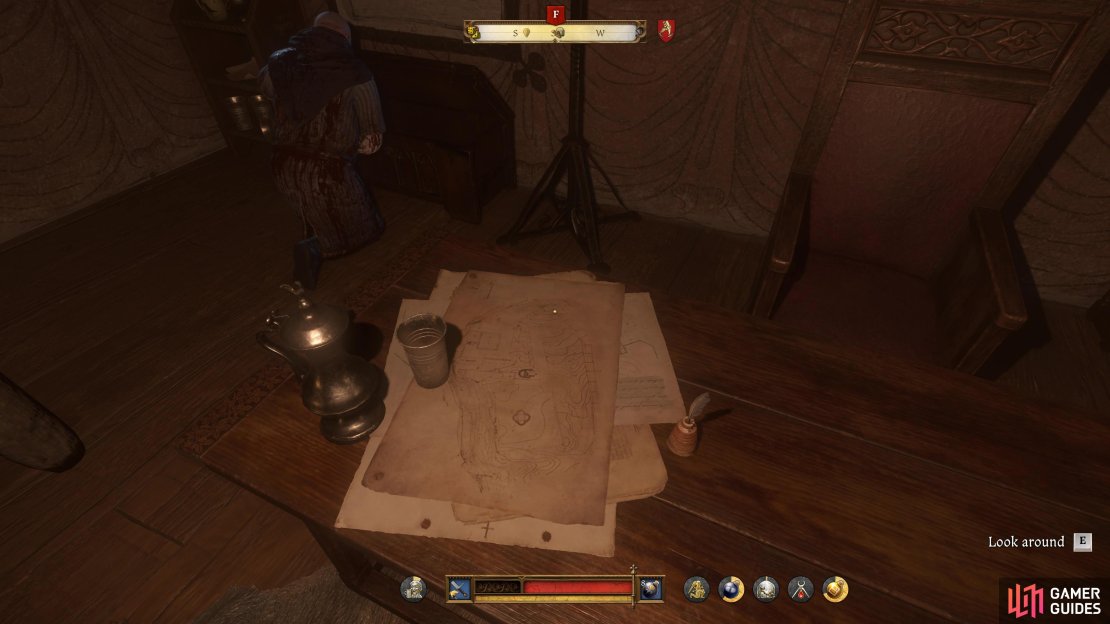
All that remains before you make your escape now is to find the orders that should be around here somewhere. There is another large chest you can rummage through in this room, but unfortunately, the orders are nowhere to be seen. This leads Henry to determine that they must be in von Bergow’s chambers back in the Maiden tower. Make your way back downstairs and to the walkways that overlook the courtyard, taking them back to the original tower you started at.
Once you enter the Maiden once more, ignore the initial stairs leading down and head through the rooms in front of you to find another set of stairs leading up. Take them and unlock and open the first door in front of you to enter von Bergow’s chambers. At this point, Godwin will enter the room and assist you in looking for the orders, if you don’t find them first, Godwin will find them in a chest near von Bergow’s desk.

(1 of 3) Head upstairs to Toth’s chambers to find your gear and the keys.
Speak to Godwin after and he’ll agree with you that it’s time to get out of the castle. Take the stairs down to the bottom of the tower and continue following him to reach the passageway that Katherine mentioned, where you’ll meet up with her and Ziska. Katherine will reveal that there’s an old poacher’s camp nearby where the passageway ends (in Apollonia) and that a contact of hers is waiting for them. Follow the caves for a while and you’ll trigger a scene once you reach Apollonia.
Meet Mika in the Abandoned Camp
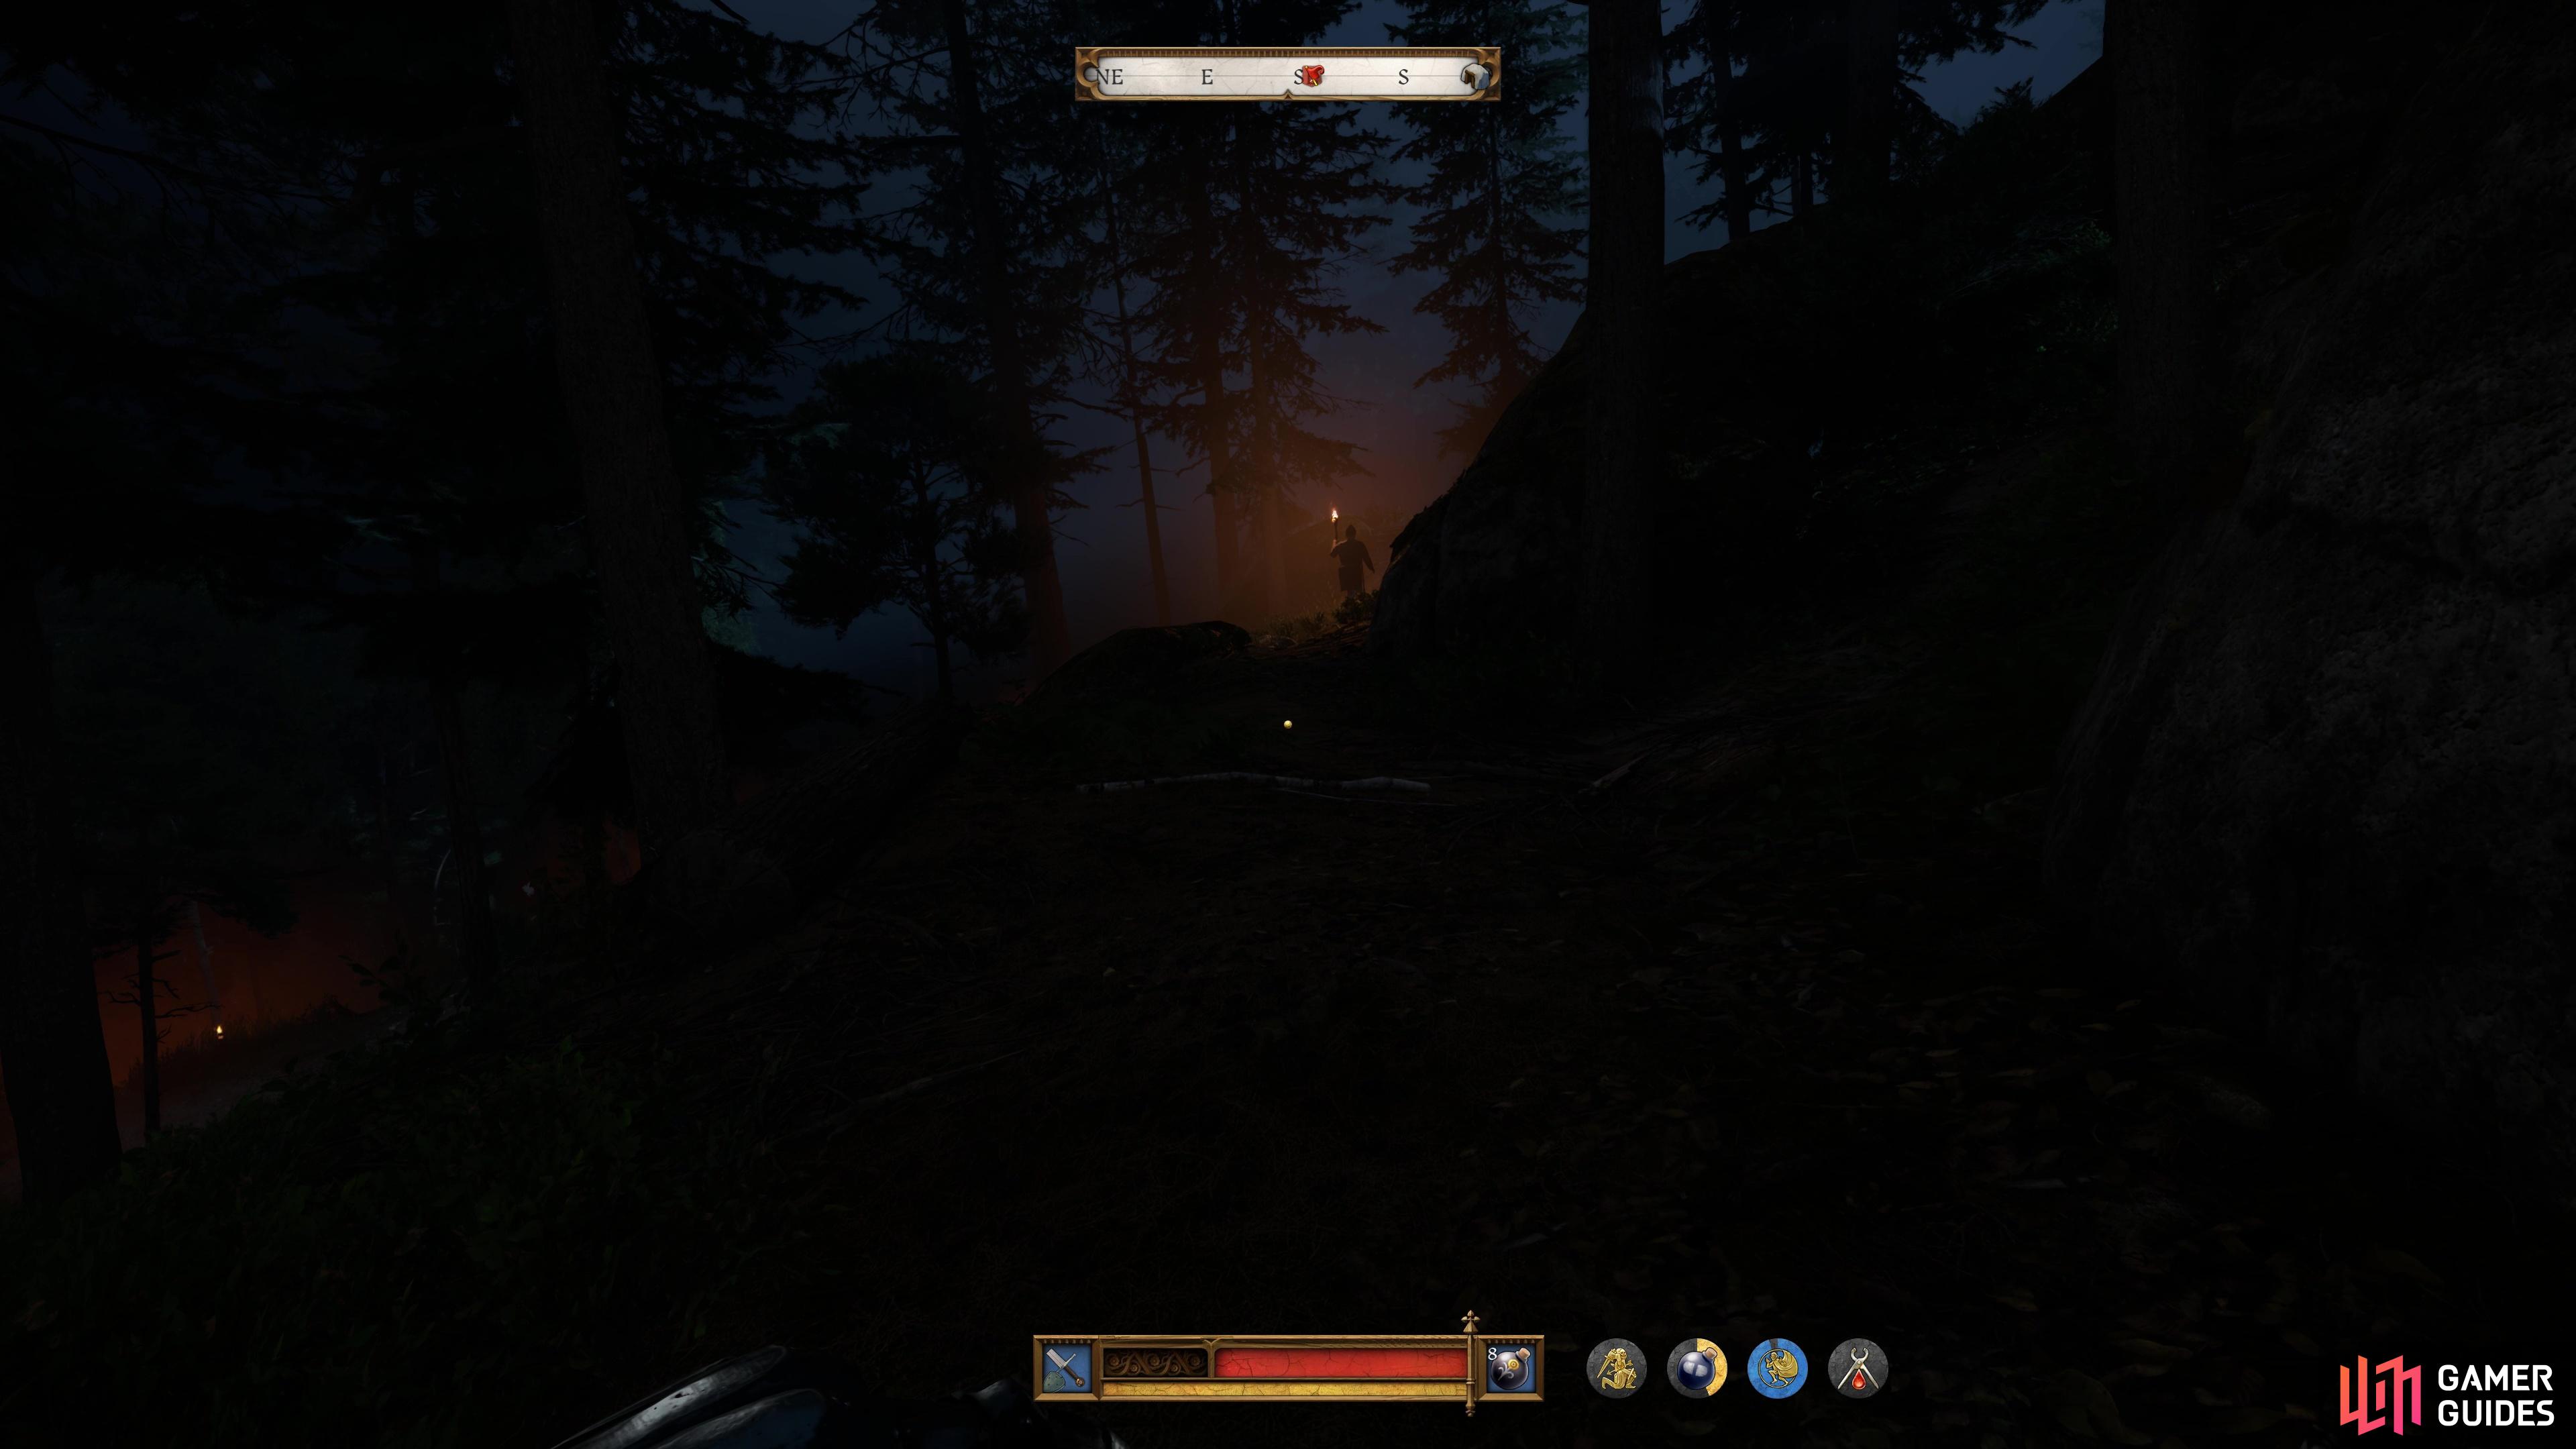
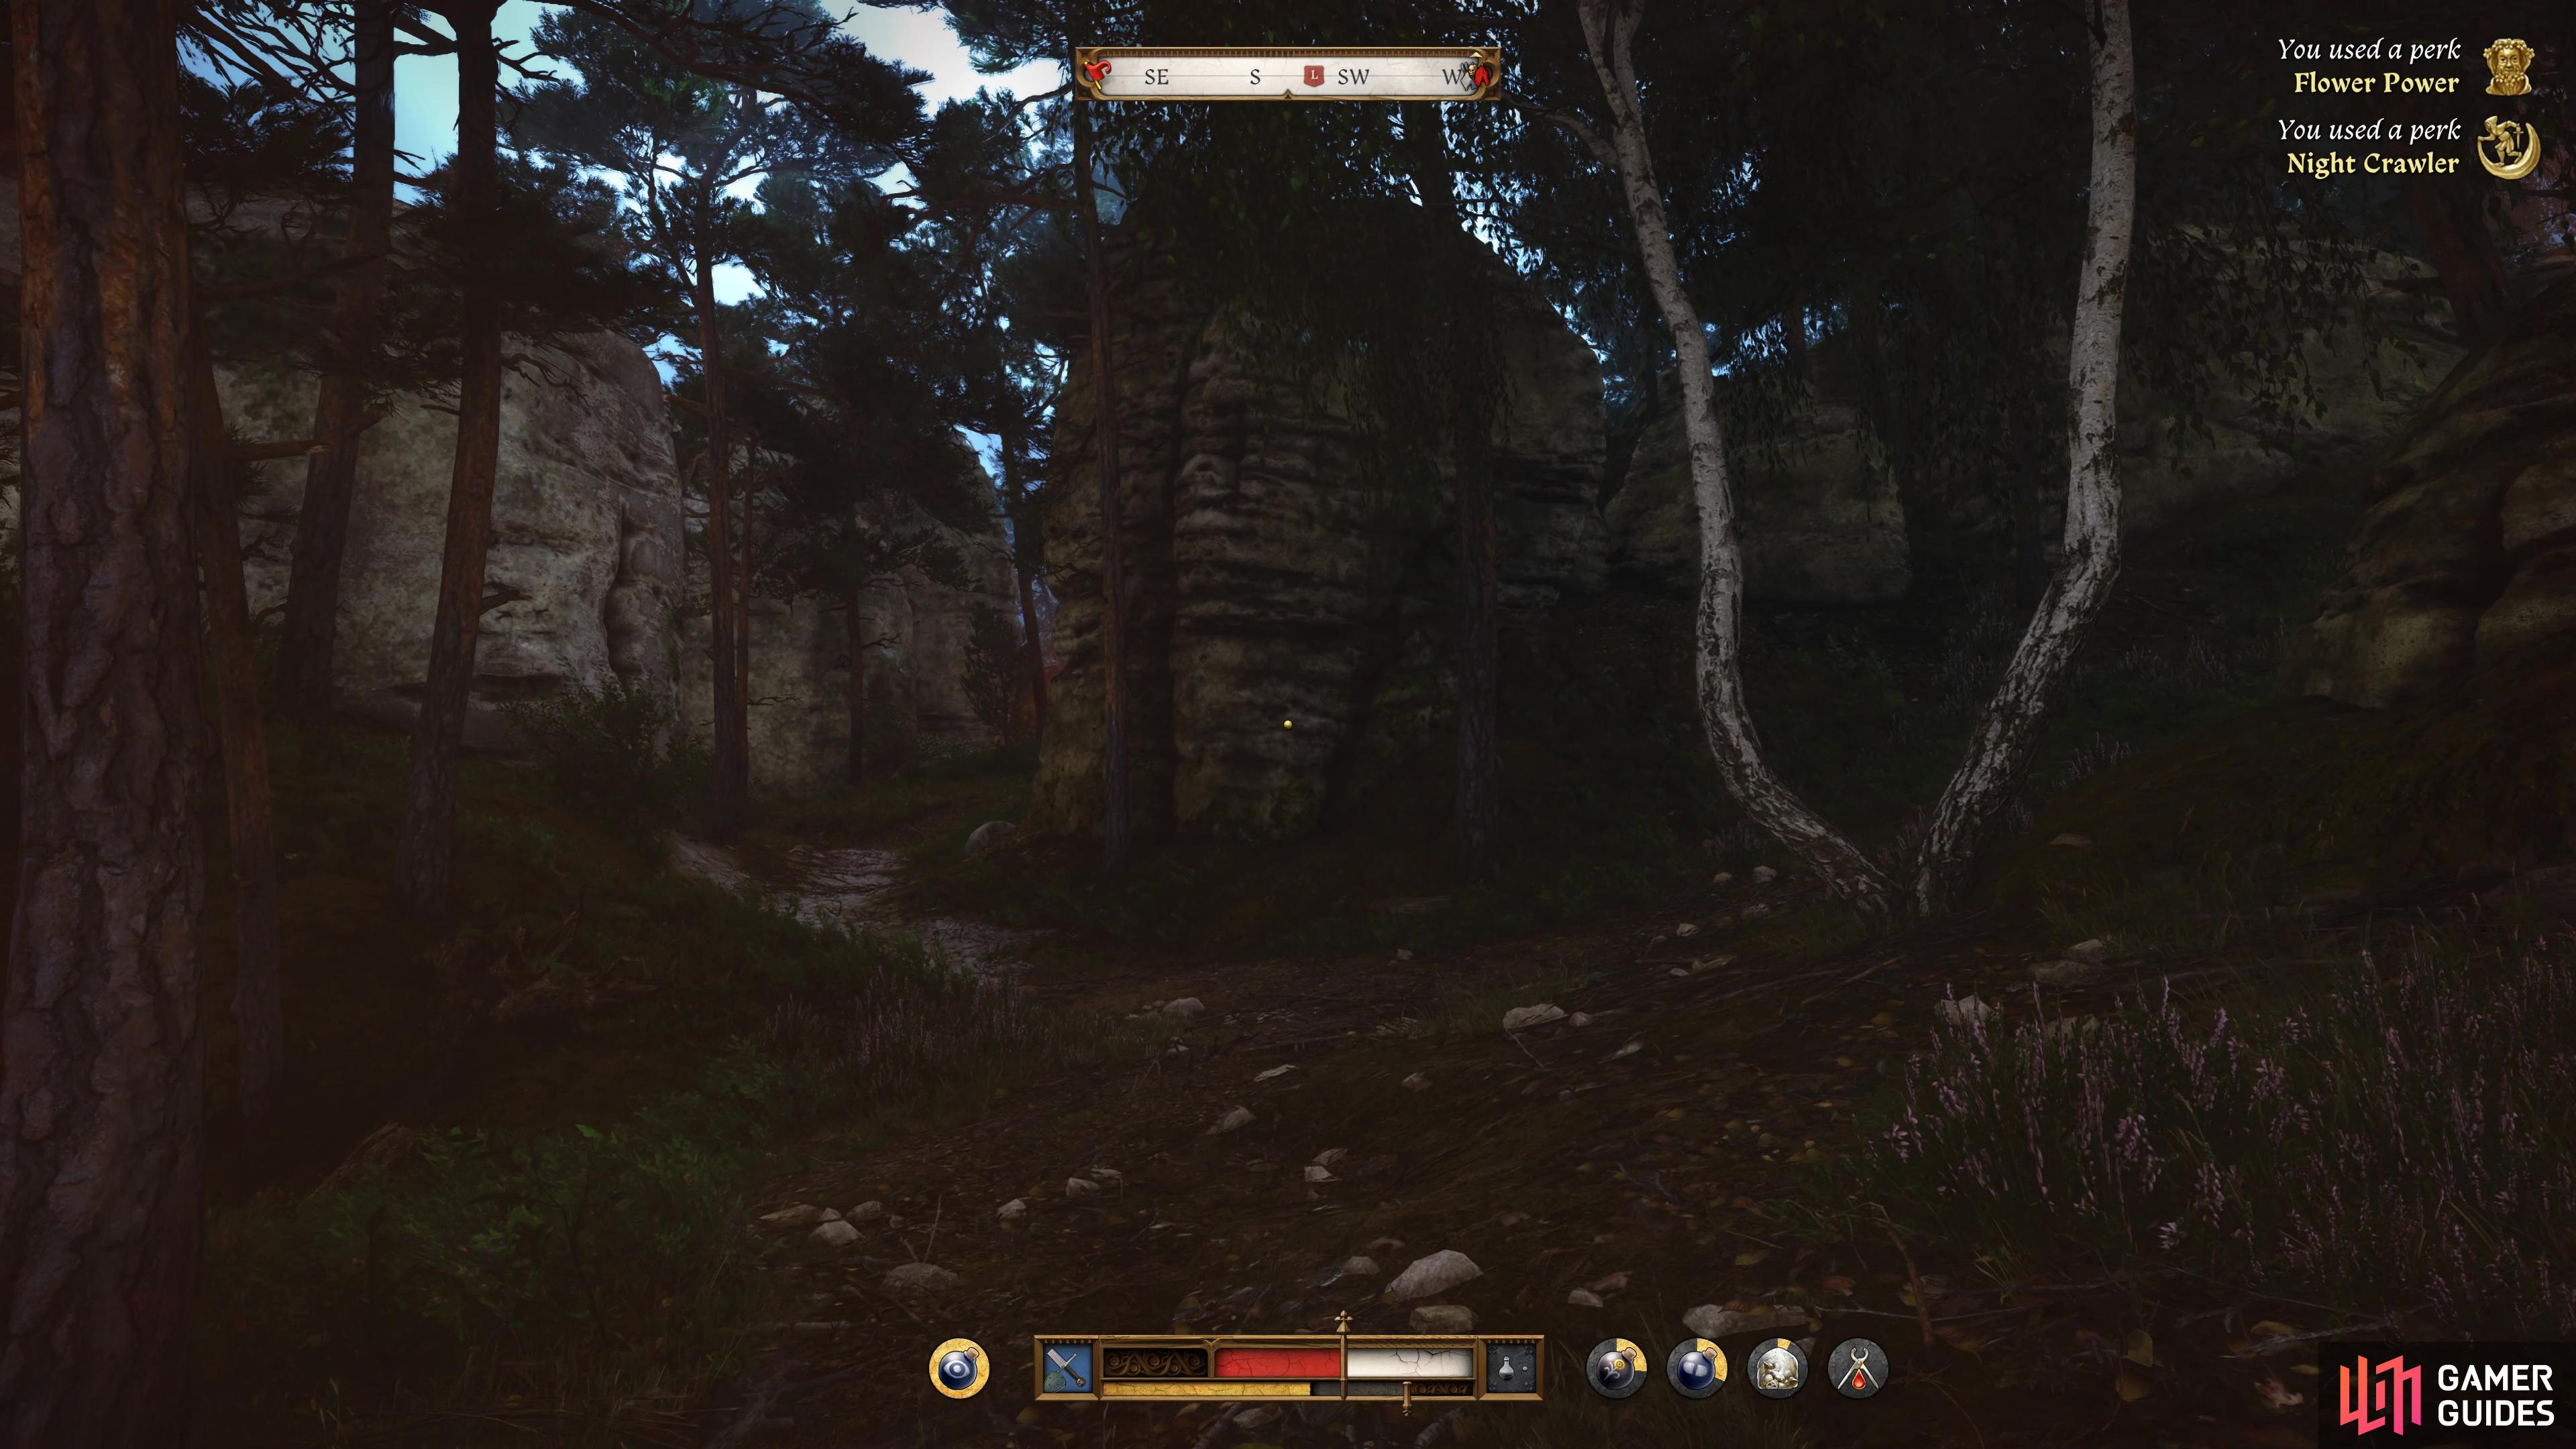
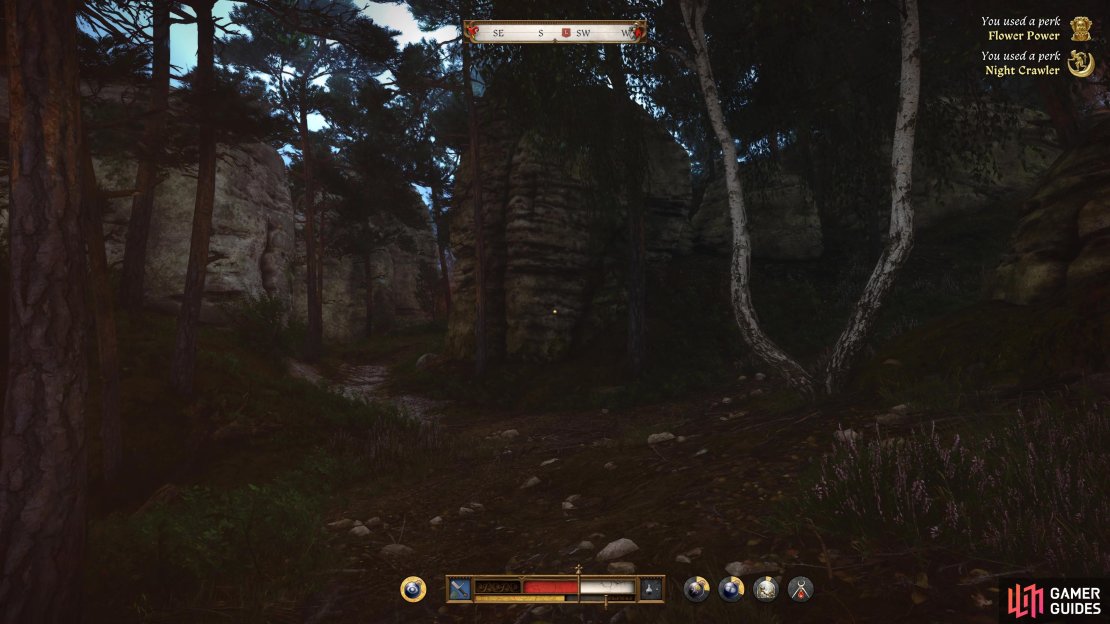
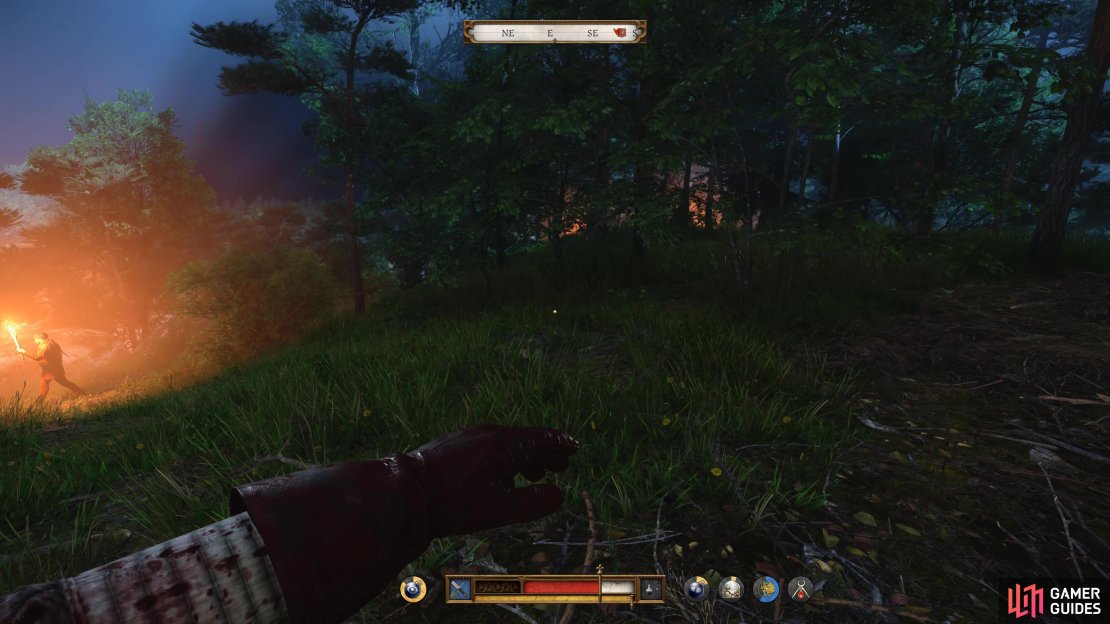
The woods in Apollonia are swarming with soldiers from Trosky Castle, on the lookout for the escapees. Your goal is to find Katherine’s contact, Mika, at the abandoned camp, and then bring the cart back to Ziska and the others to make for Kuttenberg. There are far too many enemies here for you to try and go gung ho, you’re going to have to make use of Stealth where possible and carefully make your way to Mika.
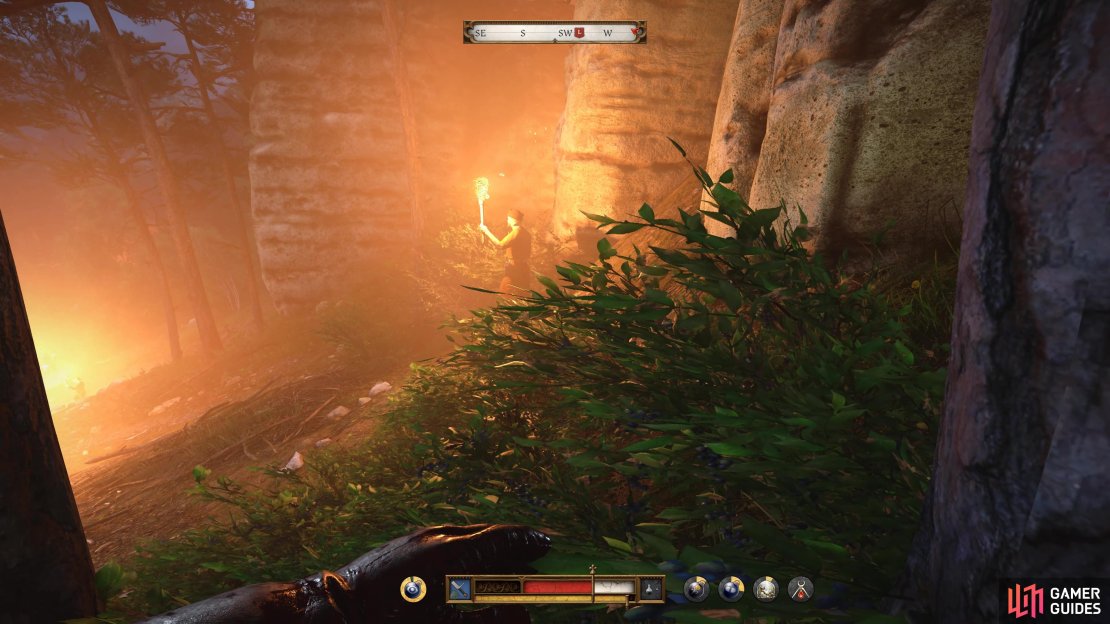
This also means that you won’t want to use a Torch, as this will give off your location, and consider using a set of equipment that is low on Noise. If you took our advice above and made some Nighthawk potions, now is the time to use them, as they will illuminate the entire area without the need of a torch while active.

(1 of 3) Follow behind this first soldier quietly.
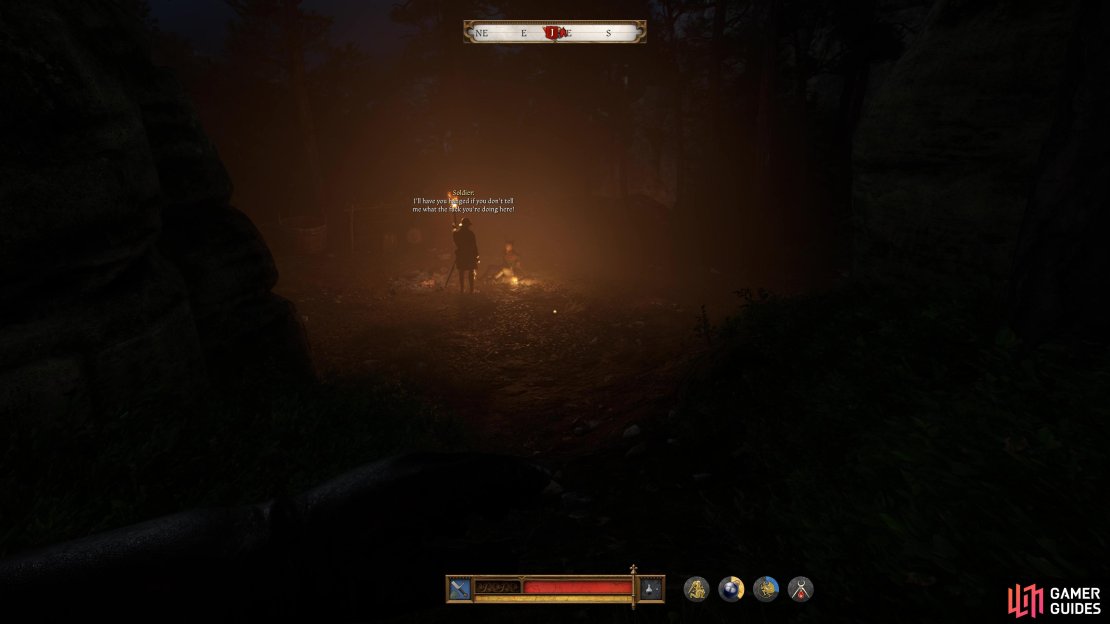
The abandoned camp you’re looking for is located in the rocks, far to the south of your current location. Start following the path south, making sure you keep your distance from the patrolling soldier, and then once he stops, quickly Stealth Kill him. Continue into the rocks to the southeast and you’ll be able to reach the camp without any other interference. Once you reach it, however, you’ll find Mika tied up while a soldier is questioning him, use this time to Stealth Kill him and then untie and speak to him.
Go South to the Double Rock with the Broken Cart
As Mika tells you, the forest was too packed for the cart to make it to this camp, instead, you’ll need to make your way to them, and before daybreak, or else they will depart without you. If you take a look at your map, you’ll spot that the location is far to the south, and you’ll need to weave your way in and out of a lot more soldiers than you did before.
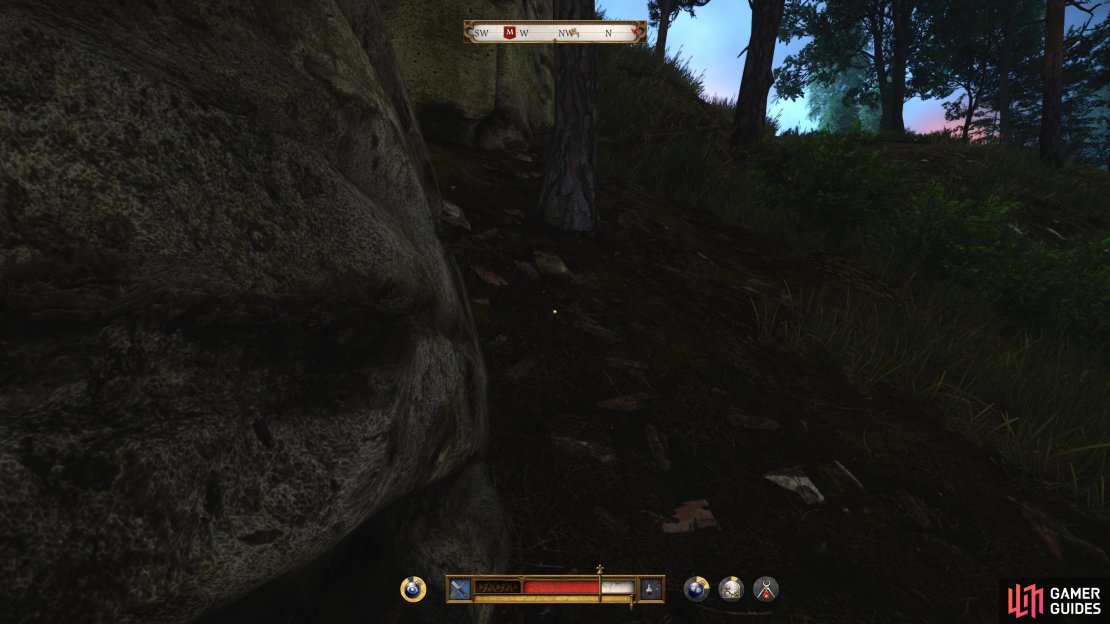
Start by heading south through the rocks and stop when you see a soldier with his back to you. Ignore the temptation to Stealth Kill him (the other soldiers patrolling will spot you) and instead turn to your left and jump through the rocks, this will allow you to drop down to the area below.

(1 of 3) Head through this passage here.
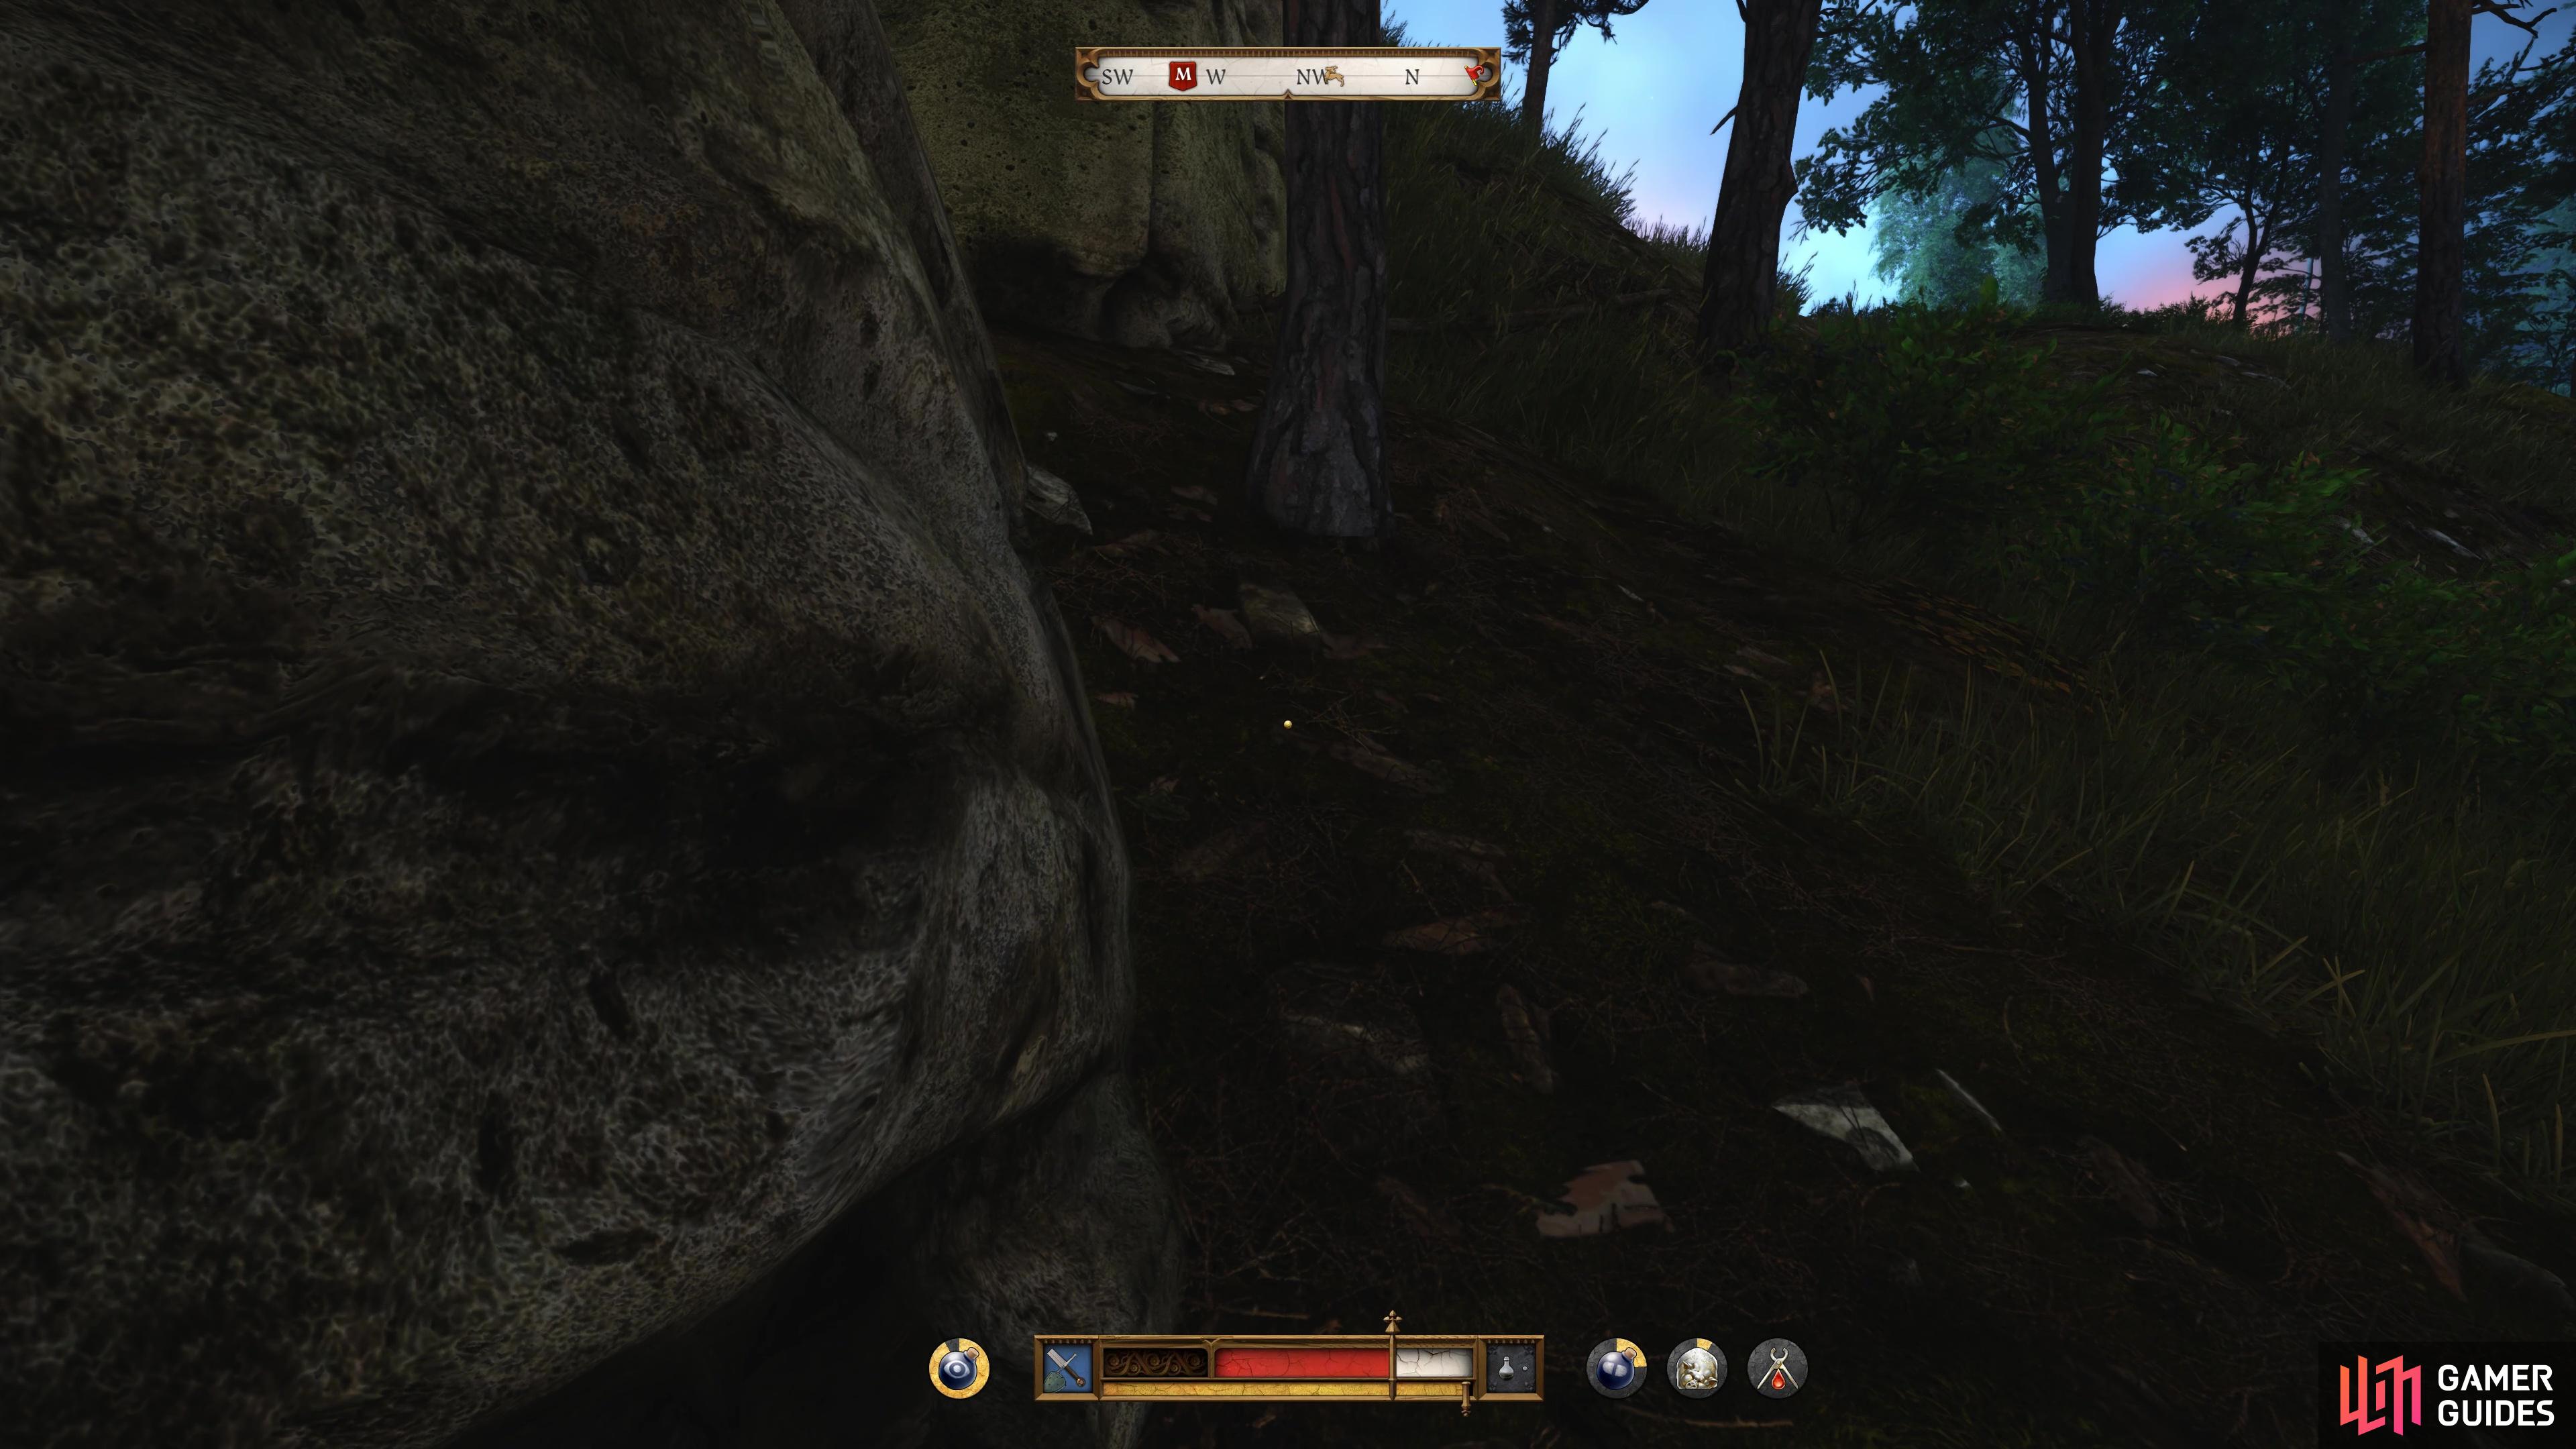
Wait for a soldier to walk by, then follow his route to the southwest and wait for another soldier come down and pass you by. Follow this soldier further to the southwest and wait for the coast to be clear before heading up the slope to the west. You’ll need to wait for more patrols to go by, head west a little, and then continue west to reach the double rock.
Go Uphill Between the Rocks
The game will autosave here as the objective updates, and, as it says, you’ll need to go uphill here. Do so, watching out for a patrolling soldier along the way, along with another standing guard. Continue west here a little more to reach the height of this hill and then start heading south as you find yourself above the path. Watch for a patrol that walks past and then go back to the path where the objective marker is to update it once again.

(1 of 3) Head uphill from the broken cart.
Continue South Until the Edge of Apollonia
Despite the lengthy distance from here, this is the easiest part of the escape, as you can avoid the main search area by heading along the outskirts of Apollonia and, once you get to the search area, you can start heading southeast until you reach the wagon that Mika mentioned. As you do, you’ll trigger a scene and, after giving the password, Henry will jump on the wagon, taking it to Ziska and the others and bringing this lengthy quest, and stay in Trosky, to an end. Kuttenberg awaits!
No Comments