
![]() Via Argentum is a main story quest in the
Via Argentum is a main story quest in the ![]() Kuttenberg region in Kingdom Come Deliverance II. You’ll be sent to ask the Ruthards for help in saving Lord Capon until you uncover an illegal mining operation, which helps the Ruthards and yourself. Find out where to find the Secret Mint, and who is responsible for the illegal operation. Maybe you want to take over the operation yourself? Read on to find out what the consequences of this are as well.
Kuttenberg region in Kingdom Come Deliverance II. You’ll be sent to ask the Ruthards for help in saving Lord Capon until you uncover an illegal mining operation, which helps the Ruthards and yourself. Find out where to find the Secret Mint, and who is responsible for the illegal operation. Maybe you want to take over the operation yourself? Read on to find out what the consequences of this are as well.

The Ruthards are being pestered by the new Mint Master, Vavak, and could do with your help.
Table of Contents
If you want to jump to a specific section, click on the links below.
Finding the Ruthard Palace
After speaking to Liechtenstein during the ![]() Into the Underworld quest, you’ll be told that
Into the Underworld quest, you’ll be told that ![]() Kunzlin Ruthard may be able to help you get into
Kunzlin Ruthard may be able to help you get into ![]() Maleshov, which is where Lord Capon is assumed to be held hostage.
Maleshov, which is where Lord Capon is assumed to be held hostage.
Kunzlin is said to be at his palace, which is situated to the southwest of the ![]() Hangman’s Halter Tavern, south of the
Hangman’s Halter Tavern, south of the ![]() Underground crossroads point of interest. Make your way to the palace, but before you enter it, equip your best armor and weapon as well as save the game because you’ll be thrust into a combat scenario.
Underground crossroads point of interest. Make your way to the palace, but before you enter it, equip your best armor and weapon as well as save the game because you’ll be thrust into a combat scenario.
As you enter the courtyard, you’ll get a scene followed shortly by said scenario. When you regain control, you’ll be battling on behalf of the Ruthards. Meaning, you want to attack the ones wearing yellow. You won’t be alone, as you’ll have a few of Ruthard’s guards, and ![]() Mutt can be called into battle if needed. Take out the initial enemy who will fight you one-on-one (use Mutt to help), and then attack the enemy who’s in combat with another from the back.
Mutt can be called into battle if needed. Take out the initial enemy who will fight you one-on-one (use Mutt to help), and then attack the enemy who’s in combat with another from the back.

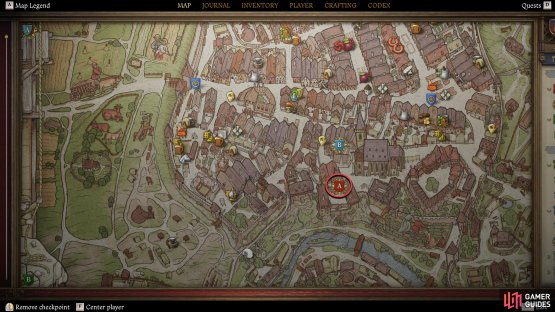
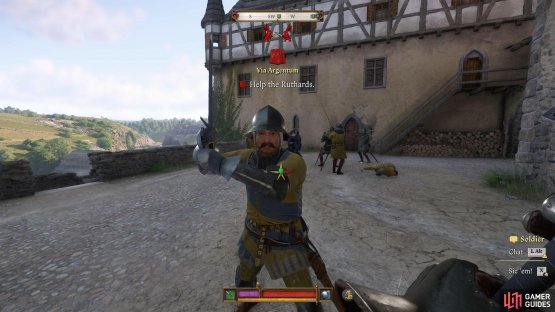
(1 of 2) You can find the Ruthard Palace southwest of the Hangman’s Halter Tavern in Kuttenberg.
You can find the Ruthard Palace southwest of the Hangman’s Halter Tavern in Kuttenberg. (left), After a scene there, you’ll need to help them defeat Vavak’s men. (right)
Once you’ve defeated the enemy, you’ll get another scene. During the scene, he’ll ask you why he should help you. Tell him that you helped him during the fight, and he’ll agree to help if you help him with matters regarding the new Mint Master, Vavak. Allegedly, Vavak has been counterfeiting ![]() Groschen behind Sigismund’s back, which could lead to his execution if he found out. However, you’ll need irrefutable evidence to prove before you claim that.
Groschen behind Sigismund’s back, which could lead to his execution if he found out. However, you’ll need irrefutable evidence to prove before you claim that.
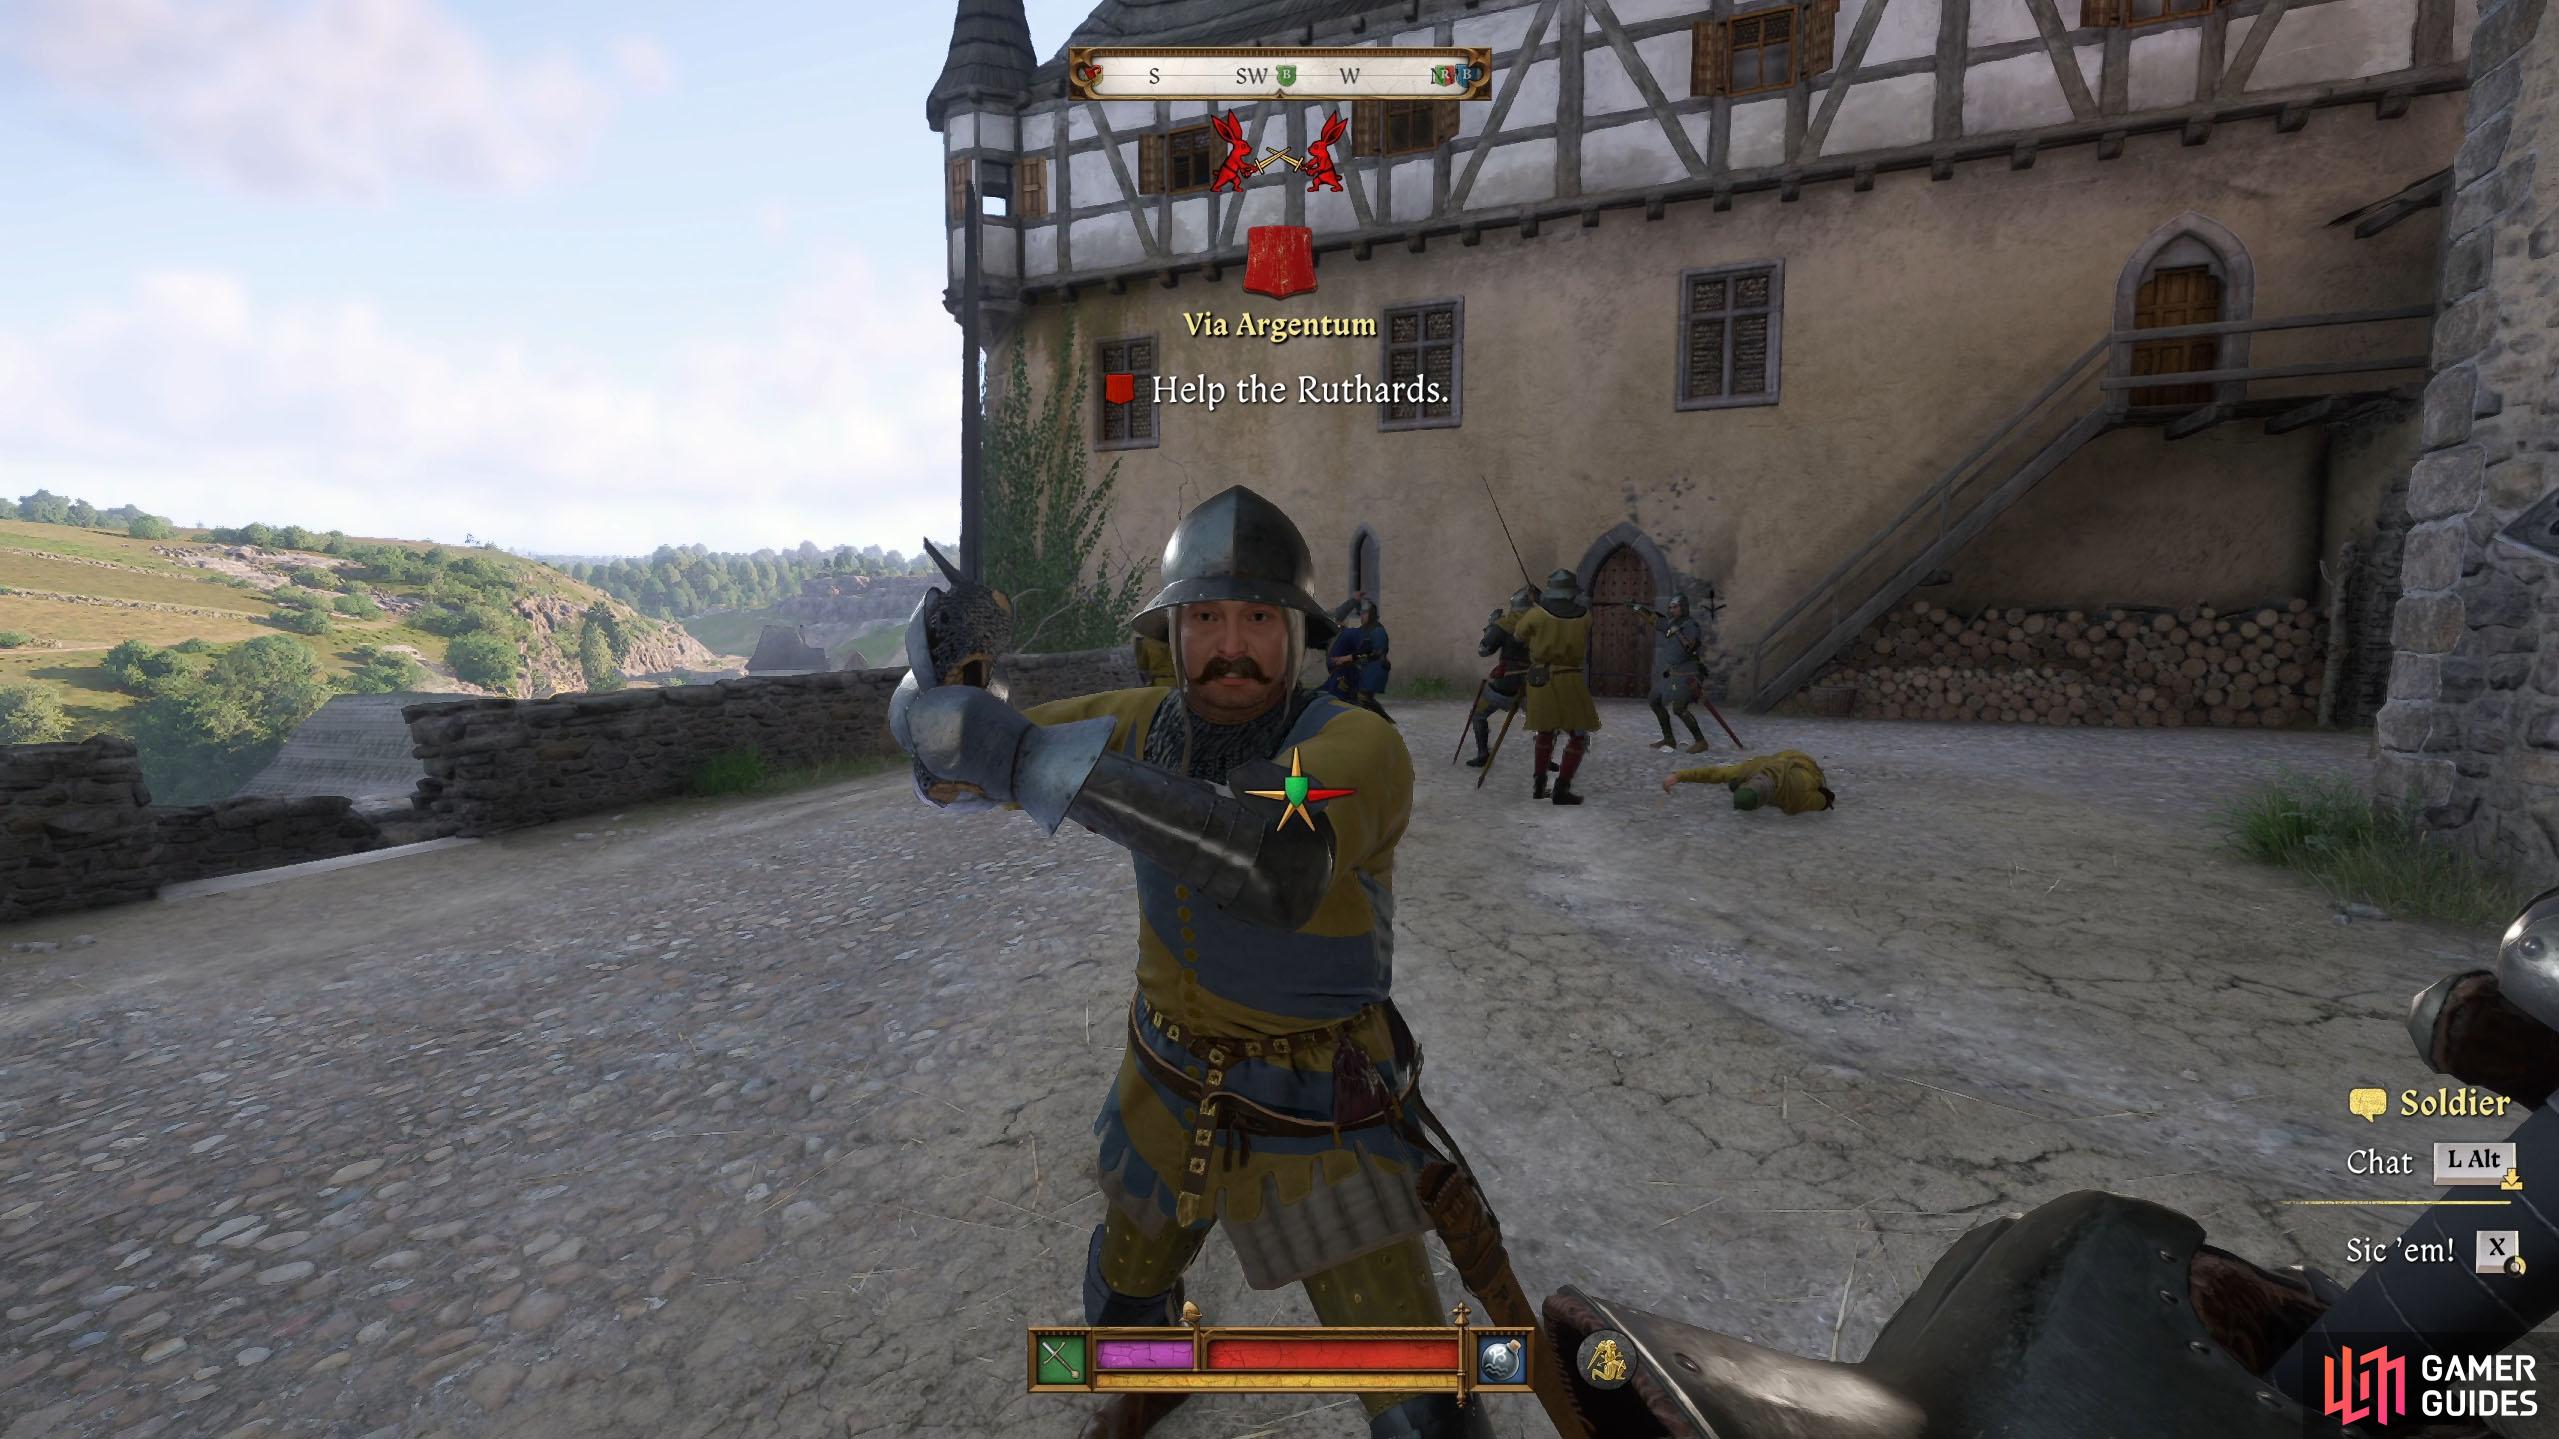
This leads to Christian of Pisek (not to be confused with the Pisek in ![]() Suchdol). He is the brother of Peter and a friend of Kunzlin. He recently lost his job to the same people, so Christian has no love for Vavak and his entourage. Kunzlin will agree to help you with Lord Capon if you help him get evidence on Vavak, and that starts with Christian who can be found near
Suchdol). He is the brother of Peter and a friend of Kunzlin. He recently lost his job to the same people, so Christian has no love for Vavak and his entourage. Kunzlin will agree to help you with Lord Capon if you help him get evidence on Vavak, and that starts with Christian who can be found near ![]() Grund. Note that before you go, you can loot the bodies of Vavak’s men. This is not considered robbery, and some of them have a few valuable pieces to sell.
Grund. Note that before you go, you can loot the bodies of Vavak’s men. This is not considered robbery, and some of them have a few valuable pieces to sell.
Speak to Christian Pisek
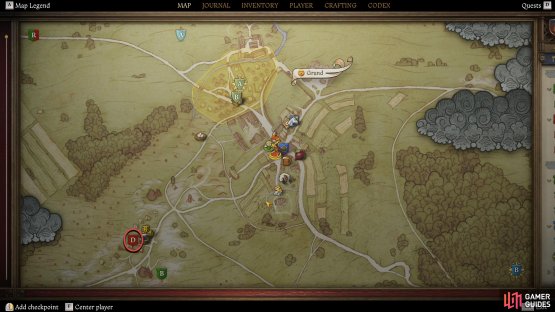
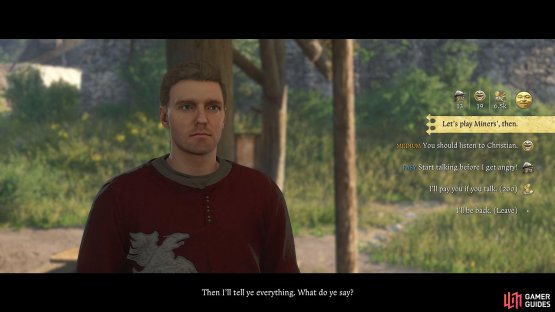
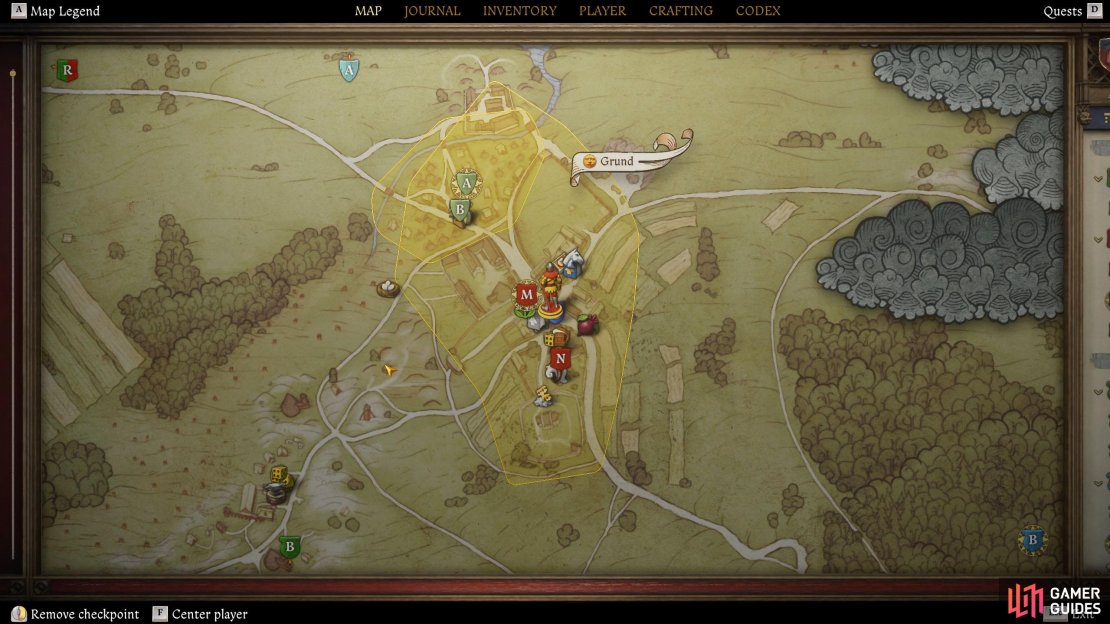
Although Christian is said to be in Grund, his office is just outside the village, to the southwest. Fast travel to Grund, and then ride along the path southwest to find Christian’s small settlement. Head inside, and you should find Christian, dressed in red, walking around depending on the time of day. Otherwise, he’ll be in his bed on the second floor to your left. Speak to Christian, and Henry will mention the password, Via argentum.


(1 of 2) You’ll find Christian in a small settlement, southwest of Grund.
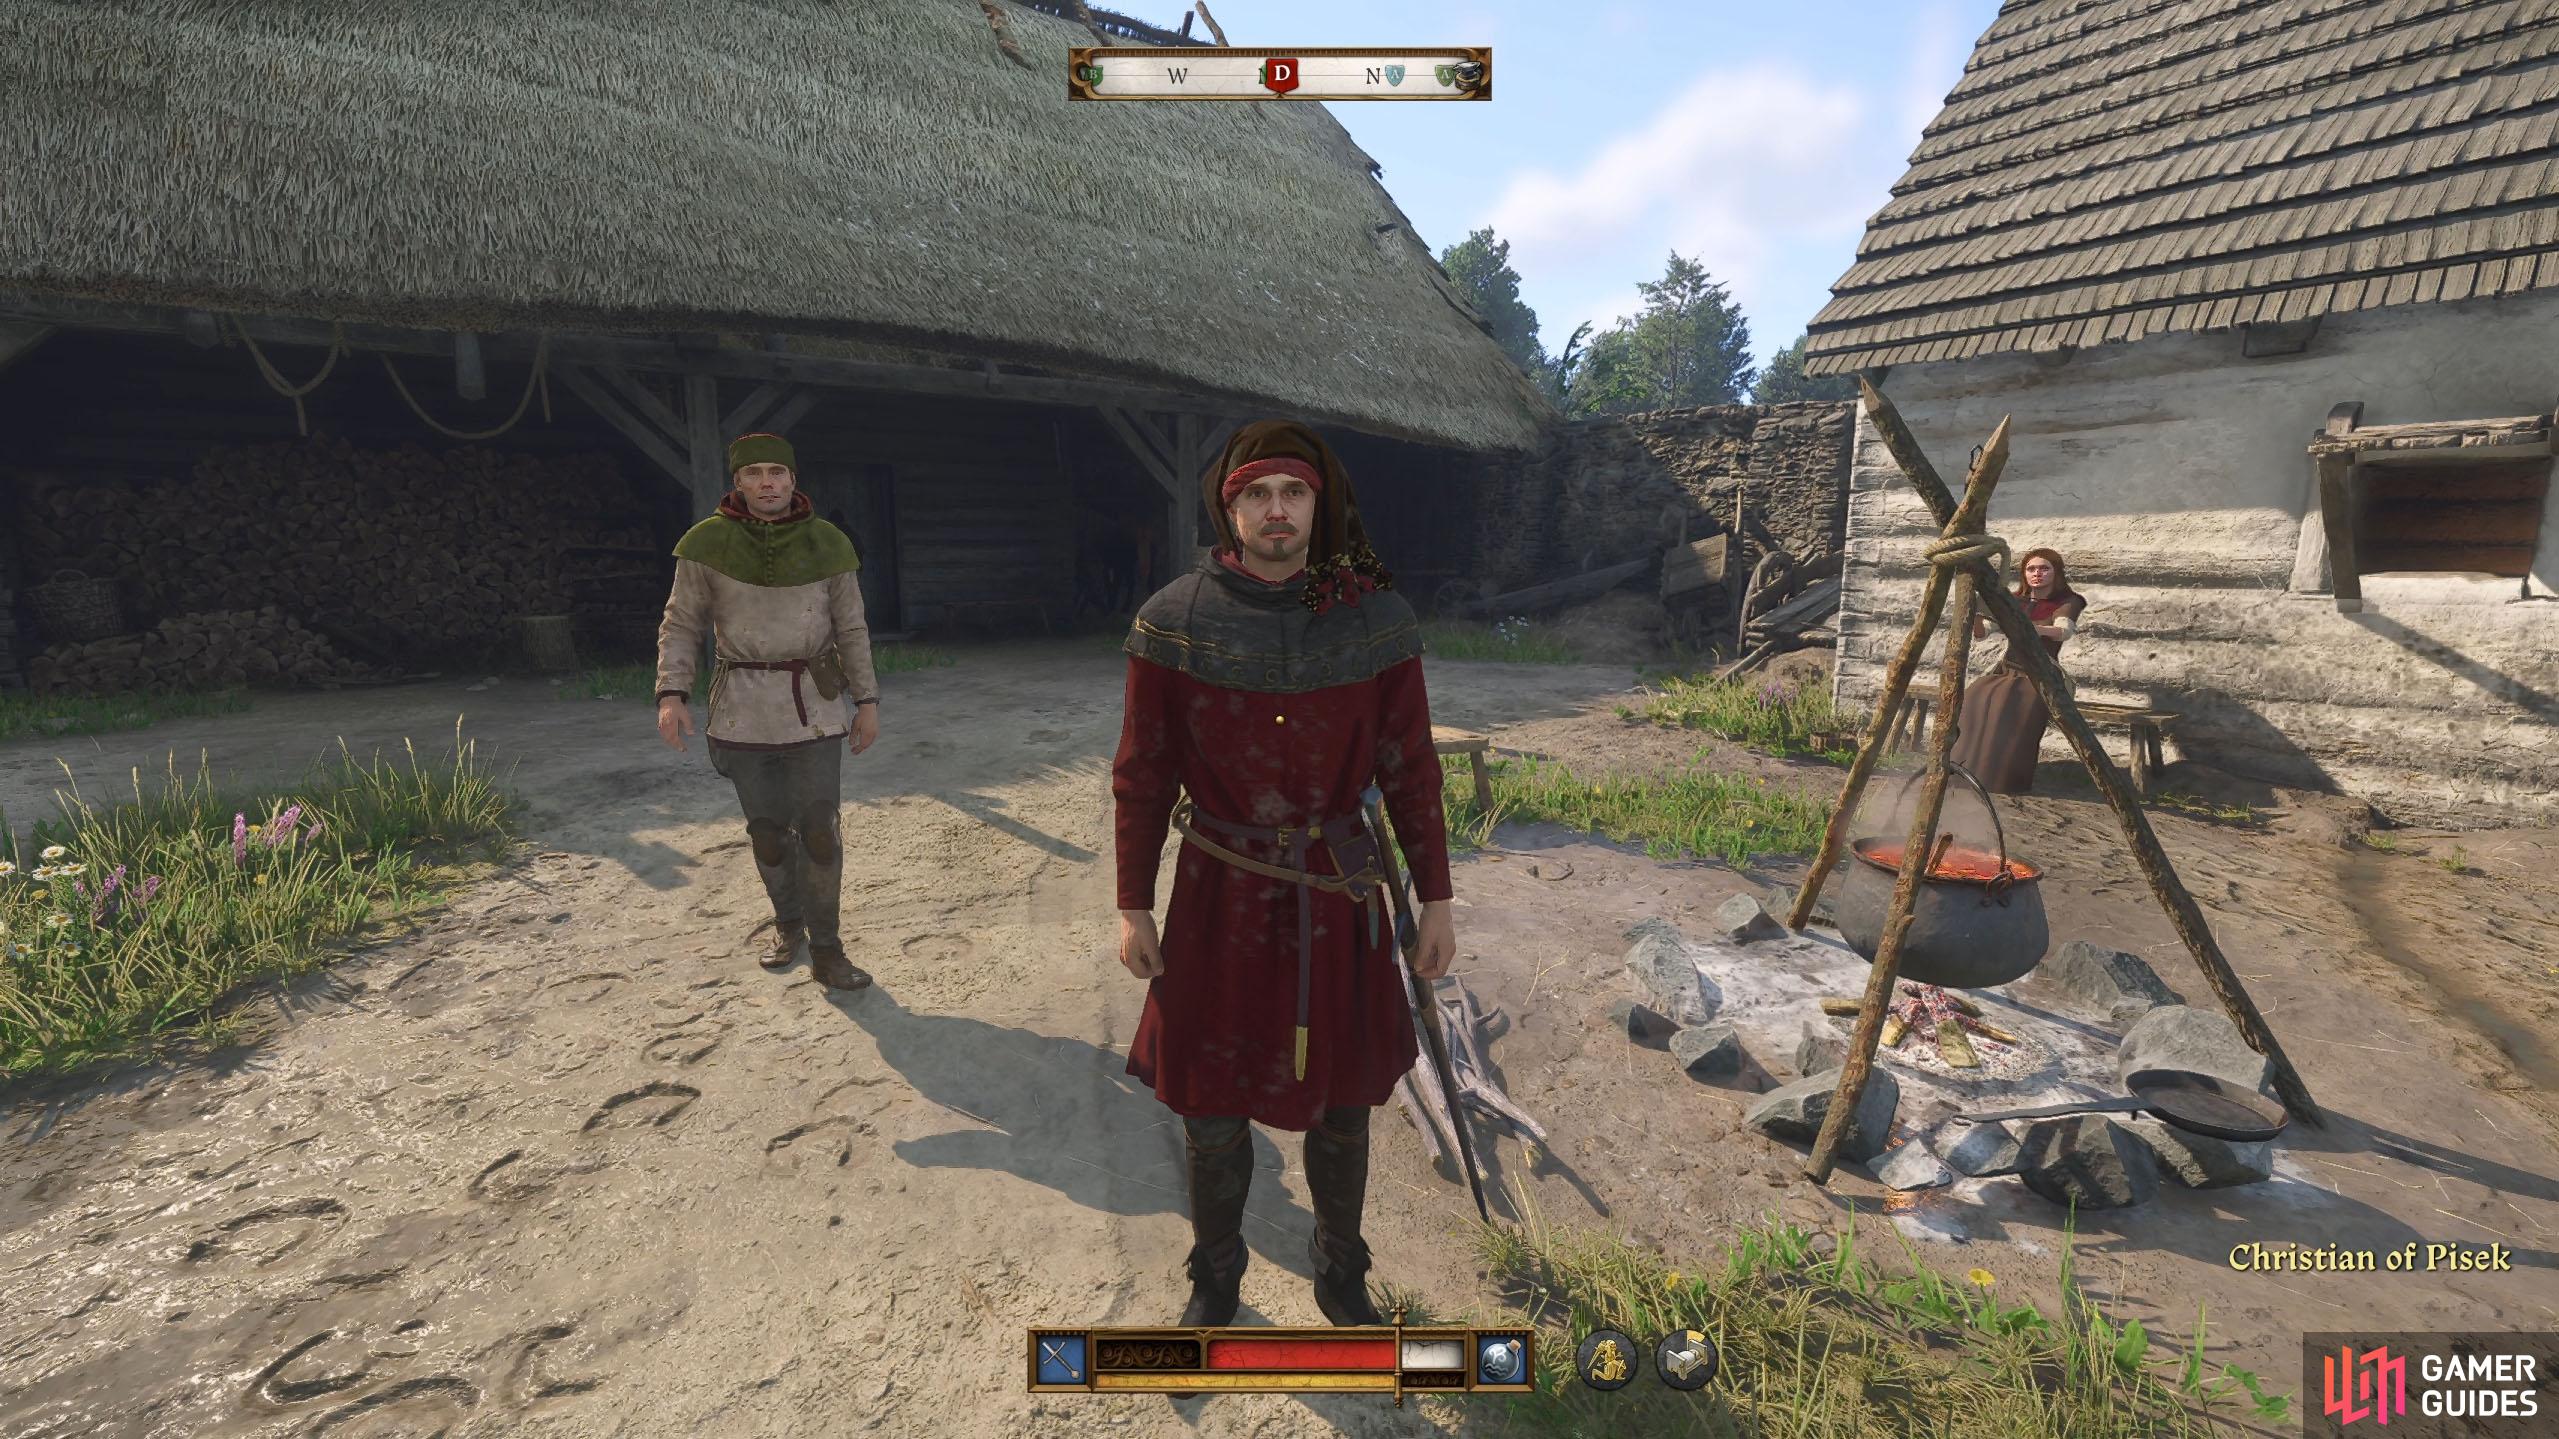
You’ll find Christian in a small settlement, southwest of Grund. (left), Tell him you will help with his investigation of the stolen silver. (right)
Naturally, Christian has done hardly anything, so you’ll need to offer your help (and do it yourself). He’ll ask to speak in private, so follow him around the corner, and he’ll tell you that the silver is getting lost on the way to the mint, meaning it could come from any of the operations. He suggests speaking to the miners from every shift first. Fortunately, you don’t need to speak to every miner, just each shift’s foreman, so three people in total.
The question you want to ask them is how many corves they mine in a day, but that’ll be too suspicious, so he’ll tell you to come up with a cover story. We recommend being his nephew for the day as that’ll explain all the questions. Furthermore, it seems the day that the feast of St. Petronilla happened would be the perfect day to compare to the books. Lastly, Christian will give you a letter with his seal, permitting you to be on the premises.


(1 of 2) He will be wandering the courtyard during the day, or in bed past 9PM.
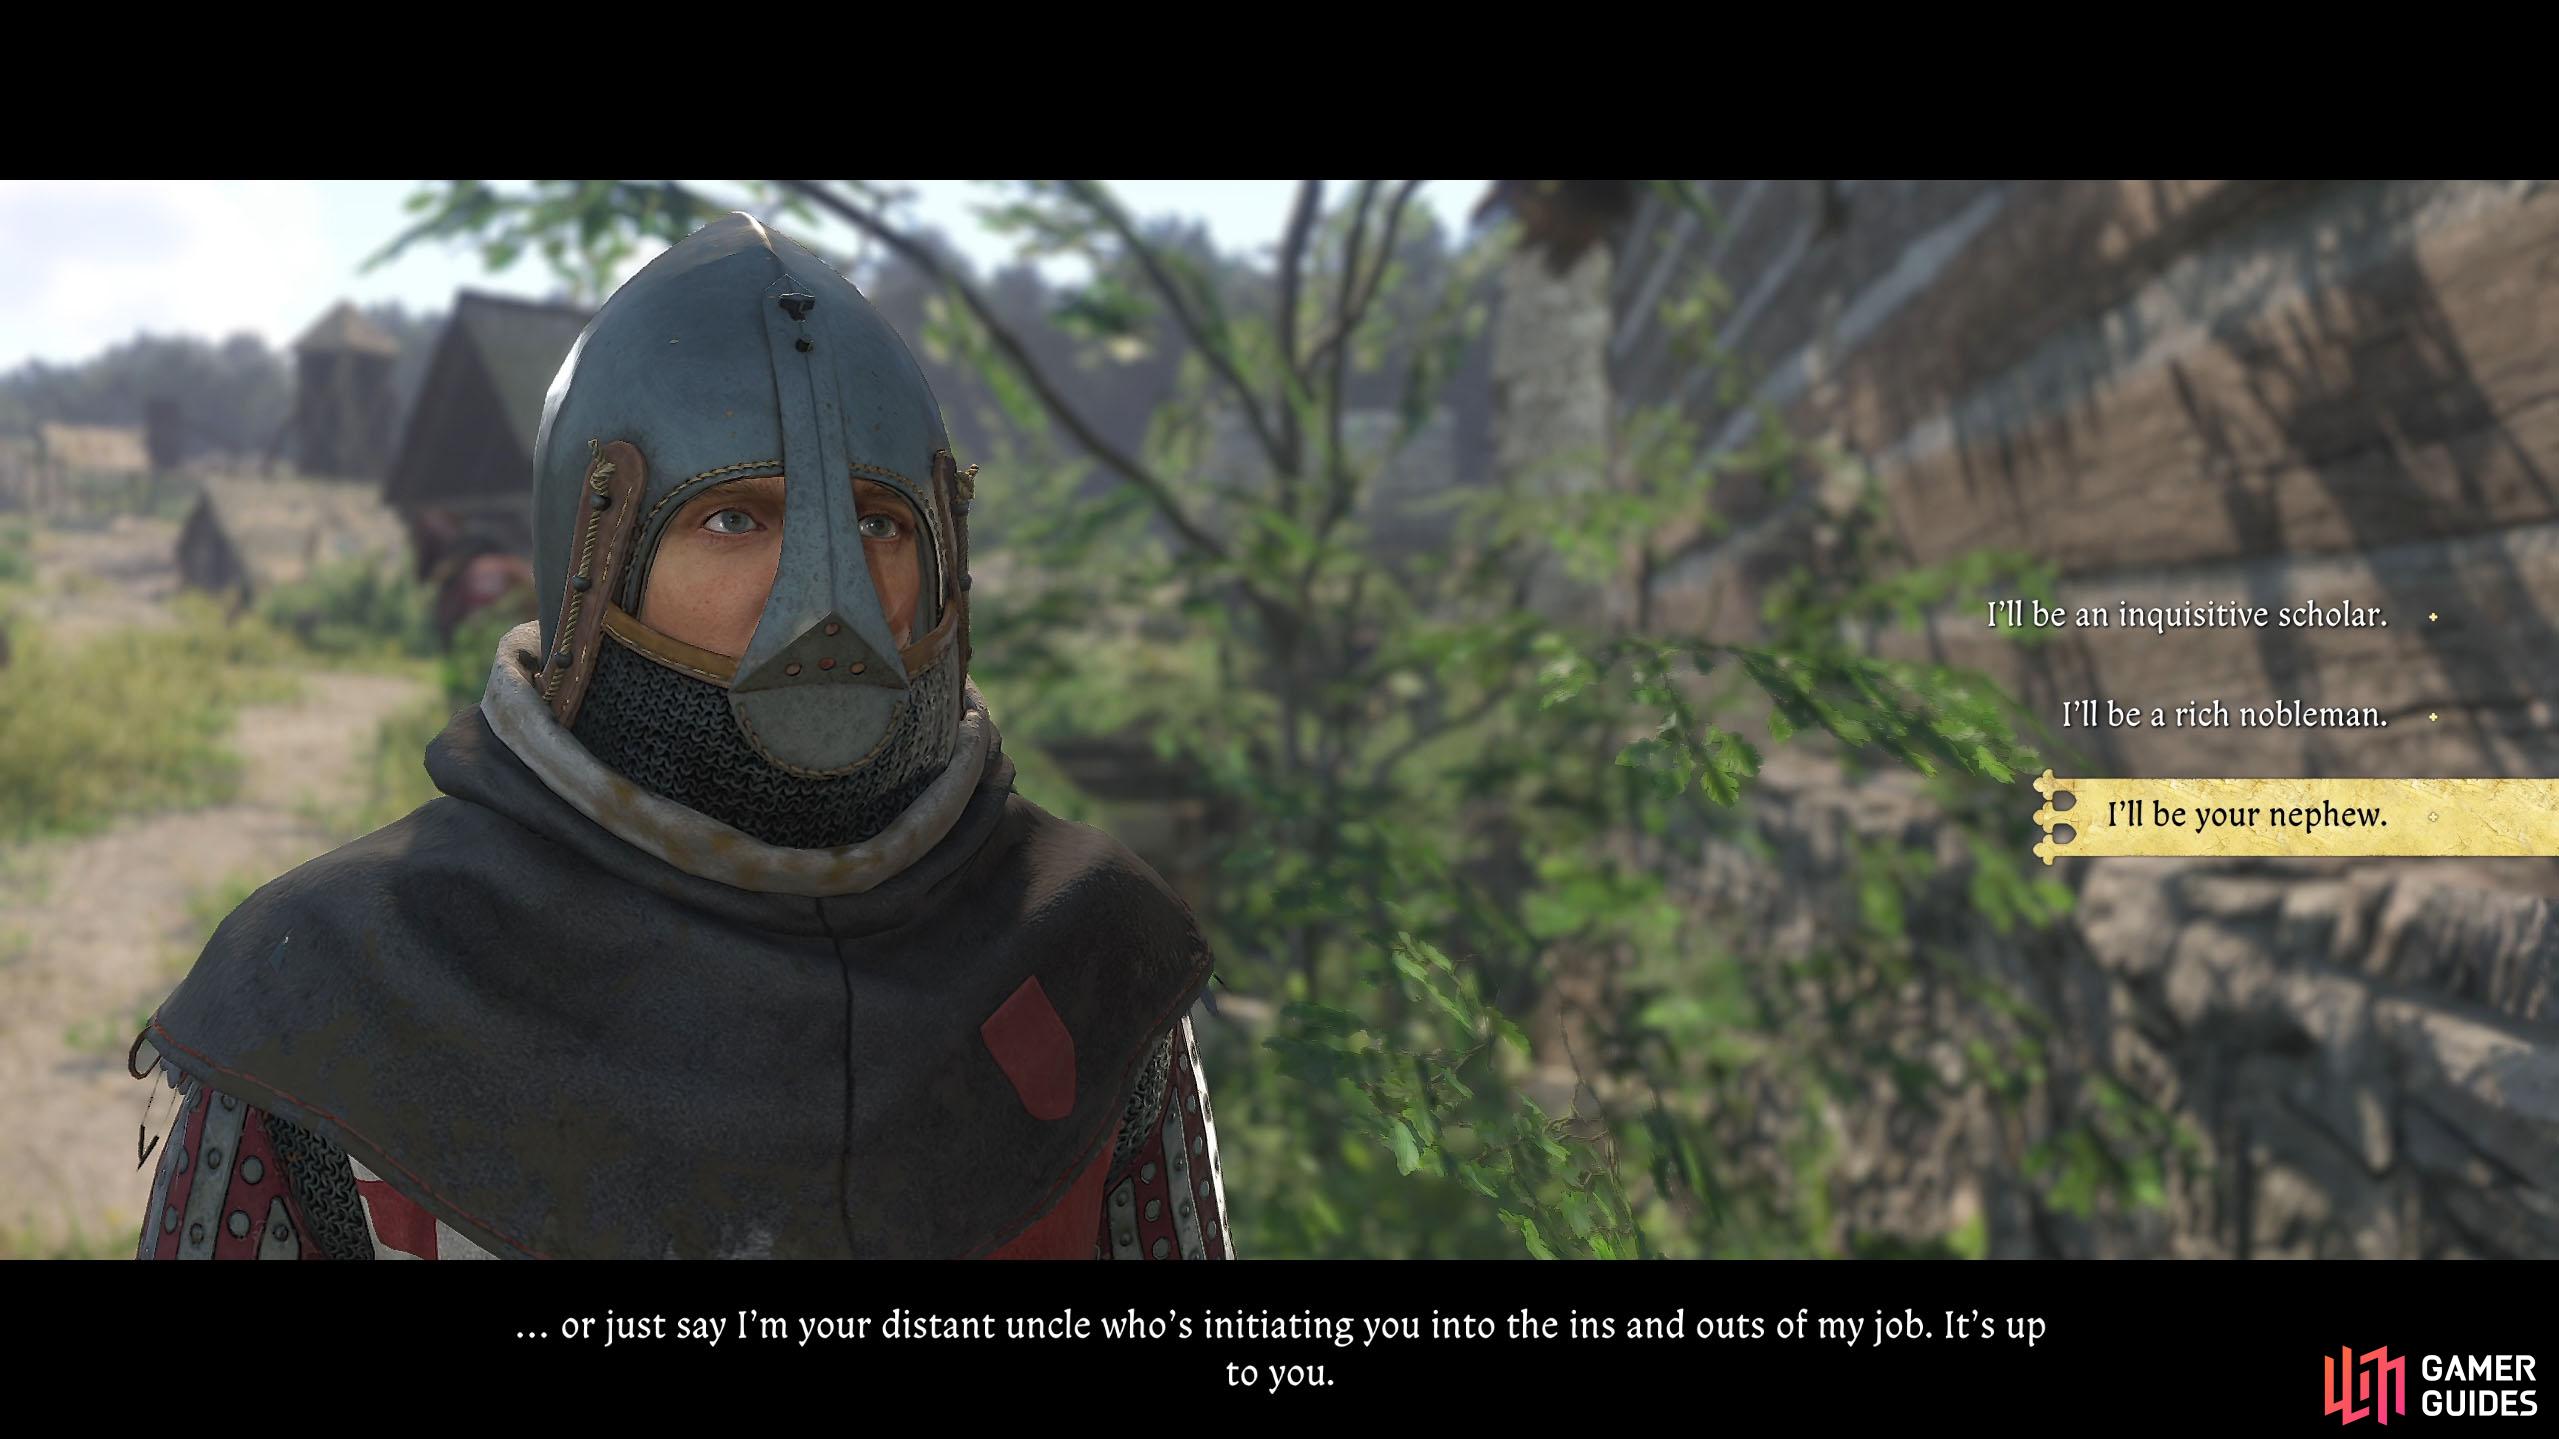
He will be wandering the courtyard during the day, or in bed past 9PM. (left), When he goes over the plan, tell him you’ll take the role as his nephew. (right)
Finding the Foremen
There are three foremen to speak to: Frank, Paul, and Samko, and you’ll find them all in and around the mines.
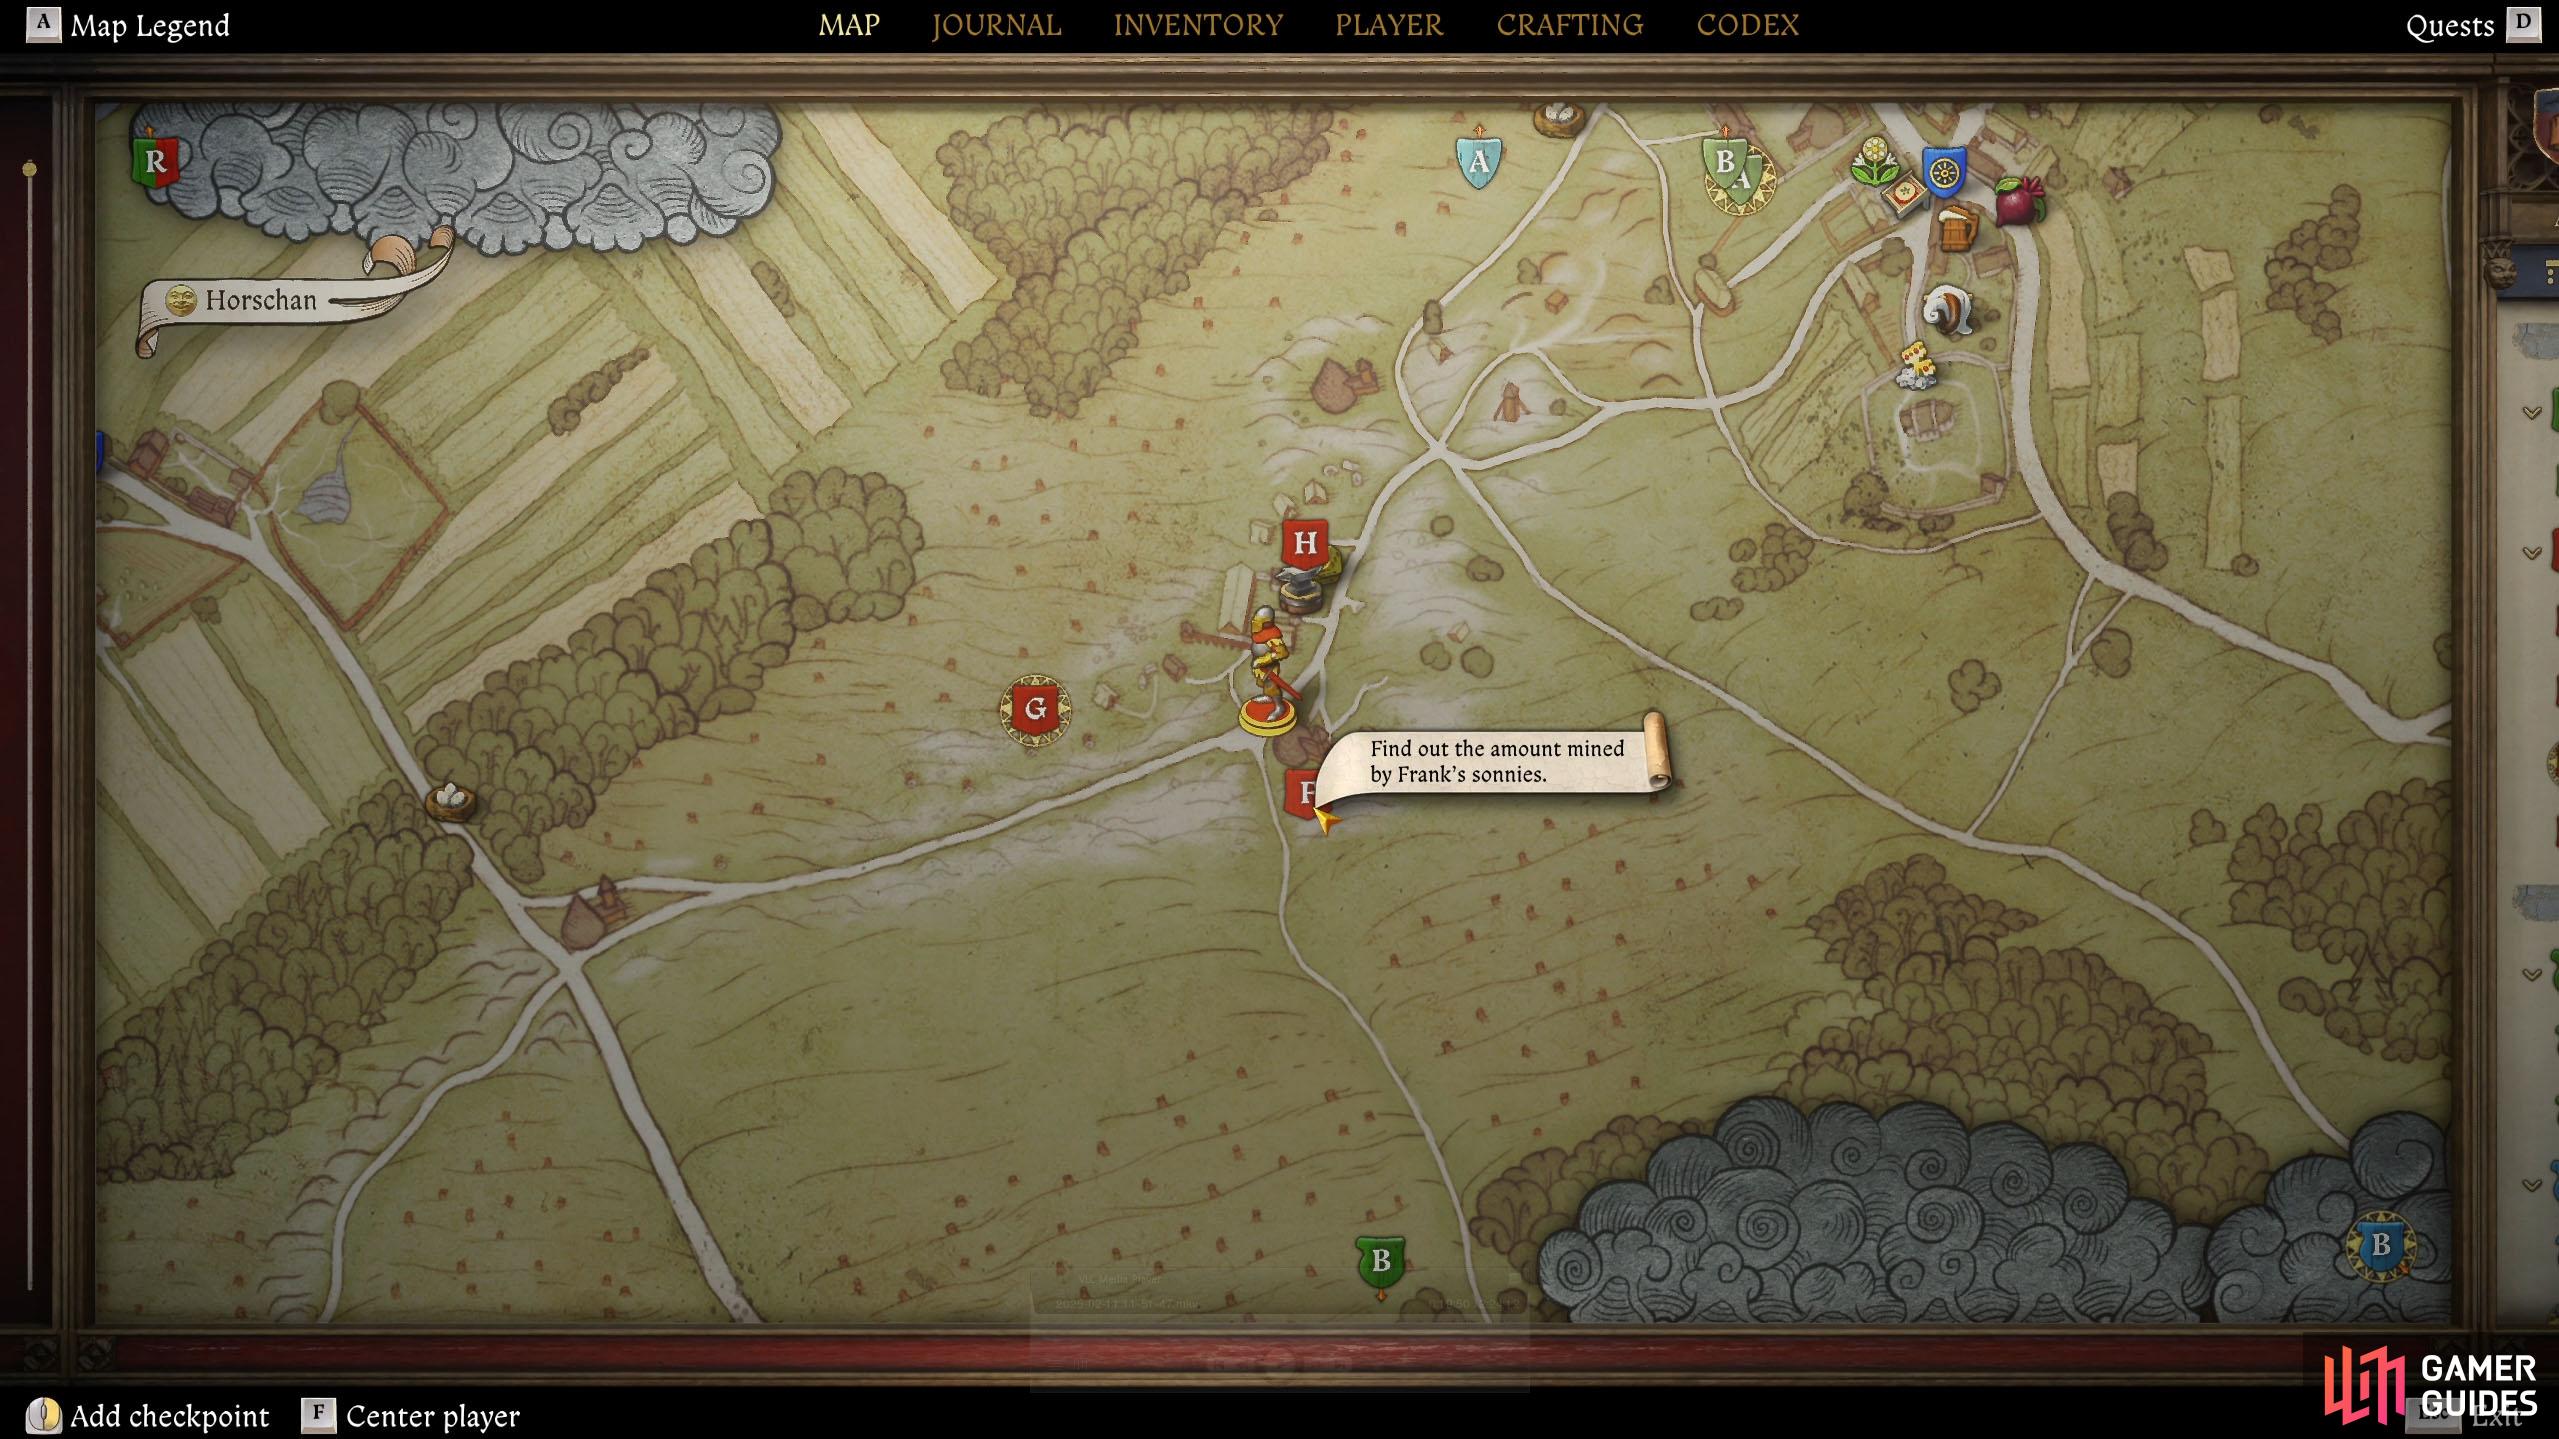
You’ll find one foreman at the canteen and the other two in the mine.
Foreman Samko Location
The first foreman you’ll want to speak to is Samko as his shift has just ended, and he won’t be in the mine. When you regain control, head around the corner to the north to find the communal area where the miners are eating. Speak to him, and he’ll tell you he’s too tired to talk. This will give you some options to choose from.
The easiest is to simply play a game of dice with him. Doesn’t matter if you win or lose. If you don’t want to do that, either pay him some Groschen (200) or pass the persuasion check. We don’t recommend selecting the intimidation check as that’ll make you lose reputation.
After the game (if you selected dice), you can ask him a few questions. Eventually, you’ll ask him about how many corves they got on the day of the feast of St. Petronilla, and he’ll tell you 34 corves. That’s all you need to know from Samko, so exit the area, and head into the mines to speak to the other foremen.

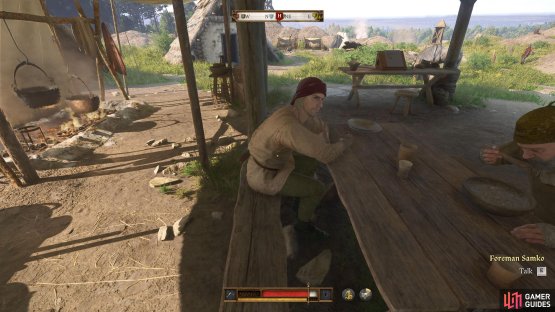
(1 of 2) Samko can be found at the canteen area around the corner from Christian’s settlement.

Samko can be found at the canteen area around the corner from Christian’s settlement. (left), Play a game of dice, and he’ll tell you what you want to know. (right)
Foreman Frank Location
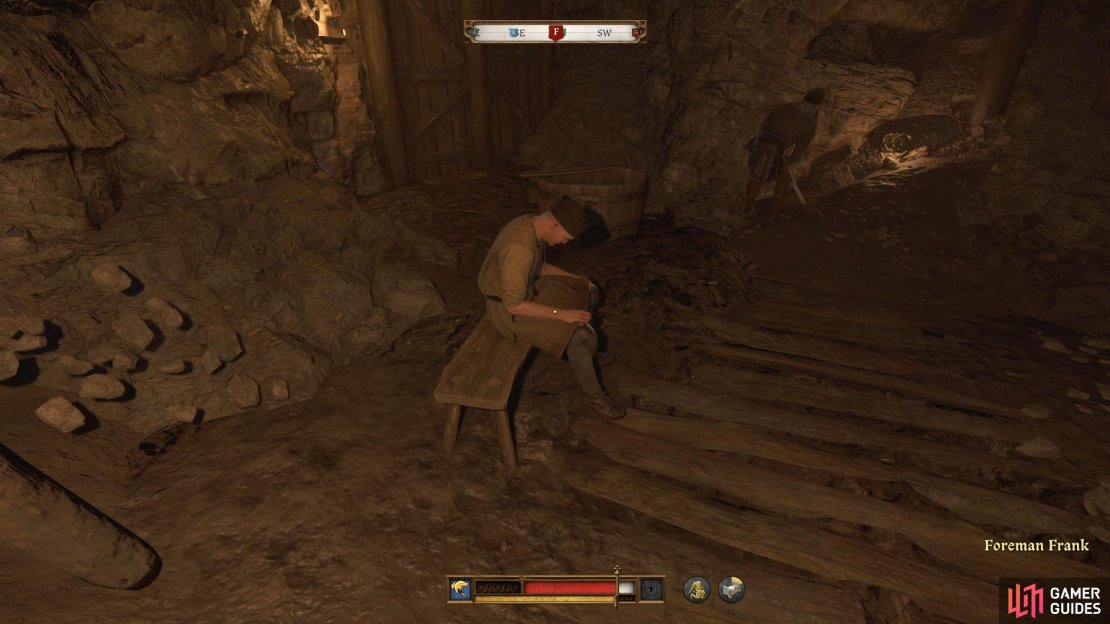
The mines can be found opposite Samko, to the northeast. You’ll see a guard standing in front of the entrance. Head inside and follow the linear path to where you’ll find Frank sitting down. Once again, you’ll get a bunch of questions to ask him.
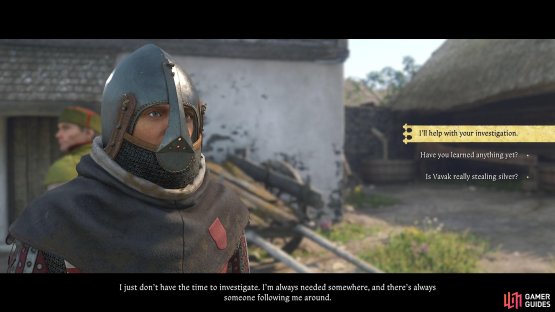
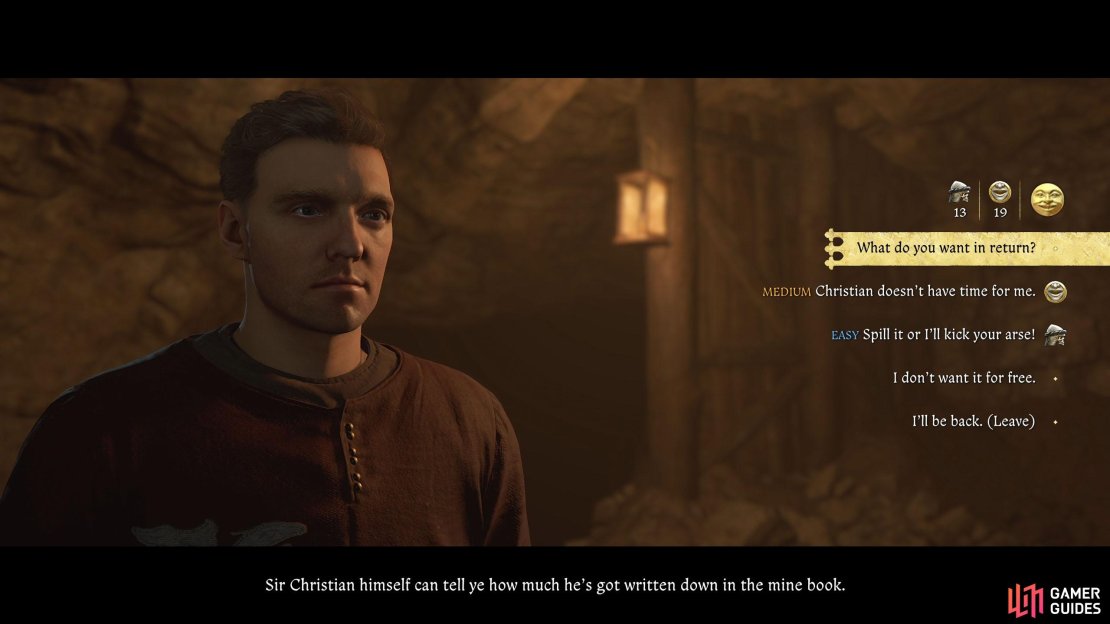
Go down the list until you reach the option about St. Petronilla, and he’ll get a bit suspicious, leading to some options to choose from. Try not to intimidate him, so if you have the right skill level (20), select the persuasion option about Christian not having enough time. This will open him up, and he’ll boast about his crew scoring 36 corves.

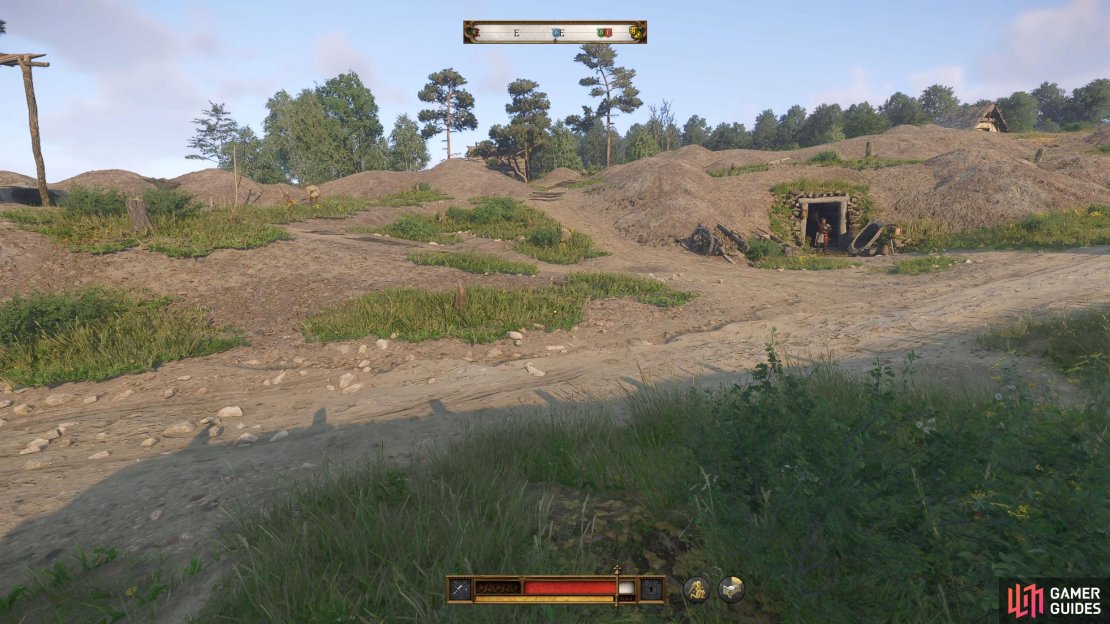
(1 of 3) The mine entrance is opposite the canteen.
Foreman Paul Location
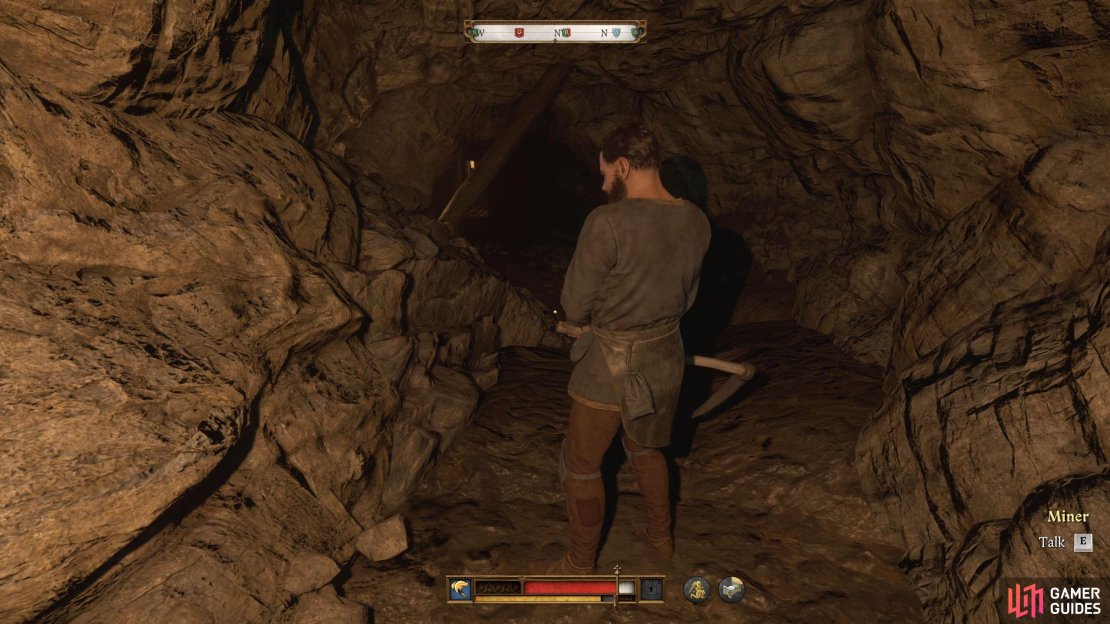
Finally, you need to speak to Frank. Follow the northwest tunnel and take the left tunnel at the intersection. Continue to the end and take the north tunnel when you have the chance. Eventually, you’ll run into a regular miner who’ll be in your path. Speak to him to find out Frank has gone to the depths to pay homage to a fallen colleague. Continue following the tunnel to find a ladder leading down.
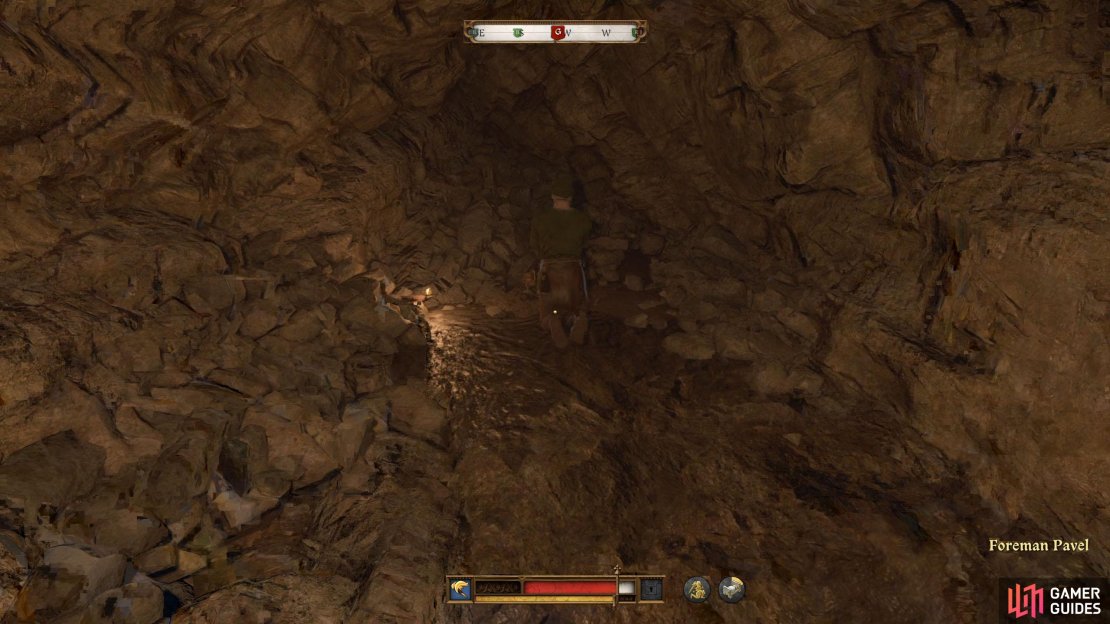
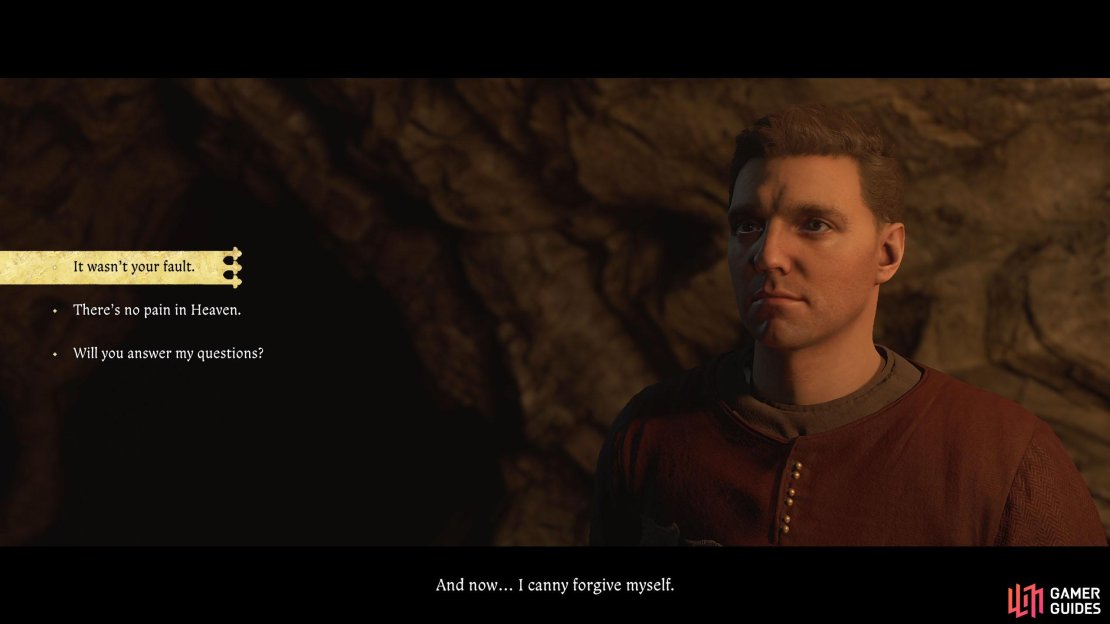
Take the ladders to the bottom and follow the tunnel on the left, and left again until you reach the second lantern, which is sitting above a tub of water. Take the right tunnel to find Paul (Pavel), who appears to be praying. When you speak to him, he’ll blame himself for his colleagues’ death.
Tell him “There’s no pain in Heaven” to soothe him a little, and he’ll ask you to pray with him. Agree to his request, and when you’re done, go through the questions, ending on the feast of St. Petronilla. He’ll ashamedly admit that his crew didn’t have their heart in it after what happened to their colleague, and they only managed 30 corves.


(1 of 4) Continue through the tunnel and speak to the random miner, who’ll tell you where Paul is.
Speak to Christian Again
Make your way back to Christian and tell him what you found out about the silver. You’ll tell him that they mined 100 corves on the day of the feast of St. Petronilla, and Christian will ask you how much you think the records mention. Tell him less to boost your reputation, and he’ll tell you that the books record 90 on that day, meaning 10 corves went missing. He deduces that the ore must be reaching the ore merchants, so Foreman Fett and Herrmann, are most likely complicit.
Herrmann and Fett
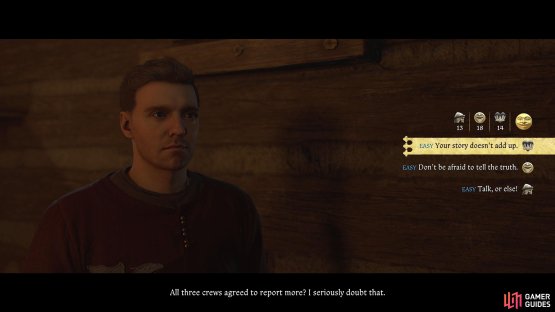
You can find Herrmann in the room next to Christian, so start there first. Depending on the time, he may be in bed, but not to worry as you can wake him up and speak to him anyway. Confront him and at first, he’ll palm the blame onto the miners, but his story doesn’t add up.
This will lead to a speech check and any answer will do, but we recommend the persuasion option as it’s the least hostile. Eventually, he’ll open up and tell you that it was Fett’s idea, and he’ll tell you what’s been going on, although he can’t point the blame at Vavak.
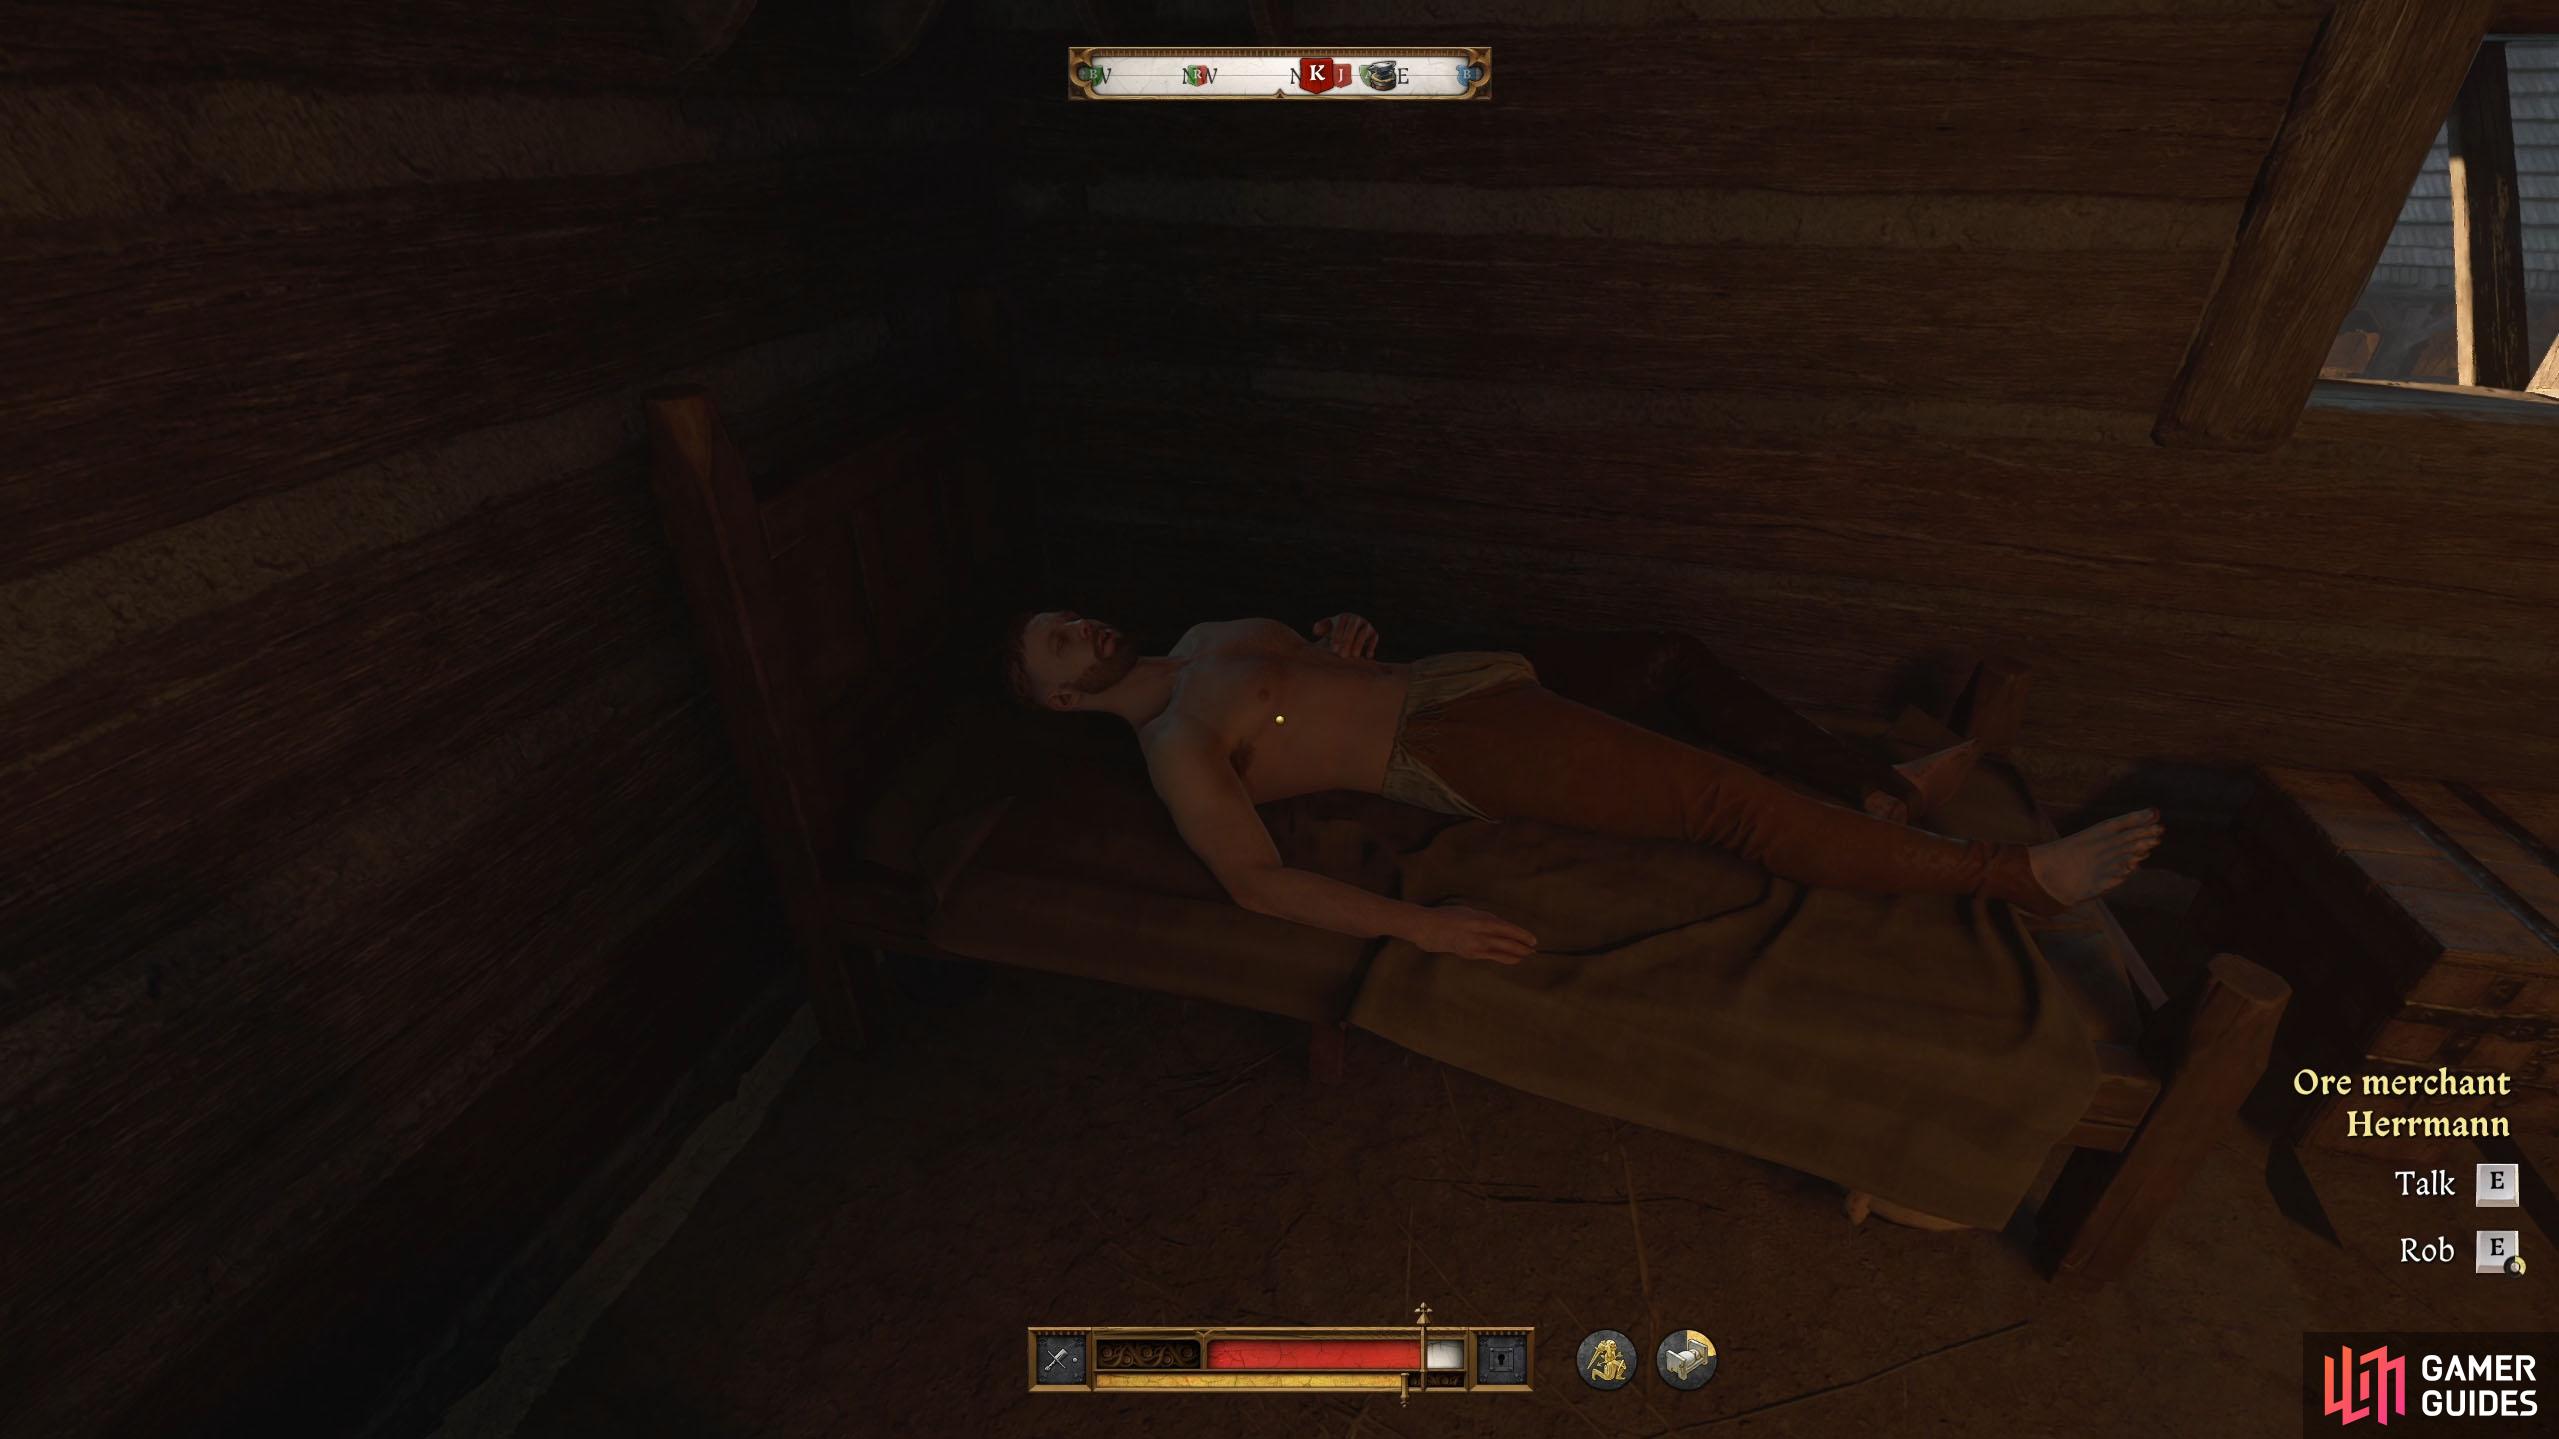

(1 of 2) You can find Herrmann in the adjacent room to Christian’s office. If you can’t see him, he may be in bed.
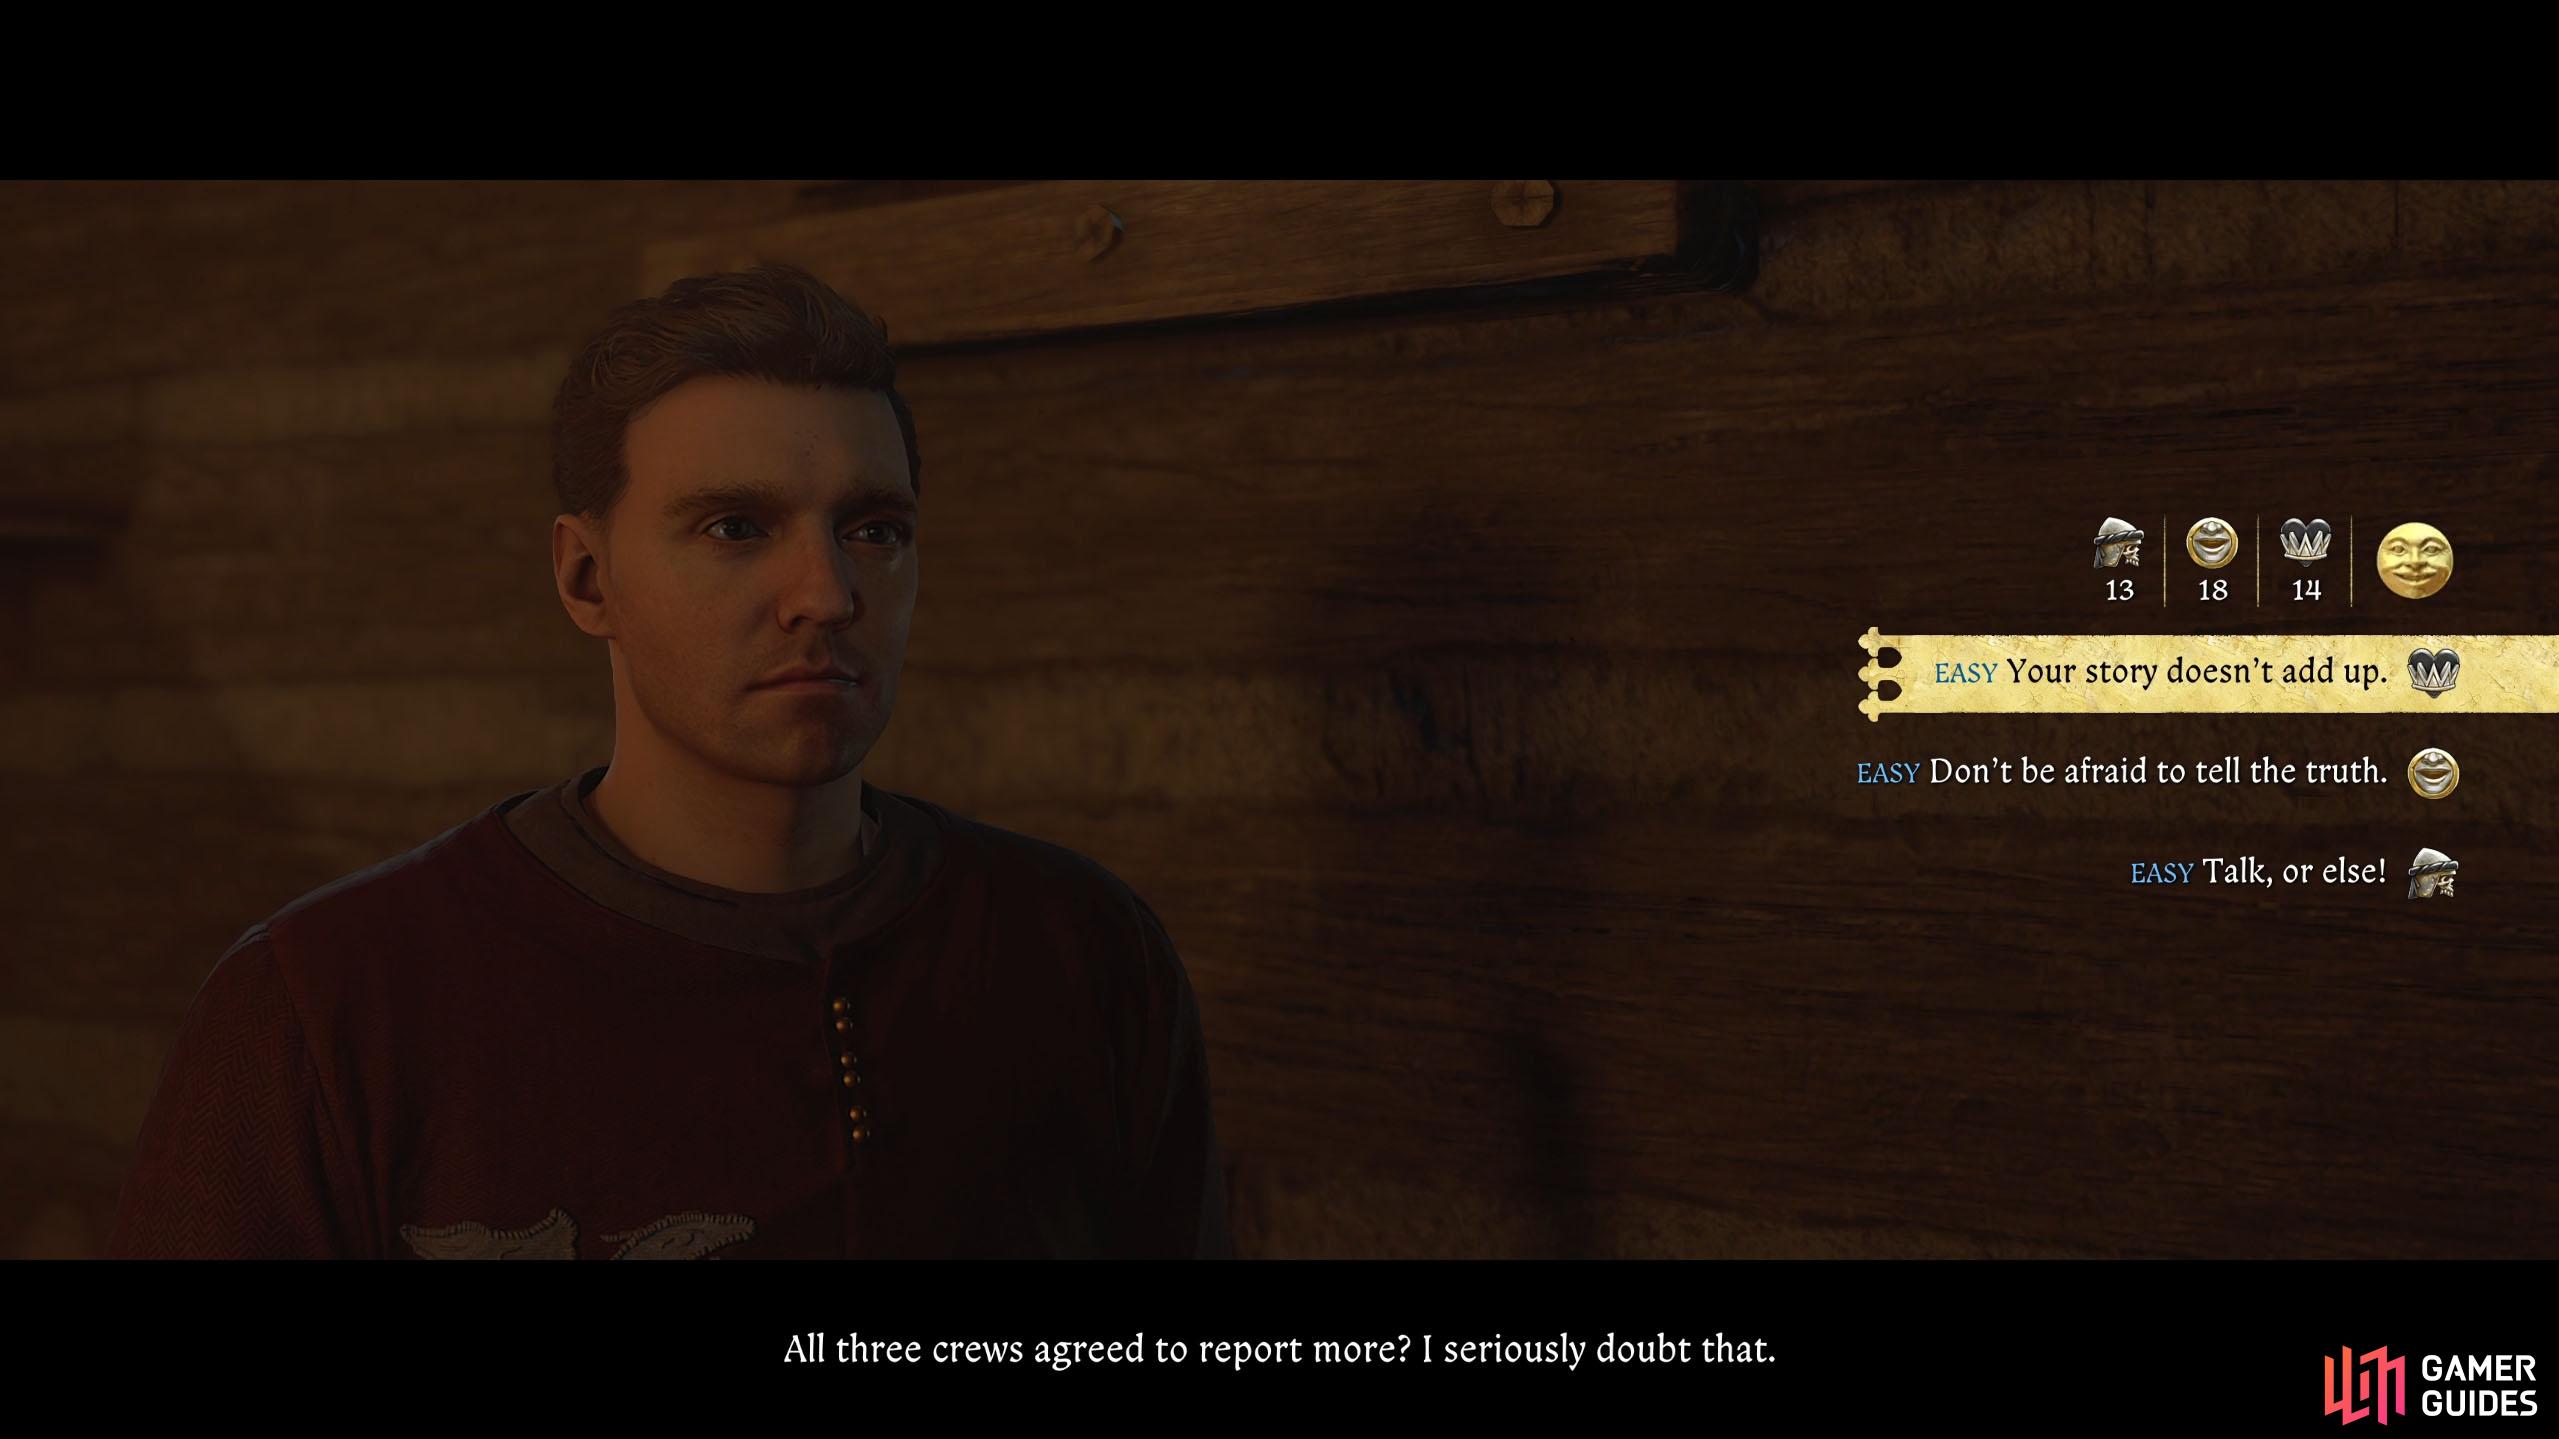
You can find Herrmann in the adjacent room to Christian’s office. If you can’t see him, he may be in bed. (left), Tell him that he shouldn’t be afraid, and he’ll open up to you. (right)
That’s all you can do with Herrmann, so now it’s time to talk to Fett. You should be able to find Fett in the canteen area, around the corner from Christian’s place. Speak to him, and like Herrmann, he’ll deny the accusations at first. The easiest check to pass here is the presence speech check, but any will do. He’ll tell you the operation, and you can ask him a bunch of questions if you like, but once again, no fingers point toward Vavak.
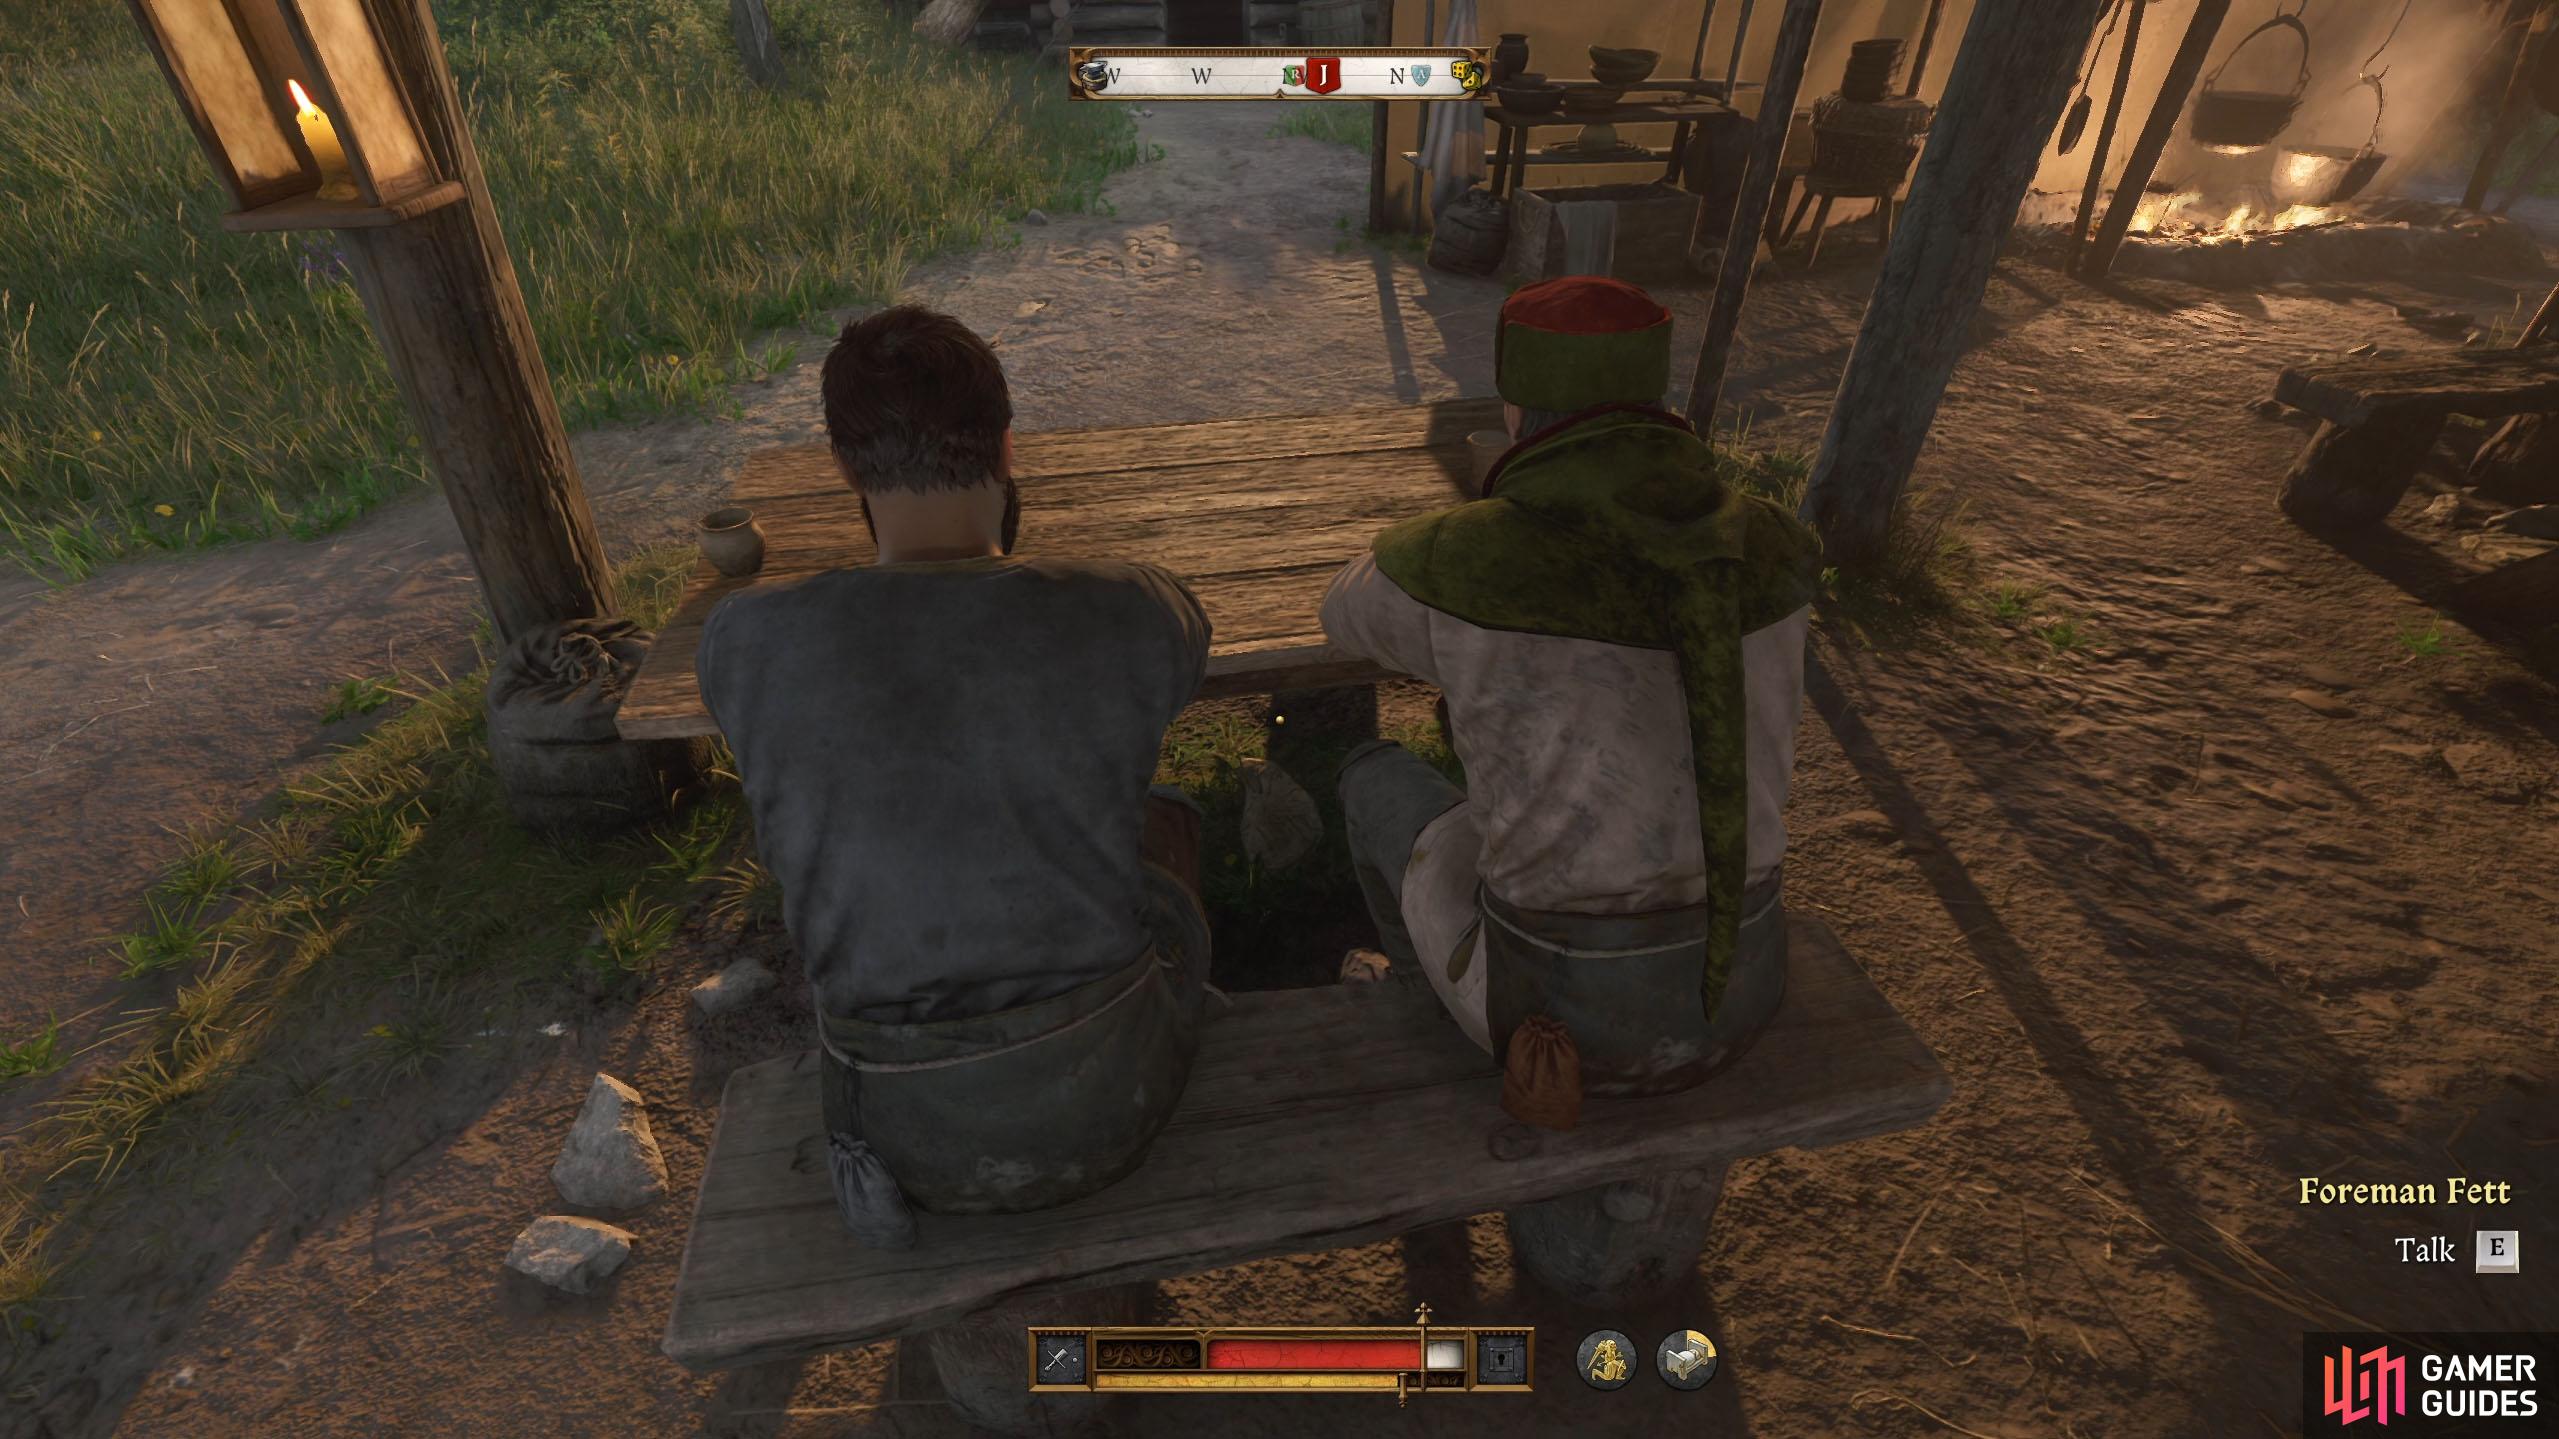

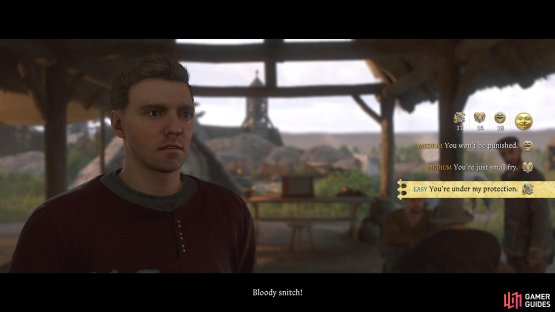
(1 of 2) Fett will spend his day in the canteen.

Fett will spend his day in the canteen. (left), Telling him he’s under your protection will get him to speak. (right)
Return to Christian
Once again, return to Christian and tell him the outcome of your findings, and he’ll tell you that it all leads to the smelting works and that you should talk to the owner, Buresh, who is a sly and cunning man. He suggests playing the part of a nobleman, but you’ll also have to dress the part to convince Buresh.
Go to the nearest tailor (![]() Kuttenberg has a few), purchase clothing (not armor) for each part of your body, and purchase the pieces that give you the highest charisma. Before you’re ready to go, we recommend having the full works at the bathhouse for a bonus to charisma, as well as making sure you’re fully rested.
Kuttenberg has a few), purchase clothing (not armor) for each part of your body, and purchase the pieces that give you the highest charisma. Before you’re ready to go, we recommend having the full works at the bathhouse for a bonus to charisma, as well as making sure you’re fully rested.
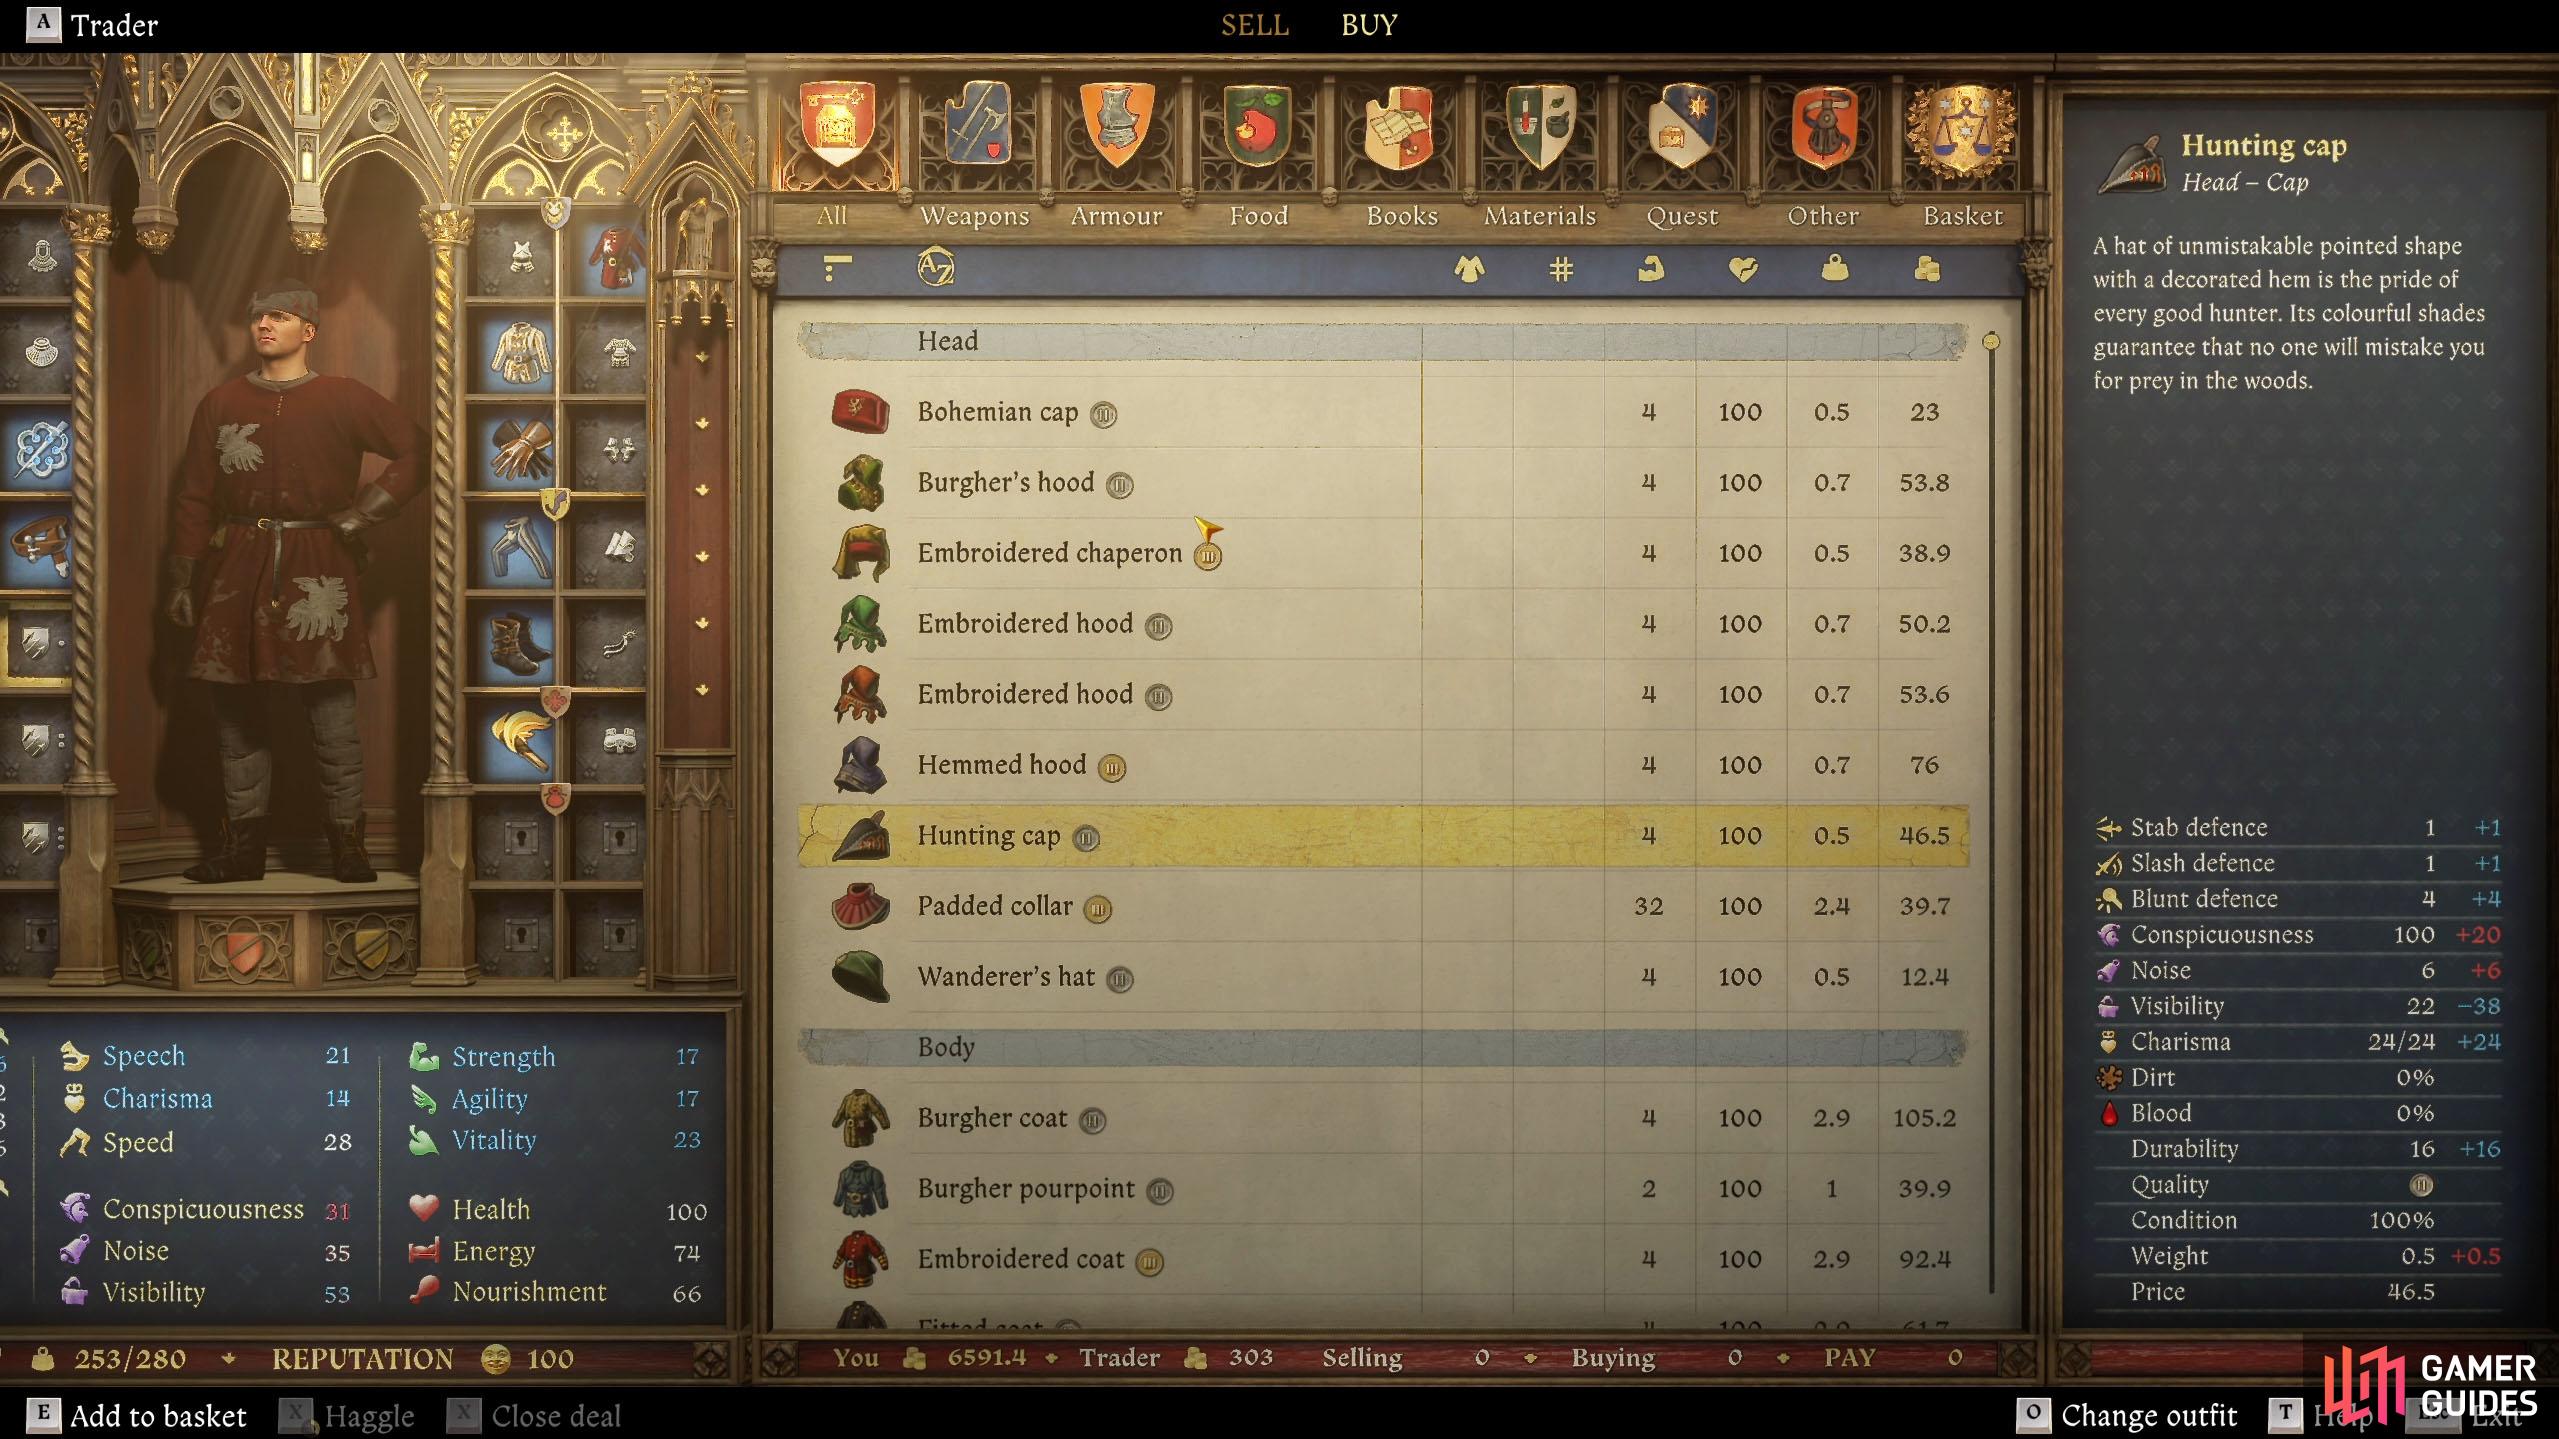
Purchase clothing that has the highest charisma. Make sure it’s not armor.
Talk to Buresh
Fast travel to Grund, and head over to the tavern to find Buresh. Before you speak to him, make sure you don’t have any weapon equipped (a torch is fine), as it’ll spook him. He’ll tell you that he’s not interested in selling any smelters, so tell him you just want to take a look, and he’ll agree to your request. He’ll give you a letter of safe conduct, permitting you to be in the area. Ask him the follow-up questions to find out that the silver is under lock and key, and only a few have access to it.

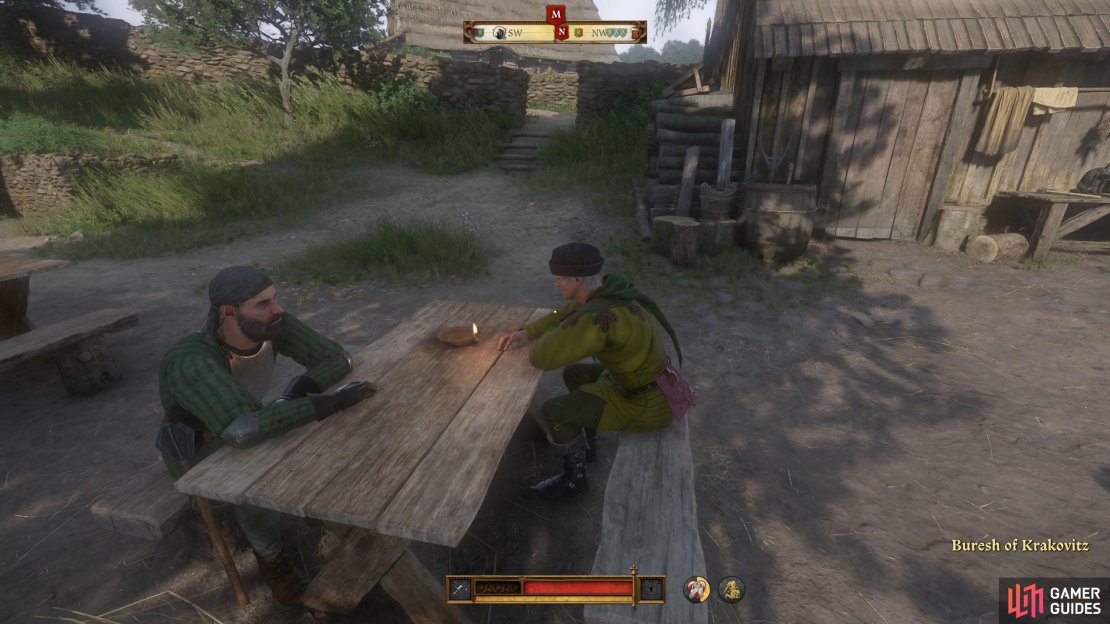
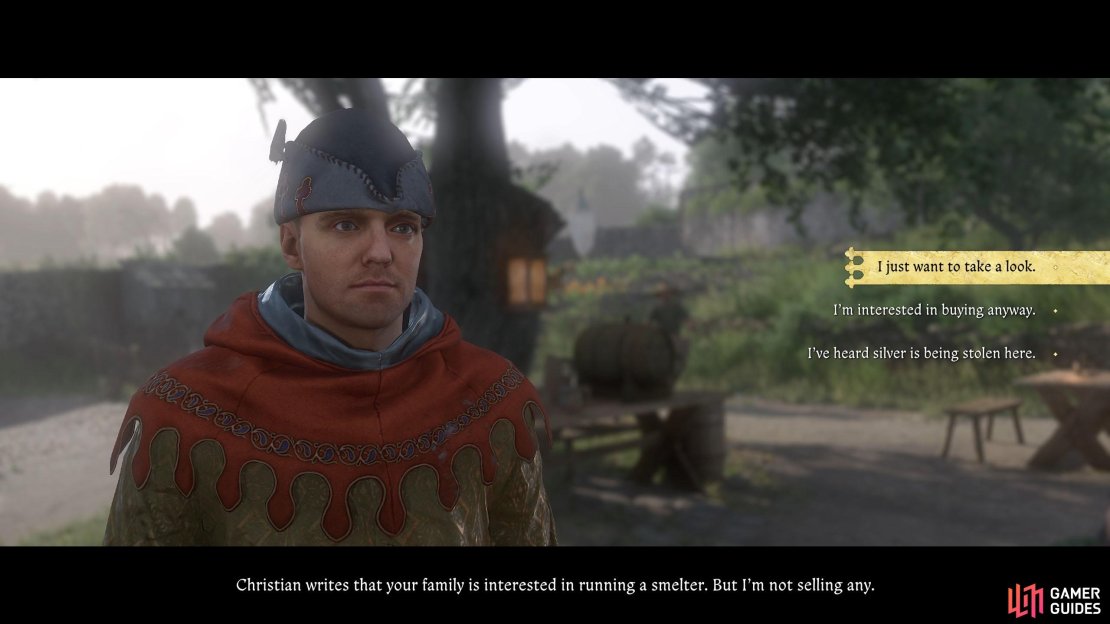
(1 of 3) You can find Buresh in the tavern located in the south of Grund.
Search the Smelters Workshop
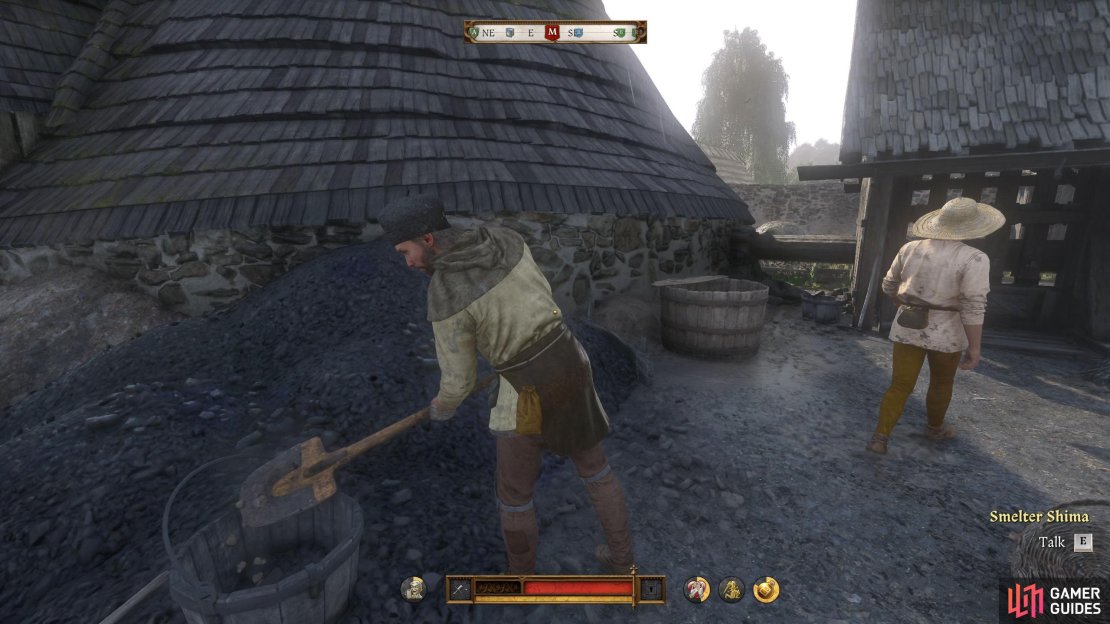
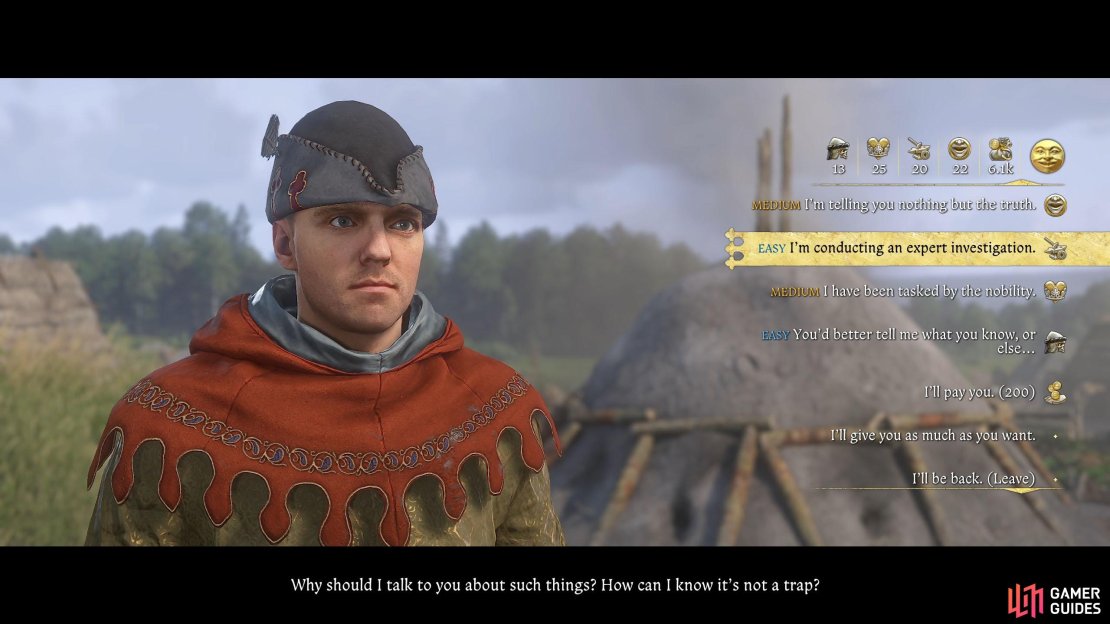
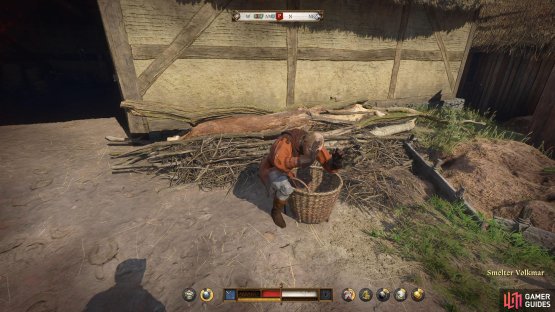
Exit the tavern, follow the northwest path, and the smelters’ workshop will be on your left. Inside, look for Smelter Shima, and if you can’t find him, talk to a random smelter who should point you in the right direction. Speak to Shima, and he’ll tell you to meet him outside. Follow him and speak to him when he stops, and then tell him that Christian sent you. He’ll tell you that he’s not sure it’s a trap, and you’ll be met by a speech check.
The easiest check is the intimidation check, but we recommend selecting the persuasion option if it’s not too high for you. He’ll tell you that Volkmar, the head smelter, who’s been taking the silver. It makes sense, as he just purchased the stables in Grund, and there’s no way he could’ve done that on his current wages.
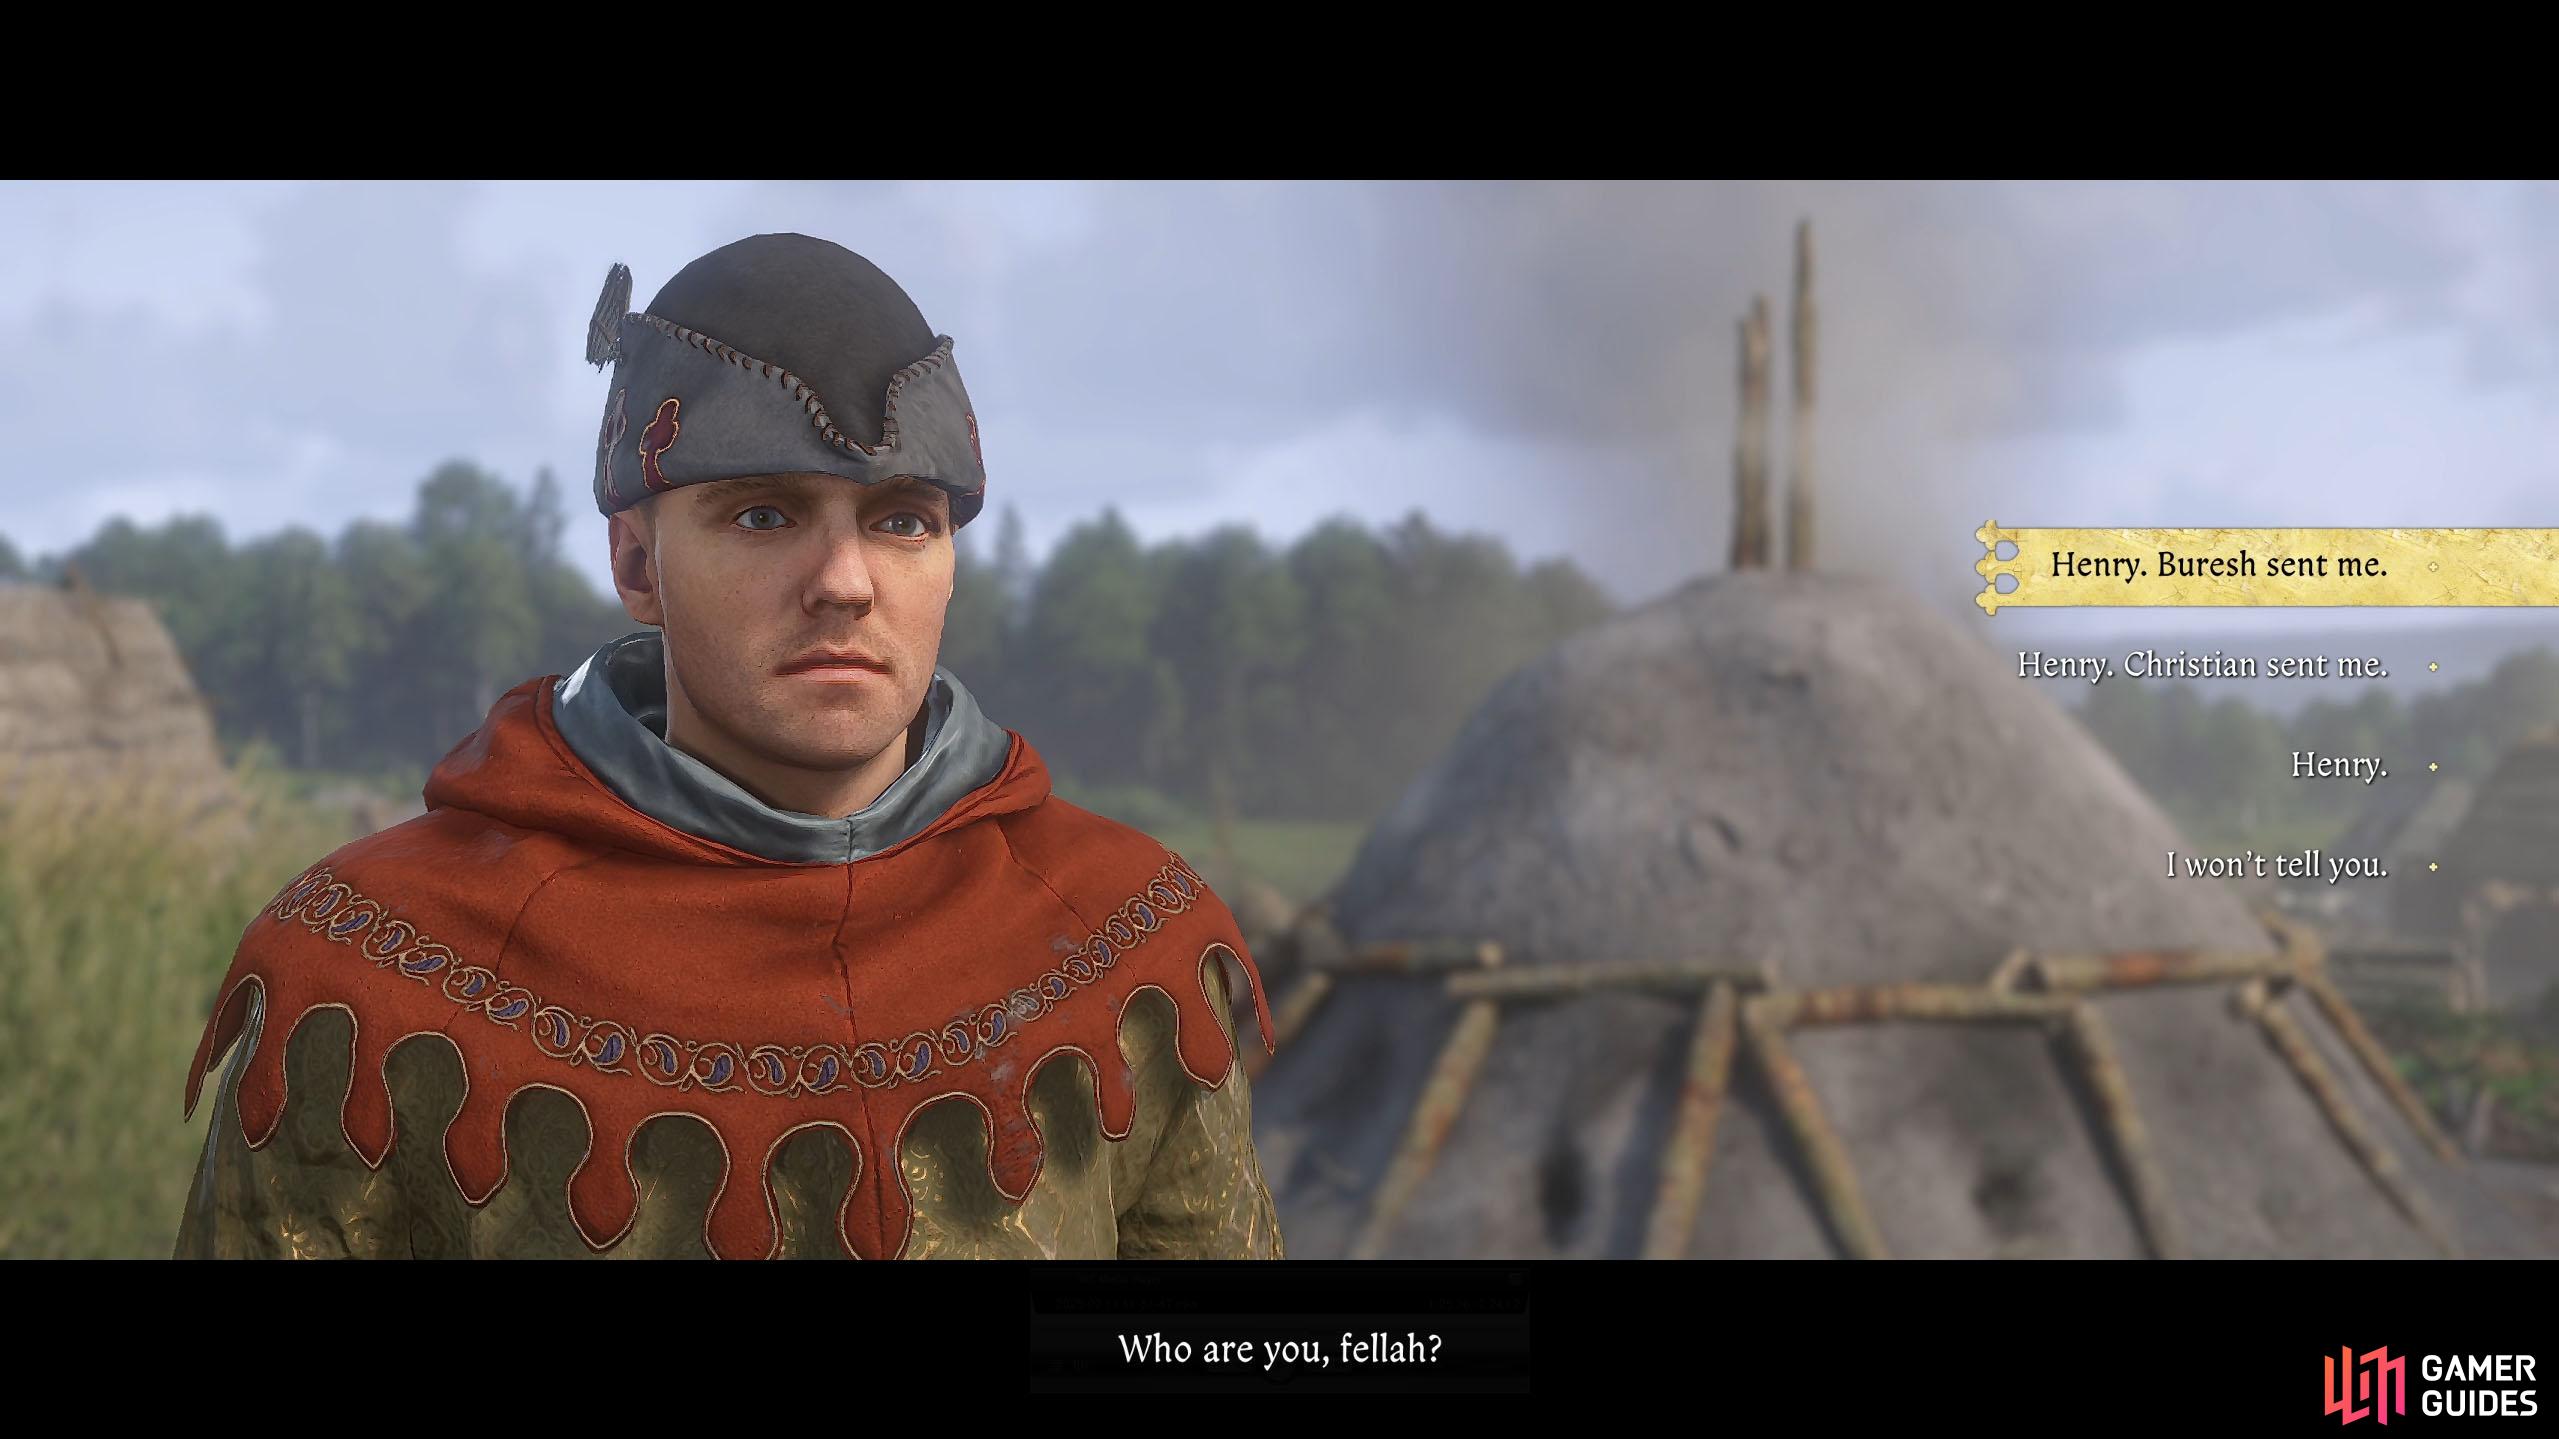

(1 of 3) Tell him that Christian sent you.
Find Volkmar
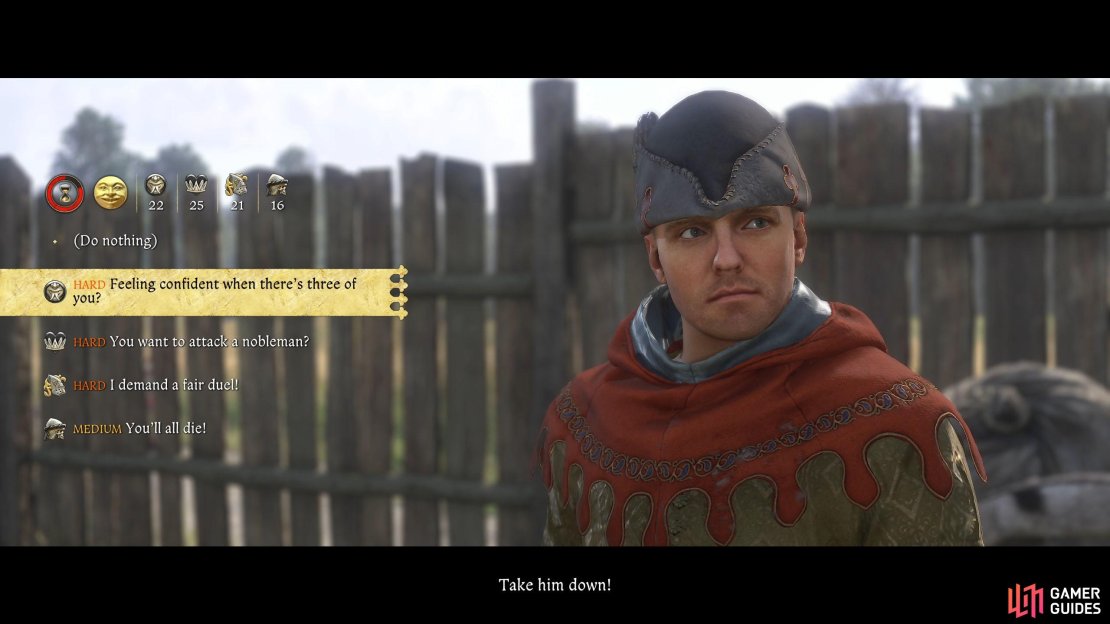
Volkmar can be found at the stables in the east of Grund. Before you go to the stables, get out of your nobleman’s attire, and equip your armor and a weapon. As you approach Volkmar, he’s been tipped off by Buresh, and he has a small army of bodyguards with him. You’ll get a small speech check before a battle ensues, and if you pass the presence check, you can demand a duel, which gives you a much better chance of winning.


(1 of 3) Volkmar will be at the stables in Grund.
Although this removes two from the fight, you still have to defeat the not-so-little Nary. He has some plate armor pieces and wields a mace, so you want to masterstrike whenever possible to avoid taking hard hits. Nary packs a punch, but he can’t take one, and two or three well-timed hits should be enough to put him down. Once you’ve defeated him, patch up any wounds first, and then speak to the cowering Volkmar.
Tell him to spill the beans and he’ll blame Buresh. Ask him to tell you the full story, and you’ll discover how it all began. Also, you’ll find out that the silver gets taken to an abandoned shaft near ![]() Old Kutna that they use as a mint, and you’ll get a map of the hidden location. Before you leave Volkmar, you can decide what to do with him. You can let him go, kill him, or let him go for a fee. If you take the fee, you’ll receive 100 Groschen.
Old Kutna that they use as a mint, and you’ll get a map of the hidden location. Before you leave Volkmar, you can decide what to do with him. You can let him go, kill him, or let him go for a fee. If you take the fee, you’ll receive 100 Groschen.


(1 of 2) Speak to the cowering Volkmar by the water tub.

Speak to the cowering Volkmar by the water tub. (left), And either let him go or demand a fee. (right)
Find the Secret Mint
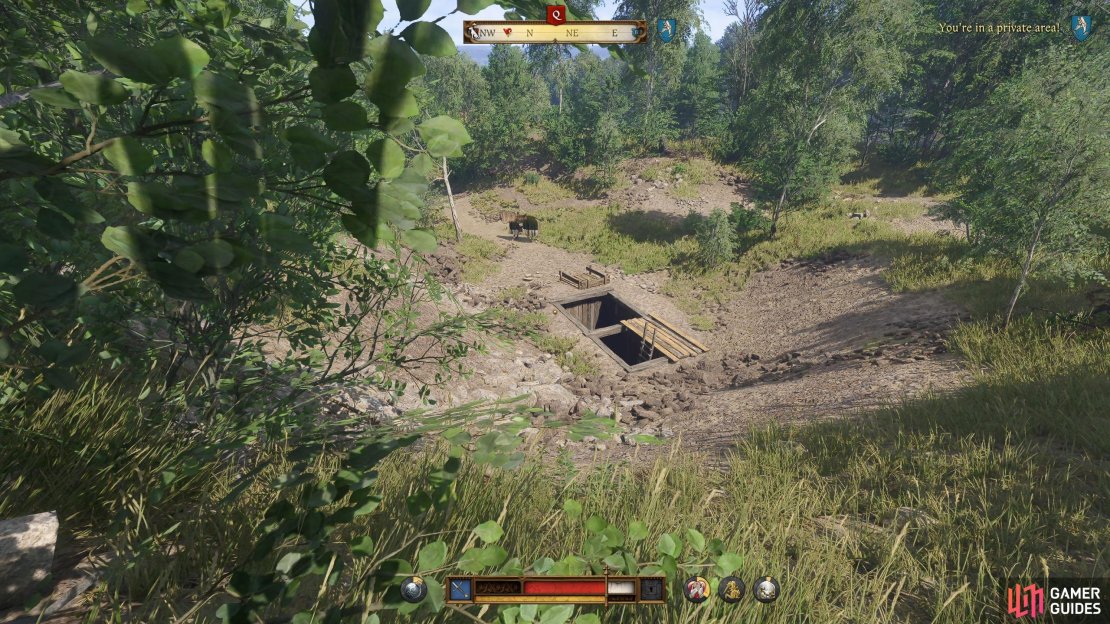
Exit Grund and follow the eastern path until you reach the intersection and continue following the path east. The path will head south through a small settlement, which is considered a private area. There are a couple of soldiers here, so stay off the path to the east to avoid them. The secret mint can be located south of the settlement, at the end of the small, narrow path that branches off from the main path in the settlement.

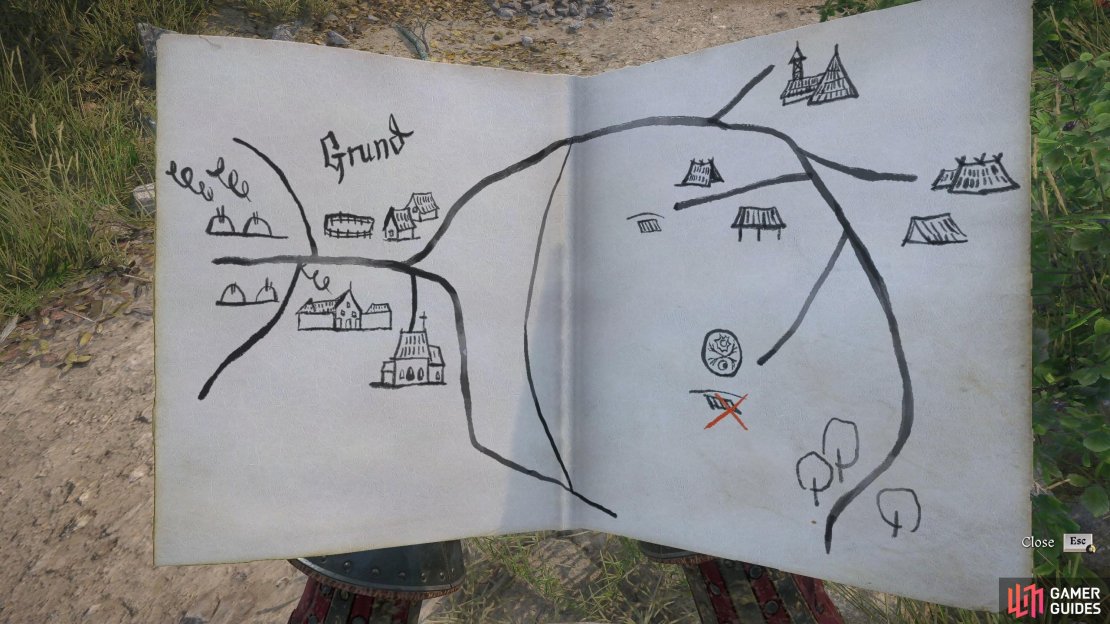

(1 of 3) Shima will give you a map detailing the location of the secret mint.
Once you’ve found the mint, take the ladders down into the shaft. Equip a torch (or drink a ![]() Nighthawk), follow the shaft west until you reach the candlelit area, and then follow it to the next light source. Before you enter the area, save the game, and prepare for a difficult battle. You’ll get a scene and Buresh will give you an ultimatum, accept a bribe, or die. If you accept the bribe, you’ll need to pay 475 Groschen (large bribe), but you will avoid a difficult battle. Alternatively, save your cash, tell him that he can’t buy you, and then prepare yourself for a battle.
Nighthawk), follow the shaft west until you reach the candlelit area, and then follow it to the next light source. Before you enter the area, save the game, and prepare for a difficult battle. You’ll get a scene and Buresh will give you an ultimatum, accept a bribe, or die. If you accept the bribe, you’ll need to pay 475 Groschen (large bribe), but you will avoid a difficult battle. Alternatively, save your cash, tell him that he can’t buy you, and then prepare yourself for a battle.
You’ll have to defeat three heavily armored soldiers, but fortunately for you, you can use the shaft to fight them one-on-one. There are no special tricks for this battle, no Mutt, no time for ranged attacks, and no way to stealth kill them. The only thing you can do to get an advantage is to drink some strength, agility, and vitality potions beforehand. The rest of it relies on your combat skills.


(1 of 2) Buresh will try to bribe you to ignore what you’ve seen. Turn him down and prepare for battle.
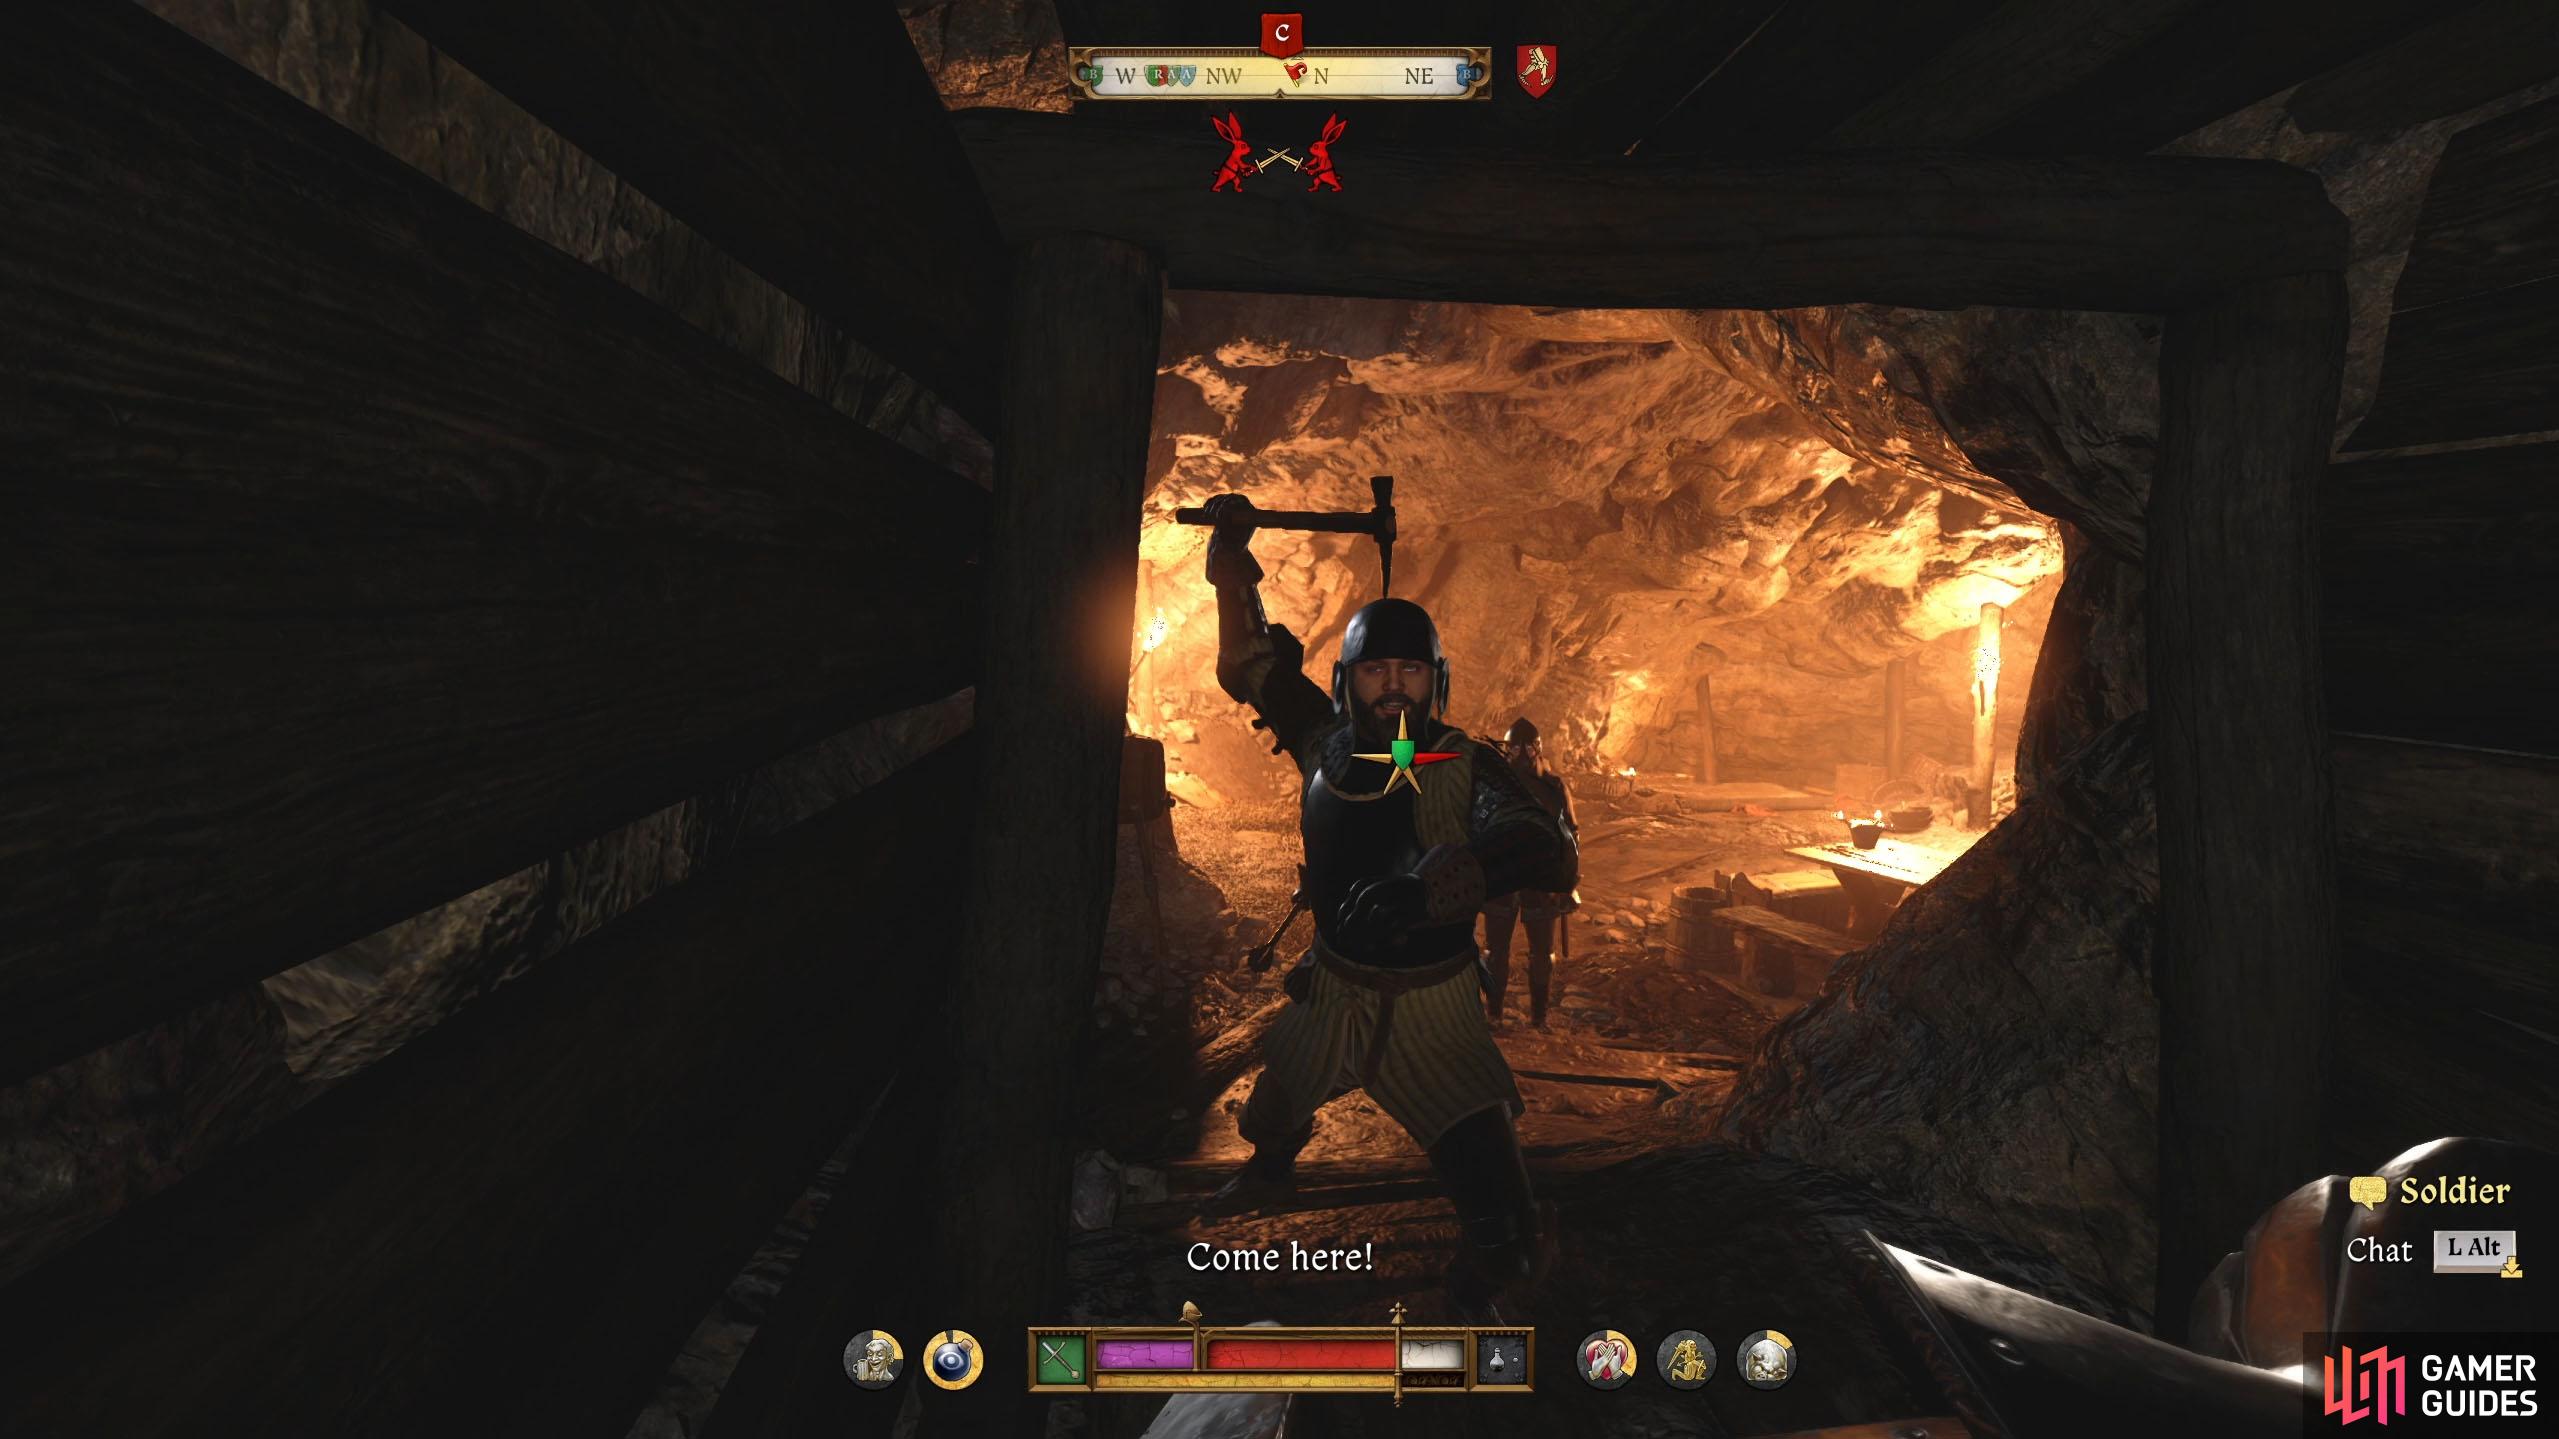
Buresh will try to bribe you to ignore what you’ve seen. Turn him down and prepare for battle. (left), Use the mine shaft to fight the soldiers one on one. (right)
Get Evidence Against Vavak
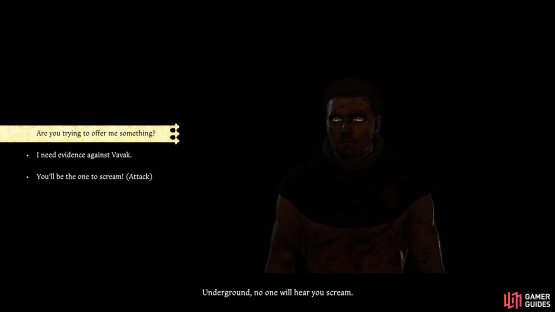
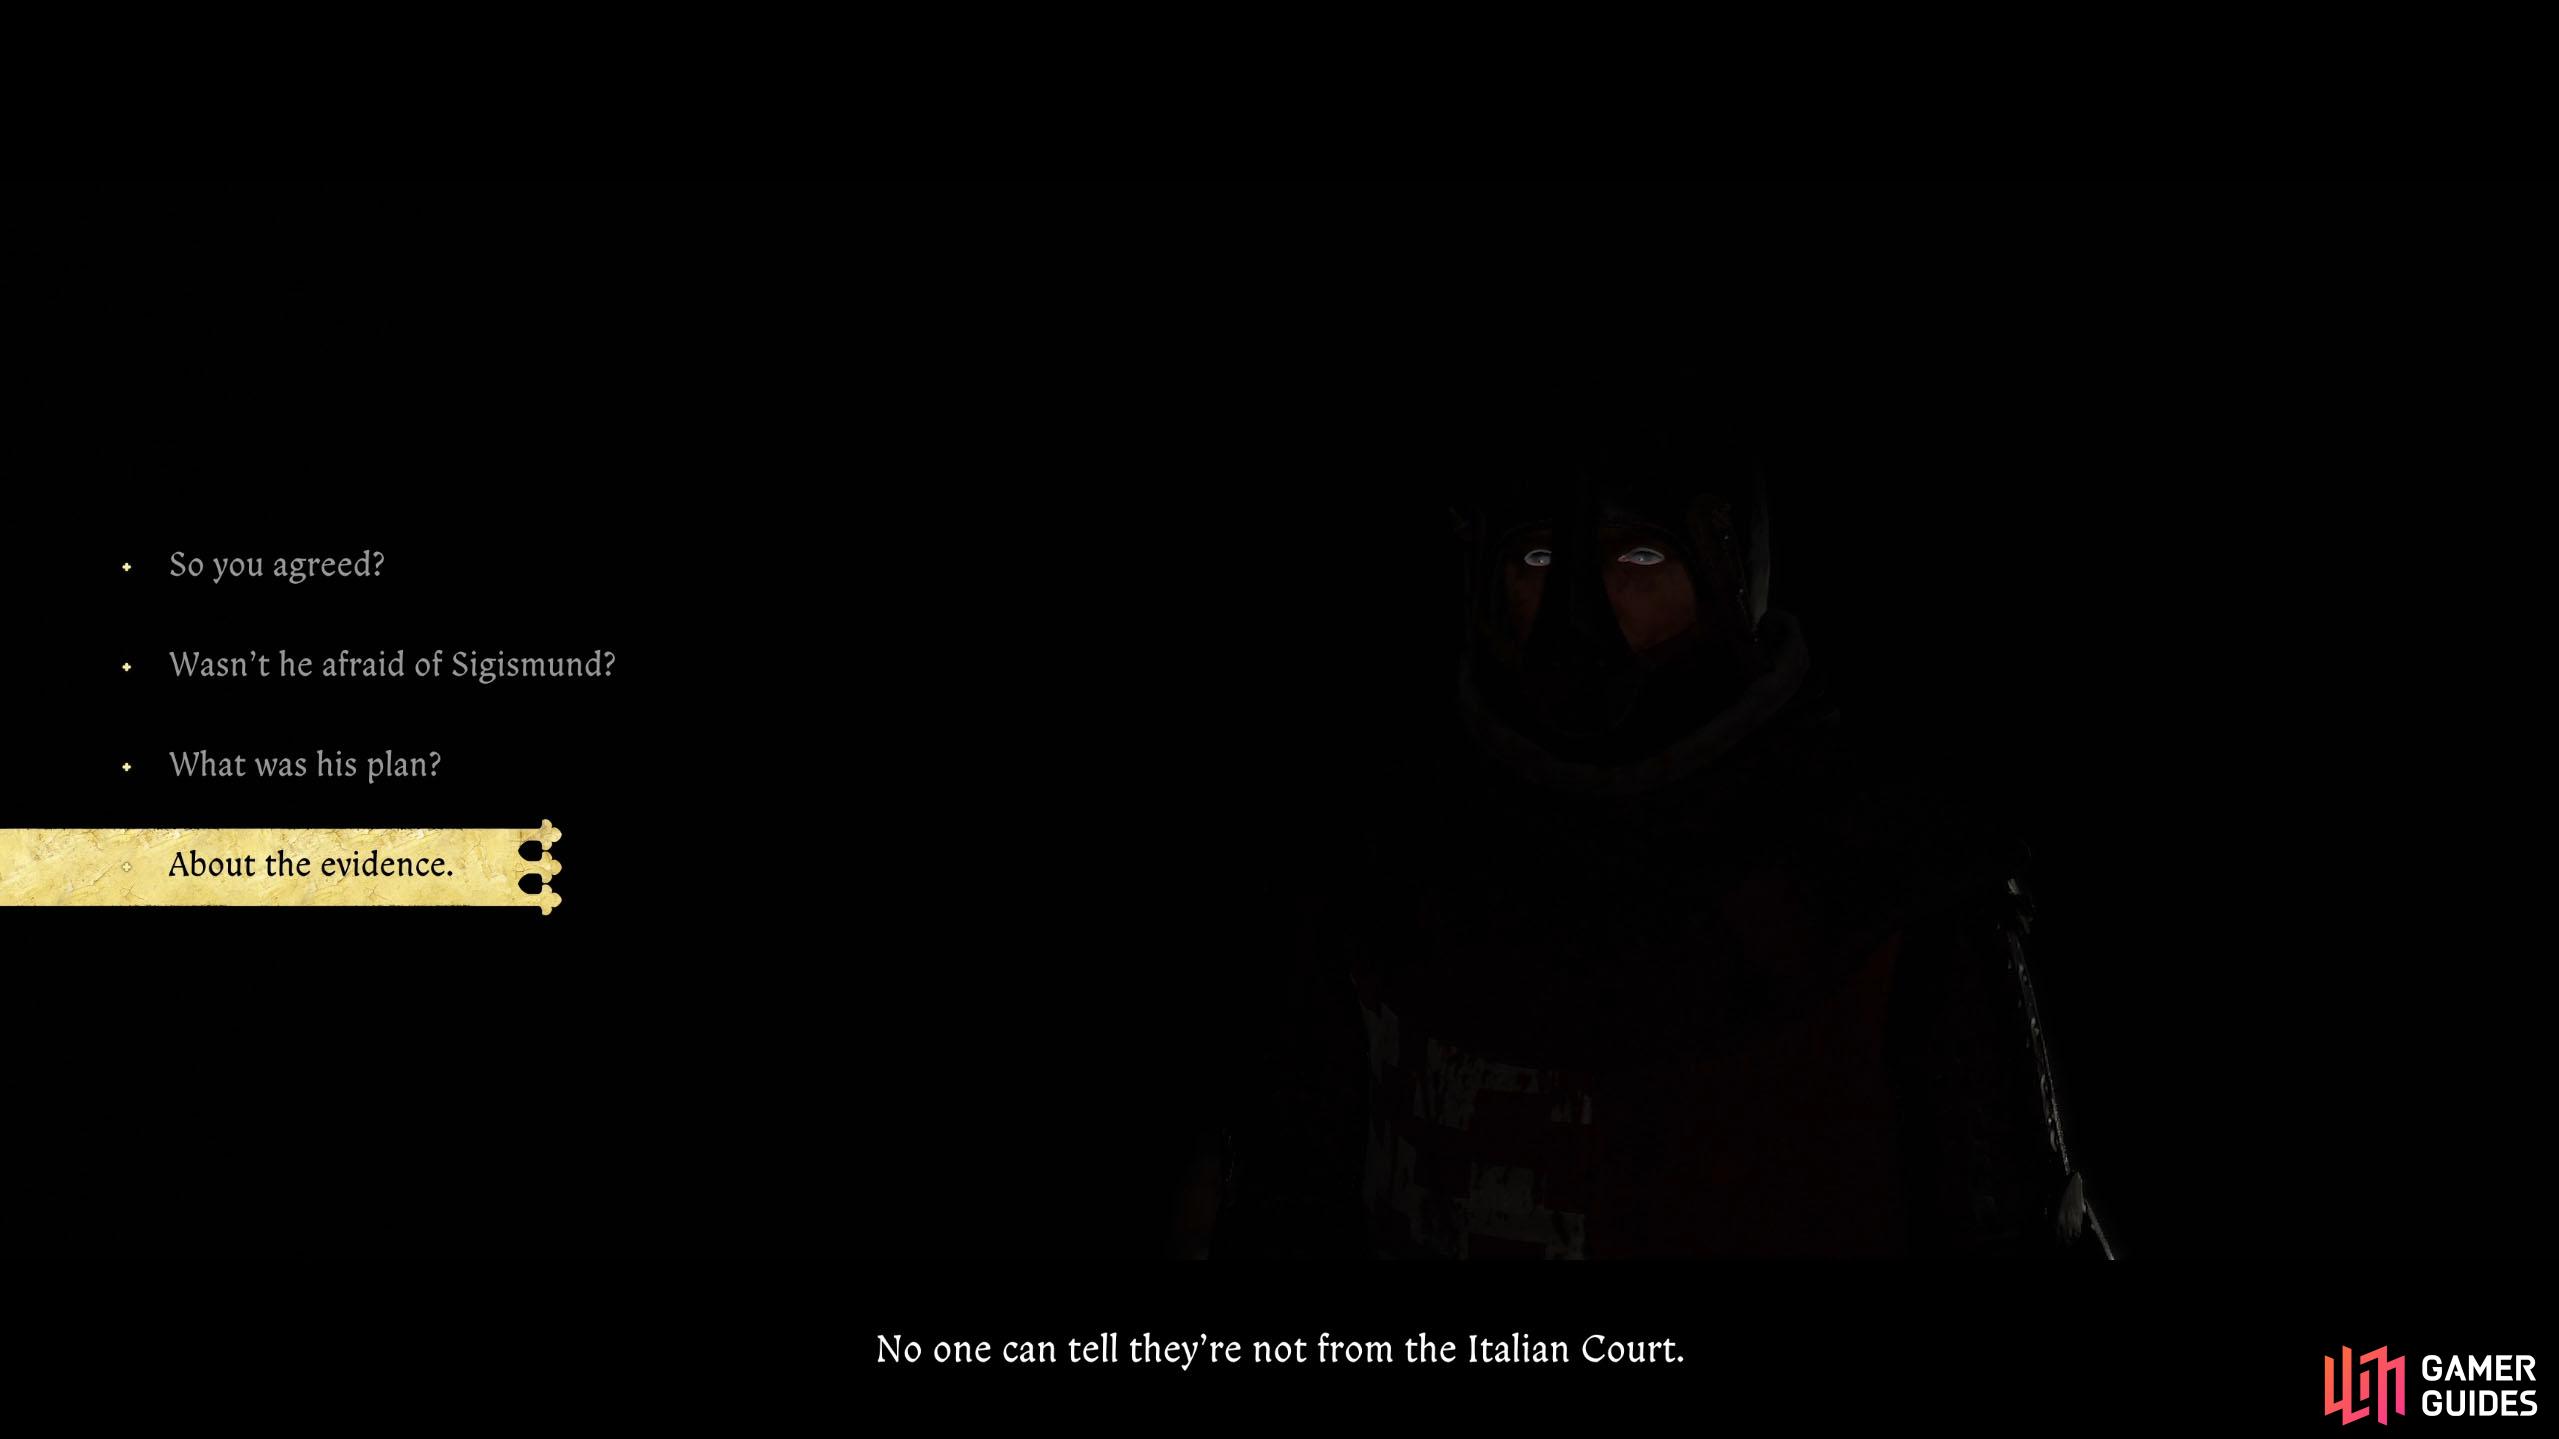
When they’re defeated, loot the bodies for some keys, and then head over to Buresh. Note that you can rest on the mattresses here and Buresh will stay where he is. This is worth doing if you took a beating during the battle. Speak to Buresh and make him tell you what you want to know, and then ask about the evidence. You’ll get a choice where you can let him go, blackmail him for some Groschen, or leave him in suspense. Any answer will work, but only one will net you some Groschen. If you need the cash, tell him to pay you a large bribe to receive 475 Groschen.
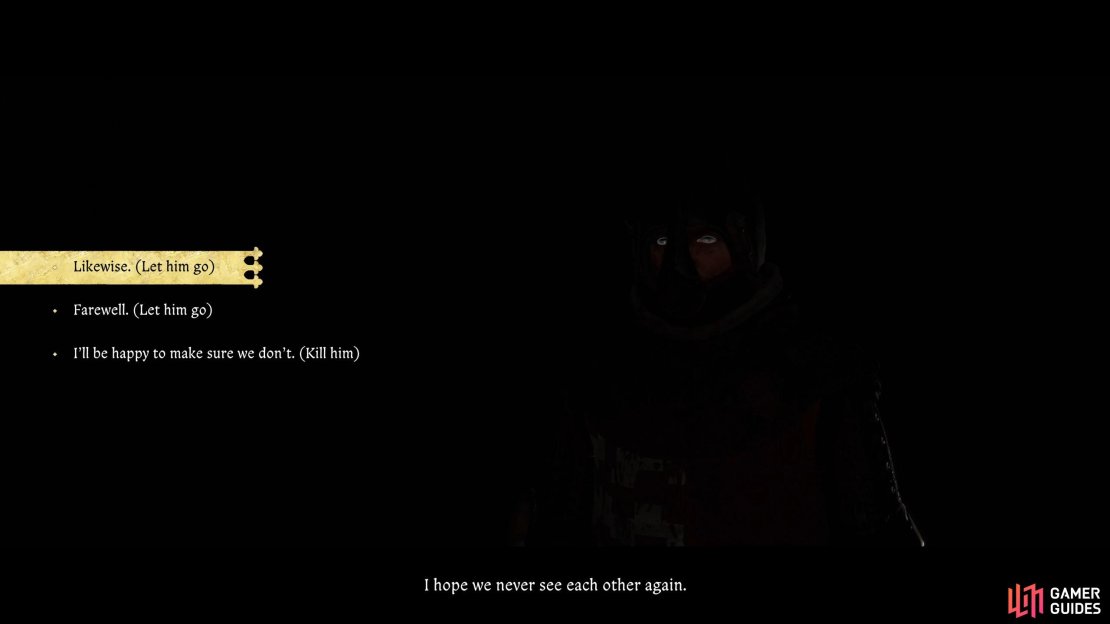
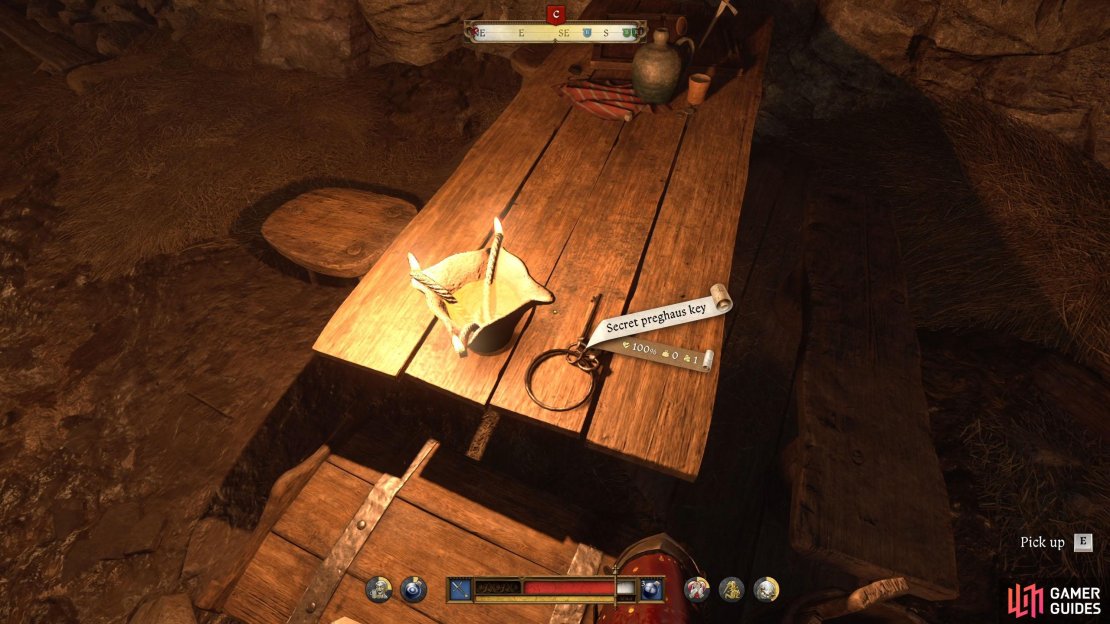
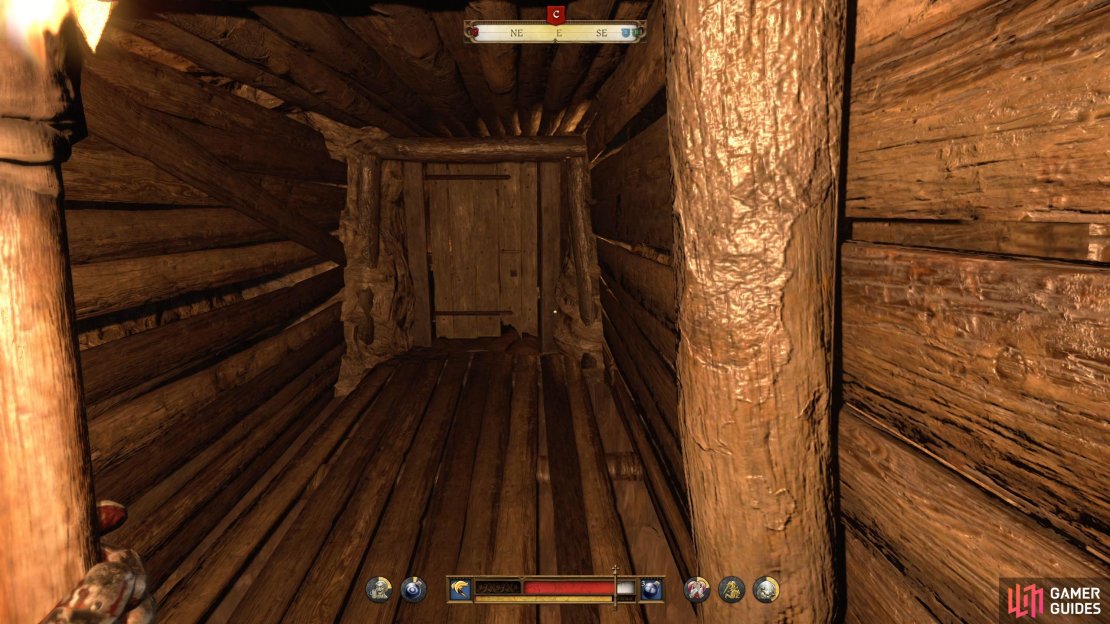
Regardless of your answer, Buresh will place the ![]() Records chest key on the table, and he’ll tell you that he hopes he never sees you again. Let him go if you’re happy to, however, if you kill him, you can loot him for 1000+ Groschen, and loot his Gold Crucifix, which can sell for 1400. Finally, you can find a letter from Vavak to him. The choice is yours. When he’s gone, pick up the key from the table to your right, and enter the door to the east. Note that if you took the soldier’s keys earlier, you can loot the various chests here for a couple of hundred groschens.
Records chest key on the table, and he’ll tell you that he hopes he never sees you again. Let him go if you’re happy to, however, if you kill him, you can loot him for 1000+ Groschen, and loot his Gold Crucifix, which can sell for 1400. Finally, you can find a letter from Vavak to him. The choice is yours. When he’s gone, pick up the key from the table to your right, and enter the door to the east. Note that if you took the soldier’s keys earlier, you can loot the various chests here for a couple of hundred groschens.


Free the Prisoners (Optional)
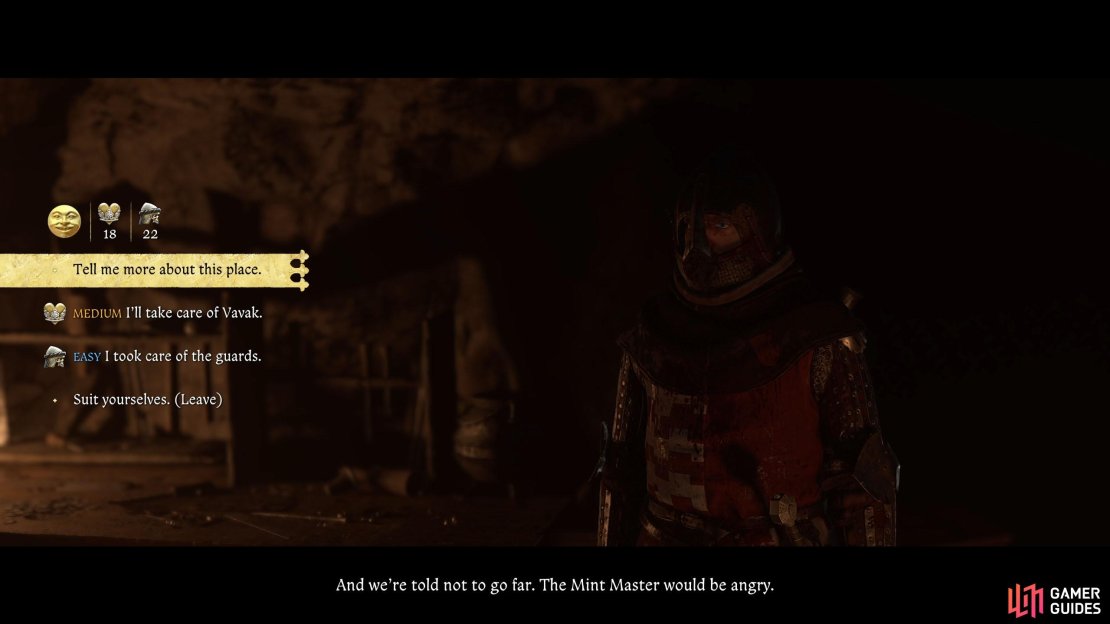
When you enter the coiners room, you’ll find two coiners inside. Speak to them to receive the ![]() Minting die, and tell them you’re here to free them. They won’t want to leave at first due to being scared. Ask them why they don’t want to leave, and you’ll get a speech check.
Minting die, and tell them you’re here to free them. They won’t want to leave at first due to being scared. Ask them why they don’t want to leave, and you’ll get a speech check.
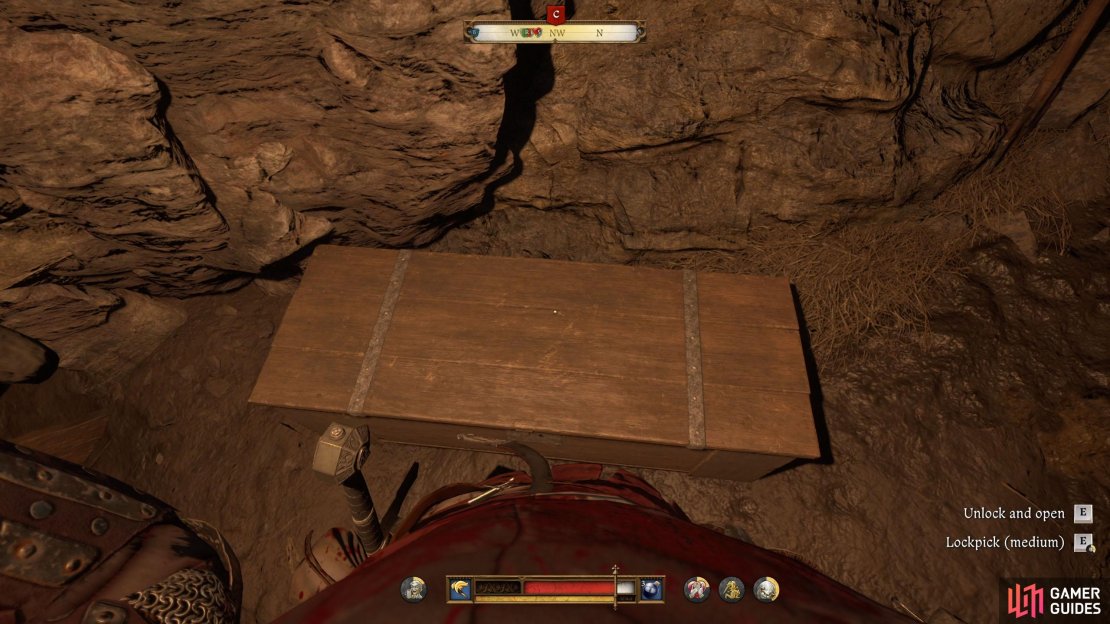
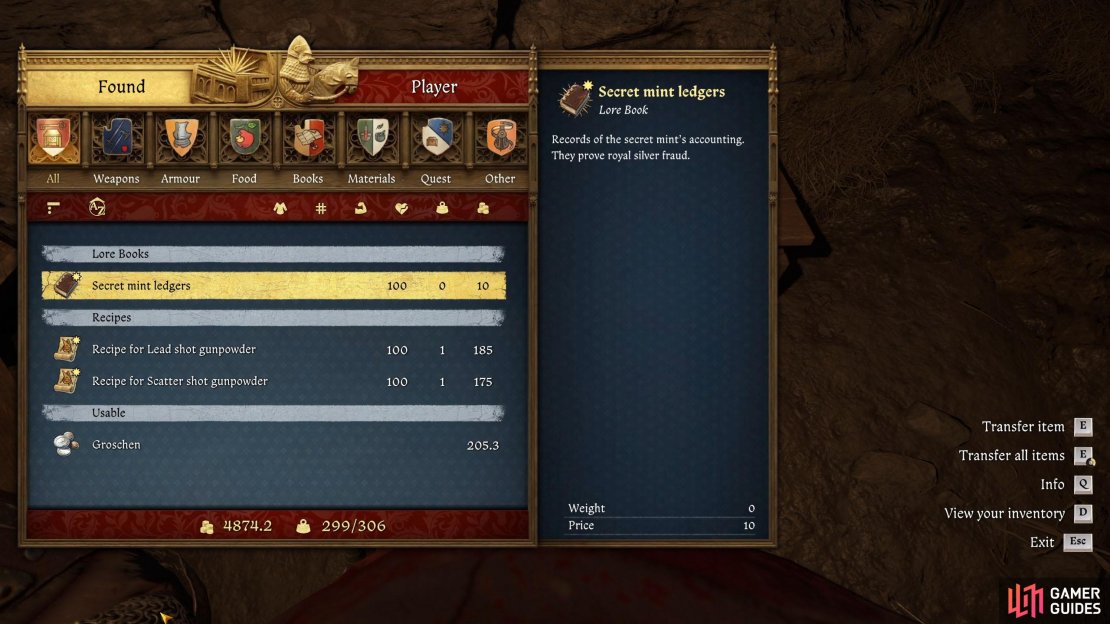
If you’ve dealt with the guards already, tell them you’ve taken care of them, alternatively, tell them you’ll take care of Vavak. This will set them free, and they’ll leave. Search the chest against the northern wall, next to the table, and loot the ![]() Secret mint ledgers as well as everything else. All that’s left to do is to exit the shaft and head back to Christian.
Secret mint ledgers as well as everything else. All that’s left to do is to exit the shaft and head back to Christian.
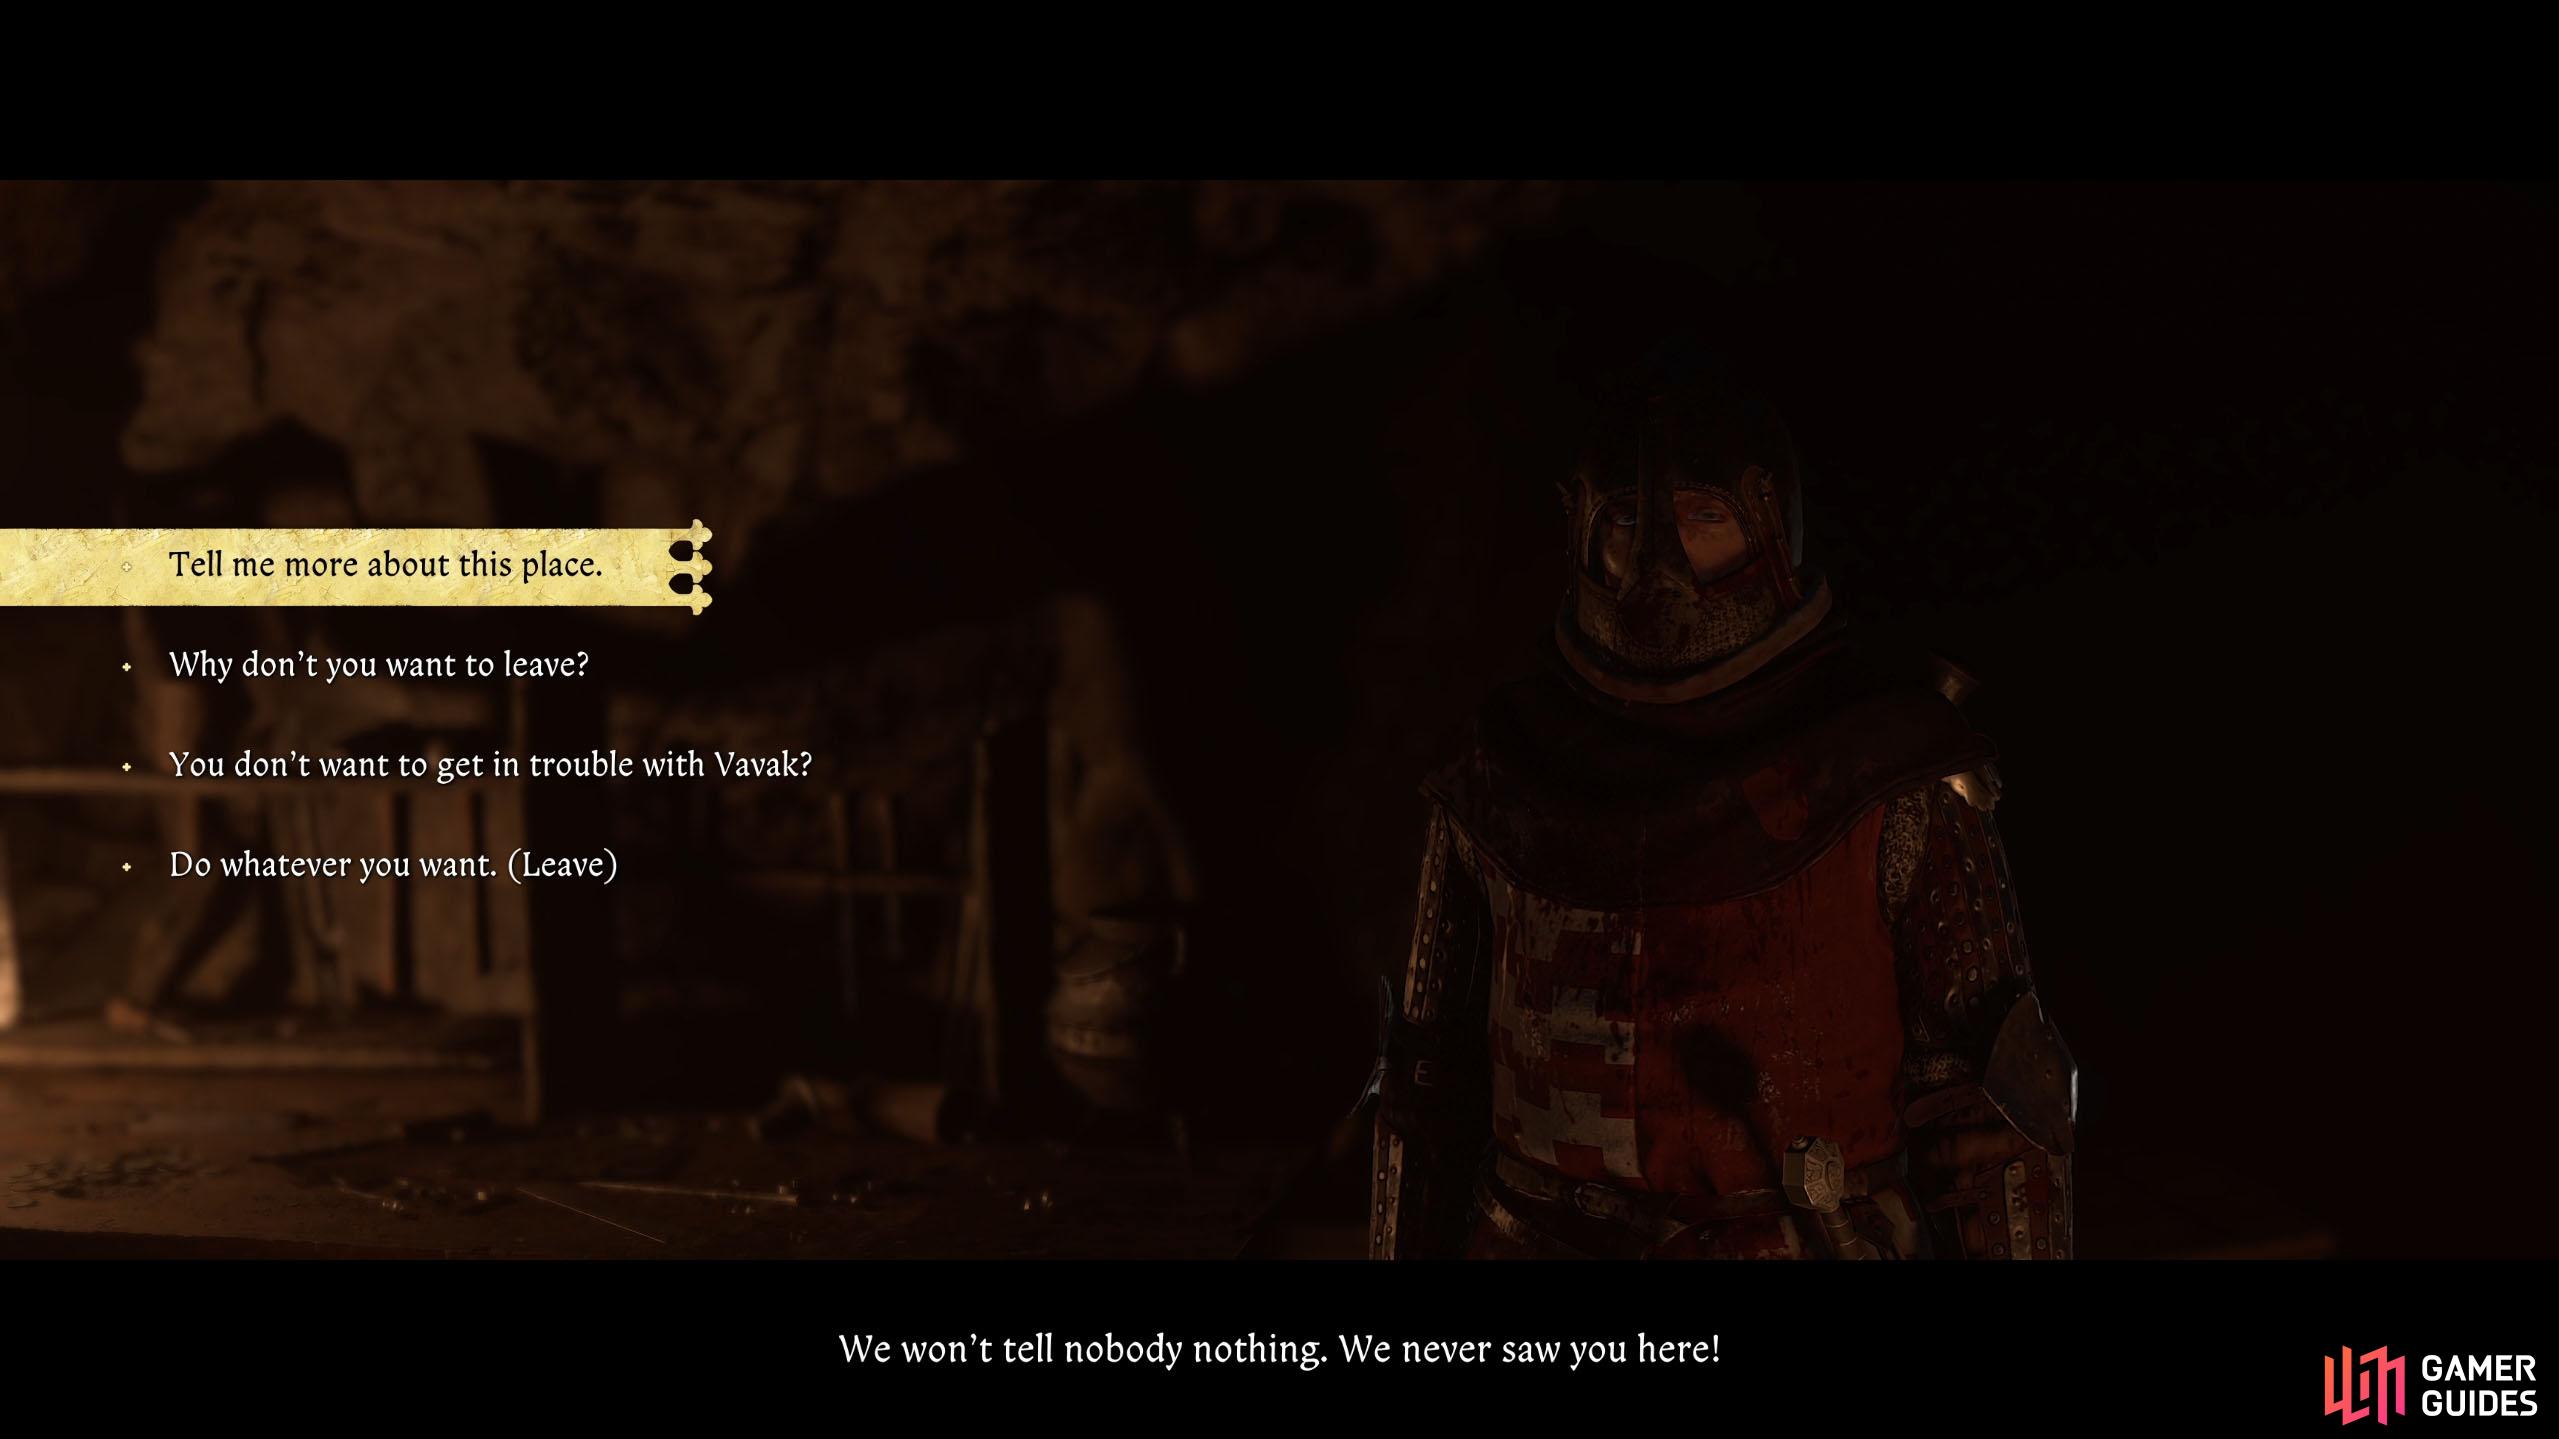
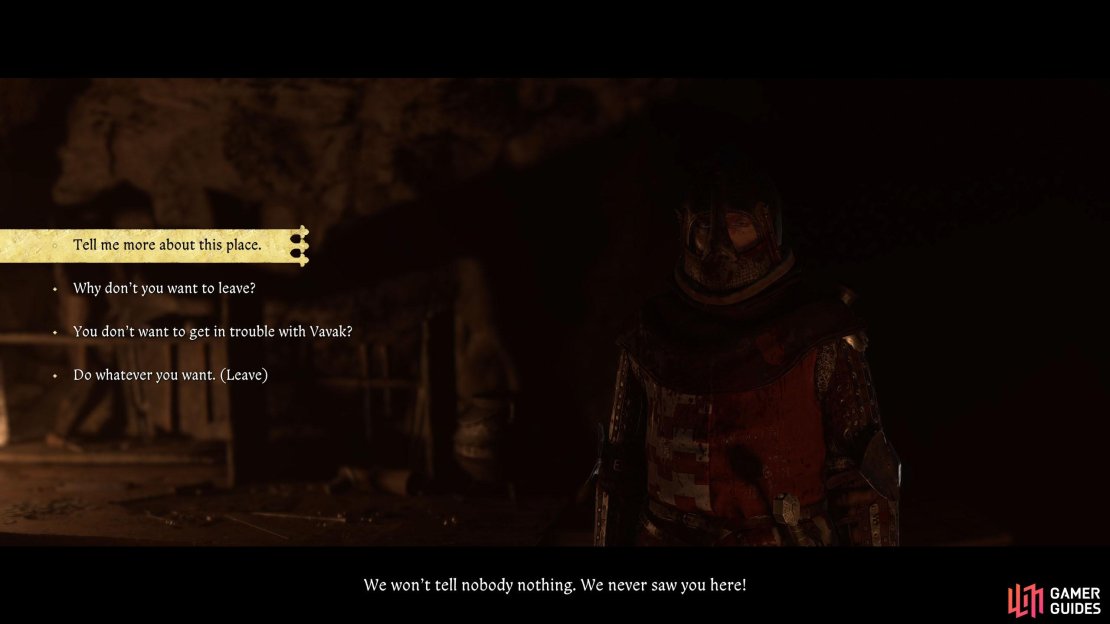
(1 of 4) Ask the prisoners why they don’t want to leave.
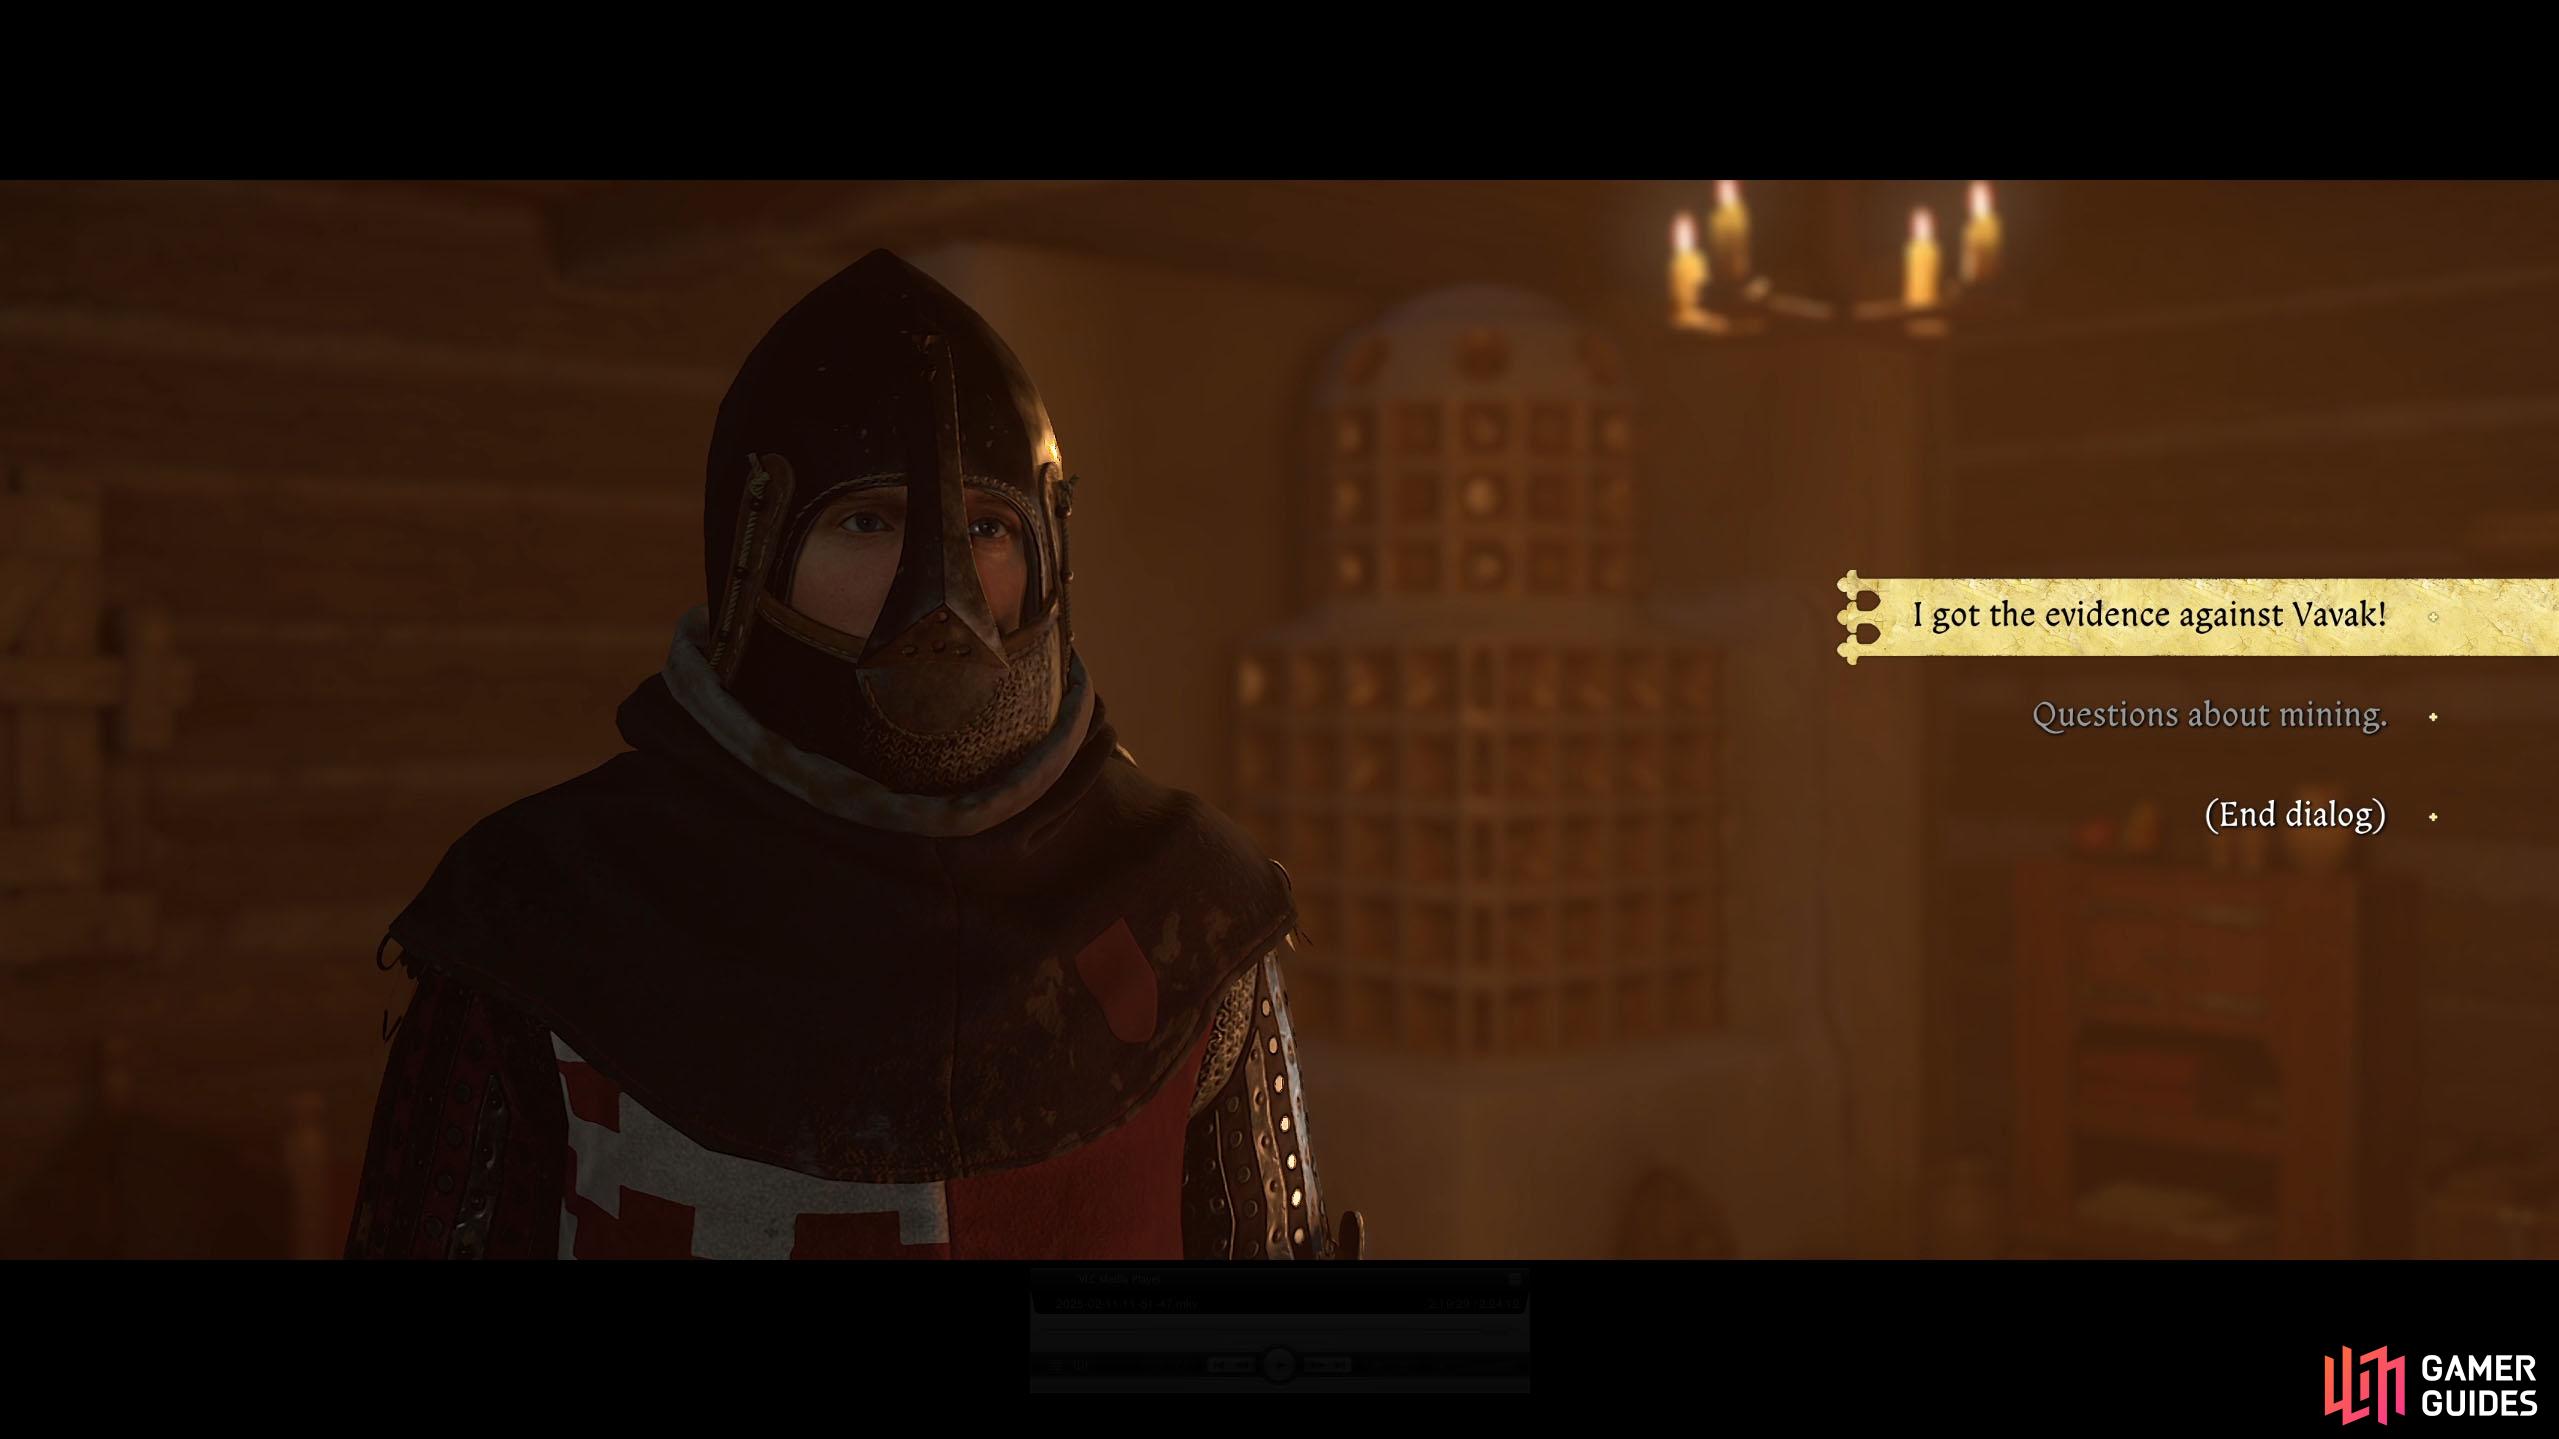
Show Christian the Evidence
Return to Christian, and hand over the evidence. He’ll ask if you had any trouble, and you can be honest if you want. Next, tell him that you freed the prisoners, and he’ll ask about the coin die. Tell him they gave you the die, and that’ll give Christian ideas. He suggests that you and him continue to run the illegal operation yourselves.


(1 of 2) Bring the evidence to Christian.
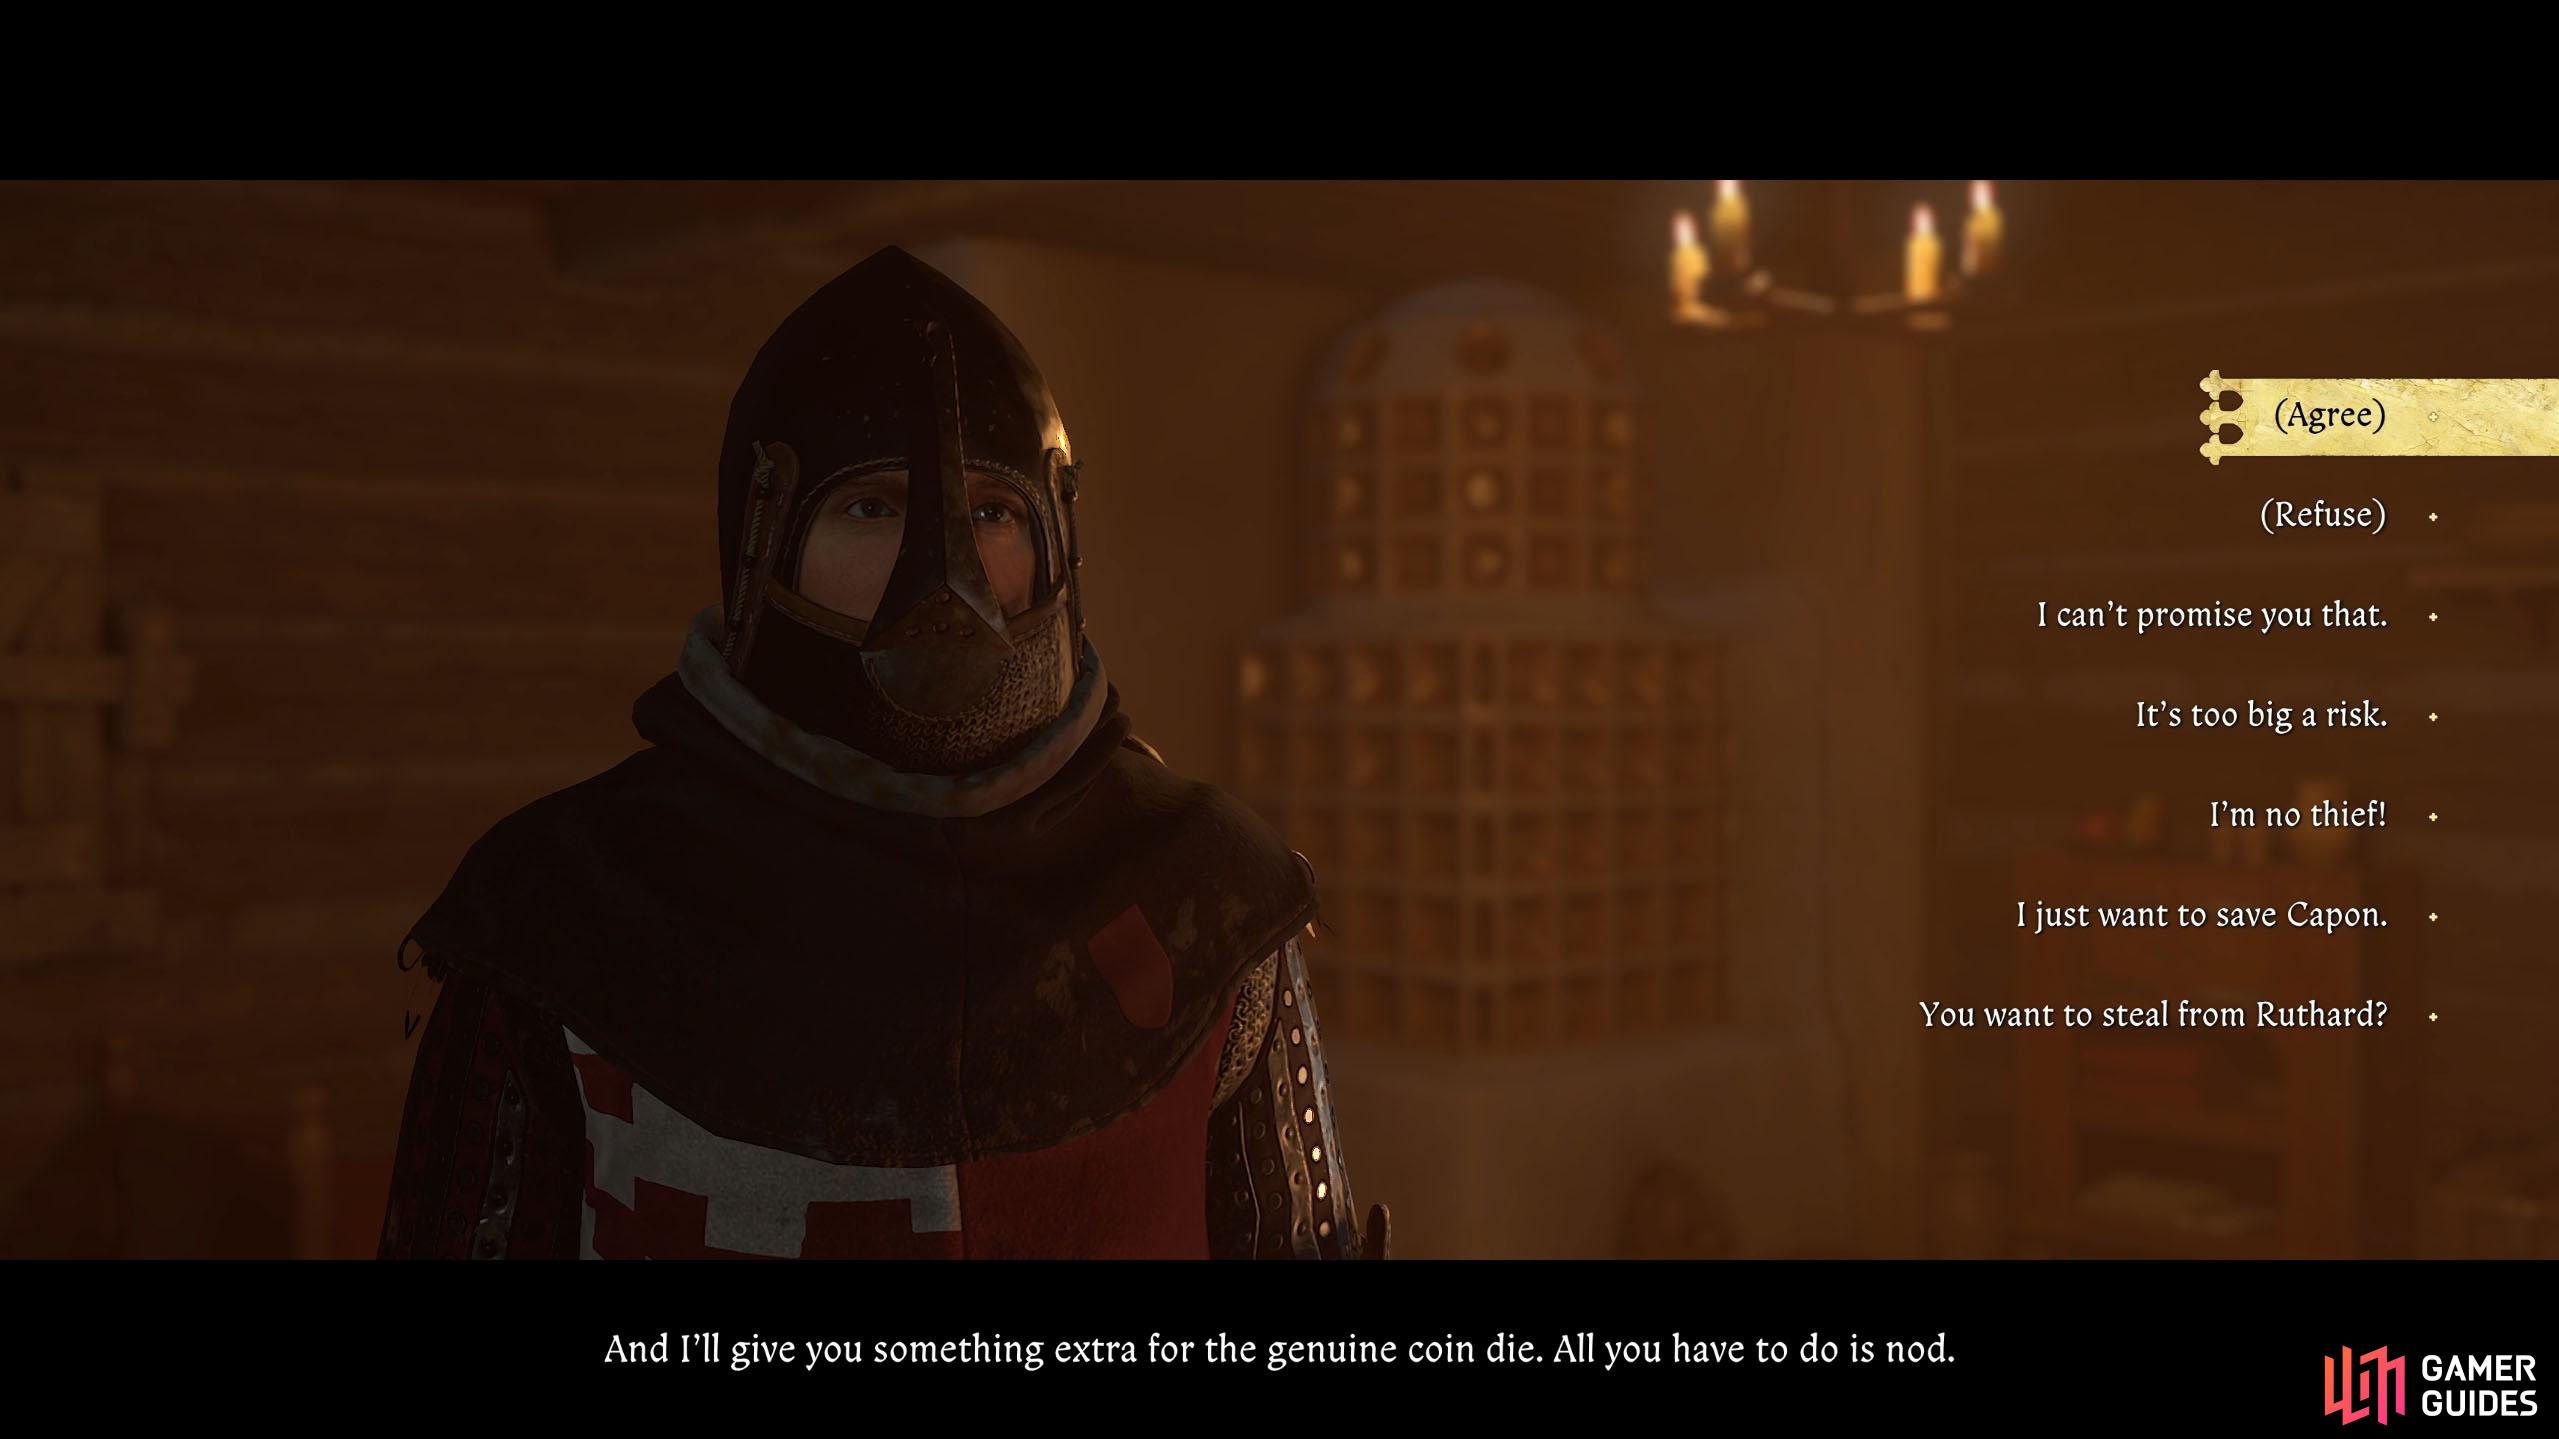
Bring the evidence to Christian. (left), Either accept or deny the partnership in the mint operation. (right)
He’ll hire new people to replace the old, and you’ll both make a fair bit of coin. If you accept his offer, you’ll pocket 625 Groschen and gain some reputation, if not, you’ll lose some reputation, but you’ll keep your dignity. After your conversation, the quest will conclude.
No Comments