
Kuttenberg is a large city with a huge population, and as any settlement of that size, problems are sure to arise to the surface. ![]() Katherine is in dire need of some assistance in working out who killed one of her contacts, something that leads to wild discoveries. Keep reading to learn how to complete
Katherine is in dire need of some assistance in working out who killed one of her contacts, something that leads to wild discoveries. Keep reading to learn how to complete ![]() The Fifth Commandment side quest in Kingdom Come: Deliverance II.
The Fifth Commandment side quest in Kingdom Come: Deliverance II.
The Fifth Commandment is a lengthy quest in Kuttenberg in Kingdom Come: Deliverance II.
Table of Contents
If you want to jump to a specific section, click on the links below.
Starting The Fifth Commandment Quest
You won’t be able to start working on quests found in the ![]() Kuttenberg region until you progress Kingdom Come: Deliverance II’s main story a lot. It’s not until after the Storm quest that you’ll reach Kuttenberg for the first time, and even then, you’ll be locked into the introductory main quests of this region before you can begin exploring this vast new expanse.
Kuttenberg region until you progress Kingdom Come: Deliverance II’s main story a lot. It’s not until after the Storm quest that you’ll reach Kuttenberg for the first time, and even then, you’ll be locked into the introductory main quests of this region before you can begin exploring this vast new expanse.
You’ll next need to begin completing the main quests here until you finish the Into the Underworld quest, as this will introduce you to ![]() Kuttenberg and Katherine’s role here at the moment. Once that’s over, go back to the
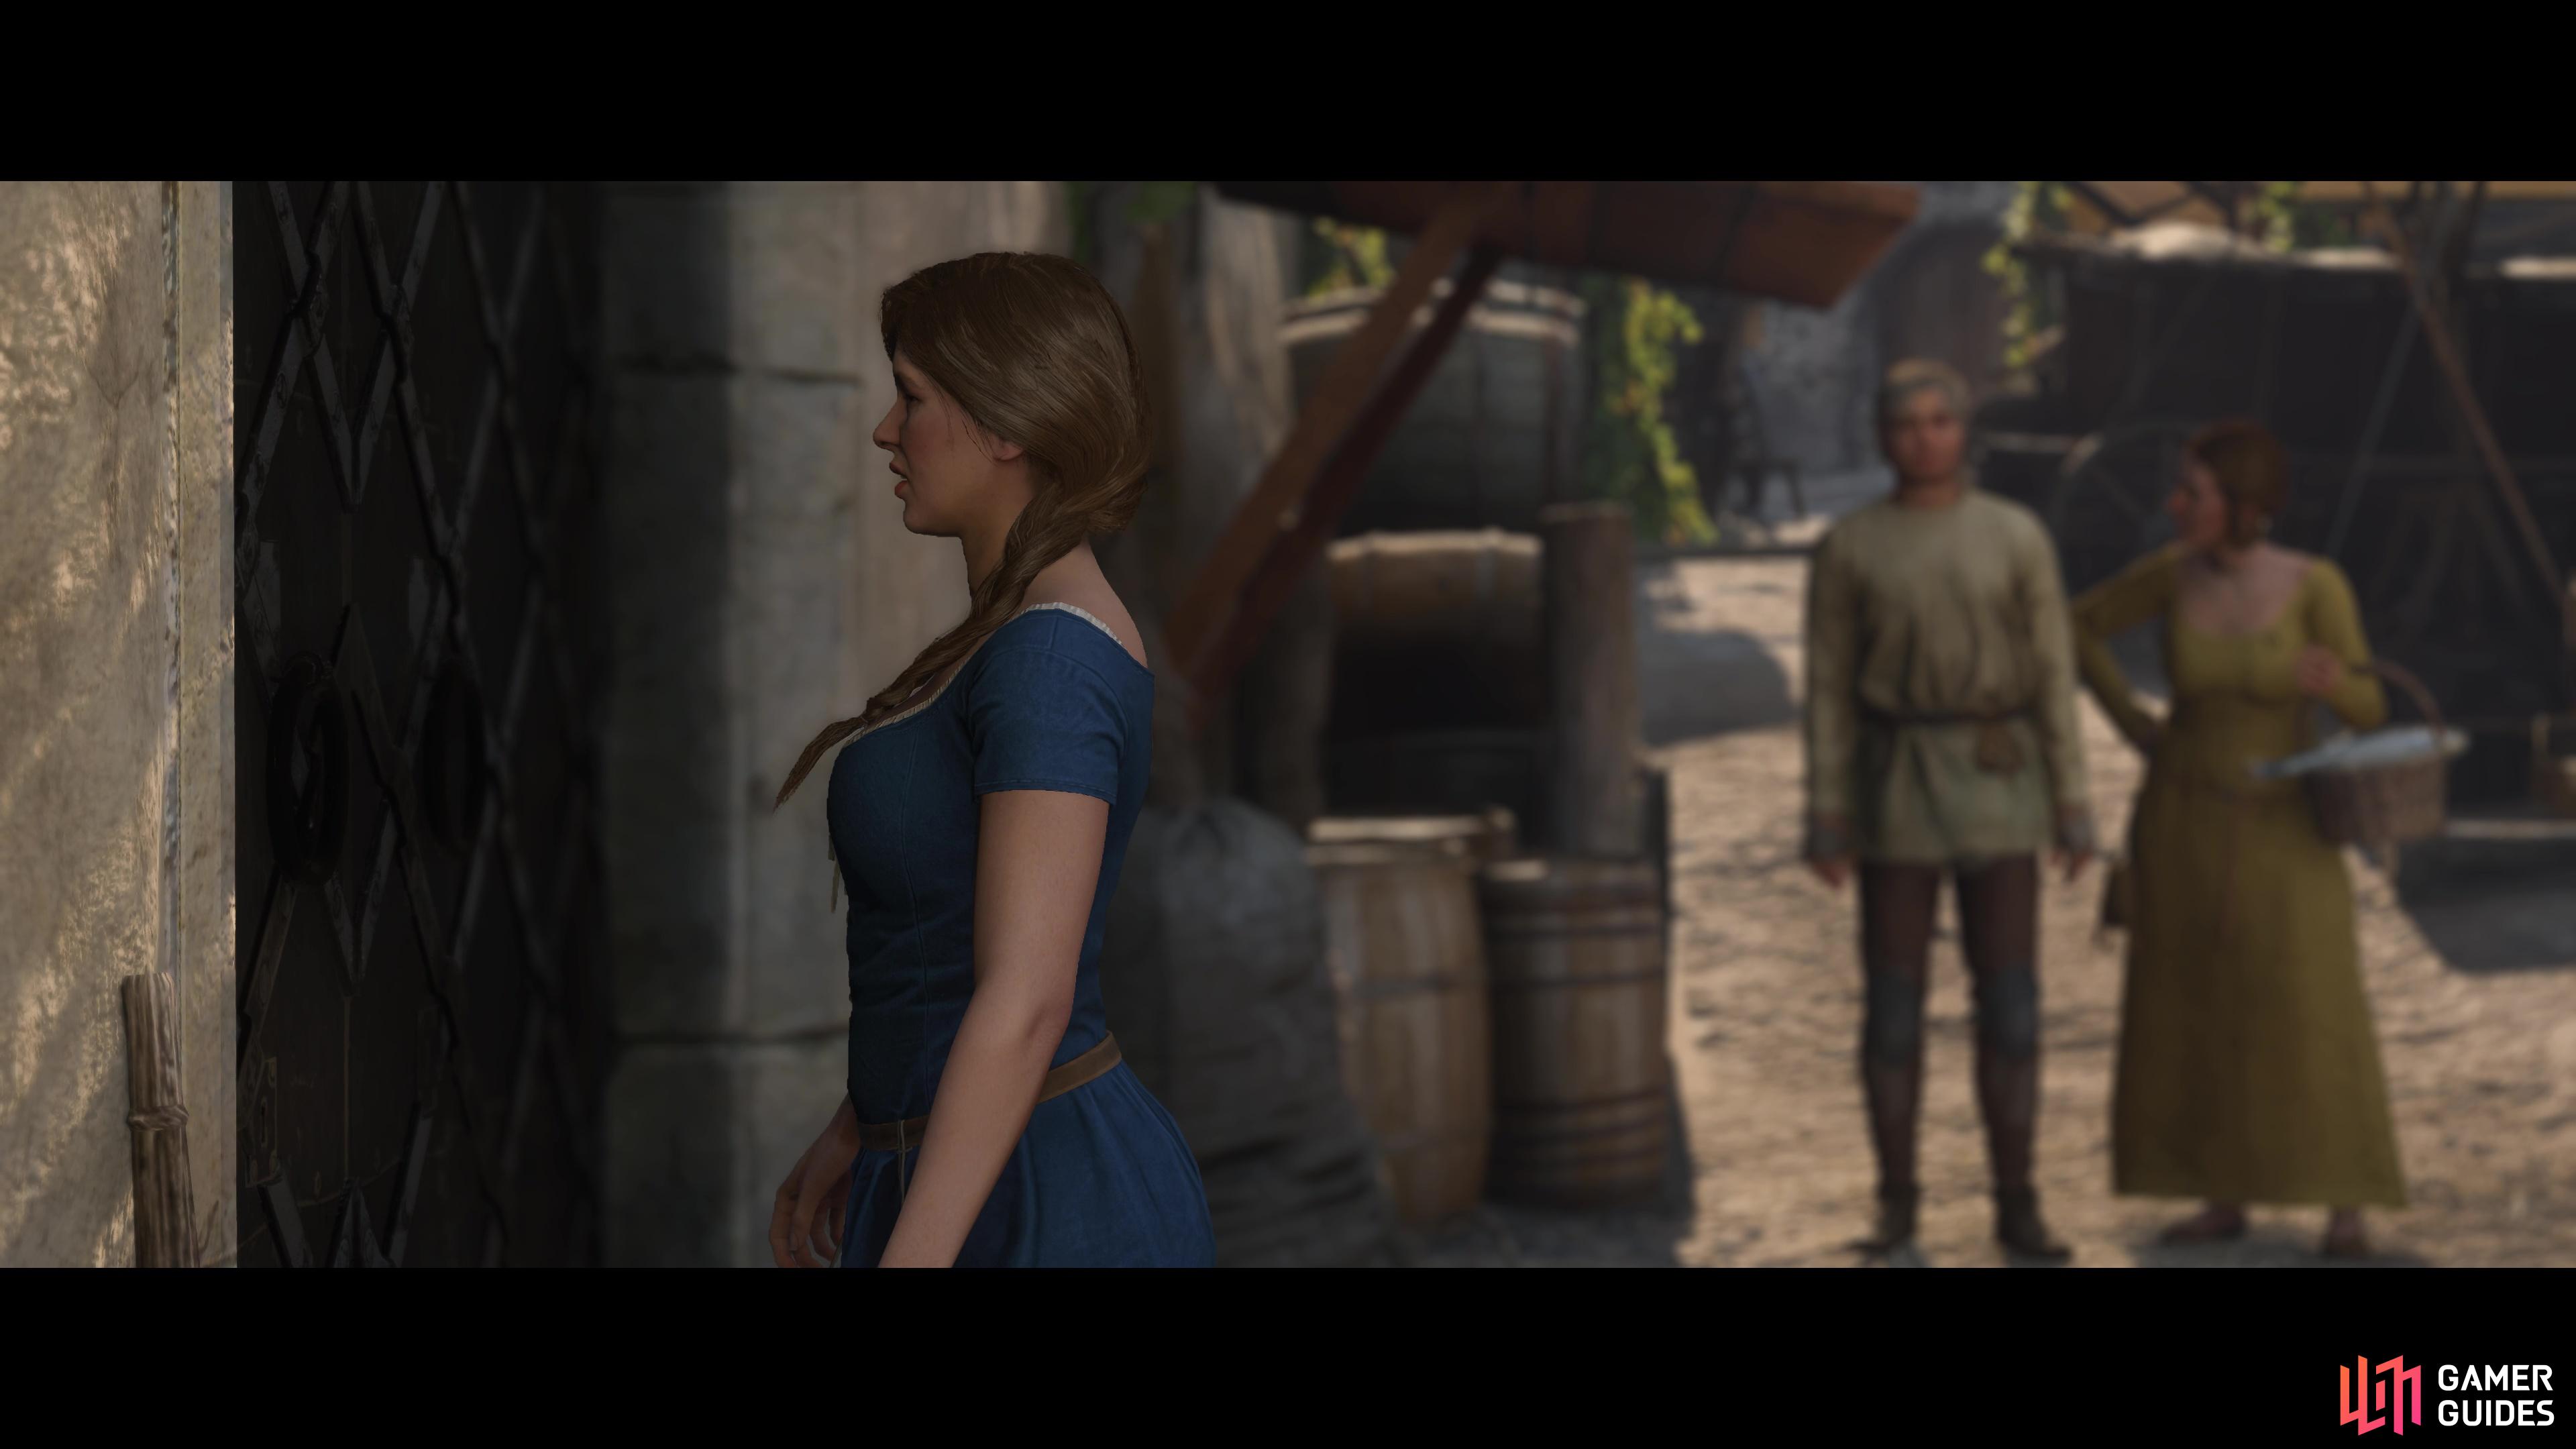
Kuttenberg and Katherine’s role here at the moment. Once that’s over, go back to the ![]() Hangman’s Halter Tavern which is located to the east side of the central part of the city. You’ll find Katherine is still working here, so find her and offer your help to begin the quest.
Hangman’s Halter Tavern which is located to the east side of the central part of the city. You’ll find Katherine is still working here, so find her and offer your help to begin the quest.

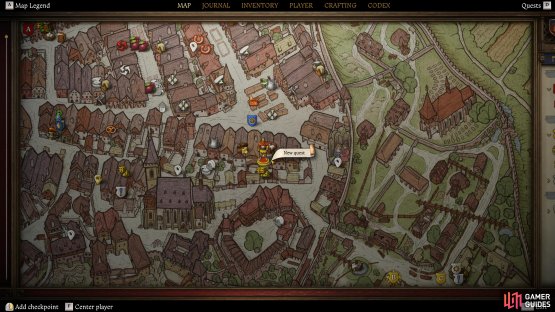
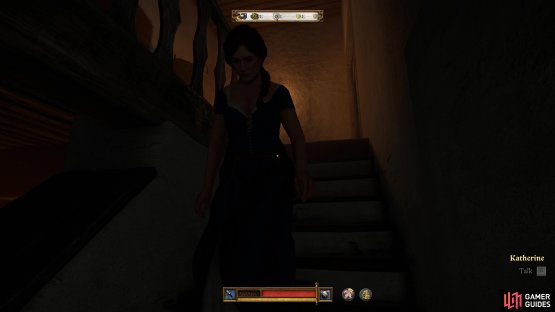
(1 of 2) Head to the Tavern on the east side of the city.

Head to the Tavern on the east side of the city. (left), Then find Katherine and agree to help her with something. (right)
Examine the Body and Talk to the Gravedigger about the Body
Your first two objectives are, fortunately, in the exact same place, at the church in the northwest of the city. Head there during the day and begin by heading into the morgue to find the body that you can examine. Be sure to exhaust all of the options here and eventually you can decide whether it’s due to Katherine or not that she died (this has no bearing on the quest, so choose what you wish).
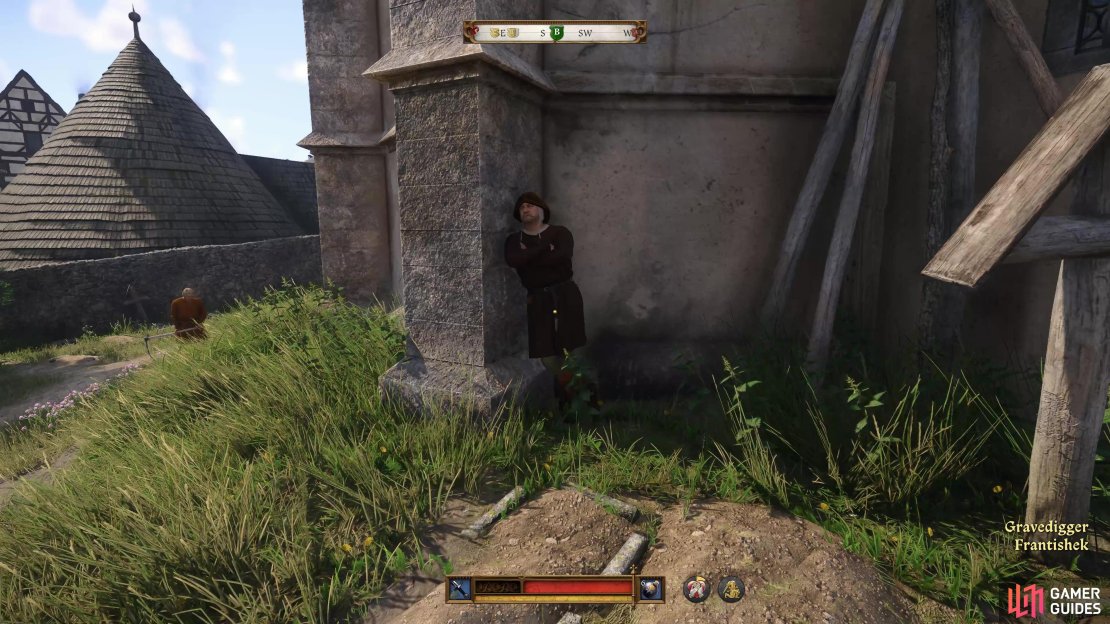
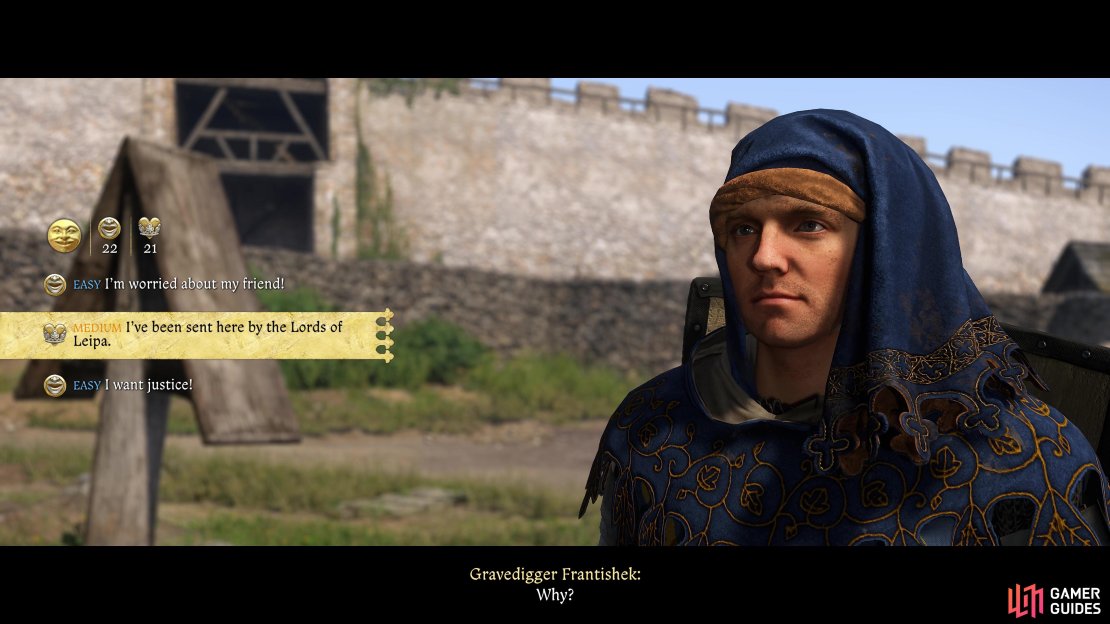
Once you’re done with this, speak with ![]() Gravedigger Frantishek who should be standing around nearby in the cemetary. He won’t be too forthcoming initially so you’ll have to pass a speech check to learn more information about poor Alice. Fortunately, the top and bottom choices are Easy difficulty checks which should be more than doable at this stage of the game. You’ll learn about both Lumir and Alice’s friend, two people you should speak to.
Gravedigger Frantishek who should be standing around nearby in the cemetary. He won’t be too forthcoming initially so you’ll have to pass a speech check to learn more information about poor Alice. Fortunately, the top and bottom choices are Easy difficulty checks which should be more than doable at this stage of the game. You’ll learn about both Lumir and Alice’s friend, two people you should speak to.
Fortunately, if it’s during the day, Alice’s friend should still be in the morgue where the body is. Return and speak to her, exhausting all of the available options, to learn a bit more about Alice.
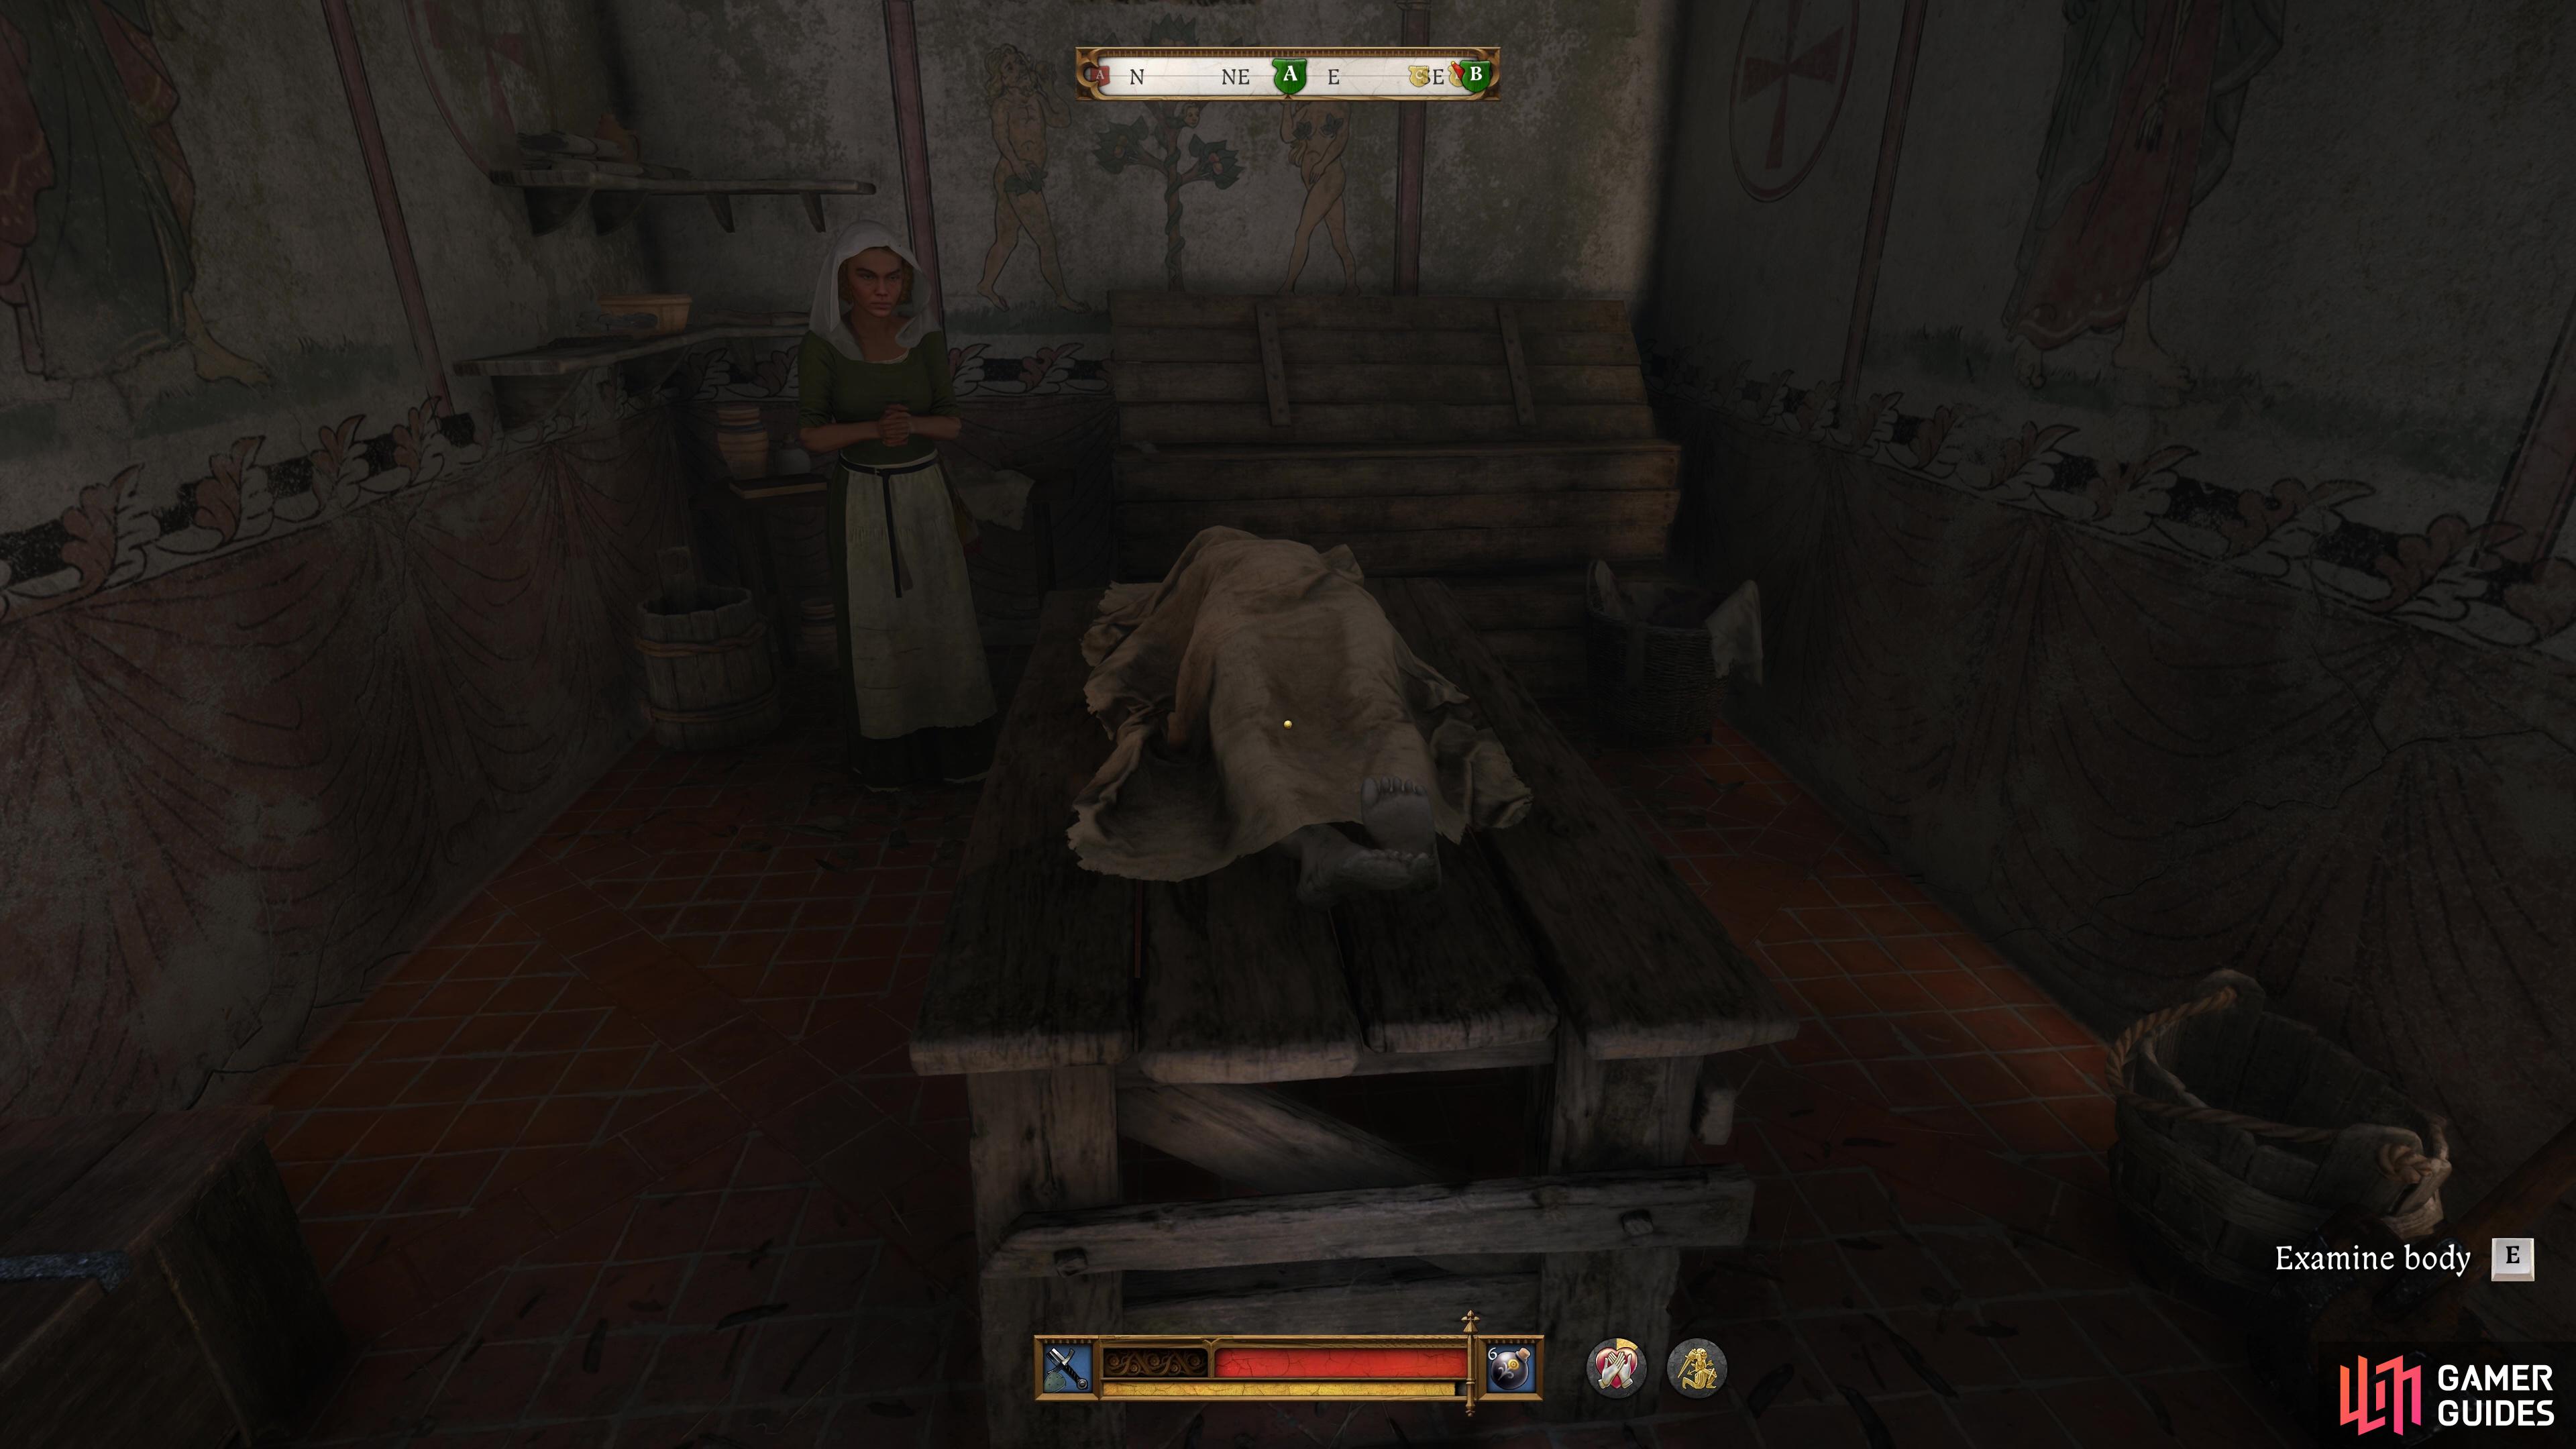

(1 of 3) Examine the body to determine the cause of death.
Go and See Lumir
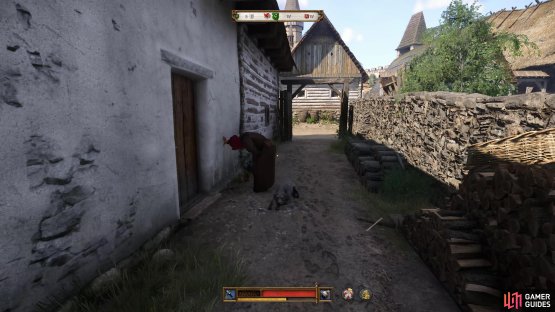
Remaining in the general vicinity of the north part of the city, Lumir is also close by, just over to the street to the east of you. If it’s during the day, you’ll find him standing up against the wall of his house in a bit of a state. Speak with him and you’ll have to wait until he’s sobered up by coming back at a later time or by handing over a ![]() Hair o’ the Dog potion that is easy enough to get from any
Hair o’ the Dog potion that is easy enough to get from any ![]() Apothecary or by brewing it yourself at an
Apothecary or by brewing it yourself at an ![]() Alchemy bench.
Alchemy bench.
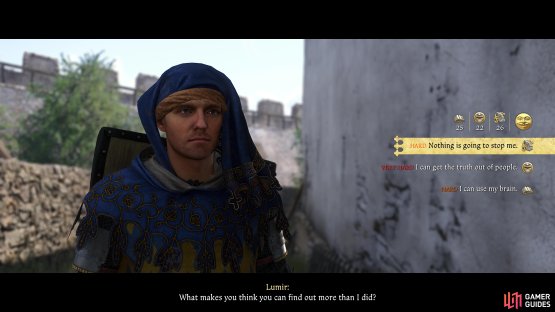
Once sobered up, you’ll be able to speak with him properly so start by exhausting the current options and then eventually, you’ll need to pass a speech check to get him to divulge more information. The top and bottom options here are Hard Difficulty checks while the middle is a Very Hard check (we passed it at Scholarship Level 25). Eventually, you’ll be able to ask him details about the other victims, make sure you exhaust every option here and you’ll add a bunch of objectives for the next phase of this quest.

(1 of 2) You’ll find a drunken Lumir during the day, sober him up with a potion.
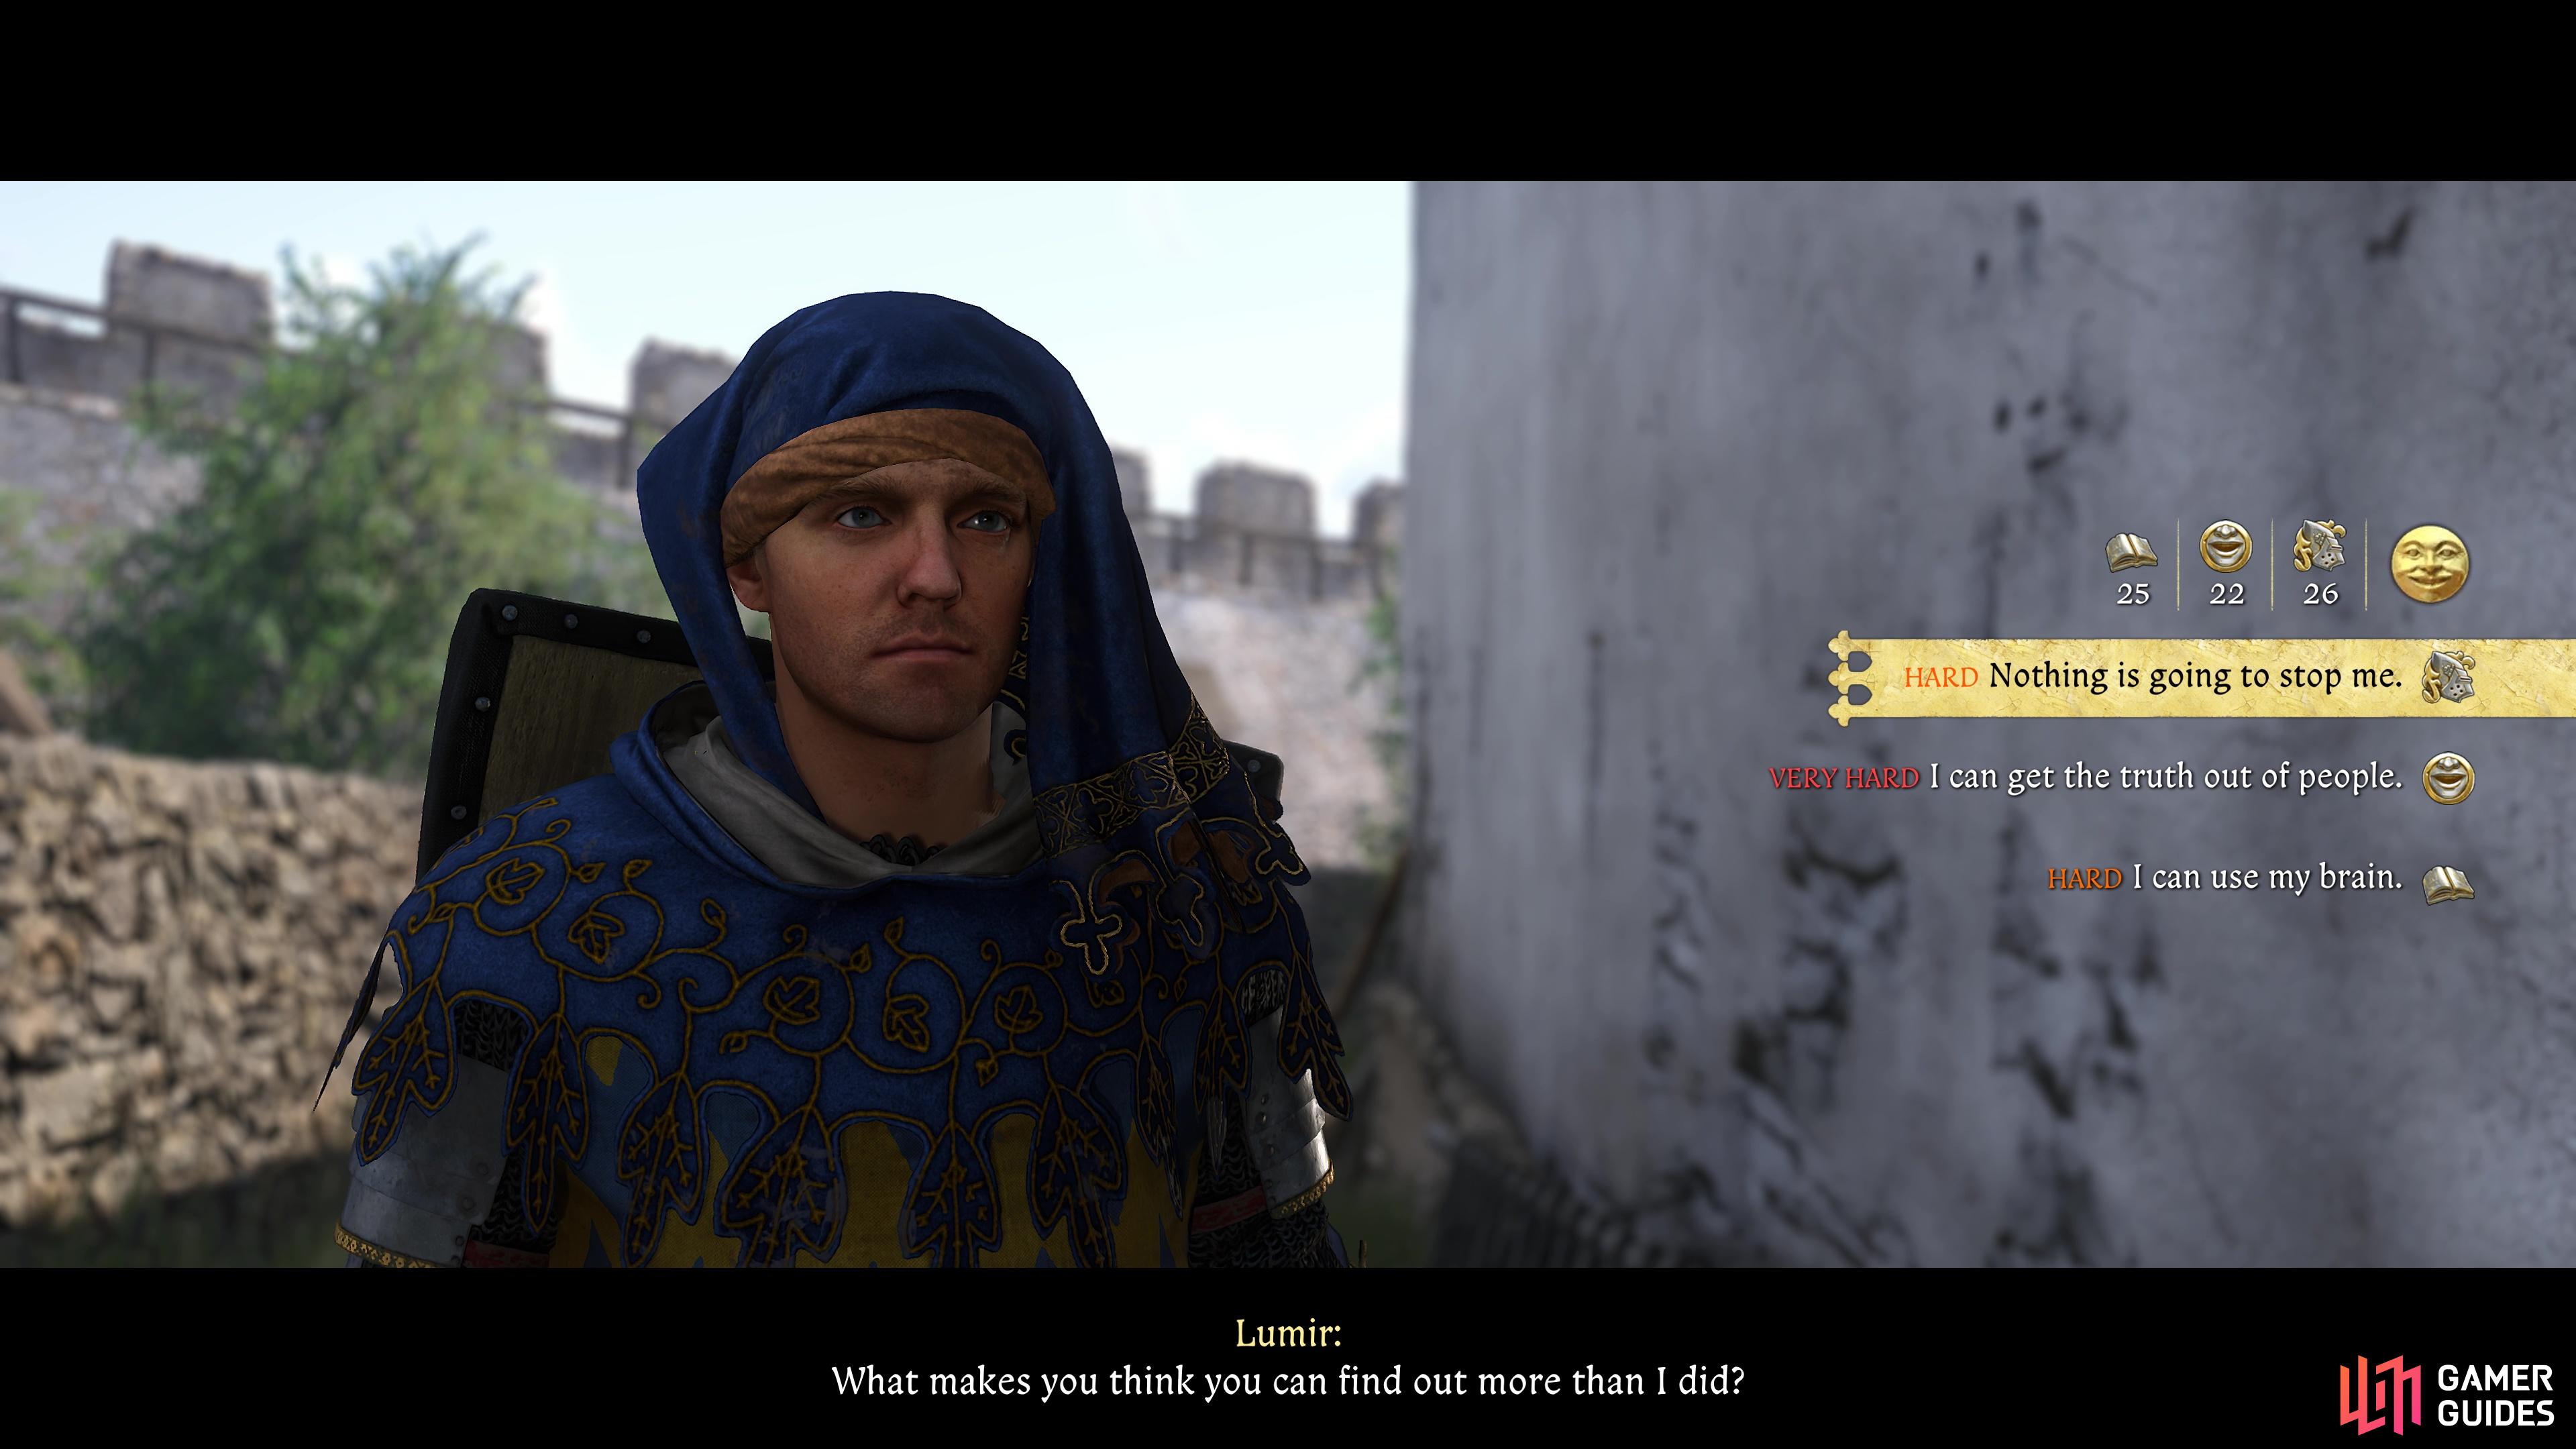
You’ll find a drunken Lumir during the day, sober him up with a potion. (left), You’ll then need to pass a Hard difficulty check to get more information out of him. (right)
Discover Something About Jarka’s Background
At this point, you can begin gathering information and evidence on the other girls in any order, but it makes sense to find out some information on Jarka’s background first, as the objective is close by. Return to the church once more during the day and you’ll find Father Prokop sitting just outside the morgue. Exhaust all of the options as usual and you can press him for more information by passing a Hard Difficulty Speech check.
Try to Find Out What Happened to Stanya the Alehouse Maid
Information on two of the girls also begins at the same place, ![]() The Hole in the Wall tavern over on the southeast side of Kuttenberg. Start with finding out information on Stanya, though, so go inside and speak with the Innkeeper, Mole, who will ask for money in exchange of his information. Oblige and pay him well (10
The Hole in the Wall tavern over on the southeast side of Kuttenberg. Start with finding out information on Stanya, though, so go inside and speak with the Innkeeper, Mole, who will ask for money in exchange of his information. Oblige and pay him well (10 ![]() Groschen) and then after a while, he’ll seek to get more out of you. You can pass an Easy Speech check to save paying another 50 Groschen, and by the end of your conversation, you’ll learn about William again, and about the
Groschen) and then after a while, he’ll seek to get more out of you. You can pass an Easy Speech check to save paying another 50 Groschen, and by the end of your conversation, you’ll learn about William again, and about the ![]() Charcoal-Burners to the south of Kuttenberg.
Charcoal-Burners to the south of Kuttenberg.
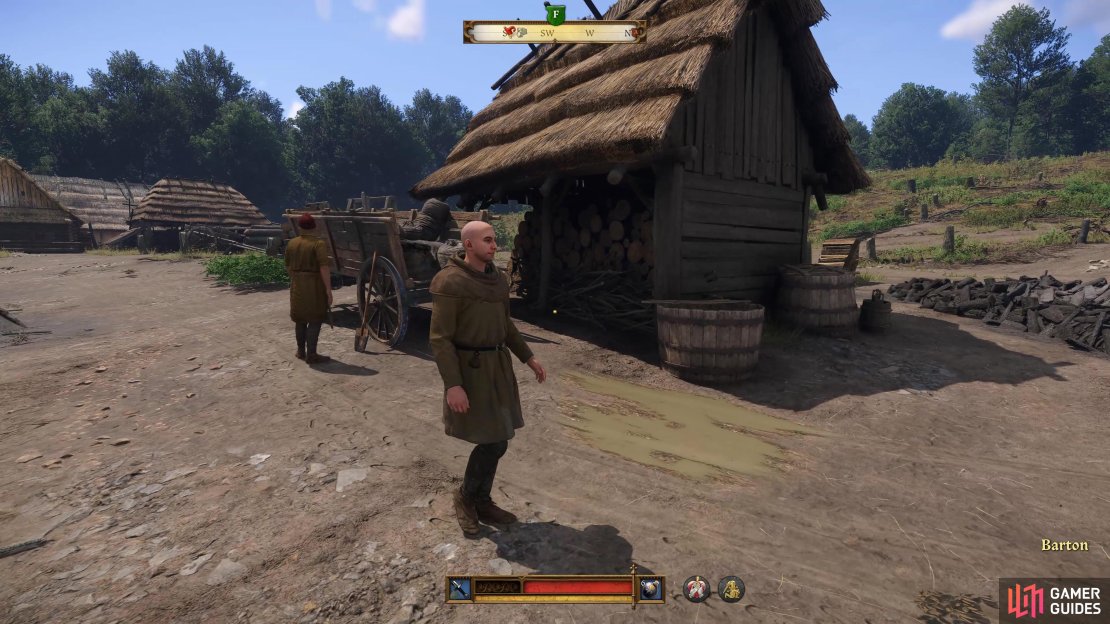
Leave Kuttenberg via the nearby gate and journey southwest of the city to reach the camp the ![]() Charcoal-Burners have set up. You’re looking for a bald man (who stands out) here that goes by the name of Barton, who will either be sat somewhere, or found strolling around the site during the day. Once again, you’re going to need to pass a speech check if you wish for him to loosen his tongue a little, both of these are Hard difficulty choices.
Charcoal-Burners have set up. You’re looking for a bald man (who stands out) here that goes by the name of Barton, who will either be sat somewhere, or found strolling around the site during the day. Once again, you’re going to need to pass a speech check if you wish for him to loosen his tongue a little, both of these are Hard difficulty choices.
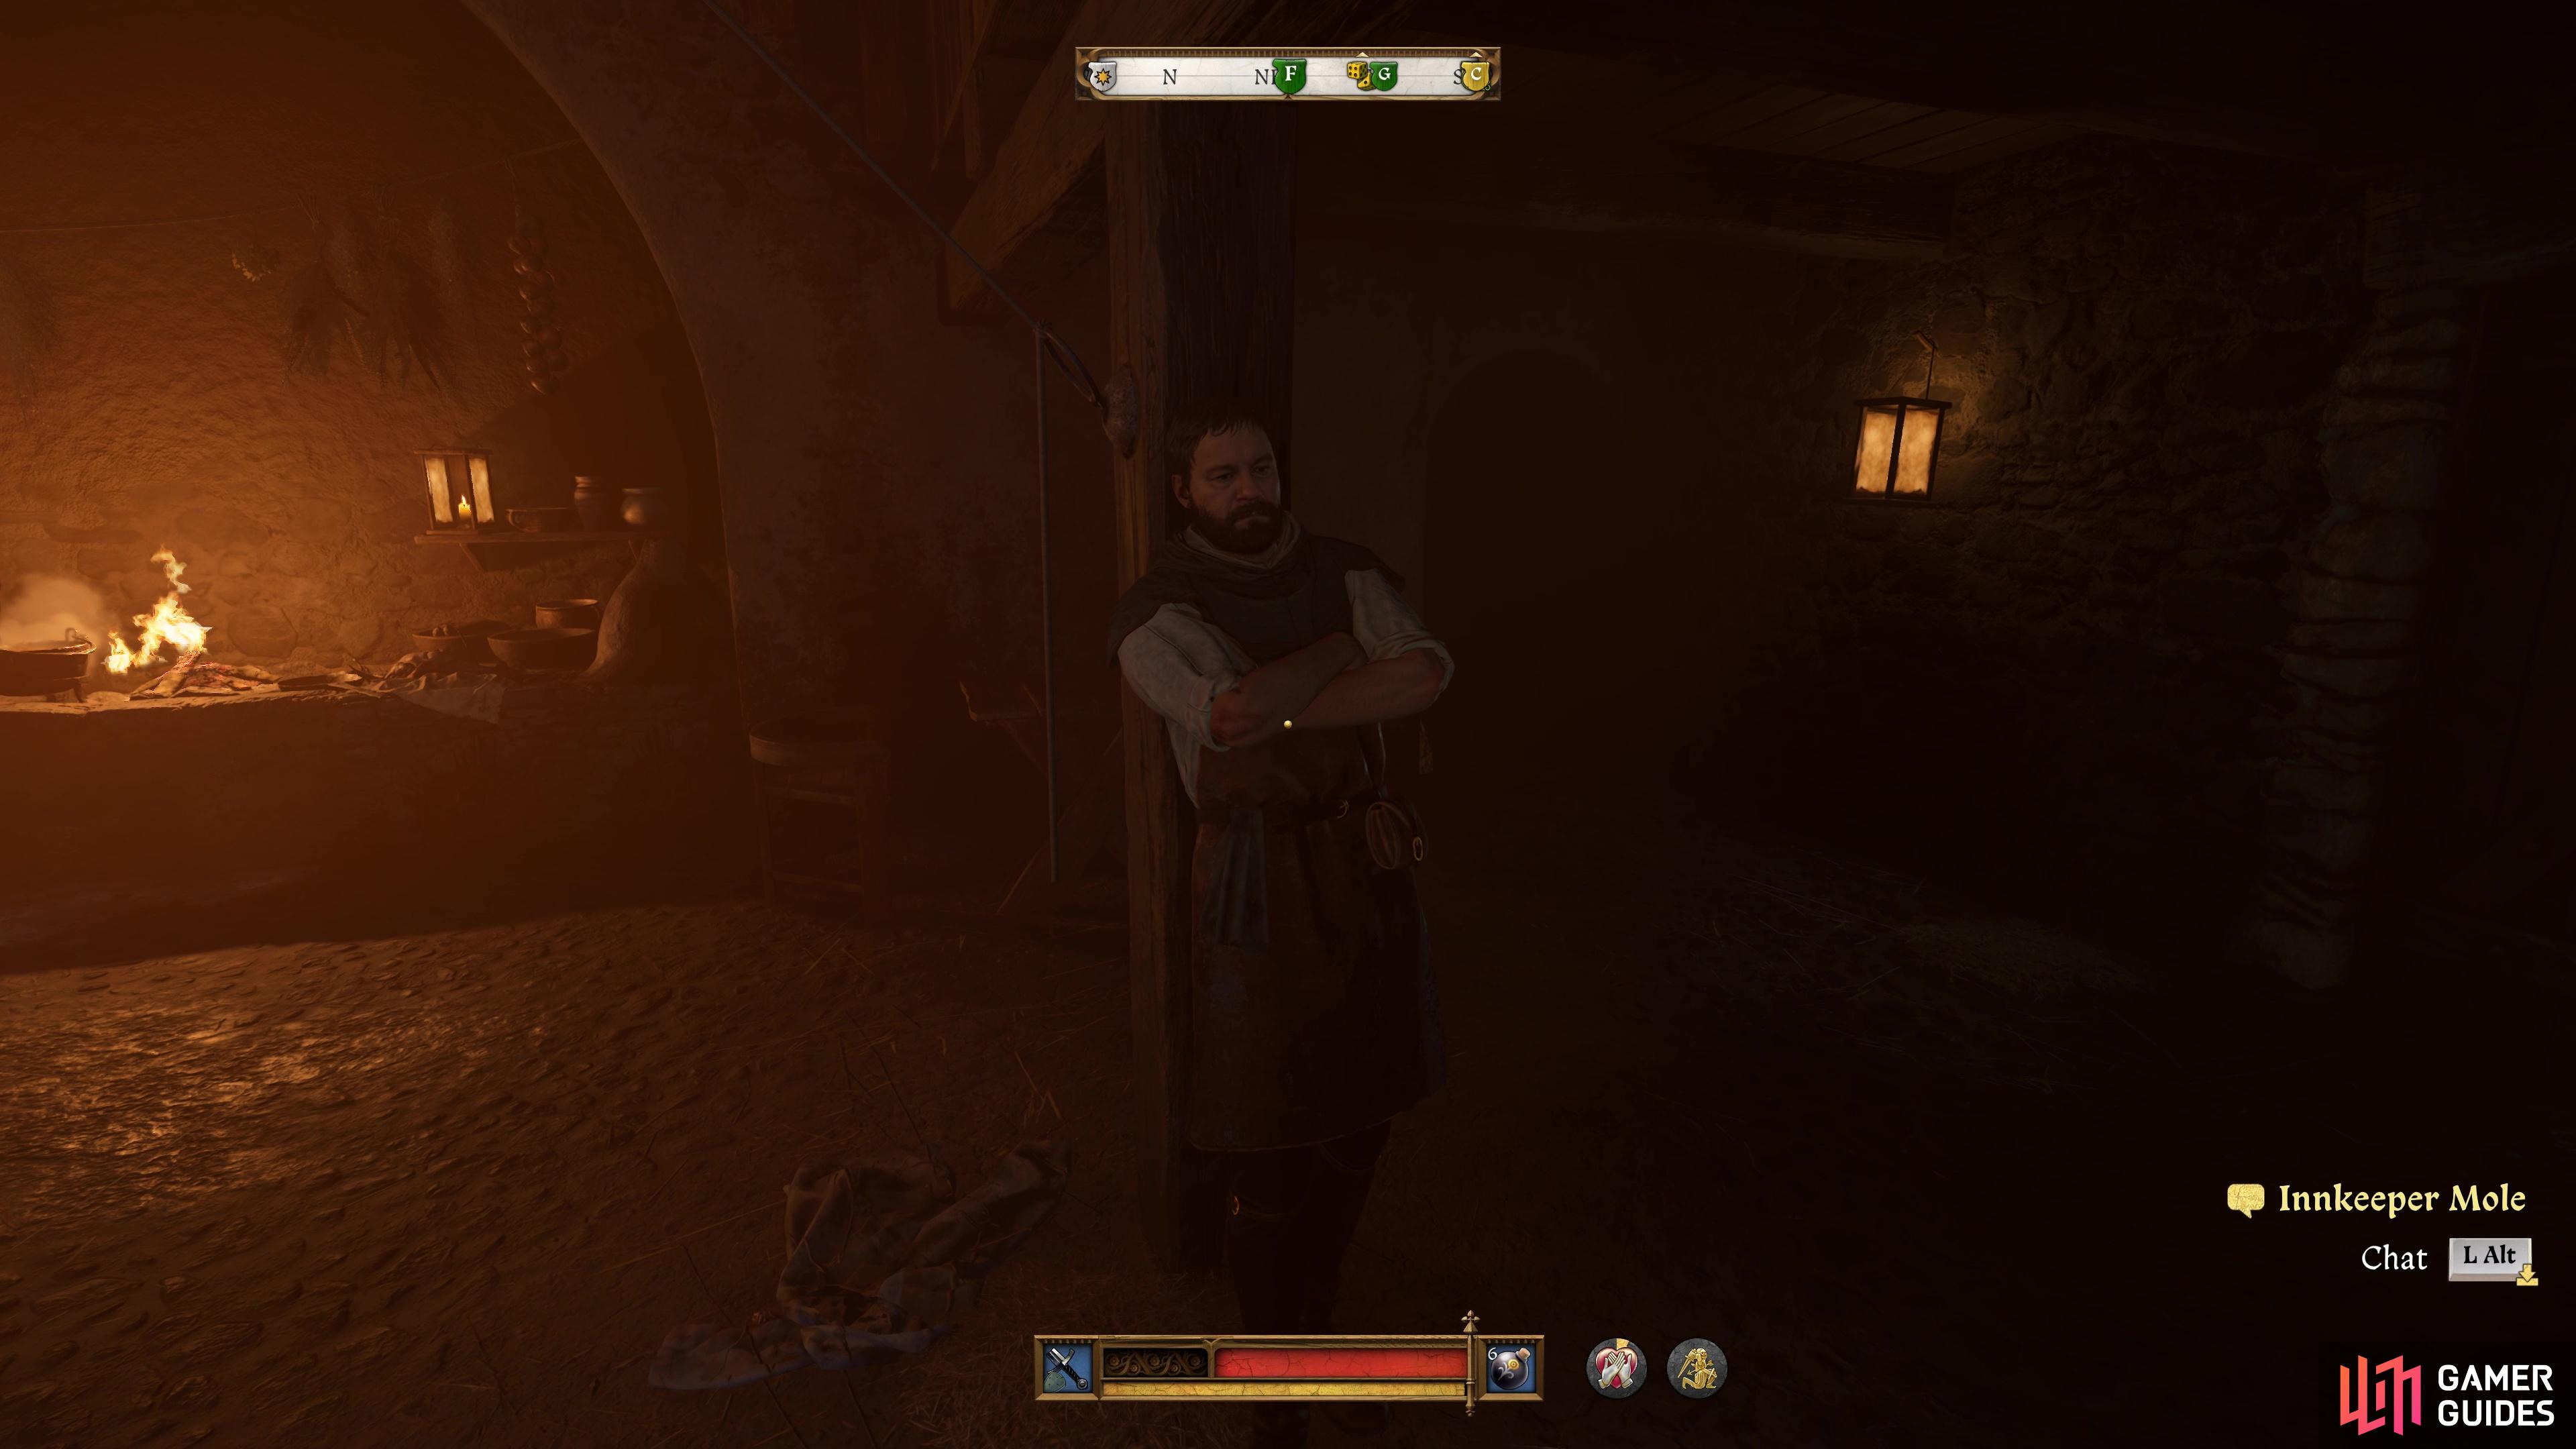

(1 of 4) Speak to Mole at the Hole in the Wall Tavern to learn about Stanya and her partner.
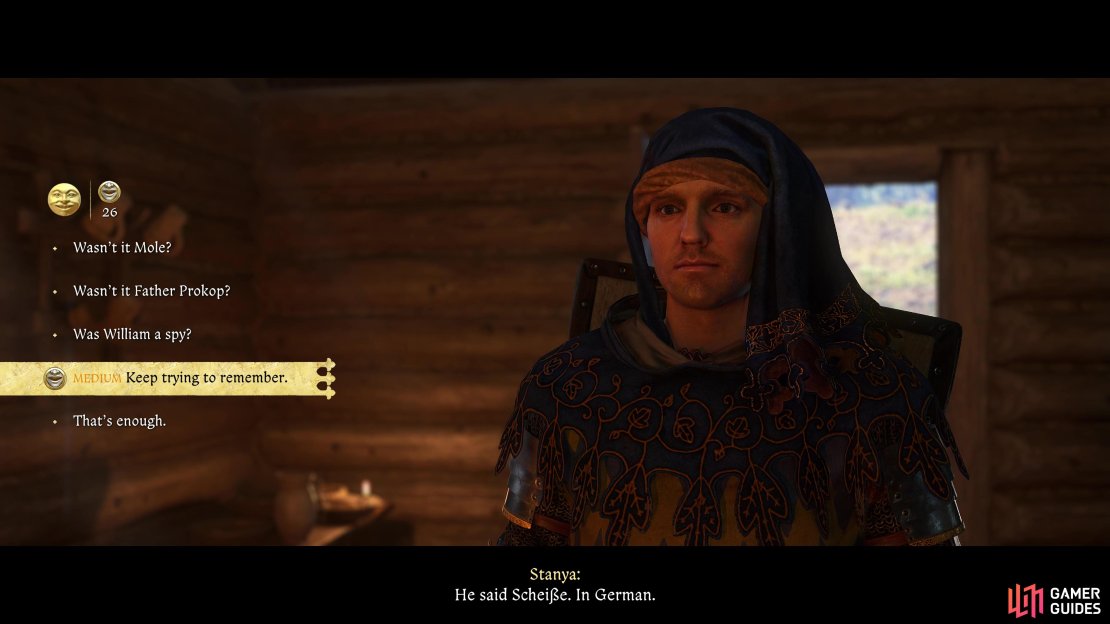
You’ll learn that Stanya is still alive and is, in fact, at this very camp, in the cottage. Go over to it and enter to find Stanya inside, you’ll have to pass more speech checks (Medium Difficulty) to get her to keep remembering the night of the attack. Interestingly enough, she doesn’t think William (the man mentioned by other people) is capable of carrying out the attack.
Learn More About Zdena the Thief’s Fate
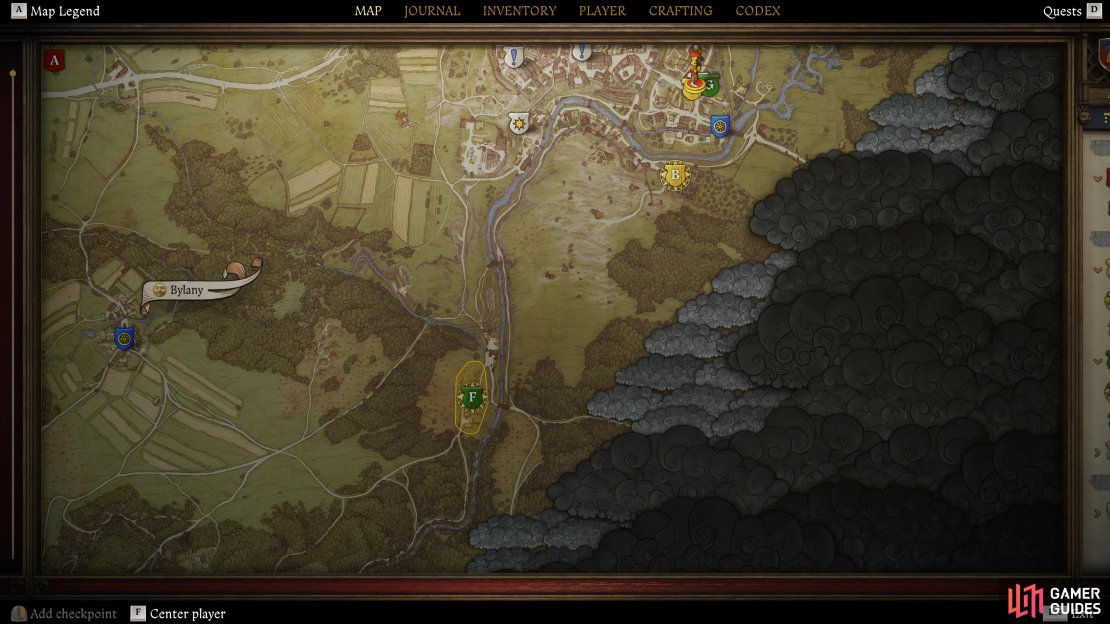
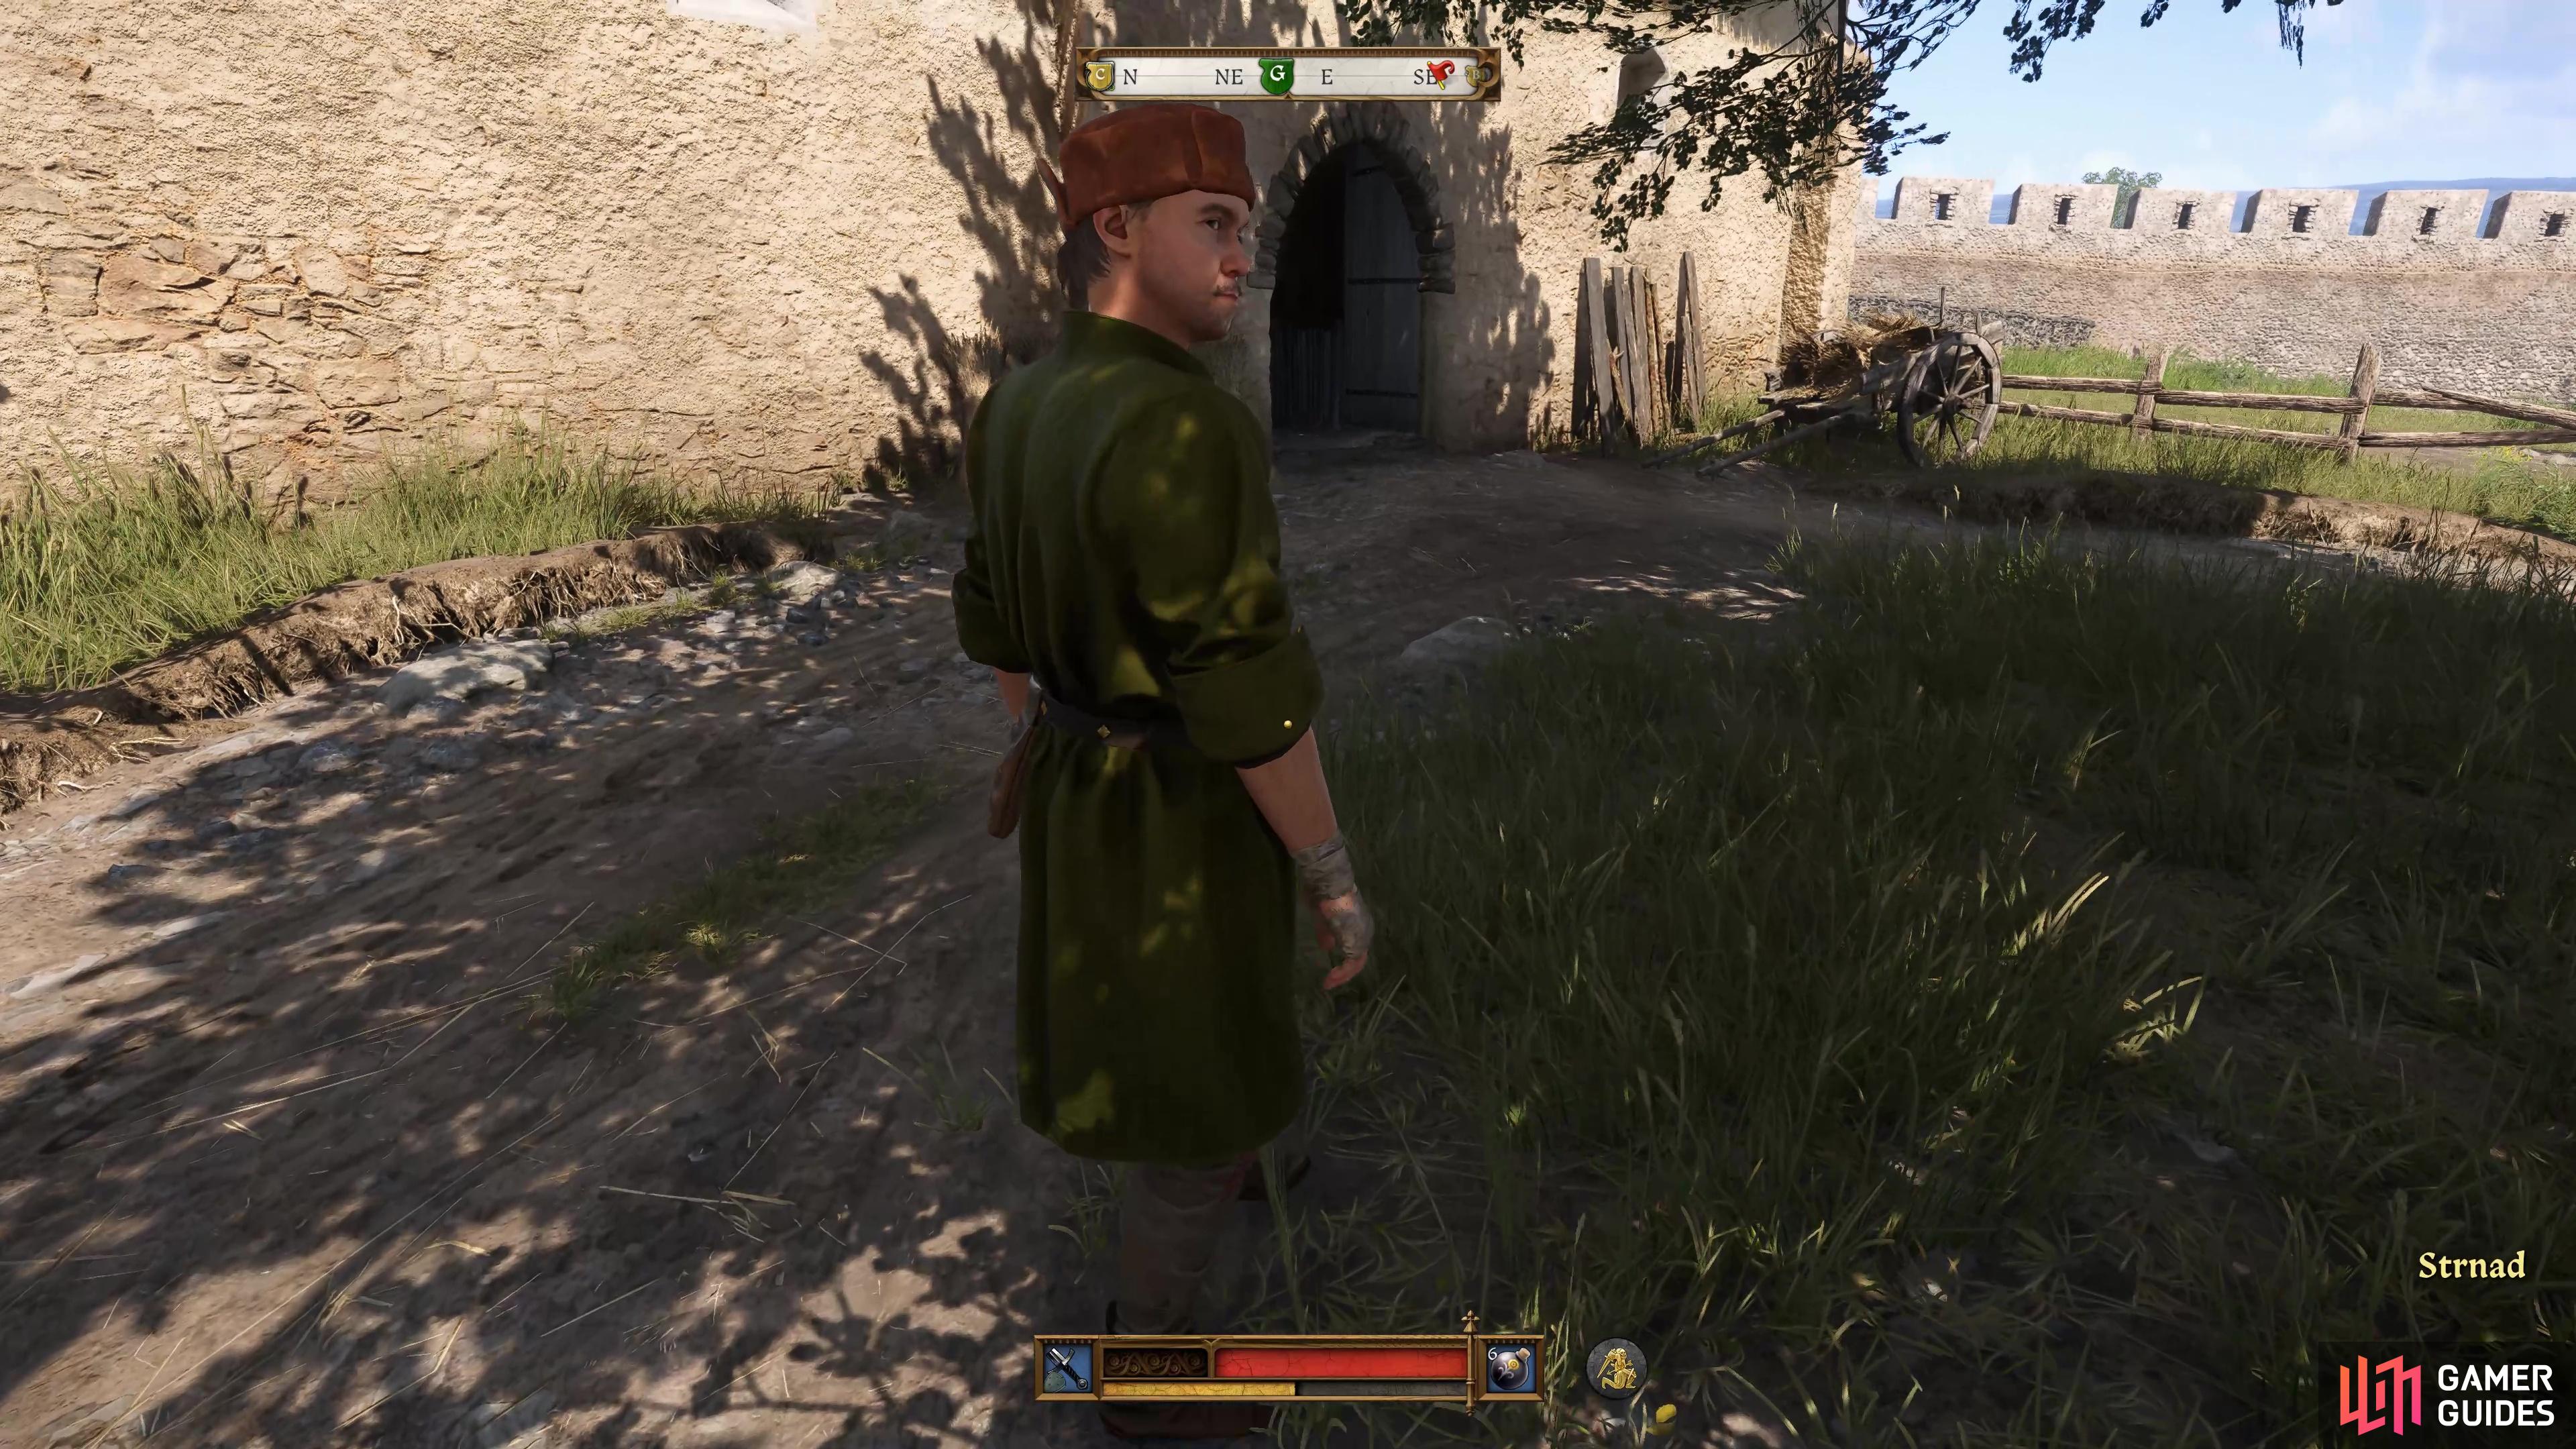
Return to where the Hole in the Wall tavern is in Kuttenberg and find Strnad, if he’s not in the tavern, you’ll find him around outside to the east of it. To even get the ball rolling, you’re going to have to pass either a Hard speech check or get out your fists and deliver a few punches. Regardless of how you do it, you’ll discover that sell her latest haul to a man in the mills near ![]() Bylany, your next destination.
Bylany, your next destination.
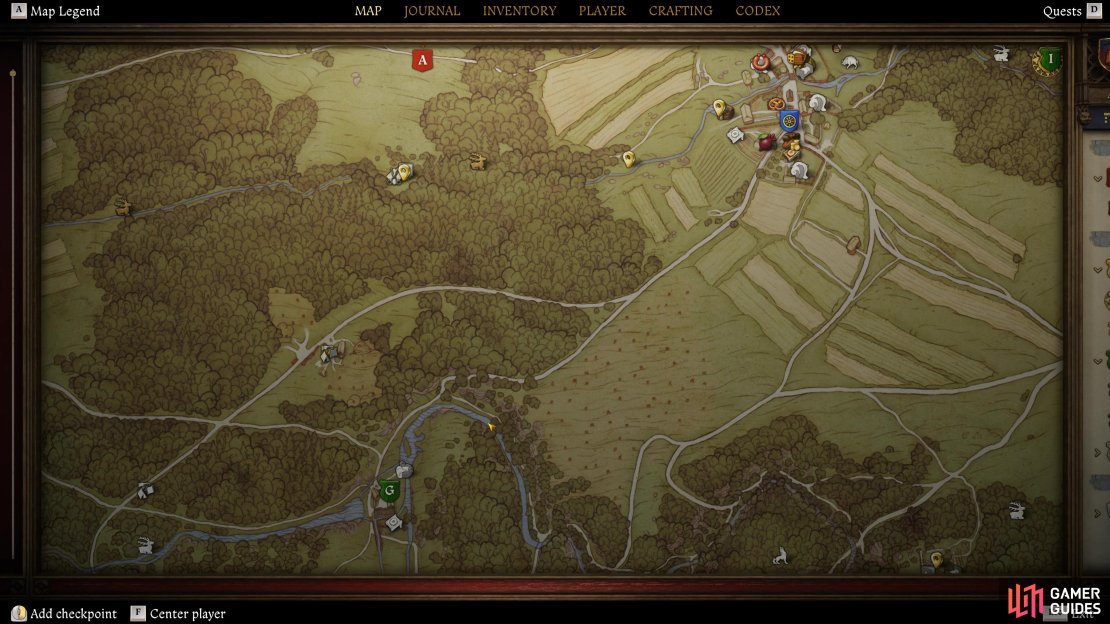
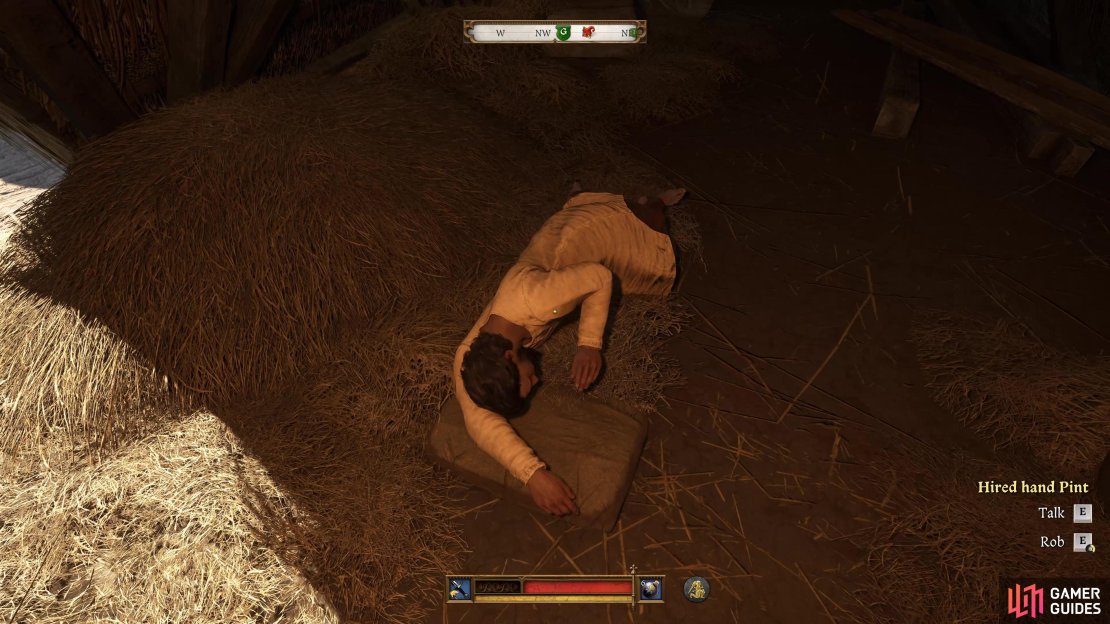
The quickest way to reach this place is by fast traveling to Bylany and taking the path southwest until you reach the target area. You’ll most likely find Pint roaming around the mill during the day, and having a lie down in the barn as it gets later in the day. Answer that you’re not the biggest fan of Strnad to begin with to break the ice, and then you’ll learn that her latest haul featured a signet ring with a coat of arms. He will also mention that she thought she was being followed and that she hasn’t been around for a while. Before you finish up with him, ask for ![]() Zdena’s scarf so that you can have Mutt track the scent.
Zdena’s scarf so that you can have Mutt track the scent.
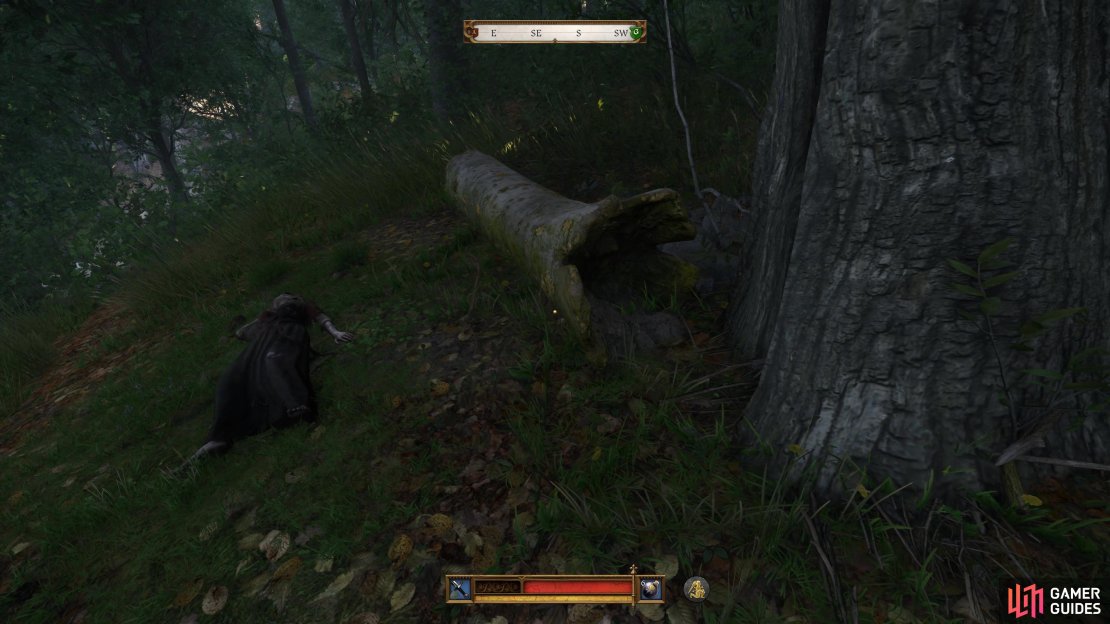
Leave the mill and head into the woods to the east, near the stream. Once you get to the target area, have Mutt track the scarf and he’ll lead you to where poor Zdena’s body can be found, having seemingly been there for a while. Examine the body, though, and you’ll find the signet ring that Pint mentioned.


Question William the Minstrel
Before you go back to Lumir and update him on all of the information you’ve discovered, it’s first time to meet with William, one of the people who has been suspected of committing the crimes. By now it’s most likely evening (if you’ve not rested since you started this quest), so you’ll most likely find him at the ![]() Black Horse Tavern, located south of the west gate of Kuttenberg or west of the City
Black Horse Tavern, located south of the west gate of Kuttenberg or west of the City ![]() Baths.
Baths.
Once you find him, speak with him and exhaust all of the dialogue choices available, passing Intimidation checks where possible to get as much information as you can. At the end of it, you can decide whether you suspect him or not (the evidence at this time doesn’t point at him), the choice has no impact on the quest.
Inform Lumir About the Investigation
When you go back and pay Lumir a visit, he’ll go and fetch Katherine to join in on the discussion, as she’s been to visit him after Henry set off. You’ll go over every piece of evidence you’ve found and eventually, at the end of it all, you’ll be able to accuse who you think is responsible, which should point to the young von Grolle. The three of you will then begin to concoct a plan to get into the von Grolle house to try and find some evidence that points to him.
Infiltrate the House and Examine the Young von Grolle’s Room
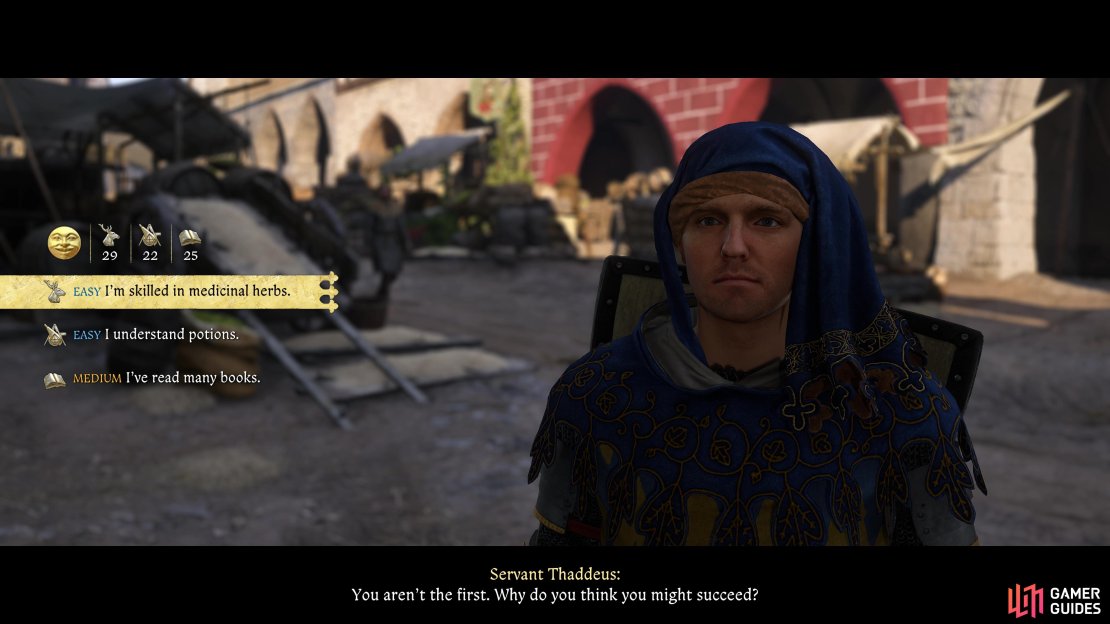
There are two main ways to go about this, the first is by posing as a swordfighting teaching, this requires you to complete the Ars Dimicatoria side quest, at which point you’ll easily pass the check at the entrance to the house when speaking to Servant Thaddeus outside. If you’ve yet to complete this quest, you’ll default to the doctor route, again, requiring you to pass an Easy check.

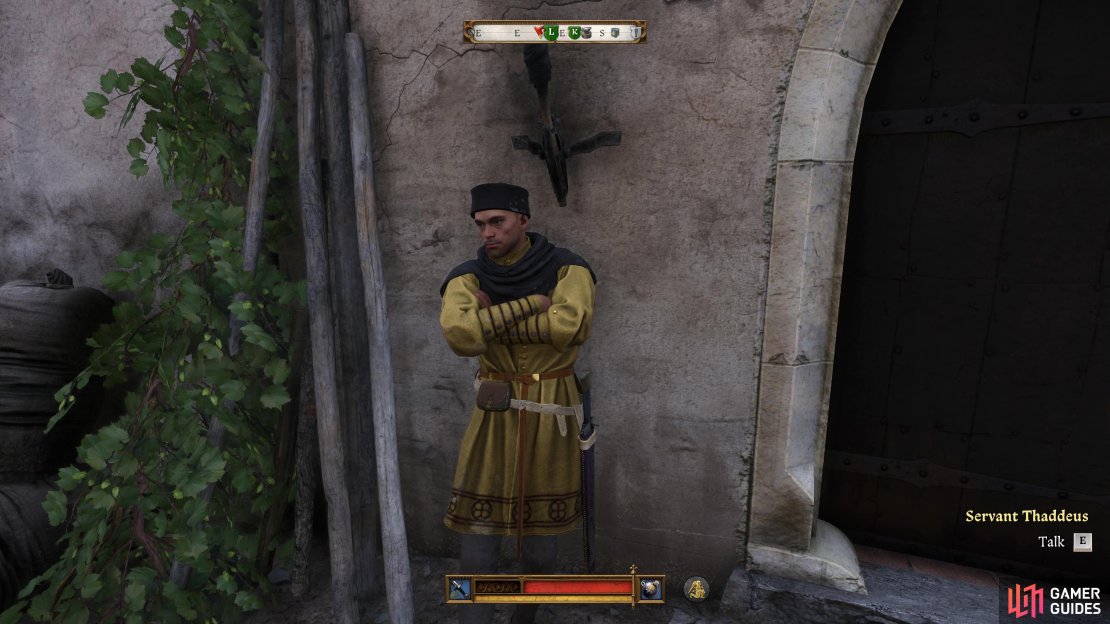
(1 of 3) Speak to Thaddeus outside of the vol Grolle’s house.
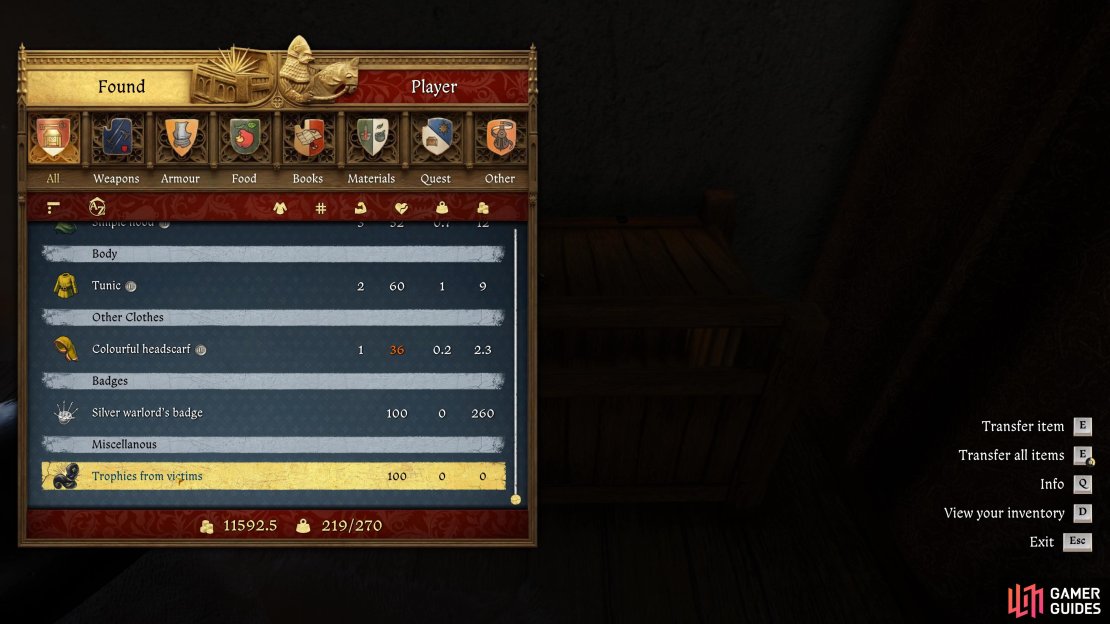
Once you find yourself inside, speak to Mandelina von Grolle and ask her for information on her husband’s condition. This will give you the necessary clearance to roam around the house, and an objective to examine him, although you can ignore this with no consequences to the quest. Instead, go up the stairs and enter the first room in front of you to find Hendl’s room. In the corner, you’ll find a Hard Difficulty chest that you’ll need to lockpick and inside, you’ll find ![]() Trophies from victims, the smoking gun you were looking for. Return to Lumir once more and deliver the items and Henry, Lumir, and Katherine will think up a plan to catch the murderer.
Trophies from victims, the smoking gun you were looking for. Return to Lumir once more and deliver the items and Henry, Lumir, and Katherine will think up a plan to catch the murderer.
Stop the Murderer
A scene will follow and you’ll eventually find yourself in the tavern room with the murderer, Servant Thaddeus, attacking you. Thaddeus shouldn’t cause you too much trouble, but try to be careful and only strike him a few times so that you don’t kill him, that would be too kind a fate for him. Once you’ve dealt with him, make your way downstairs to find Katherine holding a knife to Mandelina’s throat.

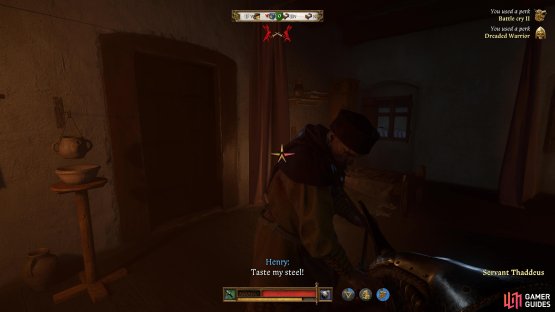
(1 of 2) Try to take Thaddeus down without killing him, a few strikes should do the job.
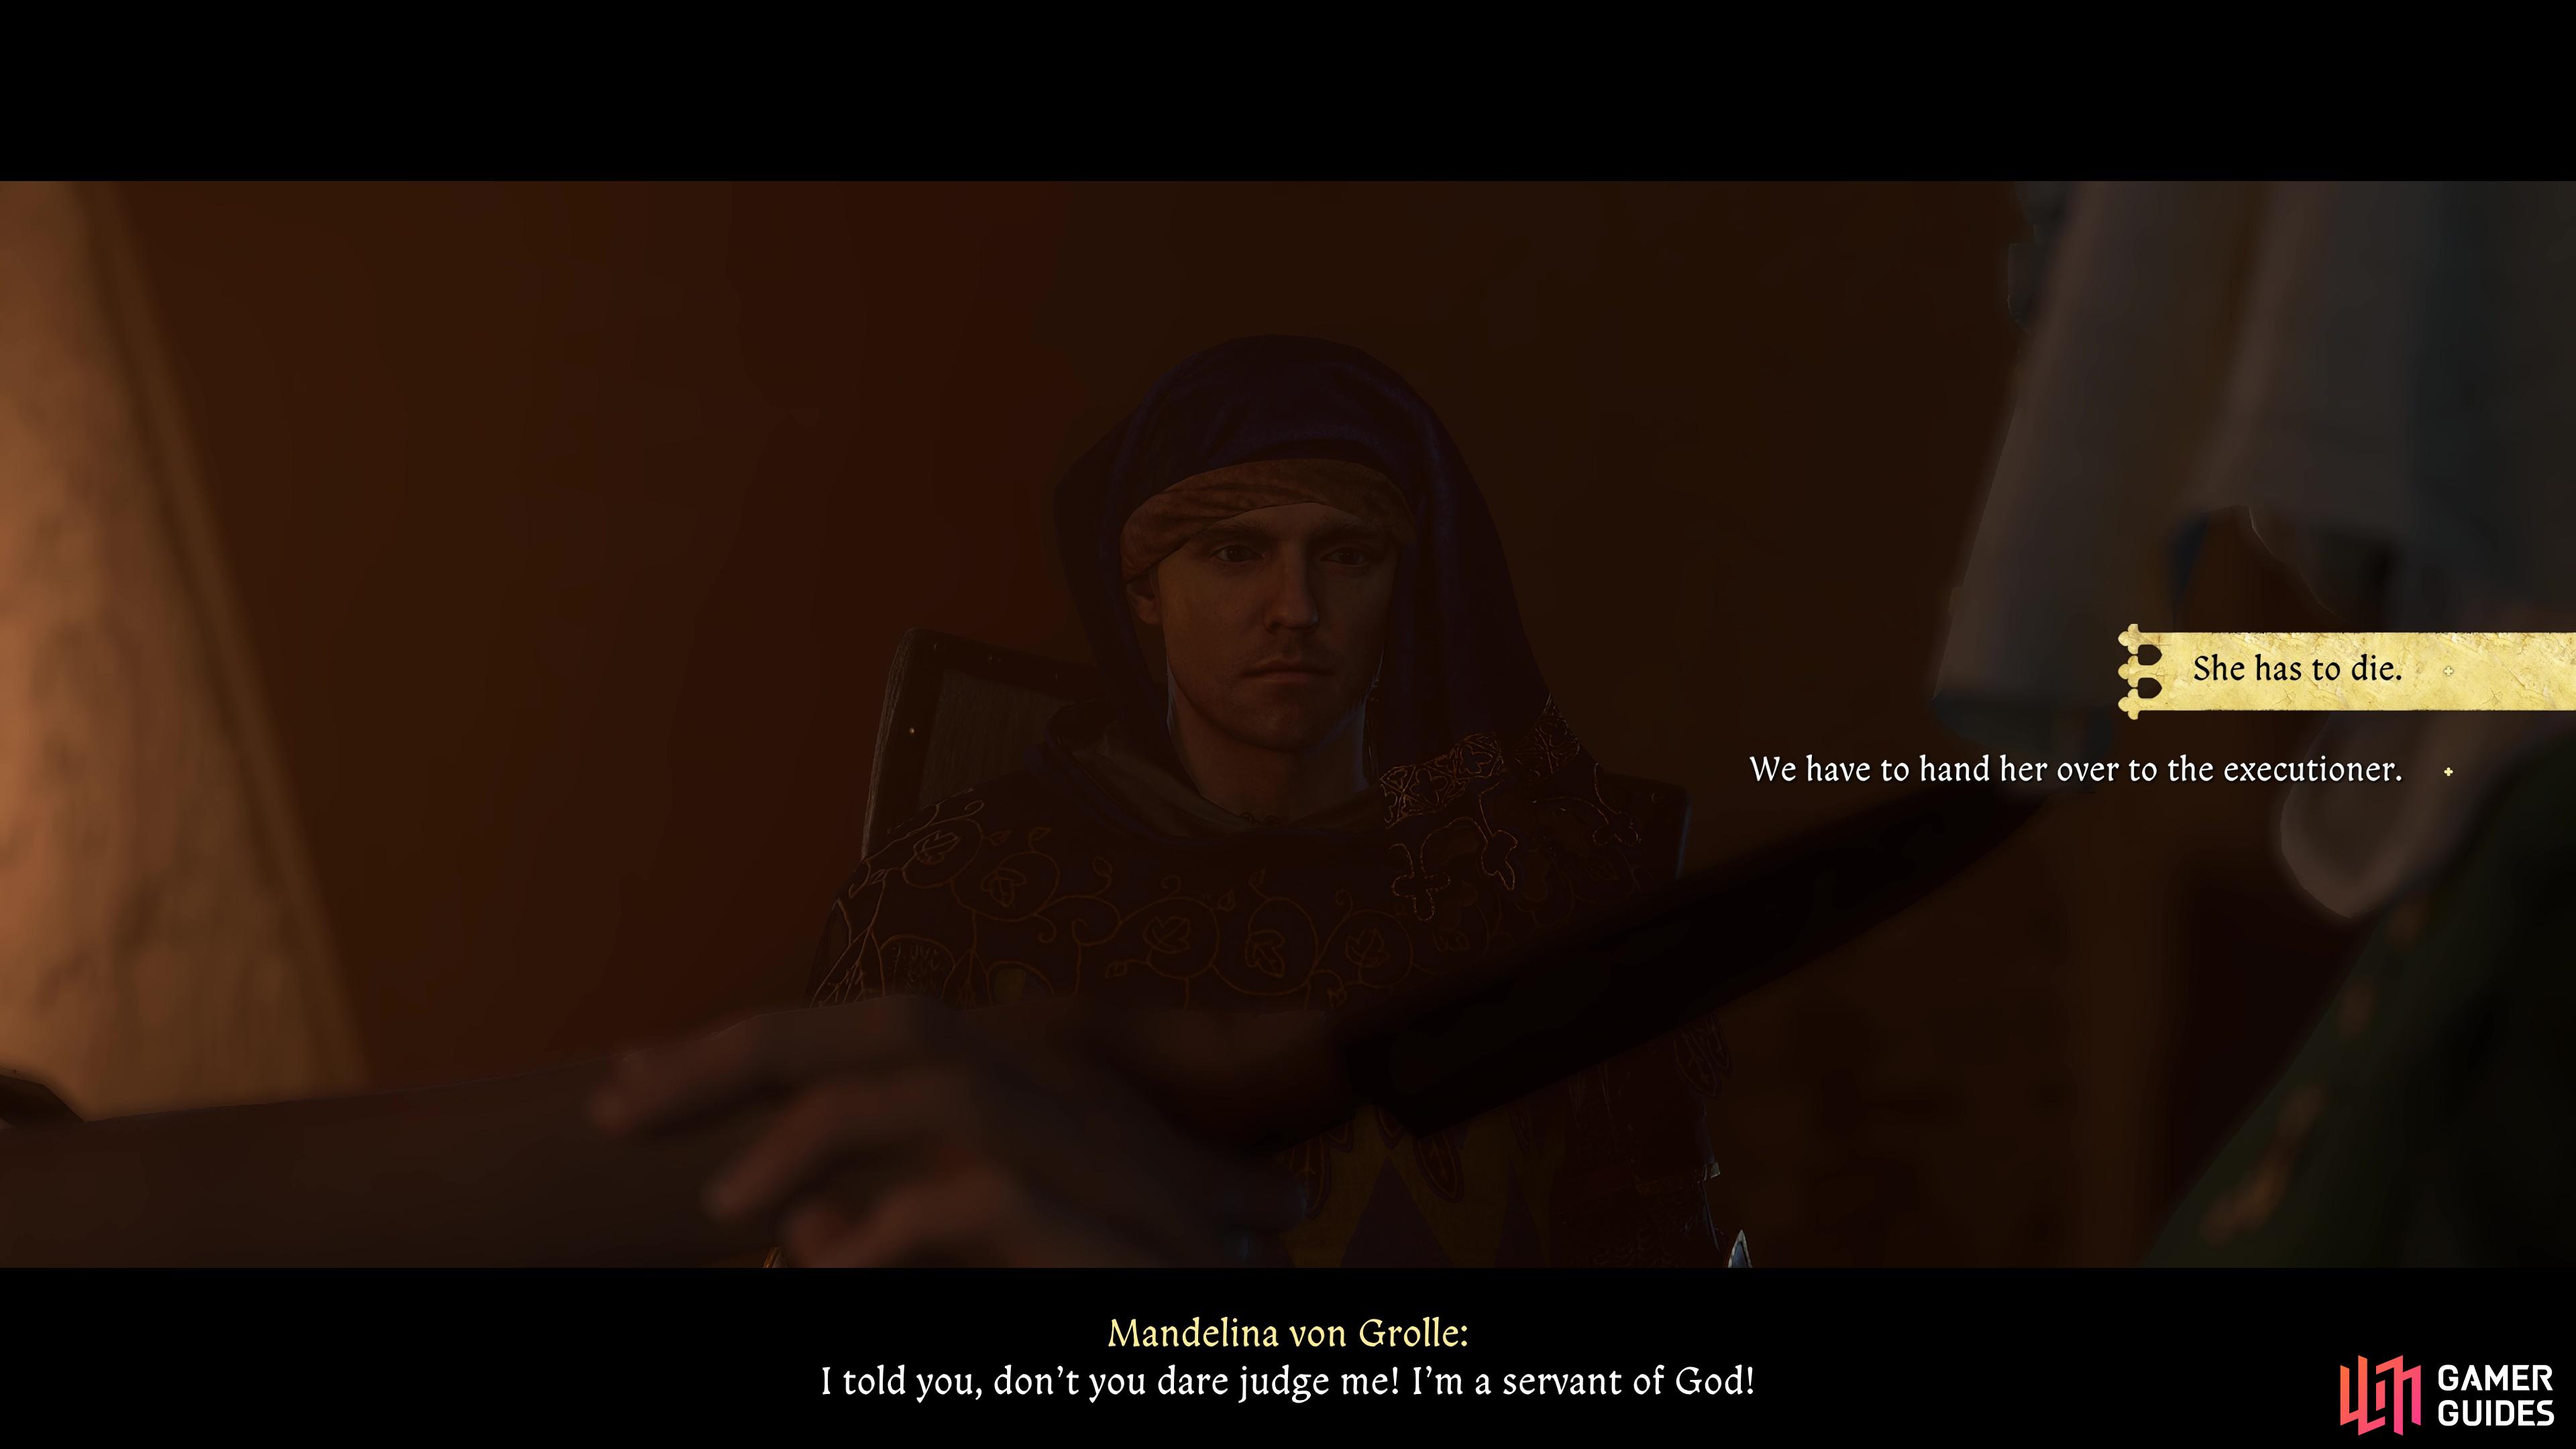
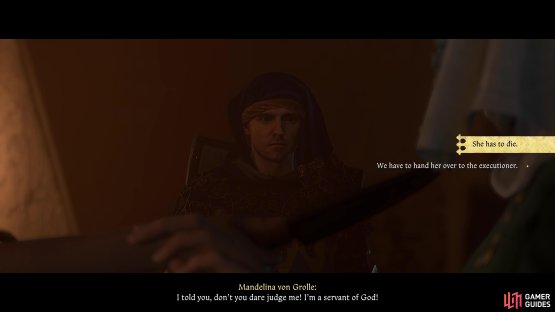
Try to take Thaddeus down without killing him, a few strikes should do the job. (left), You can then decide the fate of Mandelina. (right)
You’ll get to decide her fate at this point, let Katherine go through with killing her to prevent her from possibly getting away with it due to her status as a noble, or hand her over to the executioner to face justice. There is no right or wrong answer here, but if you’re looking to romance Katherine later in the adventure, it’s always a good idea to side with her whenever you get the opportunity. Regardless of your decision, you will eventually return to Lumir’s where you’ll discover the fate of Mandelina and the case, bringing this lengthy quest to an end. As a reward, you’ll get 150 Groschen and a ![]() Kuttenberg knight shield.
Kuttenberg knight shield.
No Comments