
While wandering around ![]() Kuttenberg, you might be lucky enough to bump into Jezhek of Holohlavy and trigger the start of the
Kuttenberg, you might be lucky enough to bump into Jezhek of Holohlavy and trigger the start of the ![]() Lost Honour Side Quest in KCD2. He can usually be found near to some crossroads southwest of
Lost Honour Side Quest in KCD2. He can usually be found near to some crossroads southwest of ![]() Horschan. You’ll know he’s nearby as a message that reads ‘A ragged kind man approaches you’ will appear.
Horschan. You’ll know he’s nearby as a message that reads ‘A ragged kind man approaches you’ will appear.
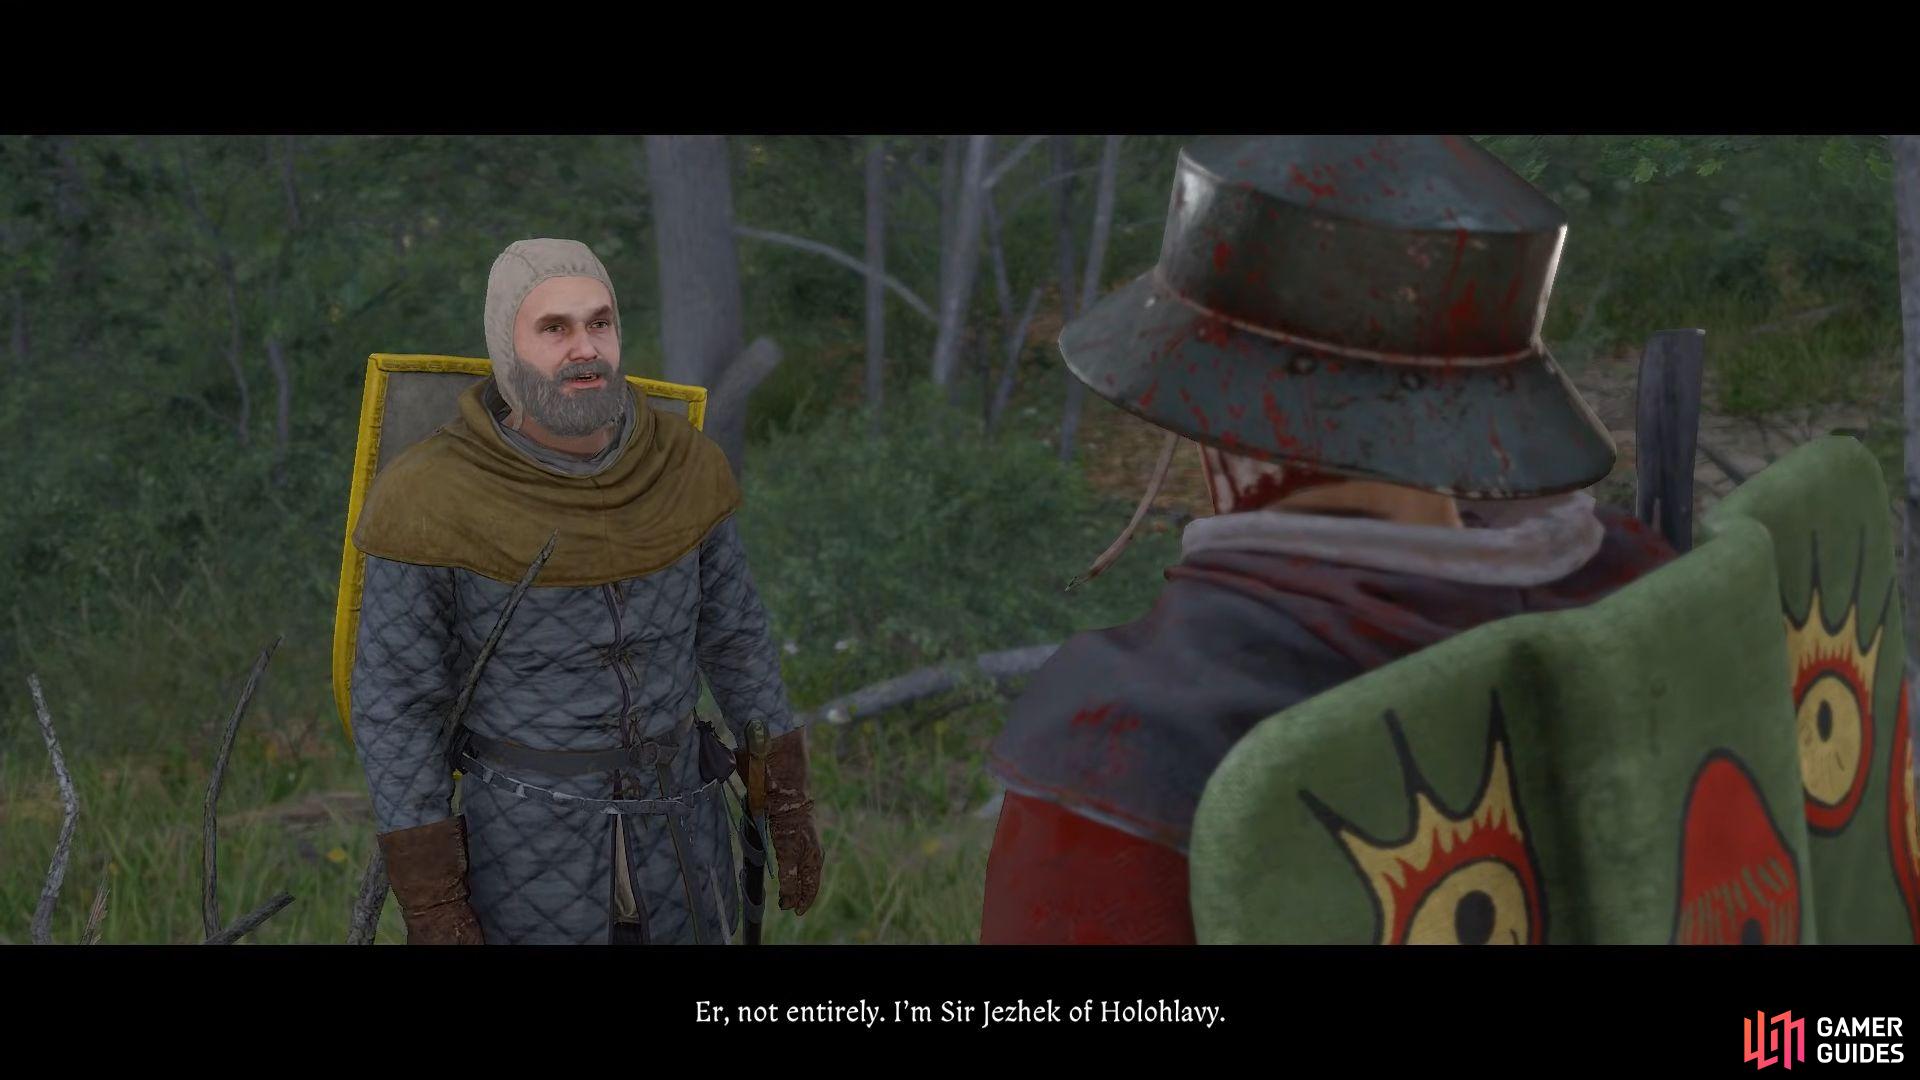


(1 of 2) Speaking to Sir Jezhek in the Lost Honour quest
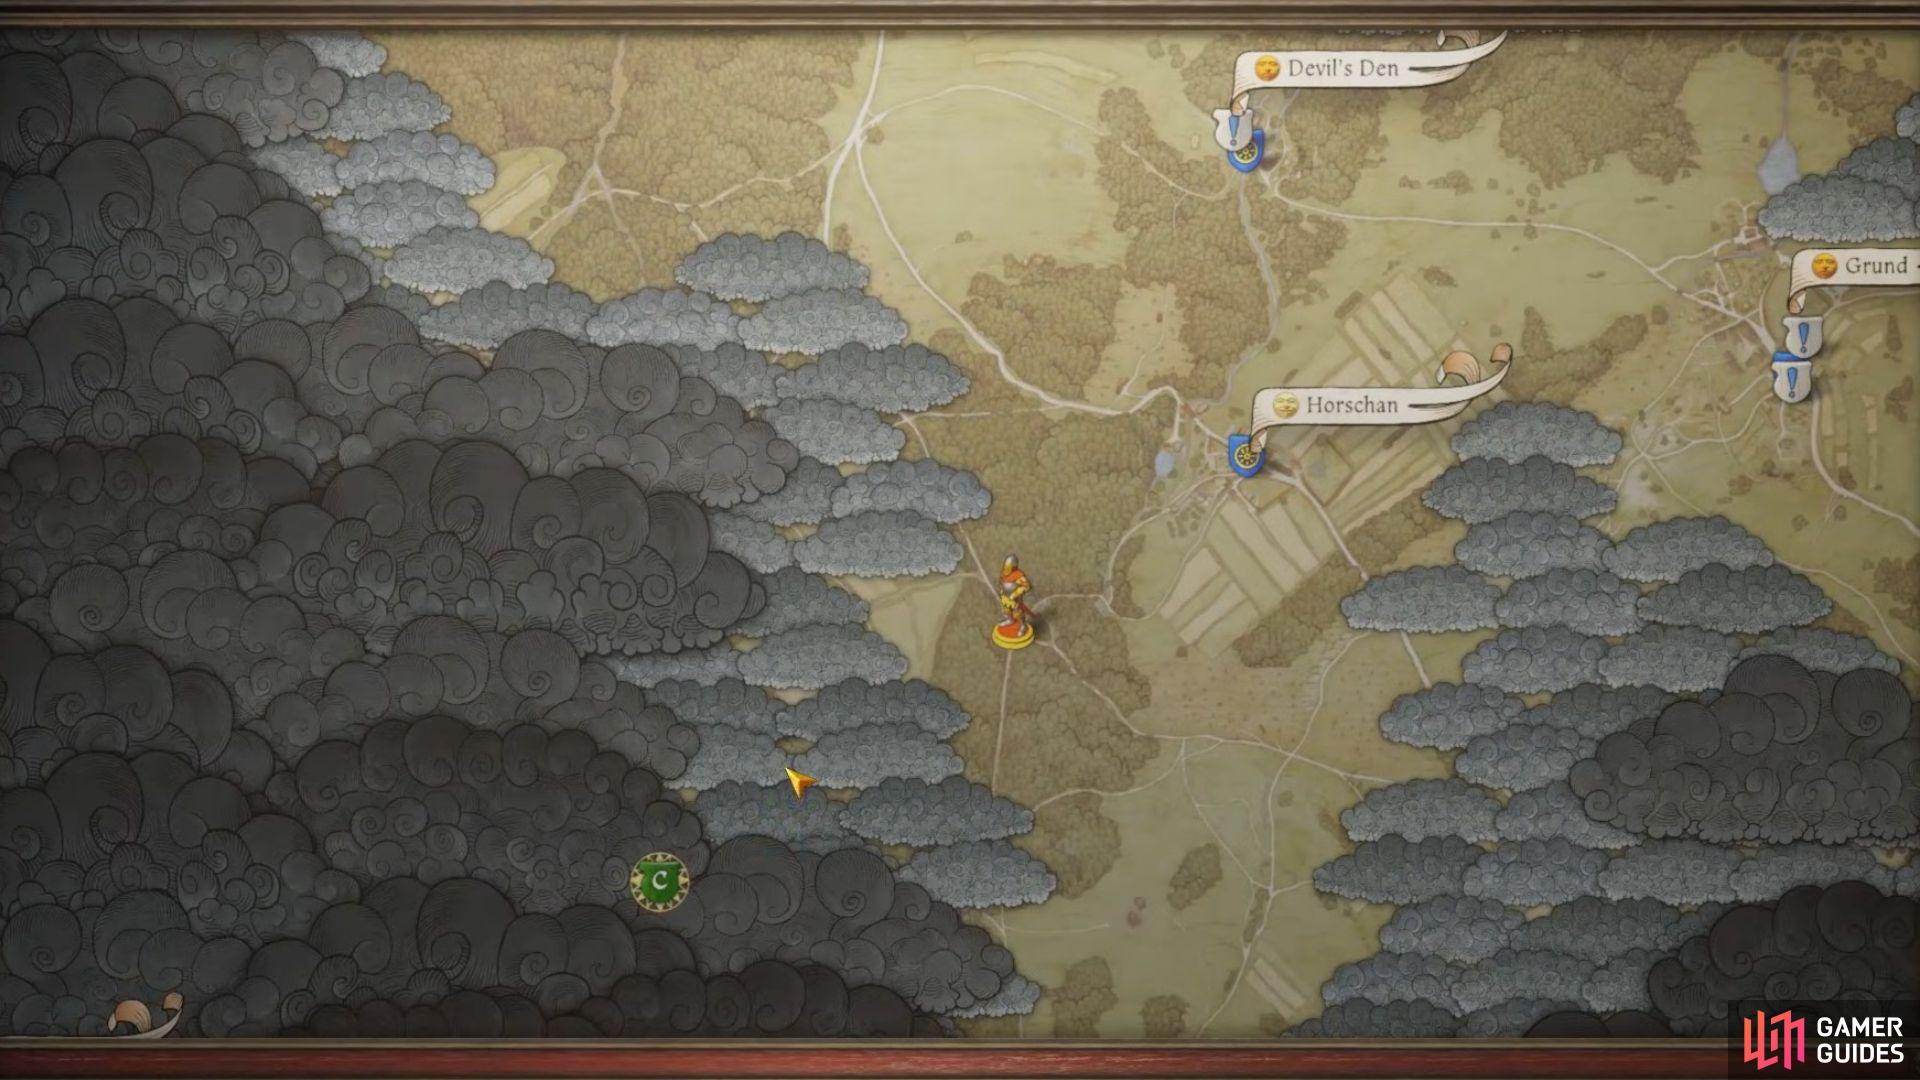
Speaking to Sir Jezhek in the Lost Honour quest (left), Sir Jezhek’s map location for the Lost Honour quest (right)
Starting the Lost Honour Side Quest
Jezhek claims he’s robbing you, so from here you can either use a skill check, ask him some questions, or fight him. It’s better to be as diplomatic as possible here and avoid the fight. If you do opt to fight him, it’s important to accept his surrender. This will give you the option to ask him more about what’s going on.
It turns out Jezhek has lost his mount and his armor to a bet with a soldier named Zavish of Garbow who resides within Sigismund’s camp. Here, you can choose to help him and begin the Lost Honour side quest.
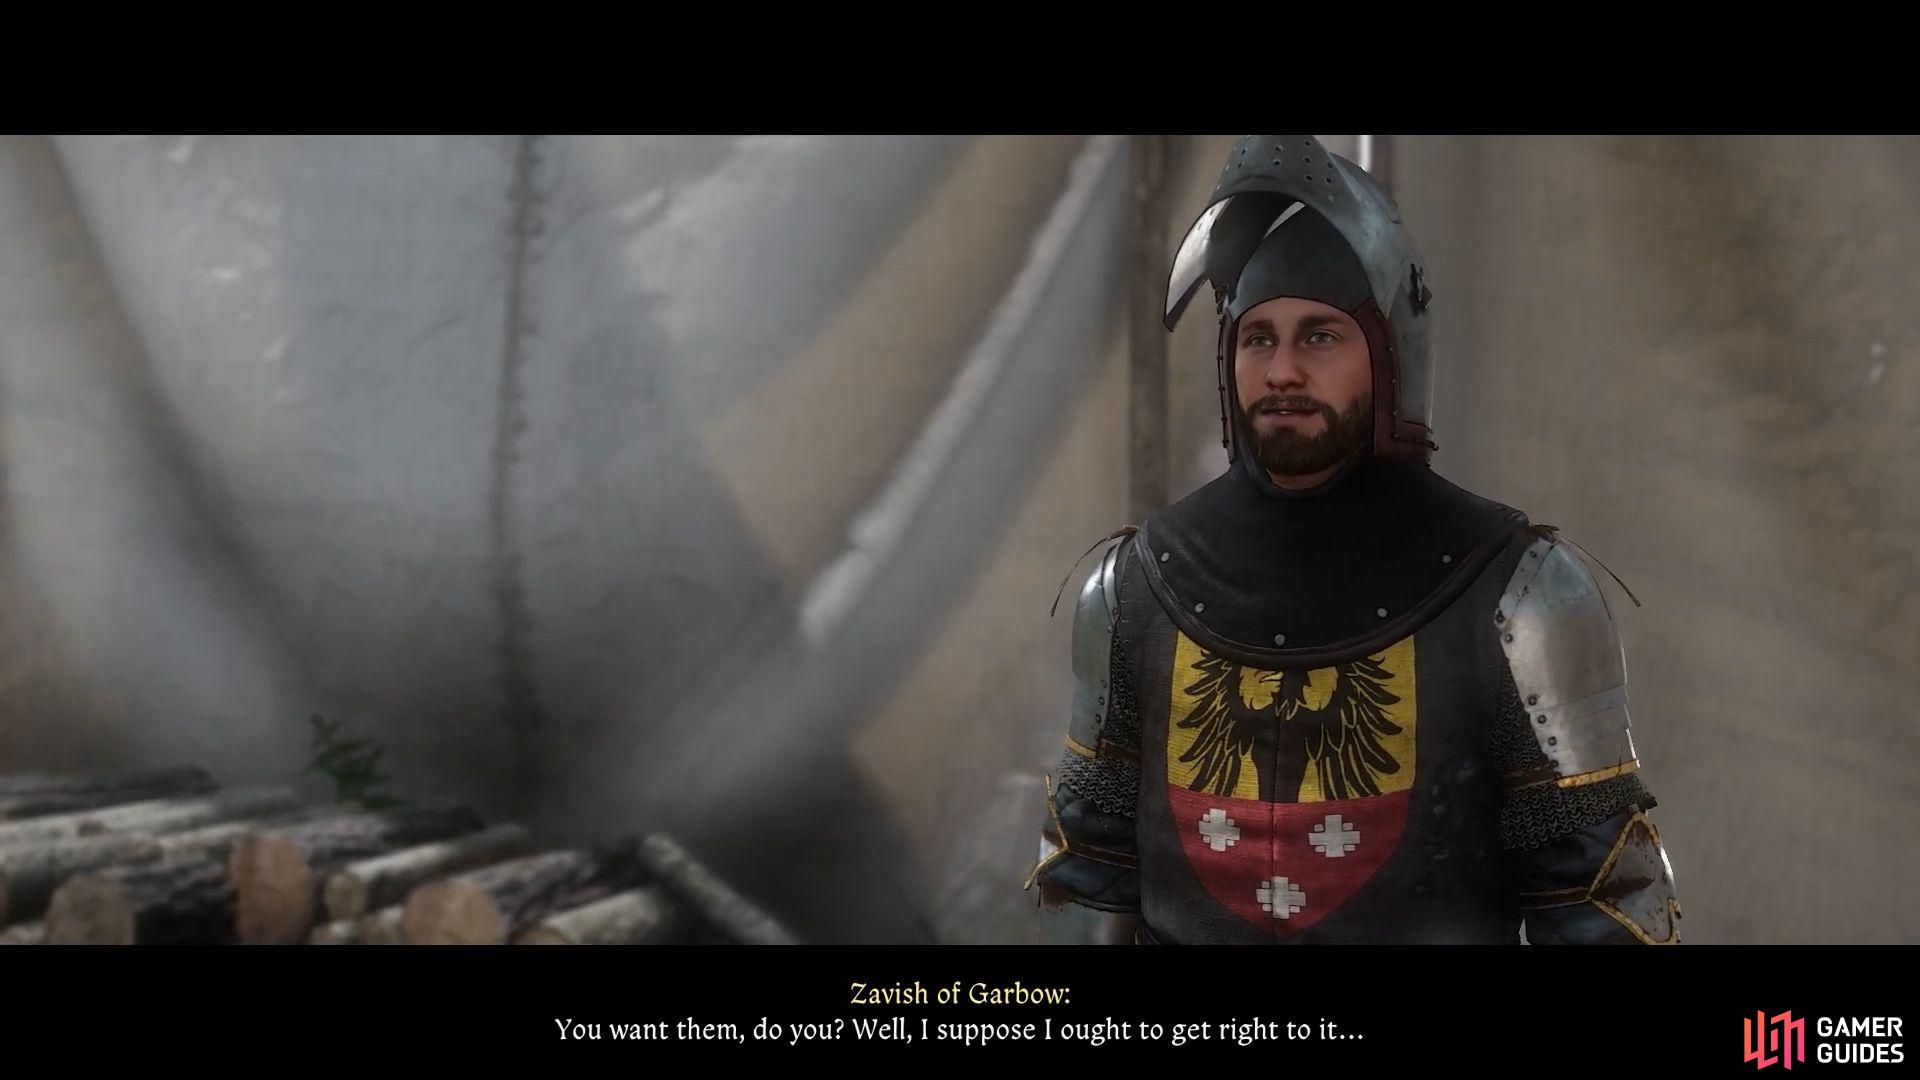
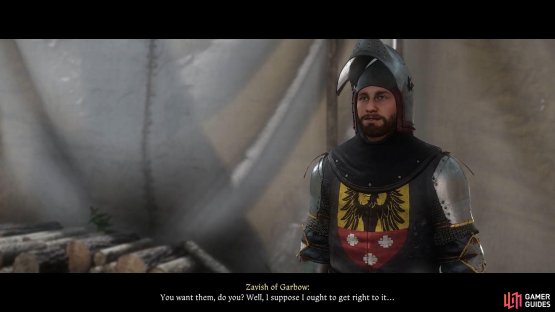
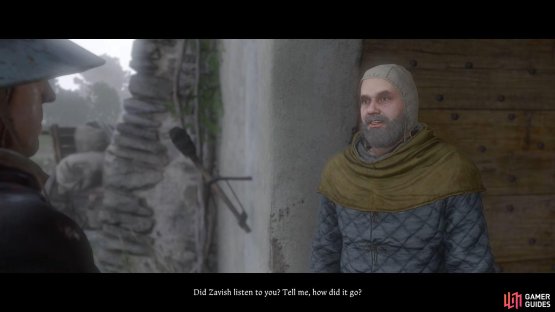
(1 of 2) Speaking to Zavish in the Lost Honour Side Quest

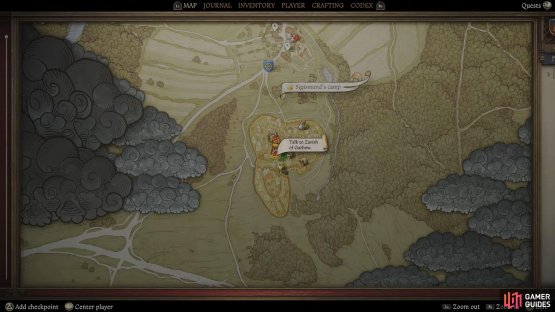
Speaking to Zavish in the Lost Honour Side Quest (left), Zavish’s location in the Lost Honour Side Quest (right)
Finding Zavish of Garbow
You’re now tasked with getting Jezhek’s precious belongings back, so head over to Sigismund’s ![]() Camp. While you can break the truce and steal his armor and horse back, it’s better to find Zavish and challenge him to a duel.
Camp. While you can break the truce and steal his armor and horse back, it’s better to find Zavish and challenge him to a duel.
You’ll initially be stopped by guards at the entrance, but by telling them you’re there on instruction from Jezhek, they will let you in safely.
Head to the center of the camp, looking for the kitchen area and the mercenaries’ tents. As you get closer to Zavish, a prompt will tell you to direct your attention to the heraldry you are looking for. Zavish can often be found sitting at a table in the tent, eating.
If you’re not sure whether it’s him, you can easily spot Zavish by the black eagle and three white stones on his red and yellow coat of arms. Spark up a conversation with him, and try to talk him into returning Sir Jezhek’s items. Unsurprisingly, he won’t be too keen on this idea, and will refuse. He’s worried his reputation will suffer in the camp if he doesn’t follow through with the terms of the bet.
Here’s where we opted to insult Zavish, questioning his honour, which he doesn’t take too kindly to. He’ll challenge you to a duel - the intended outcome.
How to prepare for the duel
Zavish’s duel requires gear of a specific level to be worn. Luckily, there is an Armorer within the camp towards the west. Any of the ![]() Cuman shields or the
Cuman shields or the ![]() Knight shield are okay to equip. Next, go to the blacksmith on the east and pick up a polearm, a one-handed weapon, and a longsword.
Knight shield are okay to equip. Next, go to the blacksmith on the east and pick up a polearm, a one-handed weapon, and a longsword.
Equip Henry with full plate armor, and head back to Zavish. Make a save here to mitigate a loss. You need to win at least two of the three rounds.
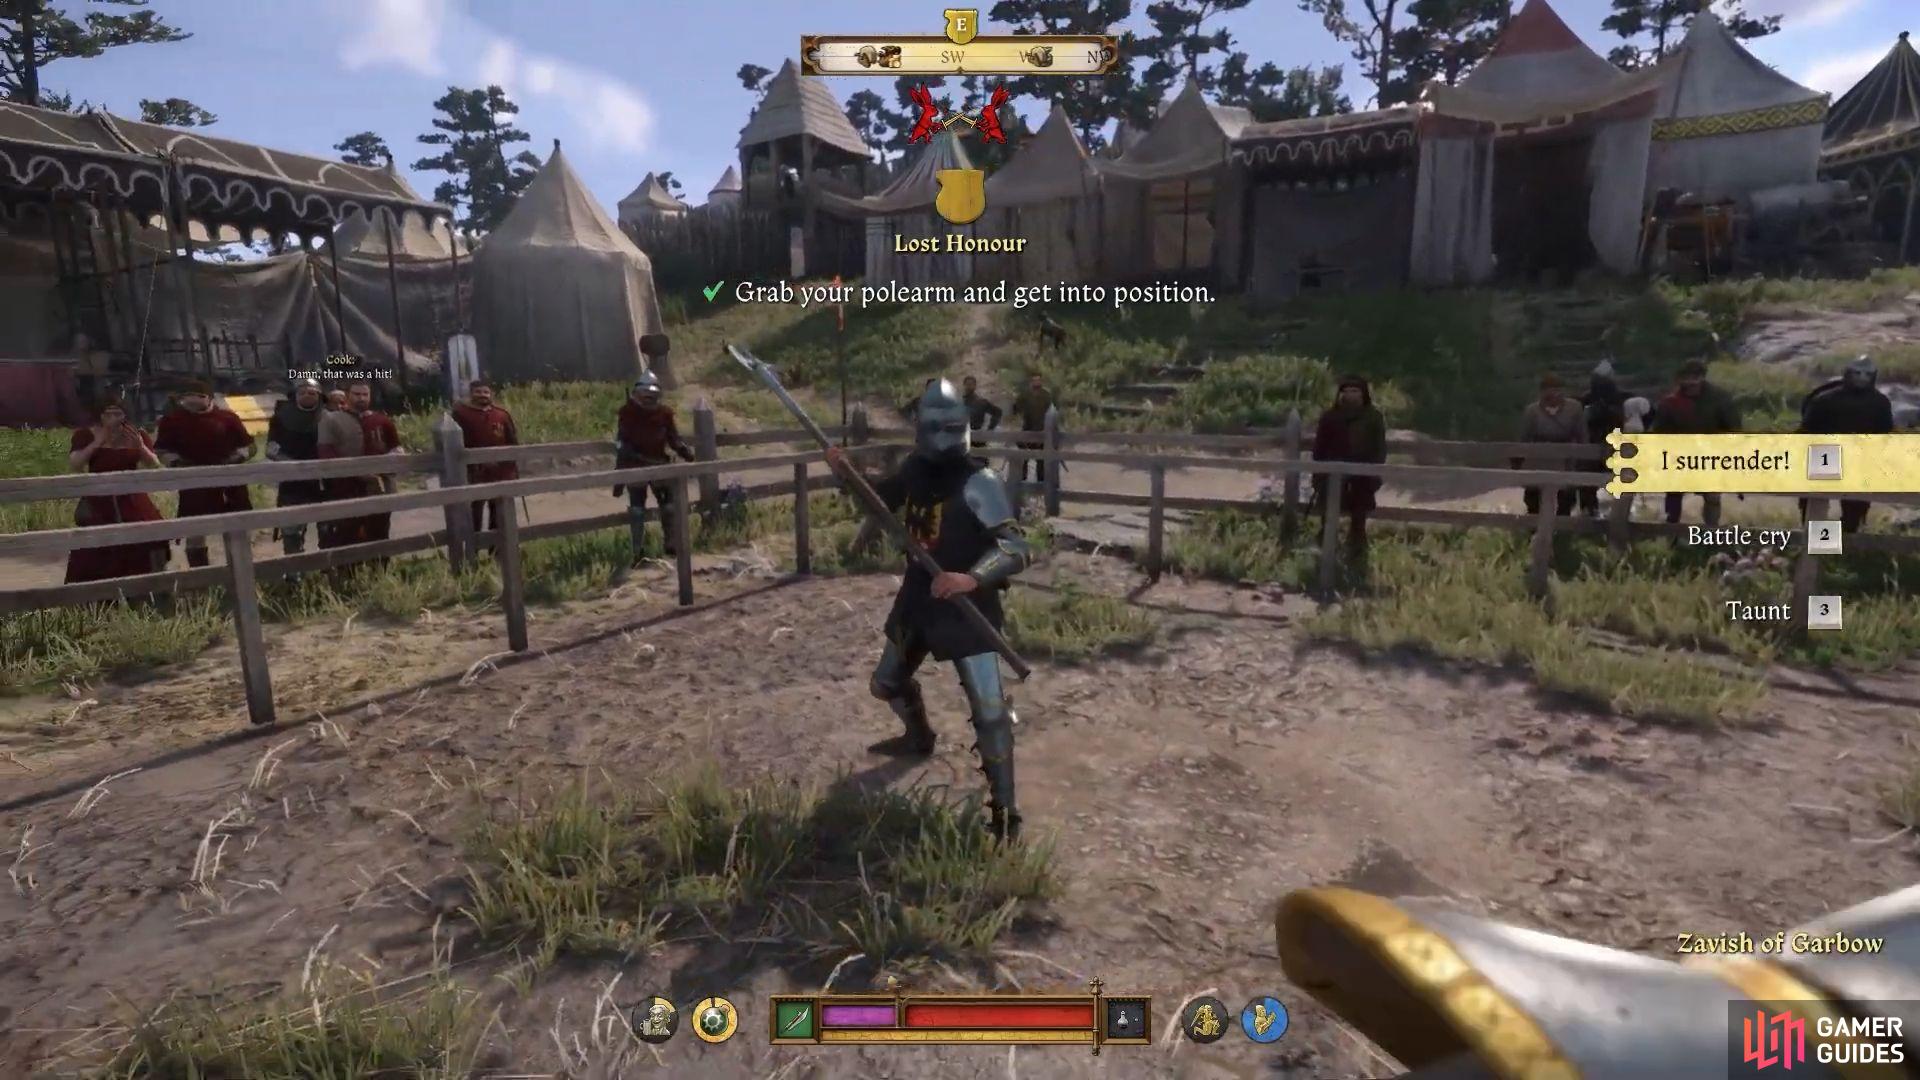

(1 of 3) The Lost Honour polearm fight with Zavish
How to beat Zavish in the duel
The polearm fight is the hardest, and the weapons break fast, so if you must lose one opt for this one. If you’re determined to win all three, you’ll need a polearm skill level of at least 10 otherwise your attacks will be mostly blocked.
Try to force Zavish back into a corner, and time your attacks well. Dodge rather than blocking, as blocking affects the durability of the polearm. After the fight, the Herald will call you outside of the duelling area. If you need healing, speak to the Maid just outside the ring, and then return for the second round.
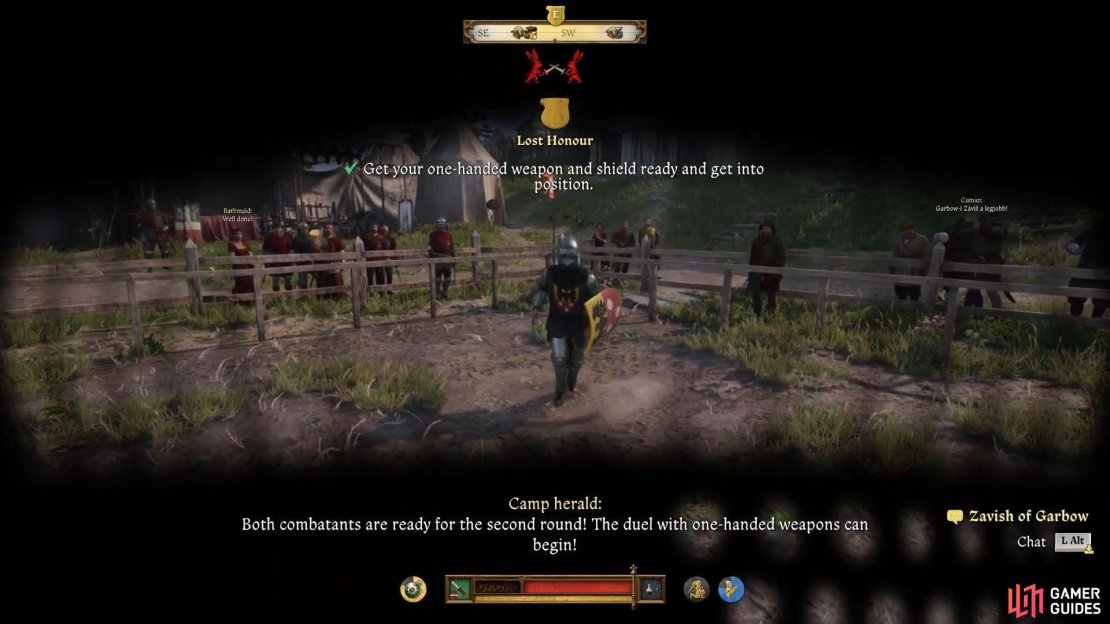
The second round is the one-handed weapon and shield fight. Zavish will be using an axe here, so make sure you’ve repaired your shield using a Blacksmithing kit.
You’ll want to attack fast, and parry effectively to win this round. We found that overhead attacks after Zavish executes a string of attacks were very effective. This round is far easier than the last, and if you’ve been predominantly using one-handed weapons during your playthrough, it shouldn’t prove too much of a struggle.
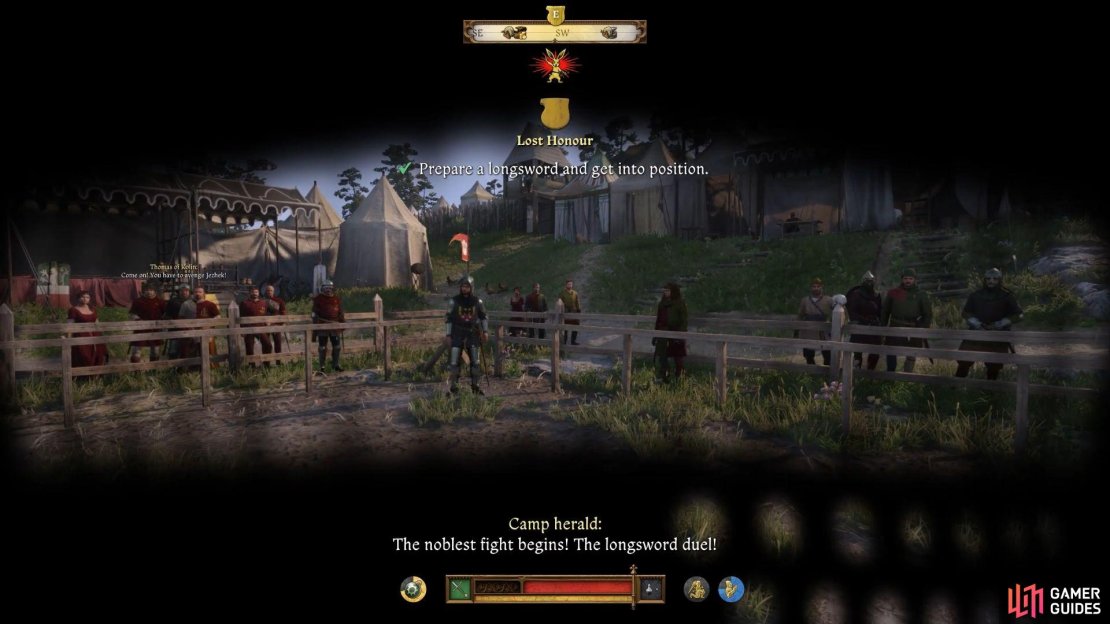
After the round, again heal with the Maid outside. The final round is the Longsword fight. Zavish is very efficient with a Longsword, and will take advantage of any mistake that you make. Ensure you counter with ![]() Master Strikes after his combo attacks. Charged attacks from above are going to be the most effective way to attack, while stabbing is the least effective as he can easily parry them. Keep an eye on your stamina bar, especially if you’re feinting a lot, as this uses it up quickly.
Master Strikes after his combo attacks. Charged attacks from above are going to be the most effective way to attack, while stabbing is the least effective as he can easily parry them. Keep an eye on your stamina bar, especially if you’re feinting a lot, as this uses it up quickly.

(1 of 2) Lost Honour horse location

Lost Honour horse location (left), Completing the Lost Honour quest by speaking to Jezhek (right)
Where to find Sir Jazhek’s belongings
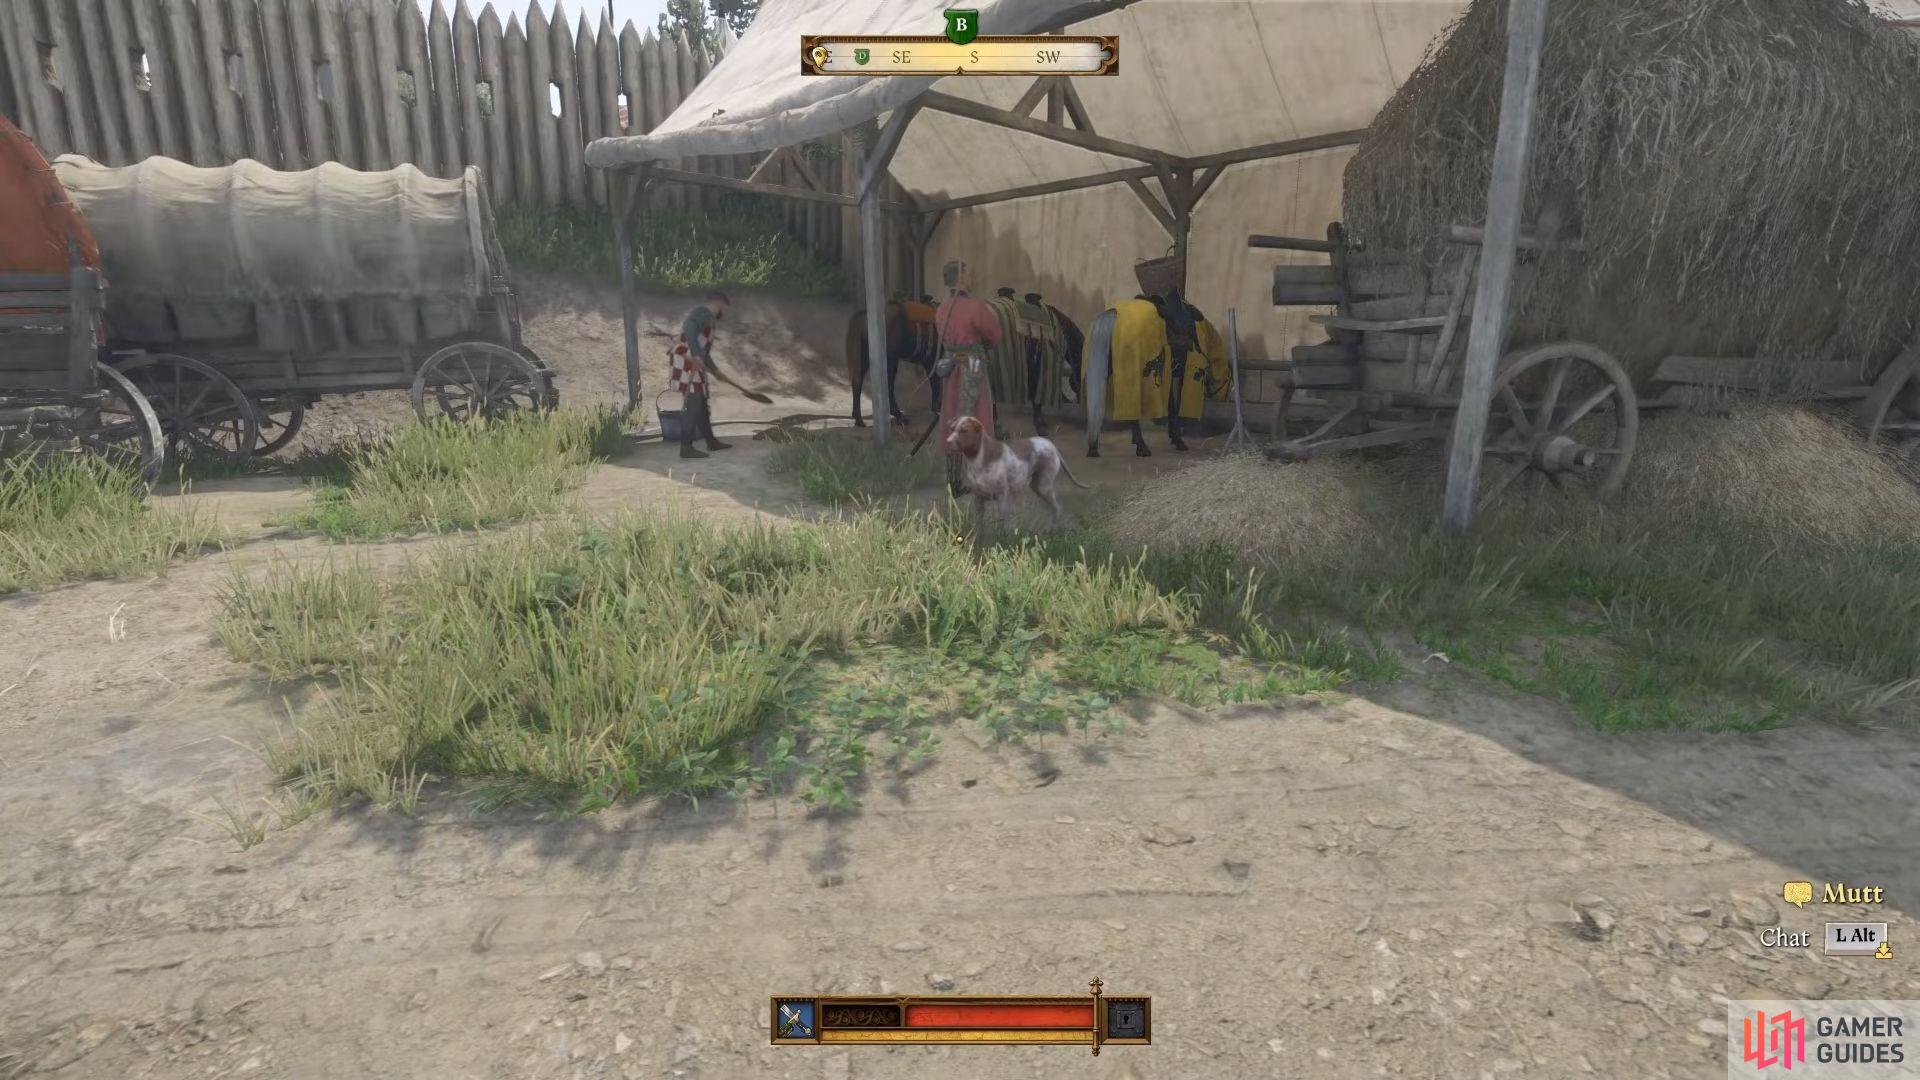
Once you’ve successfully beaten Zavish in the duel, he will give you a key to his personal chest which is inside the tent where you first spoke to him. Inside here is Jazhek’s armor, and his Brigandine is displayed nearby. Do not take anything else from the room, or you’ll soon find yourself in trouble.
Gringolet, Jazhek’s mount, is in a stable on the edge of the camp. He’s adorned in yellow gear, so easily recognisable. From here, ride his horse to the east of ![]() Miskowitz to the inn. On the map, it’s in the southeast corner near Kuttenberg. Leave the horse in the garden.
Miskowitz to the inn. On the map, it’s in the southeast corner near Kuttenberg. Leave the horse in the garden.
Lost Honor quest rewards
Then, speak to Sir Jezhek and explain what happened. You have the option to lie to him about his gear to attempt to keep it for yourself, but the gear itself is not worth the risk. He’ll be very grateful, and you’ll be rewarded with Jezhek’s Spurs, Lord of Holohavy Heater Shield, and 500 ![]() Groschen. All of Jezhek’s gear will be automatically transferred to him once the quest ends.
Groschen. All of Jezhek’s gear will be automatically transferred to him once the quest ends.
No Comments