
The next name on Gules’s bandit leader list is that of Johnny the Gob, a fellow who has a personal connection to him. As always, Gules won’t trust you enough to simply deliver word of his demise, so you’ll need proof. Keep reading to learn how to find and complete the Johnny the Gob quest in Kingdom Come: Deliverance II.
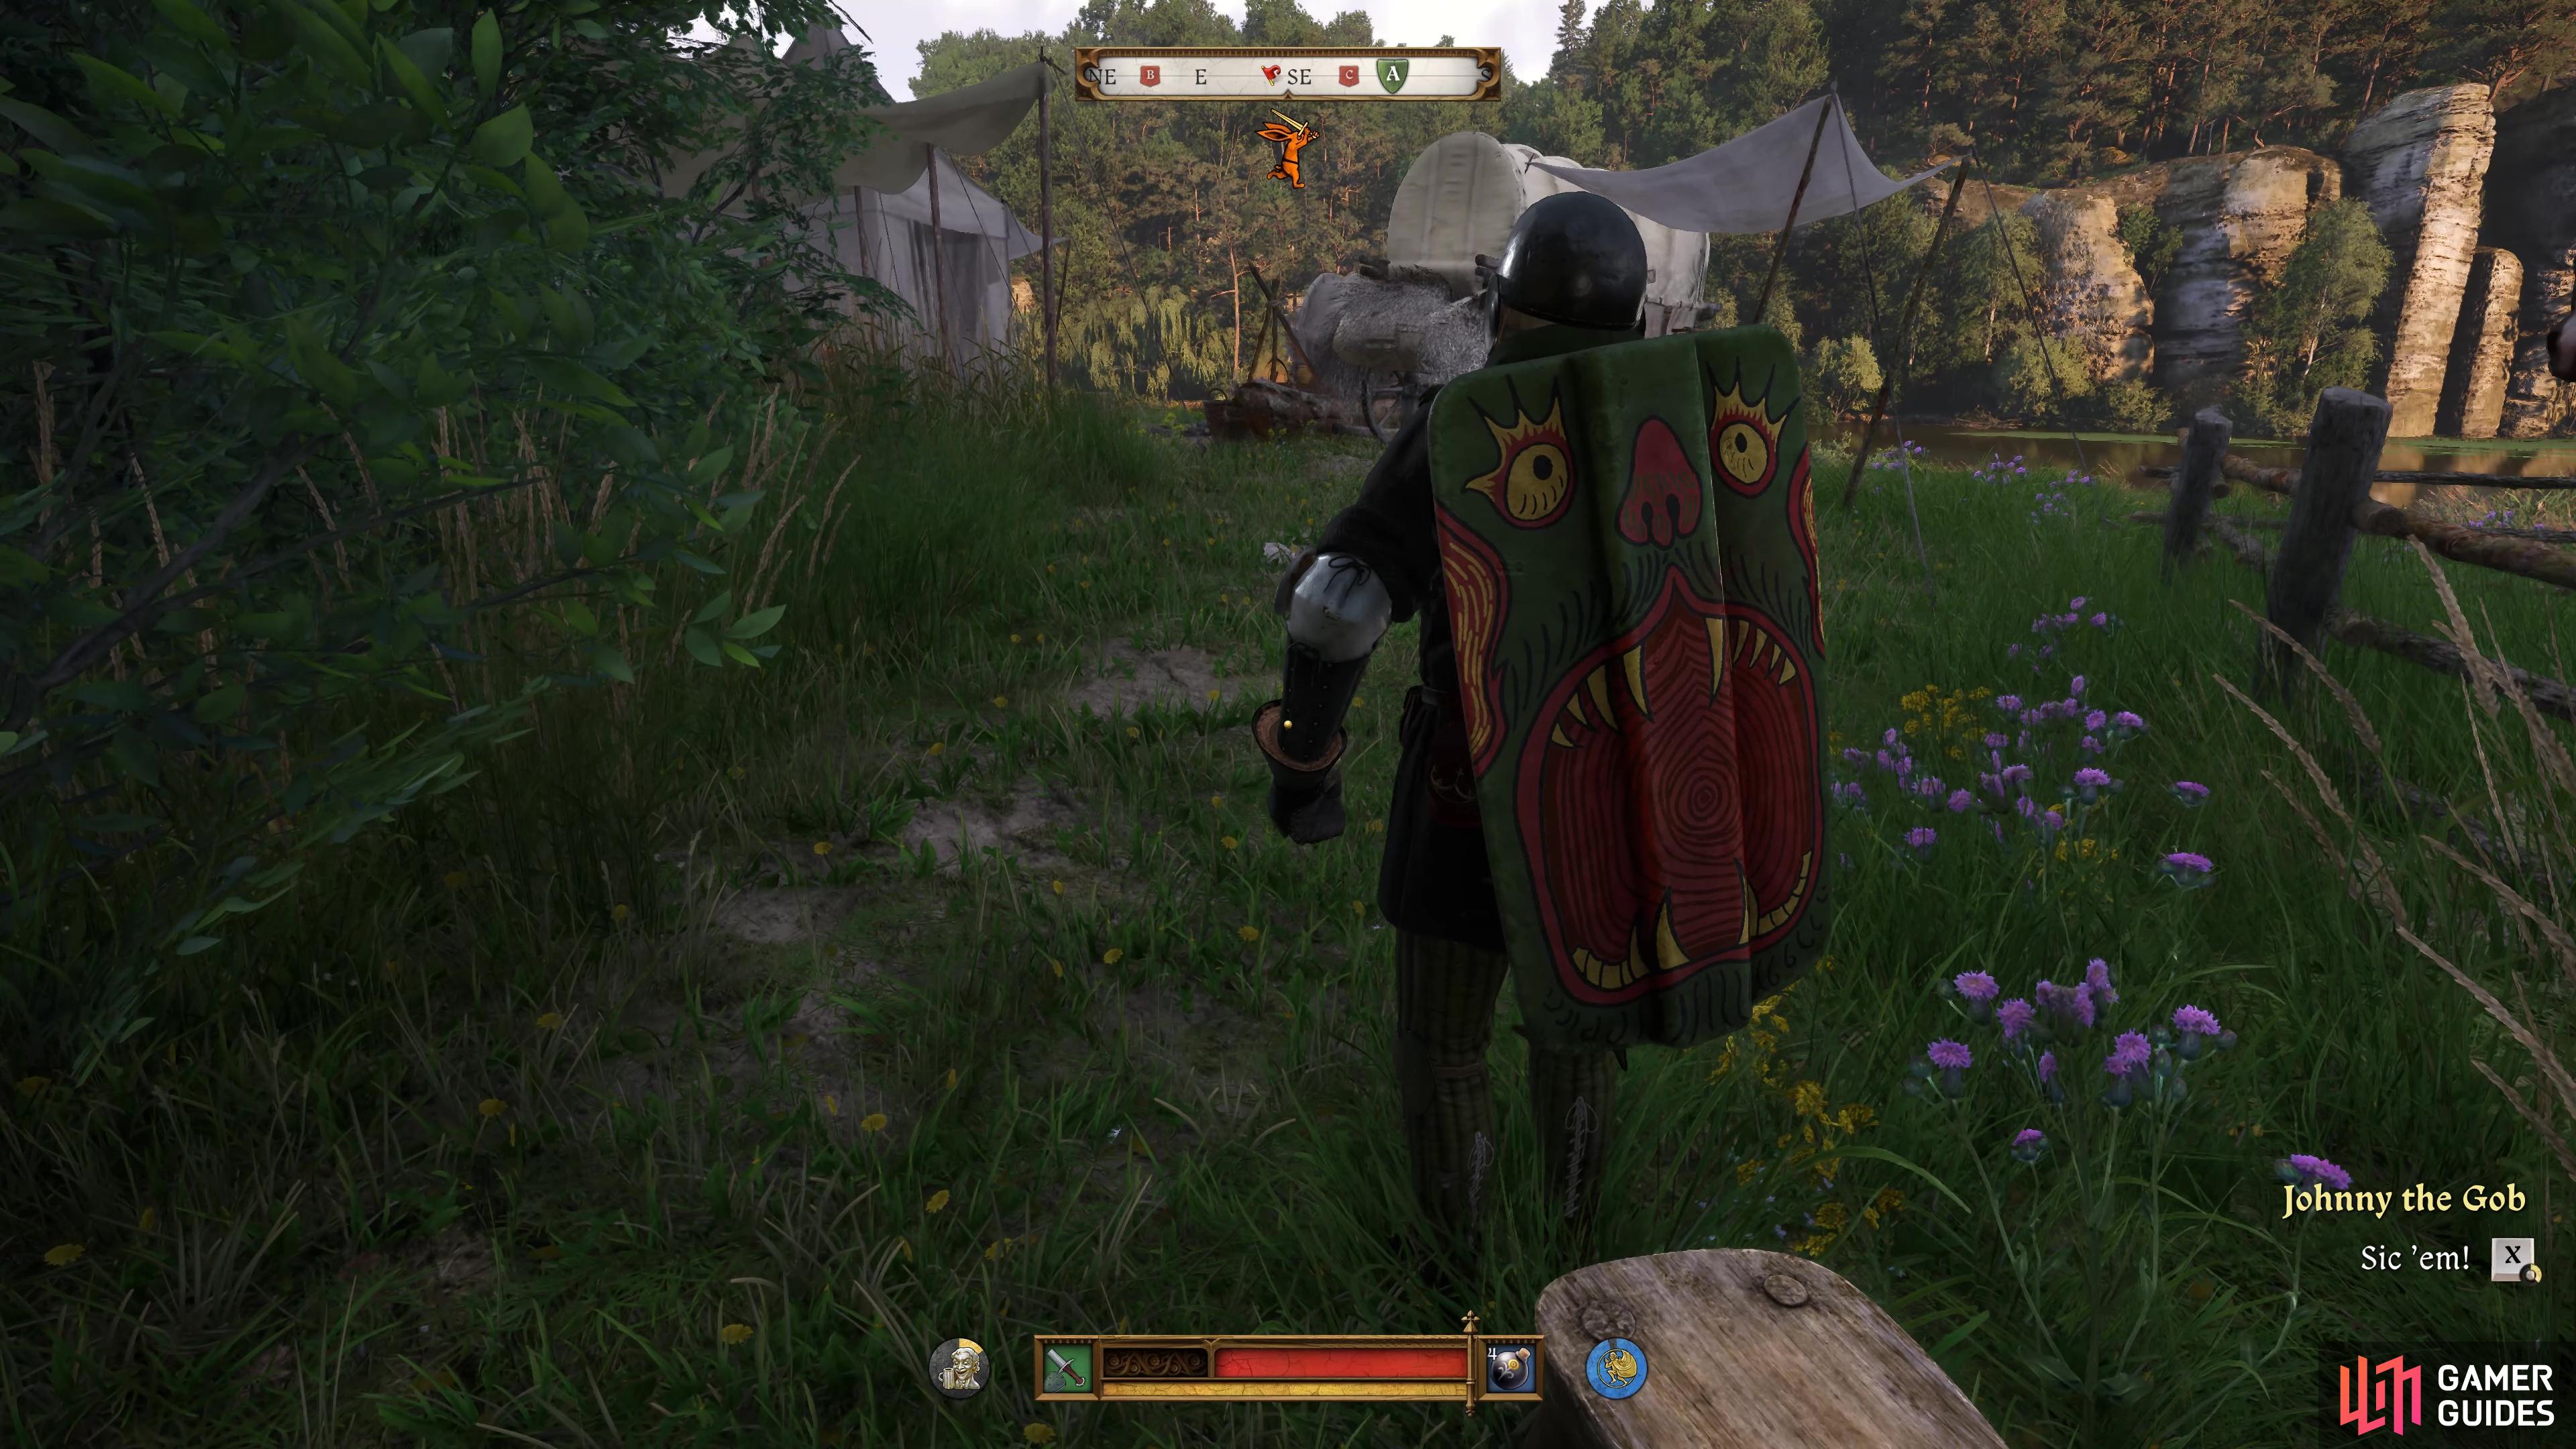
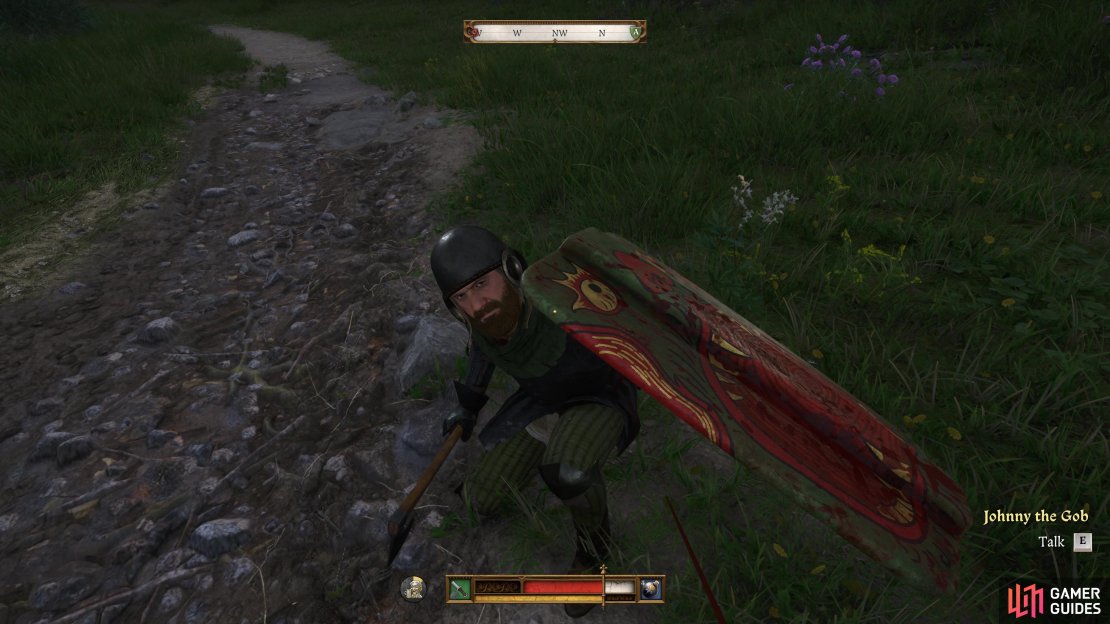
You’ll need to find a way to get Johnny the Gob’s shield for Gules’s next bandit leader quest in Kingdom Come: Deliverance 2.
Table of Contents
If you want to jump to a specific section, click on the links below.
Starting the Johnny the Gob Task
You should know the deal by now, every one-two days, Gules should have a new name for you to help him deal with his old bandit gang. Johnny the Gob is the third such task in this questline and you’ll need to have completed both Canker and Handsome Charlie first. On top of this, you won’t even be able to work on this questline if you didn’t leave Gules alive during The Jaunt, the second quest in the Blacksmith’s route to the wedding.
Once you’ve met all of these conditions, return to the Semine estate and speak with Gules, who can be usually found outside the front gate or walking the ramparts. If you were successful in keeping the Charcoal Burners out of the battle with Handsome Charlie, Gules will have 125 Groschen for you, before giving you the details on Johnny the Gob. This time around, Gules wants you to spare Johnny instead, talking him into leaving the region instead.
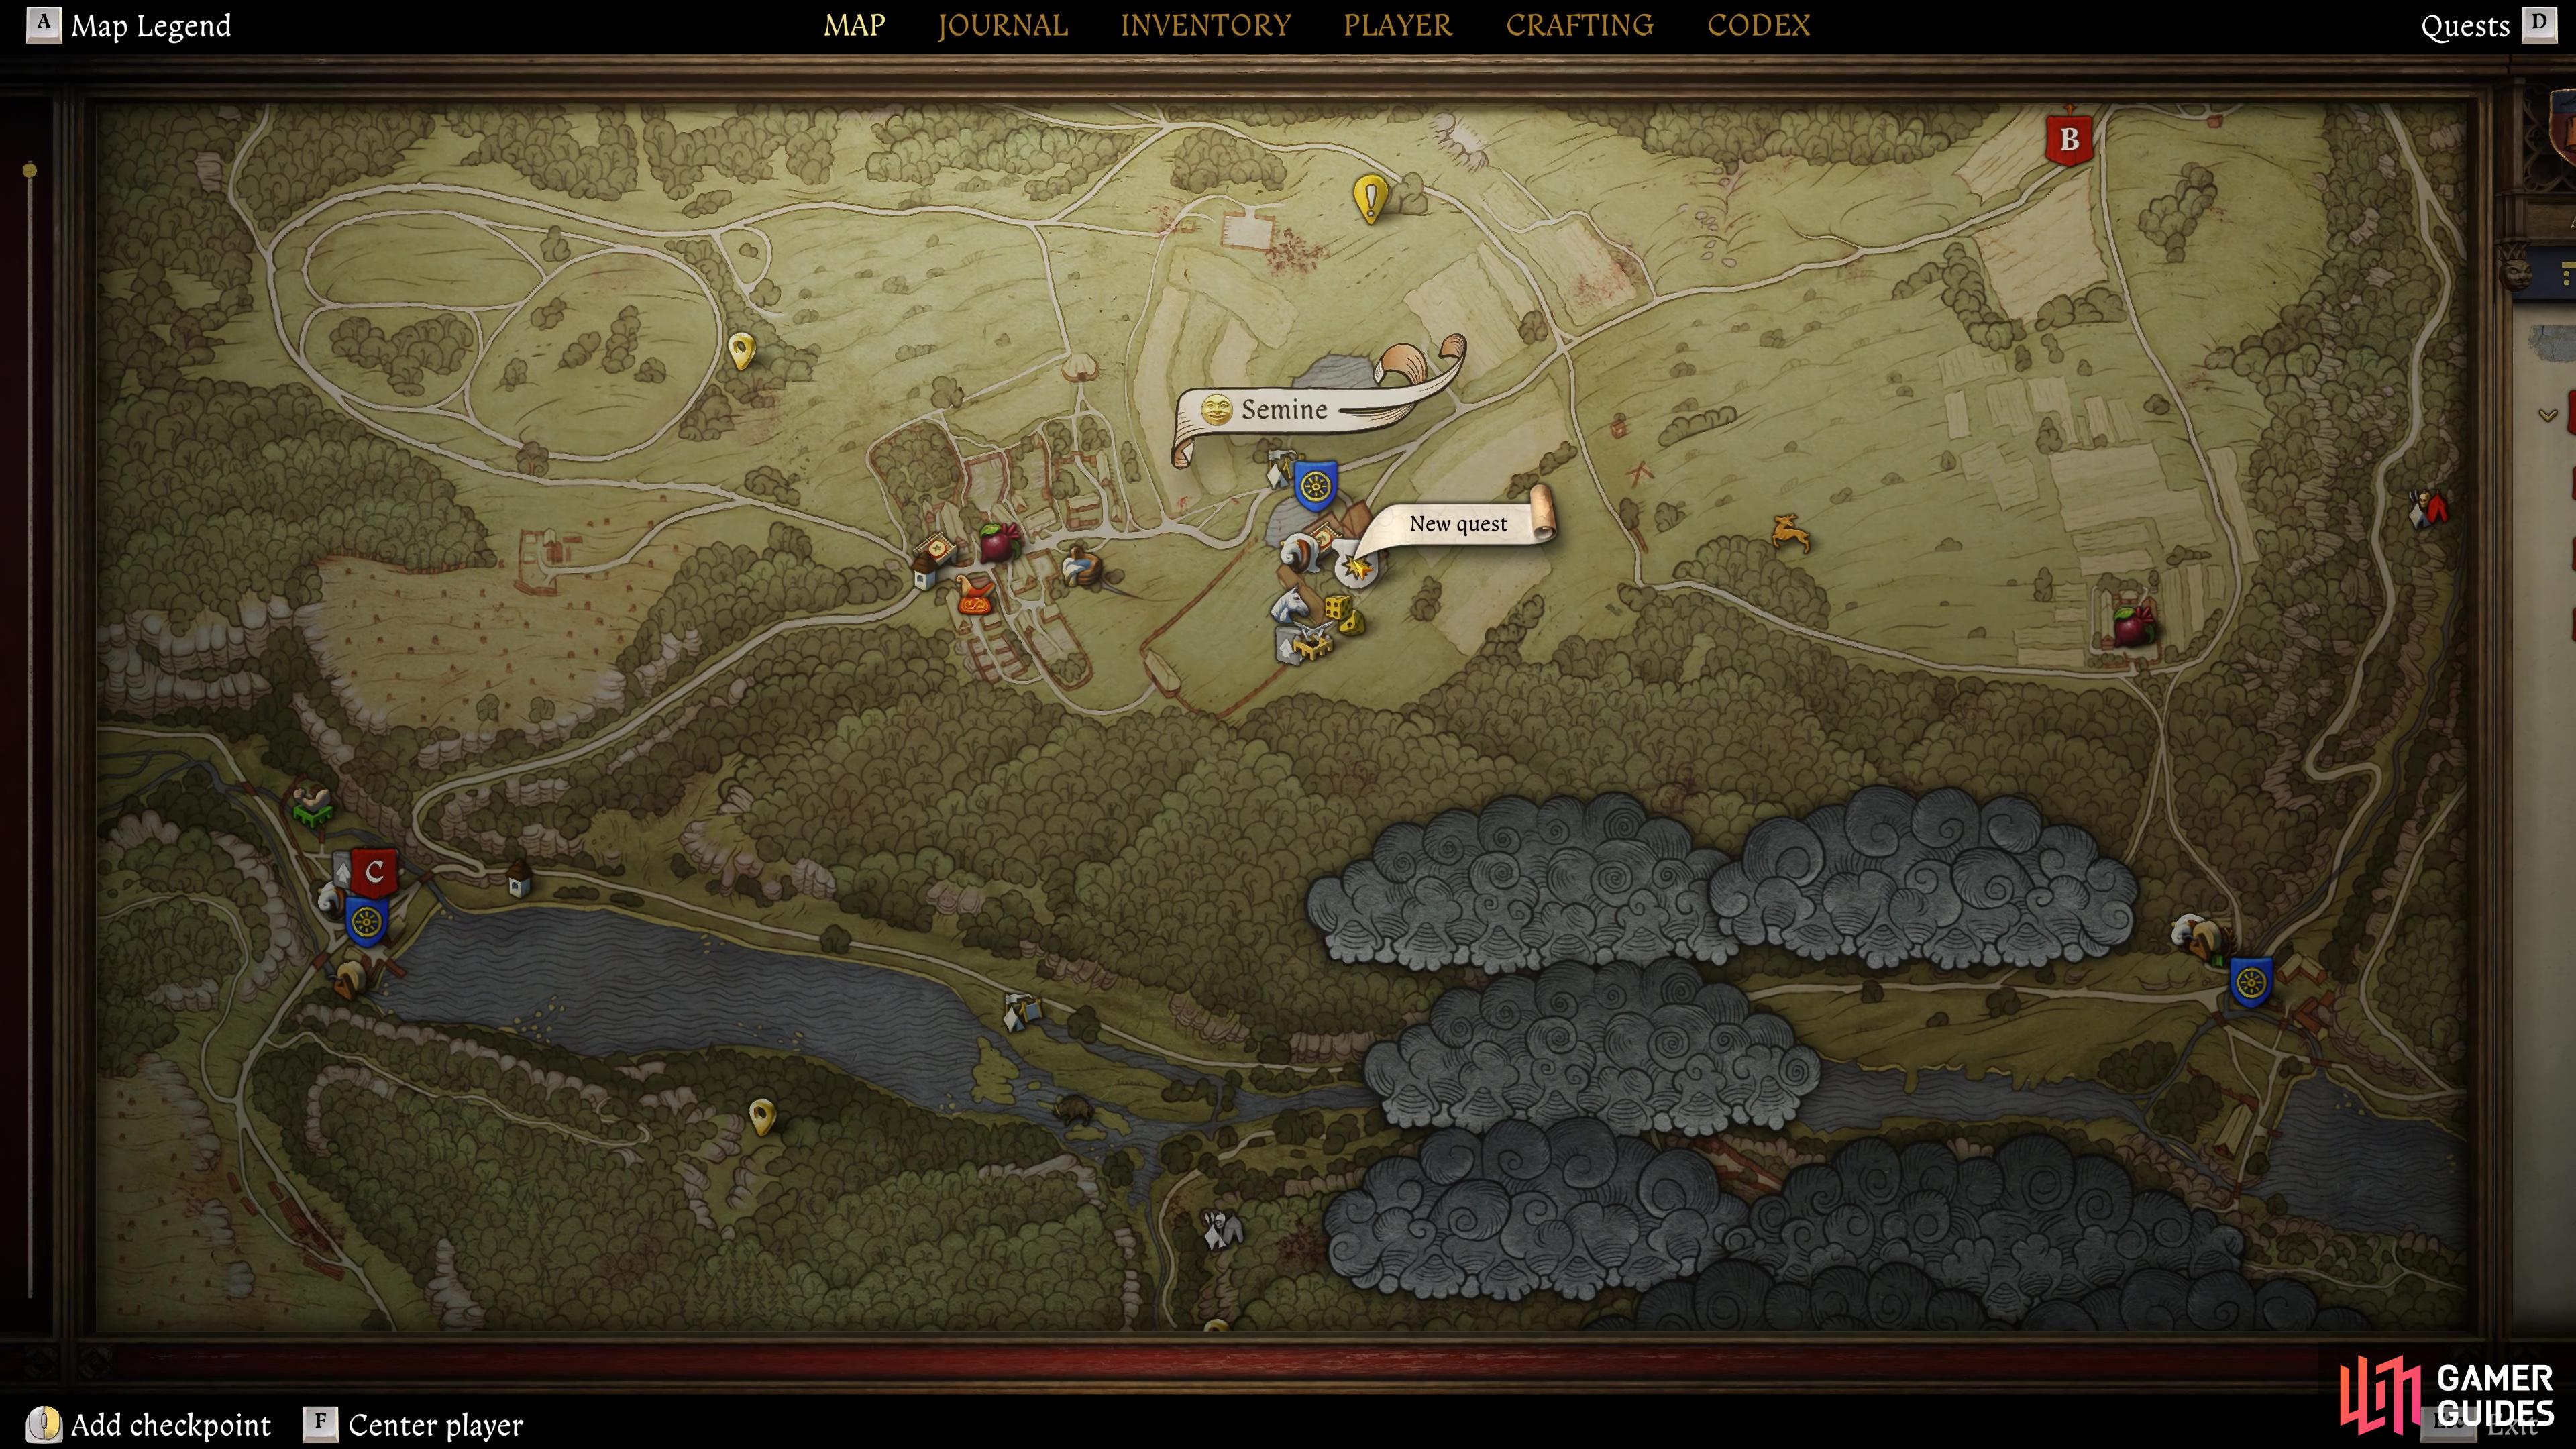


(1 of 3) As always with Gules’s quests, you’ll find him at the Semine estate.
Break up Johnny the Gob’s Gang
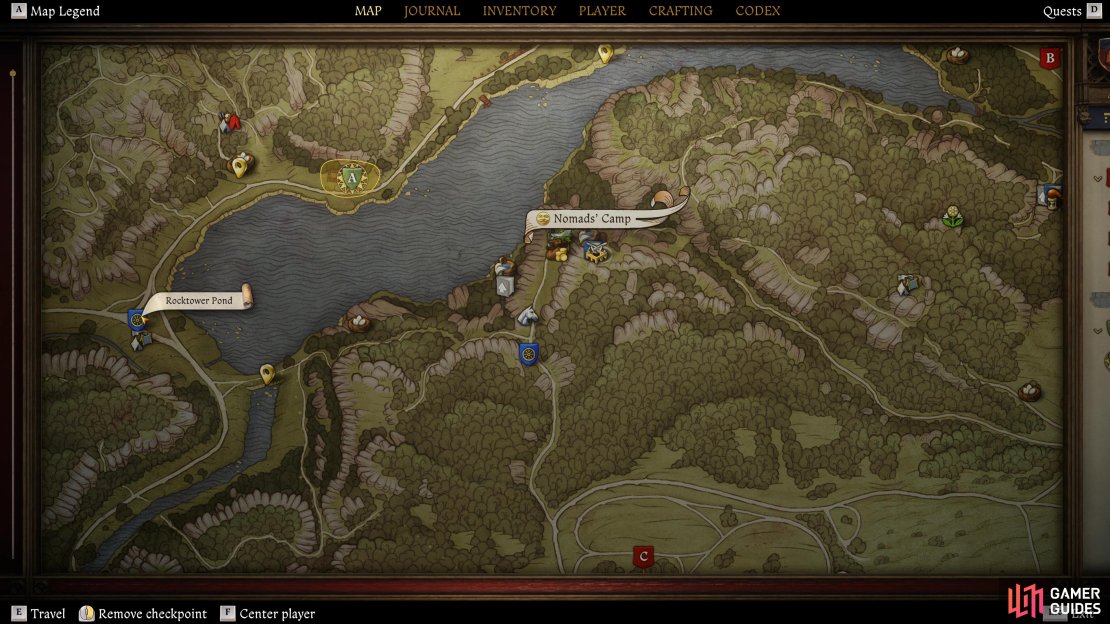
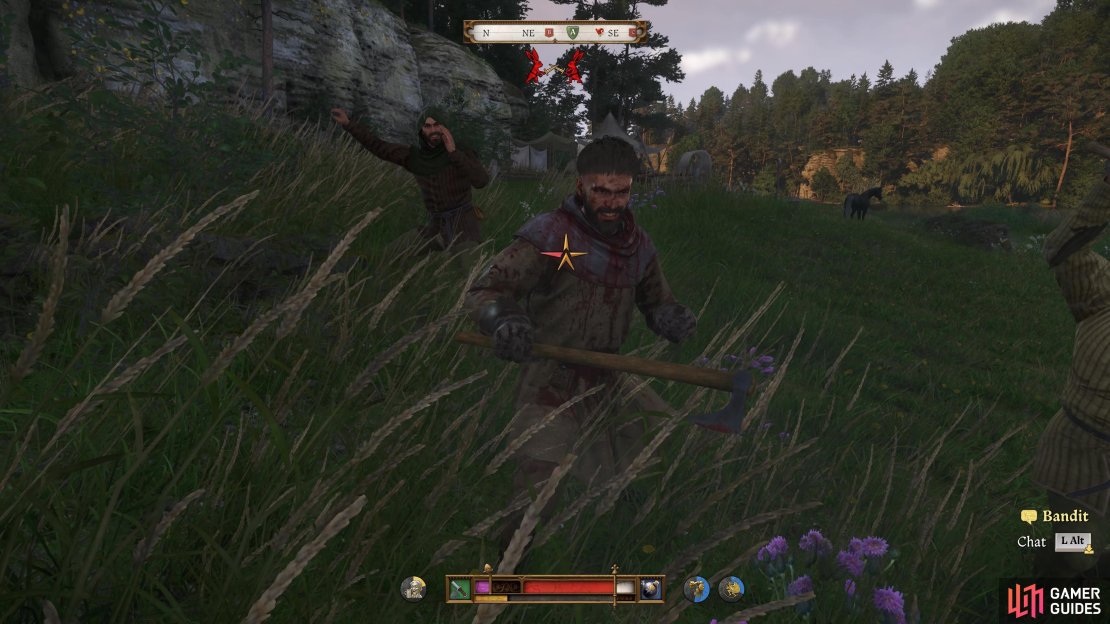
Much like Handsome Charlie, there’s no need to go searching for Johnny the Gob’s gang, Gules has already given you the location which just so happens to be the place you camped during Easy Riders. If you’ve forgotten where that is, head to the Rocktower Pond fast travel spot to the west of the Nomads’ Camp and then follow the path north and around to the east (across the northern side of the pond), but remember to make a save before you approach the quest objective.
There are a lot of bandits to deal with at this camp, but your primary goal, if you can, is to spare Johnny, so you’ll want to ideally fight him on his own (you won’t be able to talk him down). During the day, you’ll often find him sitting down near the pen where the horses are and once contact is established, hold down the speak button and choose the top option to mention Gules.
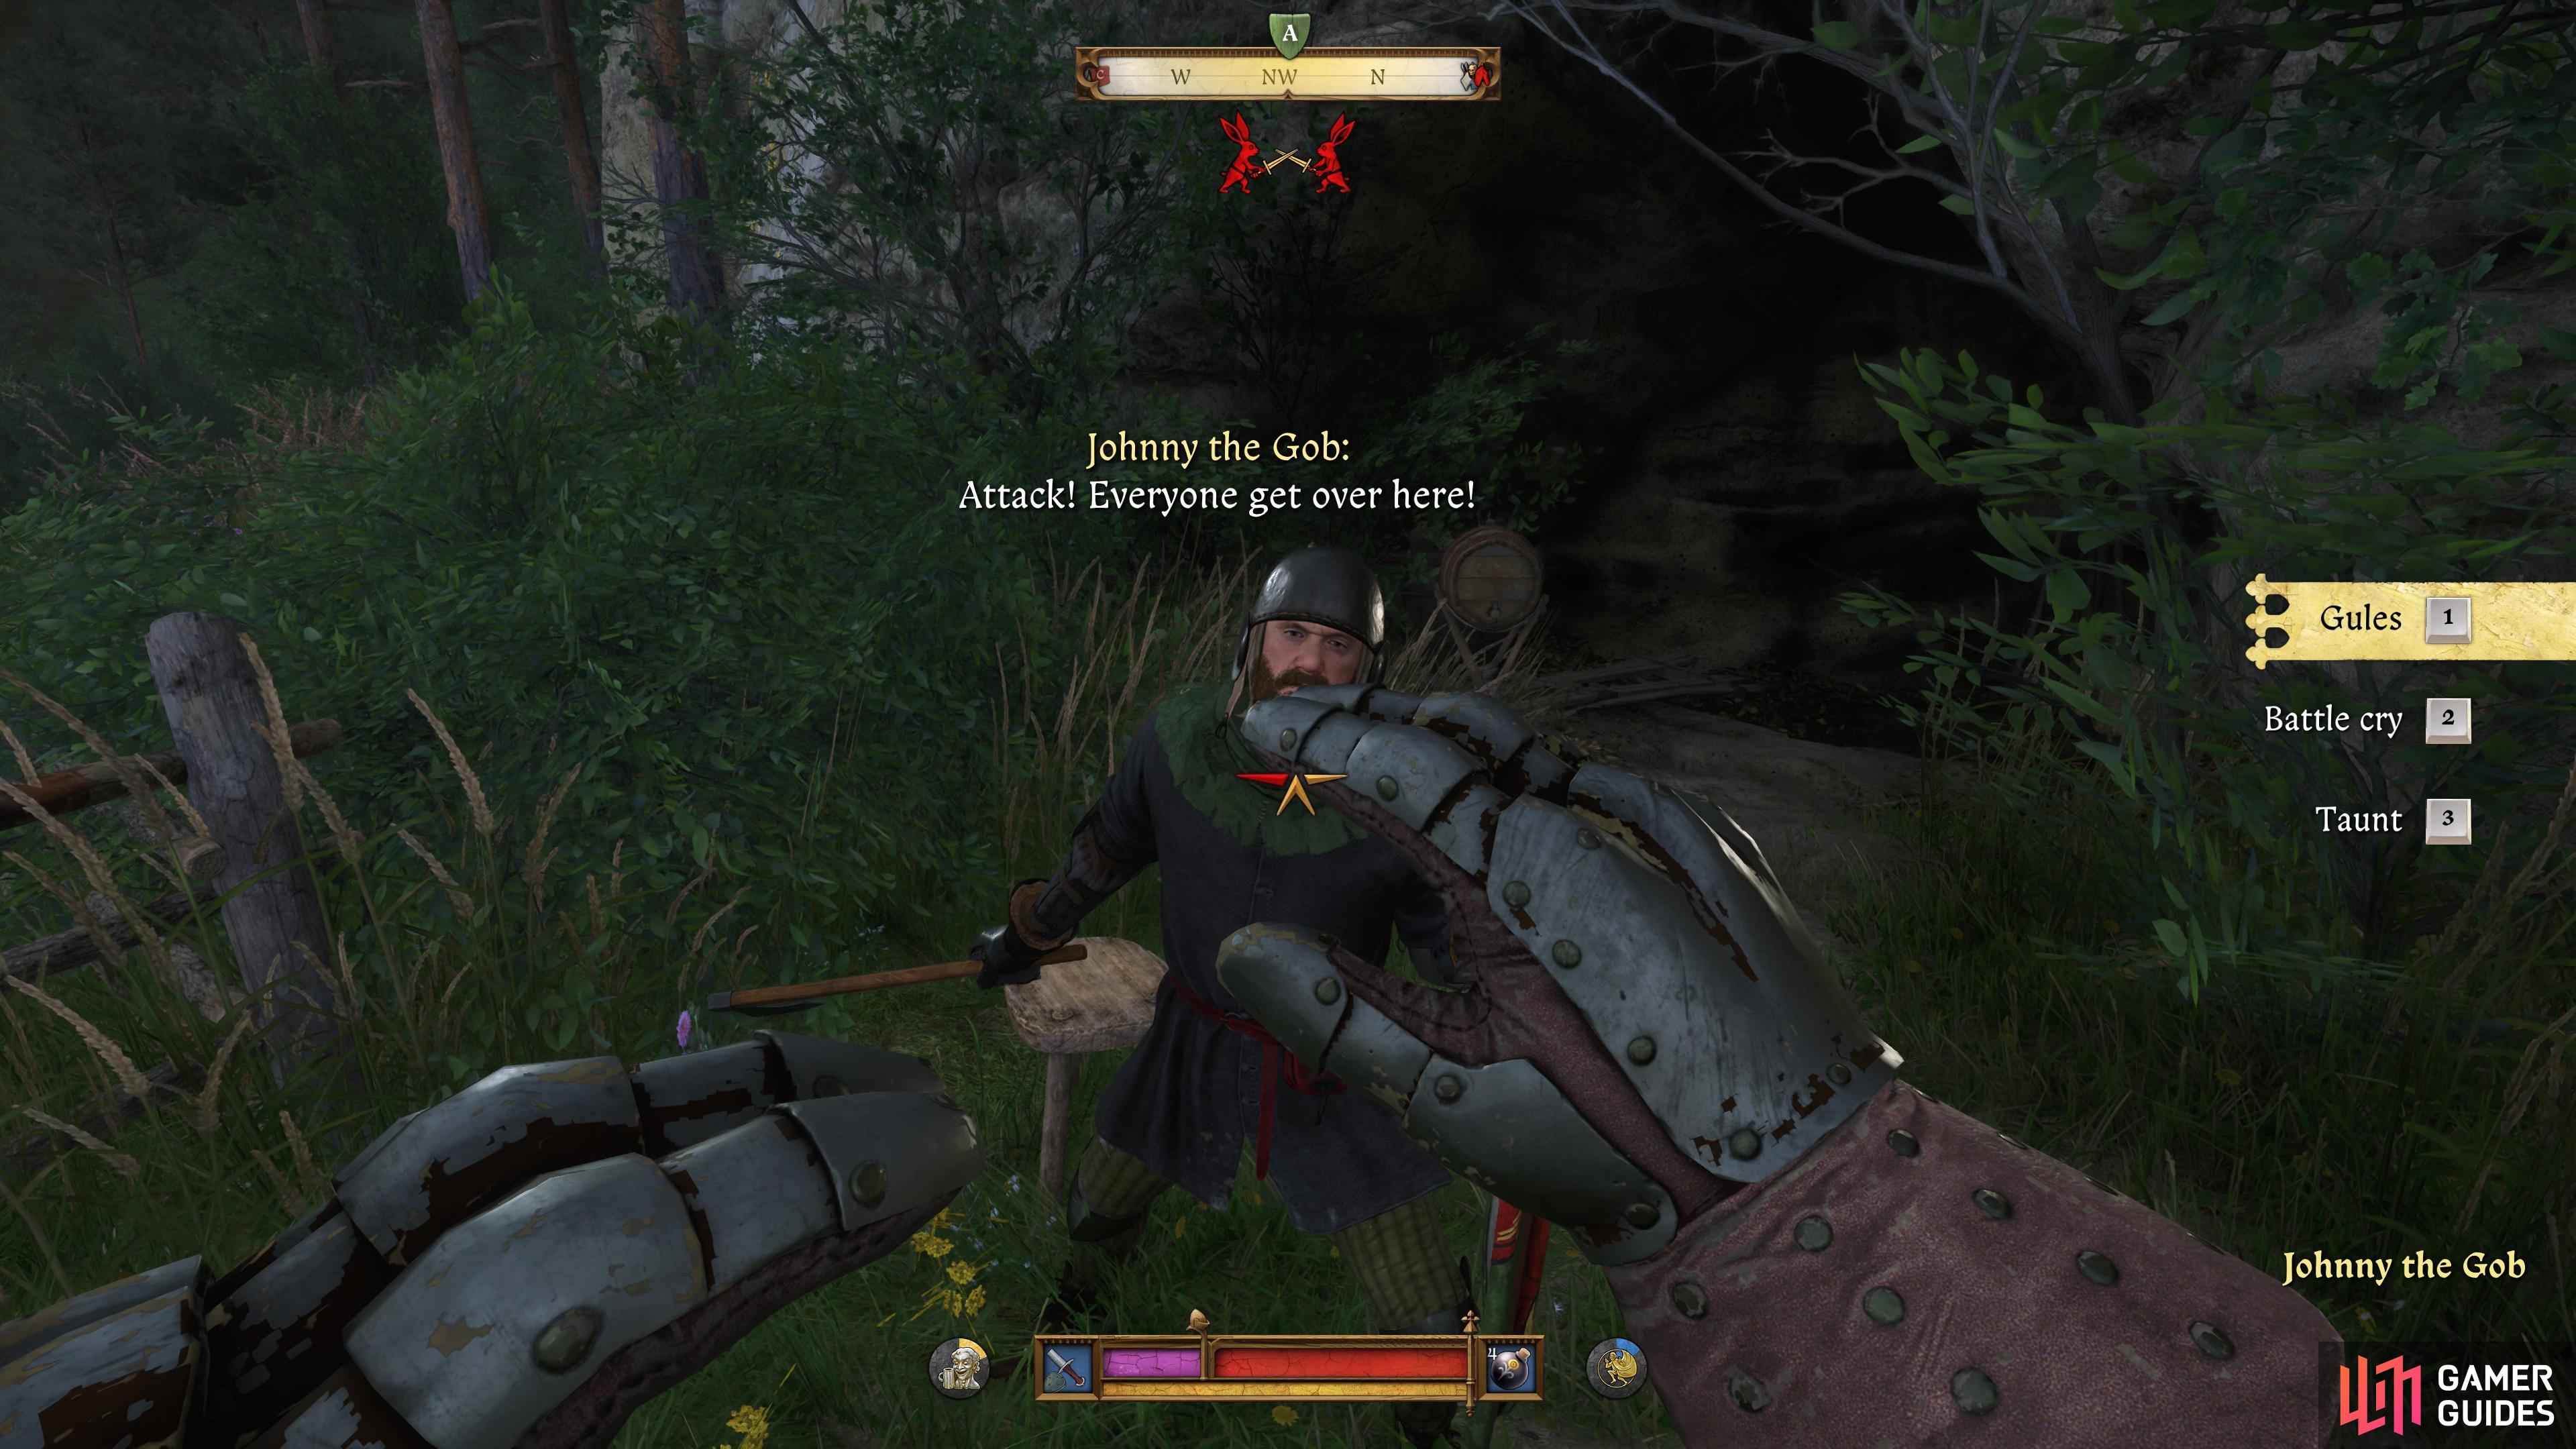
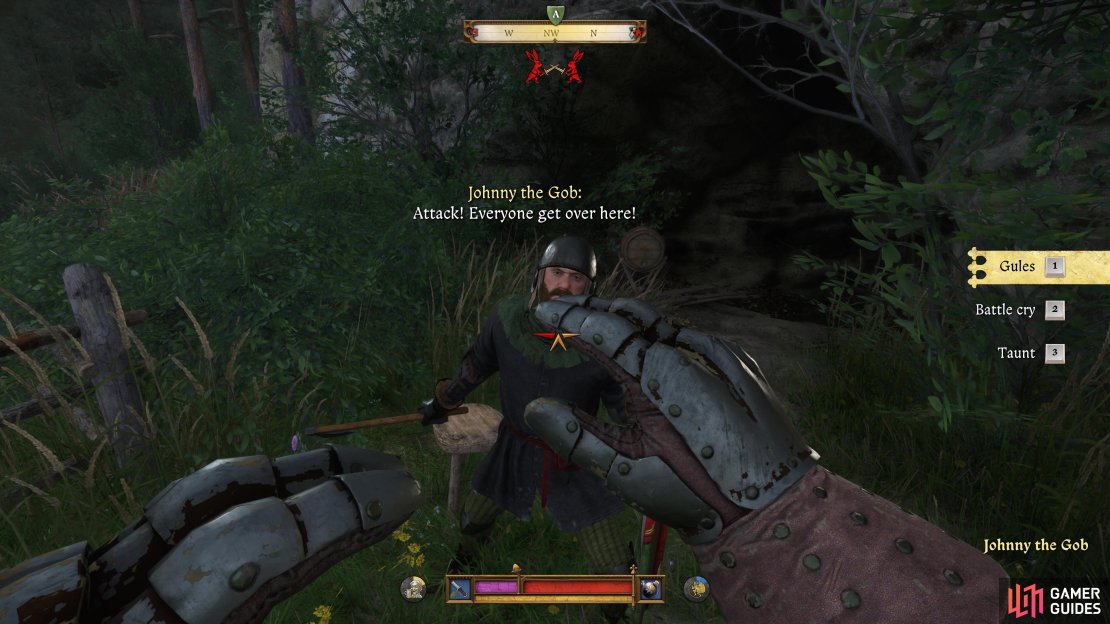
(1 of 3) Initiate contact with Johnny by mentioning Gules’s name.
This won’t talk him down, unfortunately, and he will attack you, so get ready to deflect his blows and try to counter him a few times. The goal is to stop Johnny from attacking you, not to kill, and you’ll get the opportunity if you’re careful once he lays down his weapon once he knows he’s bested. Don’t forget about the other bandits during all of this, they will have to be dealt with, so try to get yourself in a spot where you can’t be surrounded, and make good use of Mutt.
Speak to Johnny once he’s given up and you’ll be able to convince him to leave and that you’ll need his shield as proof, which he happily hands over to Henry. All that remains now is to make your return to Gules in Semine and deliver the news to him, once again, you can request to keep the shield as a reward. That’s three down, only one more bandit to go!
No Comments