
The reality of medieval combat has been obfuscated by fantasy - we all love our magic, choreographed fights and ambidextrous lithe dual-wielders dancing through enemies - but surviving melee battles back then was more a matter of covering your skin with stuff decidedly more durable than flesh, putting a barrier of wood between your and your foe, and putting the sharp metal killy tool you were using on the end of a stick. Swords and maces are iconic, but were generally sidearms, with primary weapons - people who wanted to stay alive typically preferred sticks with pointy bits at the end, and if you were a fancy lad you could get multifunctional weapons that could bludgeon and trip, as well. The superior utility of such tools isn’t well reflected in-game, but nevertheless Henry can persist, and this page will cover the Polearms skill - including how to level it efficiently and the best perks to pick for it - in Kingdom Come: Deliverance 2.
Page Breakdown
Polearms Uses and Effects
Shouldn’t be much of a surprise, but your Polearms skill determines how effectively you are at fighting with polearms, namely how much damage you deal and how fast you attack. Like many things in Kingdom Come:Deliverance 2, this functionally means you’re starting out (at Lv 5) operating from a handicap, and polearms will be fairly sluggish and clumsy until you get some levels in them. Once you get a few levels, however, they’ll swing fast enough to make combos a real consideration (instead of mere aspiration); just be wary, polearms are an… acquired taste, and somewhat cumbersome at first, but in some story segments you’ll be glad you invested in them.
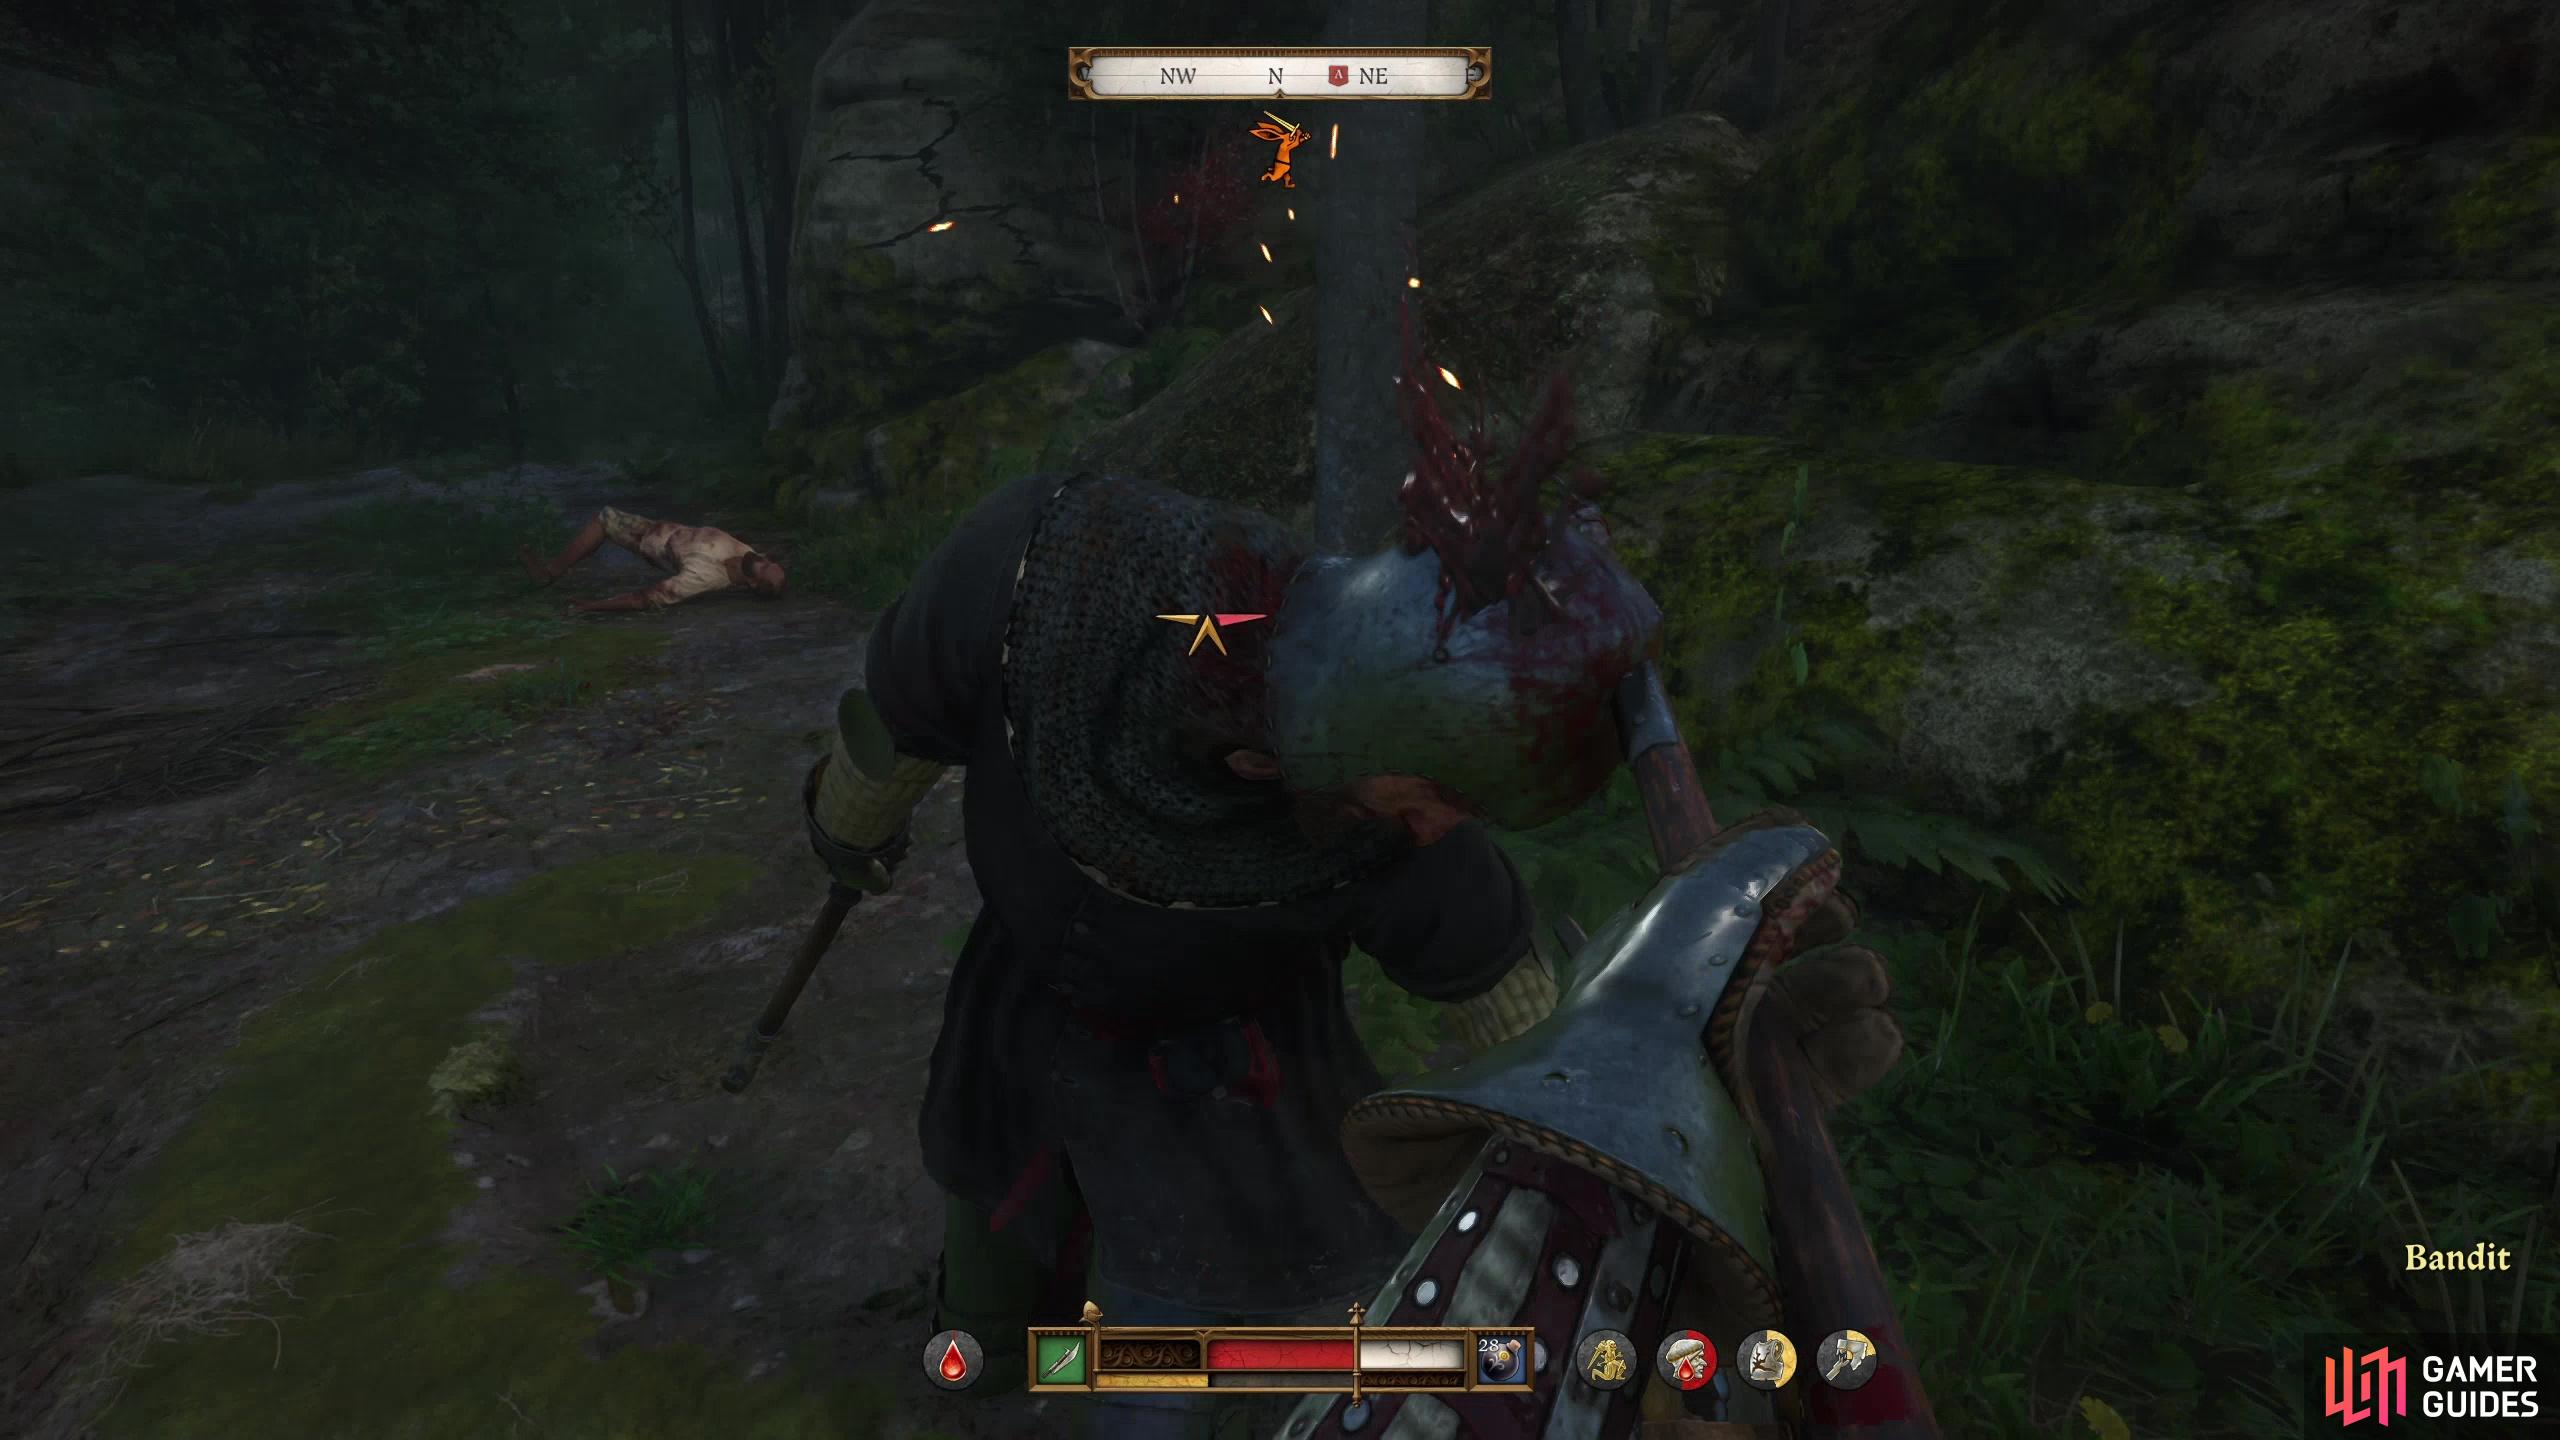


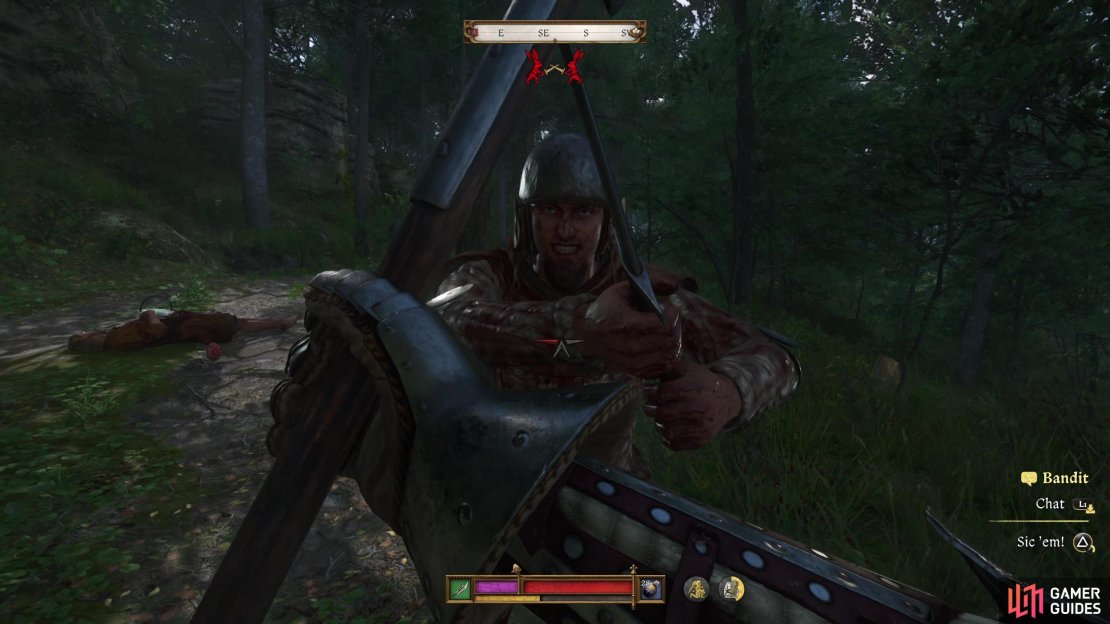
(1 of 3) Success with polearms relies on being able to land combos, which makes polearms very stamina-intensive weapons to use… and early on they’re painfully slow to swing.
Leveling Polearms
Again, nothing too novel here - you level up the Polearms skill by defeating enemies with polearms. This functionally means you’ll need to prowl the countryside looking for bandits and dispatching them, a dangerous endeavor even with the crutch of Masterstrike, which polearms do not benefit from. Buy or brew Saviour Schnapps so a single bad encounter doesn’t set you back too far and grind out your Polearms EXP - you’ll get about 50 EXP per bandit, and we’ll be honest, fighting with a polearm doesn’t feel good until you’re at least Lv 12, so these early levels will take some patience. Bringing along some ![]() Blacksmith Kits is also advised, as polearms are notoriously fragile - on the plus side, they’re also fairly cheap.
Blacksmith Kits is also advised, as polearms are notoriously fragile - on the plus side, they’re also fairly cheap.
You can speed up this process by seeking out skill trainers and skill books, but these are limited use and somewhat expensive. Still, paying some groschen to speed up those early levels is money well spent.
Best Polearms Perks
Many of the early Polearm perks address baked-in disadvantages of polearms, making it easier to block with them, increasing their durability and decreasing their stamina consumption. After that, you’ll get a variety of damage boosts - piercing damage, charged attack damage, first strike damage, all that jazz. Pretty straight-forward stuff. It’s worth pointing out that polearms are all about combos, which makes their early-game slow attack speed somewhat representative of their late-game performance, and it should clue you in on what you want to get, perks-wise. With that out of the way, here are our recommended Polearms perks:
Keeping a Distance
Polearms can’t be paired with shields and are naturally not great at blocking. This improves matters somewhat, and will help keep you alive. It’ll also mitigate stamina costs for blocking, and polearms are stamina-heavy weapons, so every bit helps.
Long Reach
Reduces the stamina cost of attacking with polearms by 10%, with an additional 10% if you get “![]() Long Reach II”. Combos are the main offensive gimmick of polearms and polearm combos tend to be somewhat lengthy, so anything to reduce stamina cost will come in very handy. You’ll want both ranks.
Long Reach II”. Combos are the main offensive gimmick of polearms and polearm combos tend to be somewhat lengthy, so anything to reduce stamina cost will come in very handy. You’ll want both ranks.
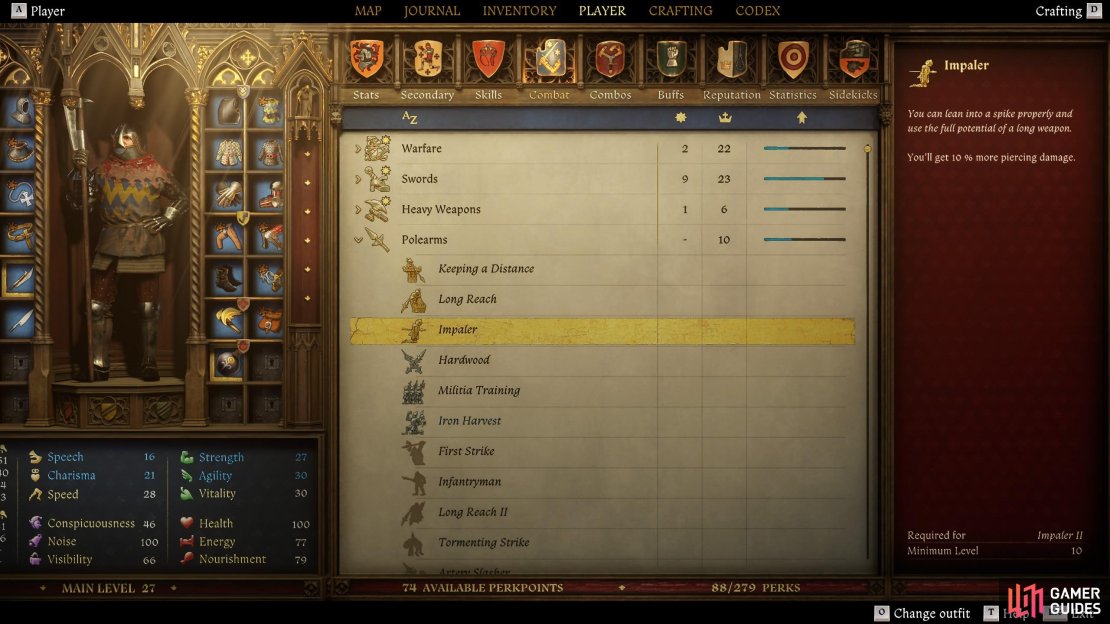
Impaler
More damage is good. Between this perk and its followup, “![]() Impaler II”, that’s 20% extra piercing damage.
Impaler II”, that’s 20% extra piercing damage.
Iron Harvest
Pulling off a full combo is something you’ll want to go for whenever you’re wielding a polearm, but can be frustratingly hard to do until you’re fairly well-leveled in Polearms. This is a fringe buy, as the stamina refund is nice, it’s arguably better to just chug a Buck’s Blood Potion before you get into a fight for a more reliable source of stamina recovery. Still, it’s hard to ignore any Polearms perk that enhances combos, although you may want to come back for this one after you’ve unlocked more pressing perks, first.
Tormenting Strike
Similar to “![]() Iron Harvest”, save this debuffs the enemy’s stamina regeneration after you’ve landed a combo. Useful later on, but perhaps not a priority until you’ve unlocked the other recommended perks.
Iron Harvest”, save this debuffs the enemy’s stamina regeneration after you’ve landed a combo. Useful later on, but perhaps not a priority until you’ve unlocked the other recommended perks.
Artery Slasher
Bleeding is a great and terrible debuff to afflict, and this makes it all the more painful. You’ll be landing a lot of hits with polearms as you attack to land combos, and this rewards you with a potential fight-ending debuff with every strike. Definitely worth saving those Lv 14 perk picks for.
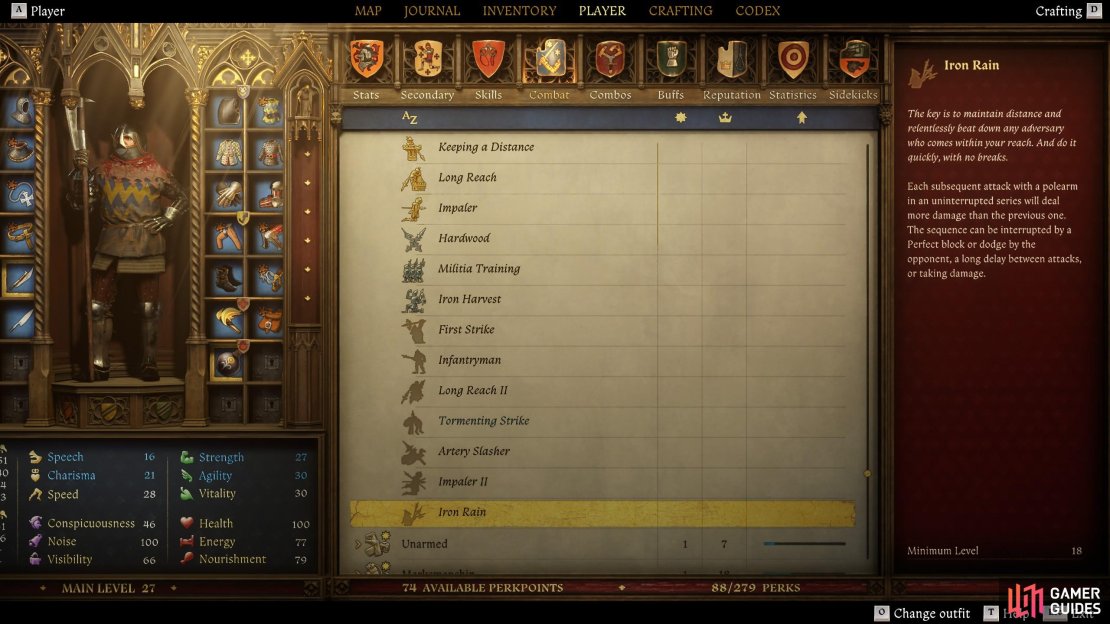
Iron Rain
Polearms are all about “subsequent attacks”, and while the “uninterrupted series” can be more of an ideal than a reality at times, this perk effectively boosts your damage output the more you do what polearm combat revolves around - combos. Even if you only make it to the second or third strike with this perk, it’s worth the damage buff.
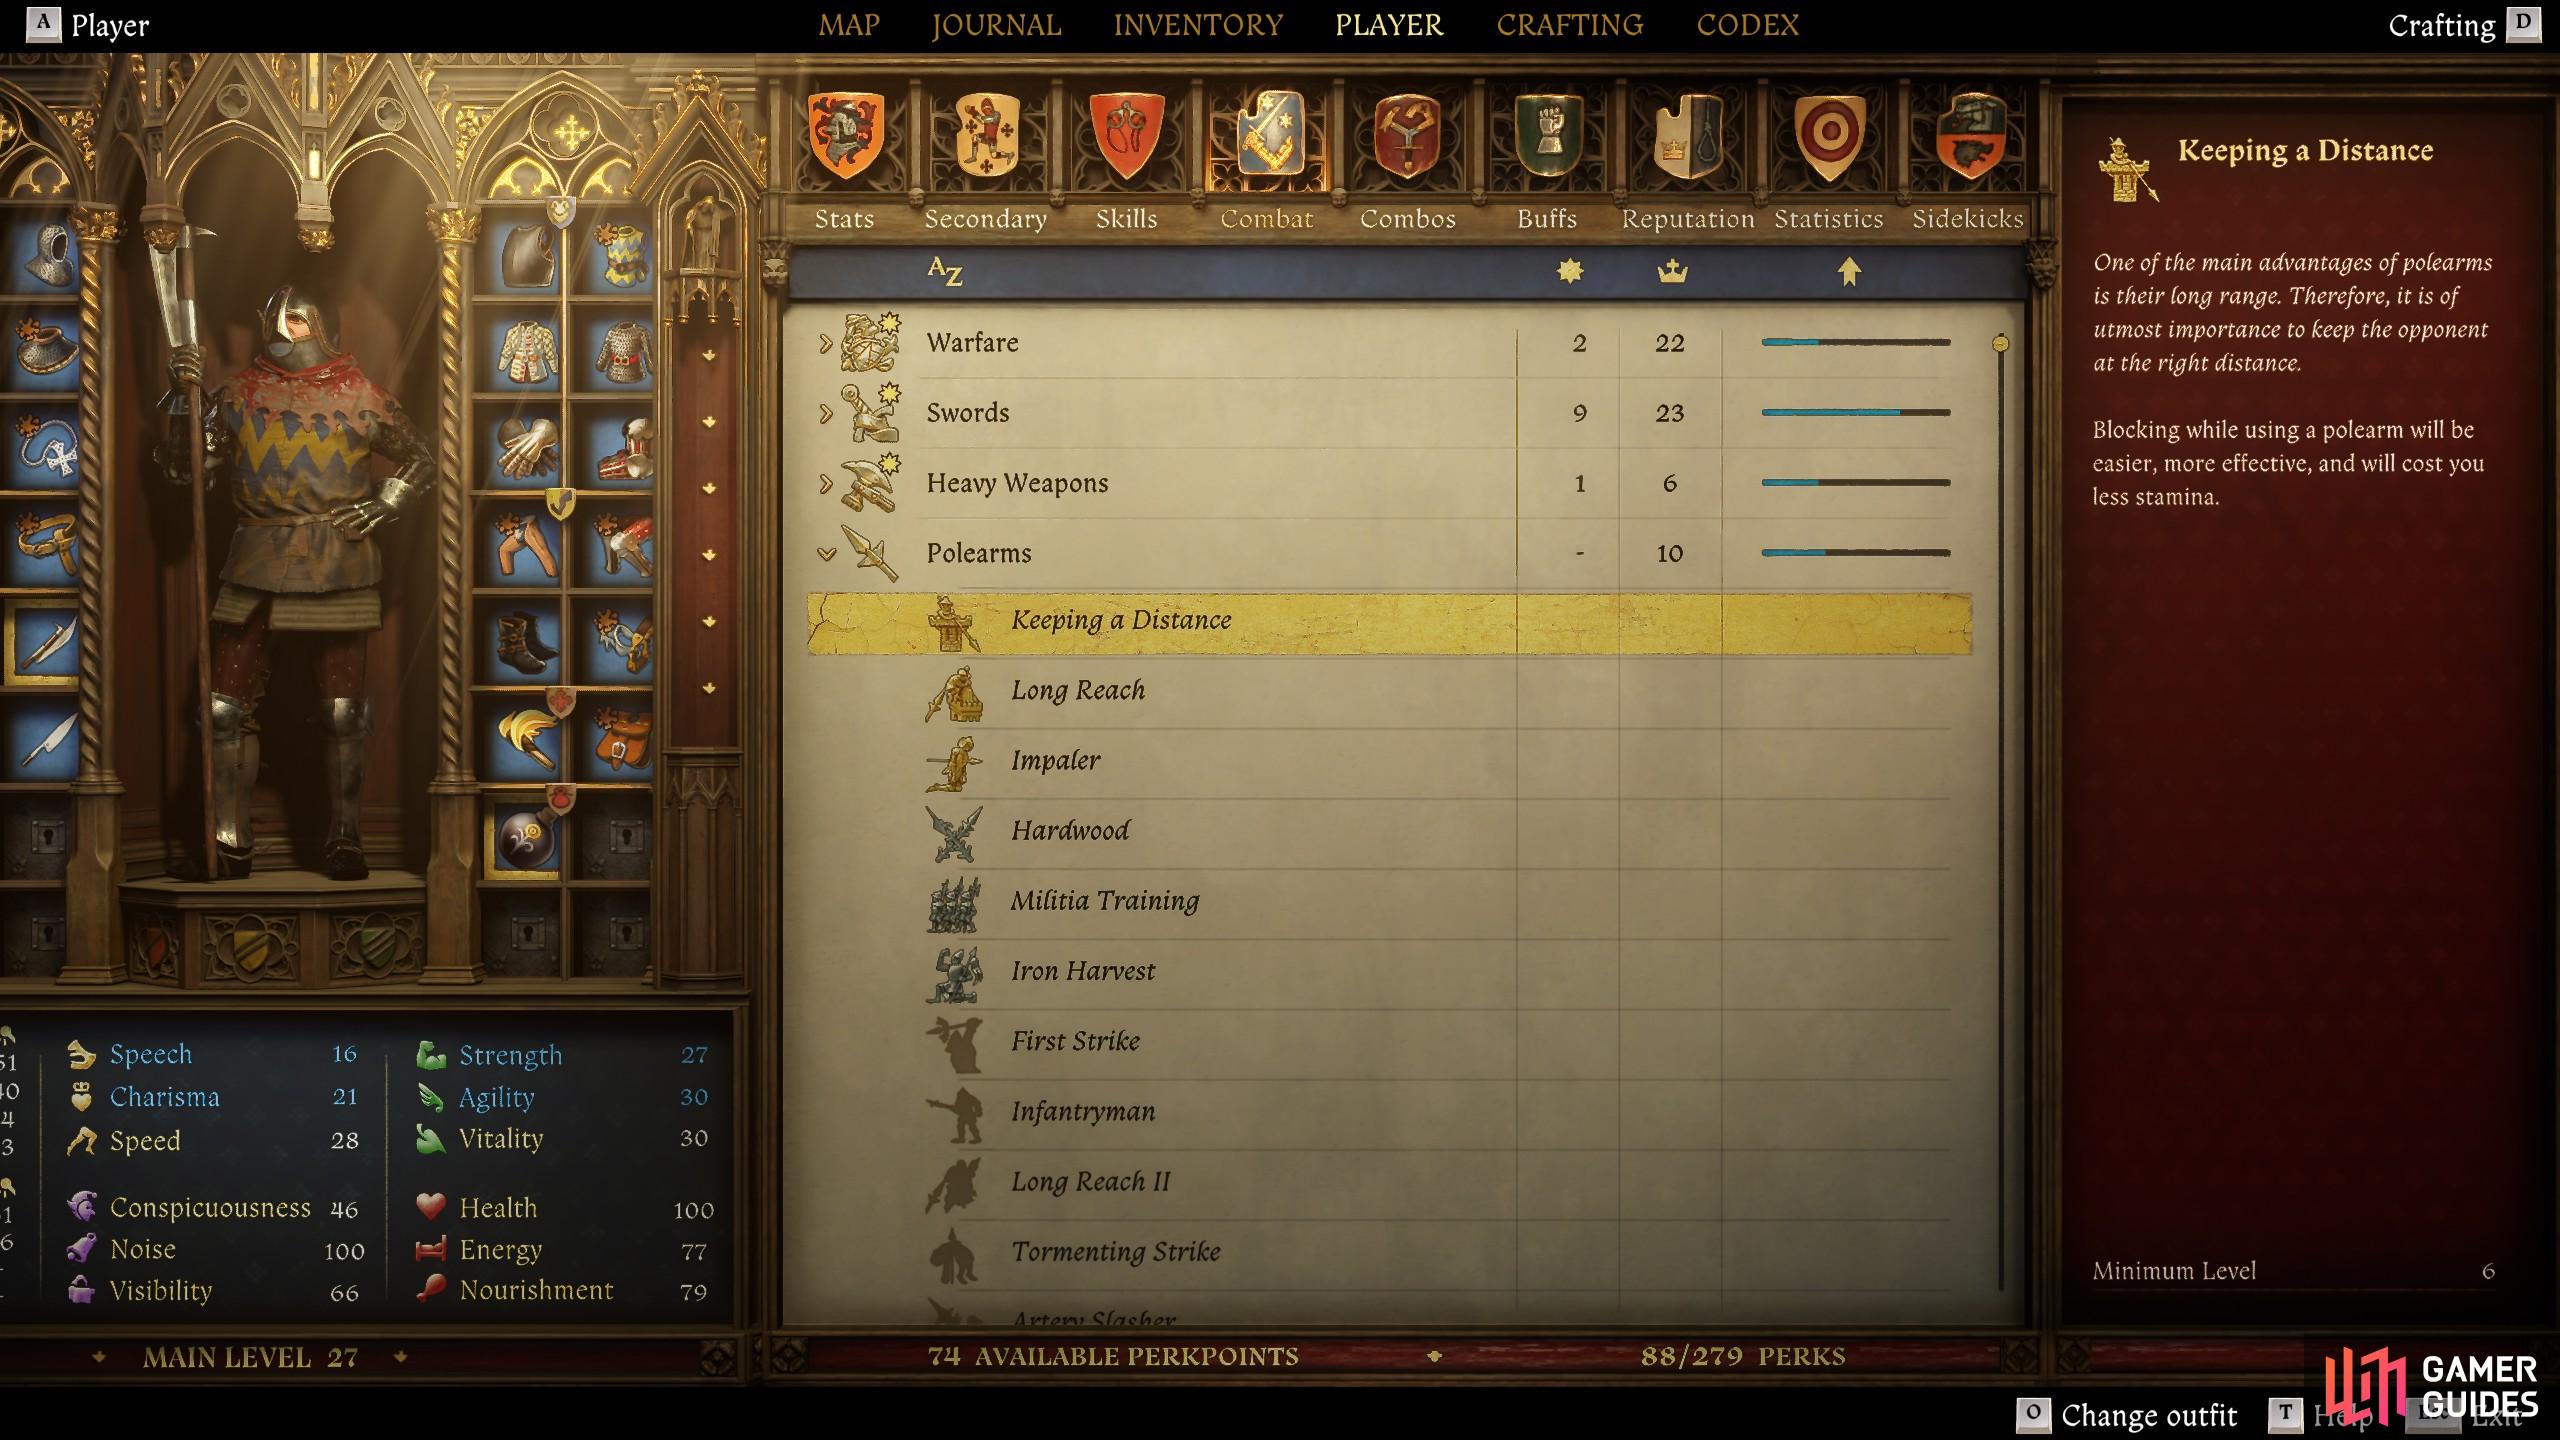
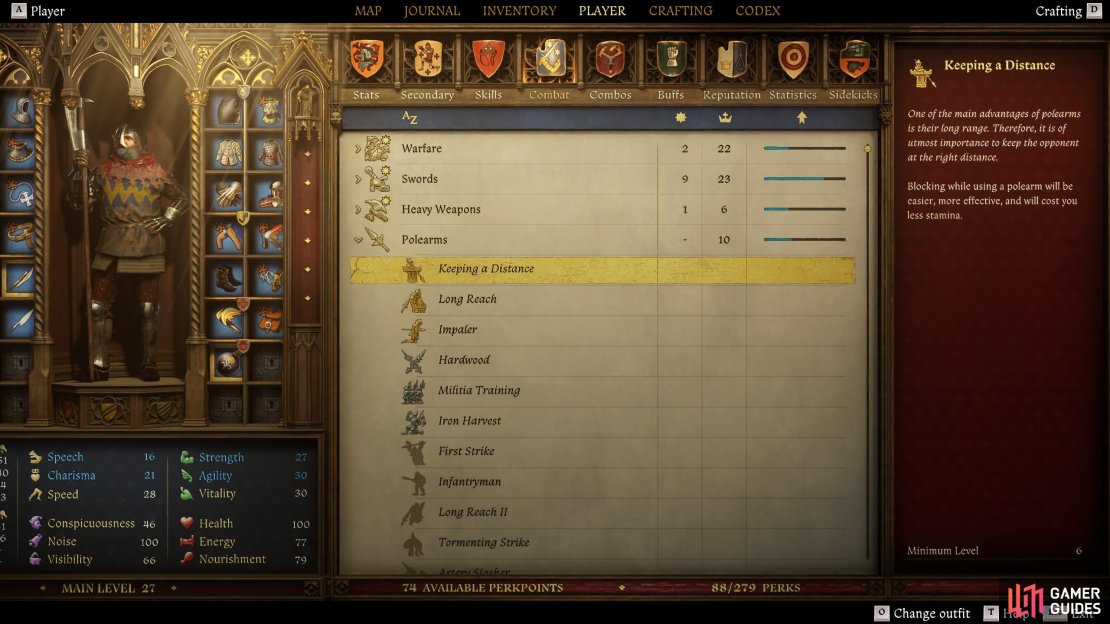
(1 of 3) Early level Polearms perks like “Keeping a Distance” mitigate down intrinsic downsides of polearms - stamina consumption, poor blocking ability and low durability for example.
List of Polearms Perks
| Perk | Effect | Requirement |
|---|---|---|
| Polearms will take damage 25% slower. | Lv 6 | |
| Blocking while using a polearm will be easier, more effective, and cost you less stamina. | Lv 6 | |
| Attacking with Polearms will cost you 10% less stamina. | Lv 8 | |
| The Strength and Agility required to use pole weapons will be reduced by 3. | Lv 8 | |
| You’ll get 10% more piercing damage. | Lv 10 | |
| After performing a combo you regain some of your stamina so you can continue fighting more easily. | Lv 10 | |
| In every fight, your first attack with the Polearm weapon will be 35% stronger. | Lv 12 | |
| When attacking with a fully charged attack, such an attack will be slightly faster and 5% stronger. | Lv 12 | |
| Attacks with Polearms will cost you an additional 10% less stamina. | Lv 14 - |
|
| After a combo, the target opponent’s stamina will regenerate slower, thus their fighting ability will be reduced. | Lv 14 | |
| If you inflict a bleeding wound with a Polearm weapon, the wounded person will bleed faster and thus fall sooner. | Lv 16 | |
| Pierce damage will be an additional 10% higher. | Lv 16 - |
|
| Each subsequent attack with a polearm in an uninterrupted series will deal more damage than the previous one. The sequence can be interrupted by a Perfect block or dodge by the opponent, a long delay between attacks, or taking damage. | Lv 18 |
No Comments