
![]() The Thunderstone is a side quest in the Kuttenburg region in Kingdom Come Deliverance II. You begin the quest in
The Thunderstone is a side quest in the Kuttenburg region in Kingdom Come Deliverance II. You begin the quest in ![]() Grund by speaking to Kona, who desperately wants a
Grund by speaking to Kona, who desperately wants a ![]() Thunderstone to help with her pregnancy. This stone is meant to be a protective charm that gives anyone who holds it special powers. Is this stone the real deal? Or is it just a myth? Read on to find out how to get your hands on the Thunderstone.
Thunderstone to help with her pregnancy. This stone is meant to be a protective charm that gives anyone who holds it special powers. Is this stone the real deal? Or is it just a myth? Read on to find out how to get your hands on the Thunderstone.
To find the Thunderstone, you’ll need to save Hensel.
Table of Contents
If you want to jump to a specific section, click on the links below.
| Quickjump |
|---|
| Starting the Quest |
| Go to Horschan |
| Finding Hensel and Peter |
| Rescuing Hensel |
| Two Dead Trees |
| Go to Suchdol |
| Primum Nil Nocere |
| Give the Thunderstone to Kona or Thomlin |
Where to Start the Quest
To begin the quest, you’ll need to head to the small village of Grund situated in the northeast of the Kuttenburg region. When you arrive in the village, head over to the local tavern and speak to Innkeeper Grosch. Ask him what’s new today, and he’ll tell you about a rumor he heard of the blacksmith’s wife cheating on him. This will give you a new quest marker on the map, to the west of the tavern.
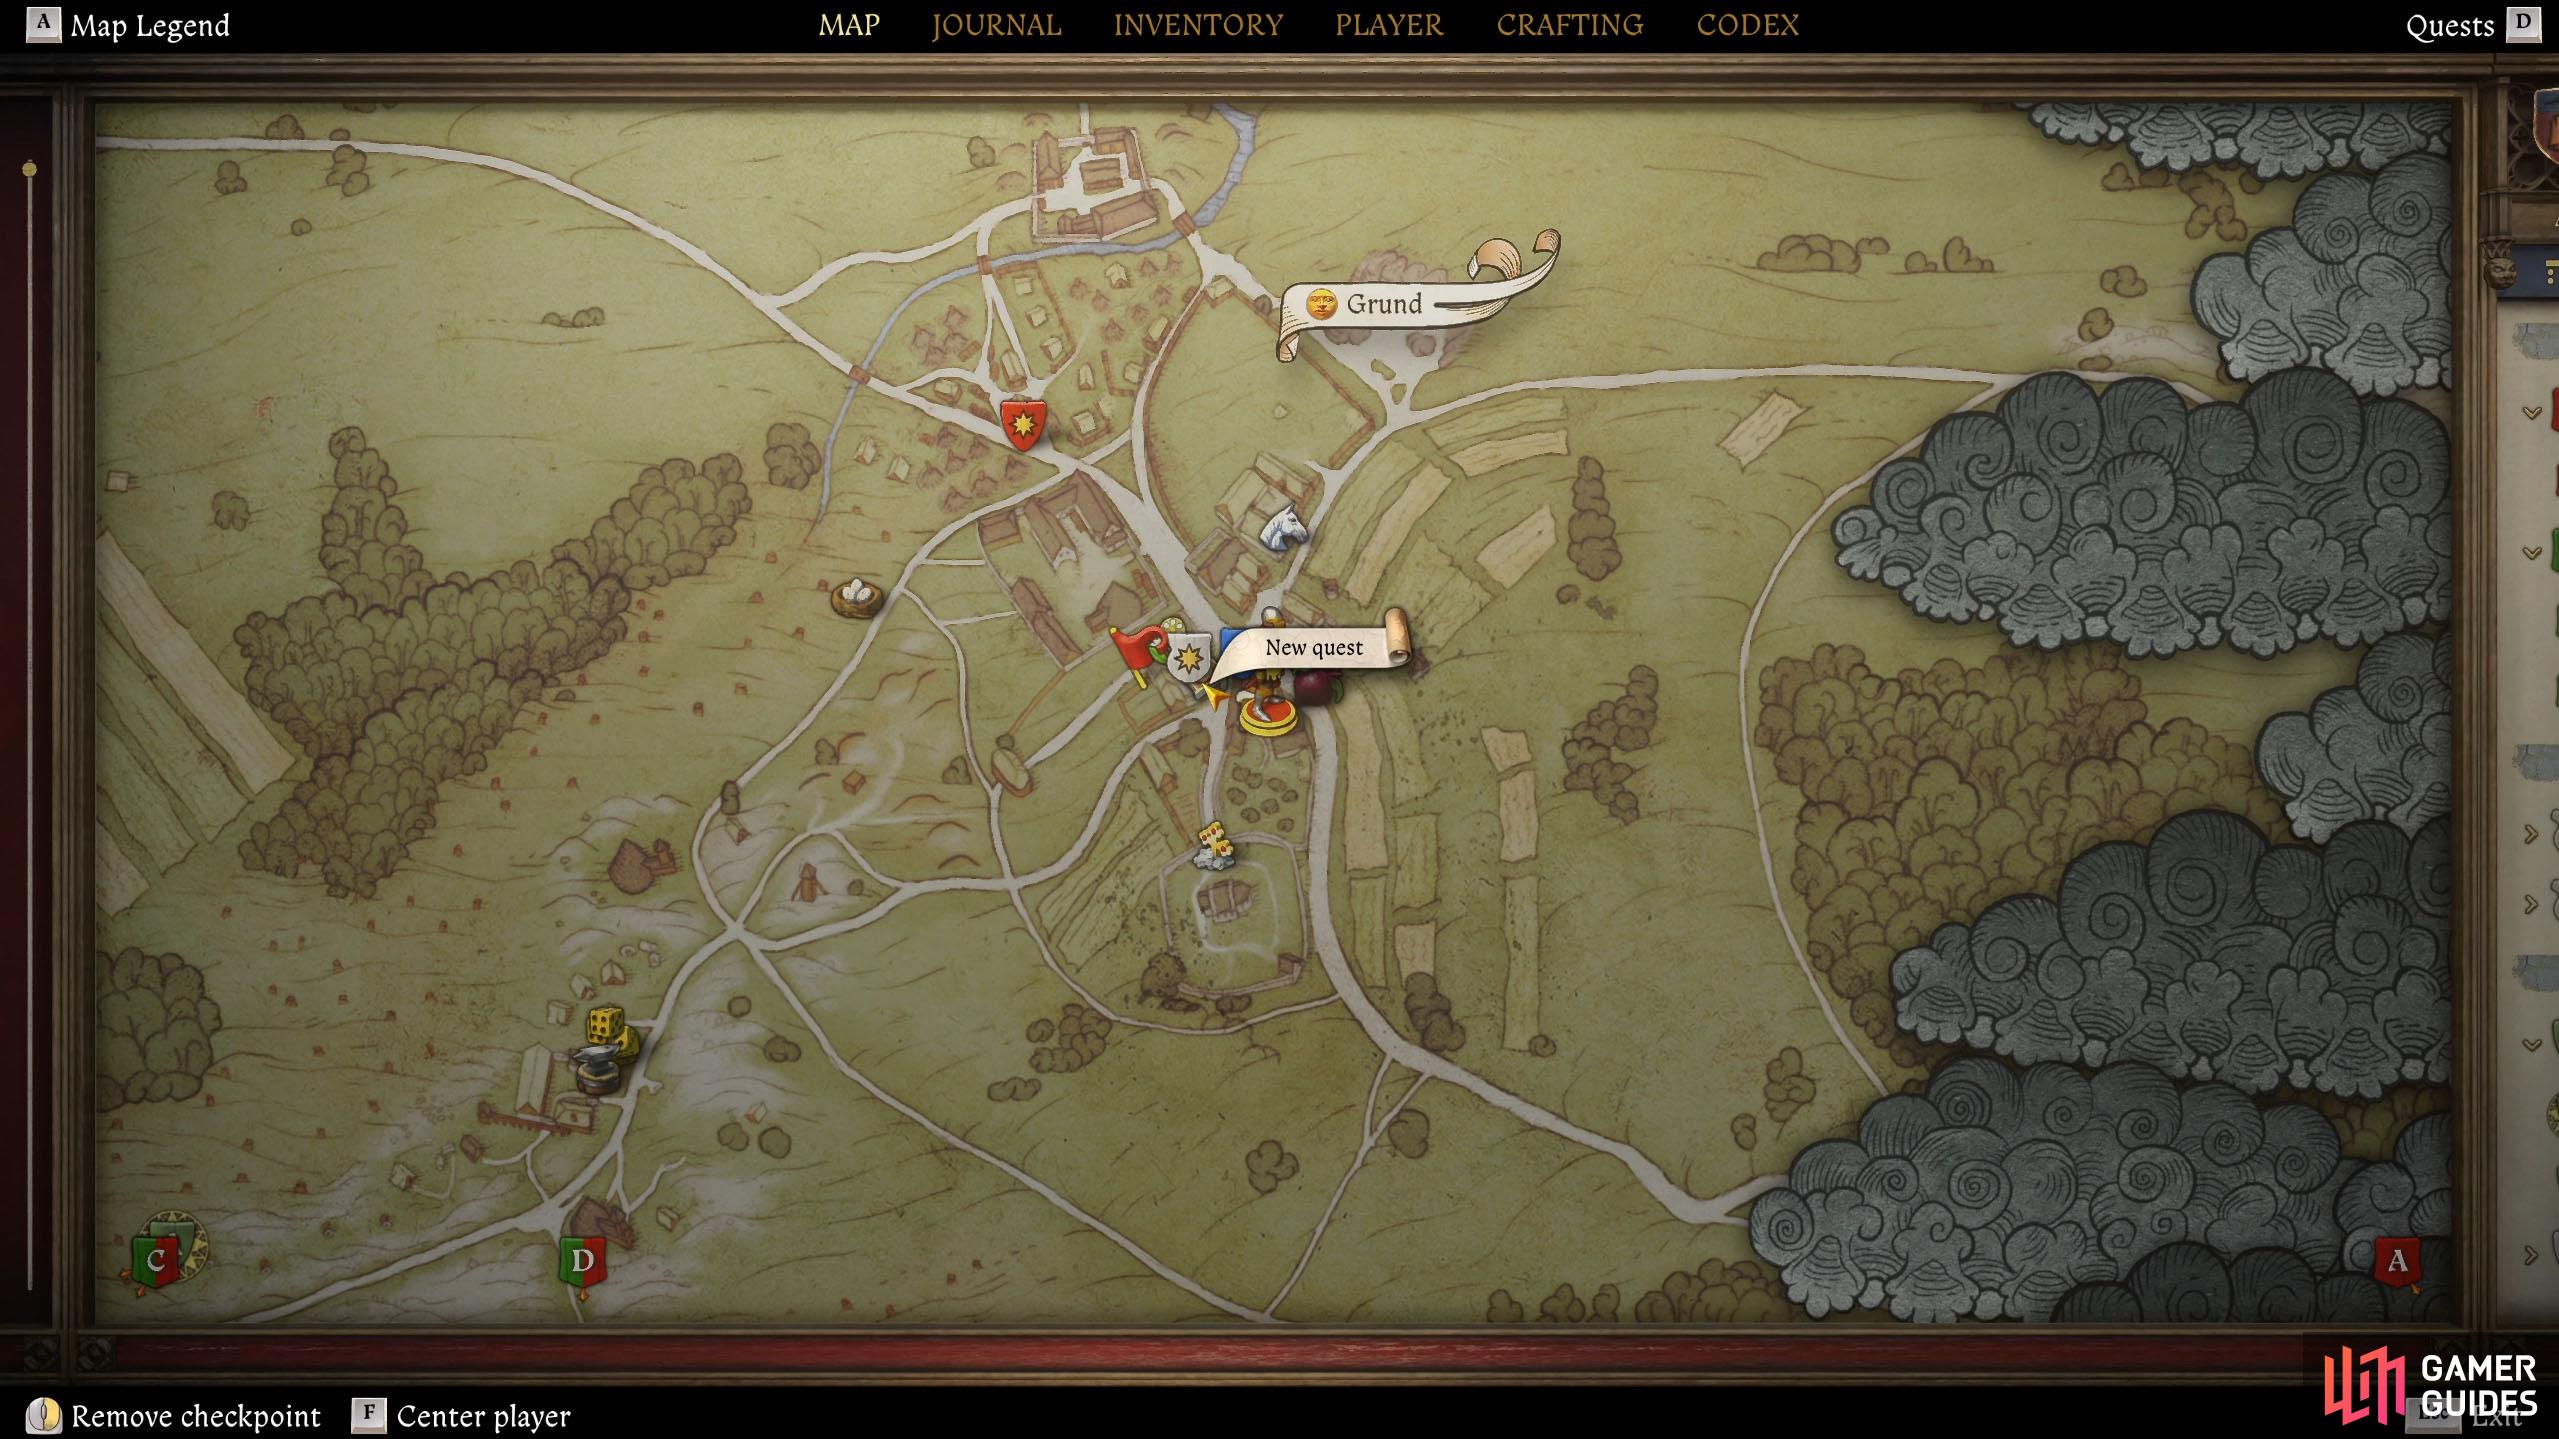
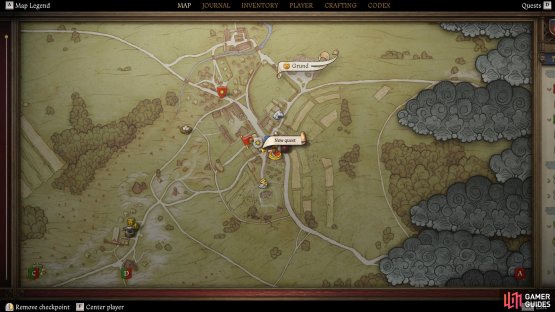

(1 of 2) You can begin the quest in the small village of Grund.
You can begin the quest in the small village of Grund. (left), Speak to Kona, who lives opposite the tavern. (right)
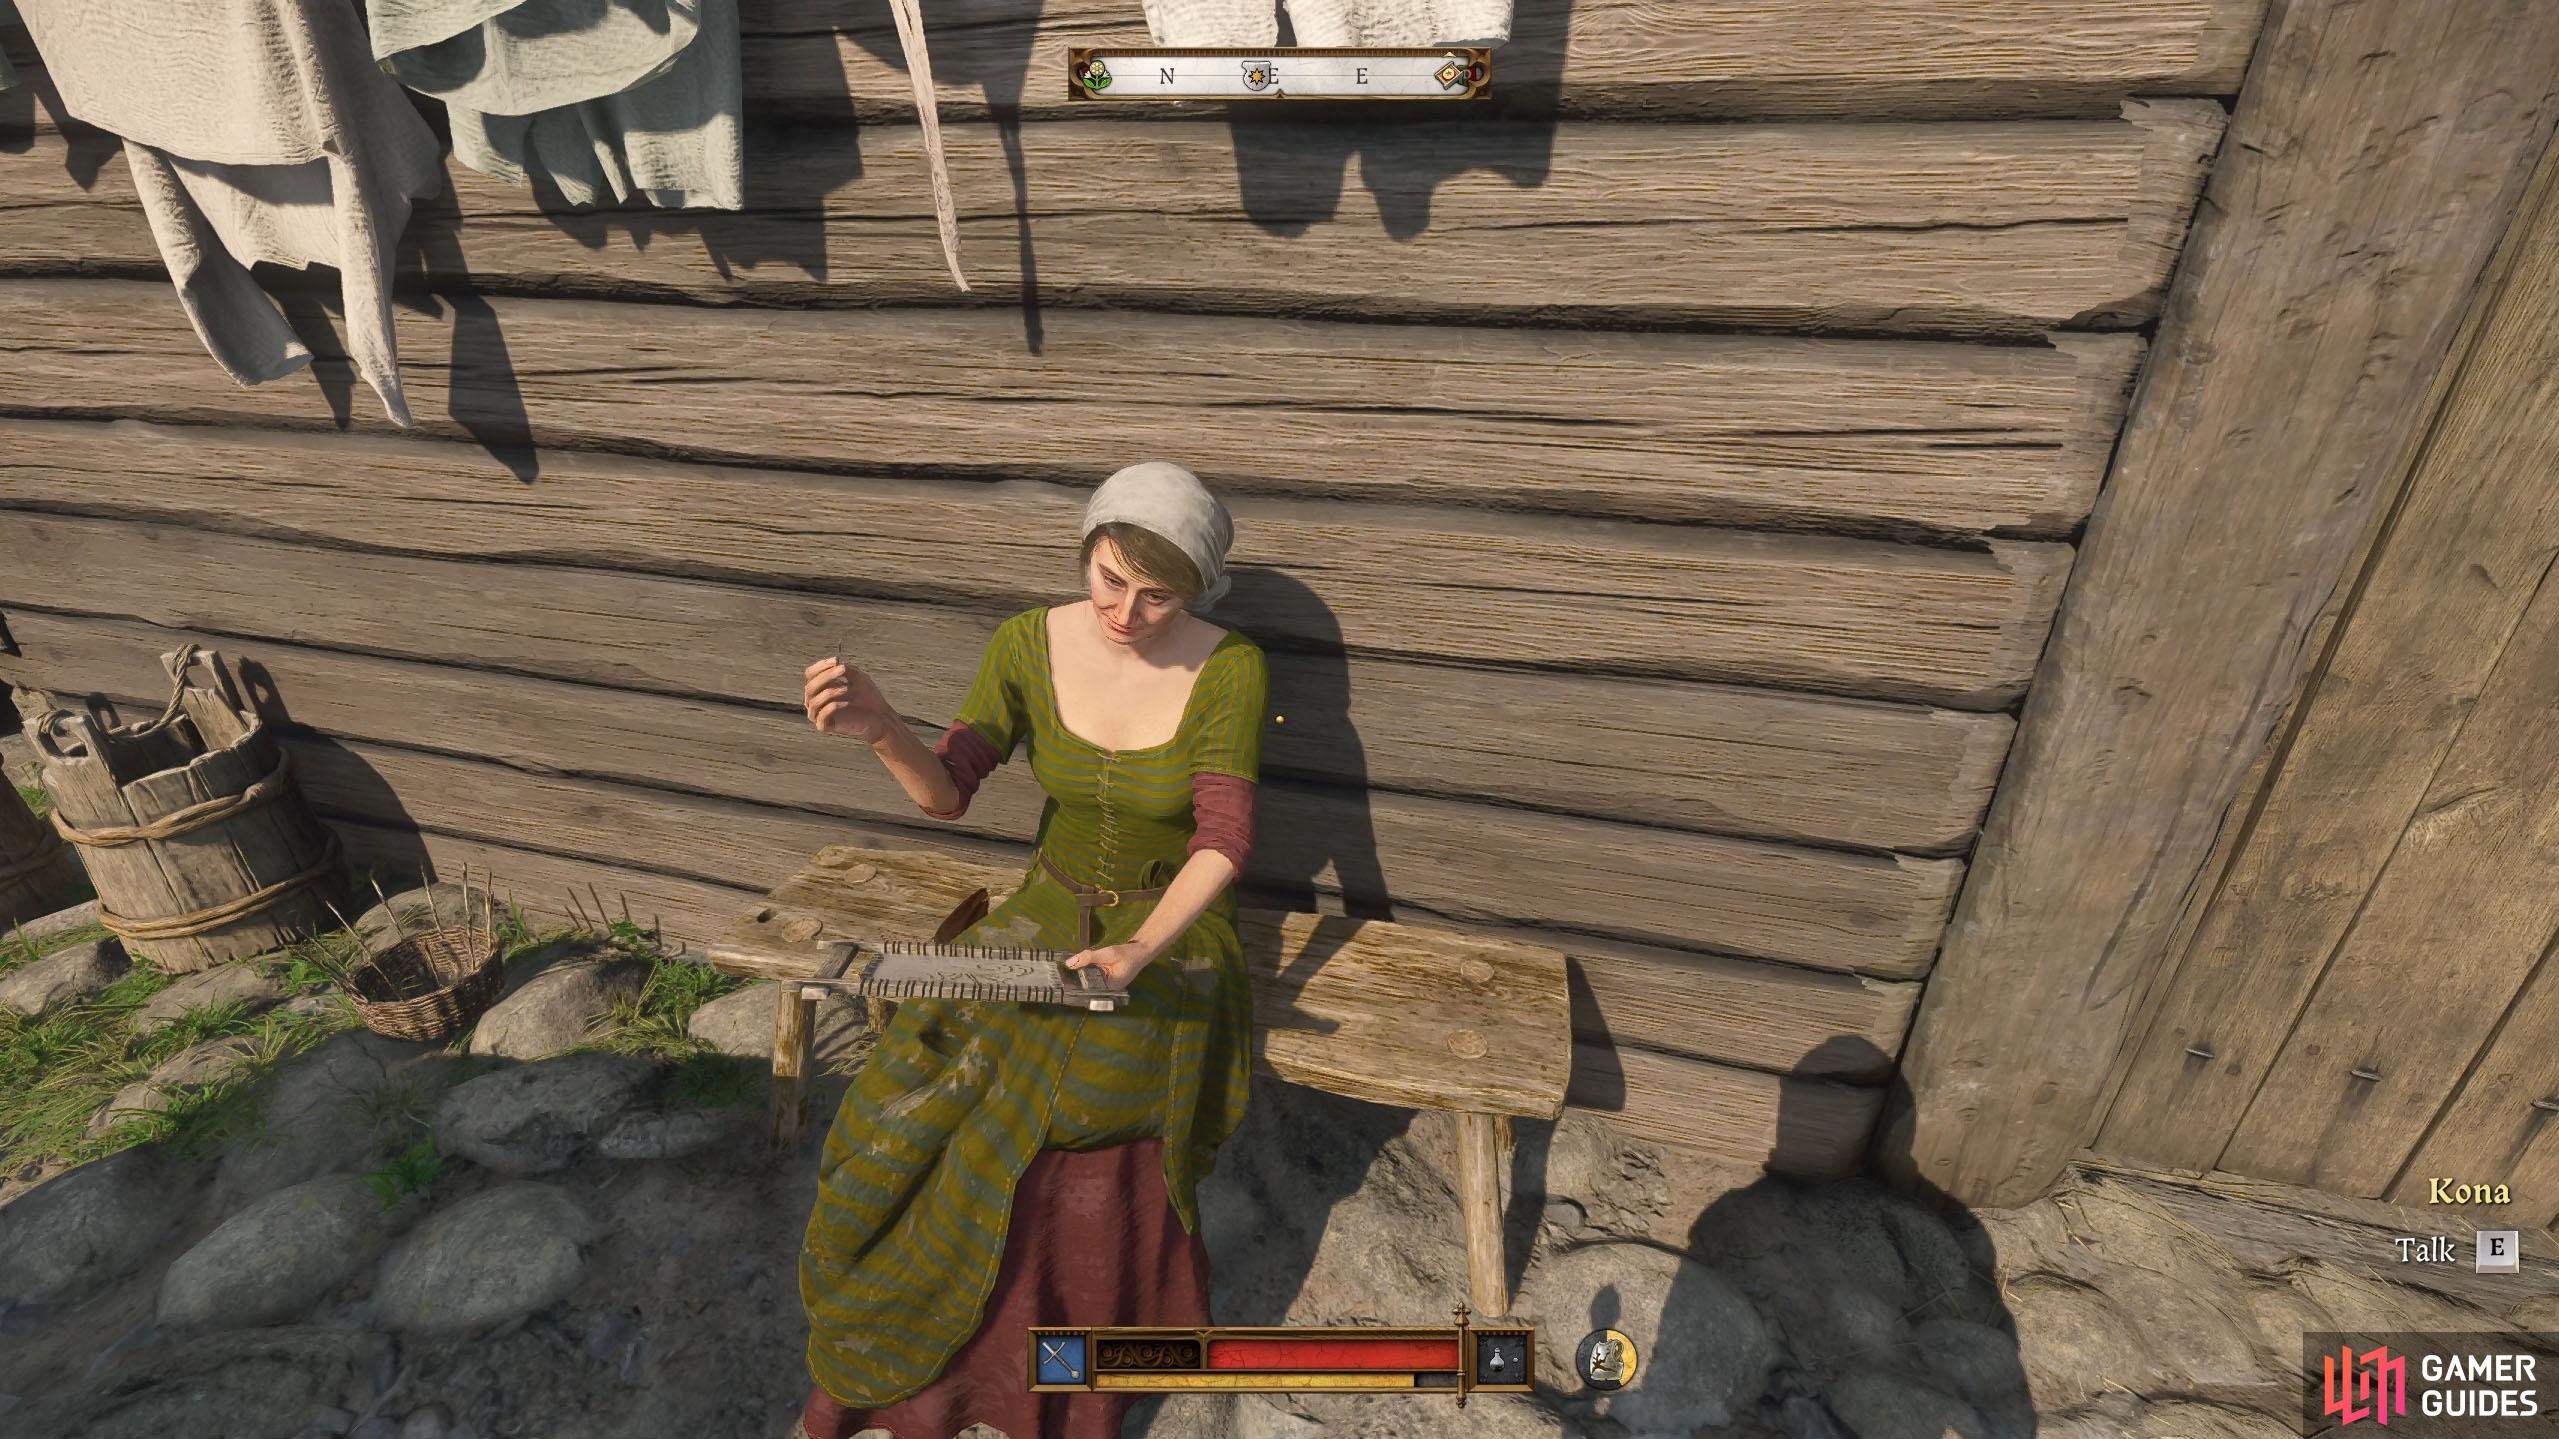
Make your way to the marker which is across the street, opposite the tavern, and you’ll find a woman sitting down outside her house who goes by the name of Kona. Speak to her and tell her the rumor you heard, and she’ll be upset, as it isn’t true.
She’ll explain to you what really happened, and it was all over a special stone called the Thunderstone. Apparently, a gentleman named Thomlin Bruthans, who hails from ![]() Horschan has one, and he sometimes wagers it in a fistfight. This is the real reason her husband fought Thomlin.
Horschan has one, and he sometimes wagers it in a fistfight. This is the real reason her husband fought Thomlin.
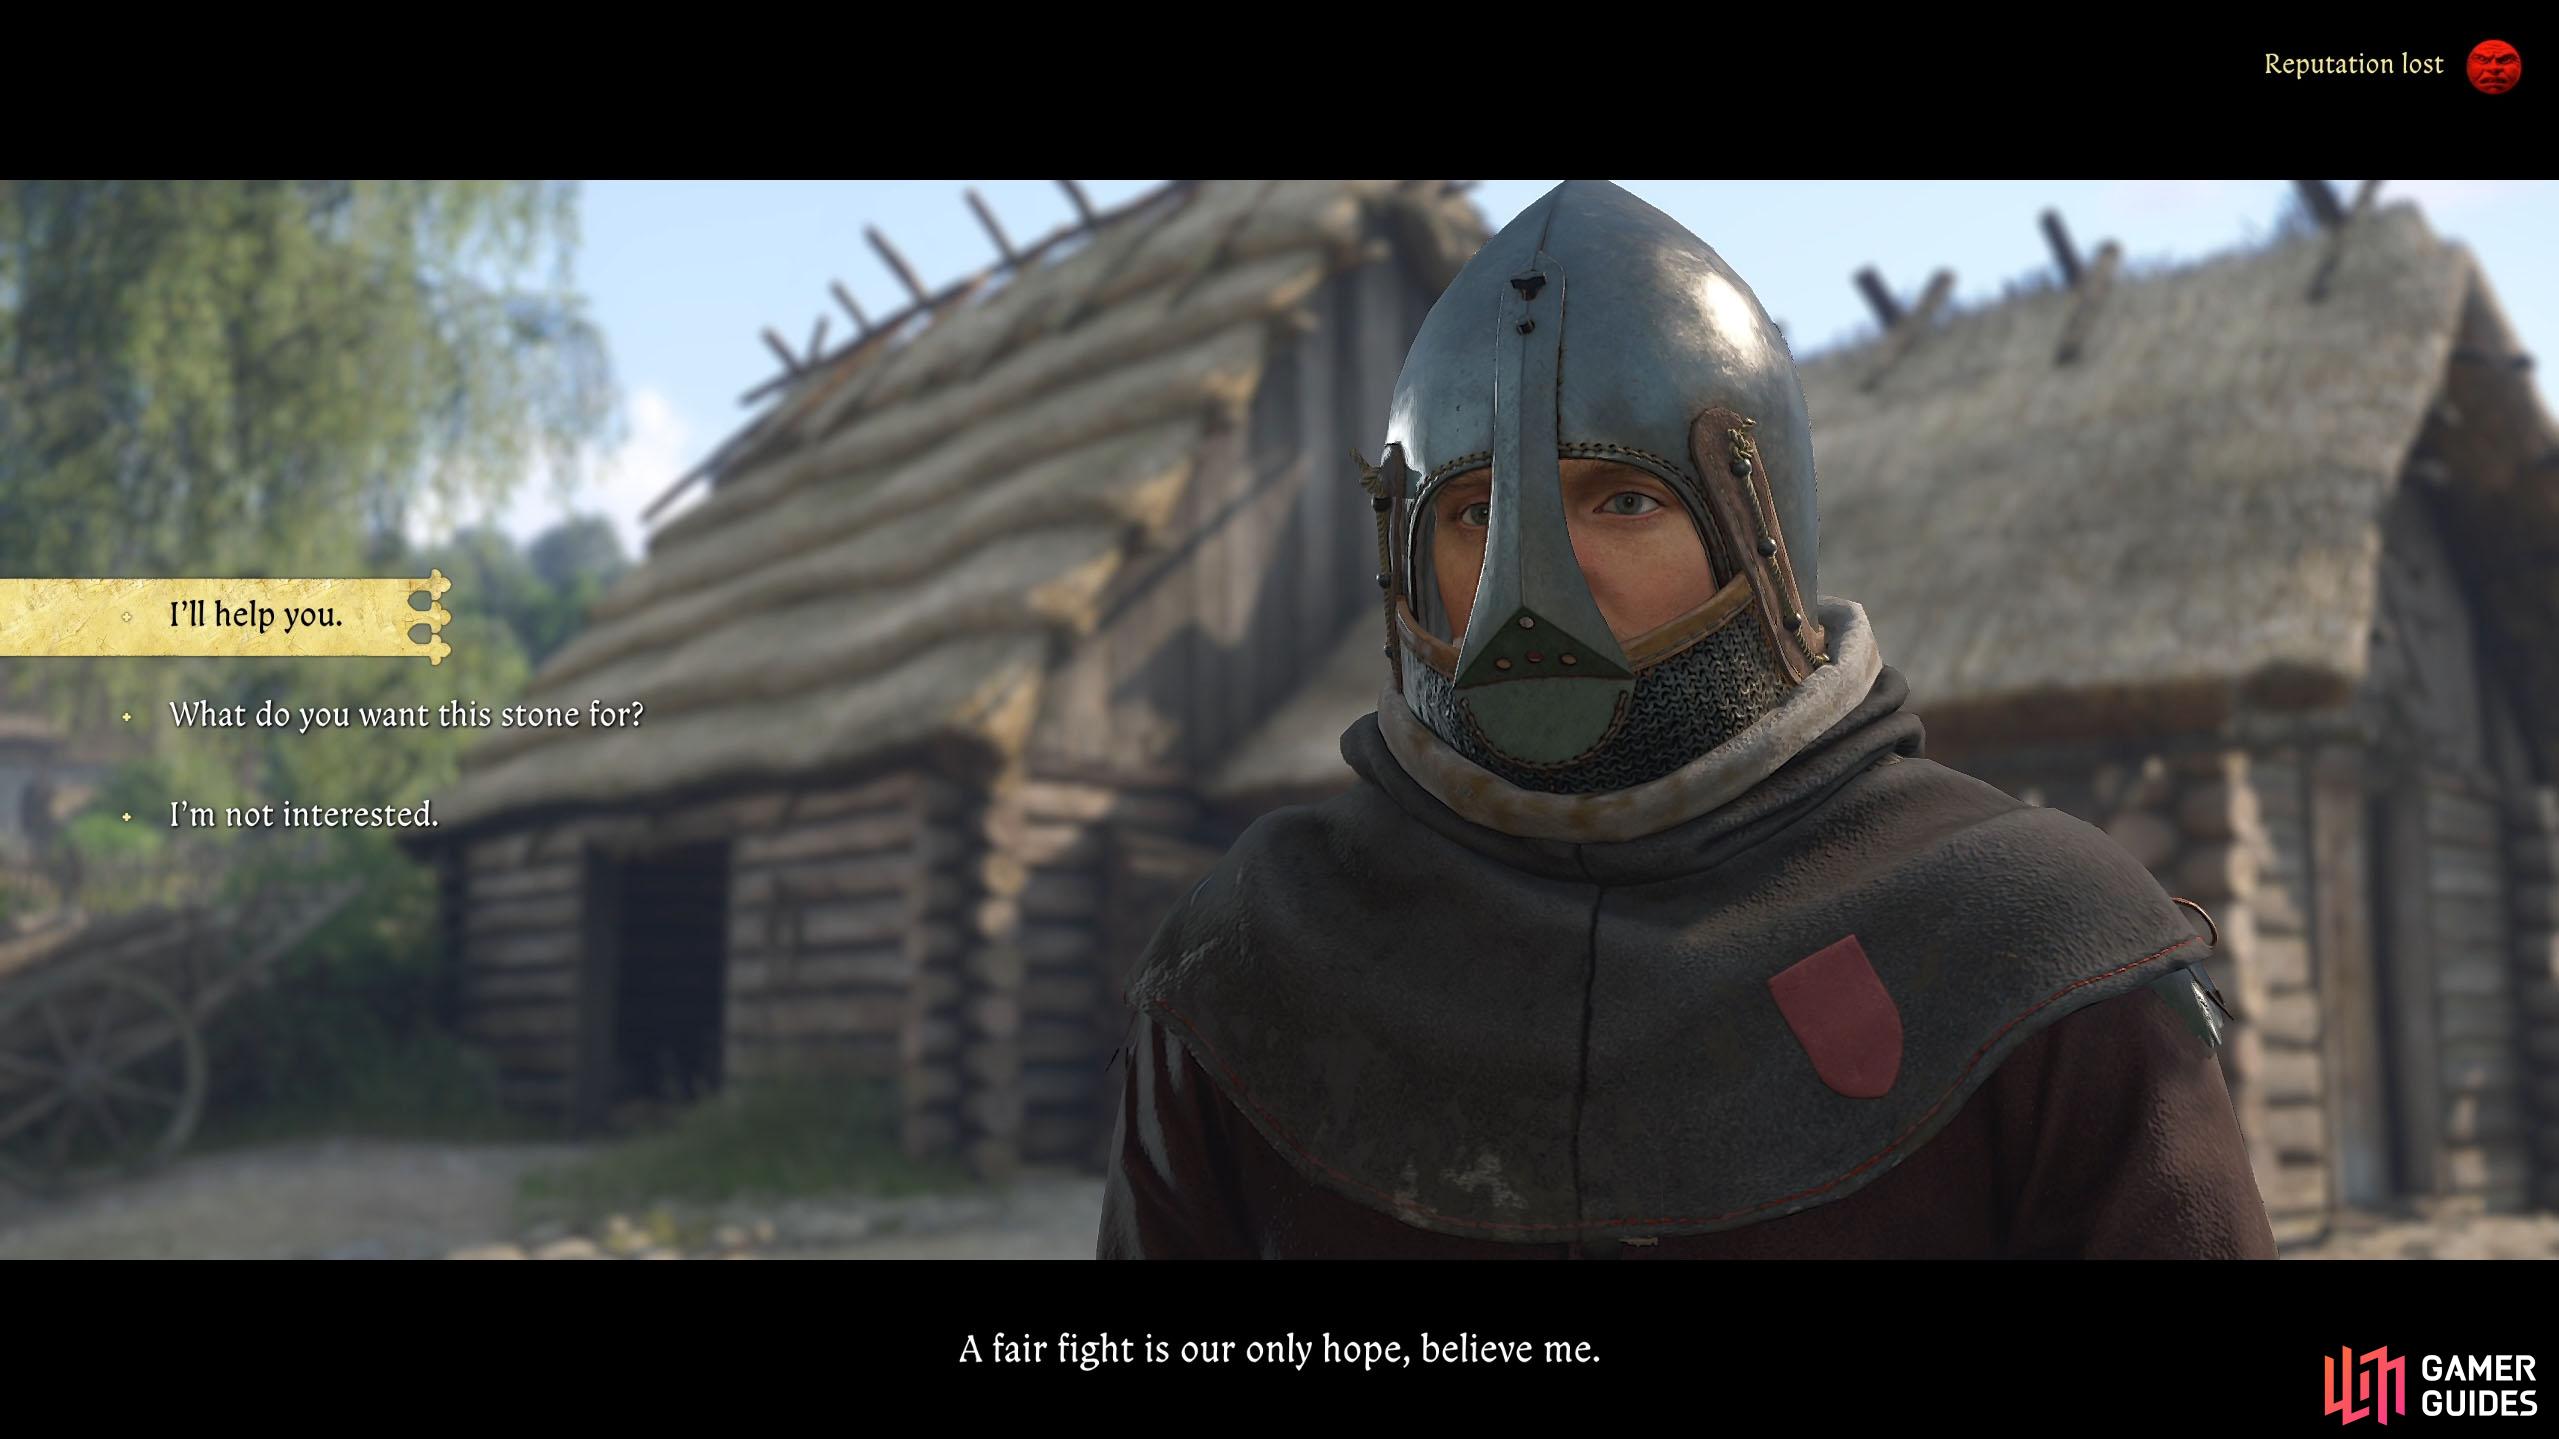
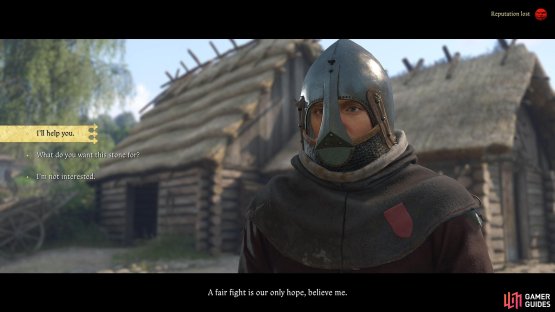
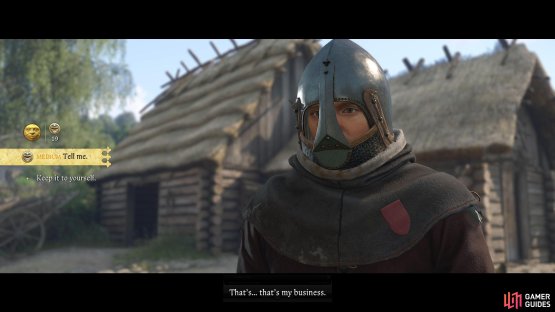
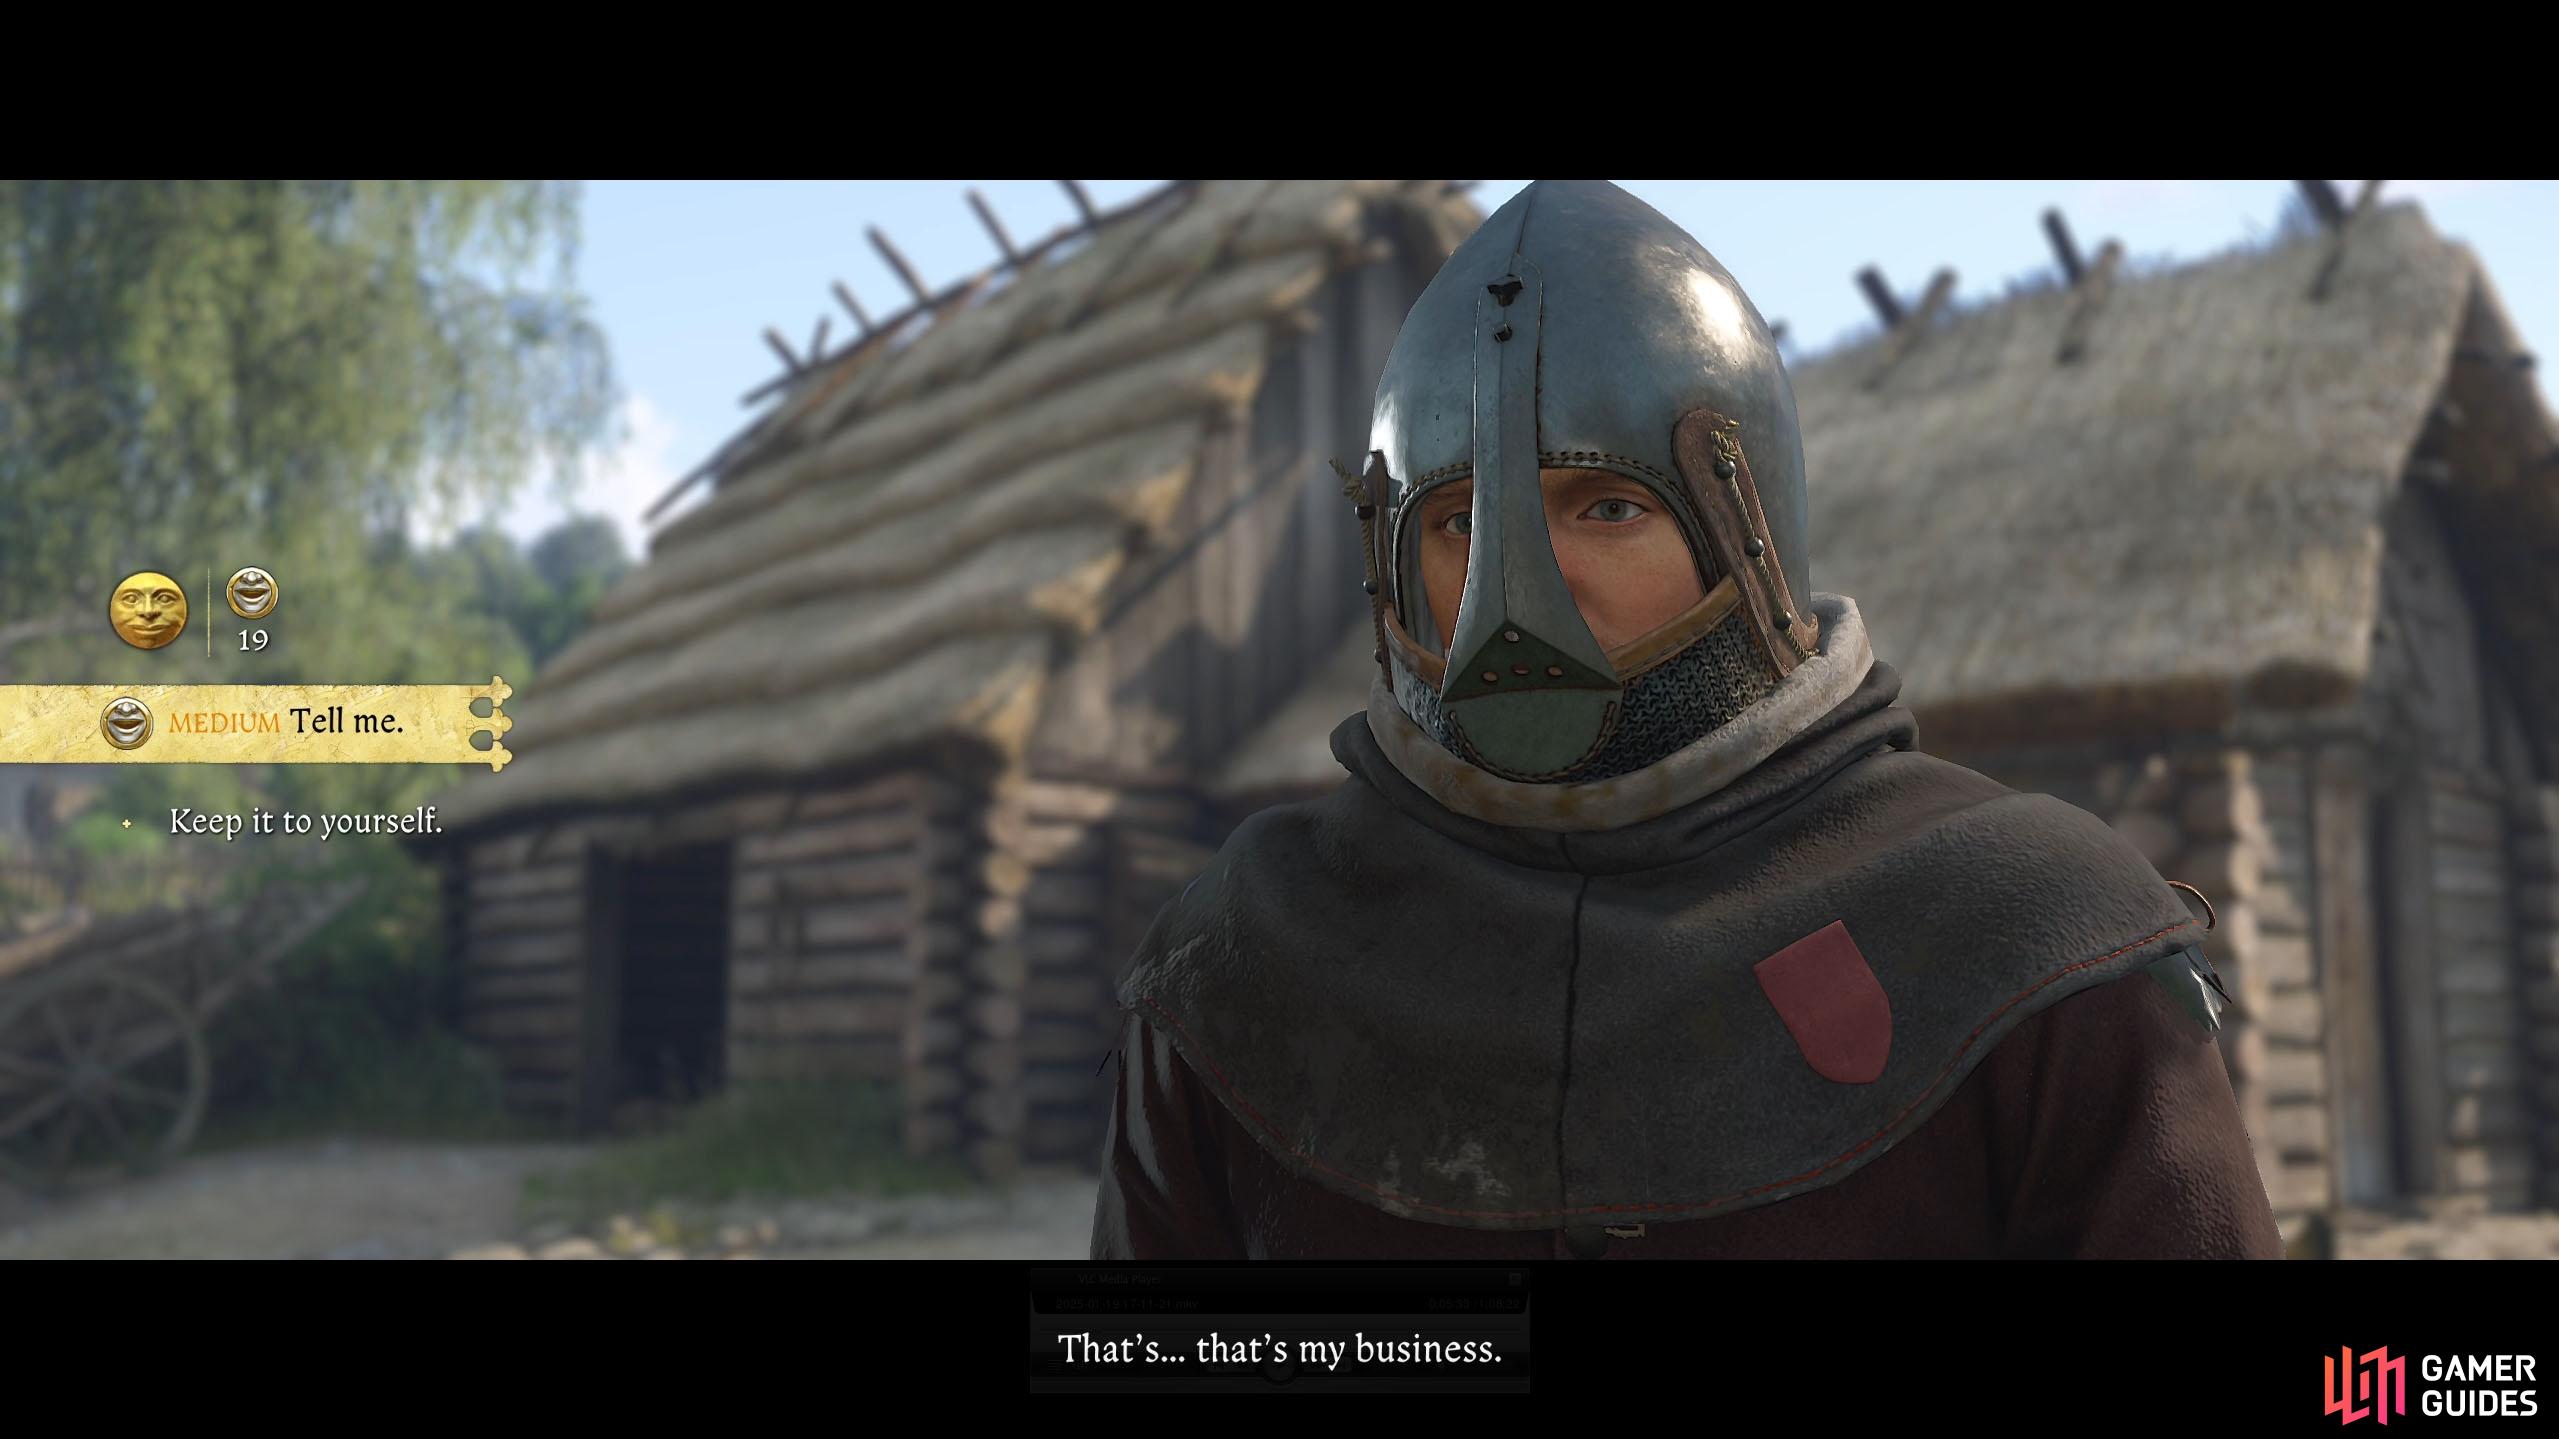
Ask her what the Thunderstone is, and after an explanation, you’ll get the chance to offer your help. If you tell her there is another way to do it, you’re implying that you could steal it for her, but, the stone will lose its properties if it isn’t obtained honestly, and you’ll lose reputation.
Although you can gain reputation by asking her what she wants it for provided you pass the persuasion check. Agree to help her, and she’ll suggest speaking to her husband, Zdimir, or you can head over to Horshan, where Thomlin hosts fights with the local lads.
(1 of 2) Agree to help her and ask her what she needs the stone for.
Agree to help her and ask her what she needs the stone for. (left), This will require passing a persuasion check. (right)
Go to Horschan
Horschan is the village to the west of Grund and can be reached by following the path southwest and north out of Grund. When you reach Horschan, head over to the farm on the west side of town, and you’ll find Thomlin.
Tell him you’re looking for the Thunderstone, to continue the quest, but you can ask him about the fights to start the ![]() Fight Dirty task. He’ll tell you that he used to wager the stone for fights, but now he’s retired. Tell him you want to fight him for the stone again, and you’ll get more speech options.
Fight Dirty task. He’ll tell you that he used to wager the stone for fights, but now he’s retired. Tell him you want to fight him for the stone again, and you’ll get more speech options.
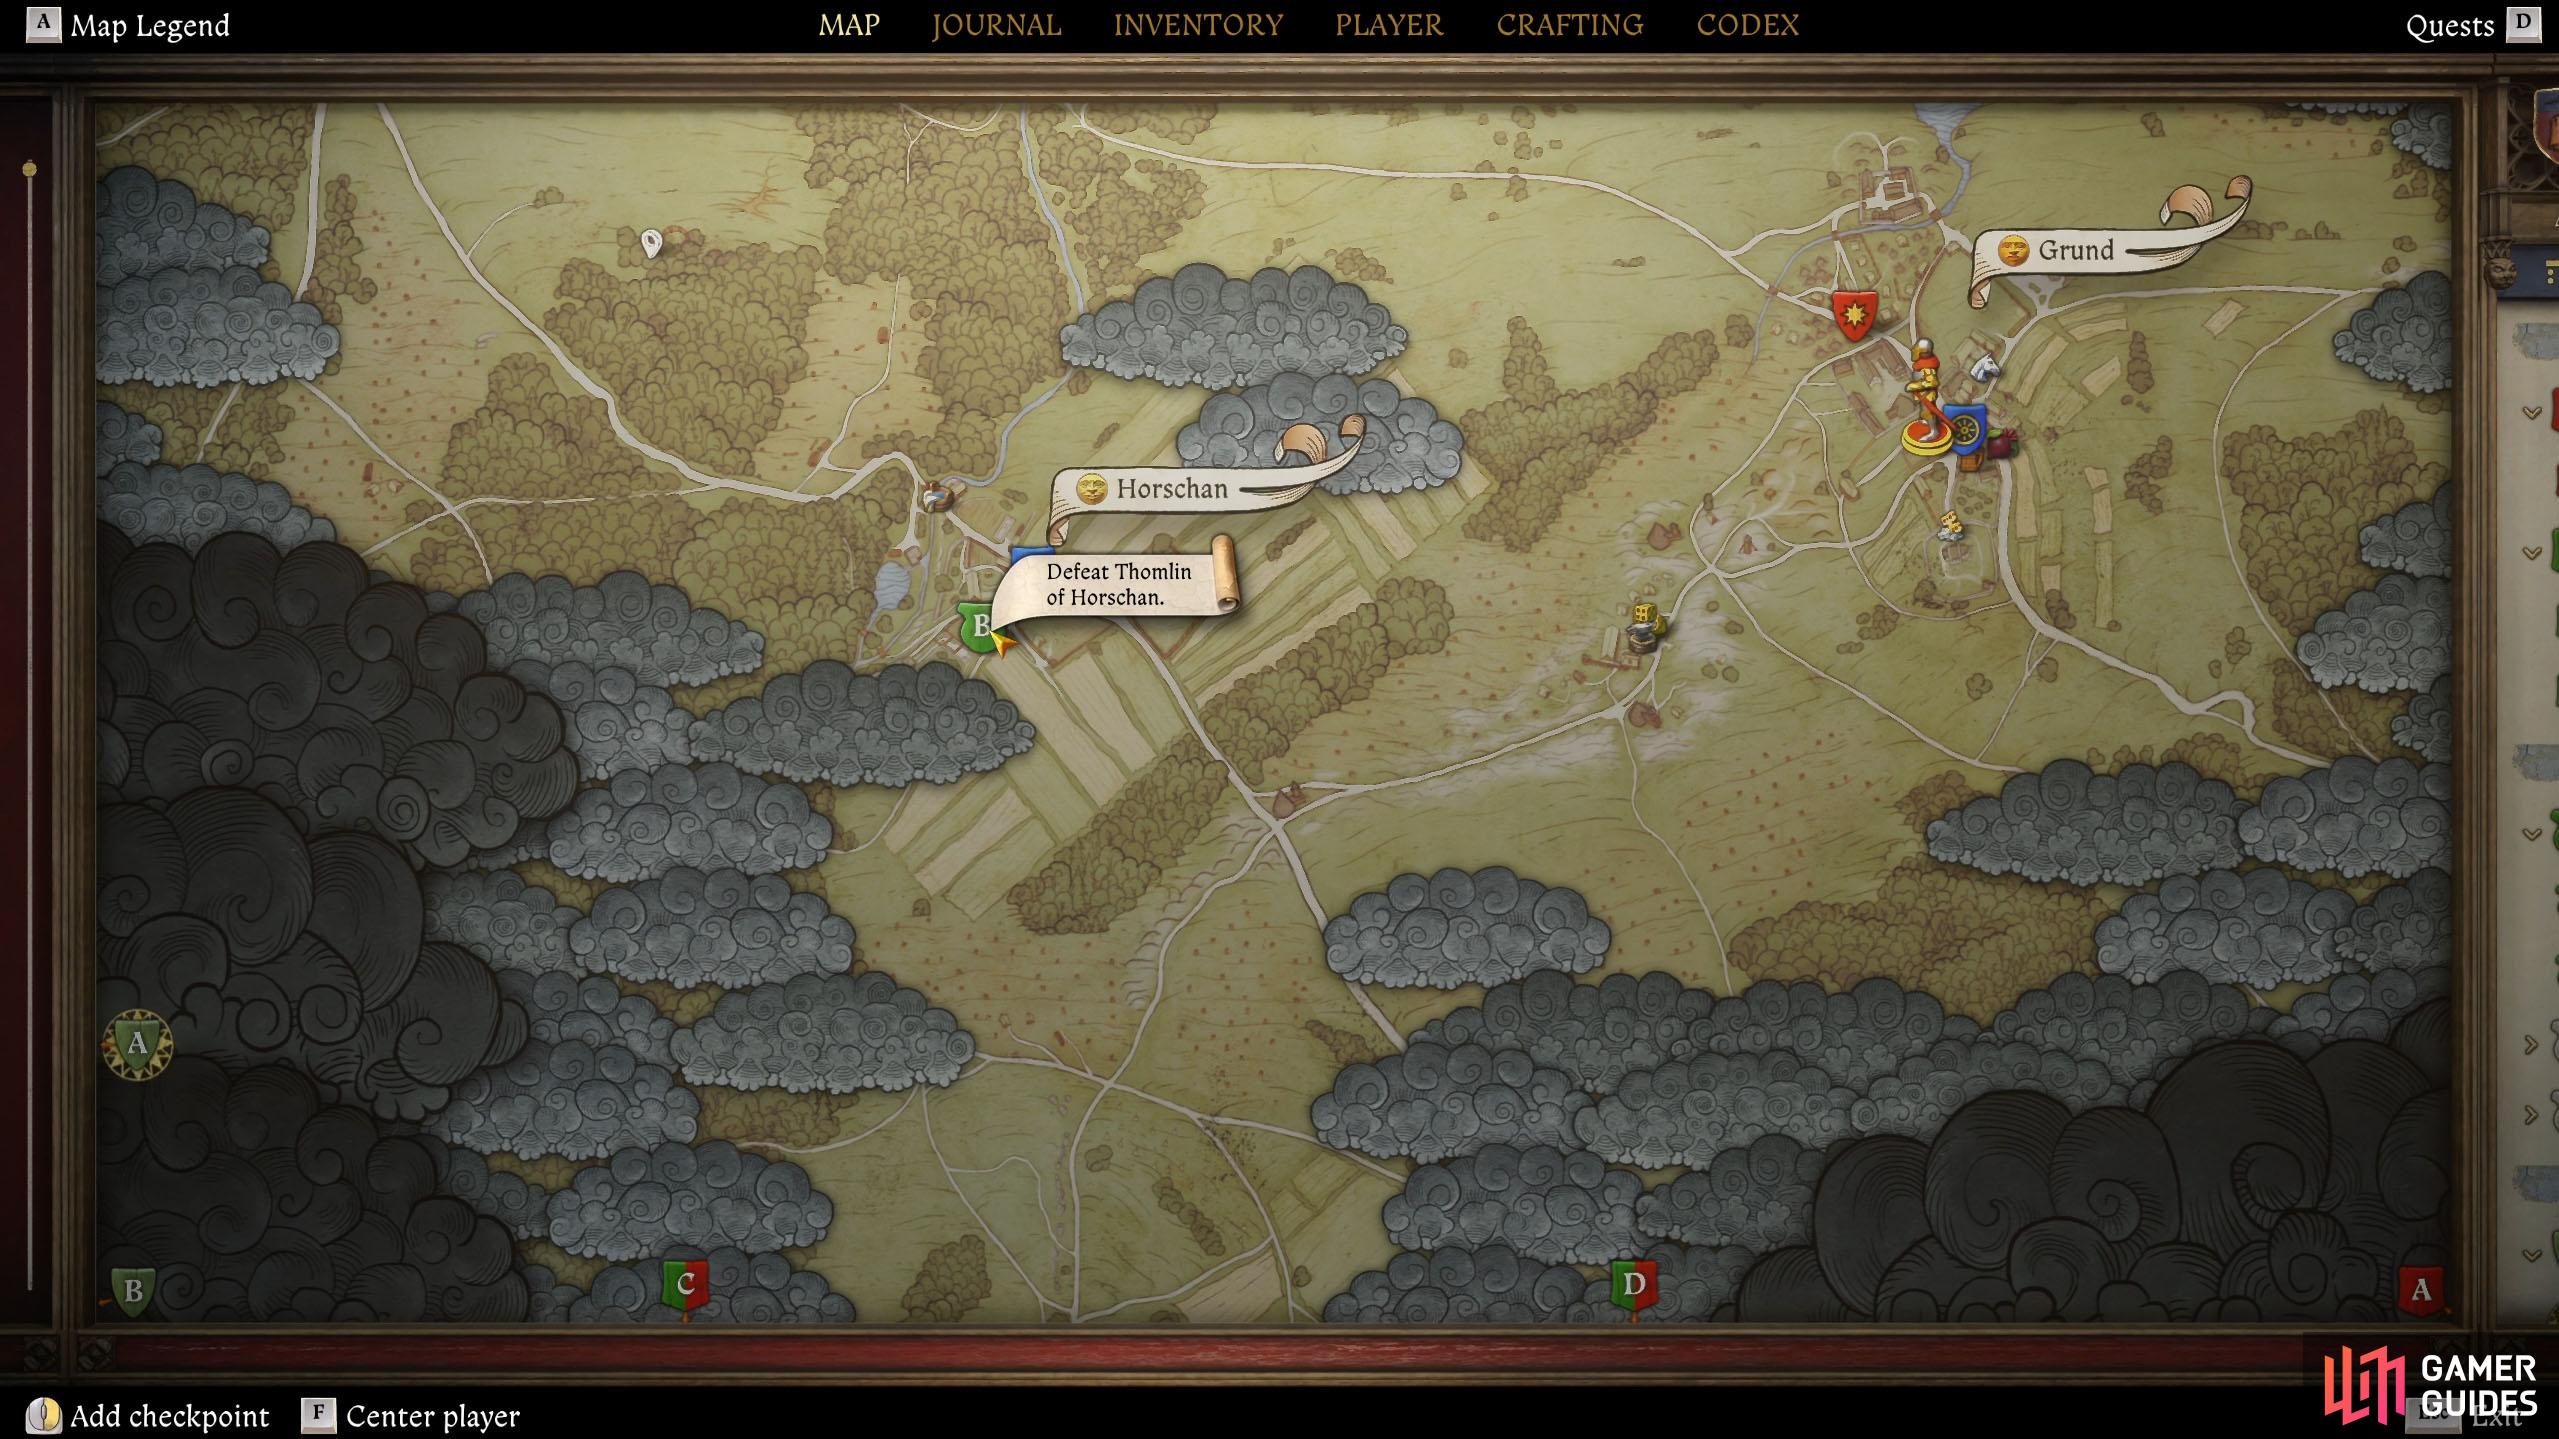


(1 of 2) Go to Horschan, which is the village west of Grund.
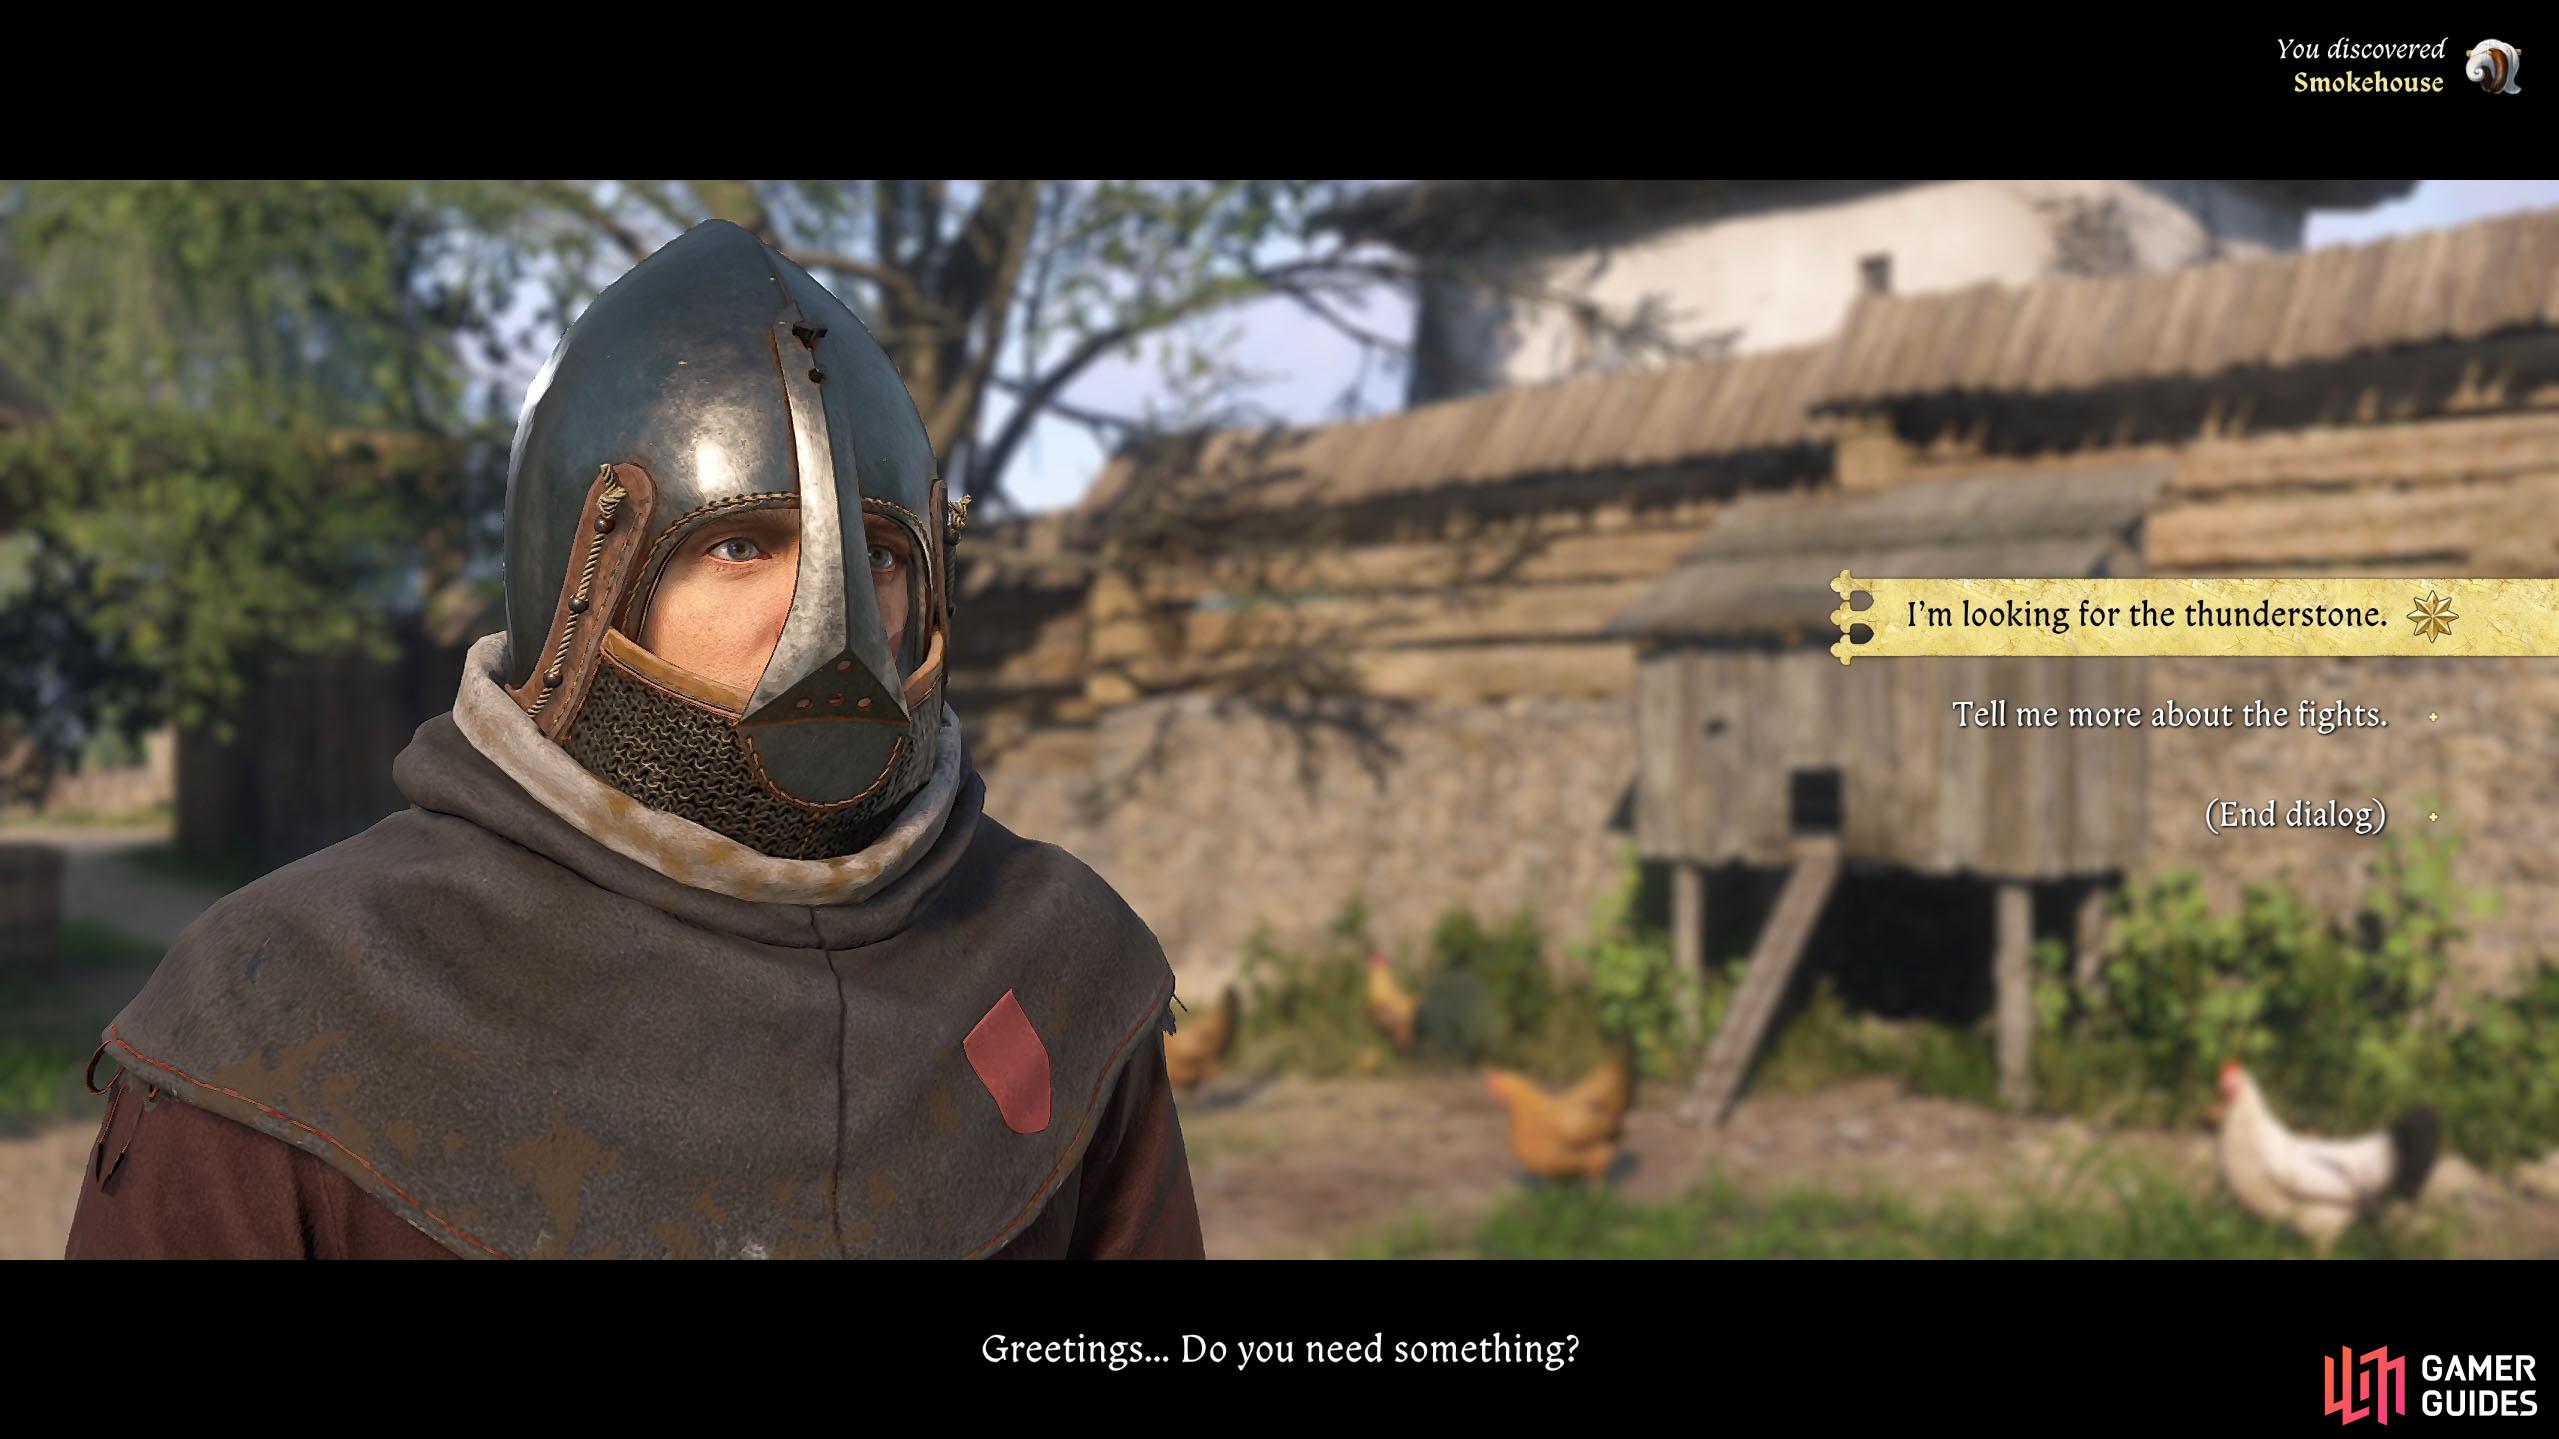
Go to Horschan, which is the village west of Grund. (left), In there, you’ll find Thomlin. Tell him you’re looking for the Thunderstone. (right)
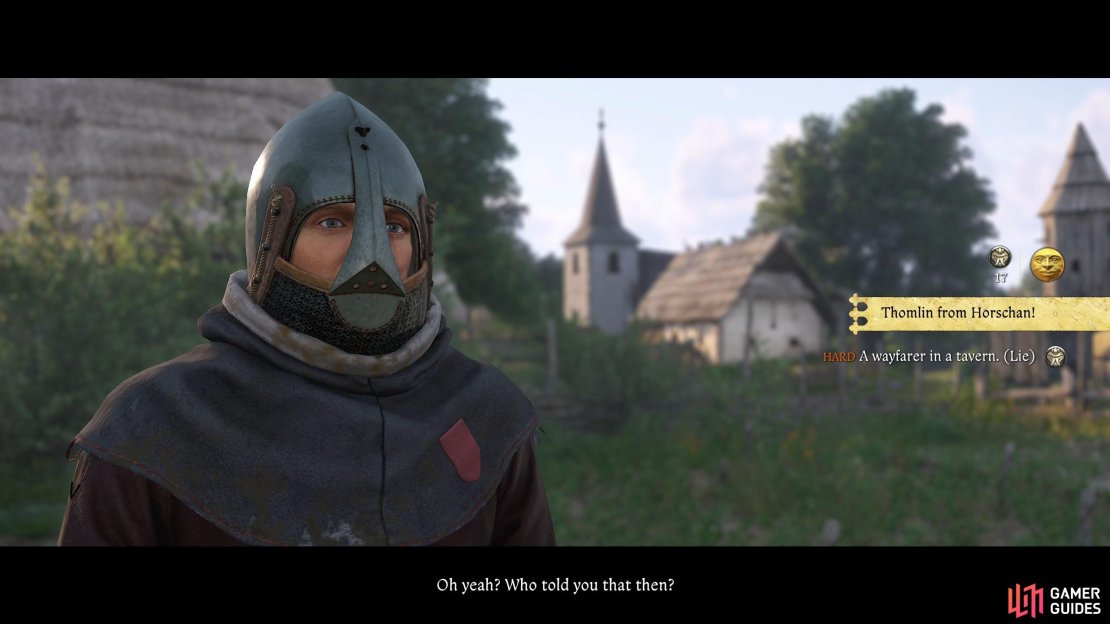
Most of the options end up the same way, you’re not getting the stone, however, if you ask to see the stone, you’ll get a persuasion check, and if you pass it, he’ll show you the stone. After looking at the stone, you’ll notice it isn’t the same stone that was described to you by Kona.
This will bring up more speech options with one of them being a scholarship check. Passing the scholarship check will have him admit to you that it’s fake, and he’ll explain to you where the real one is. Ask him who stole it, and you’ll find out that Hensel and Peter from ![]() Raborsch most likely did the deed.
Raborsch most likely did the deed.

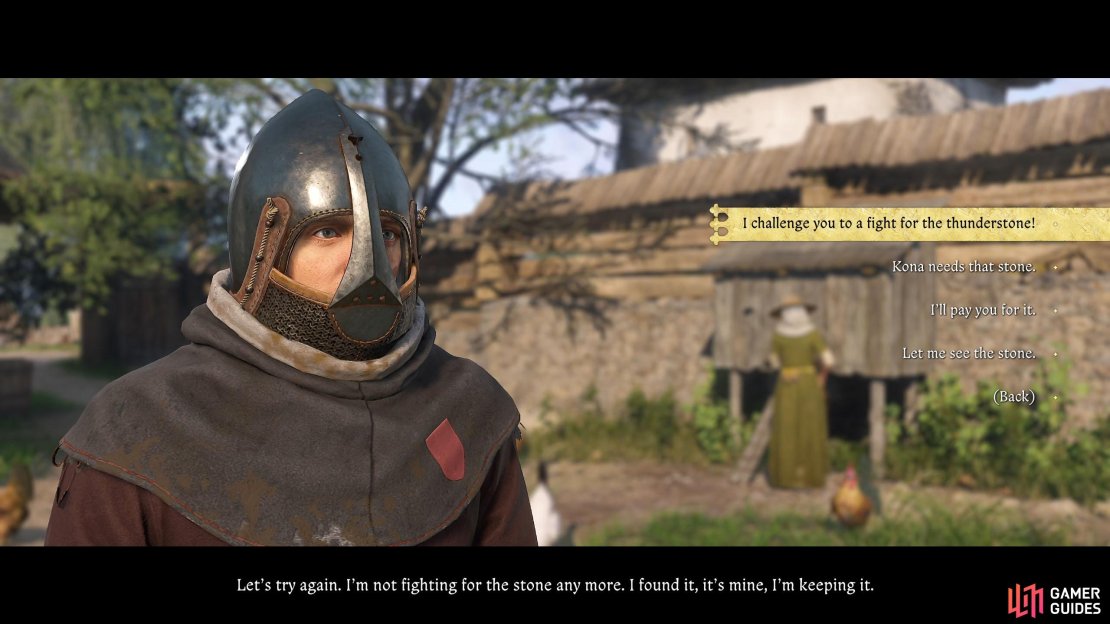


(1 of 3) Regardless of what you say here, he won’t accept, so ask him to let you look at it.
Finding Hensel and Peter
Looks like it’s time to go to Raborsch. Odds are you haven’t been here yet, if you have, fast travel, if you haven’t, leave Horschan via the northwest exit, and follow that path west. The path will eventually go northwest toward ![]() Bohunowitz. From there, take the western path to reach Raborsch.
Bohunowitz. From there, take the western path to reach Raborsch.
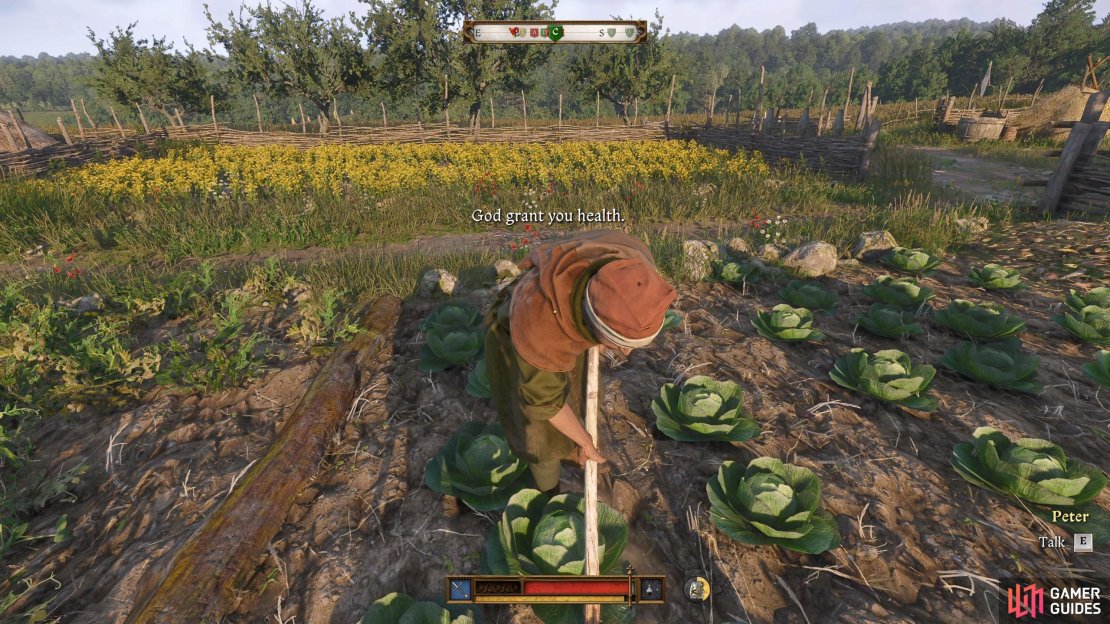
In Raborsch, you should find Peter tending to the cabbages near the entrance to the village. Tell him you’re looking for a Thunderstone, and you’ll be met by a speech check. You can coerce him if you want, but simply telling him Thomlin sent you will be enough.
He’ll tell you that they’ve had nothing but trouble since they stole the stone, but he doesn’t have it, his accomplice Hensel does. According to Peter, they wanted to butcher Andrew Ramhead and his pillagers, who have caused nothing but trouble for the village since they arrived. The problem is, that the plan went awry, and Andrew has Hensel captive, along with the stone. Ask Peter how the assault went down and who Andrew is.
When you tell him you really need the stone, he’ll tell you it’s cursed, prompting a speech check. If you have at least 14 scholarship, it’ll be an easy pass. Tell him it’s not cursed, but in fact, a blessing, and ask where Andrew’s camp is.
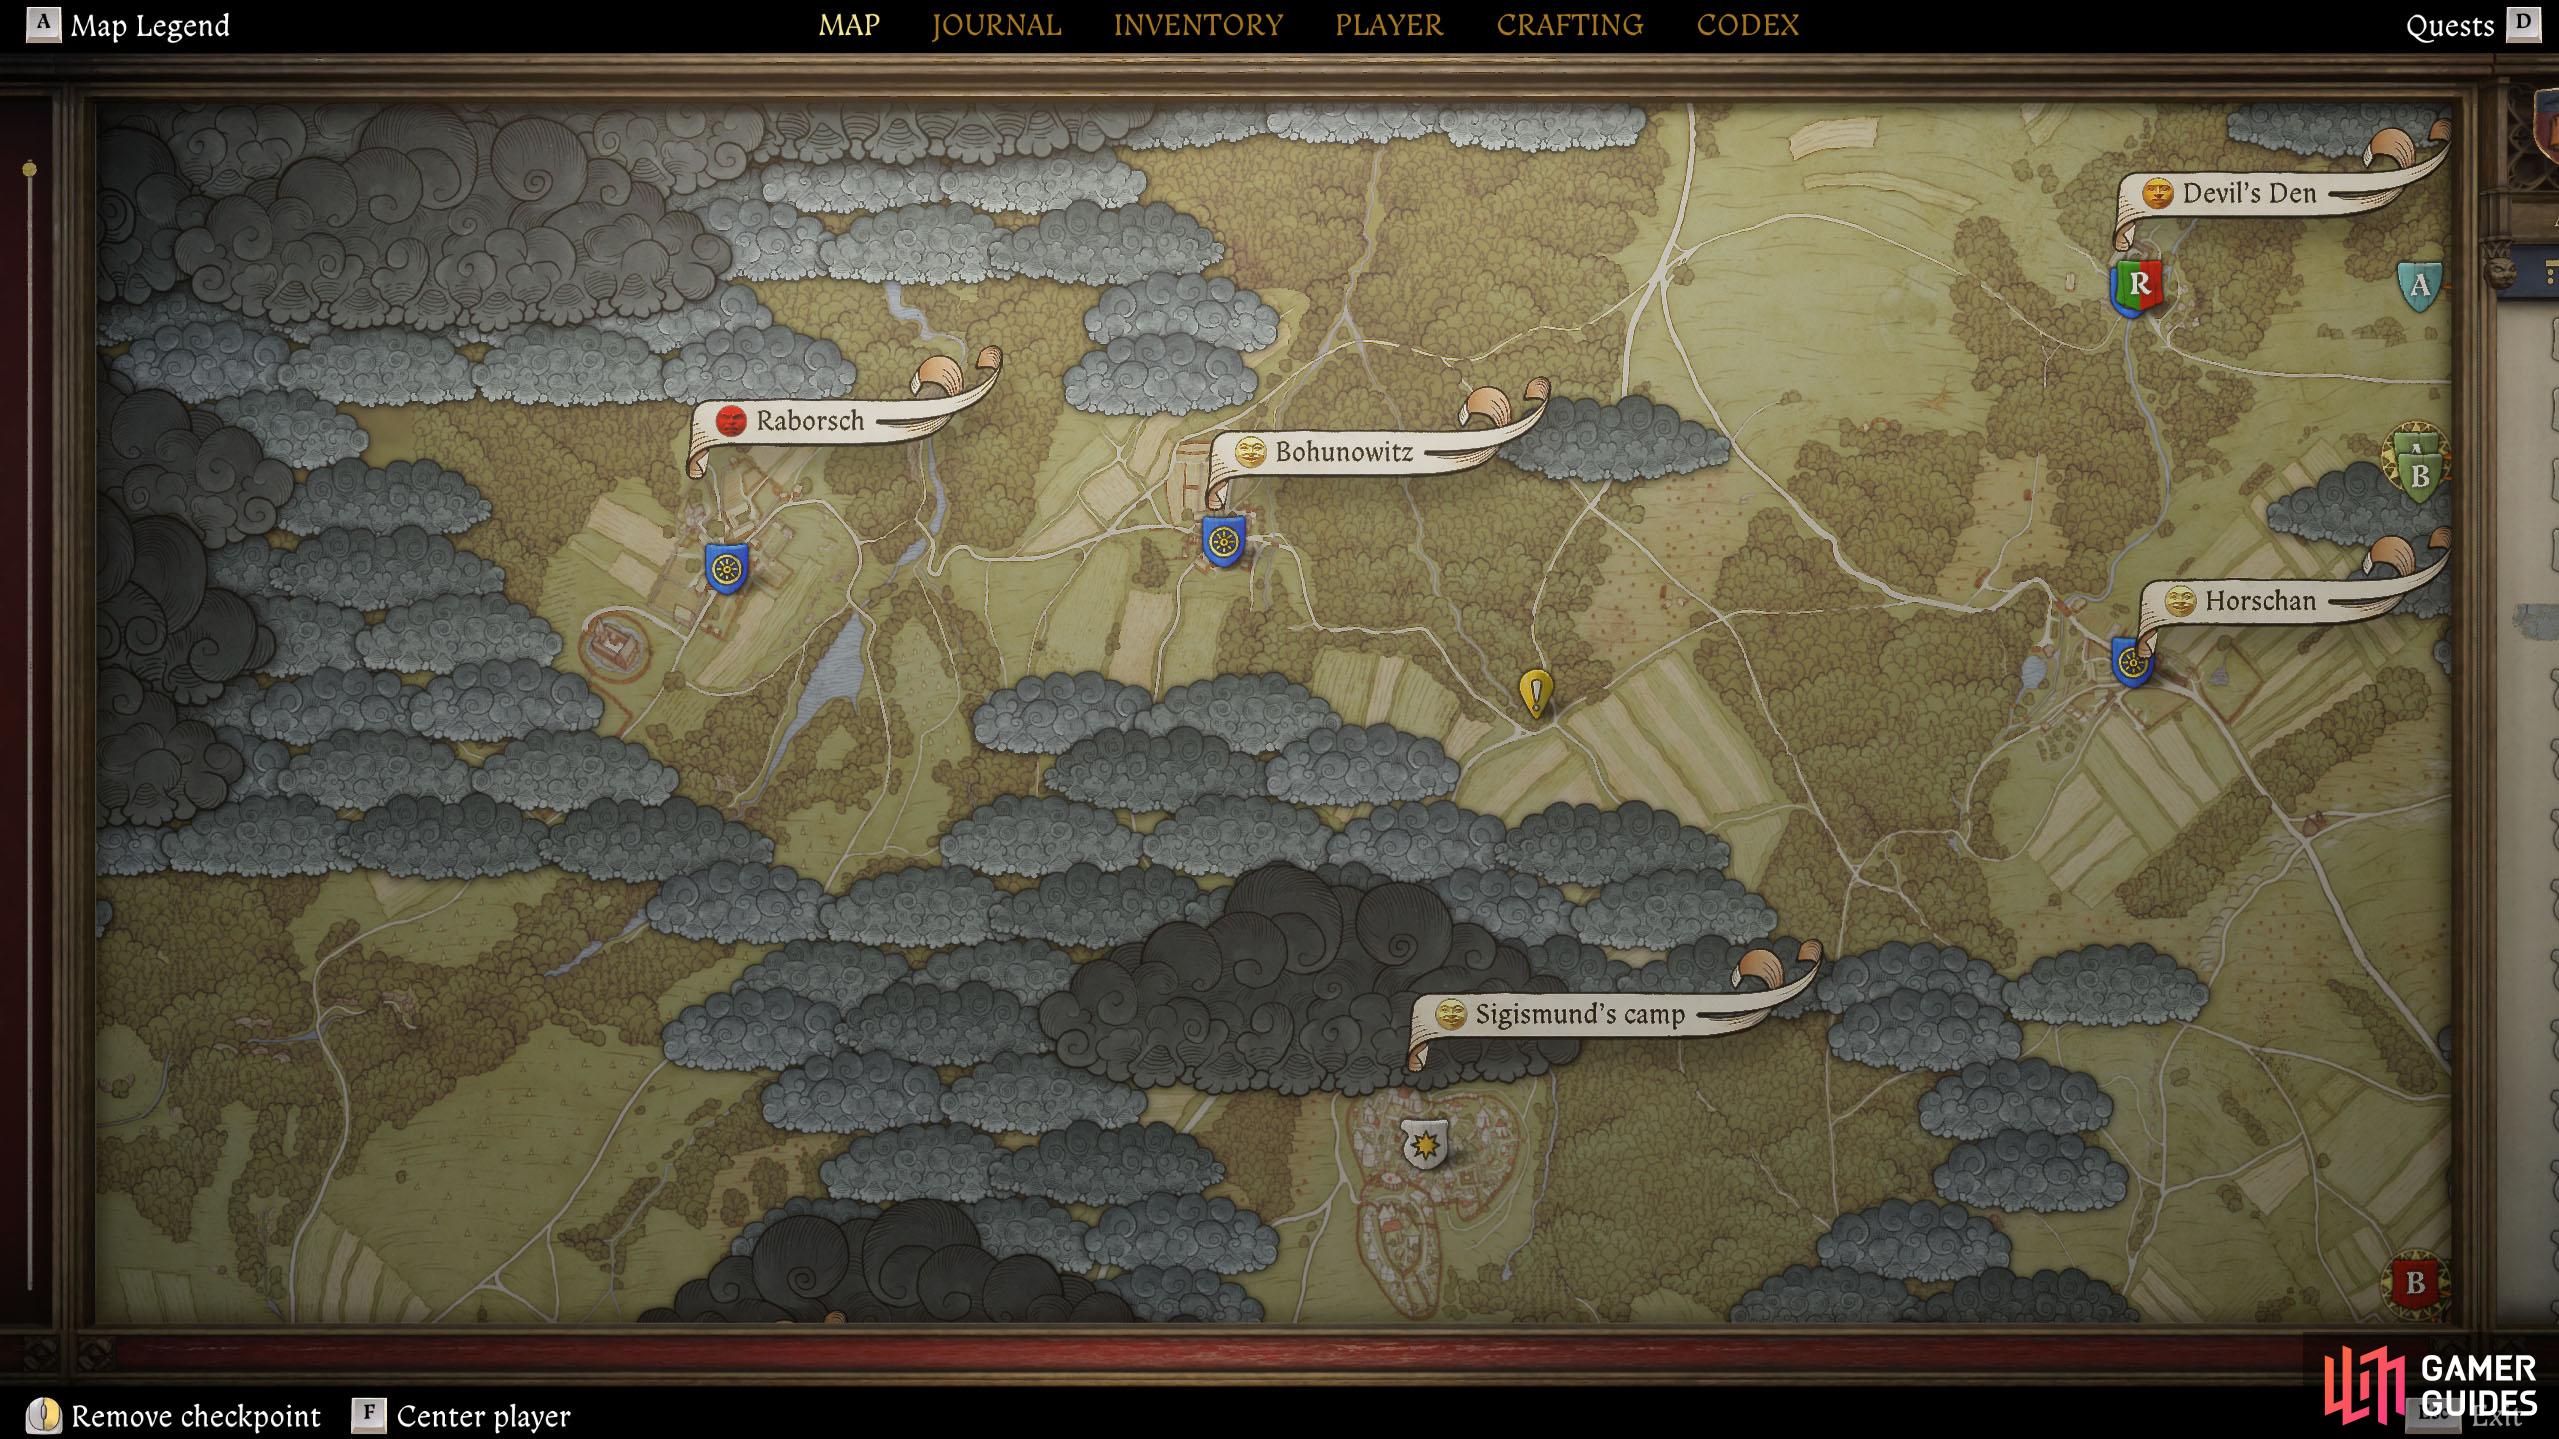

(1 of 3) To find Peter and Hensel, you’ll need to go to Raborsch, which is west of Horschan.
Rescuing Hensel
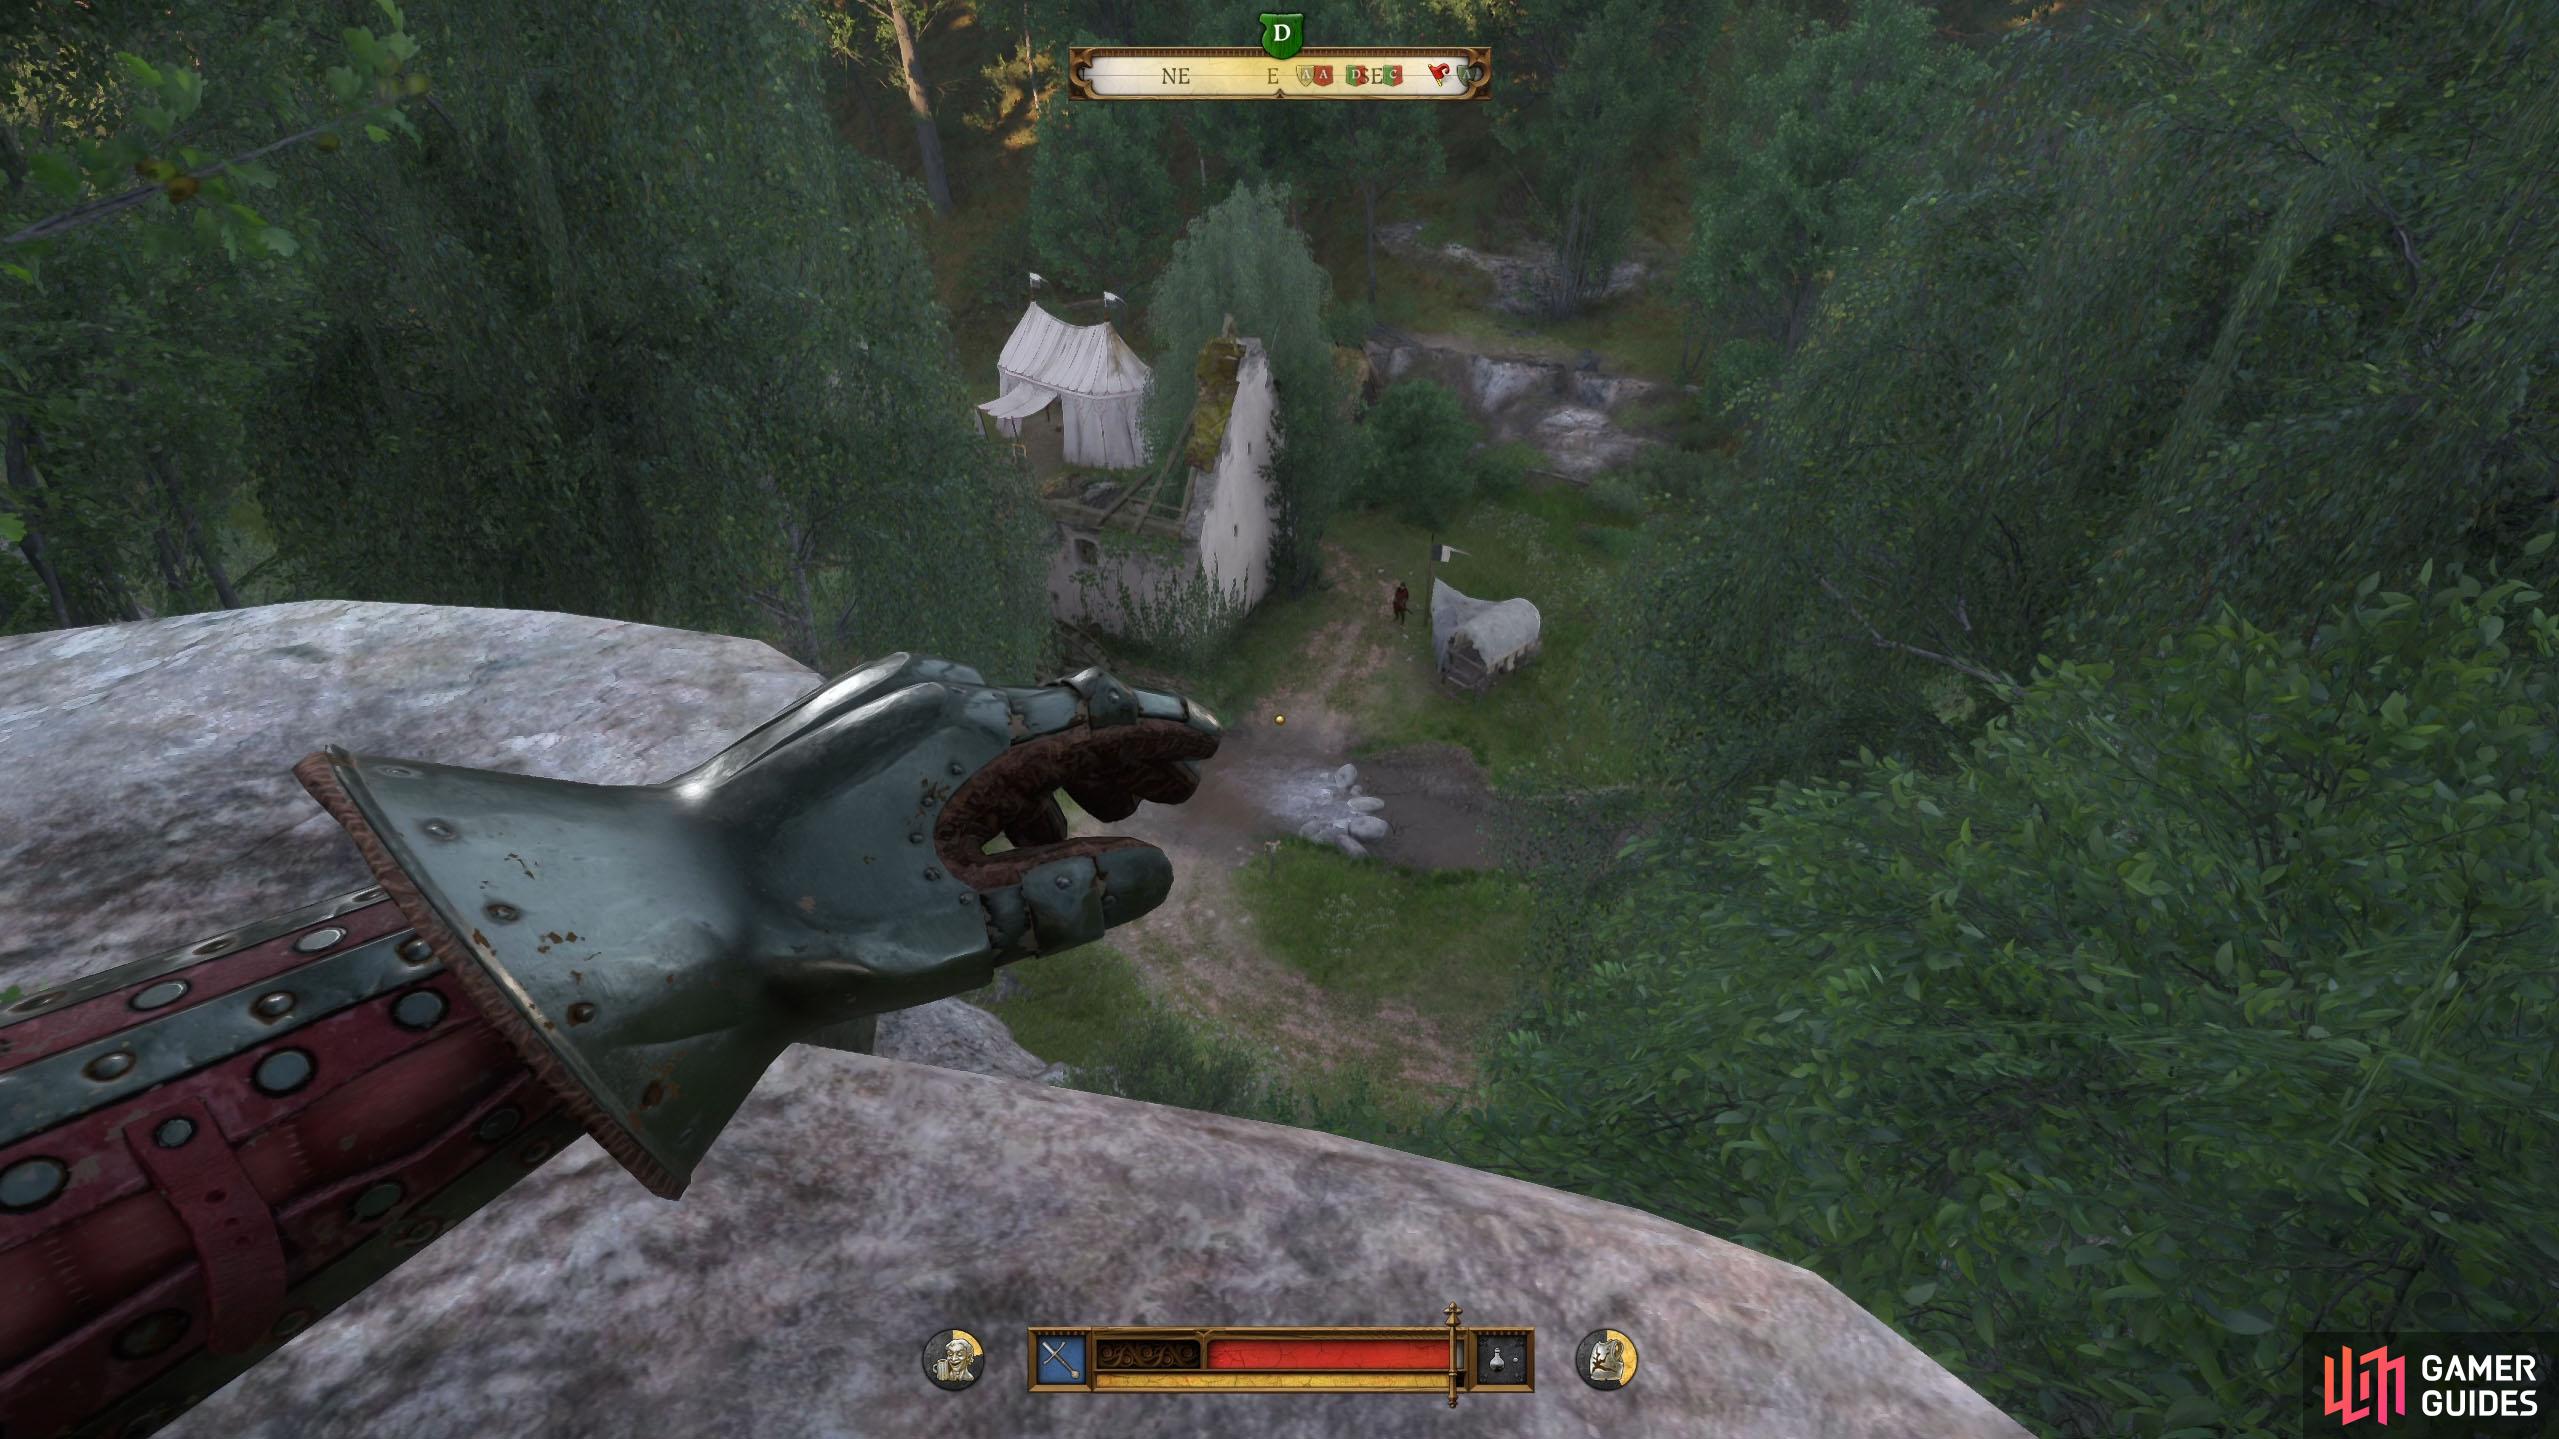
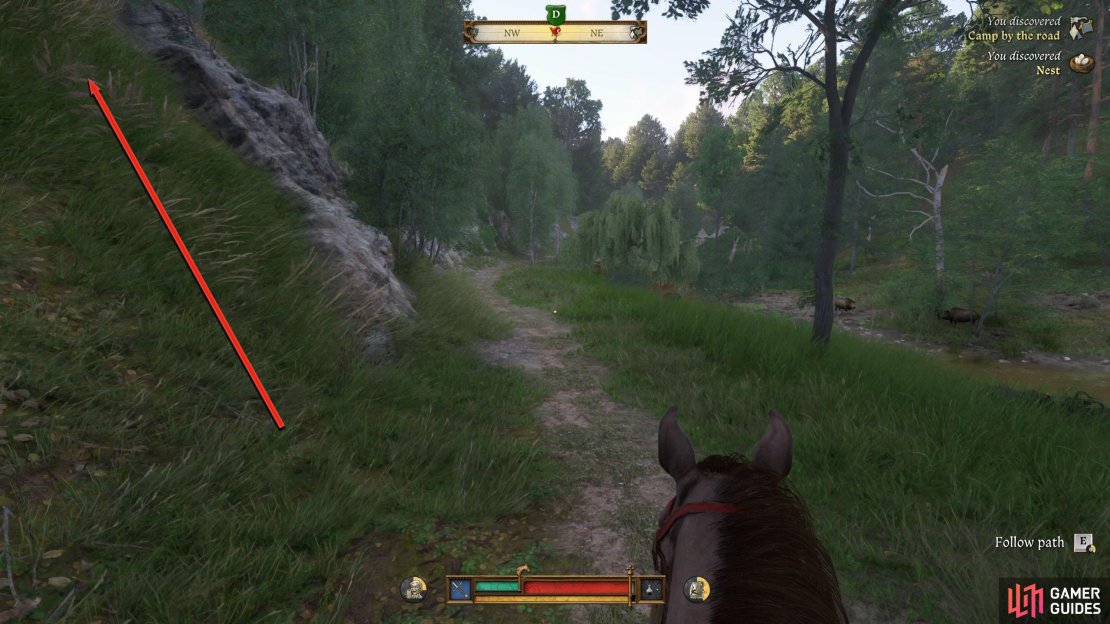
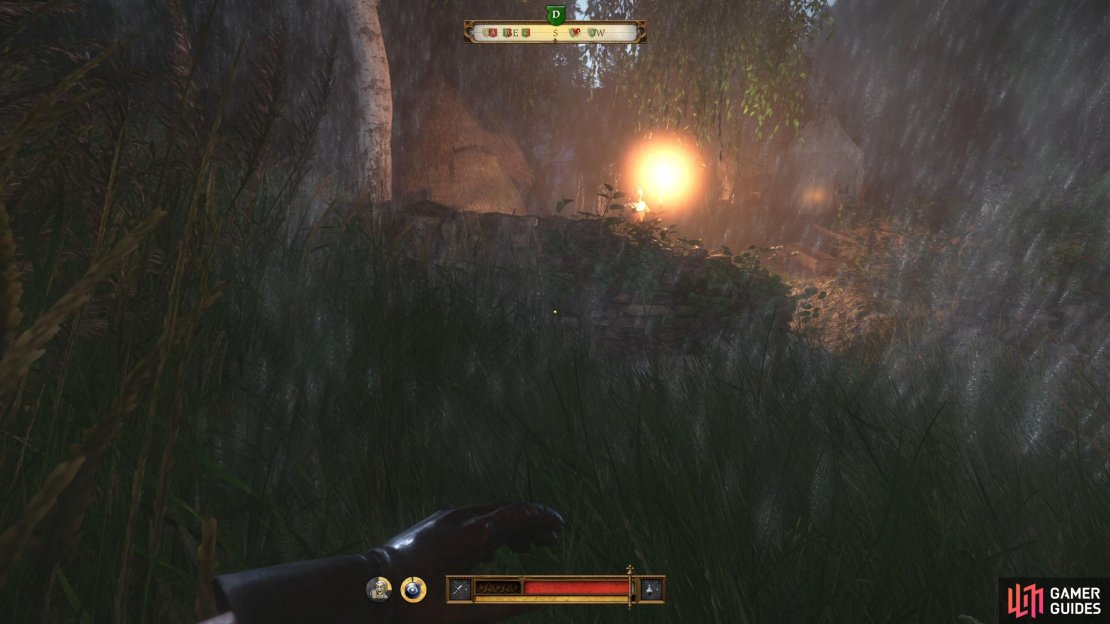
Peter will give you directions to the camp, so let’s head there. Leave the village via the northeast and follow the road north. The path will go through the forest alongside the stream. Continue north and you’ll find a hill to your left you can go up. We recommend saving the game here in case you mess up. Wait until 1-2 in the morning, drink a Nighthawk potion, and continue through the forest to the north while staying close to the cliff edge.
Keep an eye to the right as you continue north, and you’ll find the camp across the stream. Note that you want to make ![]() Mutt stay at the top of the hill, as he will alert the guards to you. When you’re ready, follow the path north, cross the stream, and crouch through the tall grass in front of the entrance. There is a guard who patrols the entrance, but as long as you’re crouched in the grass, and make no noise, you’ll be fine.
Mutt stay at the top of the hill, as he will alert the guards to you. When you’re ready, follow the path north, cross the stream, and crouch through the tall grass in front of the entrance. There is a guard who patrols the entrance, but as long as you’re crouched in the grass, and make no noise, you’ll be fine.
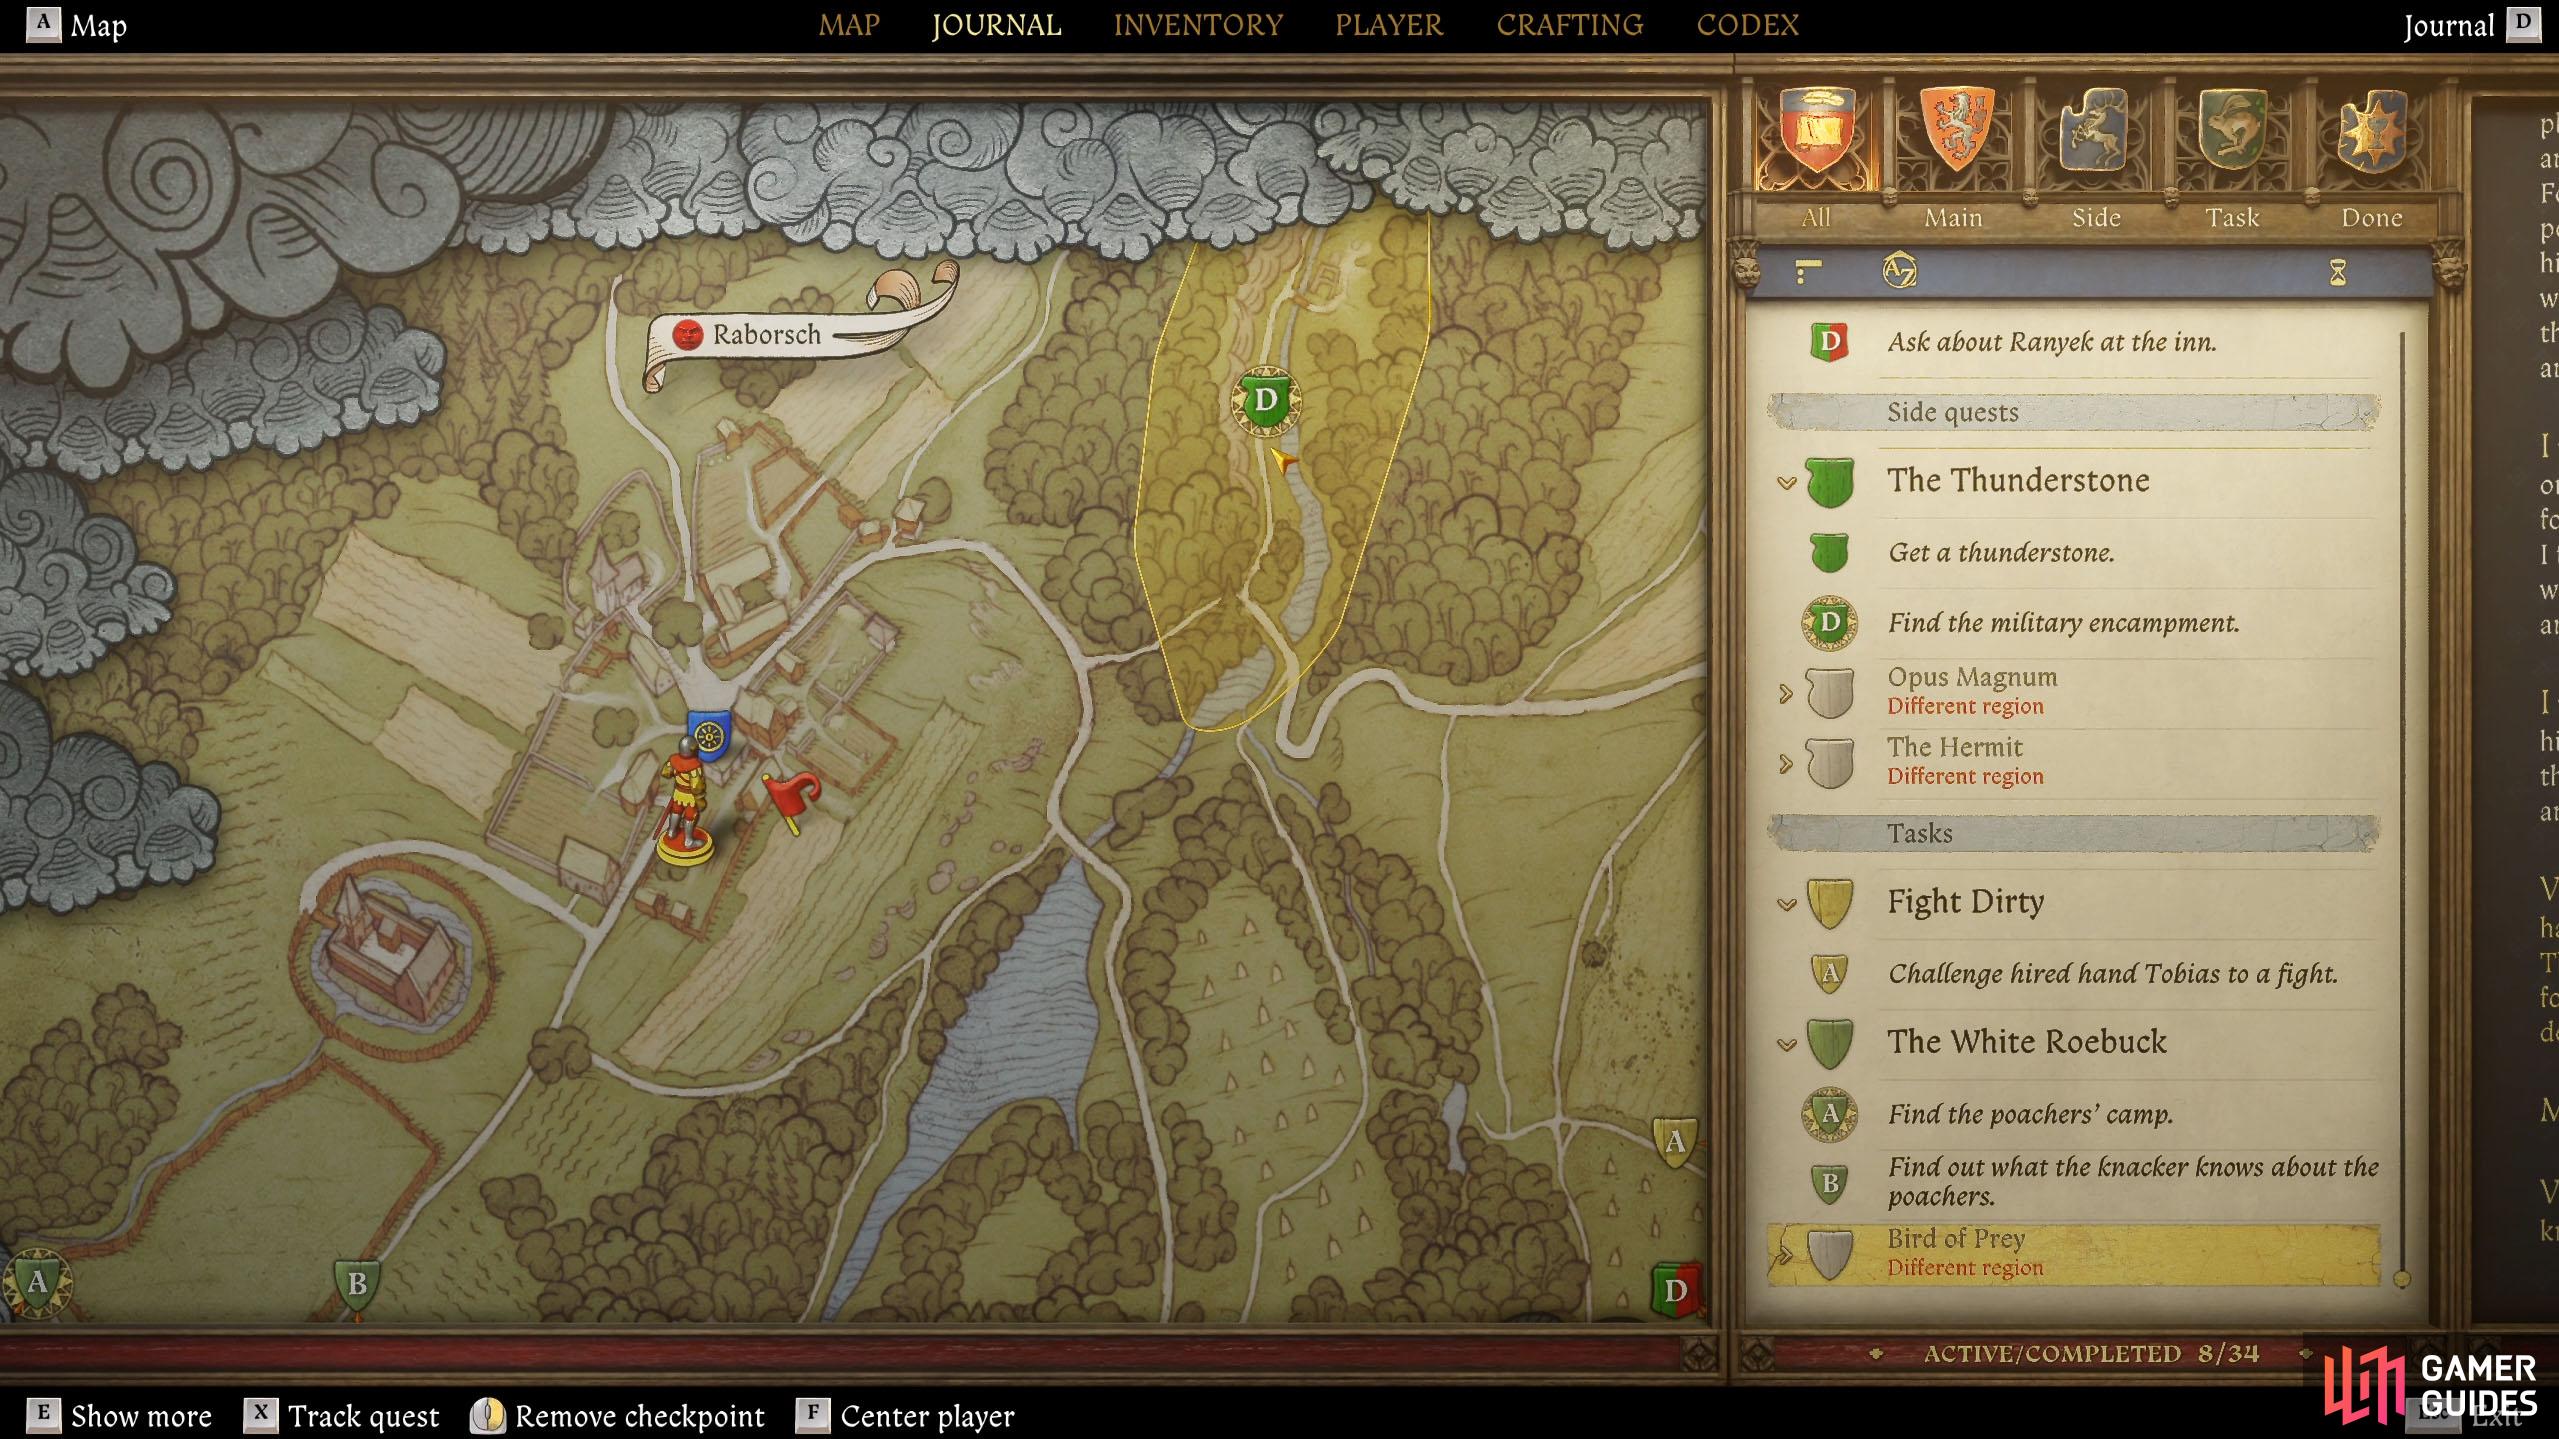

(1 of 6) The camp that Hensel is captive in can be found by following the northeast path out of the village.
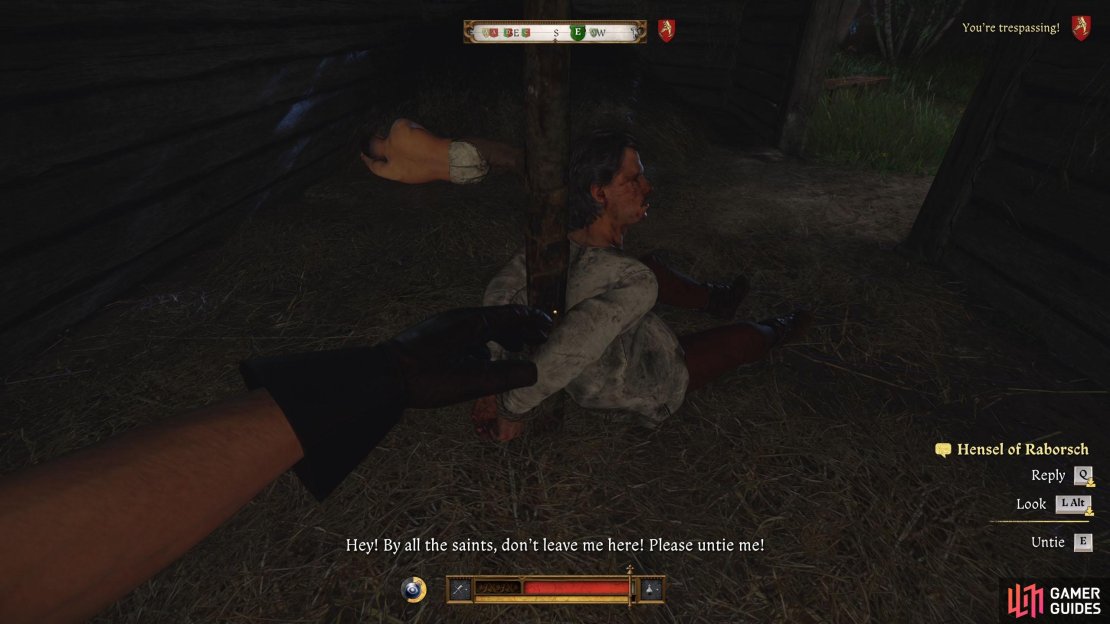
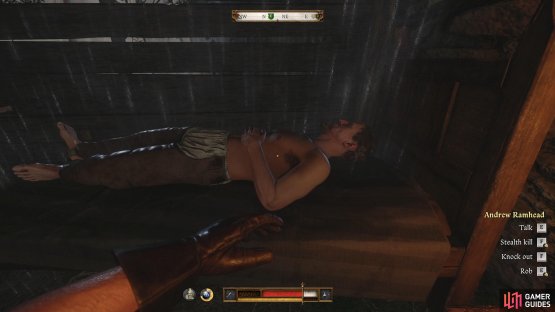
Head to the left side of the camp, using the buildings and tents as cover from the guards, and you’ll come across a barn with a straw roof. This is where you’ll find Hensel. Before you go into the barn, lure the guard away from the entrance by throwing a stone, or waiting until he moves to another location, otherwise, Hensel will alert him.
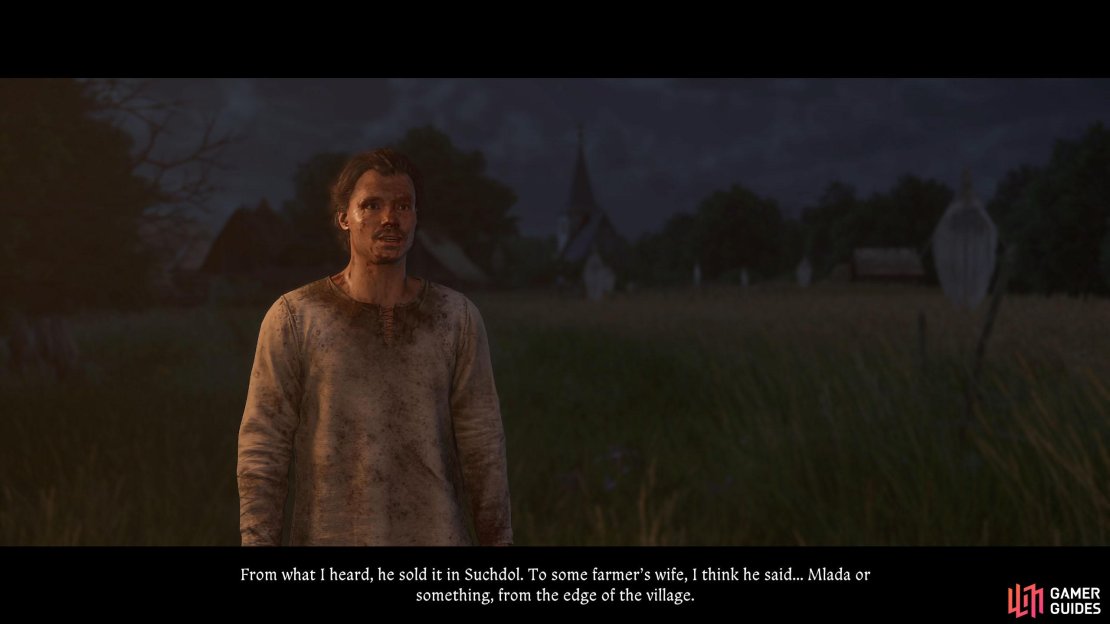
When the guard moves away from the entrance, go into the barn when the guard moves away and untie Hensel by interacting with his hands that are tied behind his back. Follow Hensel until you’re clear, and then speak to him. You’ll find out that Andrew sold it to someone in ![]() Suchdol.
Suchdol.
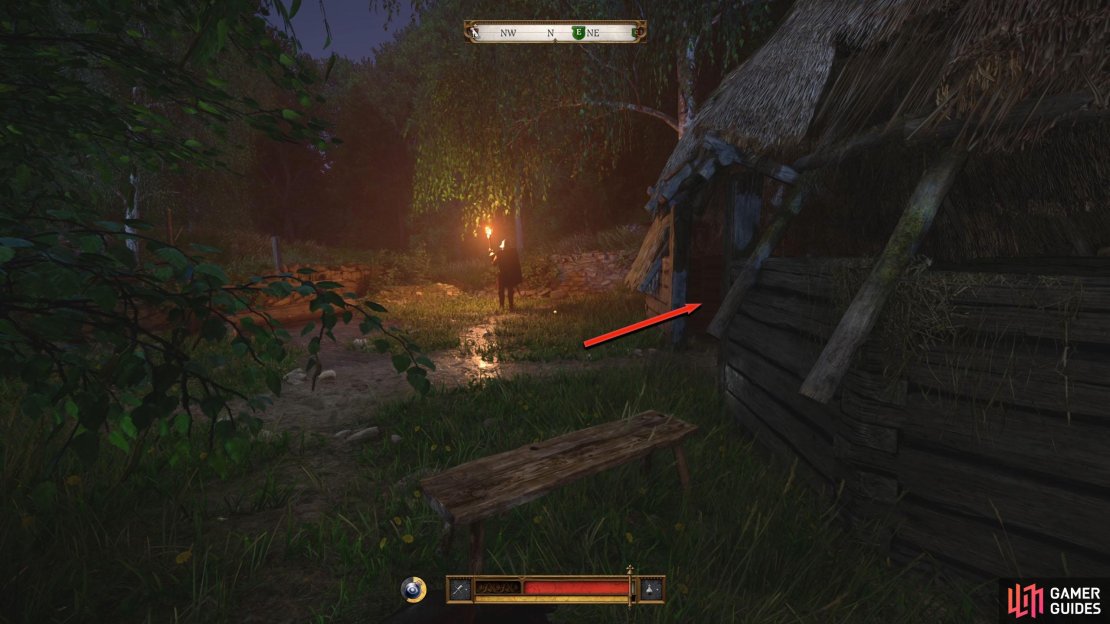
Before you leave the camp, you can find a ![]() Spearman Training IV skill book inside a chest in the ruined house opposite Andrew’s hut, but you’ll need to pass a hard difficulty lock or steal the keys from Andrew. To get in the house, climb the wagon to the side of it and jump over the wall. When you’re ready, head to Suchdol.
Spearman Training IV skill book inside a chest in the ruined house opposite Andrew’s hut, but you’ll need to pass a hard difficulty lock or steal the keys from Andrew. To get in the house, climb the wagon to the side of it and jump over the wall. When you’re ready, head to Suchdol.

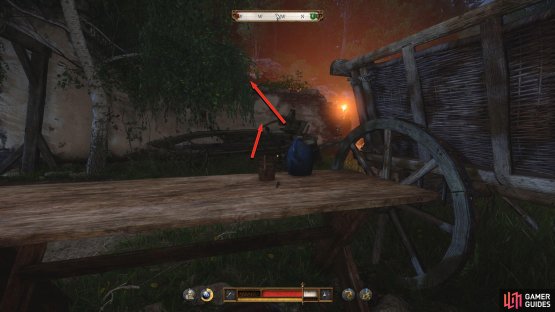
(1 of 2) If you want some extra loot, climb on the wagon, and over the wall to find a chest.
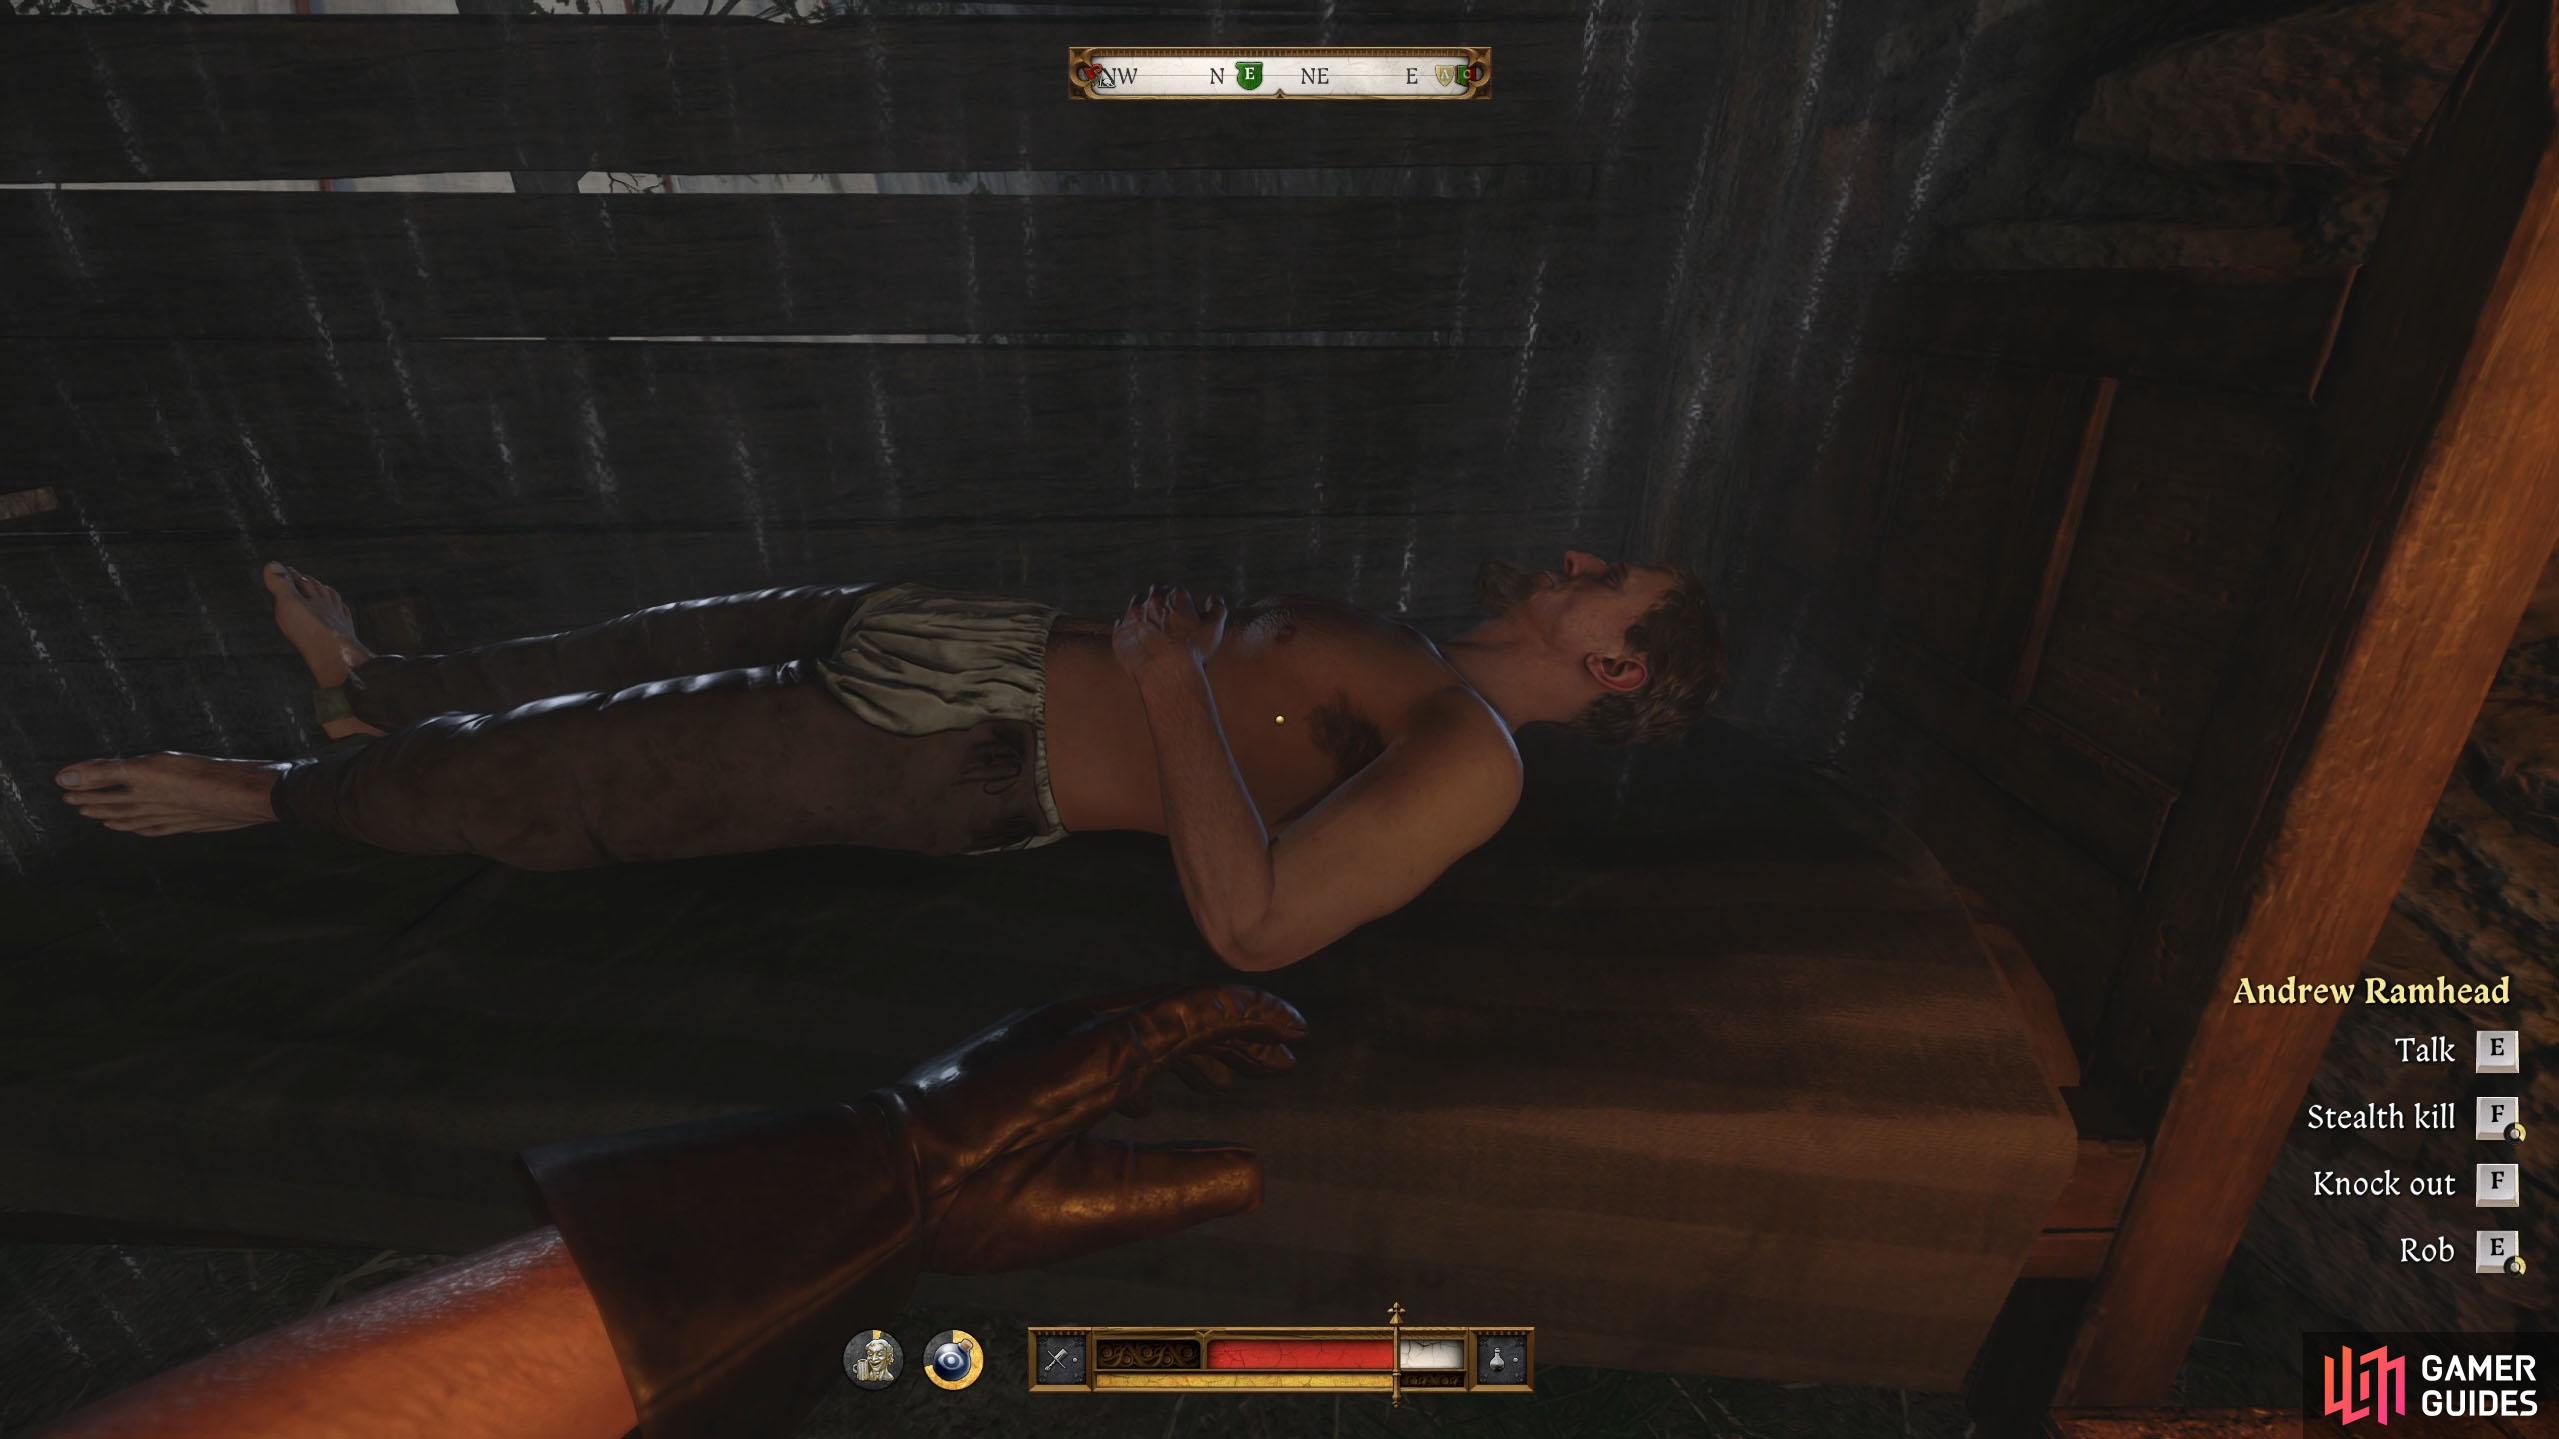
If you want some extra loot, climb on the wagon, and over the wall to find a chest. (left), However, you’ll need to rob or kill Andrew for his keys. You’ll find him in the hut in the south of the camp. (right)
Two Dead Trees
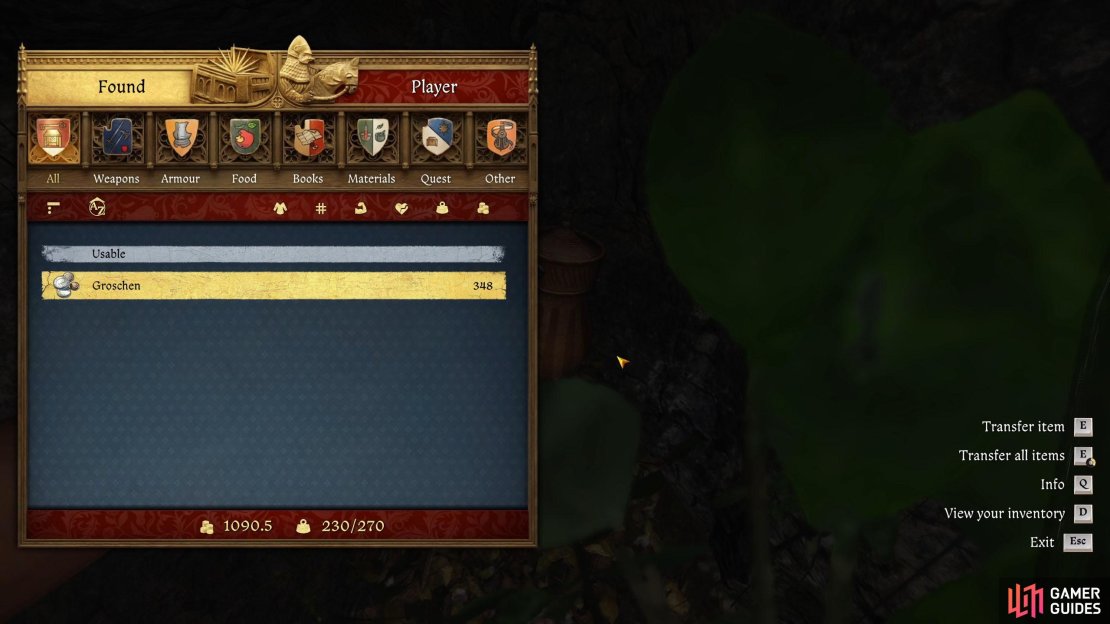
Hensel will mention a stash that you can loot by two dead trees. Go to the map, and you’ll see a marker for it to the south of Raborsch, across the pond. The stash will be inside the tree and will reward you with 348 ![]() Groschen.
Groschen.

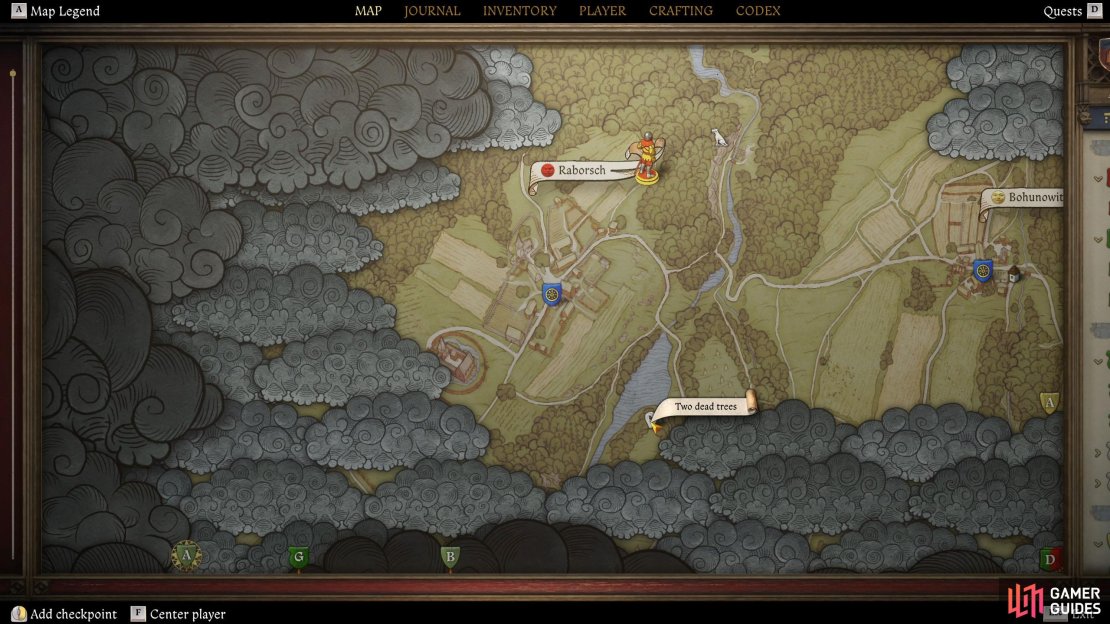

(1 of 3) The stash location will be marked on your map to the south.
Go to Suchdol
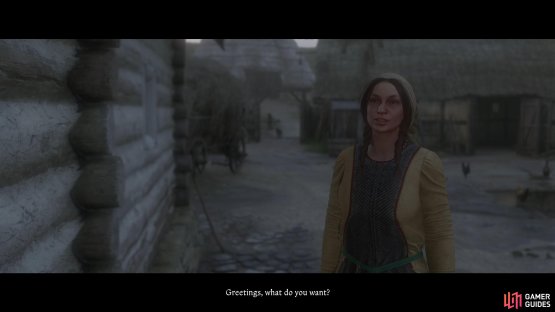
Suchdol is the first place you visit in the Kuttenburg region, so you should already have the fast travel for it. Fast travel back, and make your way to the southern end of town. The person you’re looking for is Mlada, and she lives in one of the houses there. If you wait until 7/8 am, you should catch her leaving the house. If she isn’t there, you’ll need to go wherever the objective is showing you on the map.
Speak to her and talk about the Thunderstone. She’ll admit to having it, but she won’t part with it. After some excellent negotiation skills from Henry, she’ll accept the terms of the deal. You heal her husband, she’ll give you the Thunderstone. This will give you the ![]() Primum Nil Nocere minor quest.
Primum Nil Nocere minor quest.
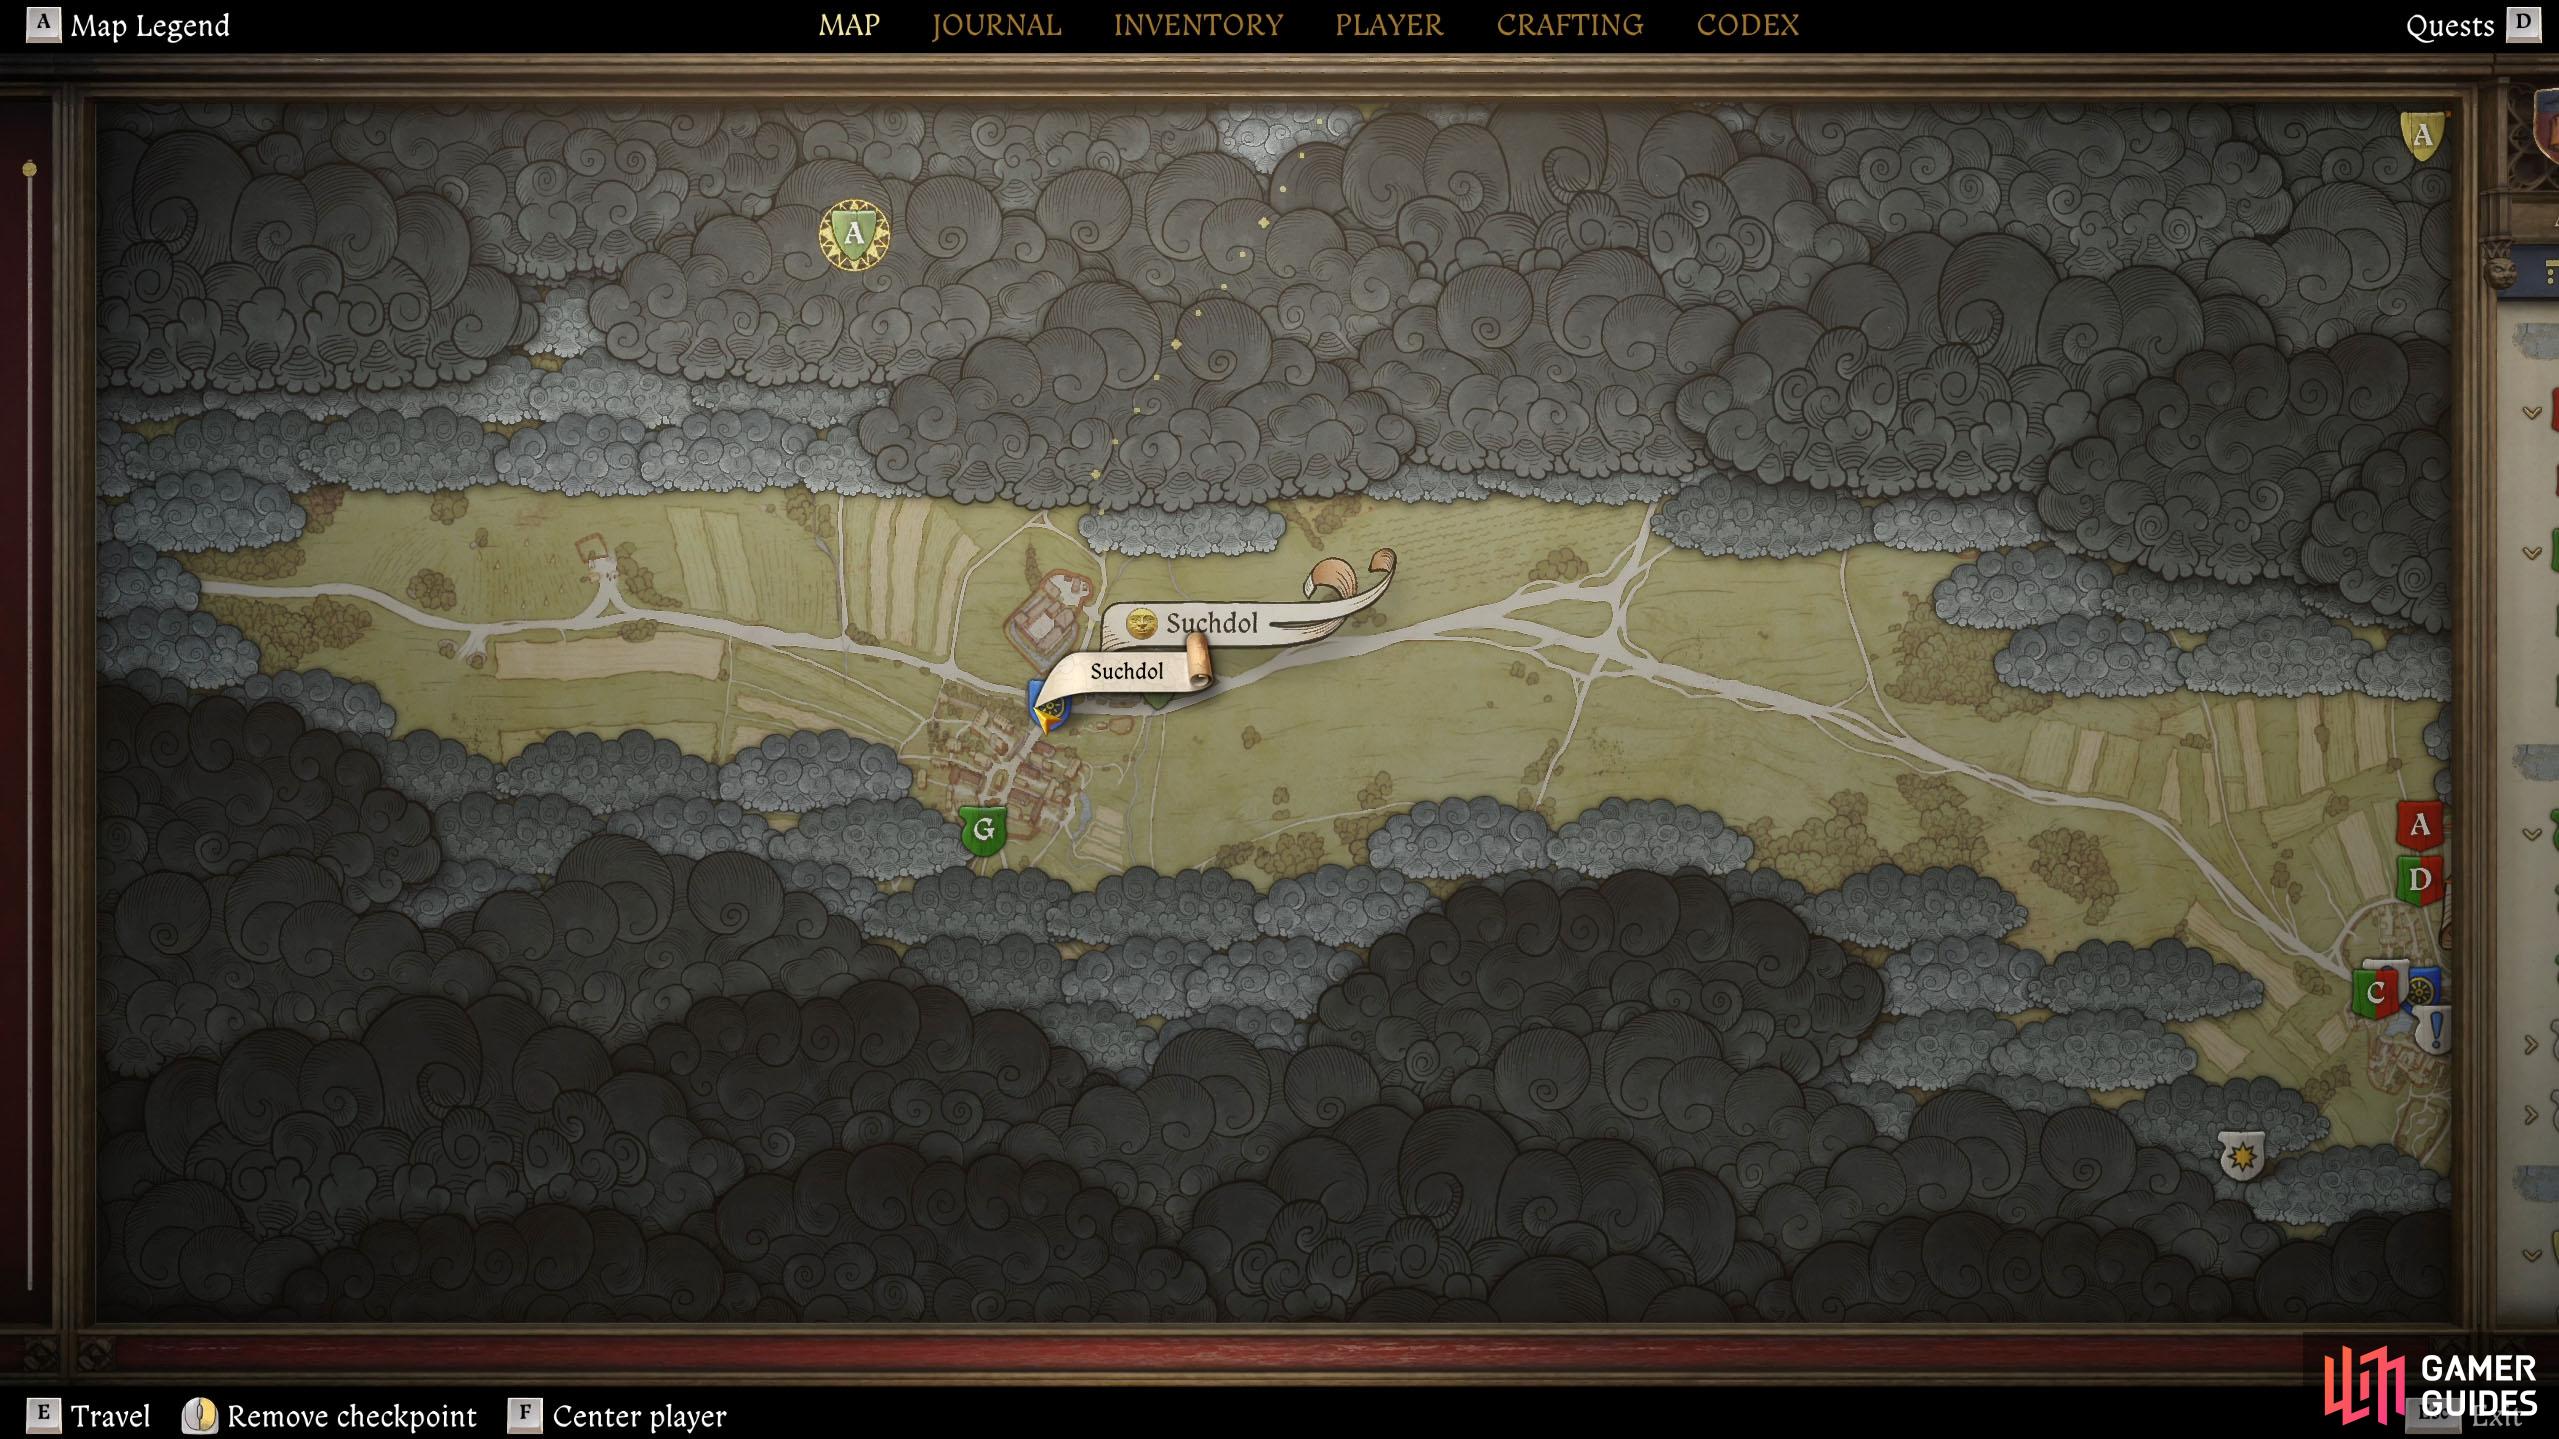
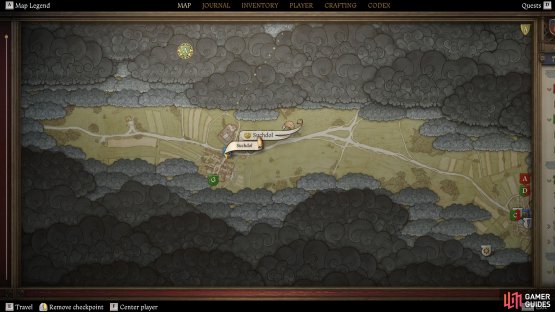
(1 of 2) Go to Suchdol and go to the house in the south of town.

Go to Suchdol and go to the house in the south of town. (left), Here, you’ll find Mlada, who has the Thunderstone. (right)
Primum Nil Nocere
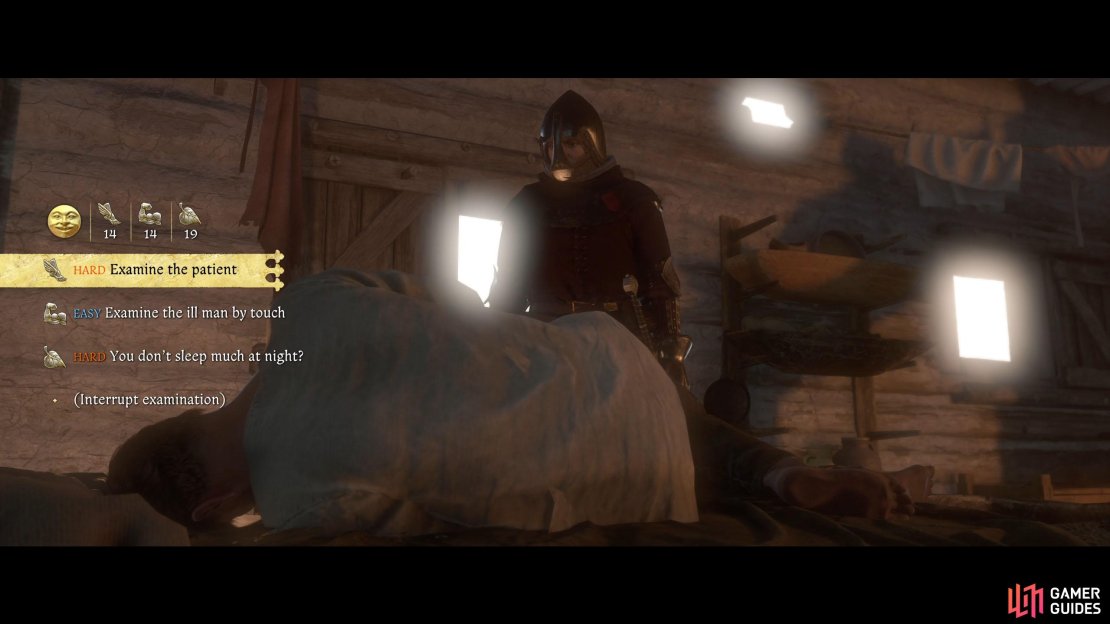
Mlada will tell you to find Peter in the house, allowing you to access her house without trespassing. Enter the house, and go through the door to your left to find Peter on the bed. Examine him and you’ll get a speech check. The hardest one to pass is the Vitality check as it still displays as a hard check at level 19 while the Strength check is an easy check at 14.
Finally, you have the Agility check that reads hard at 14. None of these are particularly easy to pass, but if you want the Thunderstone the correct way, you must pass them. For this reason, we recommend you save before attempting this, as you won’t get a second try.
Passing the Strength check suggests that there are no physical ailments, so it must be mental ailments that trouble him. After you pass the Vitality check, it’s clear he doesn’t have a fever, but he’s clearly worried about Sigismund’s army.
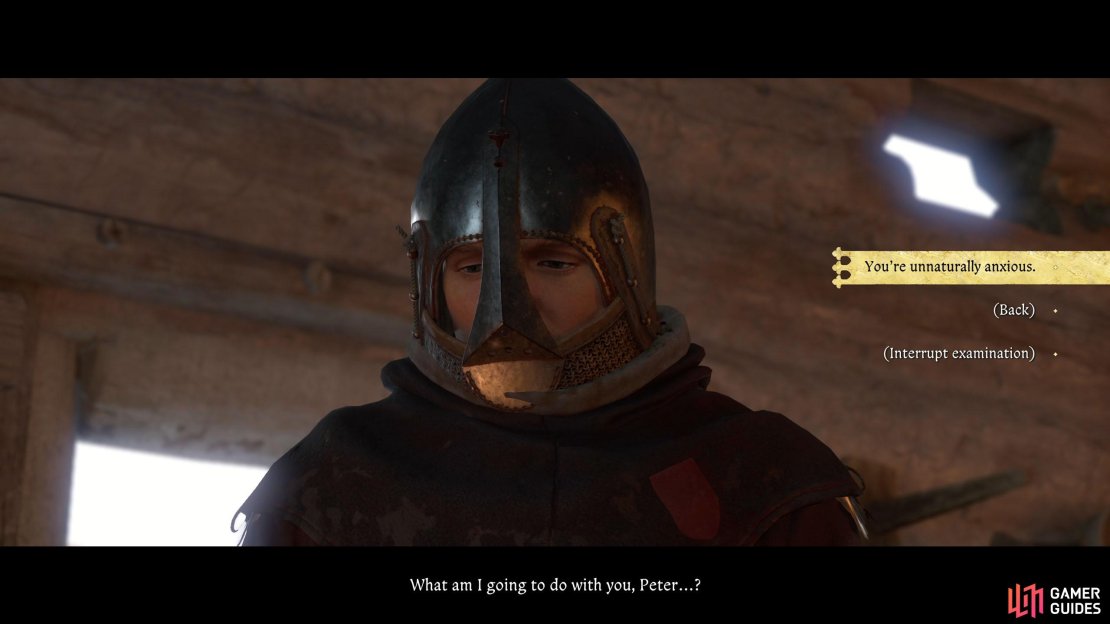
Finally, pass the Agility check, and he appears to be fine outside the usual stuff you’d expect from a craftsman, but he will mention Sigismund attack Suchdol. Summarize the examination, and select “You’re unnaturally anxious”, and Henry will suggest a few things that can help.
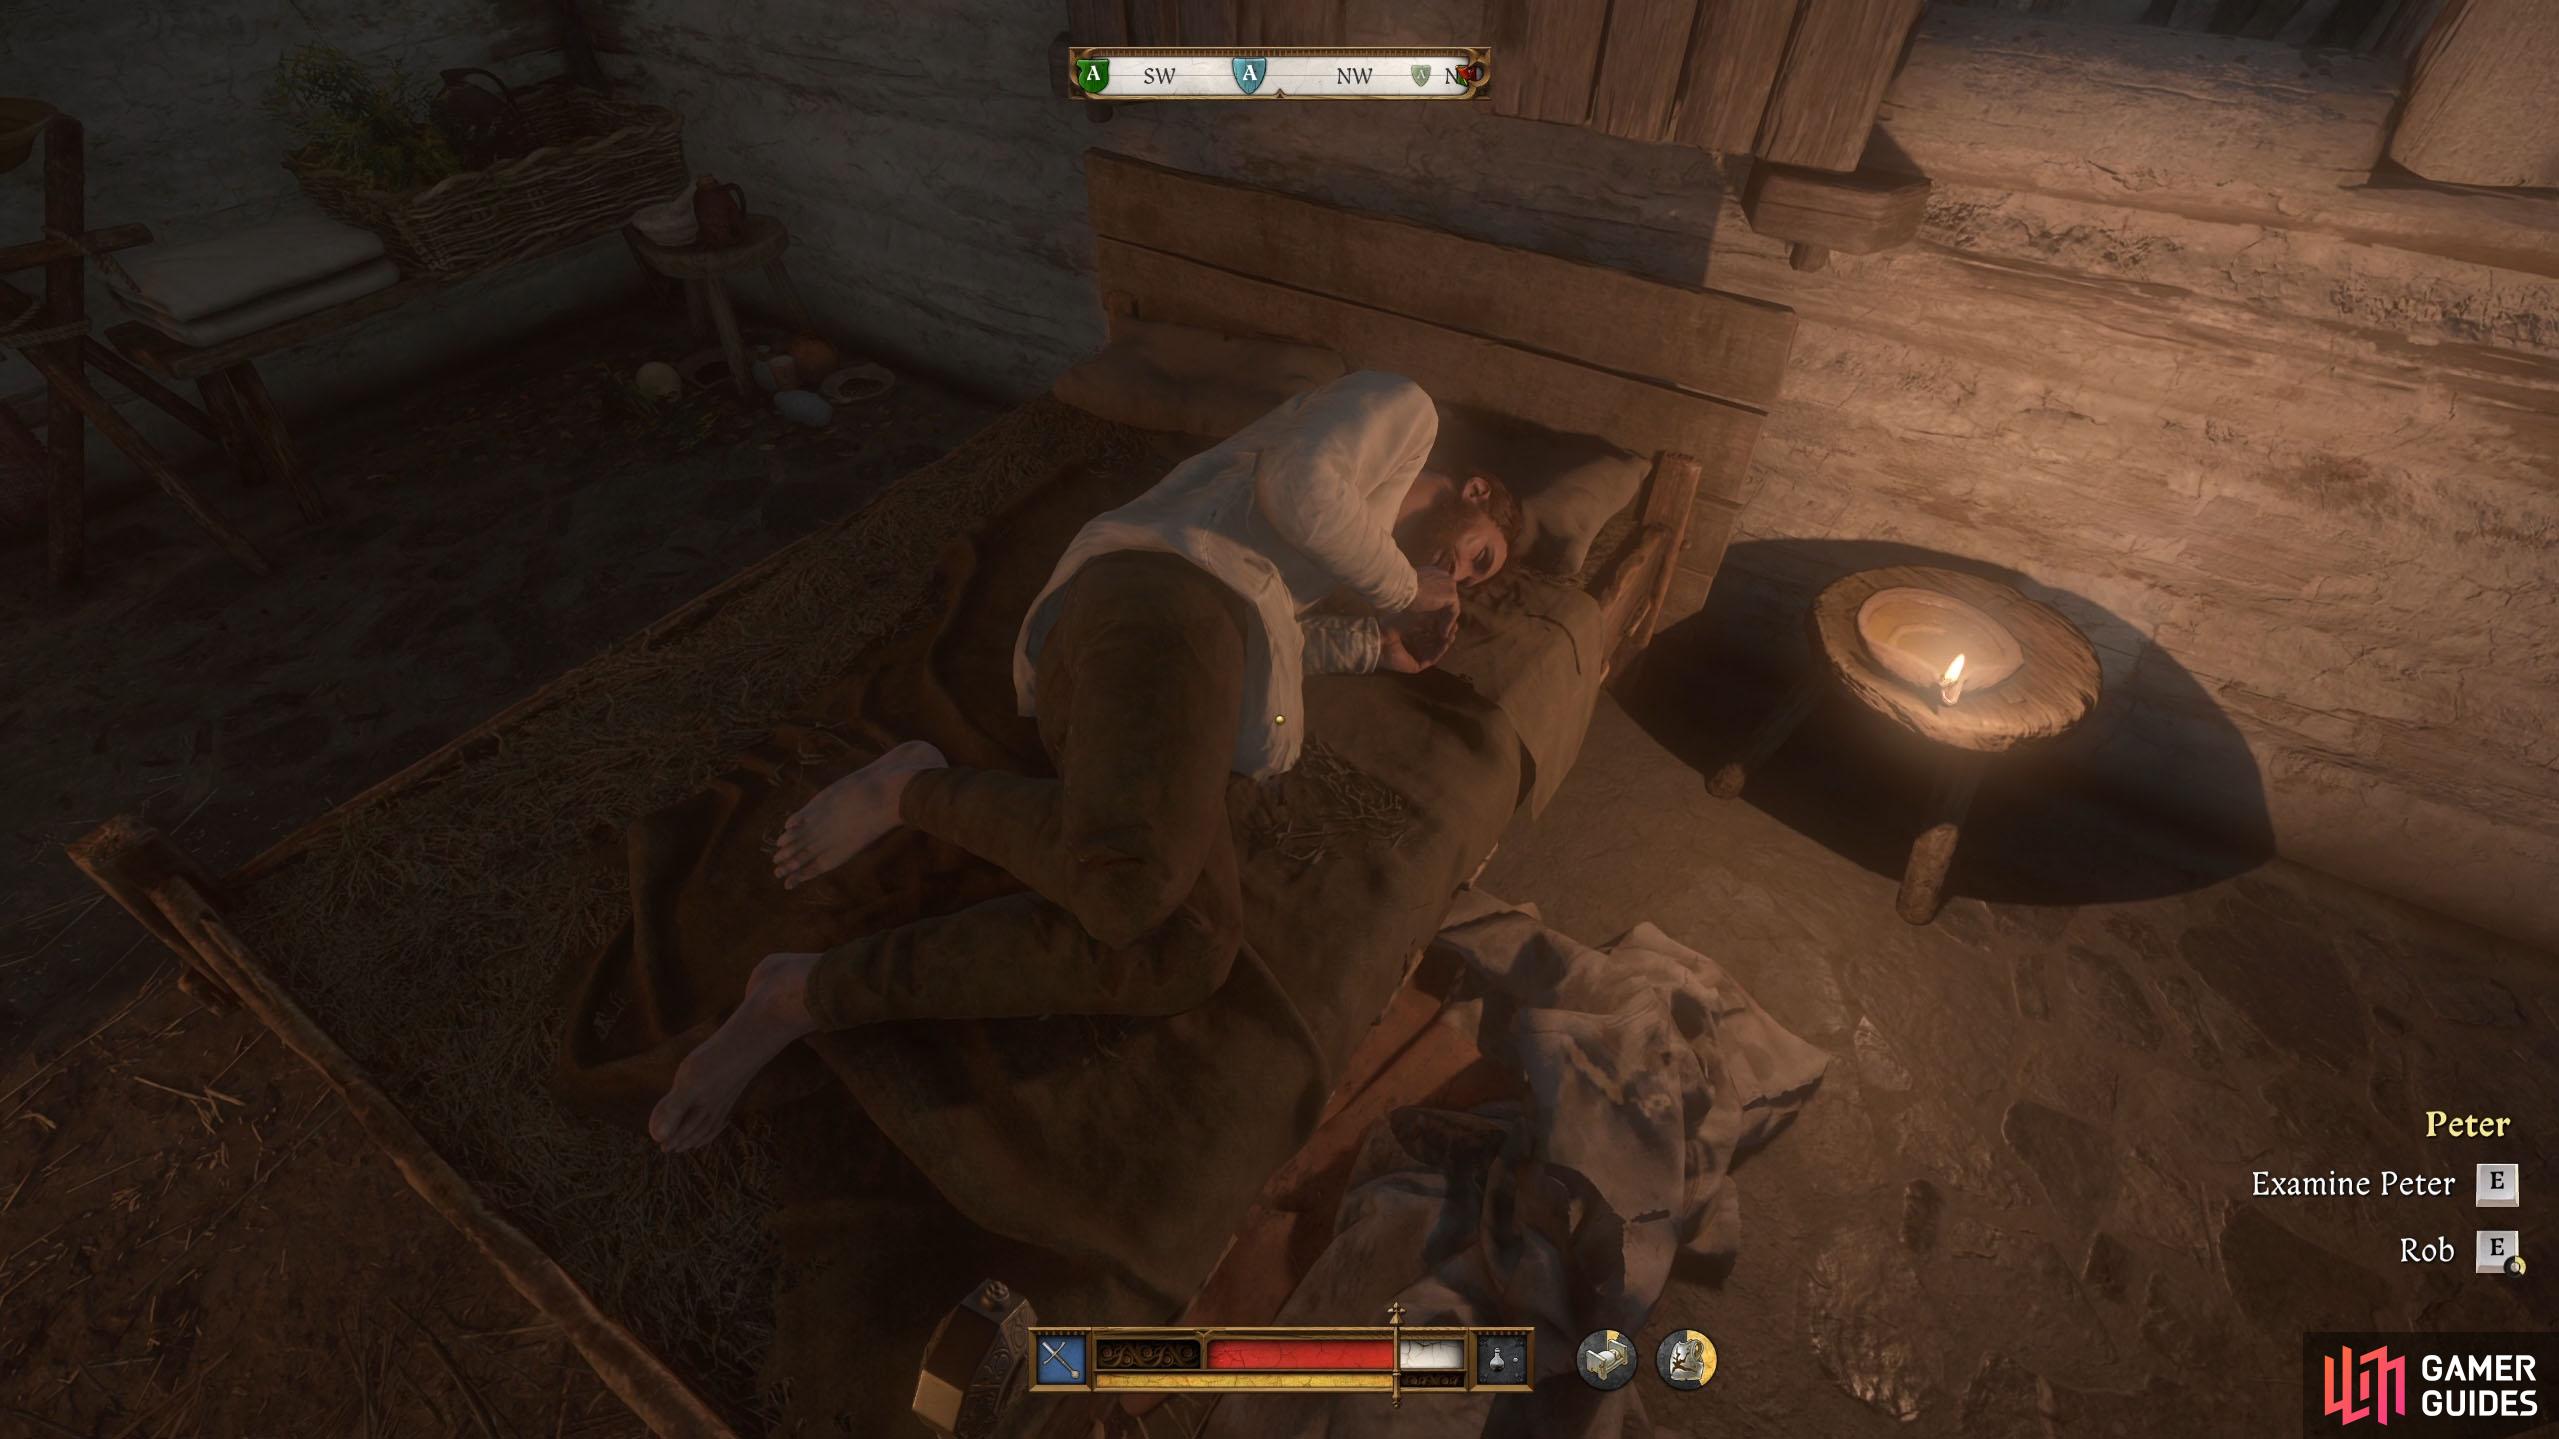

(1 of 4) You’ll find Peter in the room on the left of Mlada’s house.
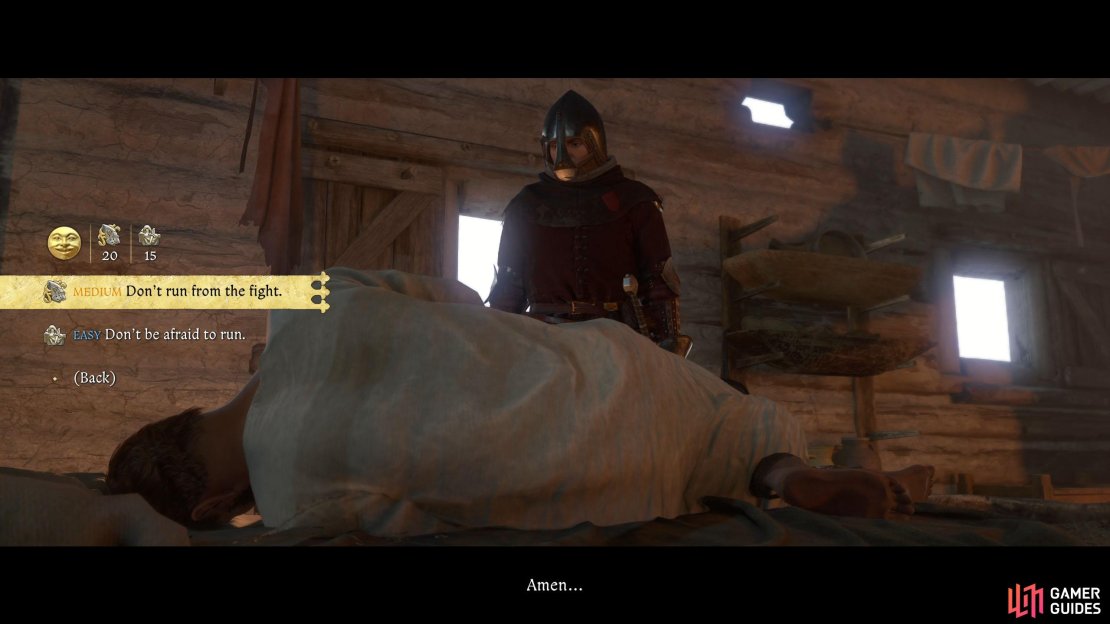
Craft or purchase a ![]() Chamomile brew, save the game and speak to him again. Hand over the potion, and then you’ll need to pass some difficult checks. Next up, suggest a change of diet. This is a medium scholarship check at level 14. Now pray for him, which is a hard persuasion check at level 18, and then give him some advice.
Chamomile brew, save the game and speak to him again. Hand over the potion, and then you’ll need to pass some difficult checks. Next up, suggest a change of diet. This is a medium scholarship check at level 14. Now pray for him, which is a hard persuasion check at level 18, and then give him some advice.
This will give you another check with the top option being a medium check at level 20 or an easy stealth check at level 15. Either will do, but select the option that you’ll pass easier. For us, it was stealth. Finally, you can attempt to lie to him, but the check reads very hard at level 18. If you fail it, you’ll only lose some reputation.
Finish the treatment and tell Mlada that you will come back in a few days for a reputation boost. Go to the tavern, and wait/sleep a couple of days. Peter will be a lot better, so talk to Mlada, and eventually she’ll give you the stone.
Give the Thunderstone to Kona or Thomlin
Now that you finally have the Thunderstone, you need to choose who to give it to. Your choices are the original owner, Thomlin who’s in Horschan, or Kona, the person who asked you to get the stone in the first place, who’s in Grund. There’s not a right or wrong answer, although Kona feels like the better option. Anyway, if you turn the stone over to Thomlin, you’ll have the choice of 150 Groschen or the opportunity to learn some unarmed skills.
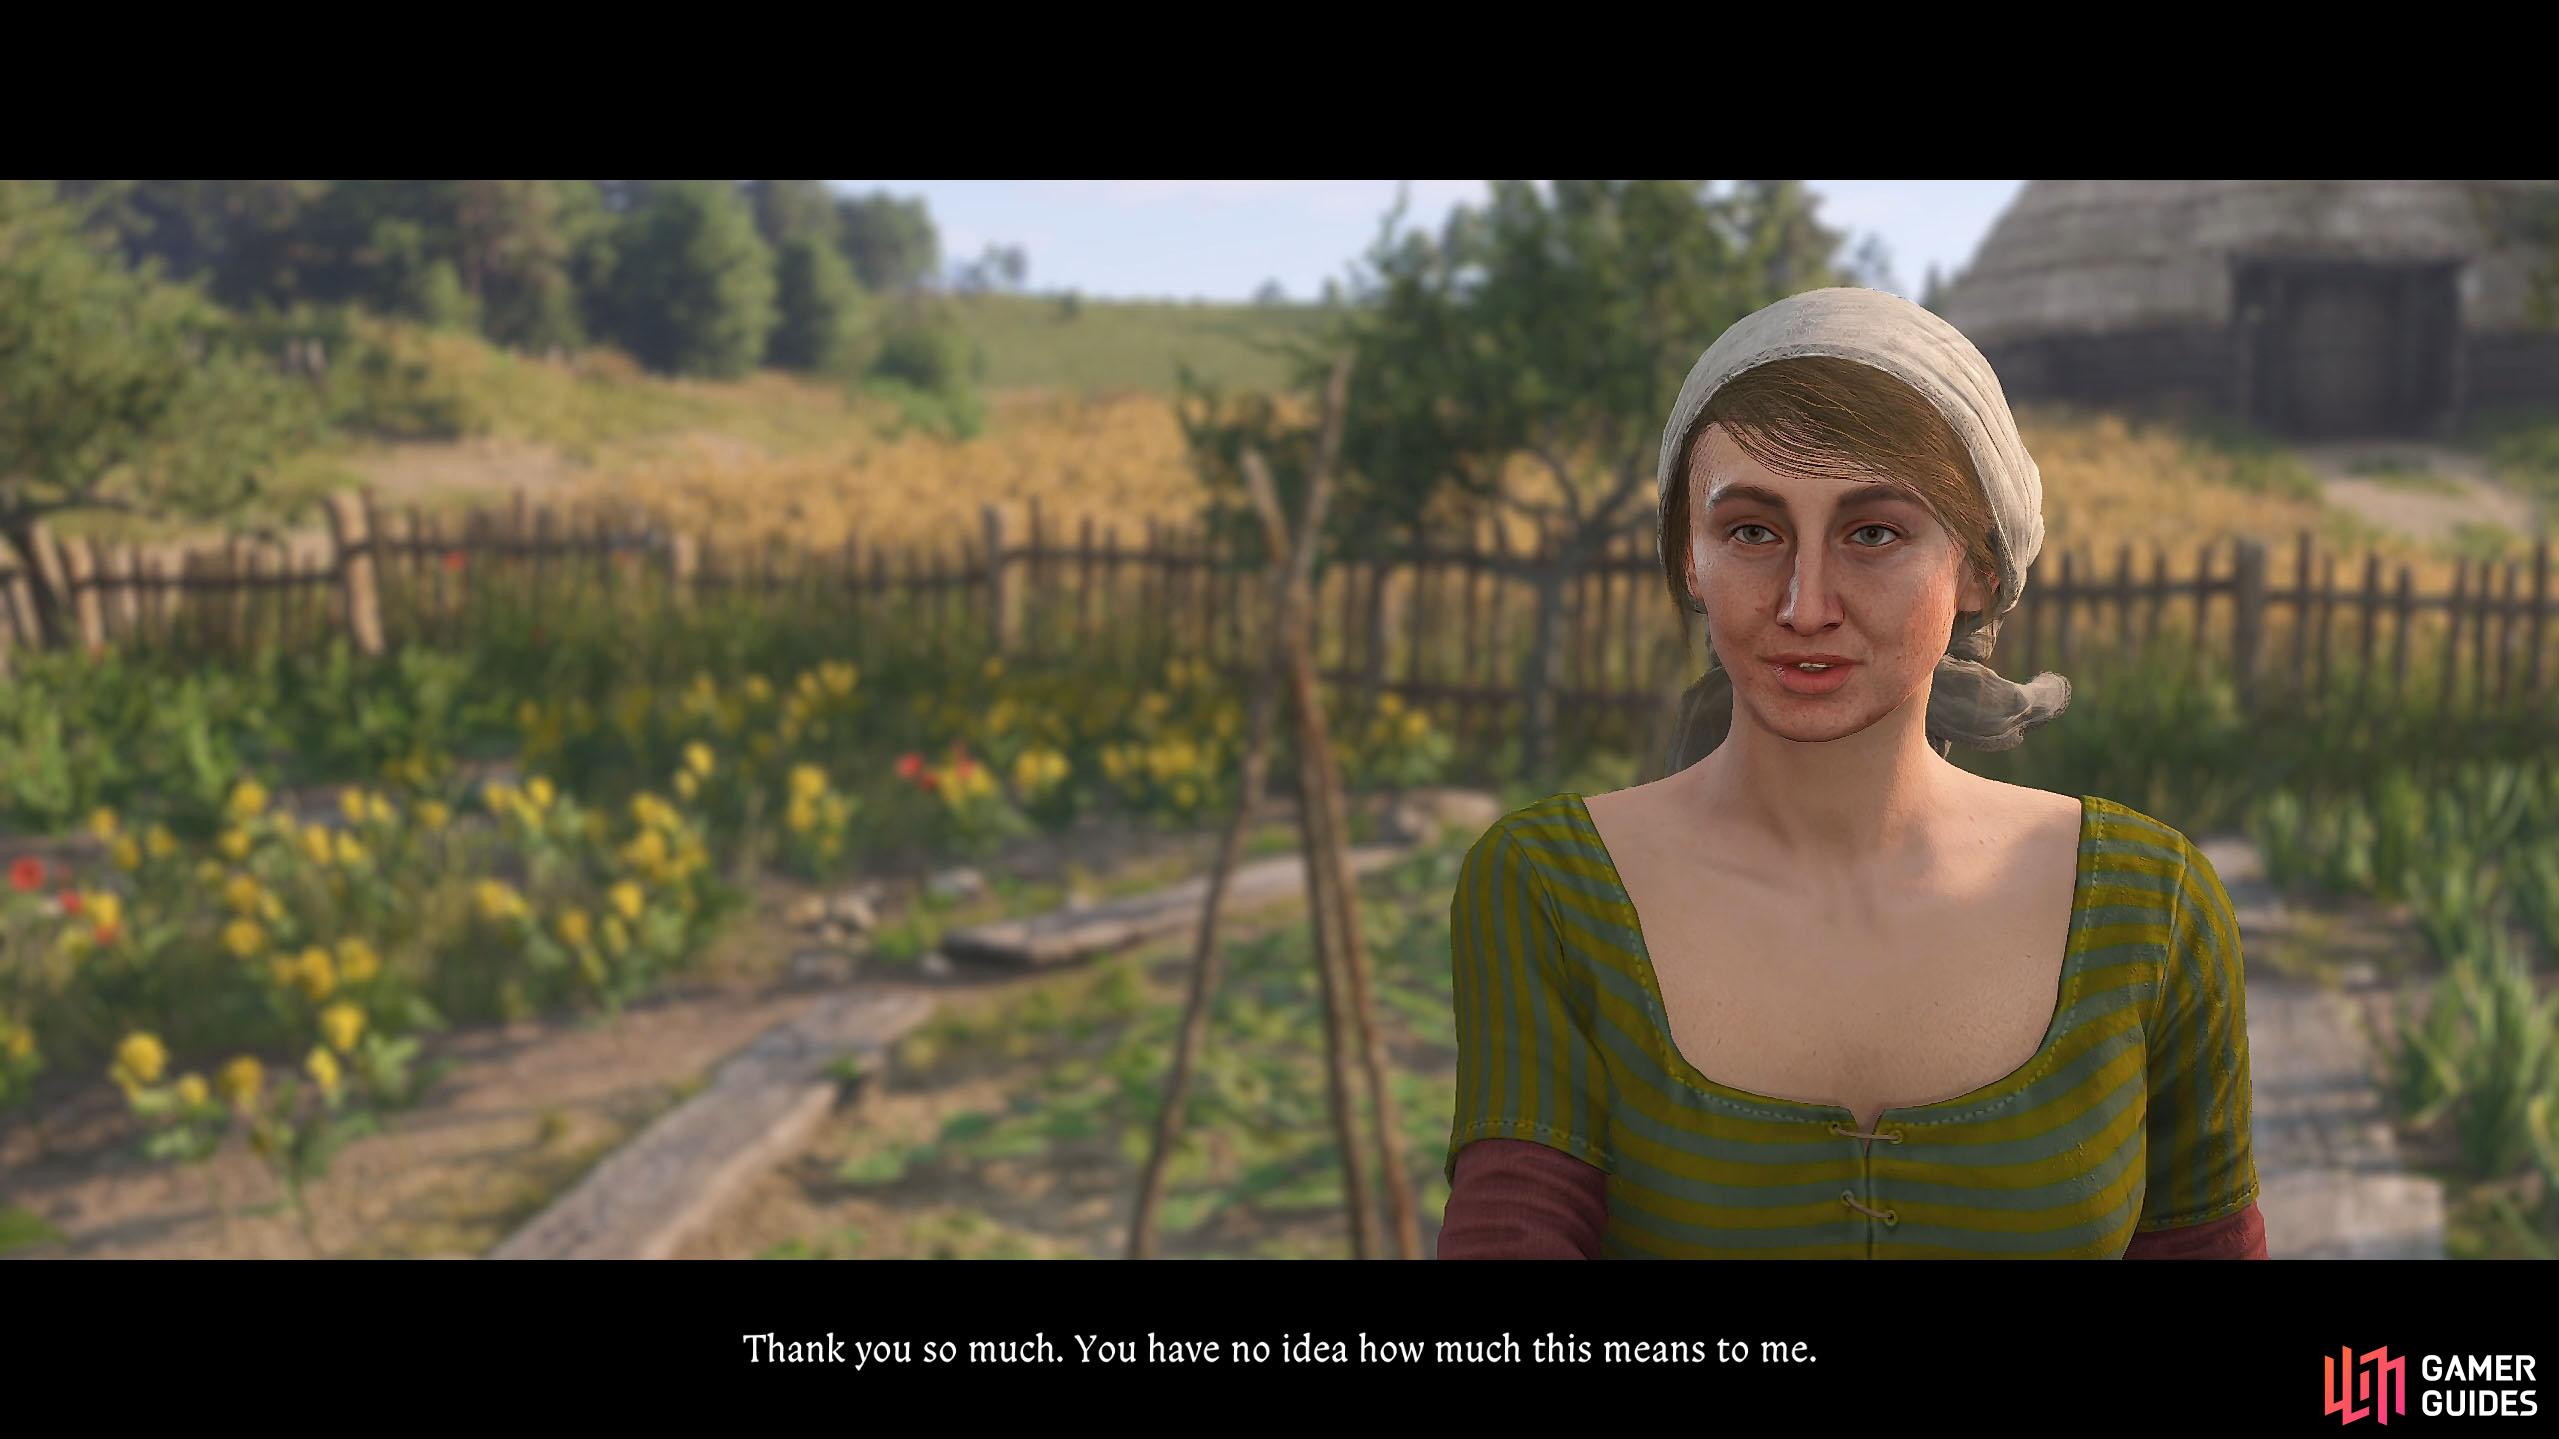
Hand over the stone to Kona in Grund to complete the quest.
However, turning the stone over to Kona will reward you with a discount at the Grund Stables, a recipe for ![]() Lethean Water (you can get this elsewhere) that lets you respec your perks, and the opportunity to learn Journeyman Craftsmanship skill for 1500 Groshen.
Lethean Water (you can get this elsewhere) that lets you respec your perks, and the opportunity to learn Journeyman Craftsmanship skill for 1500 Groshen.
Also, she will offer you a further 100 Groschens, should you accept it. Finally, you can keep the stone for yourself, which appears to grant you passive buffs to your Vitality and Scholarship, but this needs further testing. Regardless of your choice, the quest will conclude.
No Comments