
The siege of ![]() Suchdol is reaching its final stages as the outer bailey is lost and Henry must undertake what seems to be a suicide mission. While this quest can be as short as you like it to be, there are many optional objectives that have an impact on how the final quest plays out along with a missable Trophy/Achievement, Face to Face, so keep reading to learn how to complete this quest in Kingdom Come: Deliverance II.
Suchdol is reaching its final stages as the outer bailey is lost and Henry must undertake what seems to be a suicide mission. While this quest can be as short as you like it to be, there are many optional objectives that have an impact on how the final quest plays out along with a missable Trophy/Achievement, Face to Face, so keep reading to learn how to complete this quest in Kingdom Come: Deliverance II.
Reckoning is a main quest in Kingdom Come: Deliverance II.
Table of Contents
If you want to jump to a specific section, click on the links below.
| Quickjump |
|---|
| The Face to Face Trophy/Achievement |
| Find out Where Sam is |
| Spare or Kill Brabant |
| Find a Horse and Get Help |
The Face to Face Trophy/Achievement
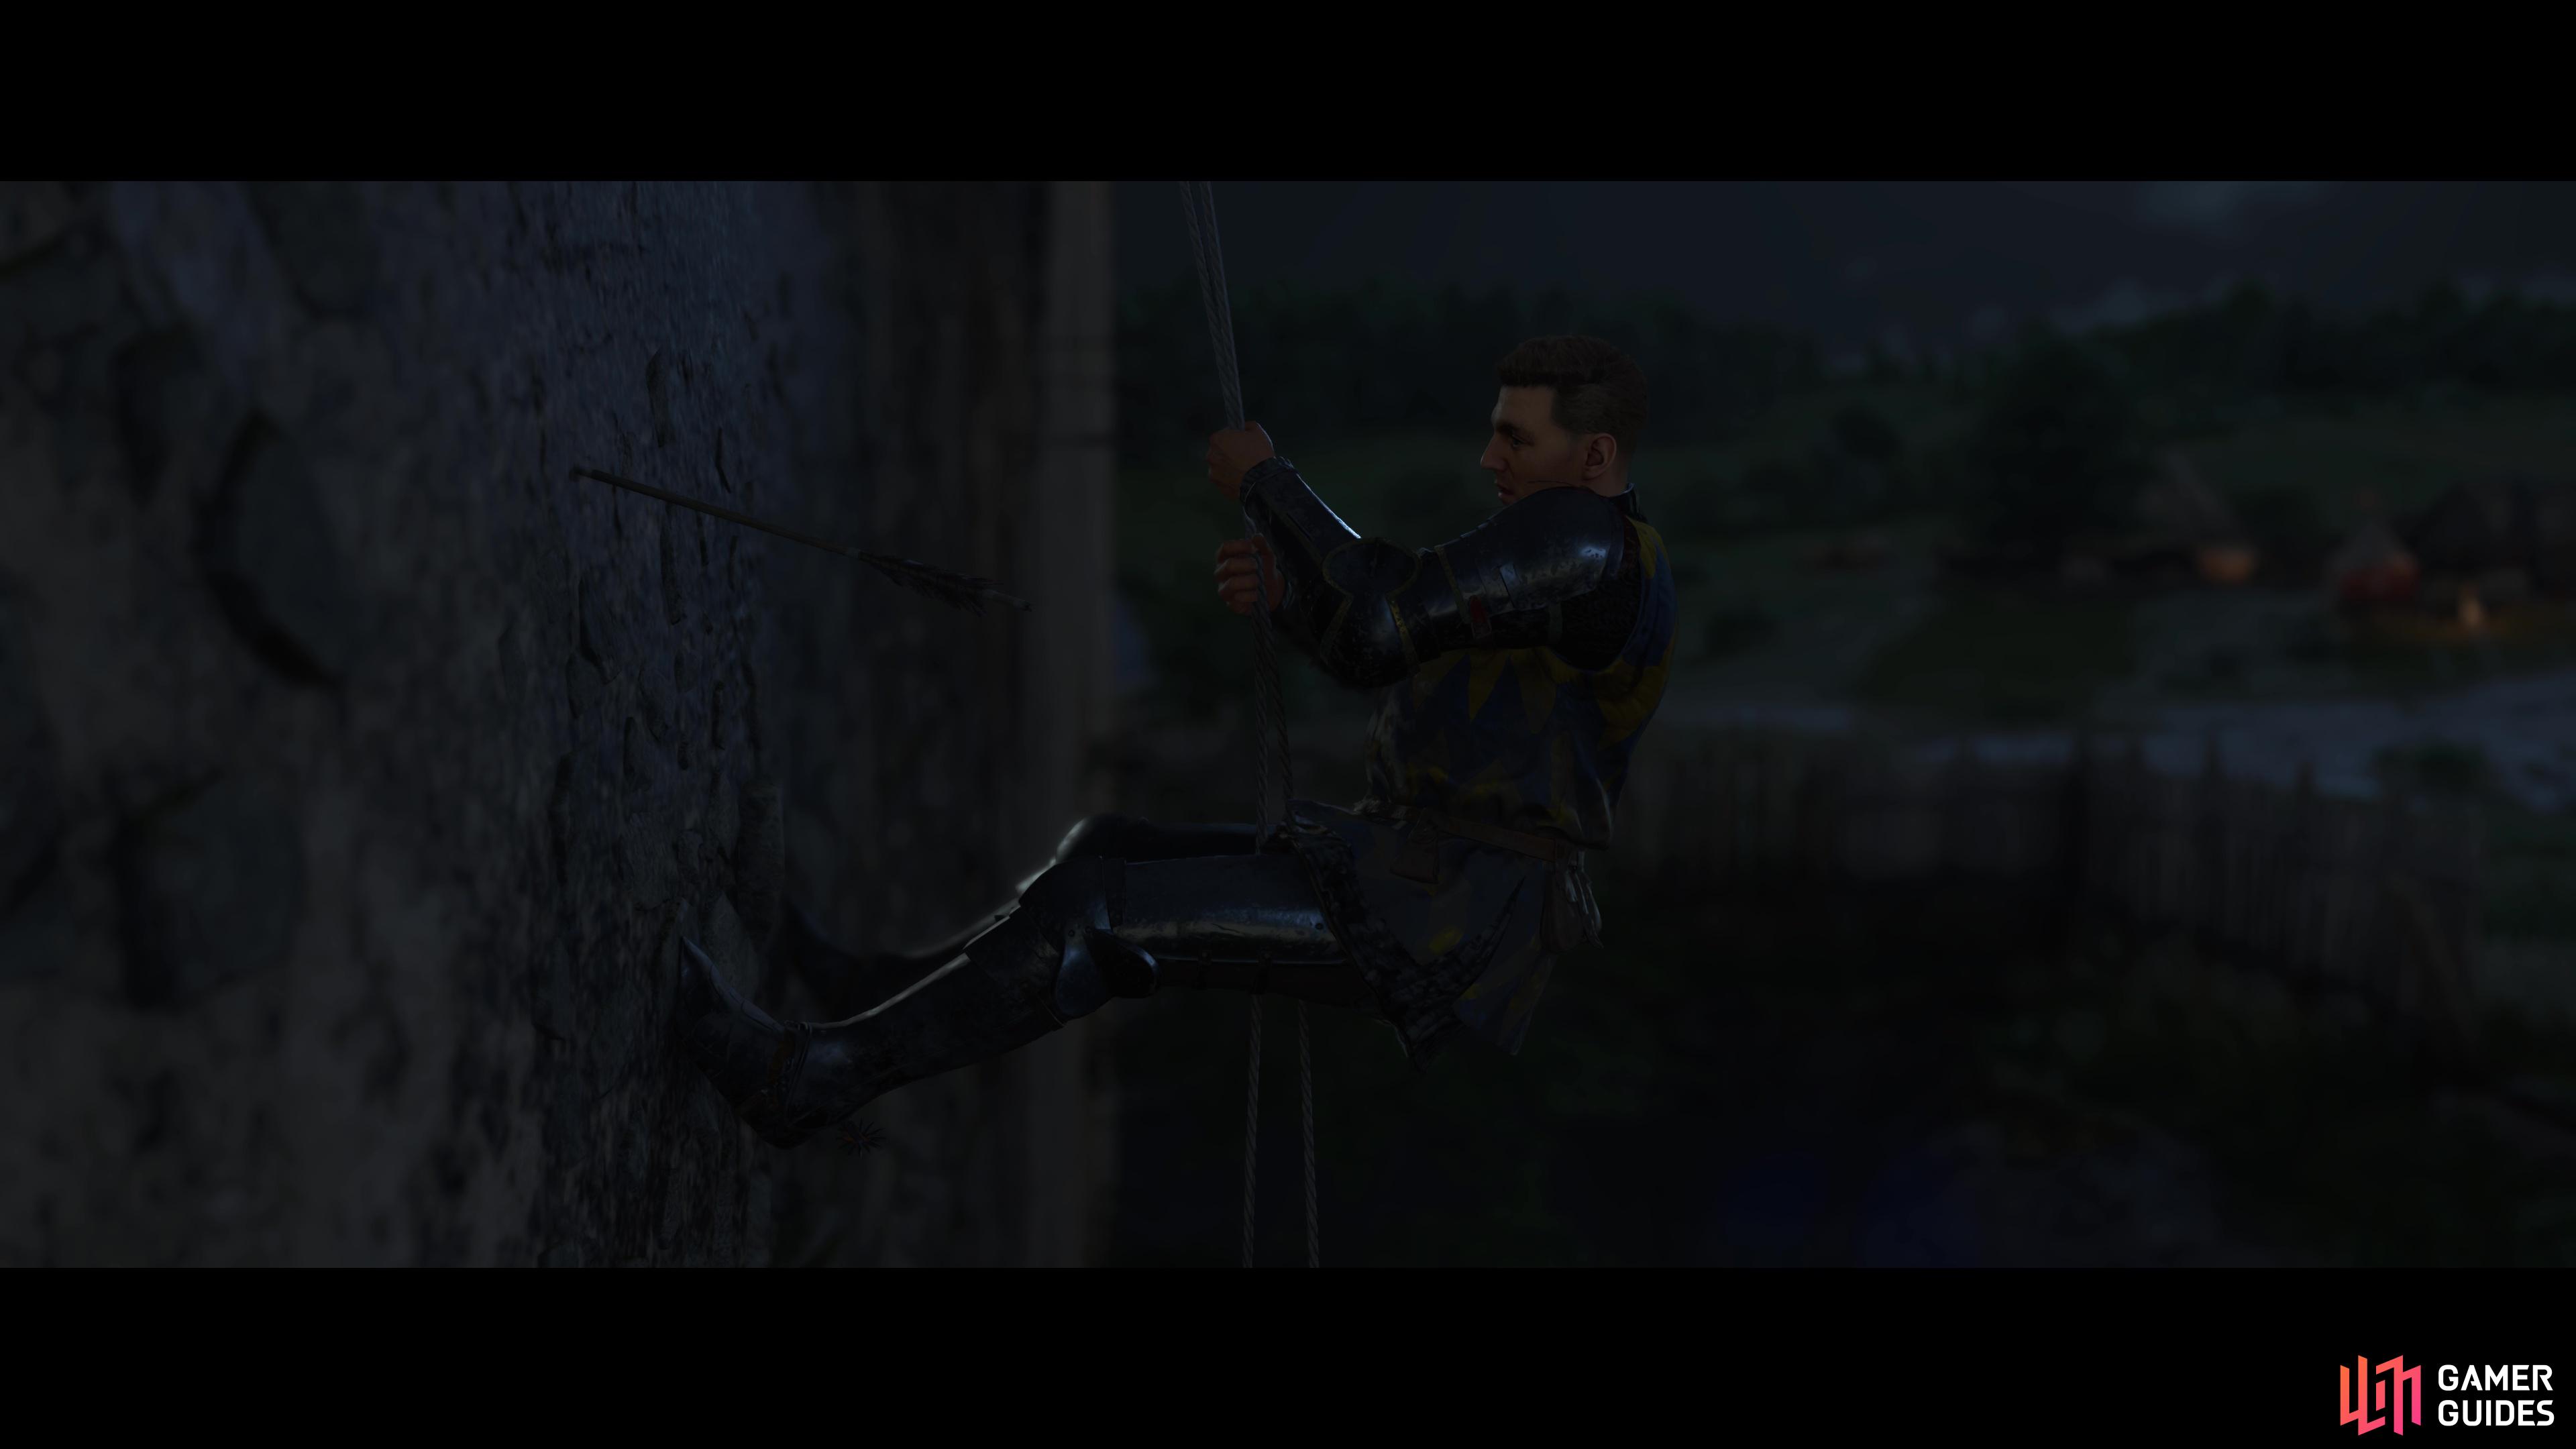
Henry finds himself outside of Suchdol in the evening, with seemingly one goal in mind, find some horses, and ride to Jobst to deliver the message of immediate aid. As such, if you want to get this over with as quickly as possible, get to the horse stables in the southwest and jump on your horse to complete the quest, simple as that.
We strongly advise you avoid doing this though, there’s so much more to this quest, including the Face to Face Trophy/Achievement that involves arguably one of the best scenes in the entire game. Before you set off to work on this, change into your stealth gear (and make sure you have a dagger equipped) and consider using a ![]() Nighthawk potion if you have one so that you can see easily in the dark without the need of having to use a
Nighthawk potion if you have one so that you can see easily in the dark without the need of having to use a ![]() Torch to expose your location.
Torch to expose your location.
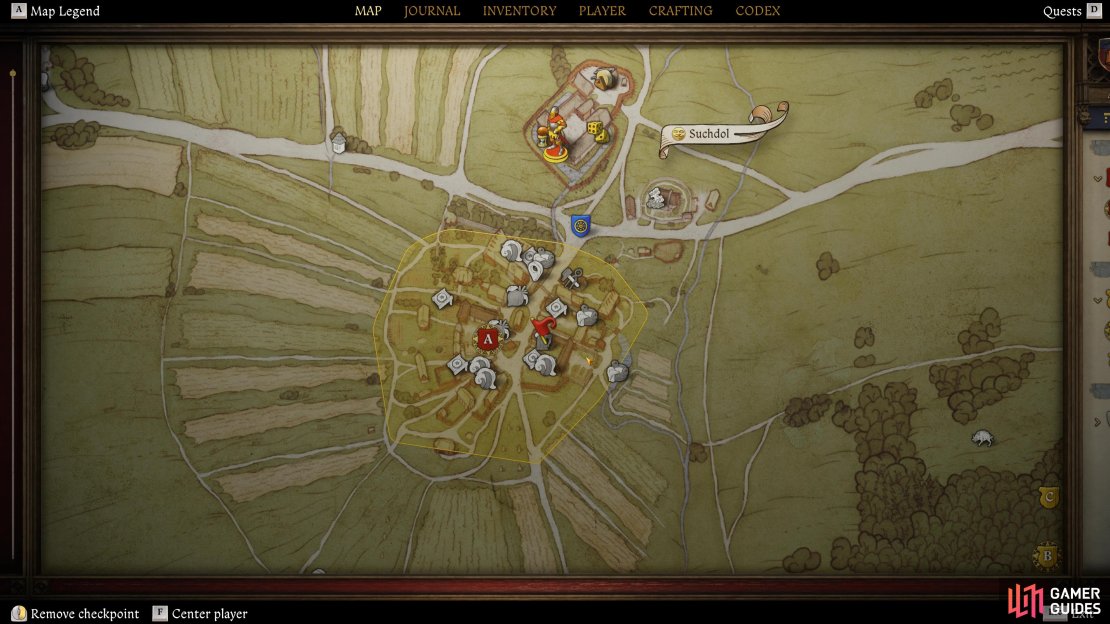
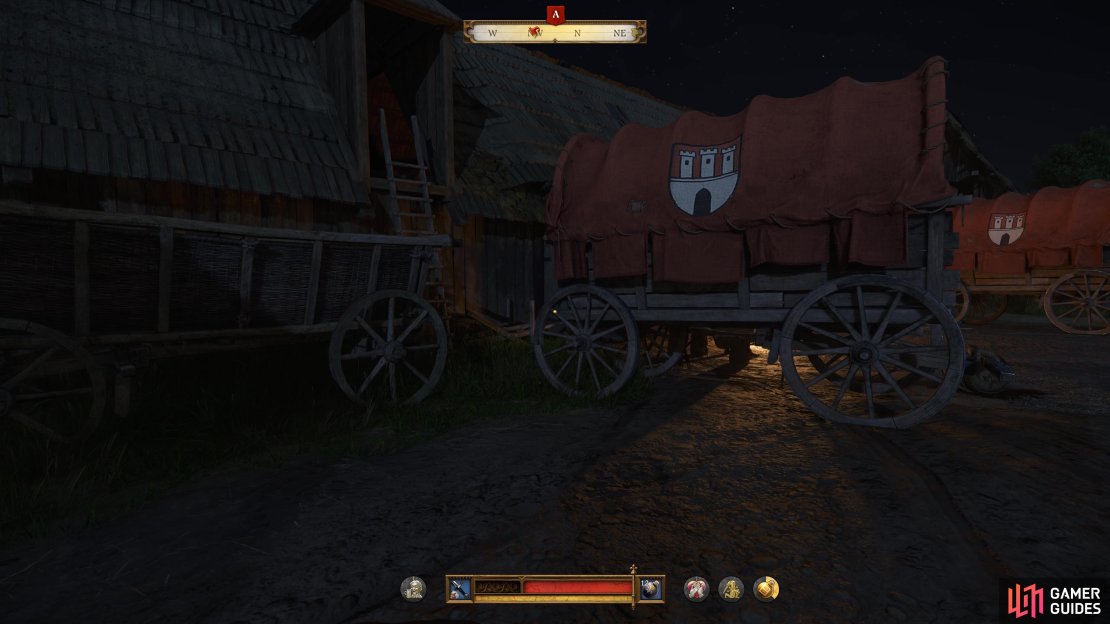
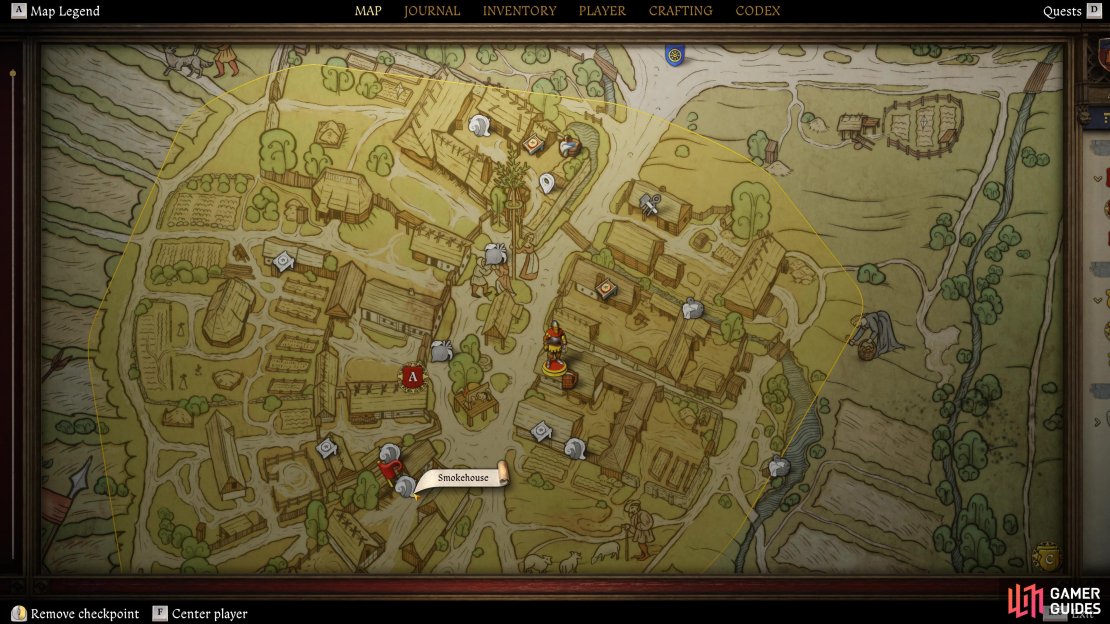
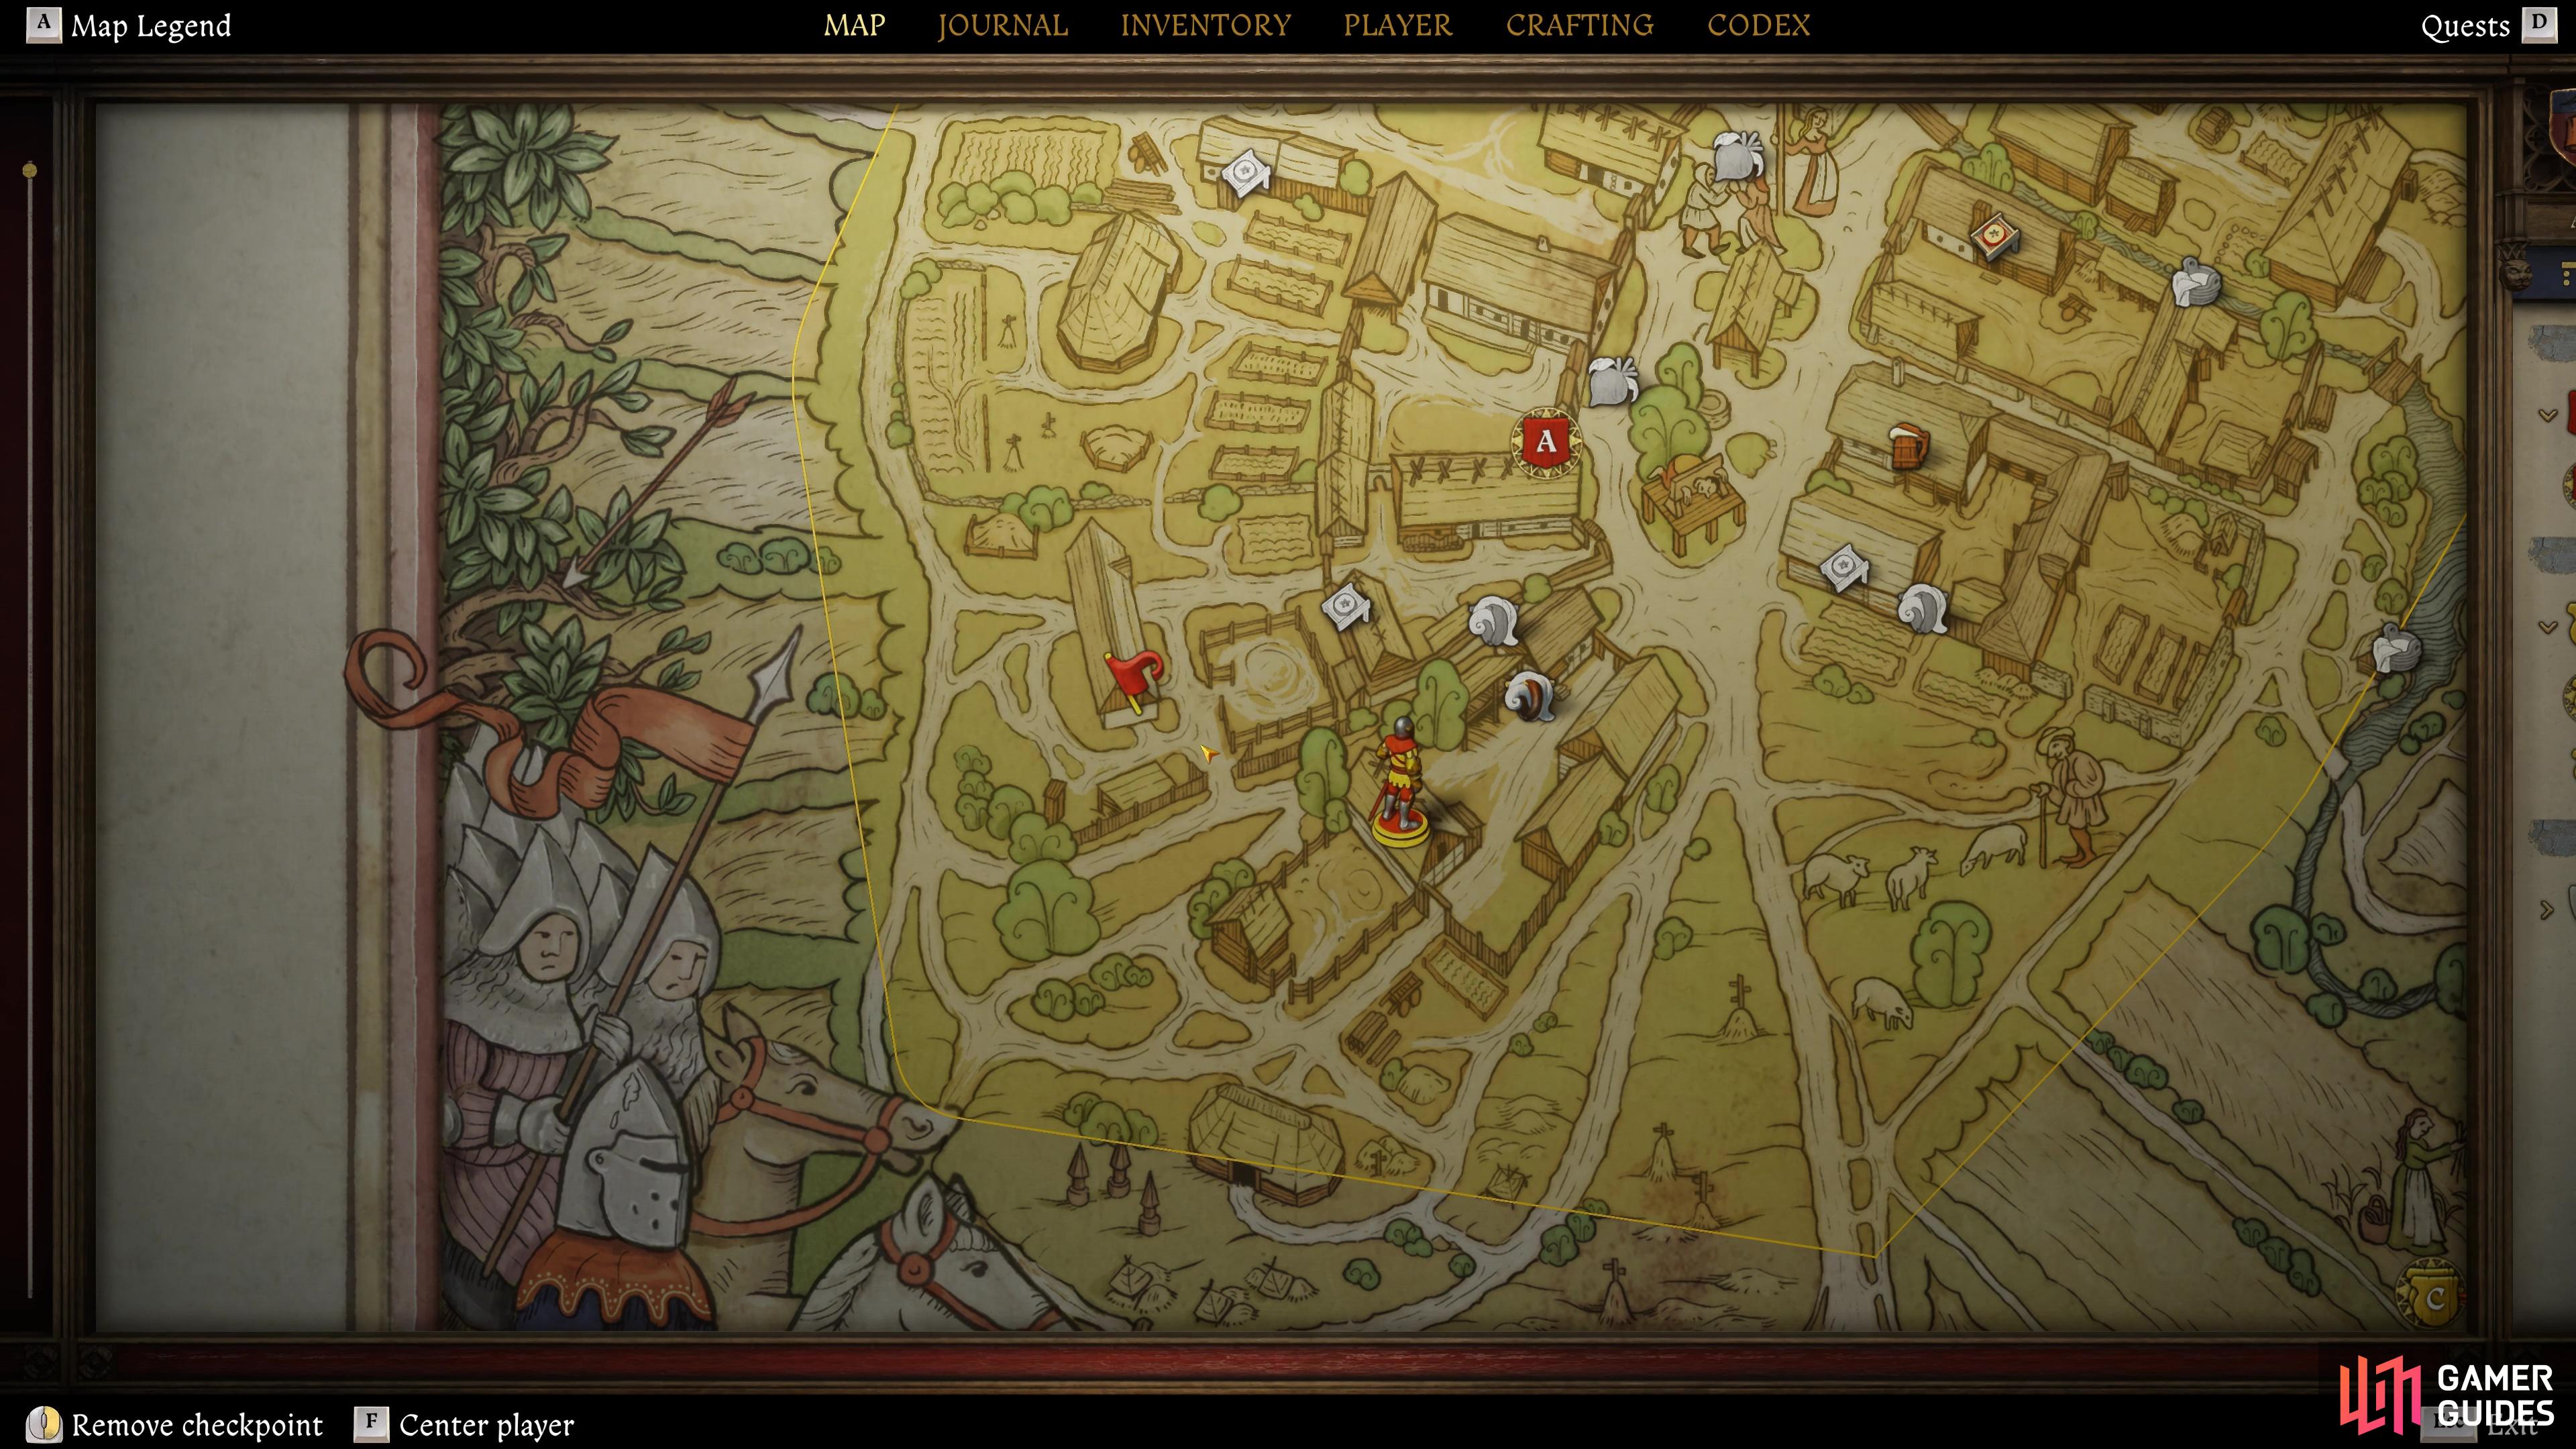
From your starting position, open your map and zoom in on the village, your current goal is to reach the ![]() Tavern, although getting there is far from easy as there’s only one route to where you need to get to. Once you’re ready, crouch, and start making your way to the southeast to reach the entrance to the village. You’ll reach a barricade with two soldiers to the left, and some in the house over to the far southeast. This doesn’t matter though, as you can sneak along the barricade’s edge until you find a burnt down house and then go around the other side of it to reach a door you can pick the lock of (Very Easy).
Tavern, although getting there is far from easy as there’s only one route to where you need to get to. Once you’re ready, crouch, and start making your way to the southeast to reach the entrance to the village. You’ll reach a barricade with two soldiers to the left, and some in the house over to the far southeast. This doesn’t matter though, as you can sneak along the barricade’s edge until you find a burnt down house and then go around the other side of it to reach a door you can pick the lock of (Very Easy).


(1 of 4) You need to reach the Tavern for the Face to Face Trophy/Achievement.
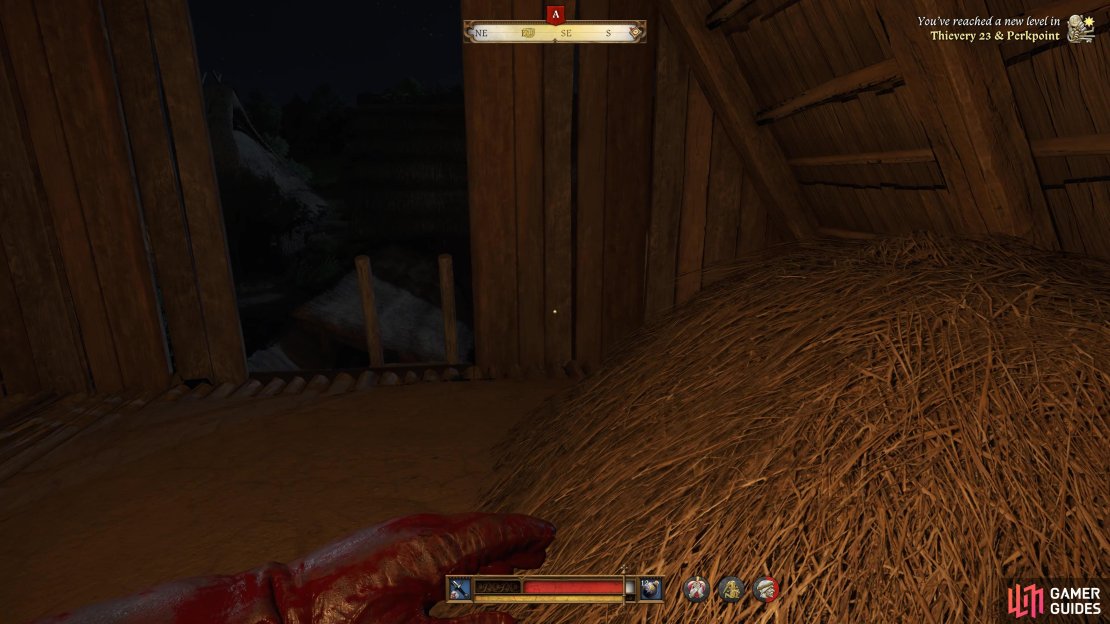
Once inside, go upstairs and to the back of the attic to find a basket you can open containing two ![]() Dried salami and
Dried salami and ![]() Pretzels, you’re probably running low on Nourishment at this point, so be sure to eat as many as needed. Once you’re ready to continue, take the ladder down out the southeast side, this is a good point to use a
Pretzels, you’re probably running low on Nourishment at this point, so be sure to eat as many as needed. Once you’re ready to continue, take the ladder down out the southeast side, this is a good point to use a ![]() Saviour Schnapps if everything is going according to plan.
Saviour Schnapps if everything is going according to plan.
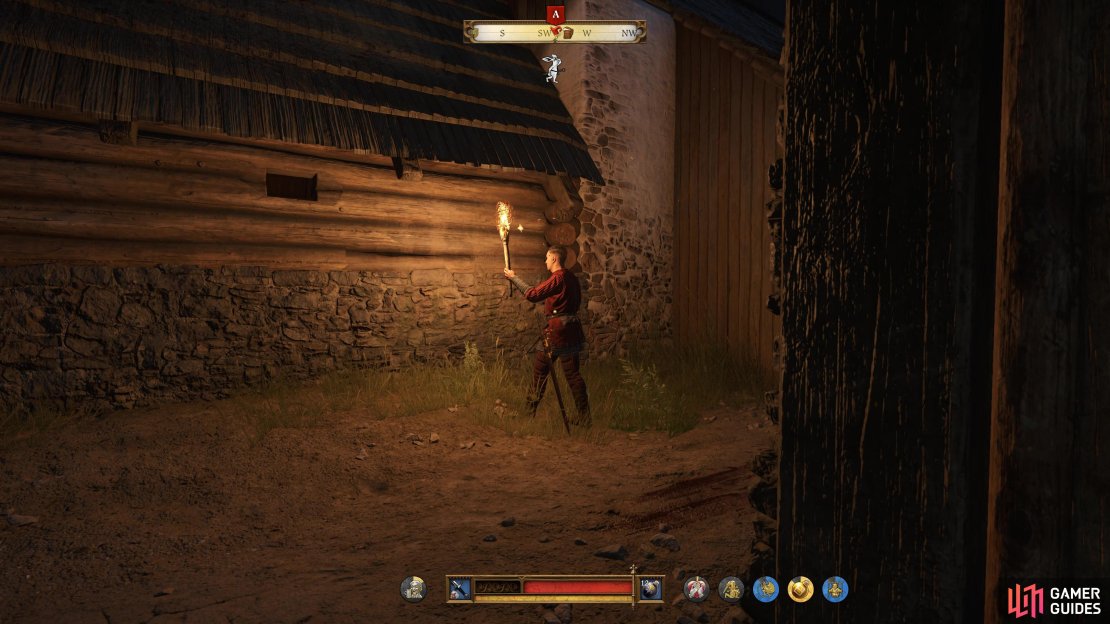
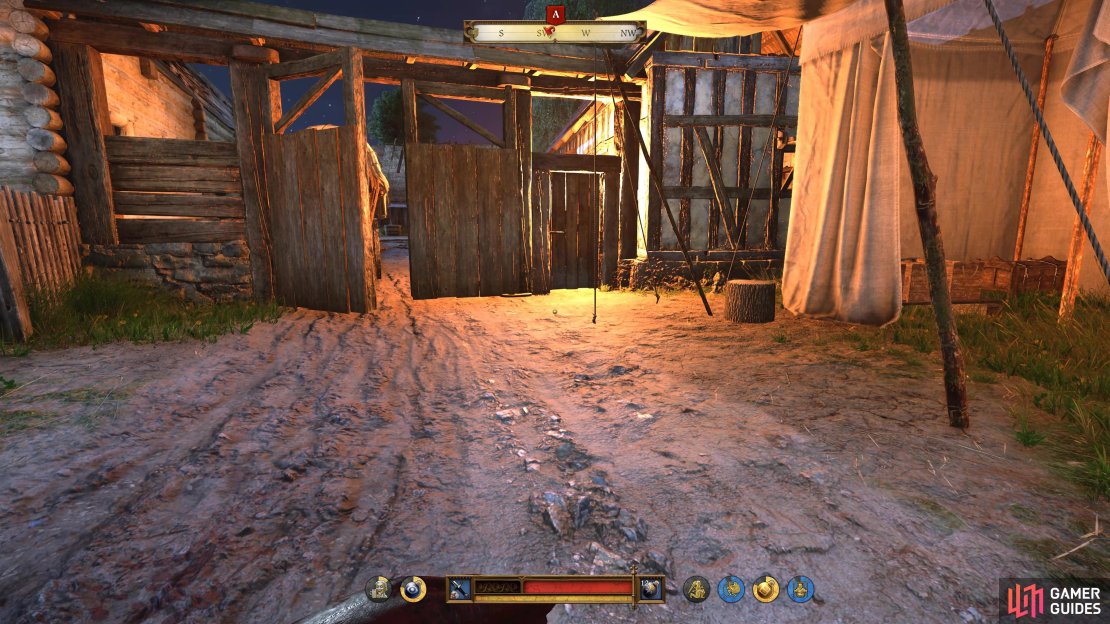
From here, head south until you reach a door you can go through against the wall, then be careful as there are two different soldiers that can patrol this alley. Wait for them to patrol, then get behind and stealth kill them, leaving their bodies in a safe place. The entrance to the Tavern’s grounds is heavily guarded, so taking the front access is a no go, making the back route your only real option (unless you want to go on a murderous spree that is).
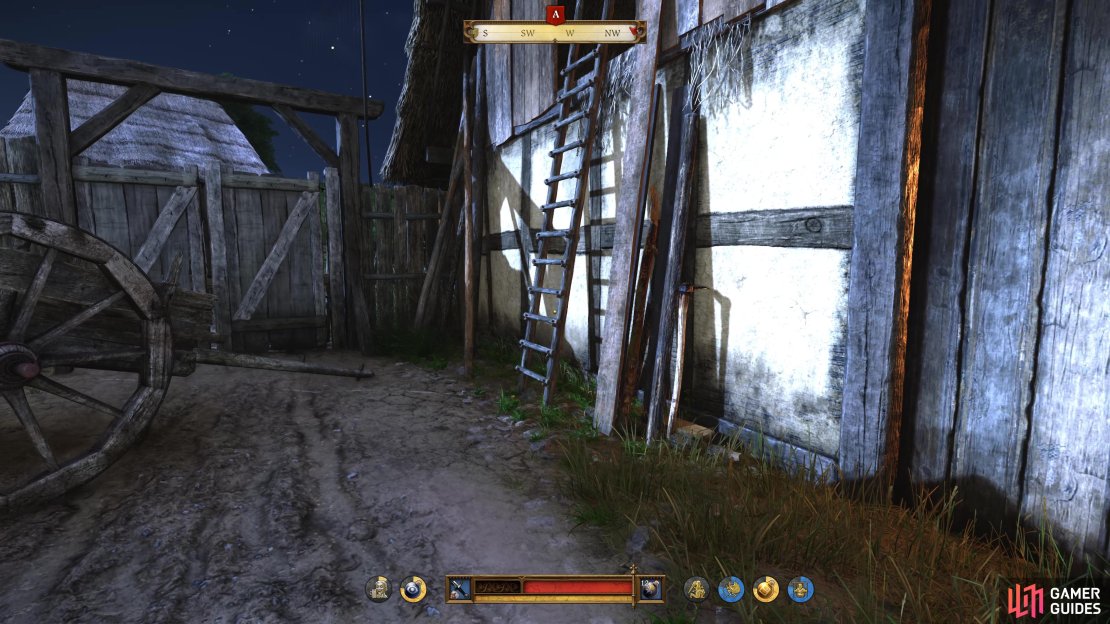
Head around the back of this building now and you’ll find a part of the wall you can cross on your right, this will lead to the back of the Tavern grounds. Similar to the front, there are two soldiers posted outside the back gate here, but if you look over to the left of them, you’ll find a ladder leading to the barn. Distract the soldier facing your way with a stone, then quickly climb up and into the barn.
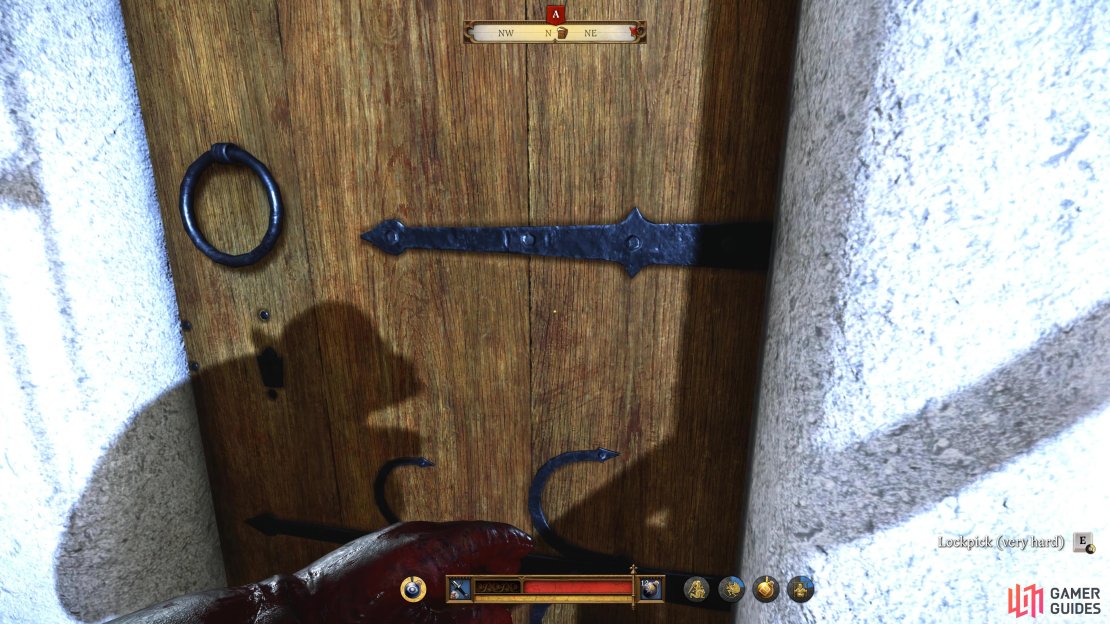
Climb down the ladder inside and you may see another soldier blocking the way forward to the northwest, use a stone to lure him away, then go through into the Tavern grounds. The door you’re looking for here is the one closest to the front gate, on your right, but you’ll find it’s locked with Very Hard difficulty. If your Thievery skill is up to scratch (or you have ![]() Quickfinger potions on you), pick the lock to gain entry. If that’s not an option, you’ll have to wait for the soldier that sits at the nearby campfire to return and either Pickpocket him or kill him and loot the keys from him.
Quickfinger potions on you), pick the lock to gain entry. If that’s not an option, you’ll have to wait for the soldier that sits at the nearby campfire to return and either Pickpocket him or kill him and loot the keys from him.

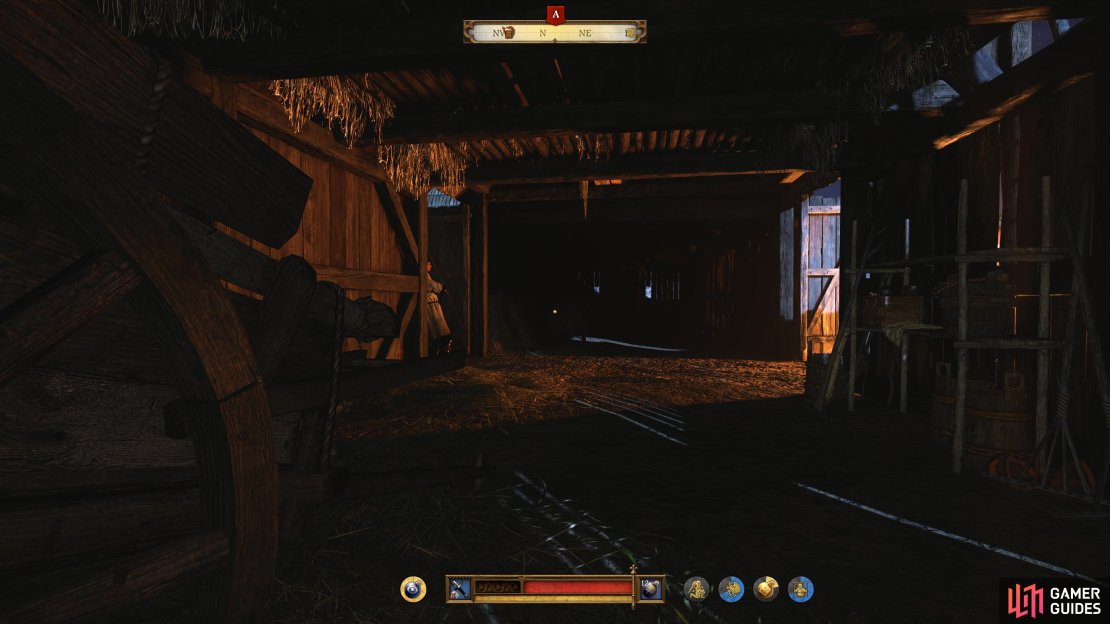
(1 of 4) Head around the back of the Tavern and go up the ladder here.
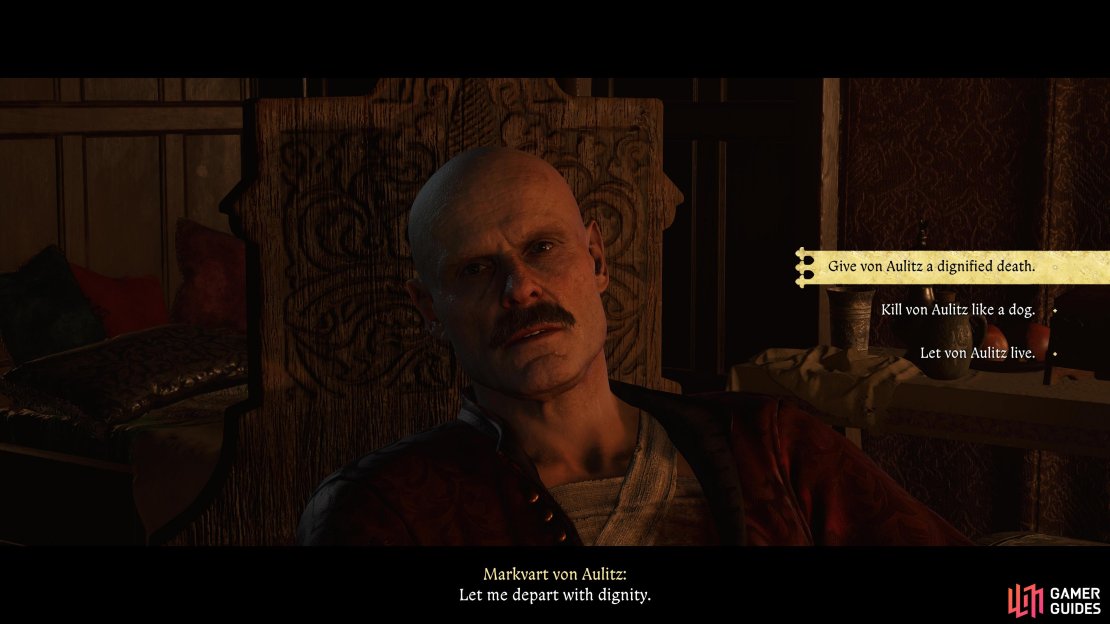
Regardless of how you gain entry, once inside the Tavern, enter the room on your left to finally come face to face to Markvart von Aulitz and unlock the Trophy/Achievement in the process. Watch the engaging scenes and, at the end of it, you’ll have a decision to make. Either of the two options that involve killing him will put an end to him here and now (and you can freely loot the area after), alternatively, leaving him alive will see him succumb to his injuries in the morning, something you’ll need to deal with later.
Find out Where Sam is
This is the second optional objective you can complete in ![]() Reckoning, and will determine the fate of Sam. Should you choose to ignore searching for him, you’ll eventually find him hung in the final quest and have to bury him, so your decision here is a big one.
Reckoning, and will determine the fate of Sam. Should you choose to ignore searching for him, you’ll eventually find him hung in the final quest and have to bury him, so your decision here is a big one.
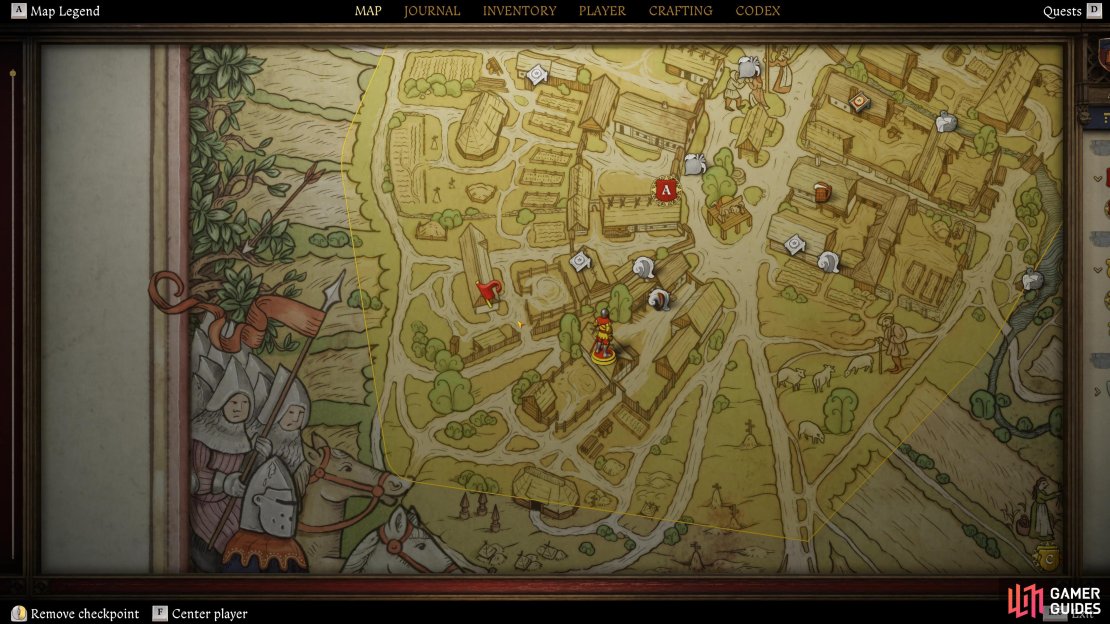
Before you set off to search for Sam though, take the opportunity to rummage around the locked chests in this room, you’ll find some very strong equipment, useful for if you decide to fight your way out. Once you’re ready to begin the search for Sam, open your map and look to the southwest of your current location to find two ![]() Smokehouses right next to each other. The lower of these two are the grounds you need to reach, with Sam being held in the barn to the southwest of it.
Smokehouses right next to each other. The lower of these two are the grounds you need to reach, with Sam being held in the barn to the southwest of it.


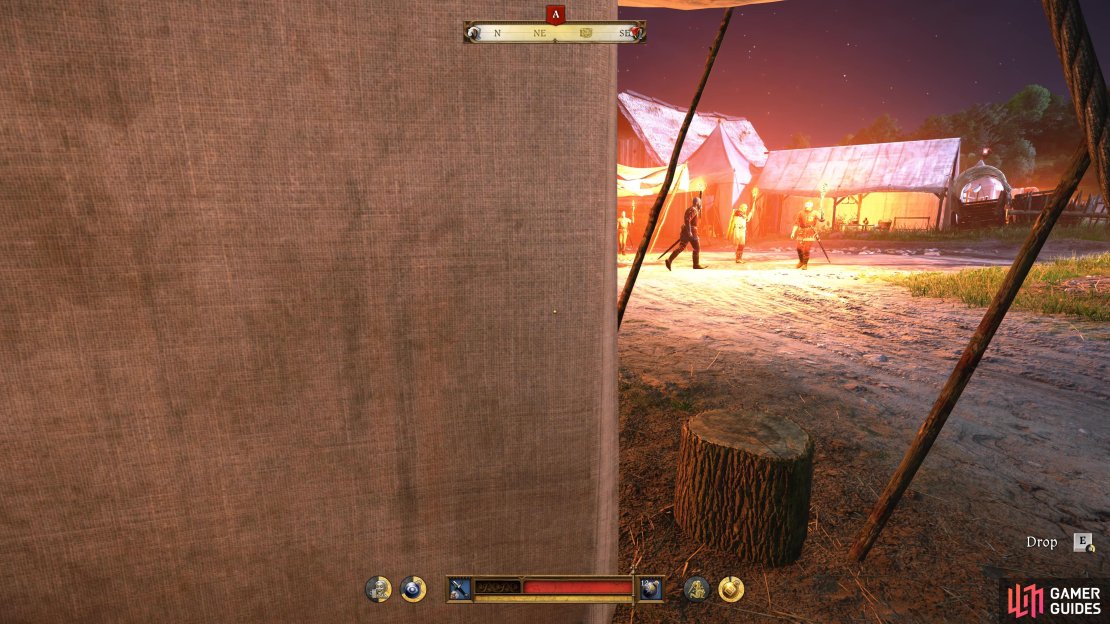
There’s no easy way to go about this next step, you’re going to have to sneak through the busiest part of the enemy’s guard to reach Sam. Leave the Tavern, deal with the guard outside if you haven’t already done so and then look to your right, this is where you need to go. If you wait behind these two soldiers, sometimes they will move on their own if they see something suspicious, if they’re not, use a stone and toss it over to the right to lure them there, then go to the left yourself.
Continue to the southwest while avoiding the patrolling soldiers and then look for the open gates and duck inside, taking care to dispatch a soldier that may be there immediately as you get in there (you will need to kill him shortly regardless). As you approach the doors of the barn, you’ll hear talking from both Sam and Brabant, and if you look around to the side, you’ll spot a ladder leading into the barn. Don your combat set of gear and drop down to encounter Brabant, who will immediately attack you, strike him a few times to trigger a scene.
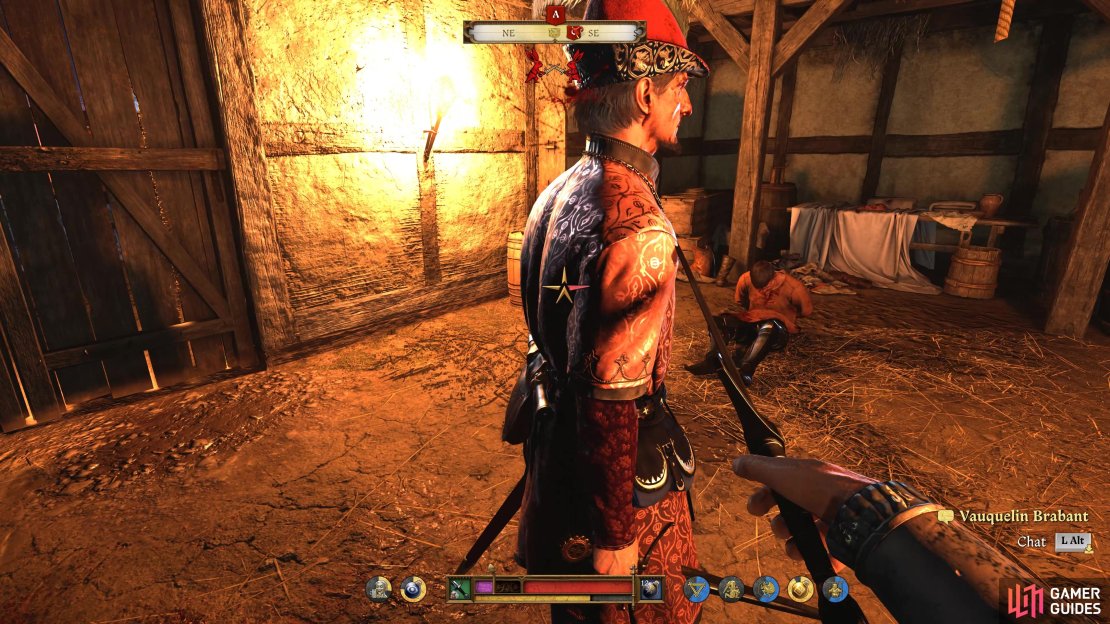
Spare or Kill Brabant
You have a decision to make here, should you spare Brabant or kill him for being a traitor and colluding with the enemy. The answer is, it doesn’t really matter, as Brabant has to die no matter what you choose here. If you choose to spare him, he’ll walk away and then immediately call guards on you, forcing you to kill him just with more soldiers to deal with in the process. Kill him, however, and you’ll do away with all of that, making this by far the more favored choice.
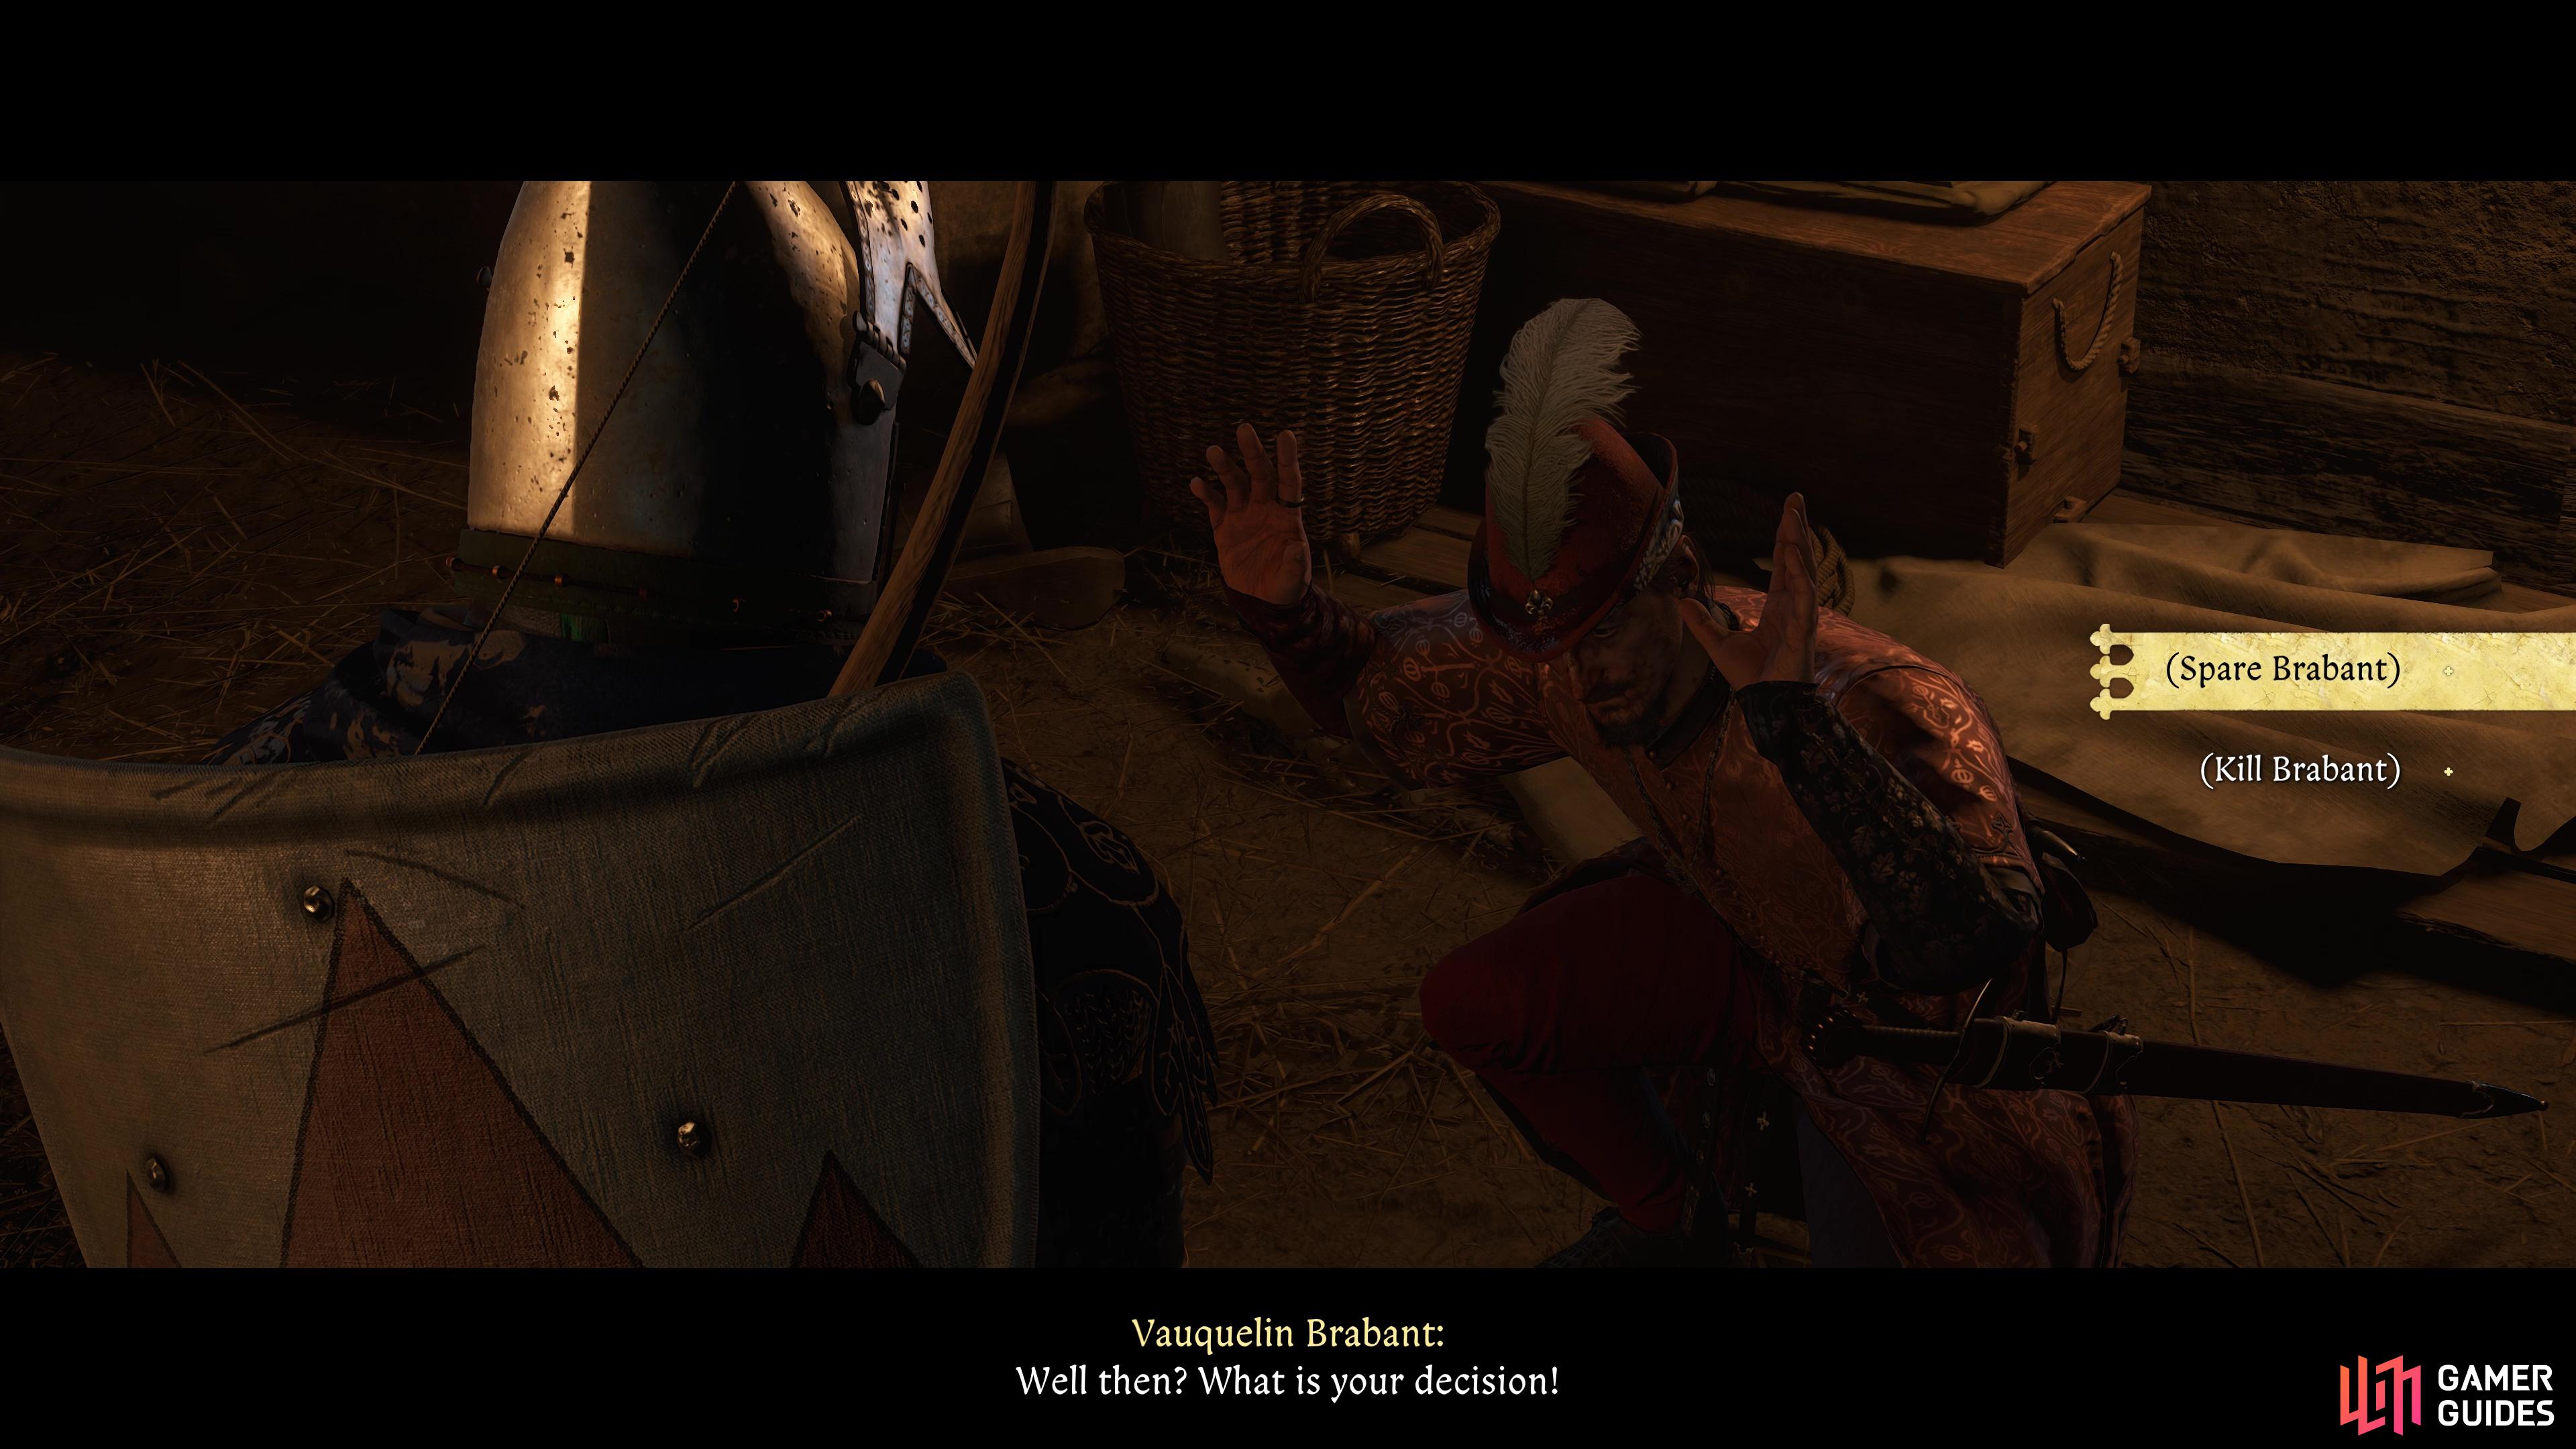
It’s better to kill Brabant here to prevent him from having the opportunity to call on more soldiers.
Find a Horse and Get Help
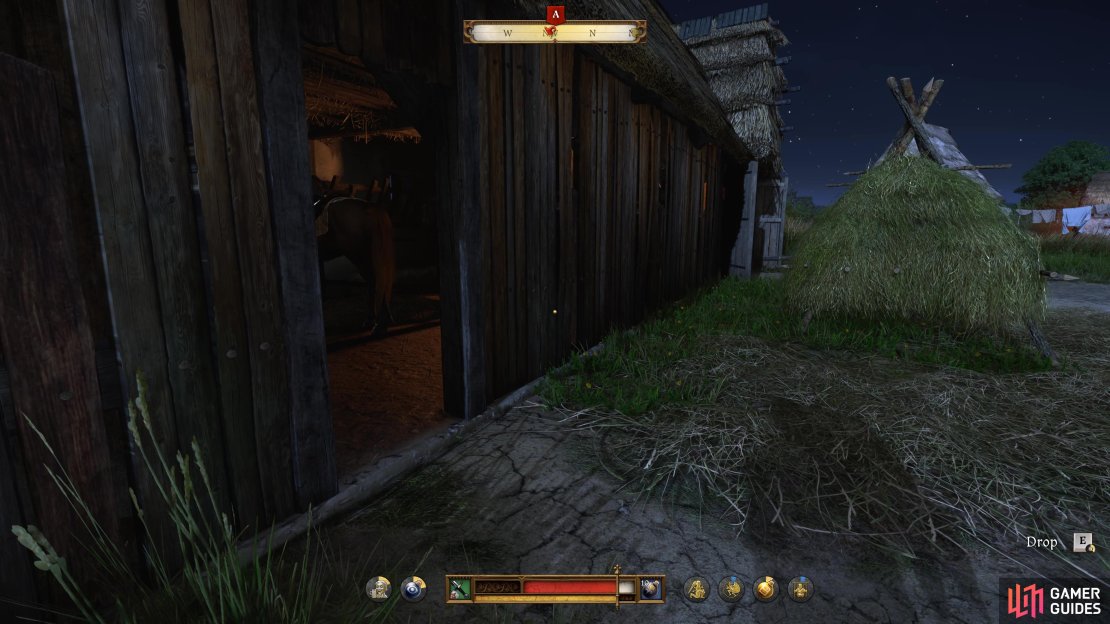
With both of these objectives now achieved, all that remains is to complete your initial goal (or only goal, if you ignored the two optional objectives above), to find a horse and ride off to Jobst for help. This becomes far more difficult if, once you untie Sam, you go against his wishes and bring him along with you, as he’s unable to walk and you’ll have to carry him instead. With that in mind, you’re going to have to clear a path to the stables, which is located to the northwest of your current location.
Depending on how you’ve handled the infiltration to this point, you may be forced but to go all out on combat if you want to make it out alive. If there are soldiers patrolling the street outside of the grounds you’re currently at, it’ll be almost impossible to get Sam to the horses without being seen. If it’s a bit calmer though, you can head out the gates to the left, go left and immediately left again to kill a soldier and go through the house (Easy Lock) and then out the other side to find some bushes you can walk through. From here, it’s a straight shot to the stables and a horse.
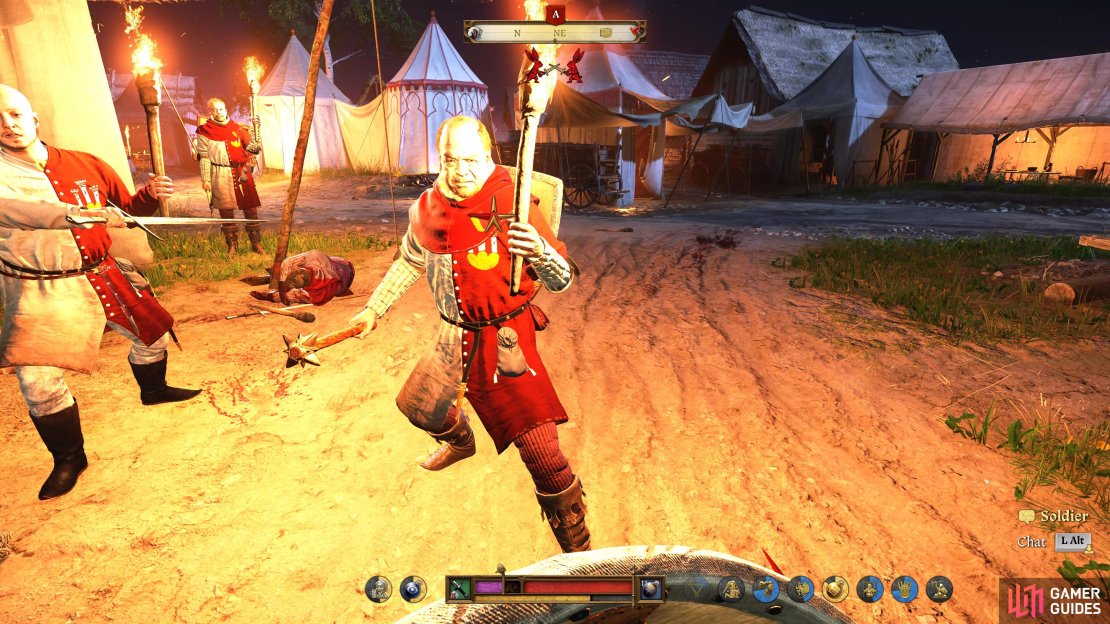

If this is not an option due to increased enemy presence, you’re going to have to fight your way out. With your main combat set of armor equipped, try to lure soldiers to chokepoints to prevent yourself from getting surrounded and use ![]() Bandages and
Bandages and ![]() Marigold decoctions to heal up between encounters. In total, if you’re going for the combat route here, don’t be surprised to fight around 20+ enemies here, often in groups of three-five.
Marigold decoctions to heal up between encounters. In total, if you’re going for the combat route here, don’t be surprised to fight around 20+ enemies here, often in groups of three-five.
Regardless of how you make it to the stables, choose to either leave with or without Sam to bring Reckoning to an end and start Last Rites - Kuttenberg, the penultimate quest of Kingdom Come: Deliverance II.
No Comments