
After locating and rescuing Huntsman Vostatek during the Lackey Side Quest, you can speak to him again and assist him with some other work. What follows is the Bird of Prey Task, a lengthy quest that will have you scour the entire Trosky region. Keep reading to learn where to find every Poacher in this Kingdom Come: Deliverance II Task.
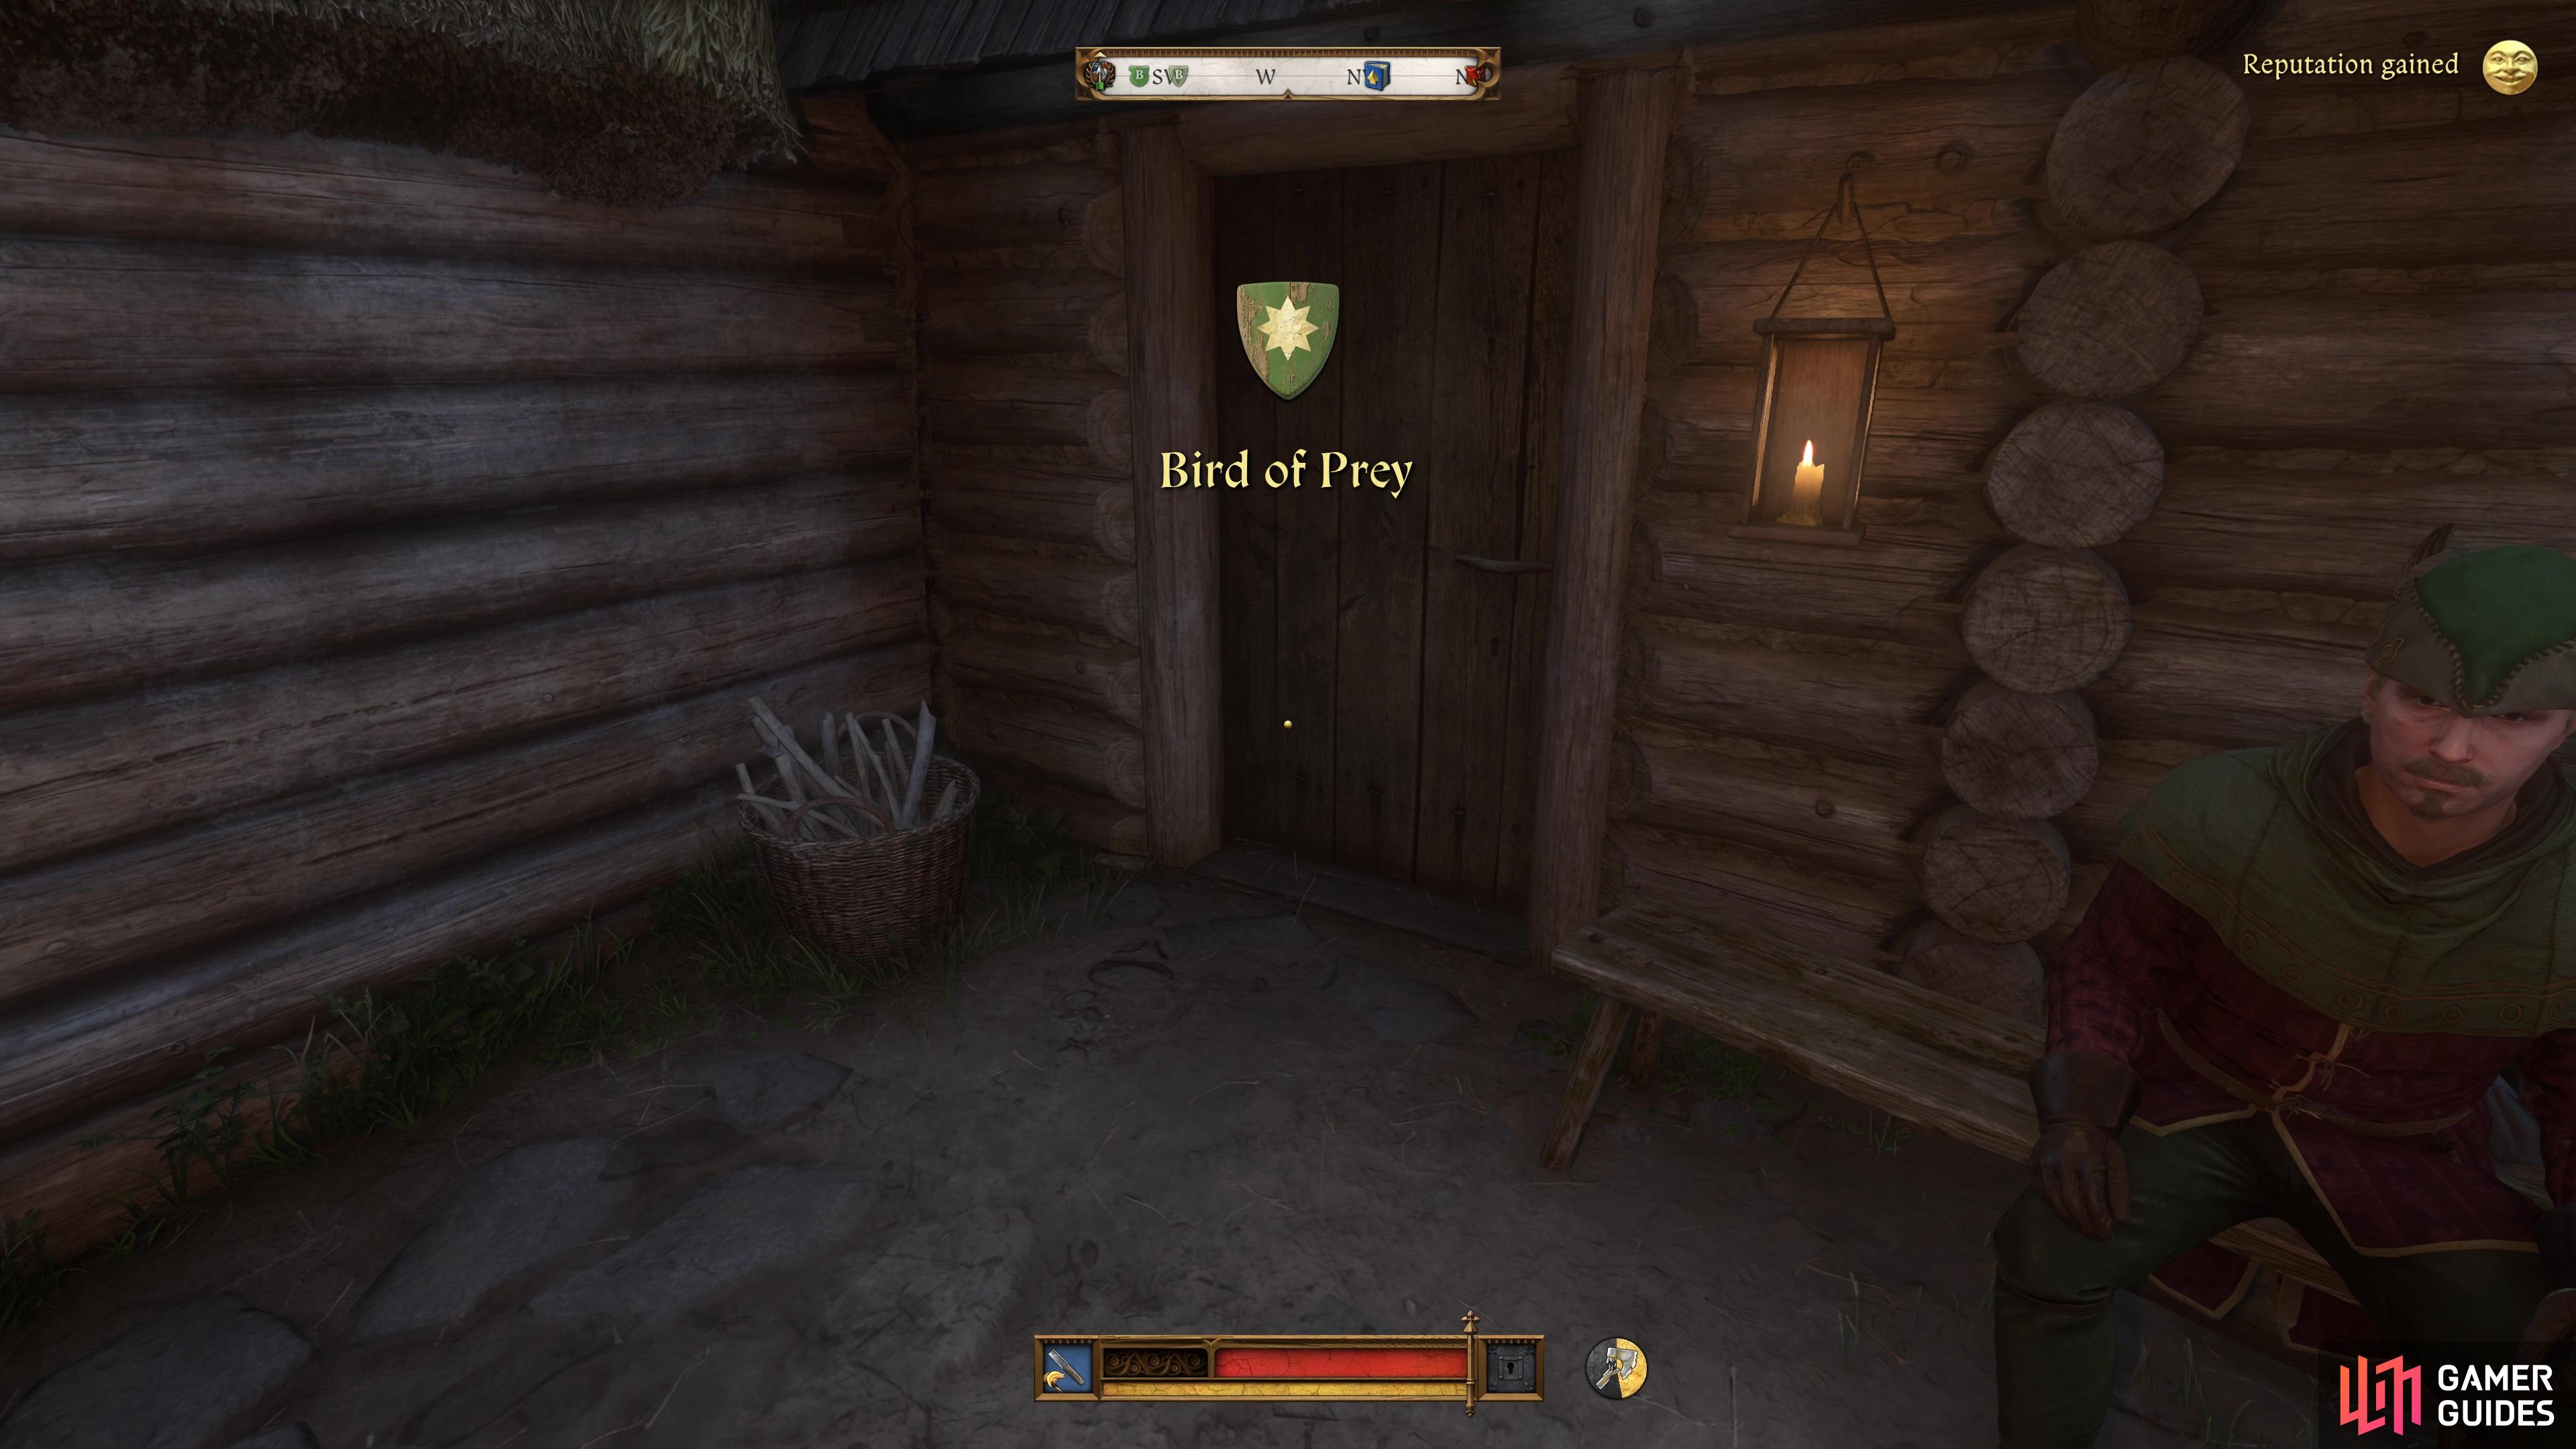
Bird of Prey is a Task in the Trosky region of Kingdom Come: Deliverance II.
Table of Contents
If you want to jump to a specific section, click on the links below.
| Quickjump |
|---|
| Starting the Bird of Prey Task |
| Rocktower Pond Poacher |
| Vidlak Pond Poacher |
| Slatego Forest Poacher |
| Lower Semine Poacher |
| Kopanina Forest Poacher |
Starting the Bird of Prey Task
As mentioned above, before you can even get started on this Task, you’ll first have to locate and complete the Lackey Side Quest, a lengthy Side Quest that you can pick up by speak to Zlata, Huntsman Vostatek’s wife at their house to the east of Vidlak Pond. Once you’ve finished the quest, Vostatek will allow you to stay in the barn for free and become a Skill Trainer.
At this point, speak with him again and ask if he has anymore work for you and entertain him to begin with about fetching him some booze. This will force him to remember that he has a poacher problem and he’ll ask if you can help him deal with the threat, starting with a poacher spotted near Rocktower Pond.
Rocktower Pond Poacher
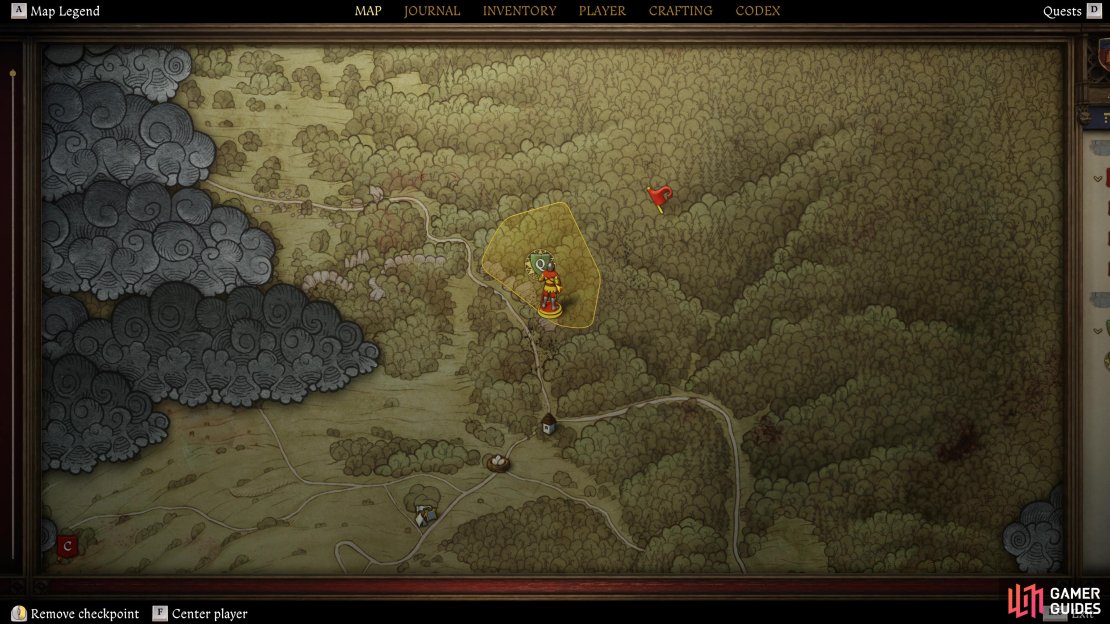
The first place you’ll need to visit in your new role as a Huntsman assistant is Rocktower Pond, more specifically, the forests to the north of it. These are located just north of the camp that Henry and Hans stayed at during the prologue, so you should be familiar with how to get there. Fortunately, there is a Fast Travel spot to the west of the pond, which you can use to reach it quickly.
As you head along the main path, you’ll come across the Cottage Ruins, go inside and you’ll find the Rocktower Pond poacher’s kit, the item you’re looking for. Call over Mutt and have him track the scent, then get ready and start following him north into the forest. Fortunately, you won’t have to go too far, as the camp is located just north of the Cottage Ruins, where you’ll find said Poacher.
Speak with him to learn the reasons for why he’s here, and even that he witnessed the bandit attack on Henry and Hans. Following this discussion, you’ll have a choice to make, do you arrest him and send him to the gallows, as Vostatek has asked of you, or do you take pity and tell him to leave the region and never come back. The poacher will tell you of some hunting spots if you spare him, but Vostatek will not be happy and you’ll get no reward from him (which is only a few Groschens, but it all adds up).

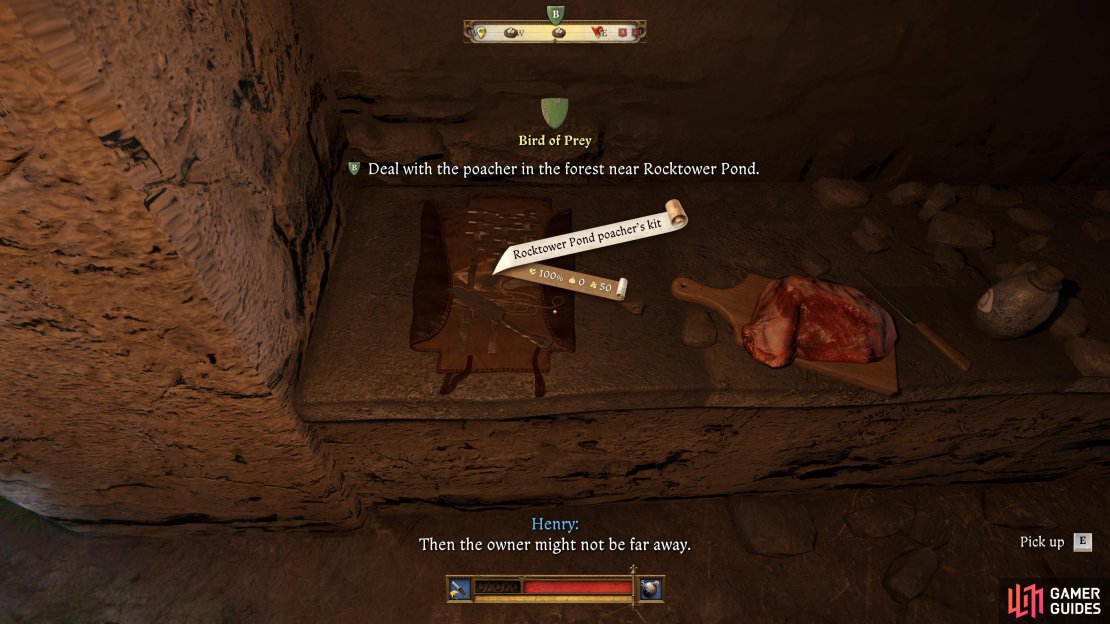


(1 of 3) Find the poacher’s kit in the cottage ruins on the north side of Rocktower Pond.
Regardless of the choice you make, return to Vostatek and deliver him the news of the Rocktower Pond poacher and he’ll give you the next location to check out, in the forest near Vidlak Pond.
Vidlak Pond Poacher
You don’t have too much to go on for this poacher, beyond the fact that he hunts in the forest and hills near Vidlak Pond. Vostatek does, however, urge you to have a chat with both the tanner and fisherman’s wife at Vidlak Pond to learn more of the situation.
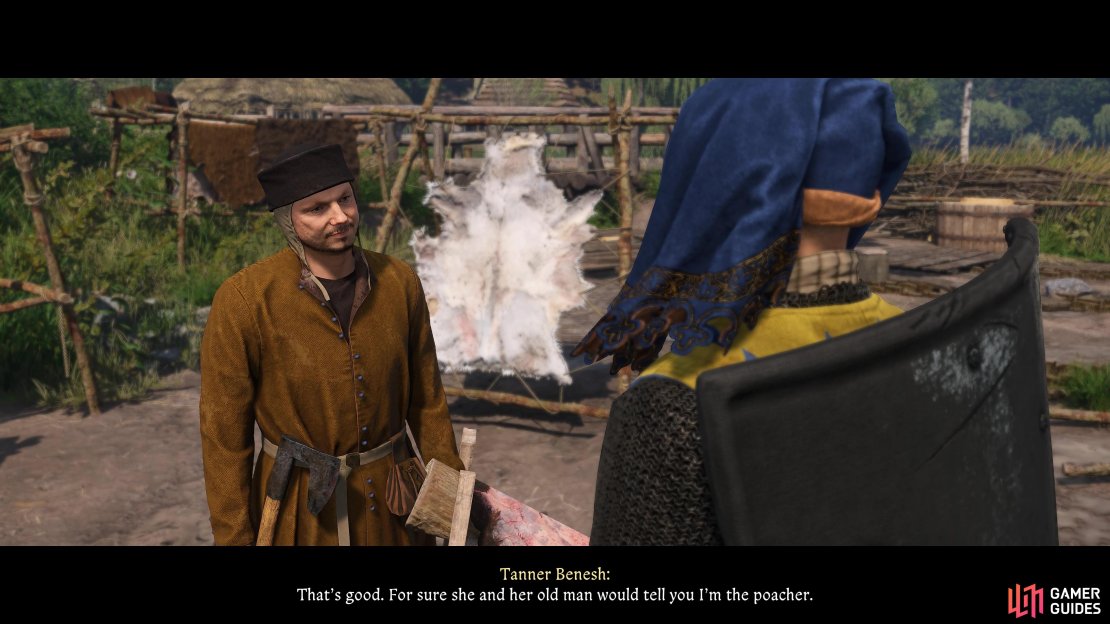
Fortunately, Vidlak is only a short wide to the west of your current location, so head down there and speak with the tanner to begin with. He’ll ask if you’ve spoken to the Fisherman’s Wife and claim that she has it out for him, insisting that he’s the poacher. If you ask him if he has any idea where the poacher may be, though, he’ll mention a deer spot to the north of the area as a possibility. Head over to the fisherman’s wife and, after she’s finished blaming the tanner, she’ll give you an even better location to spot.
Once you’re ready to track down the poacher though, head into the woods to the north of your current location and go north of the deer spot the tanner mentioned. You’ll find a Poacher’s Camp which, when you wait until it starts getting dark, the Vidlak stranger will appear. This poacher won’t give you a pity story this time, so you’ll have to choose between the easy way or the hard way with him, with the hard way being the harder skill check to pass. Regardless of your choice, arrest him and then, after the execution, loot the body for some useful items and don’t forget the Vidlak poacher’s gear, needed for proof with Vostatek.


(1 of 3) Speak to both the tanner and fisherman’s wife to narrow down the search area for the Vidlak Pond poacher.
Return to him, hand over the proof, and you’ll get 45 Groschen, a Weak Aesop, Weak Bowman’s brew, a Marksman’s kit, and increase your XP in both Survival and Agility. With that, you’ve taken care of Vostatek’s poacher problem, only the Task isn’t finished yet! Vostatek will direct you to a colleague of his, Varel, over near Nebakov Mill, so make your way there to continue the Task.
Slatego Forest Poacher
Varel will mention that he’s had plenty of trouble with poachers around his forests, and mentions the forests around Slatego being especially troublesome, pointing you in the direction of the gravedigger near Troskowitz. Make your way to the cemetary and speak with Gravedigger Ignatius to learn not of a poacher, but an increase in wolves, which may be as a result of a poacher being sloppy with their work.
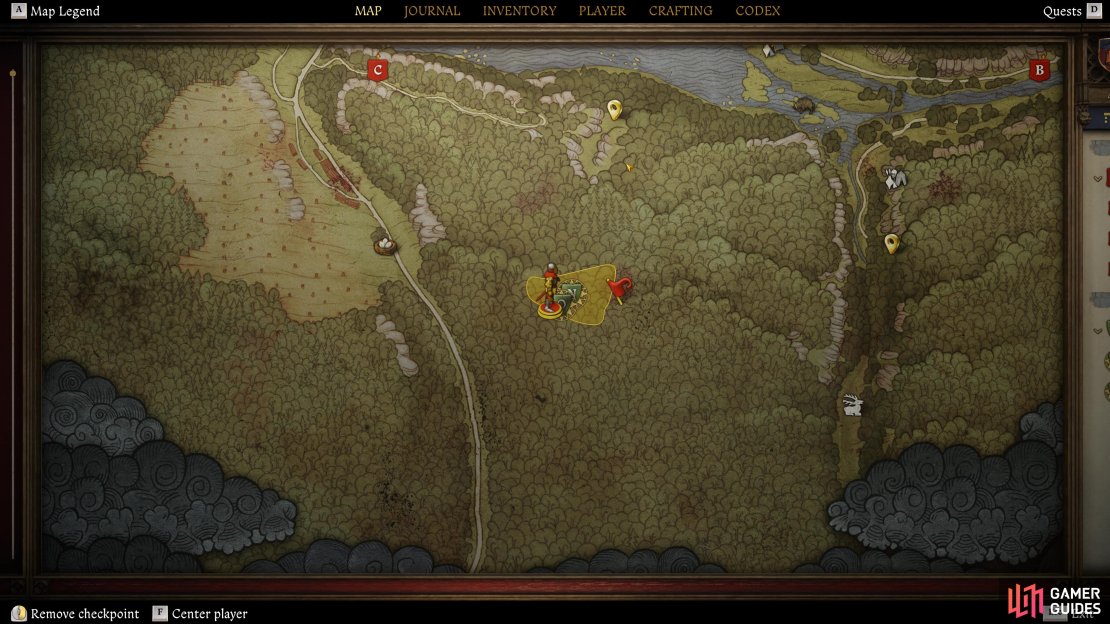
He’ll point you in the way of the Slatego forests, which are located just southeast of your current location. Make your way into them and head to the eastern side of the search area to find an abandoned camp with some wolves, looks like something went down here. Deal with them and then search in one of the bags to find the Poacher’s knife from Slatego, pocket it and then have Mutt track it. This will lead you back to the western edge of the search area, right on the icon of the Roe hunting spot.


Two wolves will be sniffing around a corpse, looks like the poacher’s sloppy work caught up to him. Deal with the wolves and then loot the body to find the Poacher’s hunting knife, the evidence you need to bring back to Varel as proof. Make your way back to Nebakov Mill and turn it into Varel to chalk this name off the list and receive information on the next.
Lower Semine Poacher
This time around, you’ll need to visit the area around the Lower Semine pond, not too far from your current location. To learn more about a potential poacher in the area, Varel directs you to Miller Kreyzl, whom you can also find in Lower Semine (which conveniently has a Fast Travel point for you if you’ve been there already).
When you speak with him, he’ll let you know that his own storehouse, the Lair, is in those forests and asks that you don’t snoop around them. More importantly, he states that if there is to be a poacher in those woods, they must be deeper, this will narrow your search area.
Head into the forests to the south and head around the center of the search area, you’ll come across a poachers camp along with some bandits. Deal with the bandits however you wish (if you’re struggling to take them on, wait until the cover of night and use Stealth Kills), then search around the are for evidence. There’s three pieces you’ll need to find, and they are:
- The skin on one of the racks
- The carcass near the logs
- Another carcass left near a hole, to the northeast of the camp


Be sure to pick up the Poacher’s gear from Lower Semine while you’re here too, as more proof, you’ll find it next to the skin where you found some evidence, and, once you have done everything here, travel back to Varel and deliver to him the findings, for which Varel will finally tell you about the so-called ghost that he’s been alluding to, the final poacher of this lengthy Task.
Kopanina Forest Poacher
The final poacher that you’ll need to take care of is known as the ghost, and very little information exists about him. Varel does know that his spot is in the Kopanina forest to the north of Trosky Castle, and says you should start your search there.
When you’re ready to begin the search, ride out to the Kopanina forest and begin looking, the search area here is the largest of the bunch, and you don’t have much to go on either. You’re looking for some rocks to the east of the main road leading west where you’ll find some tools belonging to a poacher, including the Poacher’s gear from Kopanina. You know what to do now, have Mutt track it and follow him to a small cave that just so happens to belong to Sir Hans Capon…
It seems like this ghost is actually Hans, who appears to be doing a poor job of concealing the leftovers of his poaching. After some explanations, you’ll need to come up with a plan on what to tell the gamekeeper and the only way to not lose some reputation is by choosing the “That’s not enough.” choice, but this is a Hard difficulty check. Regardless of your success or not, Hans agrees to be more careful and you have his poaching kit to use as proof.


Make one final trip back to Varel at Nebakov Mill and speak with him, you’ll be given many choices, all of which are lies except the truth. For Hans sake, tell a lie of your choice and then the quest will finally come to an end. As a reward, you’ll receive 80 Groschen, a Strong Aesop, a Strong Bowman’s brew, three Dried deer ribs, a Marksman’s kit, and a Cobbler’s kit, along with XP in both Survival and Houndsmaster. You’ll also be able to purchase Bows and Crossbows from both Vostatek and Varel at a discount!
No Comments