
![]() The Finger of God is the penultimate quest of the
The Finger of God is the penultimate quest of the ![]() Trosky region in Kingdom Come Deliverance II. This quest immediately follows Divine Messenger and gives you various tasks to complete within
Trosky region in Kingdom Come Deliverance II. This quest immediately follows Divine Messenger and gives you various tasks to complete within ![]() Nebakov Castle. Read on to find out how to administer first aid to the gravely ill soldiers, and how to convince Klara to spend the night with you.
Nebakov Castle. Read on to find out how to administer first aid to the gravely ill soldiers, and how to convince Klara to spend the night with you.
Table of Contents
If you want to jump to a specific section, click on the links below.
Bury the Dead
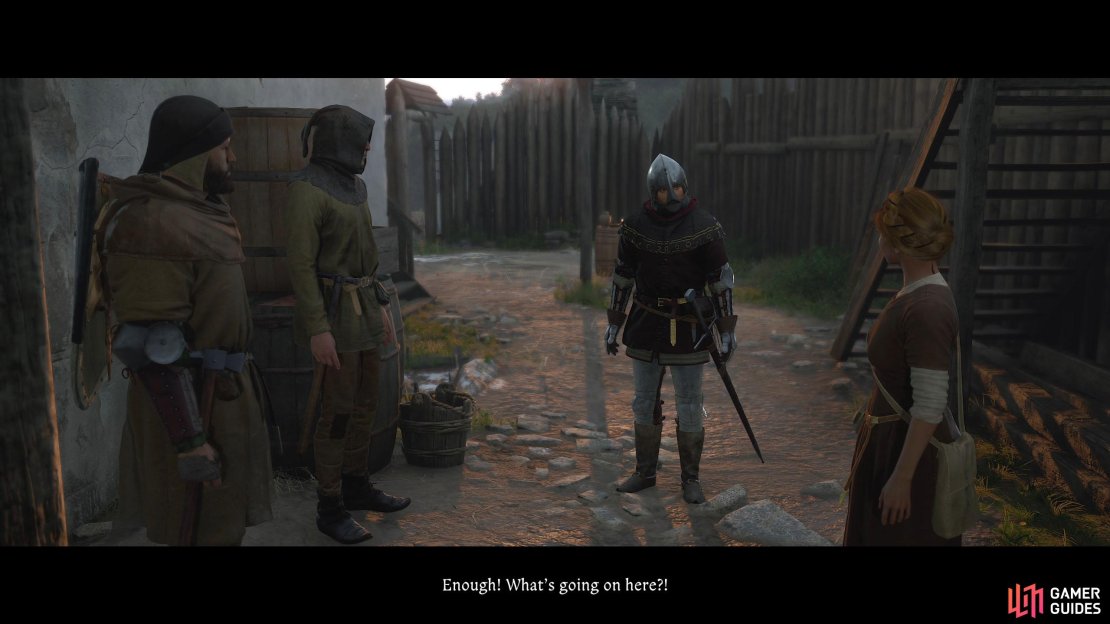
You begin the mission on the Nebakov Castle ramparts after a hearty conversation with Zizka, Godwin, and Lord Capon. Godwin tells you he knows just what needs to be done, and asks you to follow him. Do as he asks and answer his questions as well as asking some of your own while you’re at it.
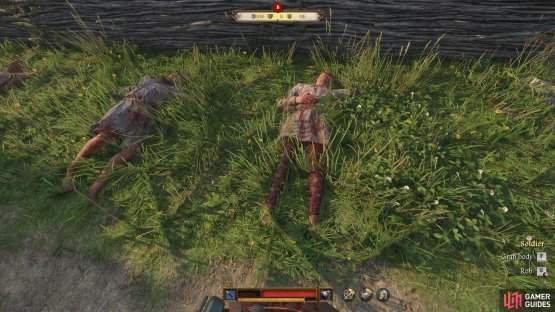
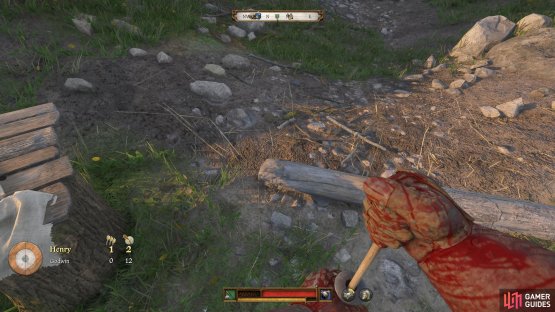
After a short walk, you’ll stop near some bodies. Godwin wants you to dig and place the corpses into the graves while he recites a prayer for them. There are three corpses and three graves with the corpses to your left and the graves to your right. Dig the three graves first, and then place each corpse into them. After you put them in the grave, interact with it to bury them; do this for each corpse.

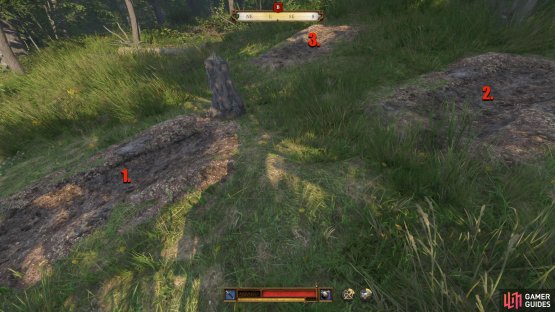
(1 of 2) Dig each of the three graves.
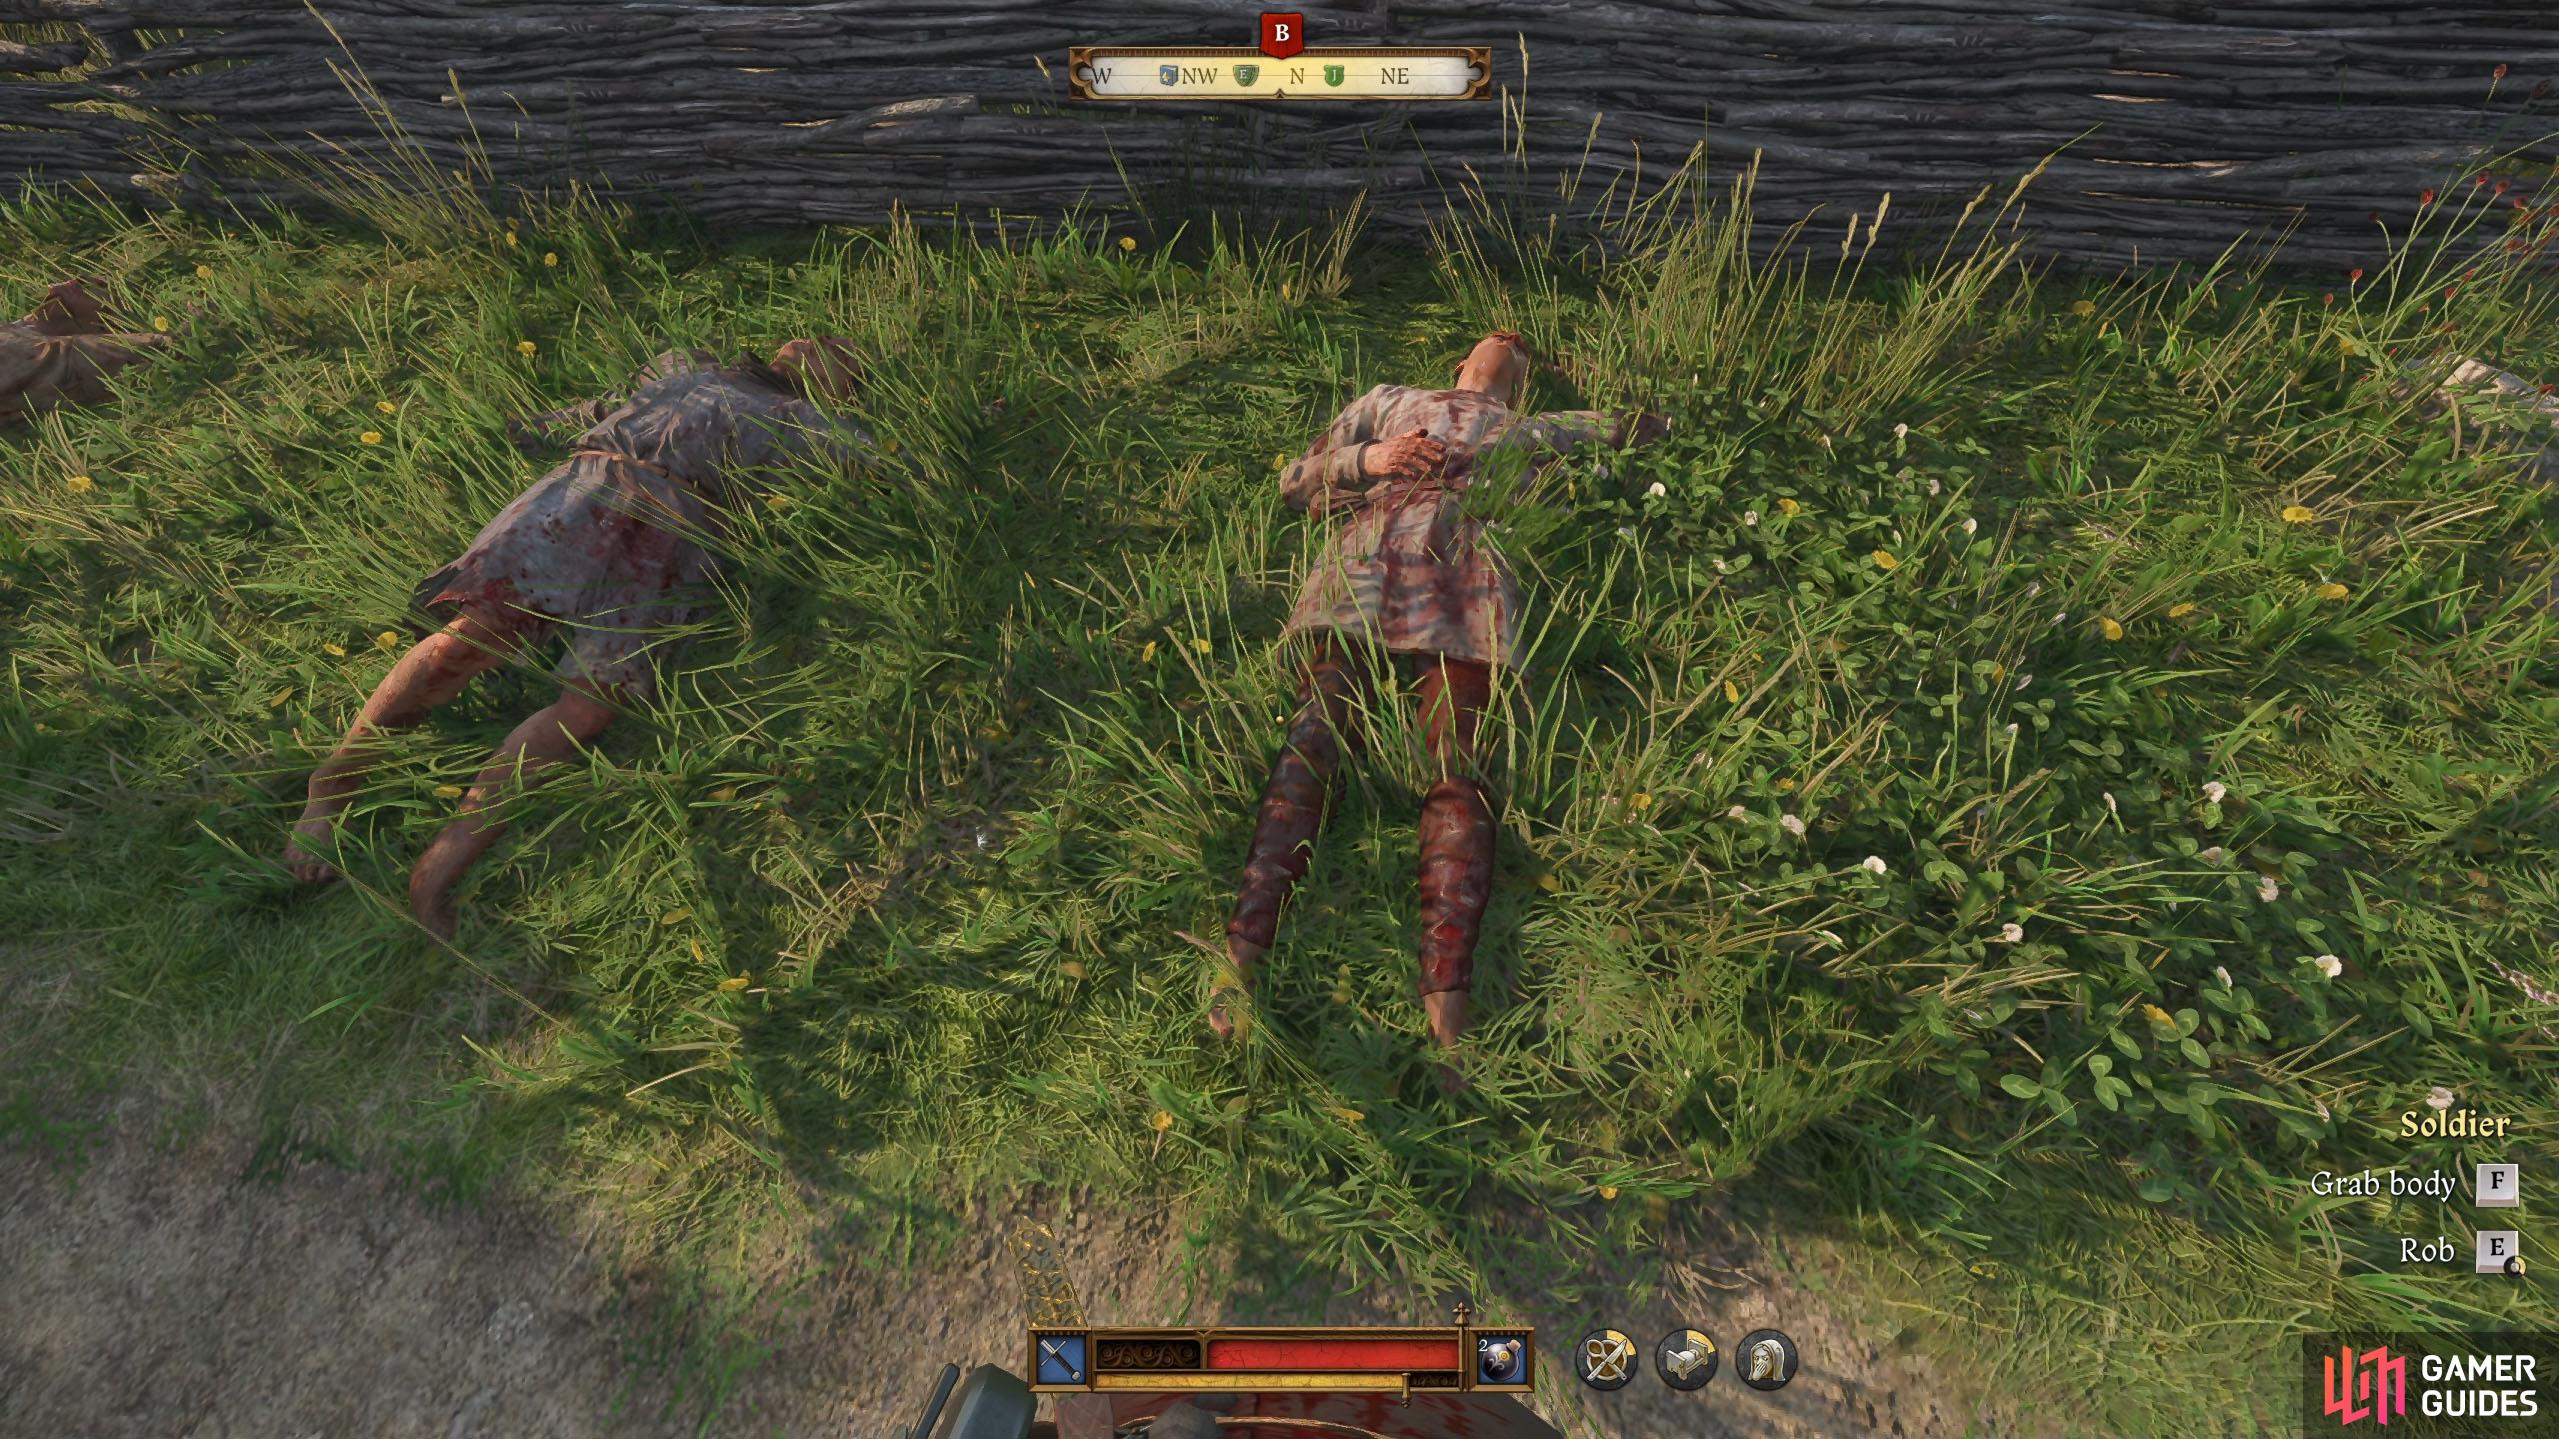
Dig each of the three graves. (left), Then grab a body and bury them. (right)
When you’re done, speak to Godwin, and ask him if you’re finished. Ask him some questions if you like and when you’re finished, he’ll tell you to meet him at the castle moat. Walk back toward the castle, but stop off by the wagon to eat from the pot there if you’re hungry (you’re most likely famished at this point). After eating your fill, continue toward the castle to and speak to Godwin at the moat.
Pistole!
Godwin will be with one of the soldiers, and they’ll show you a special contraption. Make sure you ask them to explain it in detail when given the choice as it’s not obvious how to use it. In general, you want to hold in the  to load the
 ![]() Pistole, hold again to push the powder down, and then press
Pistole, hold again to push the powder down, and then press  to fire it. This process takes a while and isn’t really usable in battles unless you surprise your enemy. After the tutorial, you’ll be in a little competition with Godwin. You have three shots, and you don’t need to rush them as the competition stops when all shots are fired, not who’s the quickest.


(1 of 2) Hold the button in to load the gun.
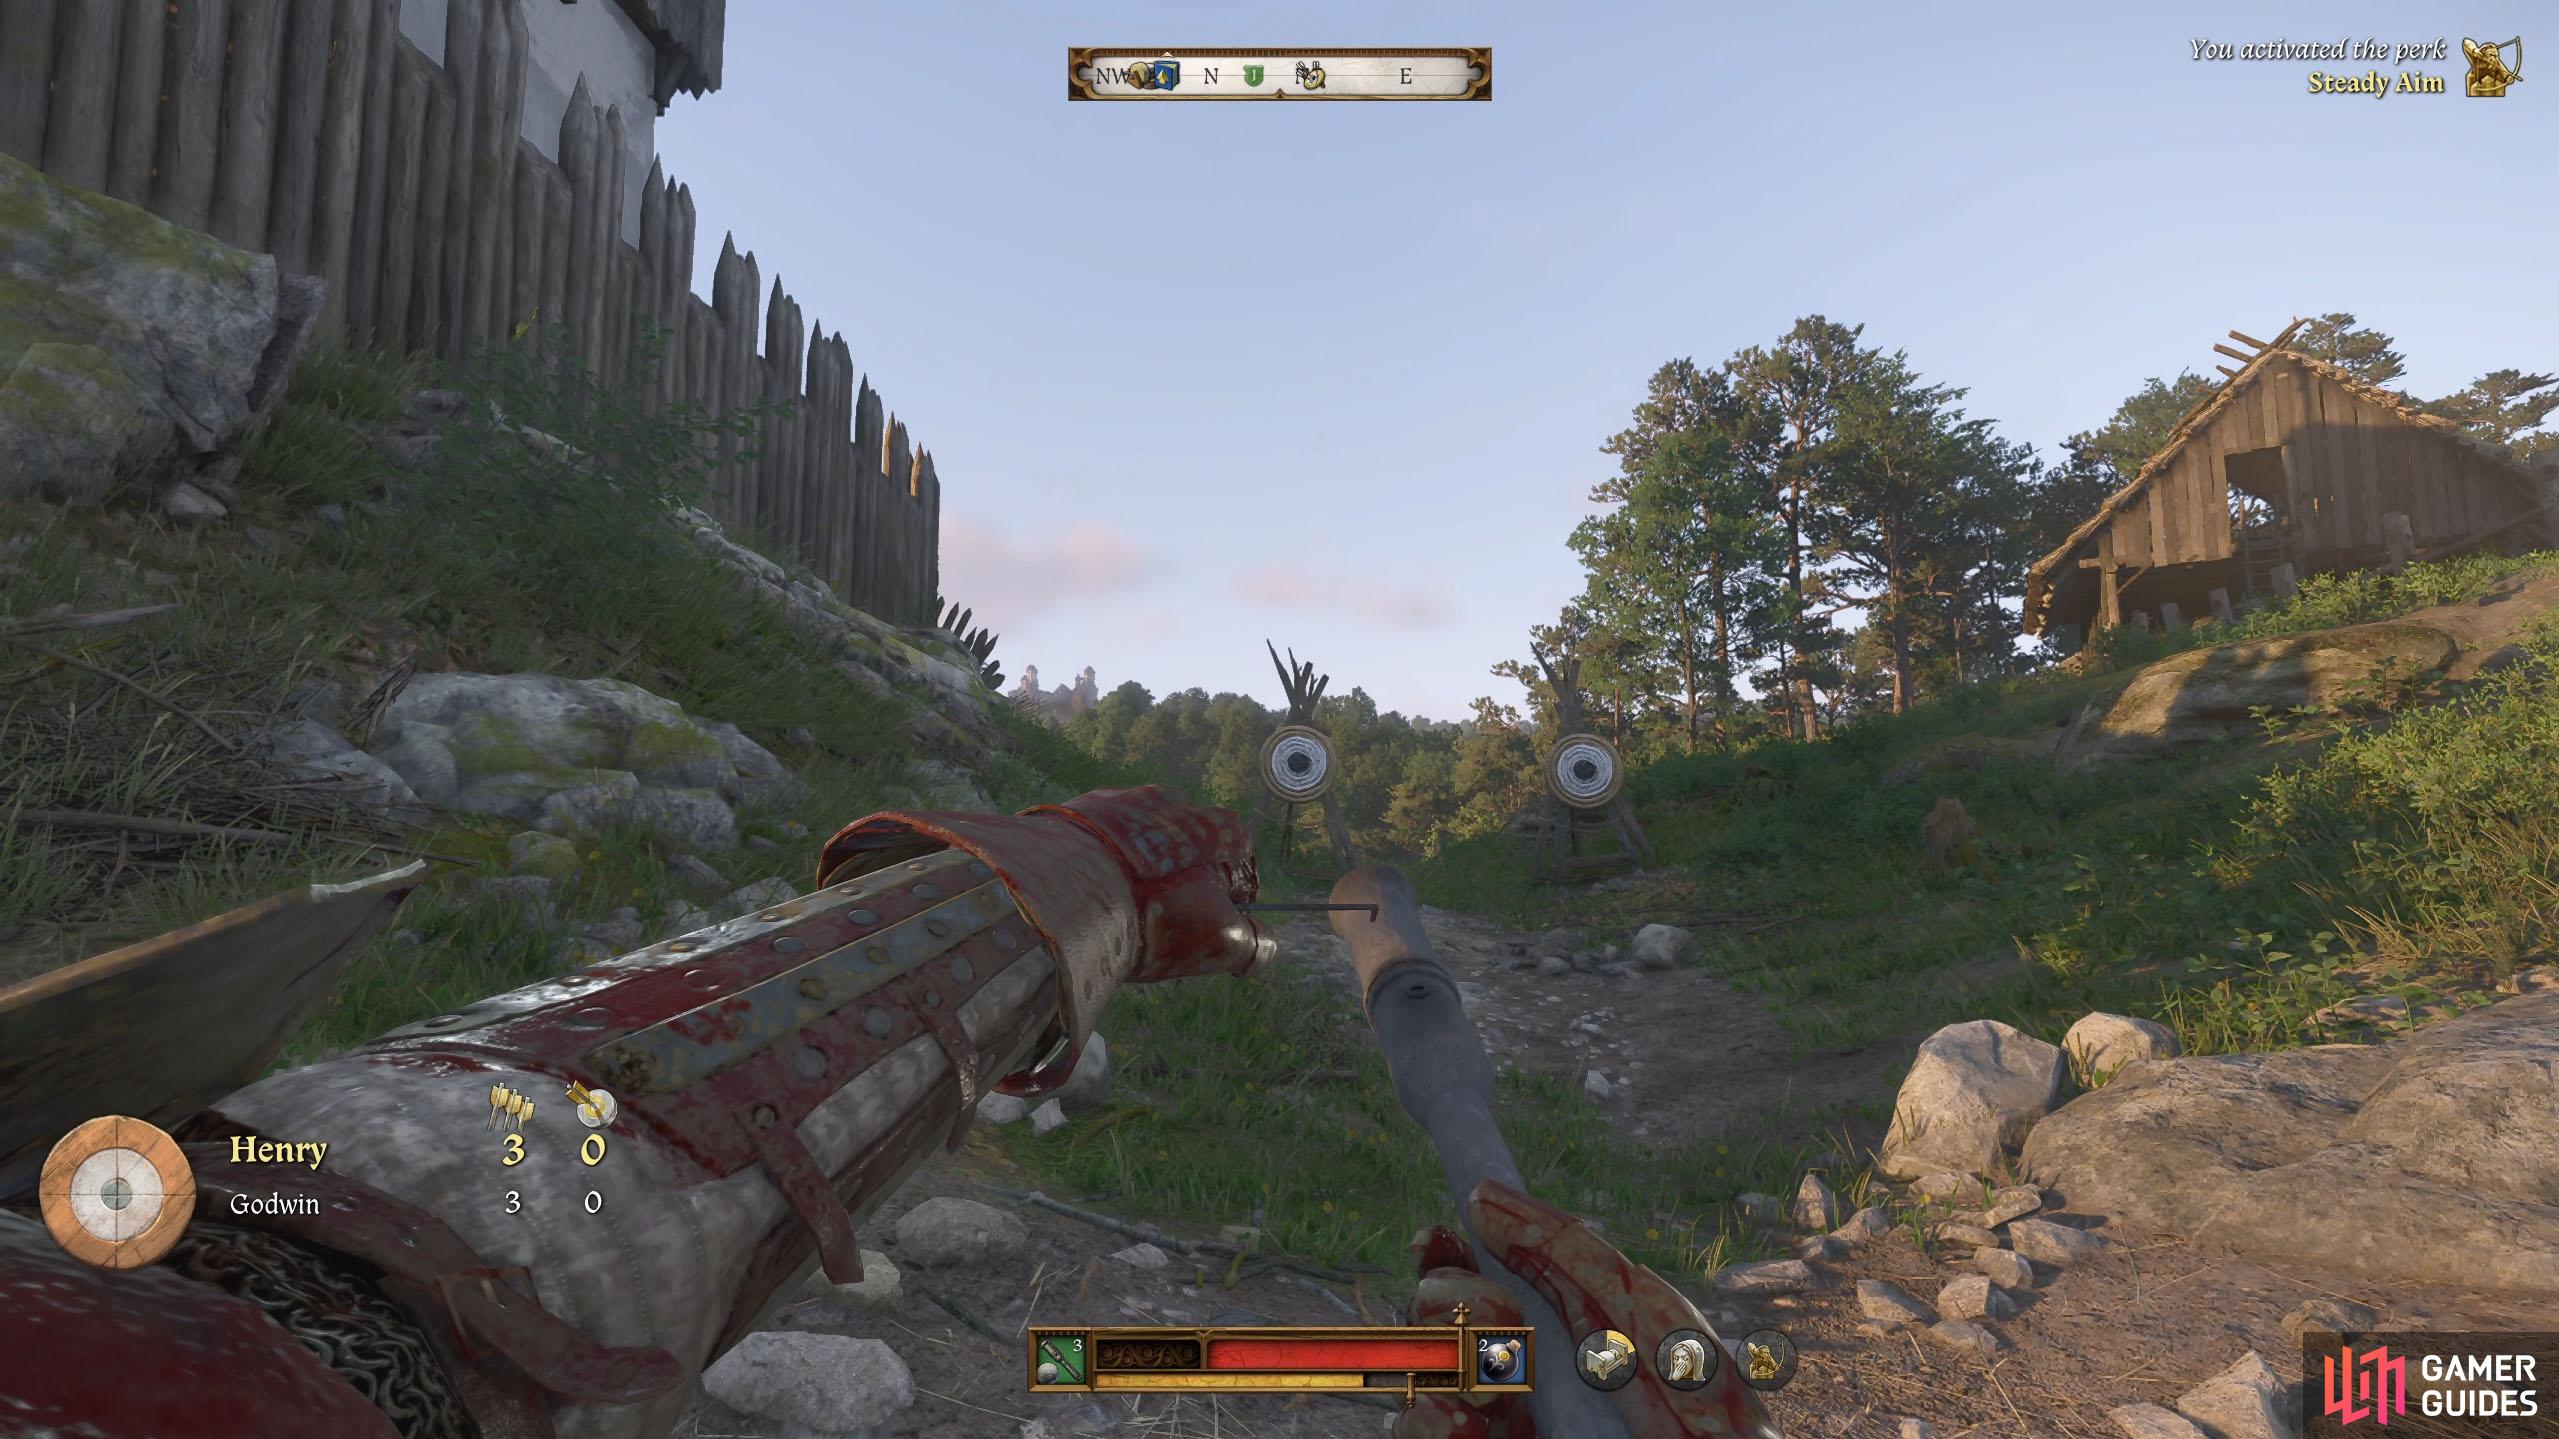
Hold the button in to load the gun. (left), Then try aiming lower and to the right of the target. (right)
Don’t worry about missing as the competition is more for bragging rights than anything else and aiming this weapon is difficult due to the smoke at the end of the barrel obscuring your view. Try to hit the target if you can, but don’t worry too much about it. Once the “competition” ends, you’ll be allowed to keep the Pistole and some ammo. Now, you’ll be allowed to do what you want around the camp until you finish the objectives.
Try to get new allies
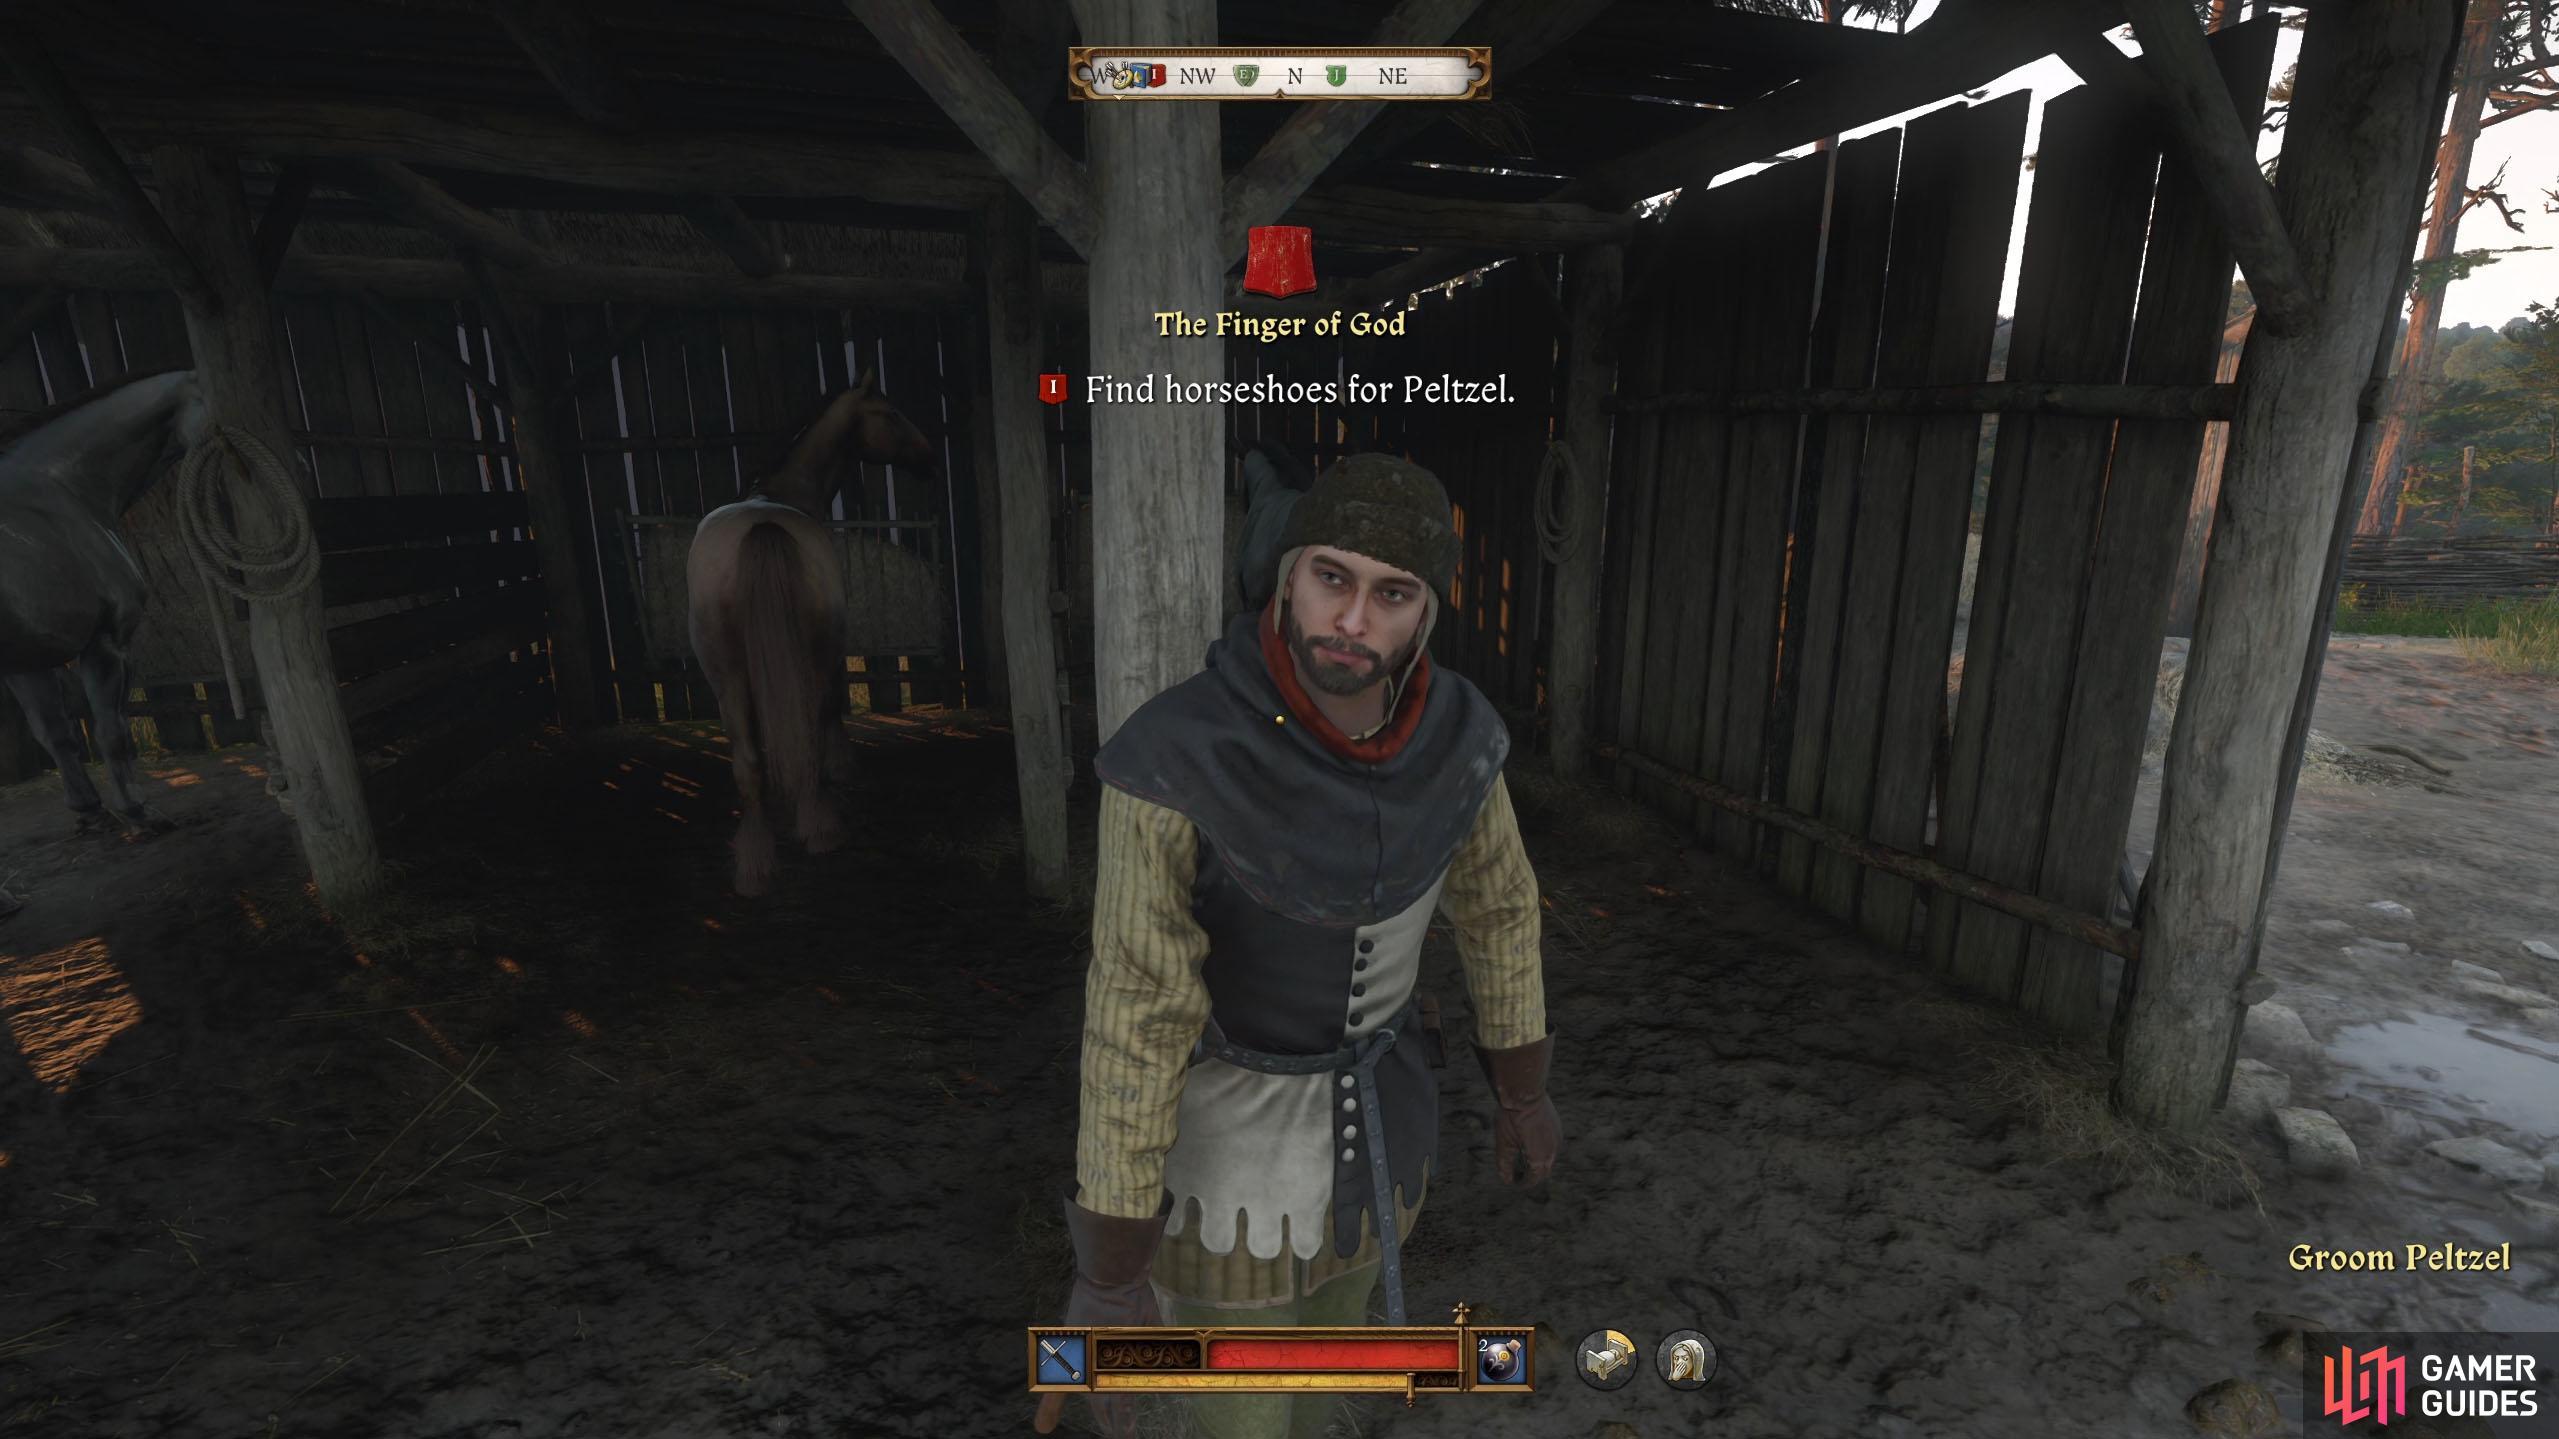
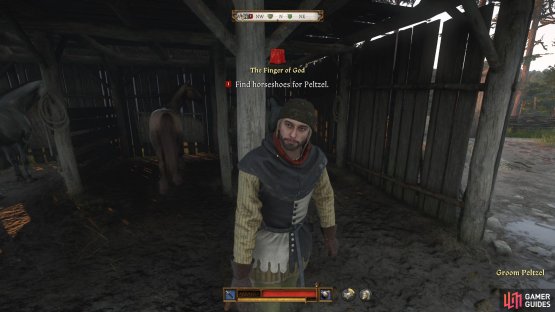
Although this is optional, we recommend doing this as it will come in useful for the next story mission. If you help out around the camp, you can get new allies to assist you in a later battle. You can help Bluster load supplies on the cart, make some horseshoes for Groom Peltzel at the stables, repair the weapons for Bull, and Help Klara with the wounded.
Load Supplies on the Cart
Go back toward the stable, and you’ll find the wagon you’re supposed to load opposite it. Speak to Bluster and tell him you’ve come to help, and let’s just say, he doesn’t appear to like you very much.
You’ll get three choices, a Persuasion check “I don’t want any trouble”, an Impression check “What happened wasn’t my fault”, or you can fight him. Try to pass the check with whatever your highest stat is, you can pass it if one of the stats is at 14 or higher.
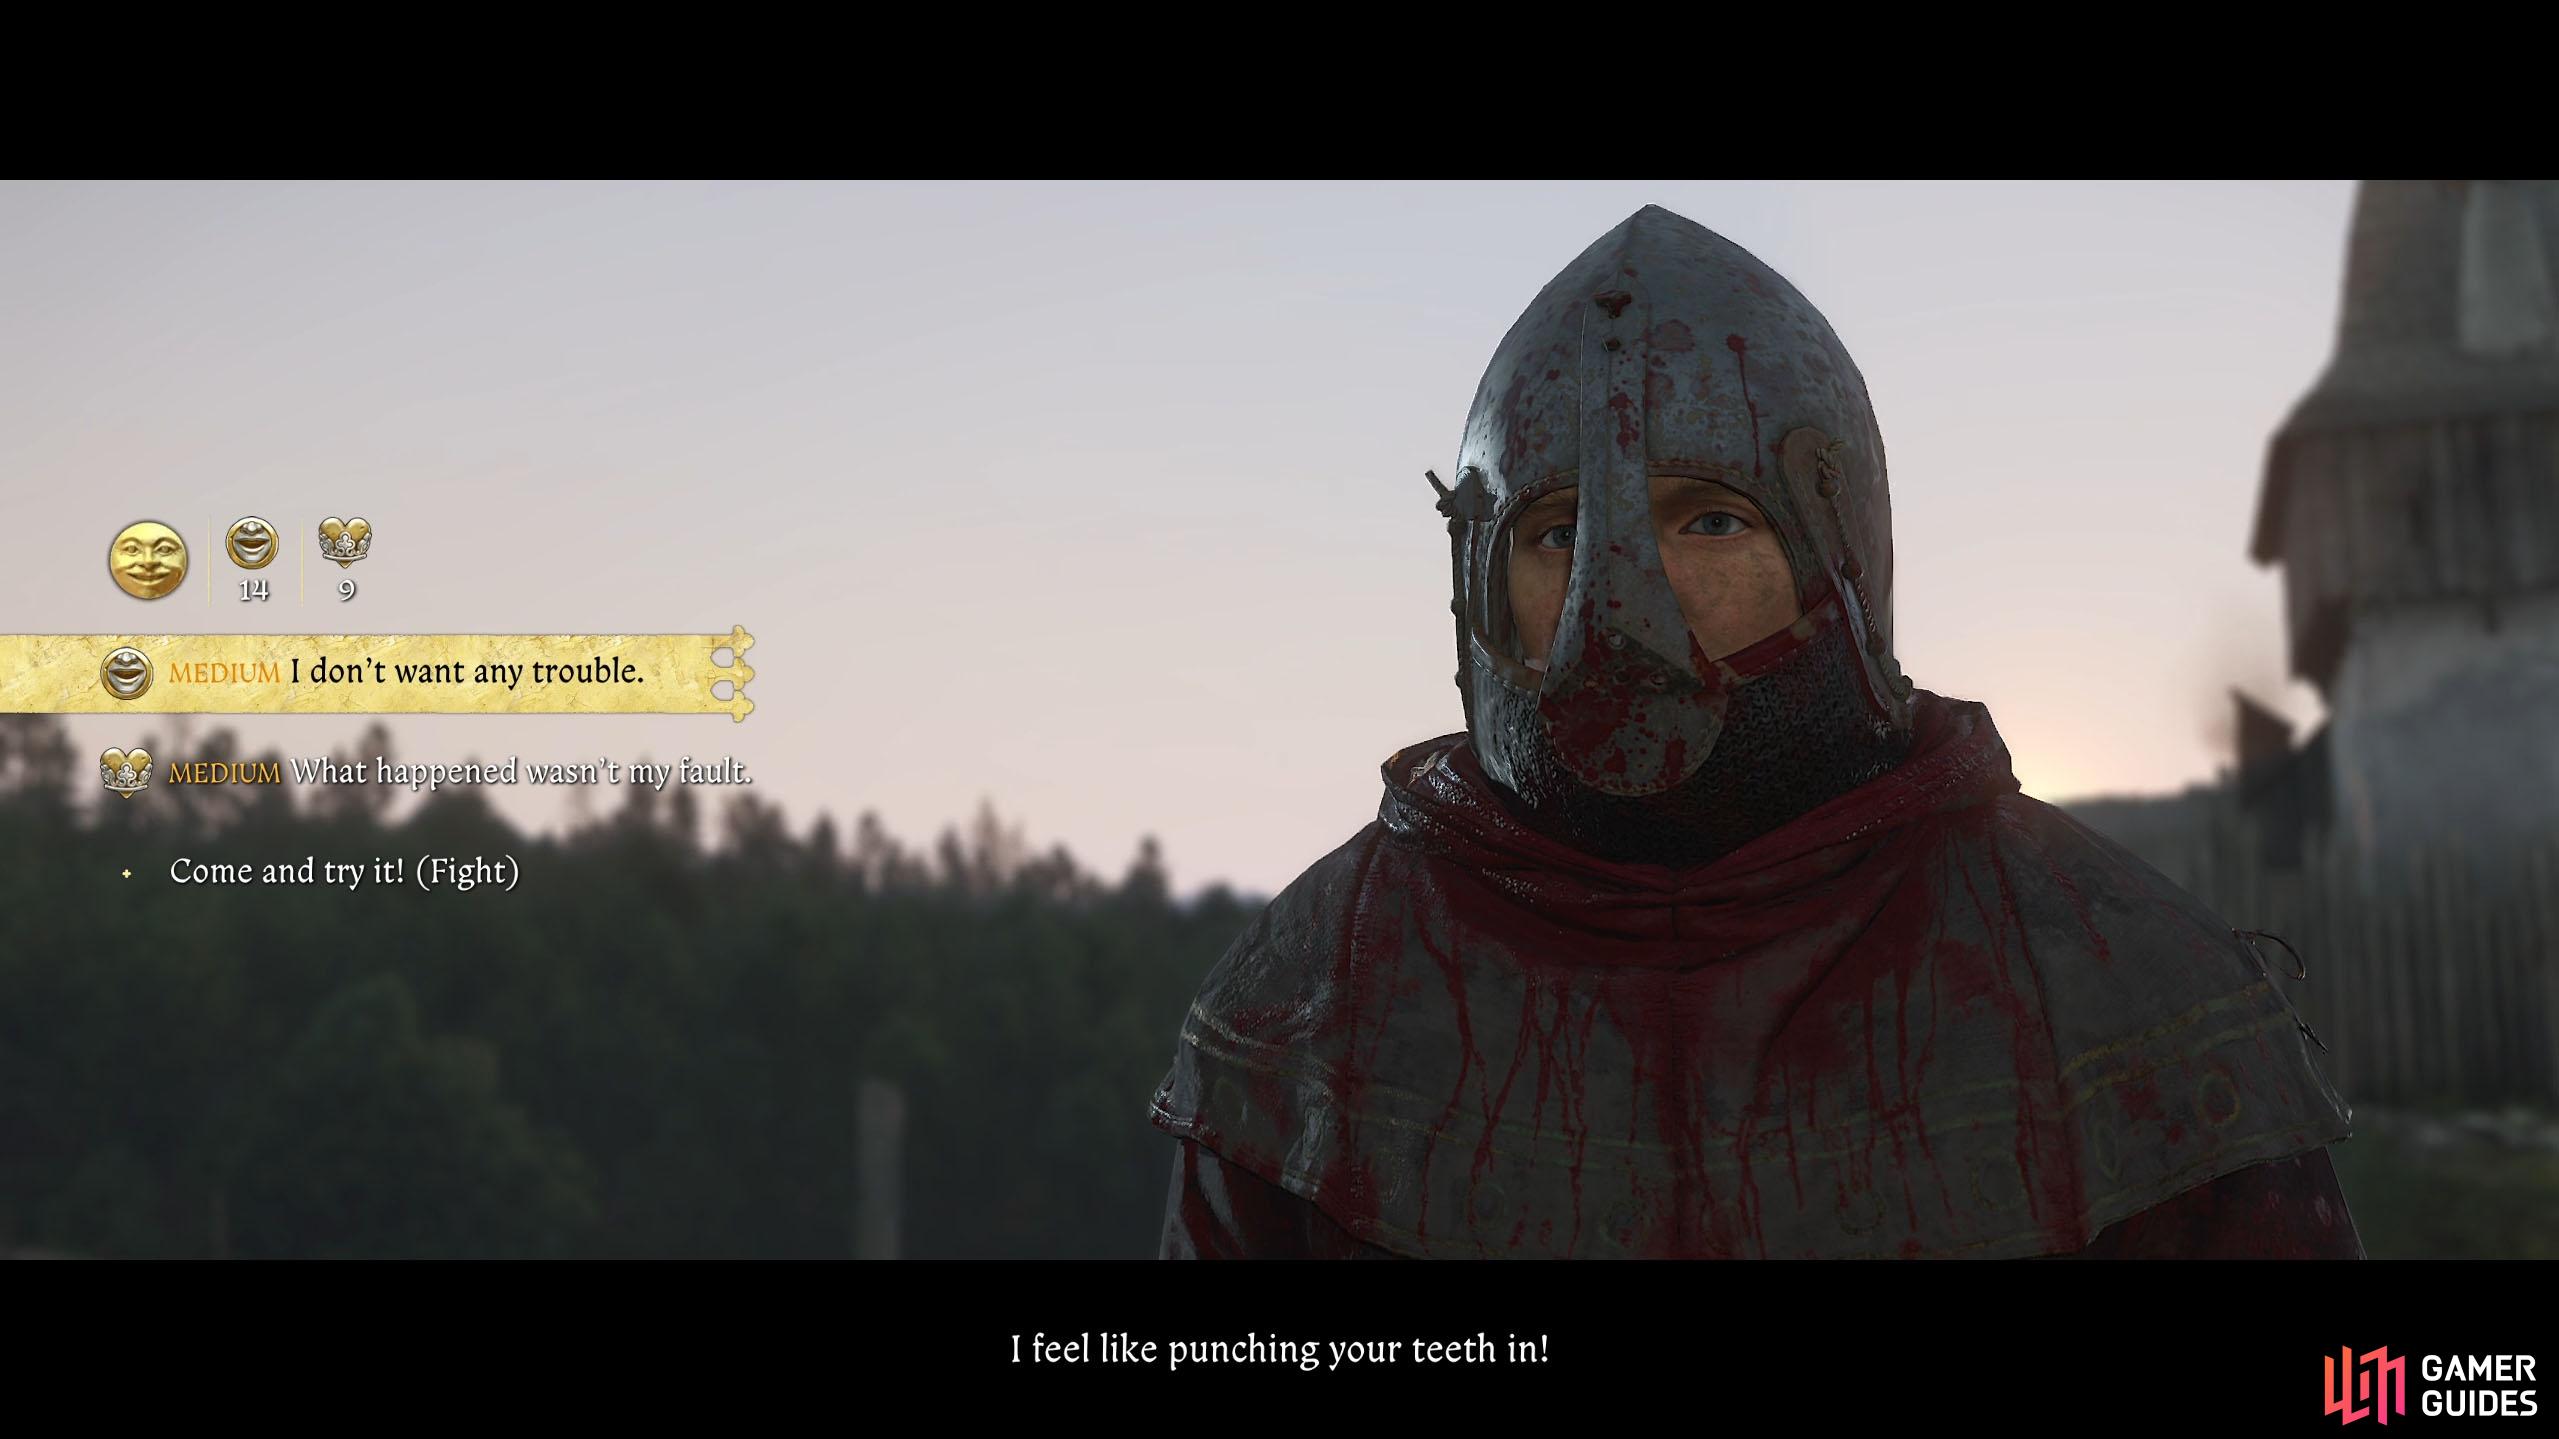
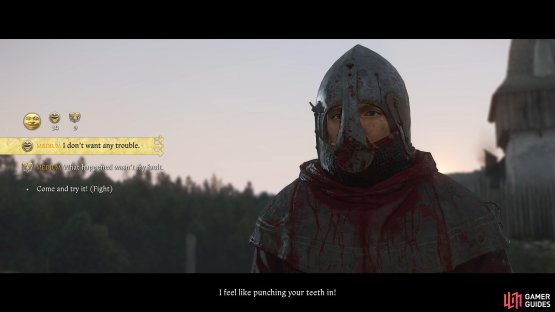

(1 of 2) Tell Bluster that it wasn’t your fault and that you buried the dead.
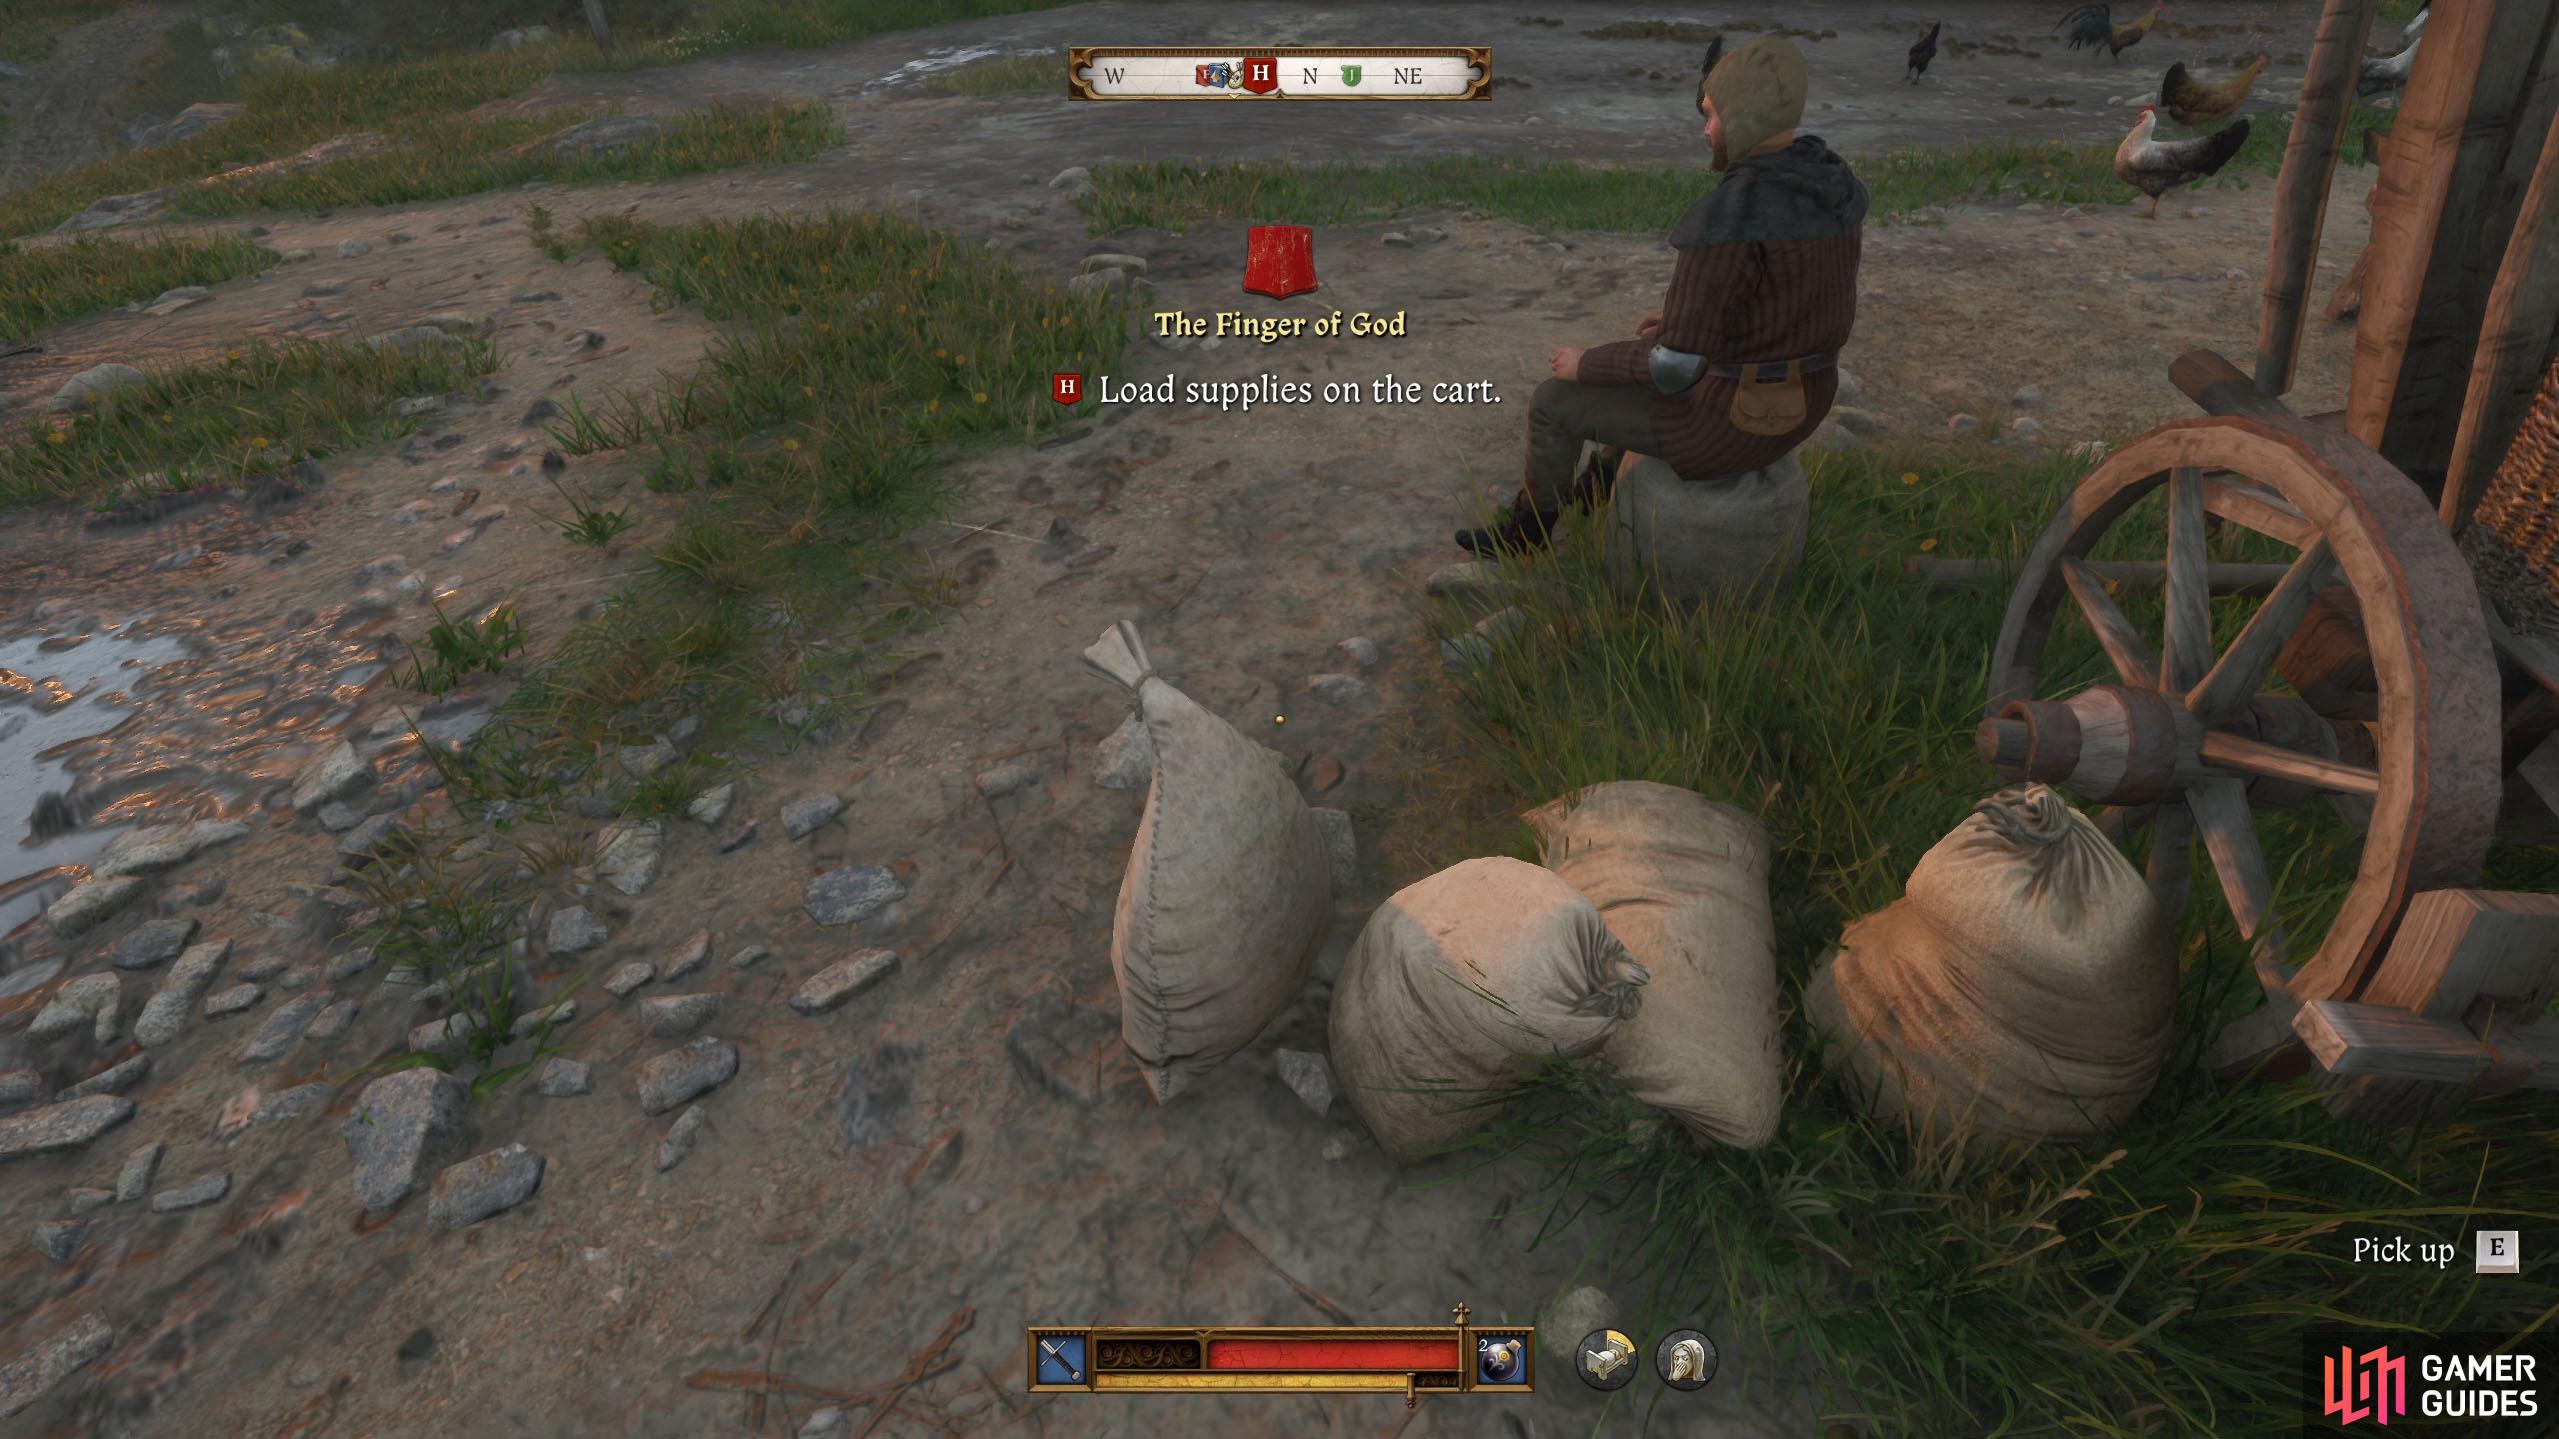
Tell Bluster that it wasn’t your fault and that you buried the dead. (left), Grab the sacks next to him and throw them on the back of the wagon next to them. (right)
The sacks are next to the cart, so keep lugging them onto the back of the wagon until they disappear. There are five in total to place on the wagon. Once you’re finished, Bluster will say something to you, and agree with him to get a reputation boost.
Craft Horseshoes for Groom Peltzel
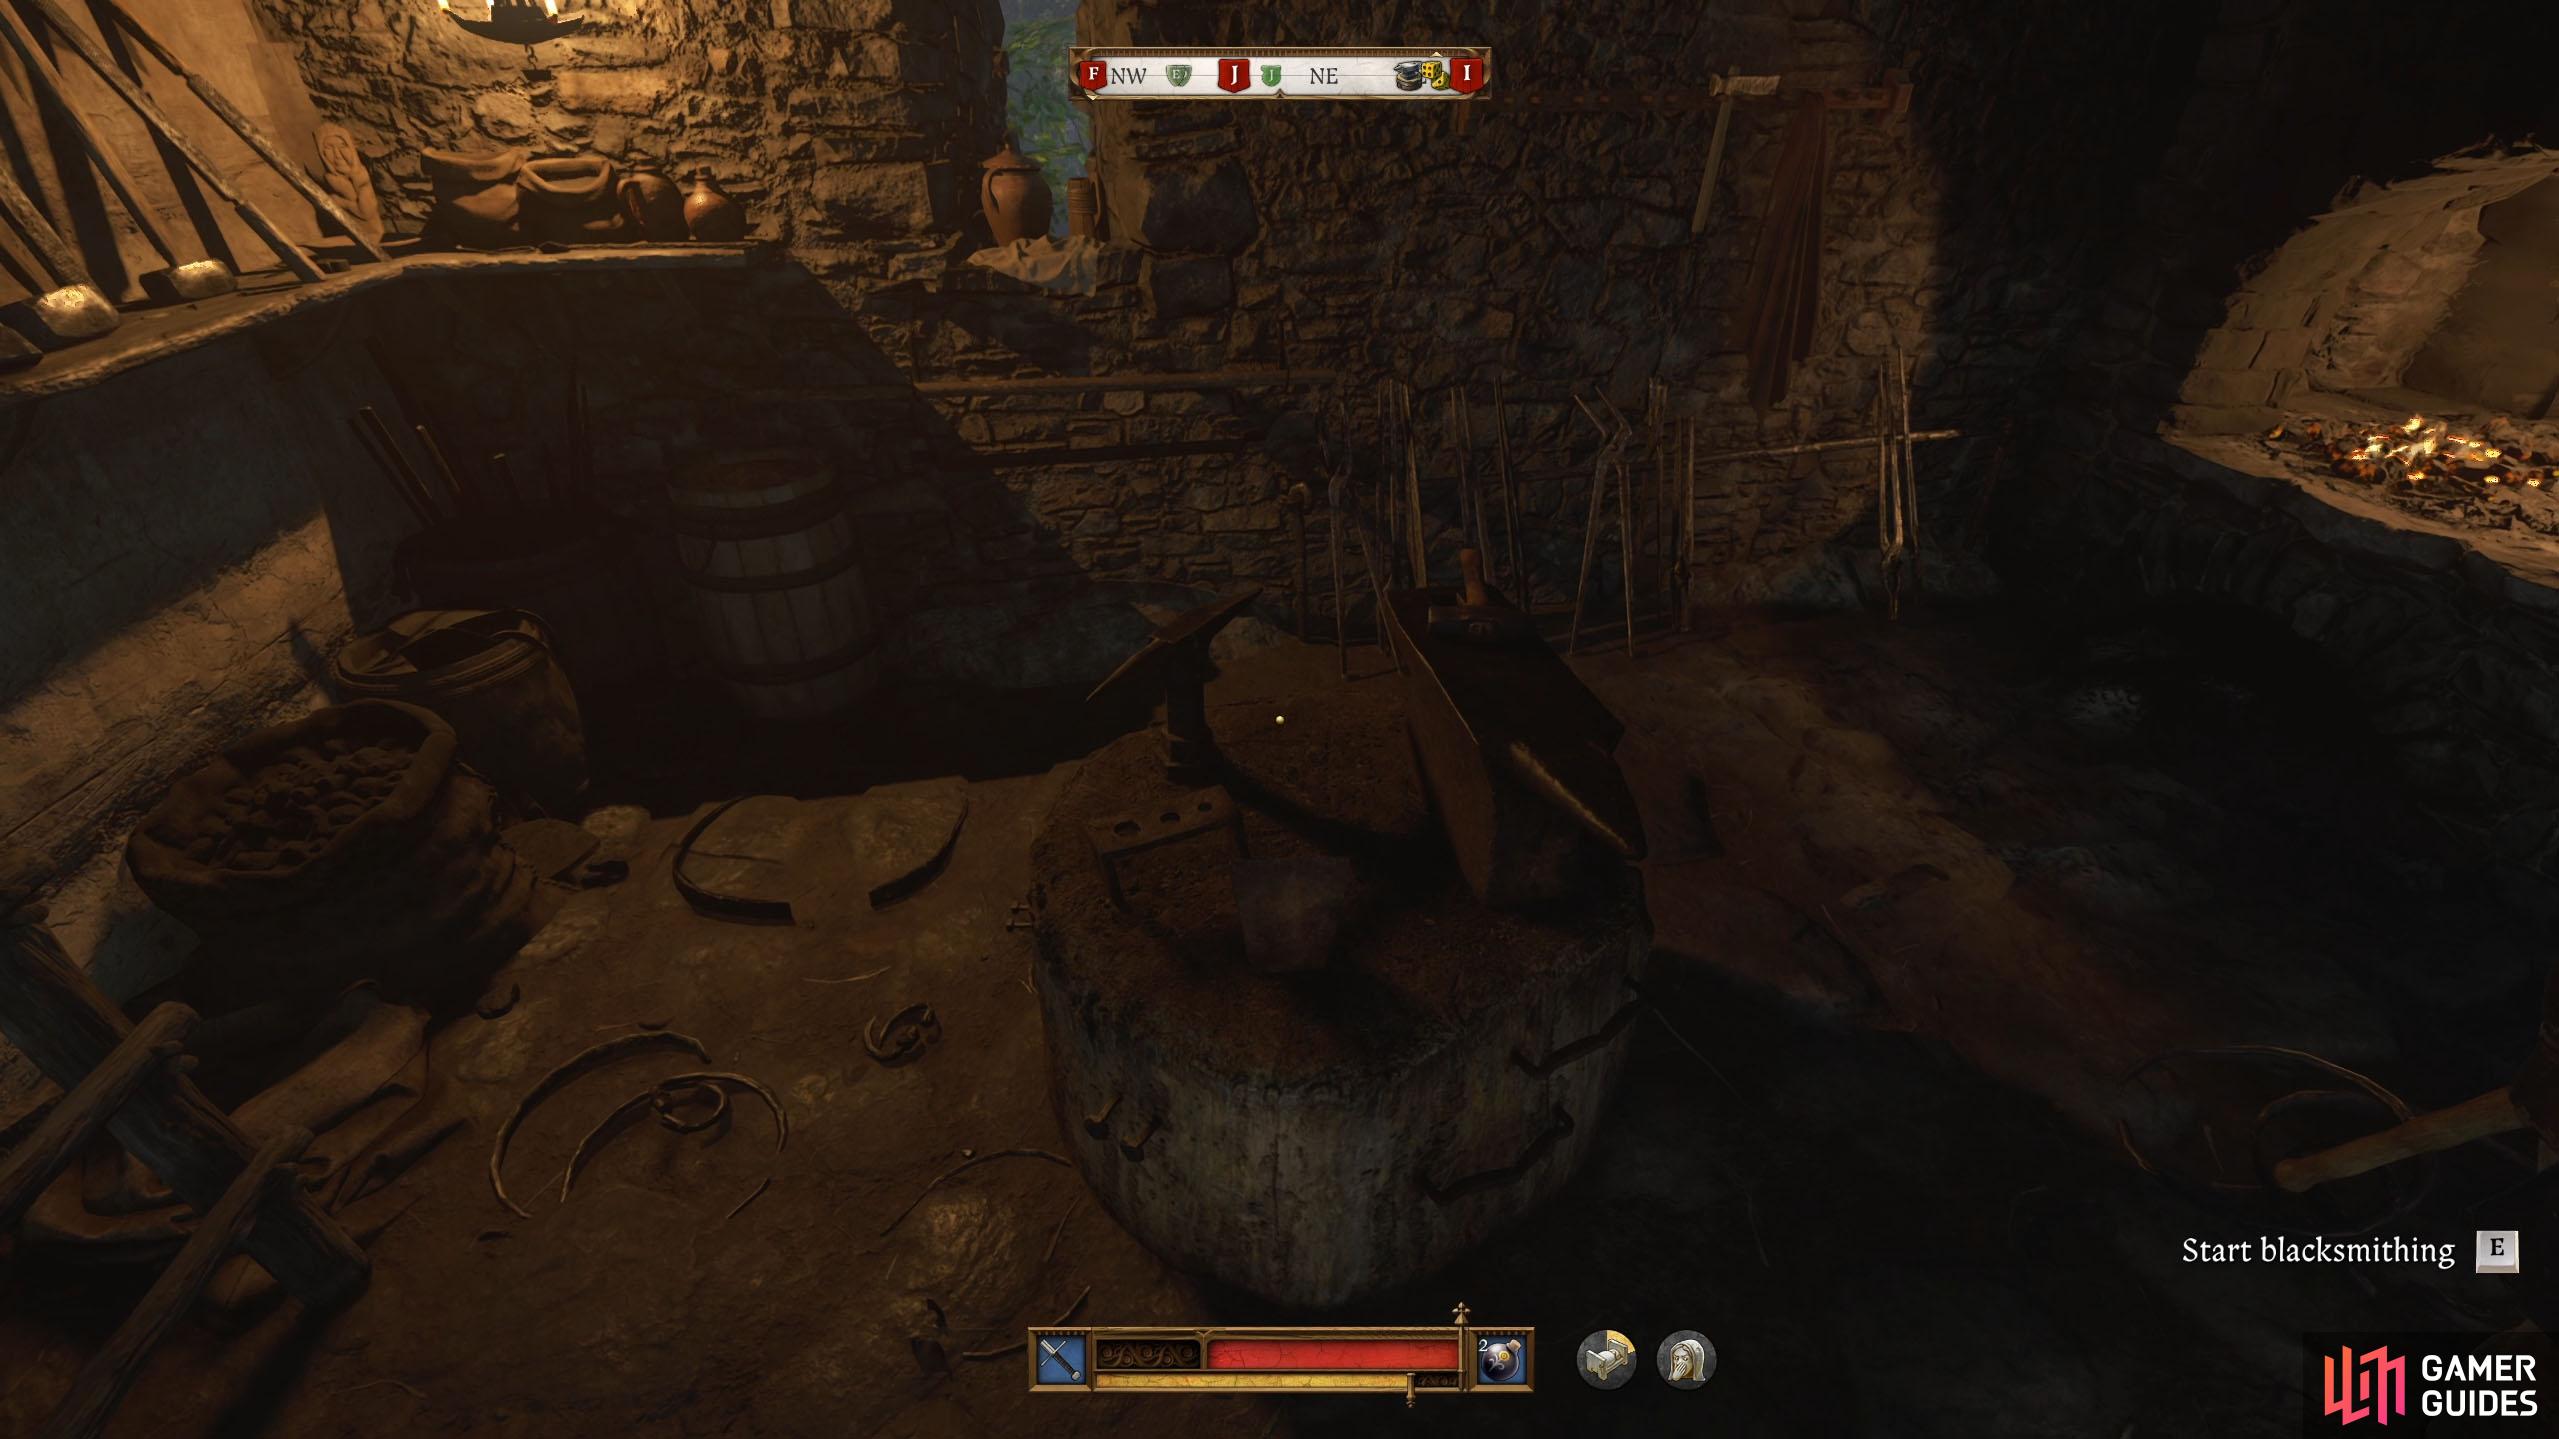
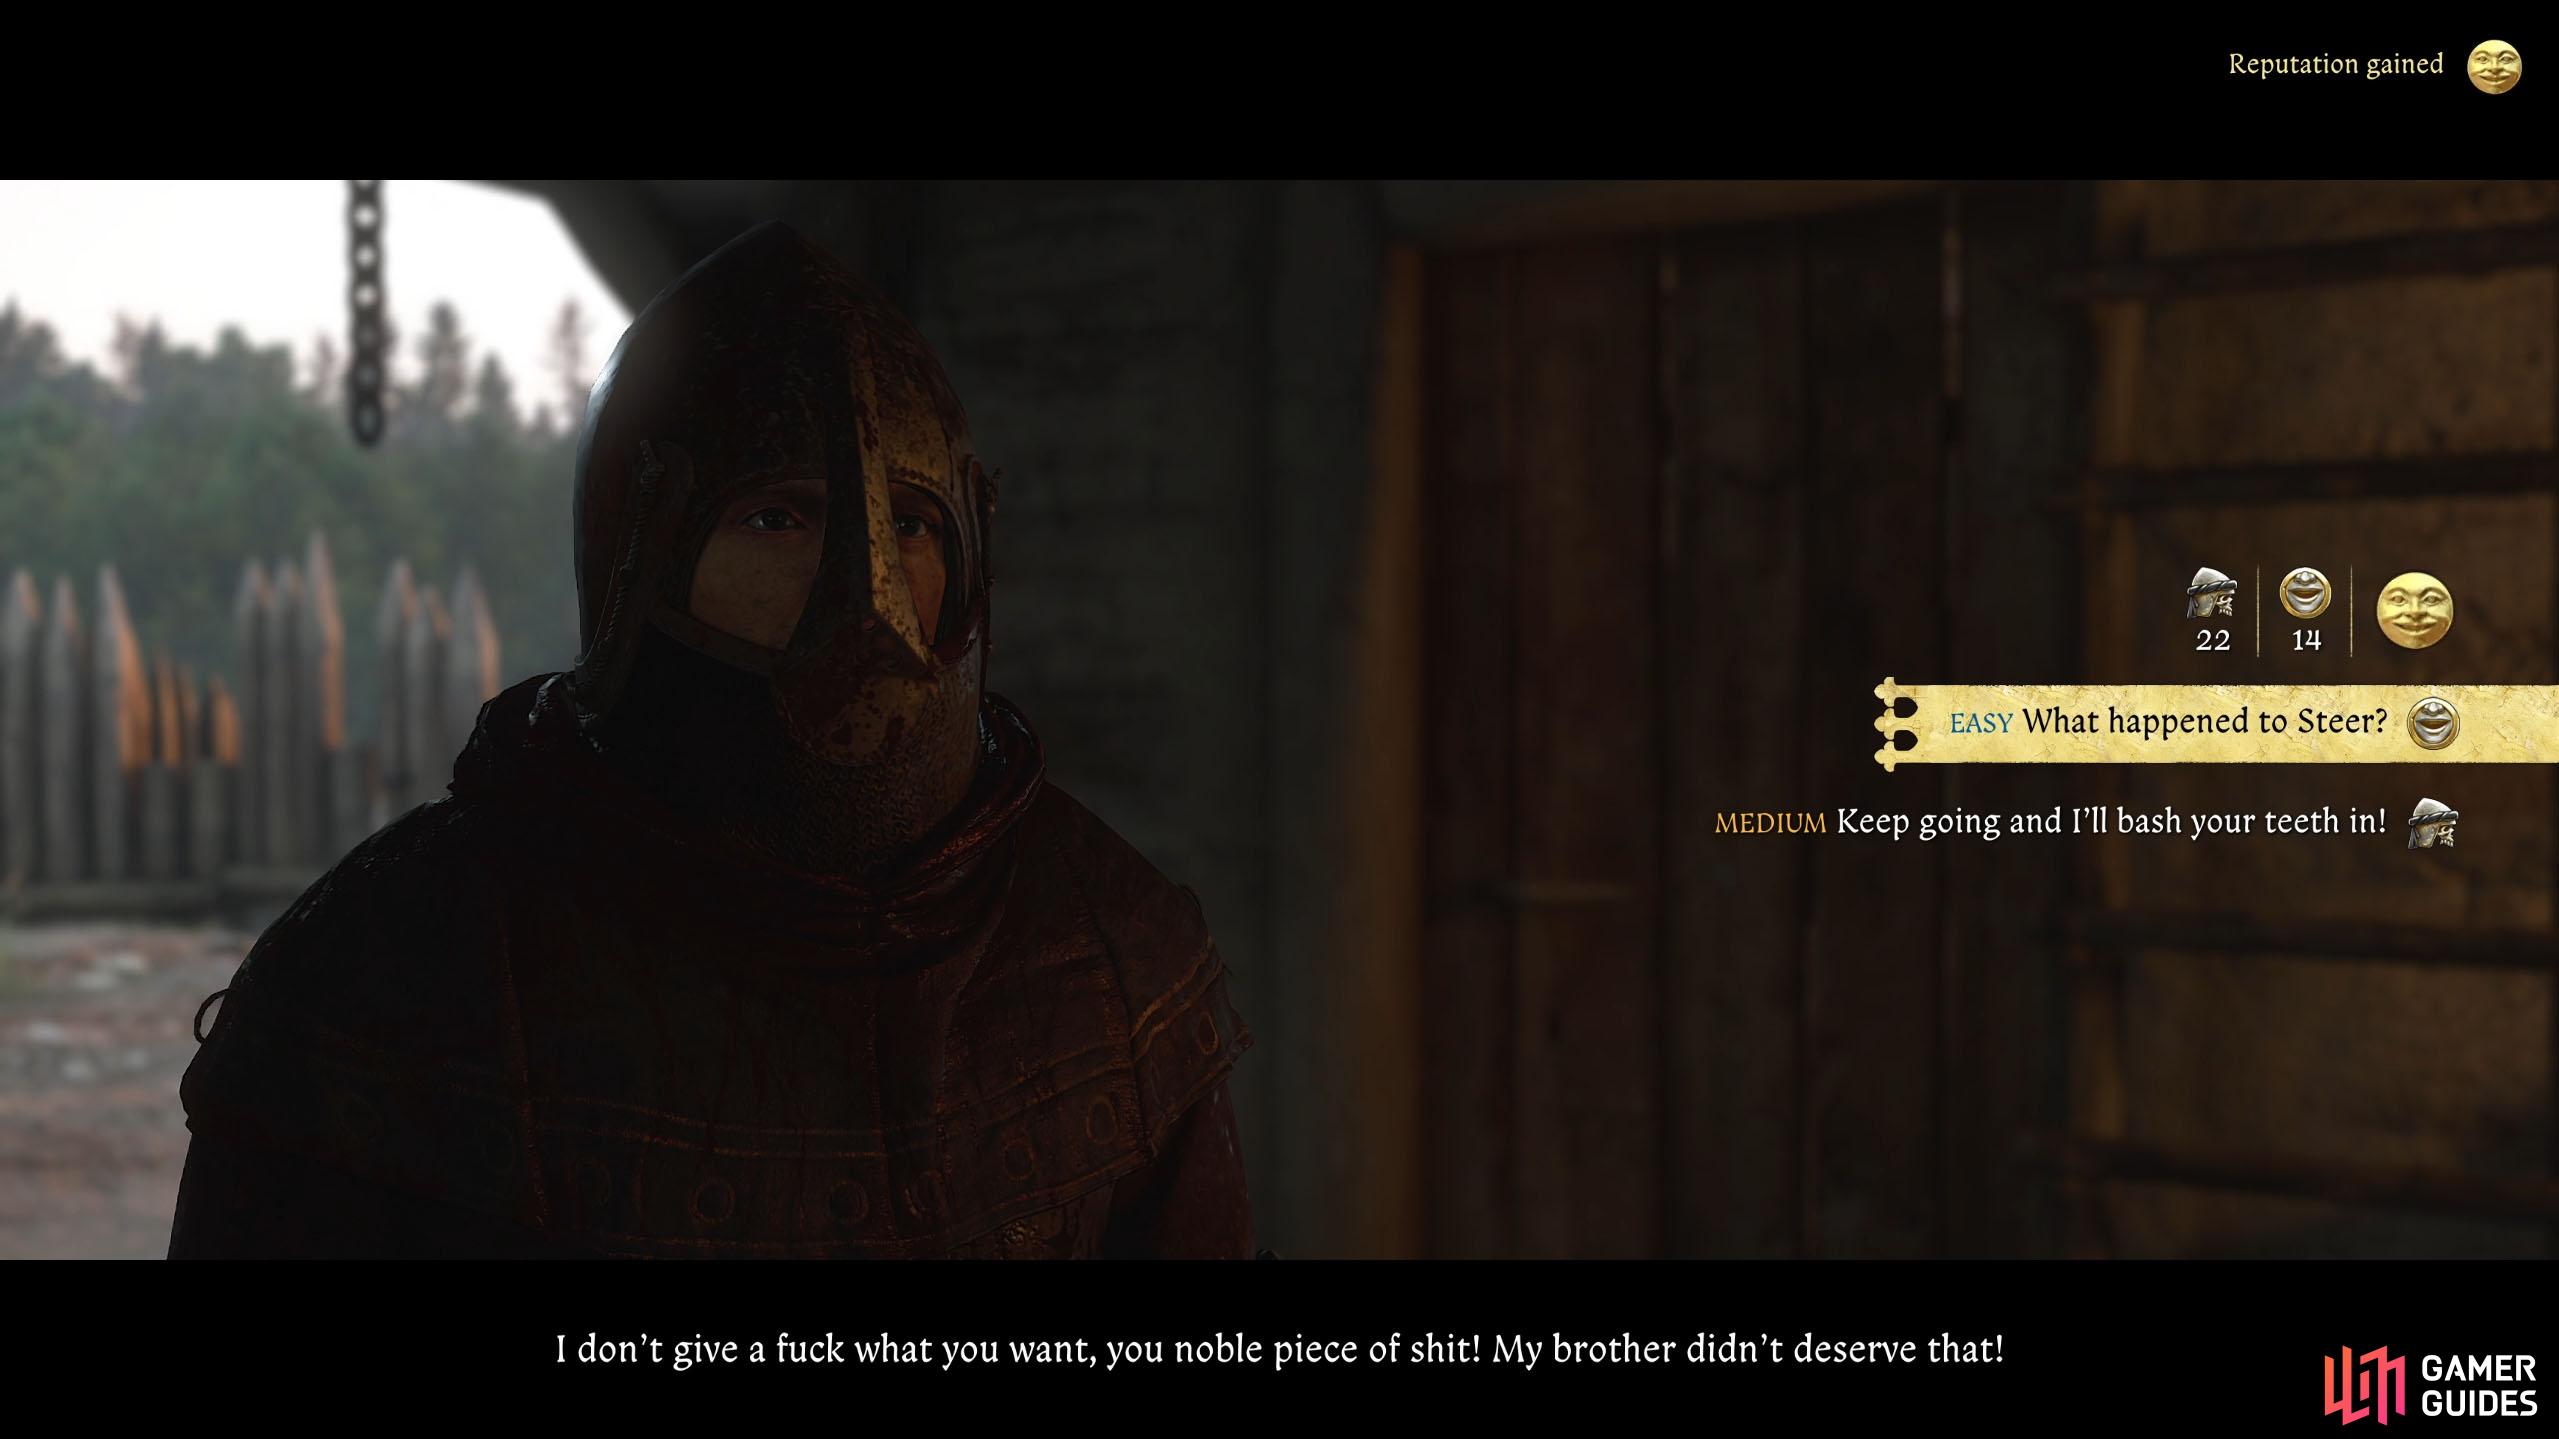
Opposite the wagon are the stables with Groom Peltzel tending to them. Speak to him and ask if he needs help, and he’ll ask you to make some horseshoes. Head into the main castle area, and you’ll find the blacksmith station right in front of you. Speak to Bull and tell him you don’t want to fight him, and you’ll get a speech check come up.
Ask him what happened to Steer (Persuasion Check), and it will calm him down. Tell him you need to make some horseshoes, and he’ll let you use the forge. He’ll also ask if you can help fix up some weapons, but we’ll get to that in a minute. For now, focus on the horseshoes.
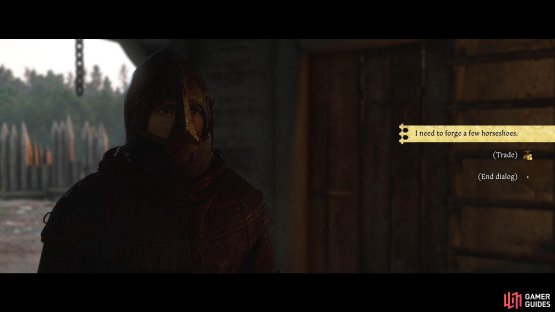
(1 of 2) Speak to Pelzel at the stables and agree to help him with the horseshoes.
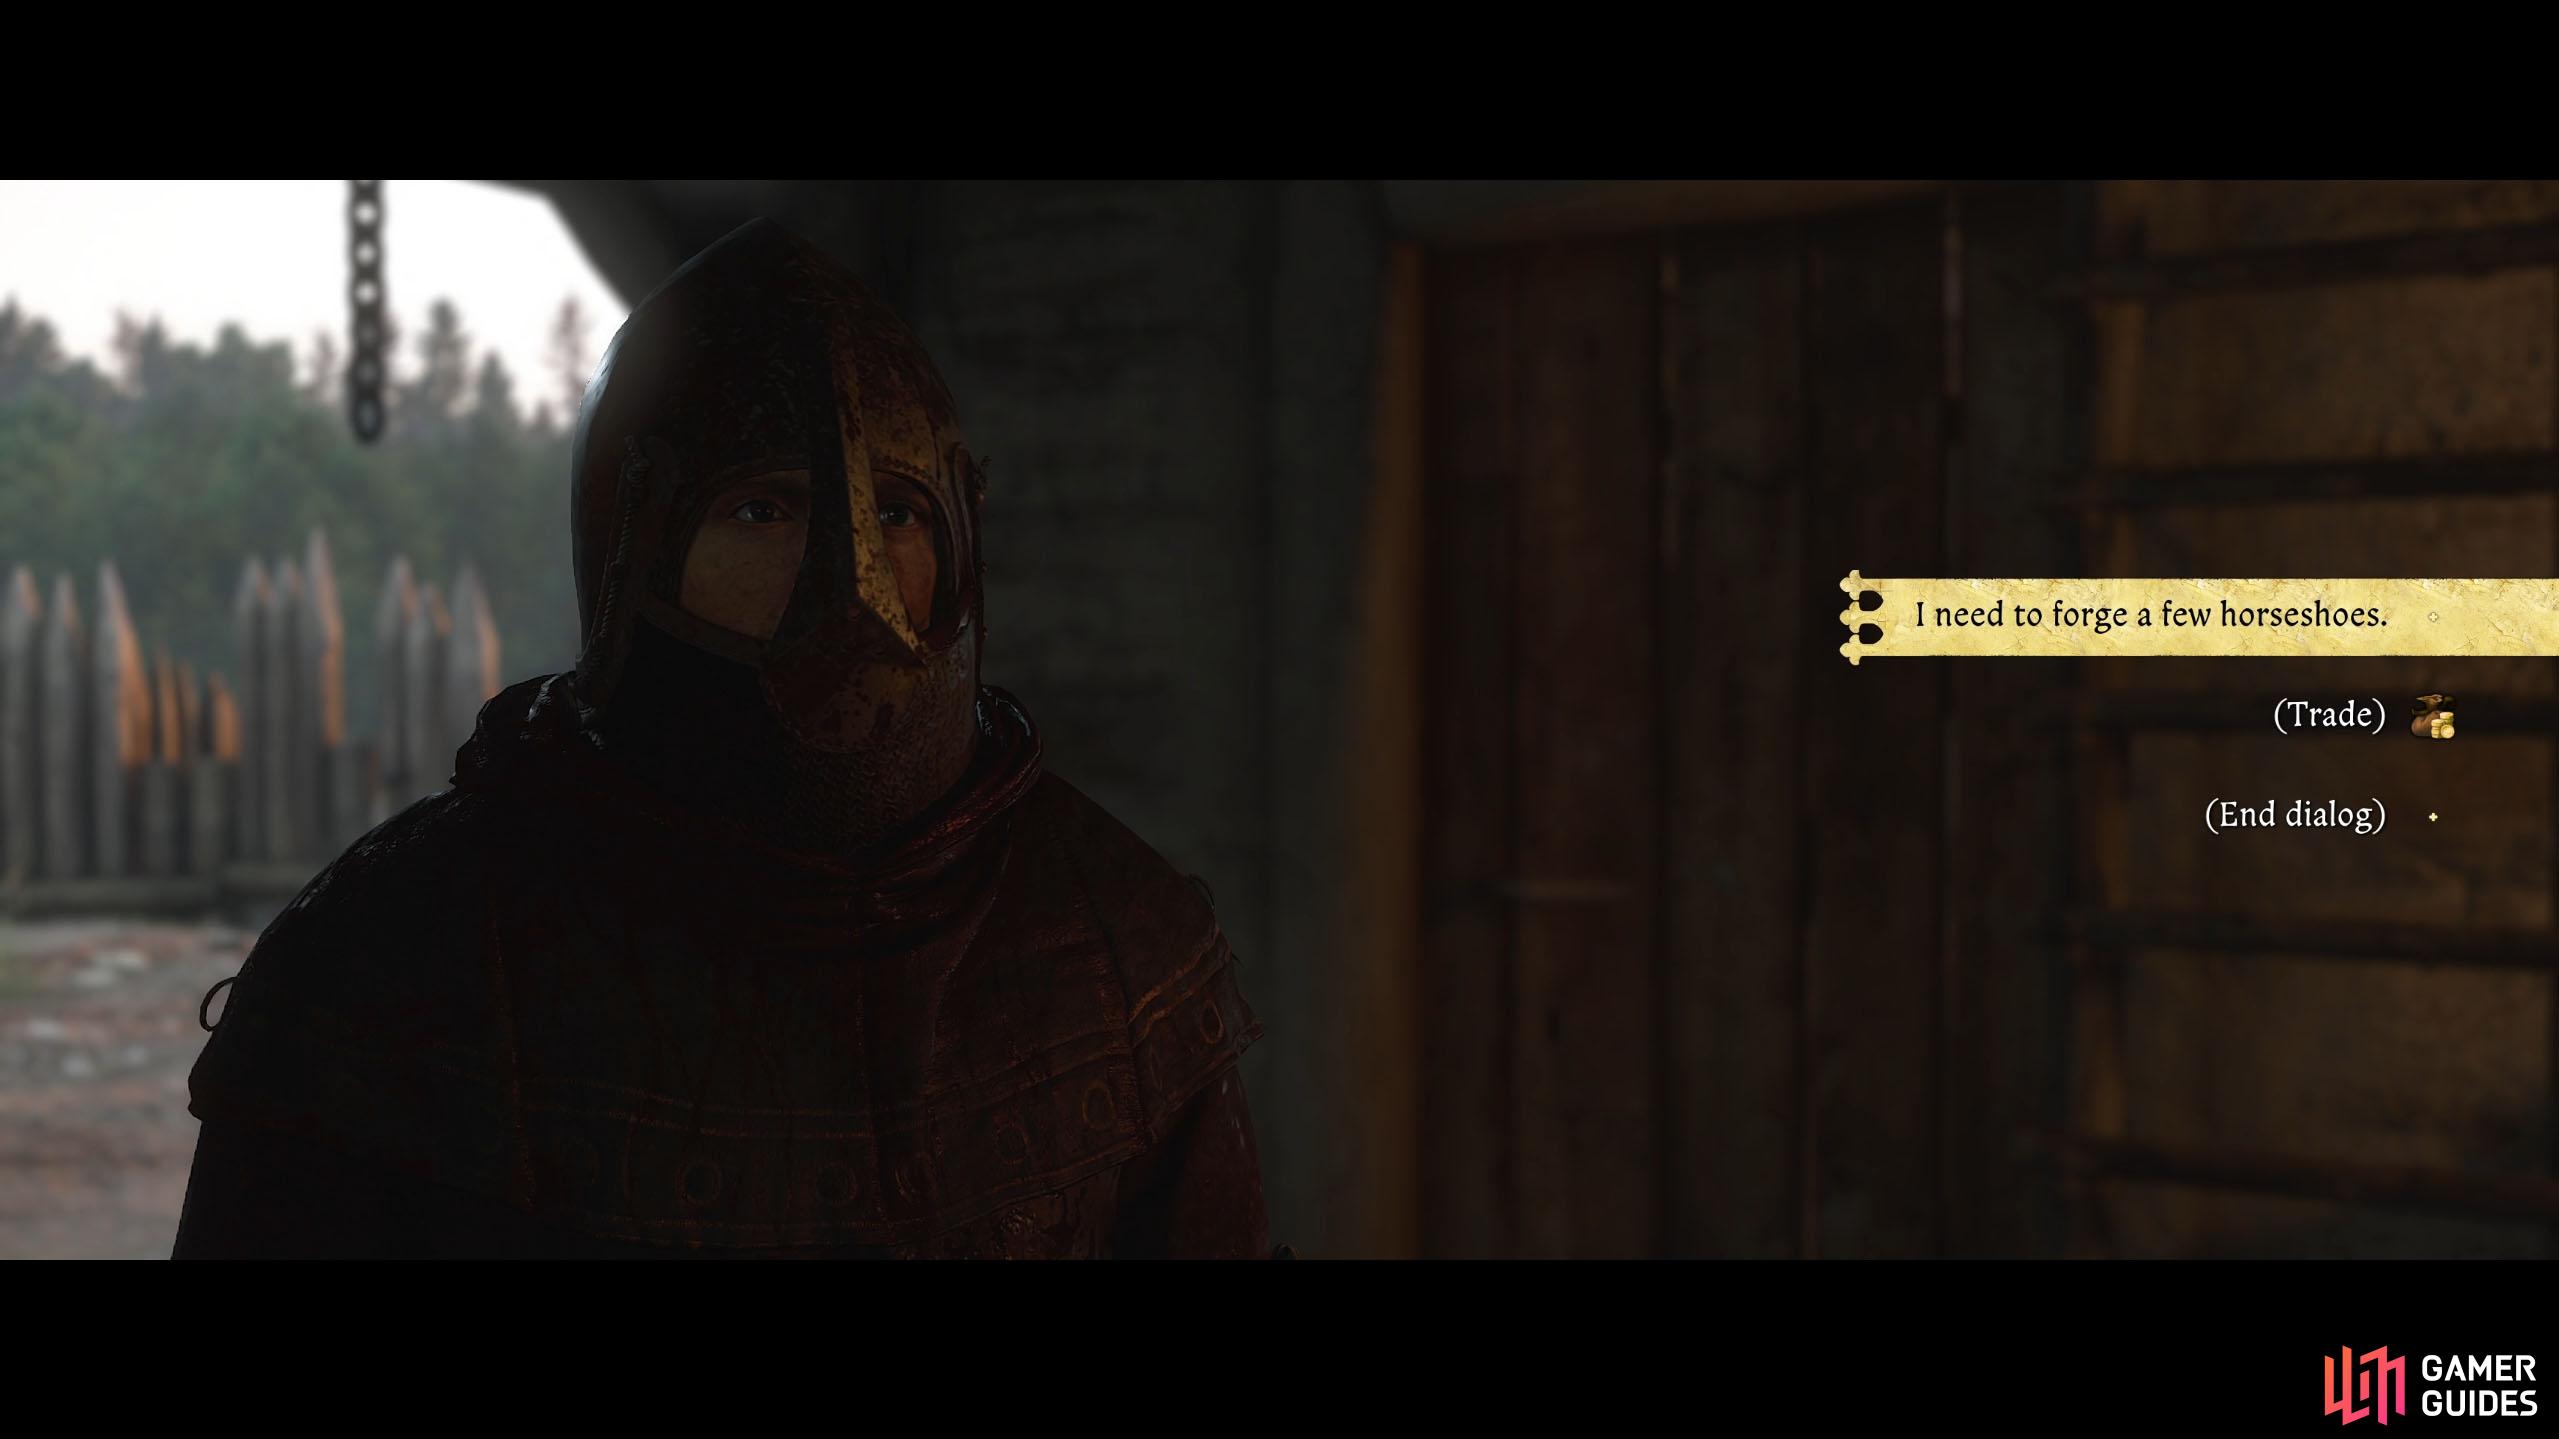
Speak to Pelzel at the stables and agree to help him with the horseshoes. (left), Go to the blacksmith and ask him if you can use the forge. (right)
Examine the barrel behind the anvil, and you’ll find a bunch of weapons and some materials. Take them all (it’s not stealing), and remember that the weapons you take are what Bull needs to be fixed.
Now, interact with the anvil, select the “Other” tab, and select the horseshoes. If you don’t have the recipe for them, you can purchase them from Bull as well as any materials you may need. You’ll want to buy a ![]() Blacksmith’s kit or two as well to repair the weapons for Bull.
Blacksmith’s kit or two as well to repair the weapons for Bull.
Blow the horseshoe until it turns a golden color and then place it on the anvil. Attack the horseshoe evenly (one hit going around the horseshoe), and repeat the process until Henry says it’s ready.
If the horseshoe becomes cold, put it in the forge again until it’s a golden color. Craft three horseshoes and then head back to the stable groom and hand them in. You’ll receive 55 Groshen, a ![]() Cockerel Potion, and 8
Cockerel Potion, and 8 ![]() Lead balls for your help.
Lead balls for your help.
Interact with the anvil and craft three horseshoes.
Repair the Weapons for Bull
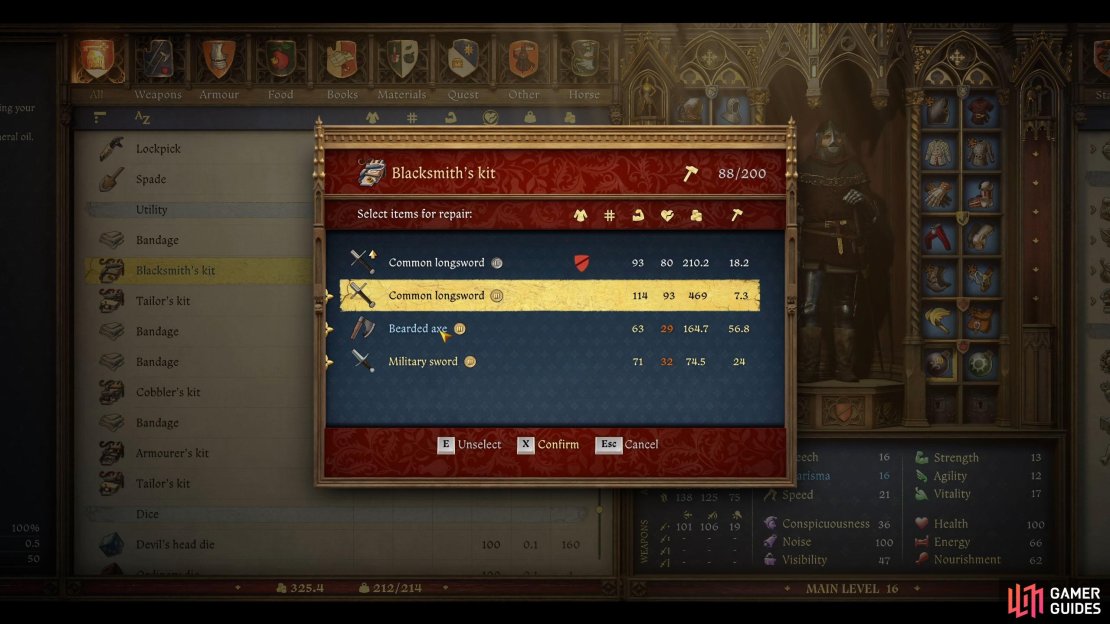
Head back to the blacksmith, Bull, and purchase a couple of Blacksmith’s kits unless you already have them, now use the kit in your inventory, and repair the Common Longsword, Military Sword, and the Bearded Axe. Once that’s done, speak to Bull again and tell him you’ve repaired the weapons, and he’ll thank you for your help.
Before you’re done with him, he’ll ask you if you prefer fighting or smithing. Tell him the latter to get a reputation boost. He’ll reward you with 24x ![]() Ordinary arrows and 8x Scatter shot for your troubles.
Ordinary arrows and 8x Scatter shot for your troubles.


(1 of 3) Select the top option to calm Bull down.
Help Klara
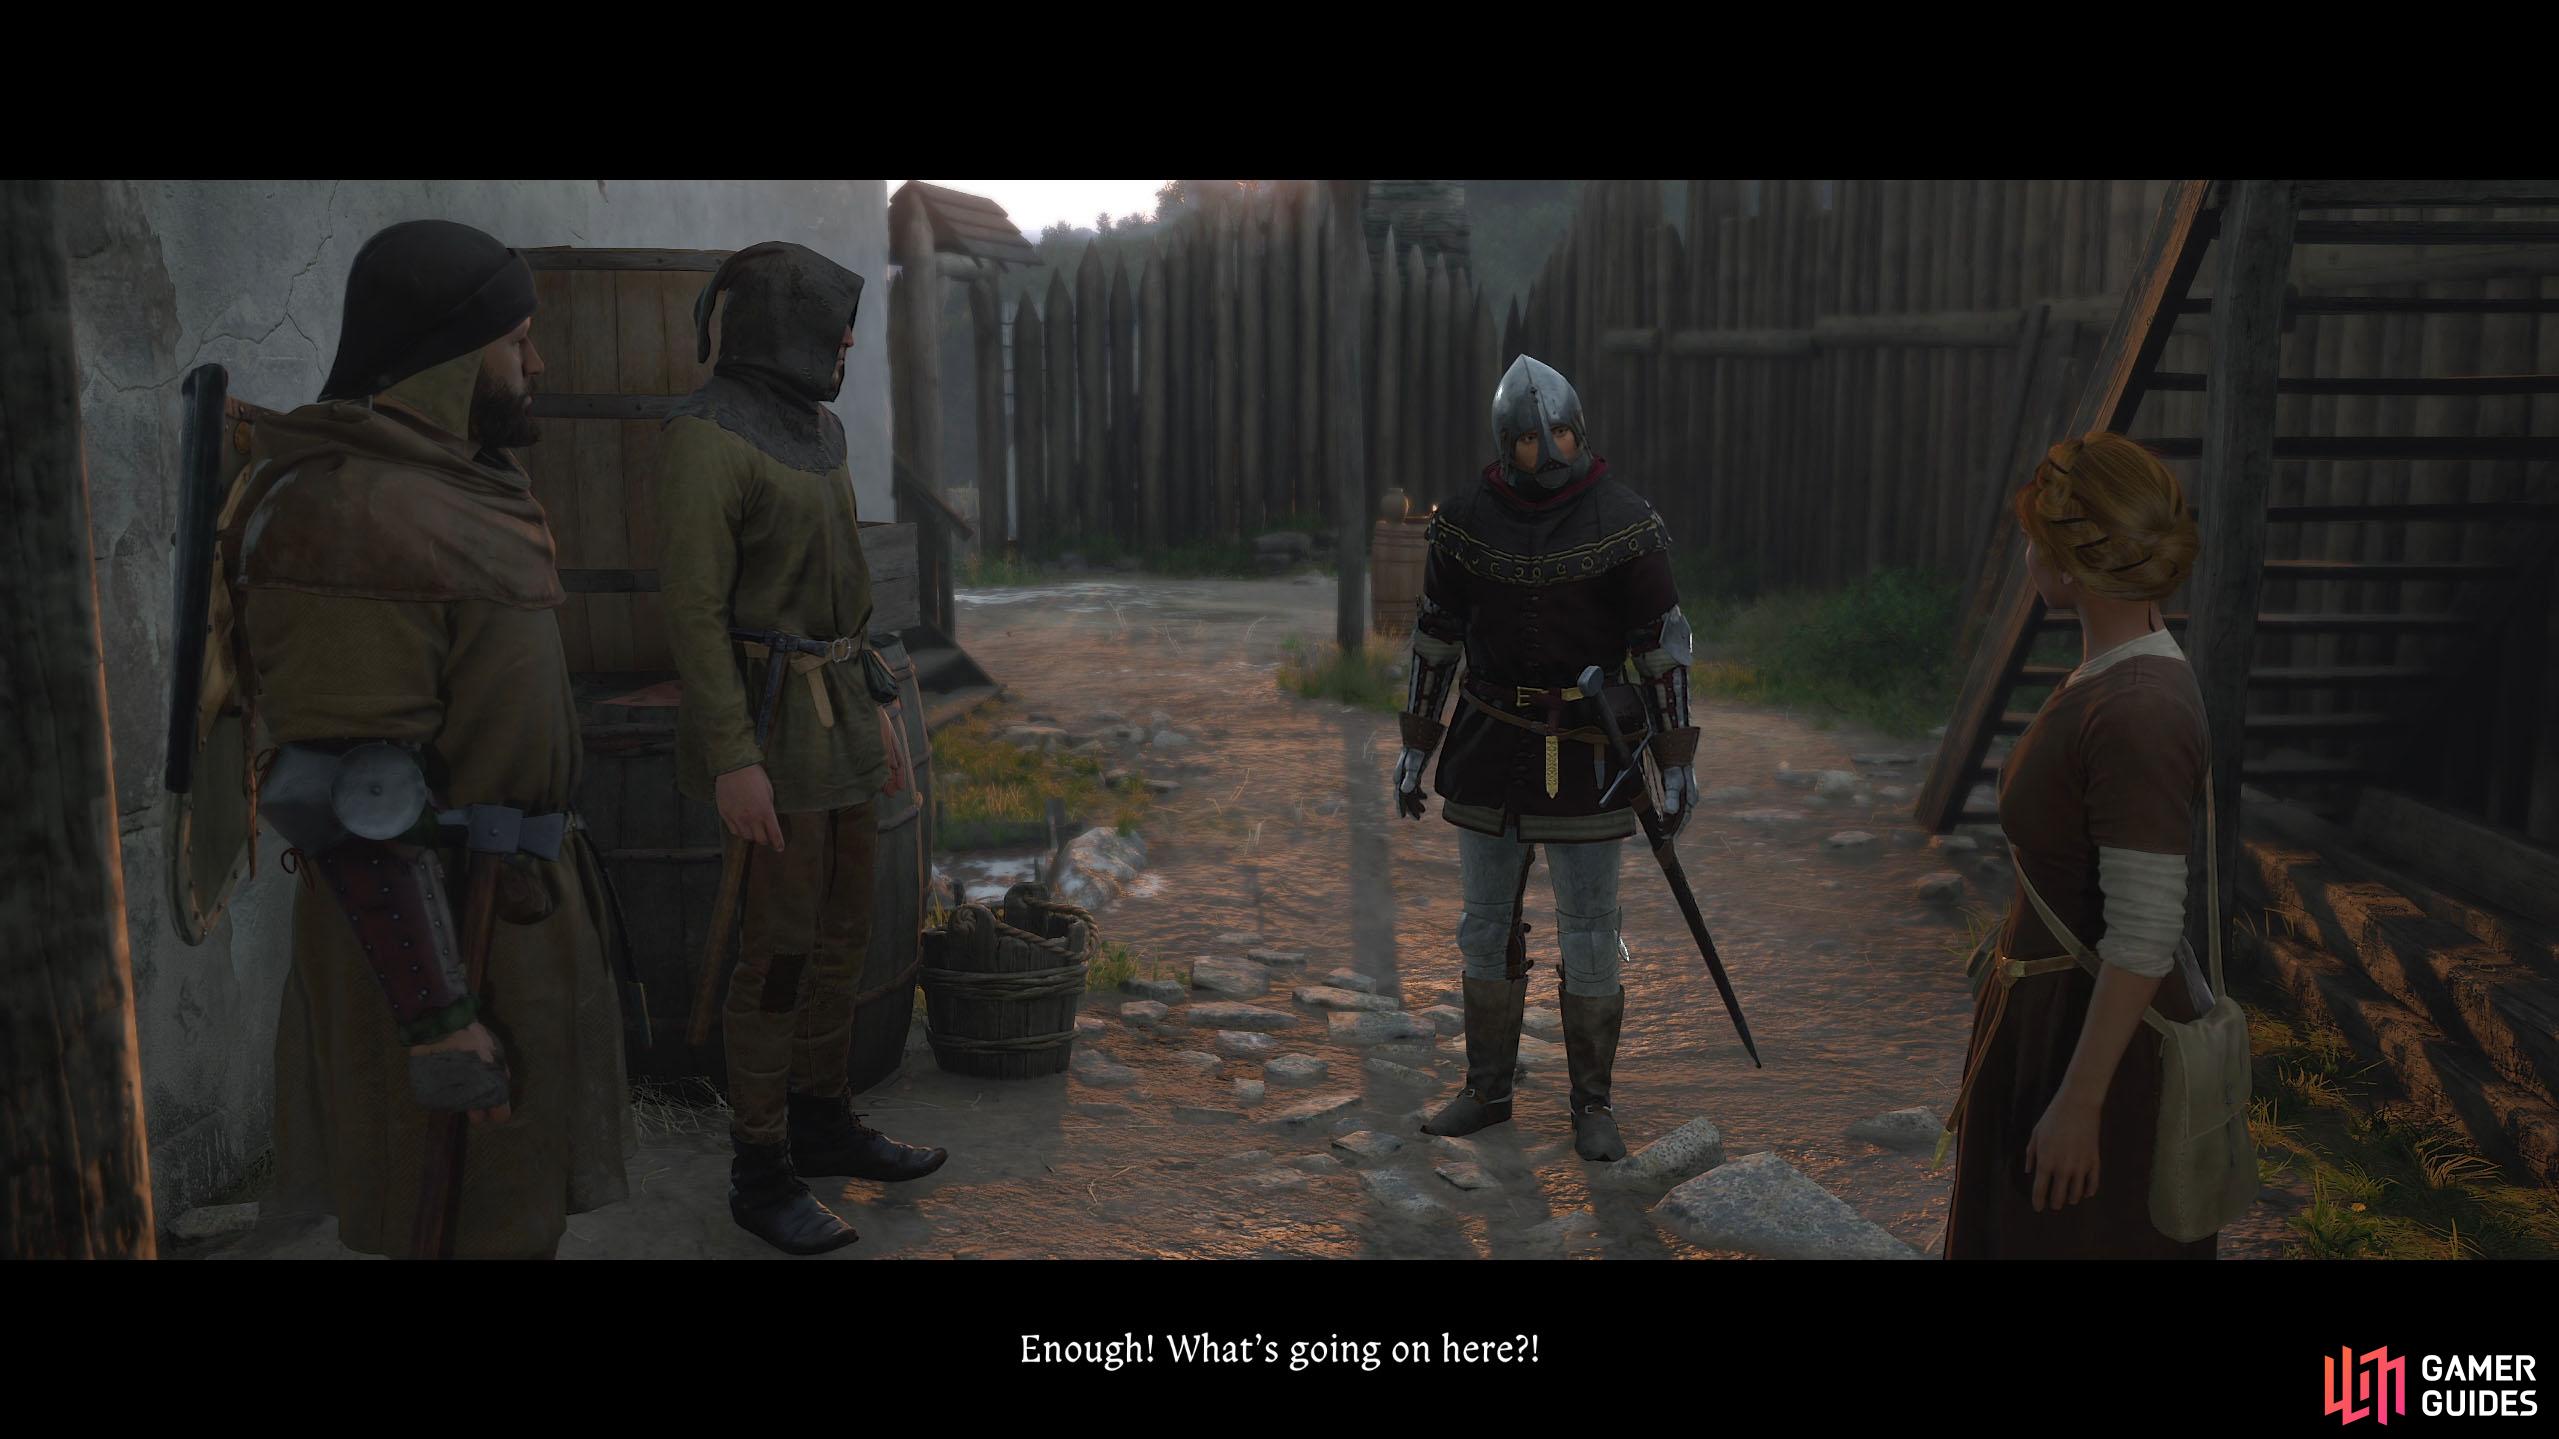
Head up the stairs to the right of the blacksmith forge and speak to Klara, who is trying to persuade the guards to let her treat the prisoners, although they’re not being helpful. Speak to her, and tell the guard that the prisoners need treatment.
You’ll get a speech check, and we recommend selecting the Persuasion option “I’ll treat your wounded”. They’ll stop guarding the door, giving you access to the prisoners.
Follow Klara into the room and speak to her. Tell her you were sticking up for your friends and that you’d be a traitor anyway. Finally, tell her life is a struggle to get a reputation boost. Ask her what she requires you to do and tell her that you know a thing or two about potions.
She’ll tell you that the people in the lower castle need to be treated, and you’ll ask what are their names. The people you’re looking for are Mark, Zwerk, and Kozliek.

(1 of 3) You’ll find Klara just past the kitchen, arguing with some guards.
Heal the Wounded
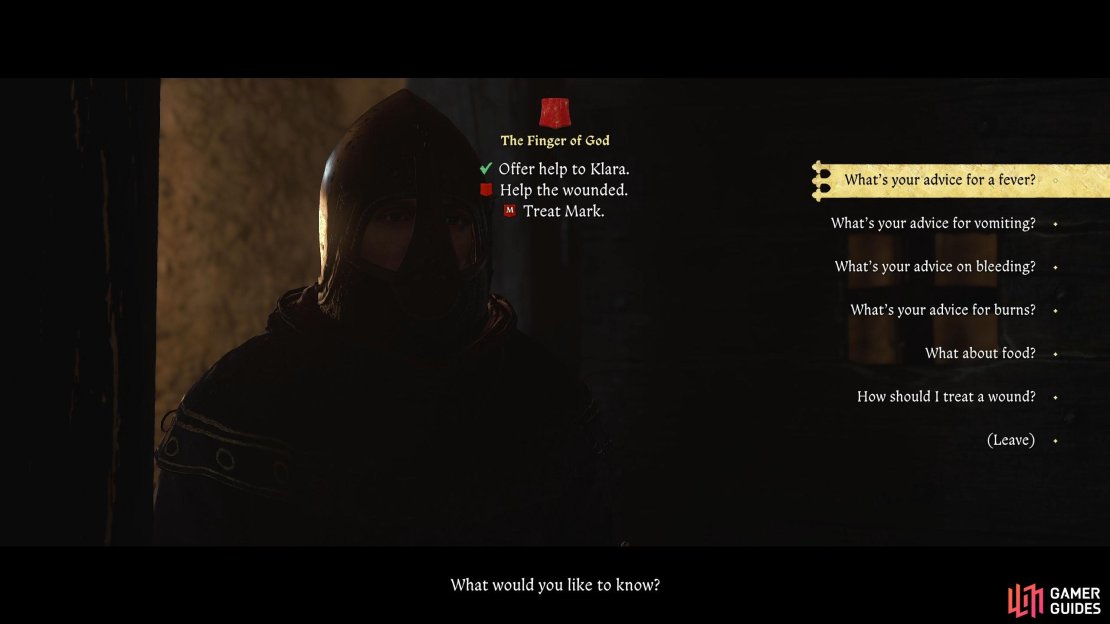
Before you go, you can ask Klara how to fix the various wounds and afflictions. You can ask her this whenever you want, but to make things easier, we’ll list them below.
| Affliction | Cure | Potion |
|---|---|---|
| Wound | Clean the wound first and then bandage it before sewing it up with a |
|
| Burns | Wash with water, daub with marigold ointment, and lightly dress the wound. | |
| Bleeding | Make sure there is no fracture and bandage it if there isn’t. | – |
| Vomiting | If the patient is dozing off and talking nonsense, they’re fine. Make sure they don’t fall asleep and put a cold compress on the forehead. If they’re thirsty, there’s nothing you can do for them due to internal bleeding. | – |
| Fever | Fever could be caused by gangrene. The wound needs to be cleaned and cauterized. Give them a lot of water as well. |
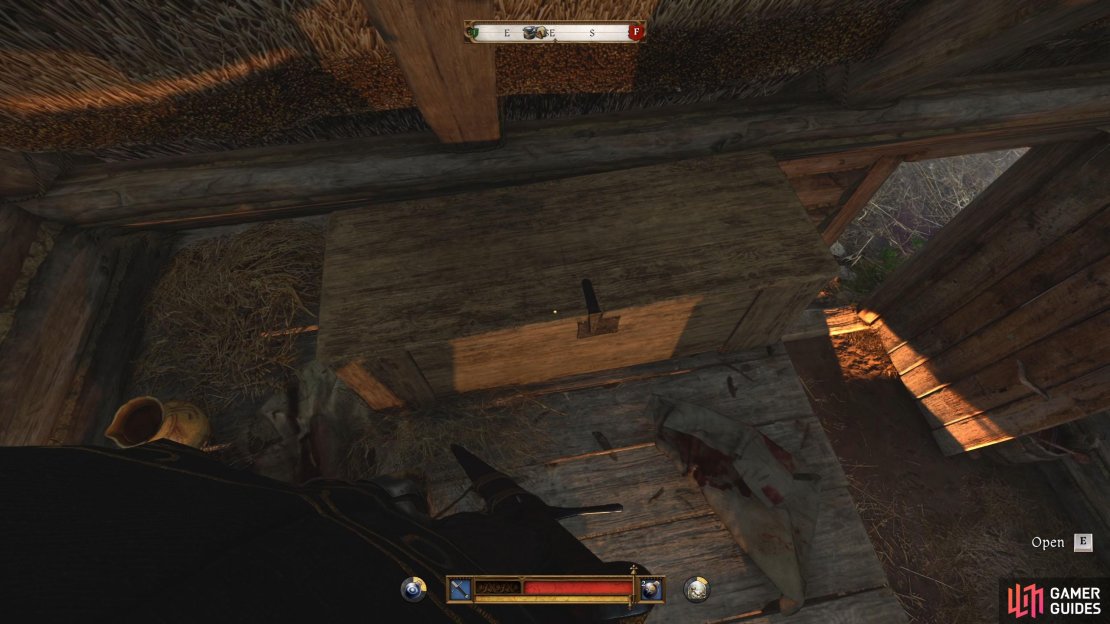
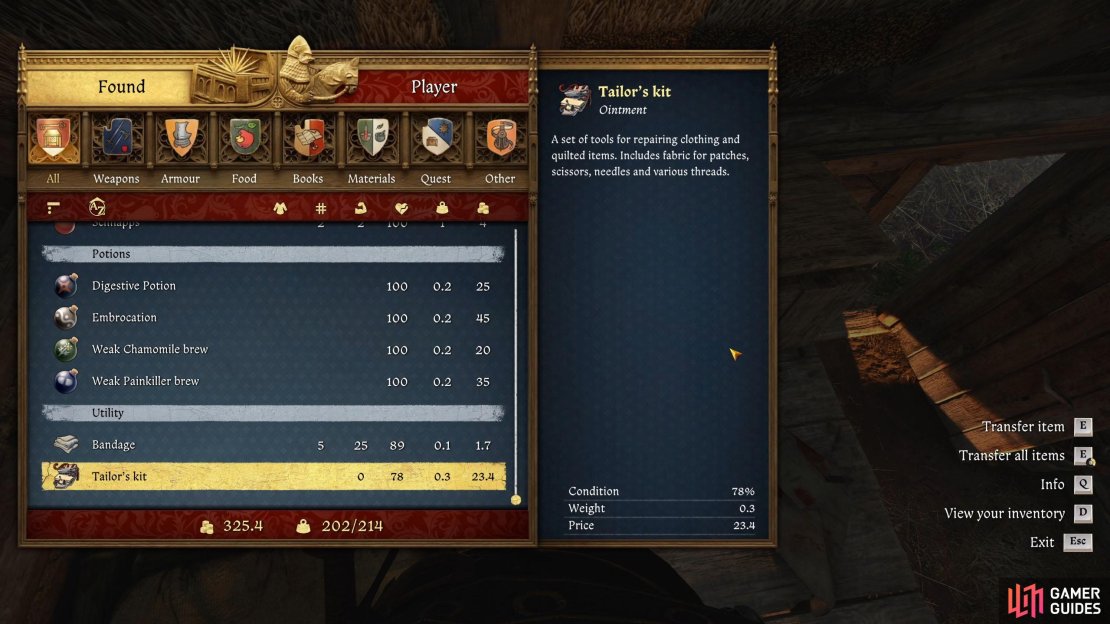
Exit the jail, go past the blacksmith, and head west down the slope to find the patients. Before you do, head into Klara’s hut and search the chest inside for various treatments and potions. You’ll also find a ![]() Chamomile Potion on the table outside. Continue down the slope, and you’ll find two of your patients to the left with the others below it. You’ll need to diagnose and treat each patient below.
Chamomile Potion on the table outside. Continue down the slope, and you’ll find two of your patients to the left with the others below it. You’ll need to diagnose and treat each patient below.
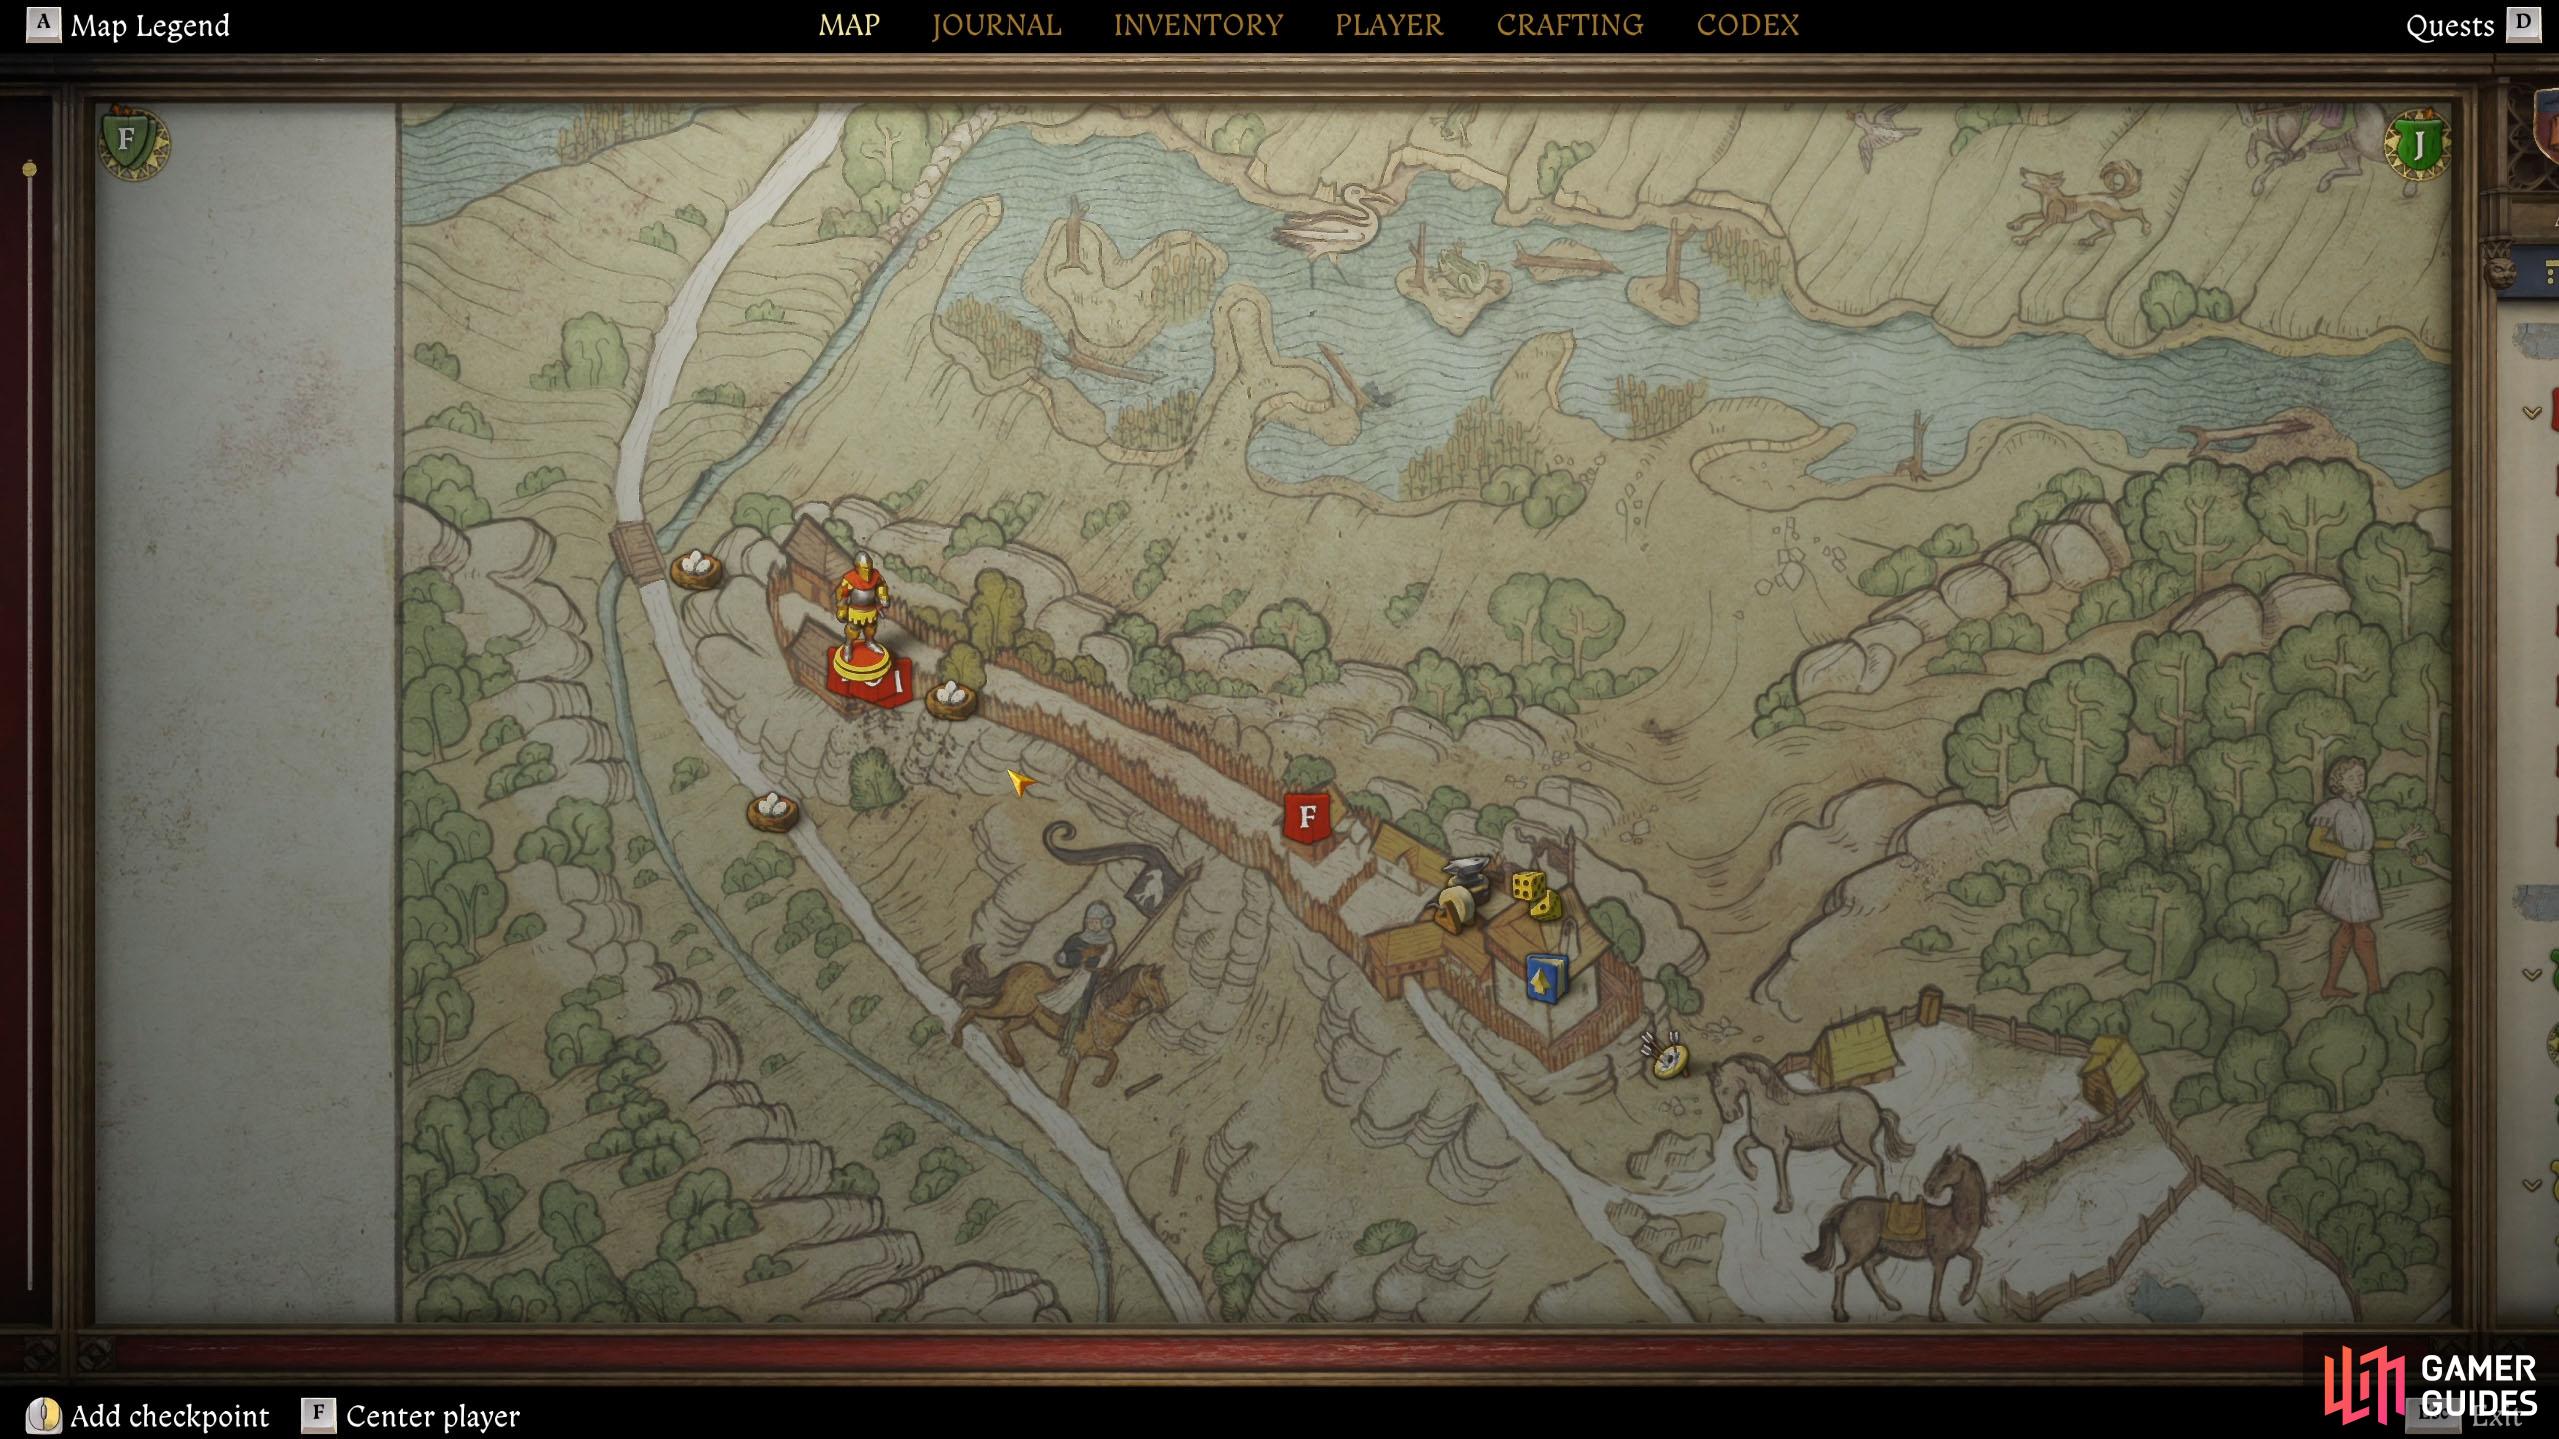


(1 of 4) The F objective is where you’ll find Klara and her cabin.
Zwerk
You’ll find Zwerk in the underground bunker, at the end of the room. Examine him, and you’ll find out that he took a blow to the ribs and his right leg is in a lot of pain. You’ll get two options, one to take a look at his wounds, the other is to give him a potion.
You’ll want to do both, but start with checking out his wounds by passing the Survival check (level 19 and above should pass it with no problems). Zwerk has a bruised chest and a swollen ankle, but you’ll need to take a better look at both. They both require passing a craftsmanship check with the ankle being the easiest out of the two.
Let’s look at the ankle first. After a thorough check, it appears to only be sprained. Nothing a bandage can’t take care of. Now let’s look at the chest. Aside from the bruises, there is a gash as well. Fortunately, it’s not infected, so you can simply clean the wound and bandage it. When you’re ready, tell Zwerk you know all that you need to treat him. Treat Zerk in the following order:
- Give him some water (or wine) to drink. You can find some wine on the shelf next to you.
- Clean the wound with
 Marigold decoction.
 - Dress the wound with a
 Bandage.
 - Sew the wound with a tailor’s kit.
- Rub
 Chamomile brew on his ankle.
When you’re done, finish the treatment and Zwerk will feel better in no time.
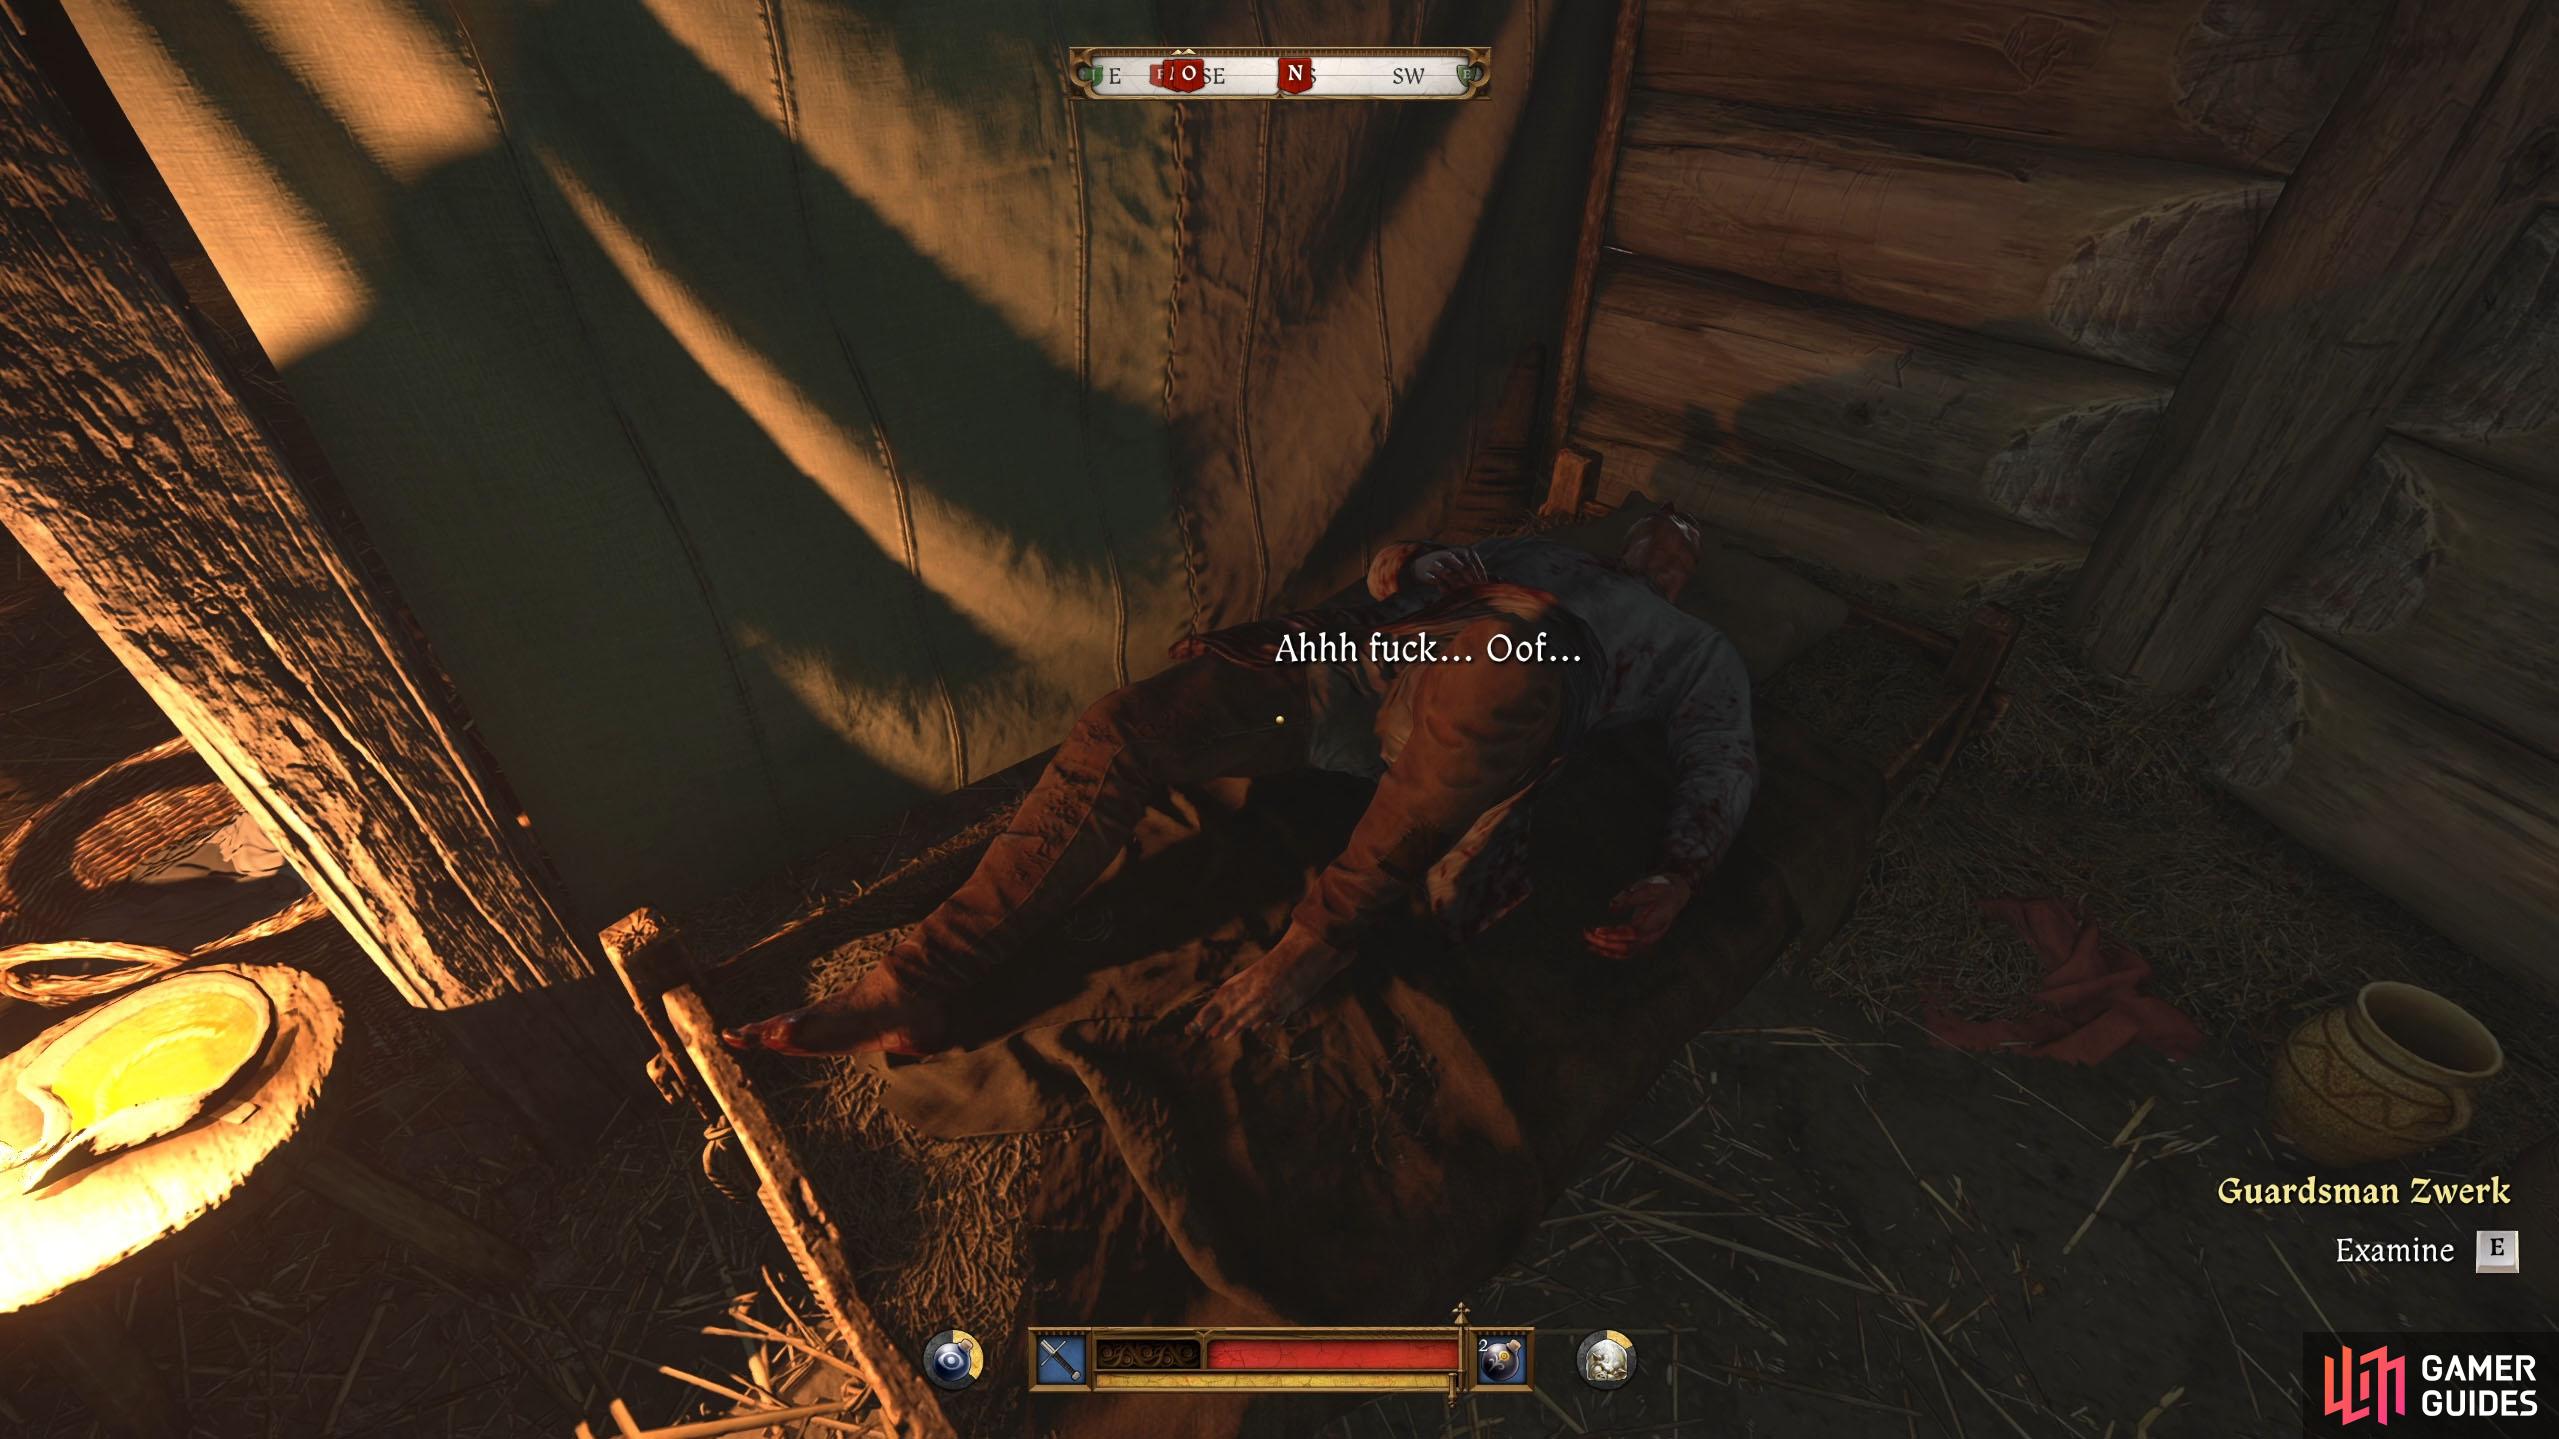


(1 of 2) Zwerk can be found at the end of the room below.
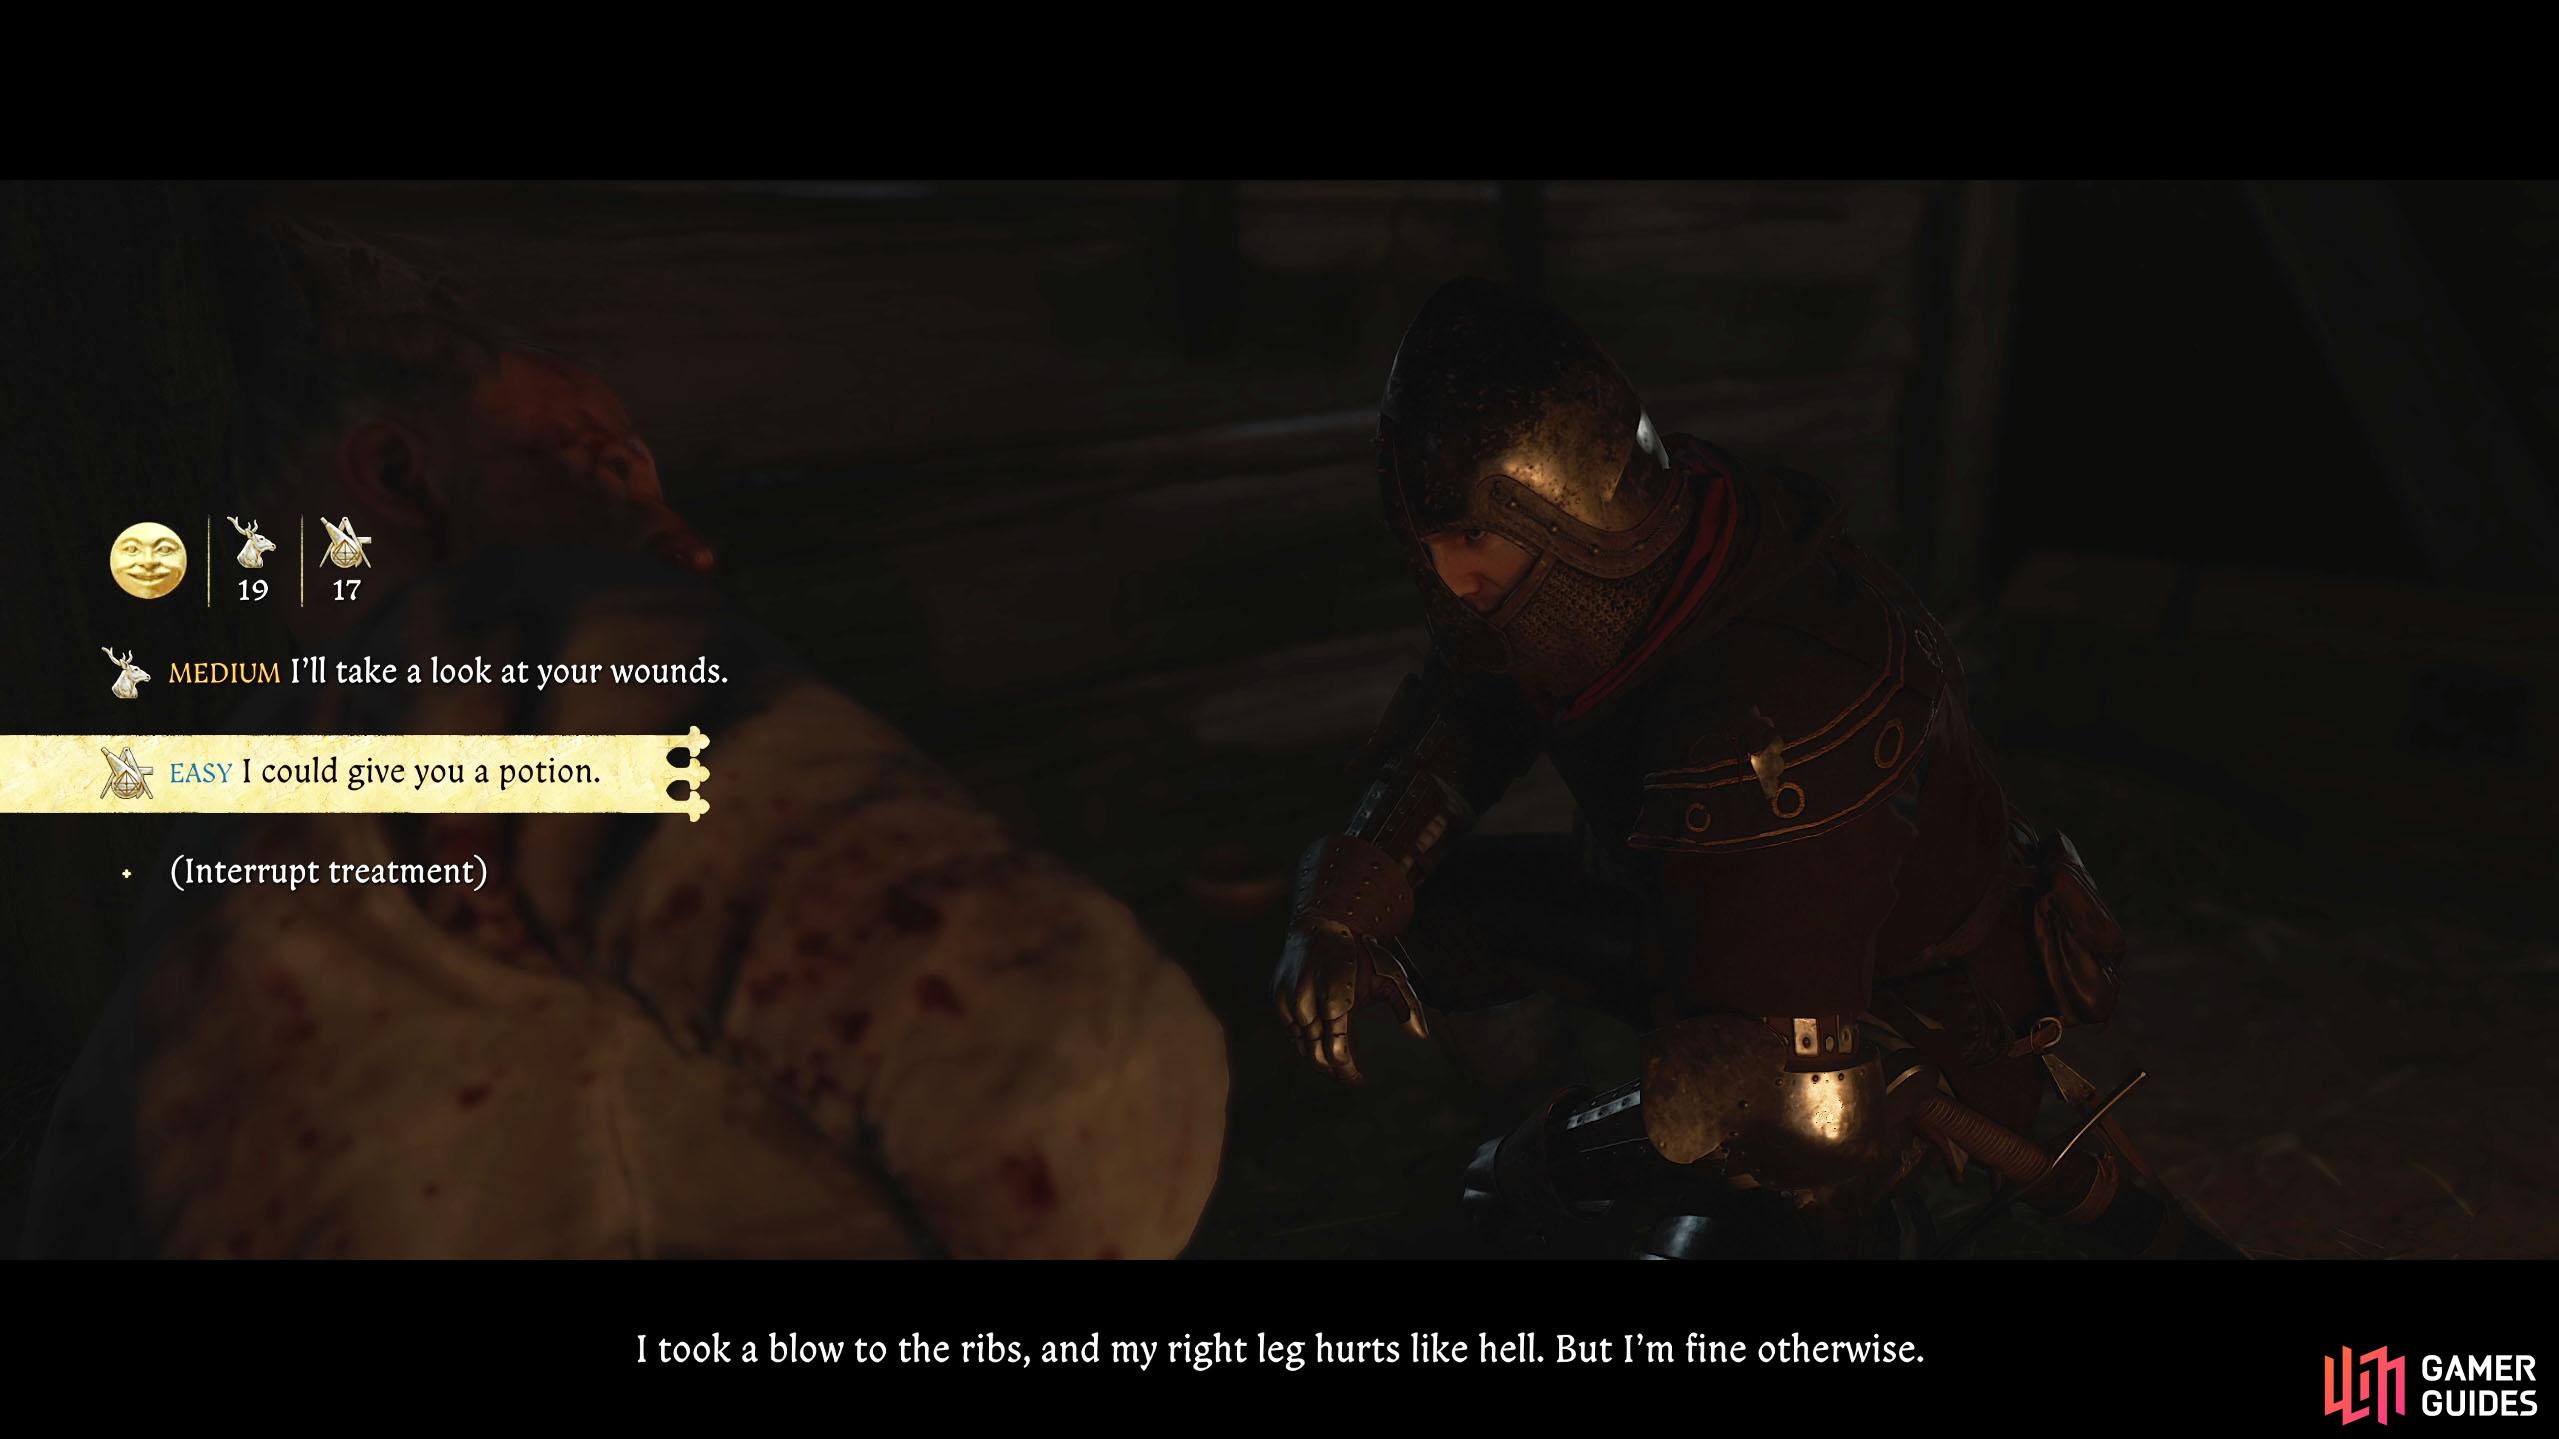
Zwerk can be found at the end of the room below. (left), Pass both checks successively to begin treating him. (right)
Kozliek
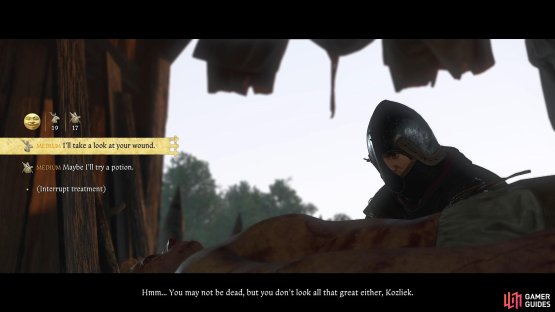
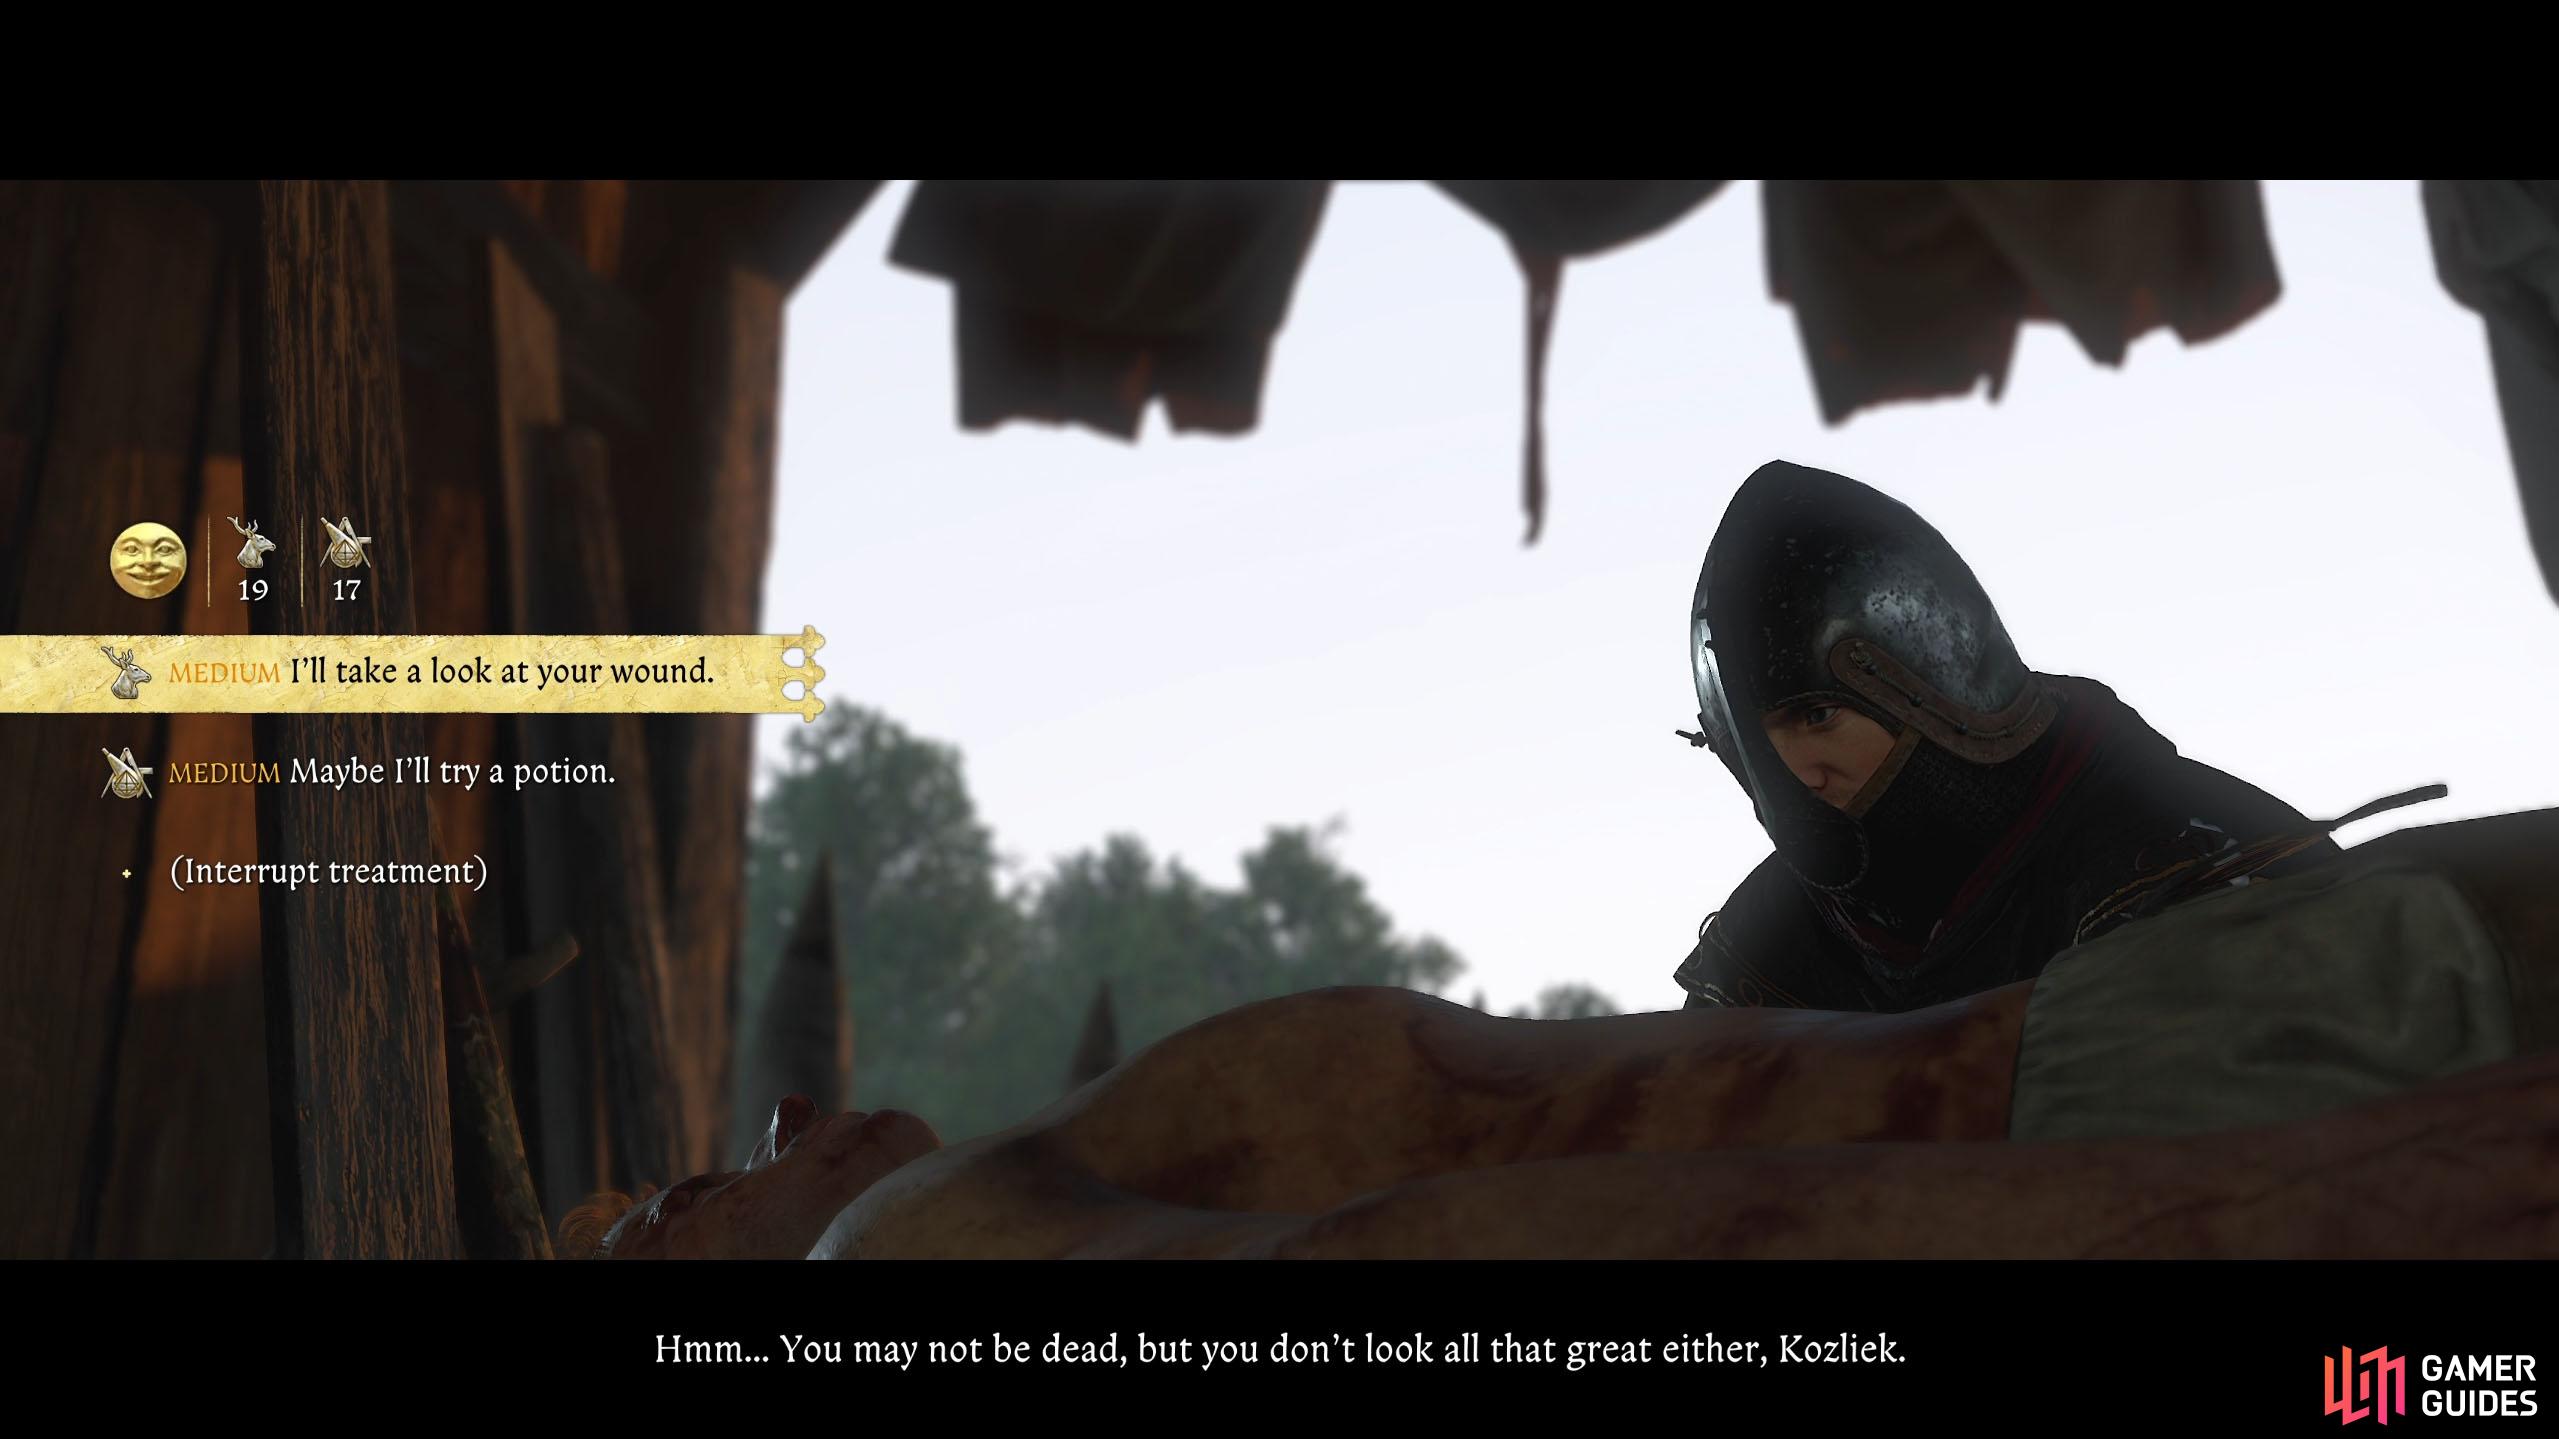
You can find Kozliek on the mattress to the left at the bottom of the slope. There’ll be two people here, Kozliek is on the right. Examine him and pass the Survival and ![]() Alchemy checks, starting with taking a look at his wounds.
Alchemy checks, starting with taking a look at his wounds.
Take a look at his head first to find out he has a fever. Next, take a look at his stomach to find that he just has a few bruises. Finally, take a look at his leg, and it appears to be infected. Next, give him a potion, preferably an ![]() Aqua Vitalis potion. Treat Kozliek in the following order:
Aqua Vitalis potion. Treat Kozliek in the following order:
- Give him an Aqua Vitalis potion (you can get one from the table in Klara’s hut) for the fever.
- Cauterize his wound with
 Schnapps (or any other spirits you have).
 - Change his Bandage
With a bit of luck, poor Kozliek should pull through.
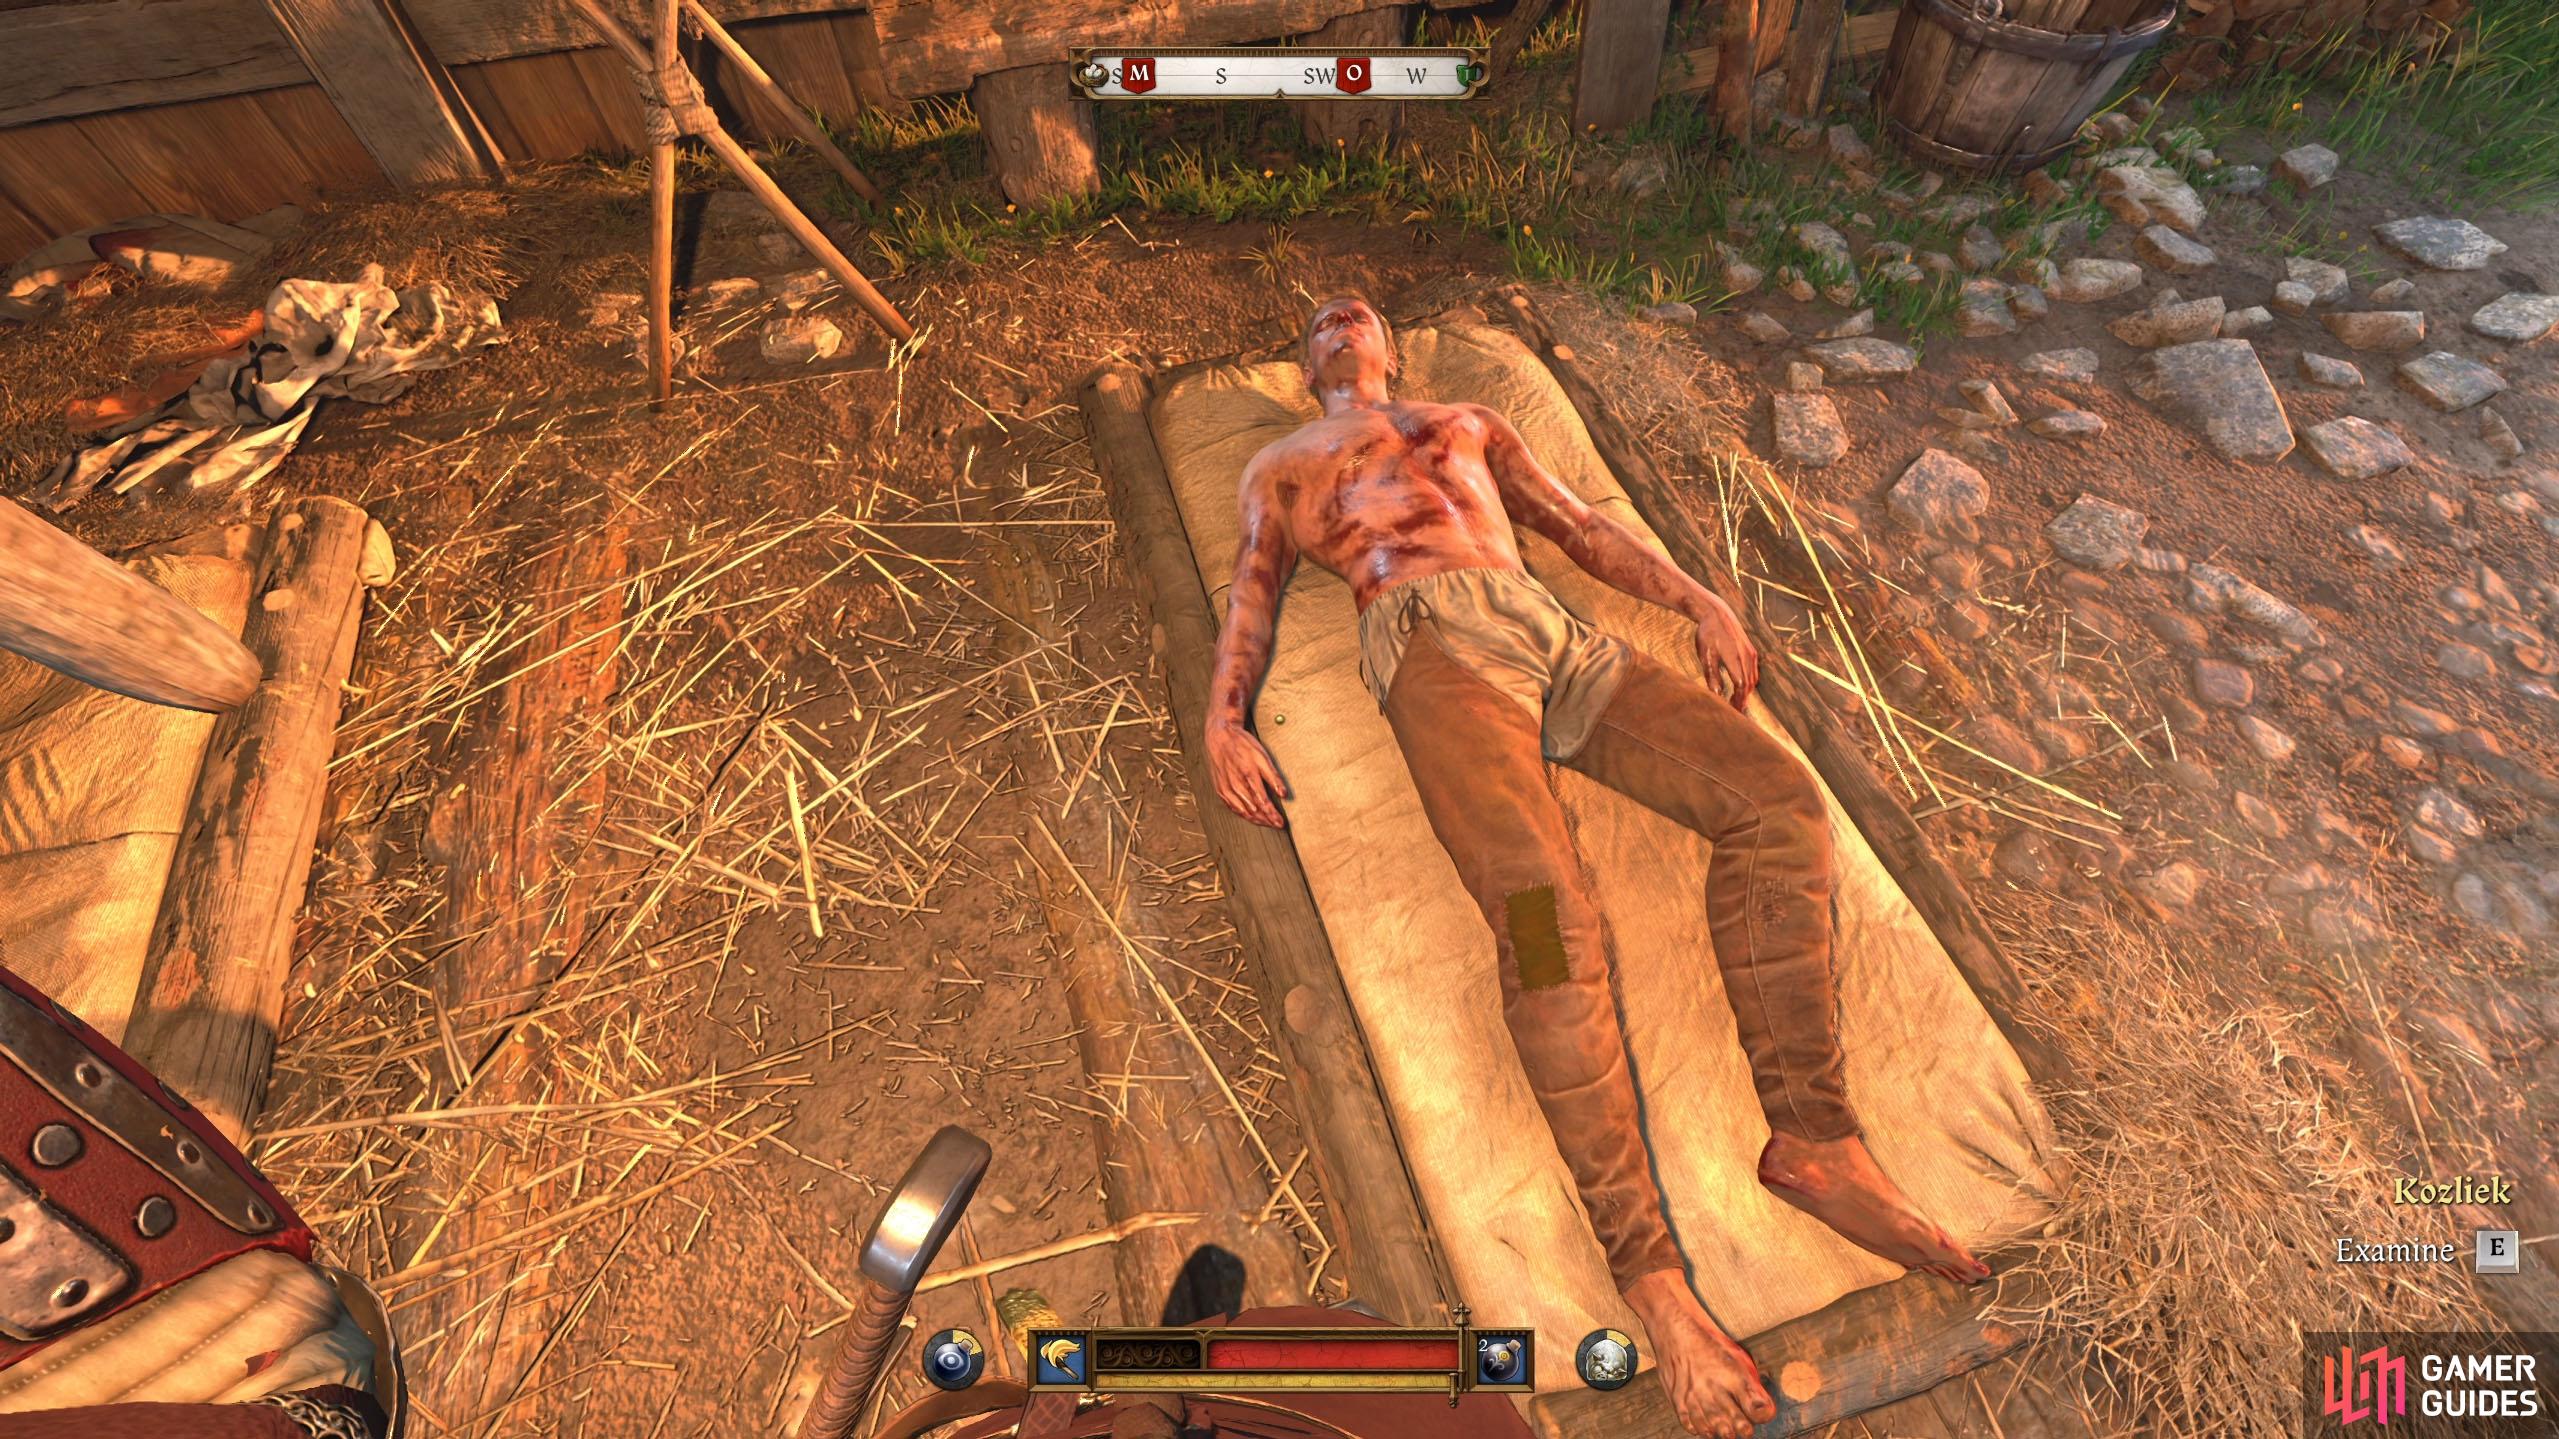

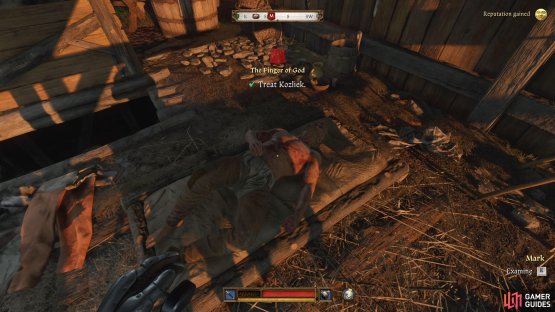
(1 of 2) Kozliek is outside, above Zwerk. He is the one on the right.
Kozliek is outside, above Zwerk. He is the one on the right. (left), Once again, pass the checks to begin treating him. These are more difficult to pass than Zwerk. (right)
Mark
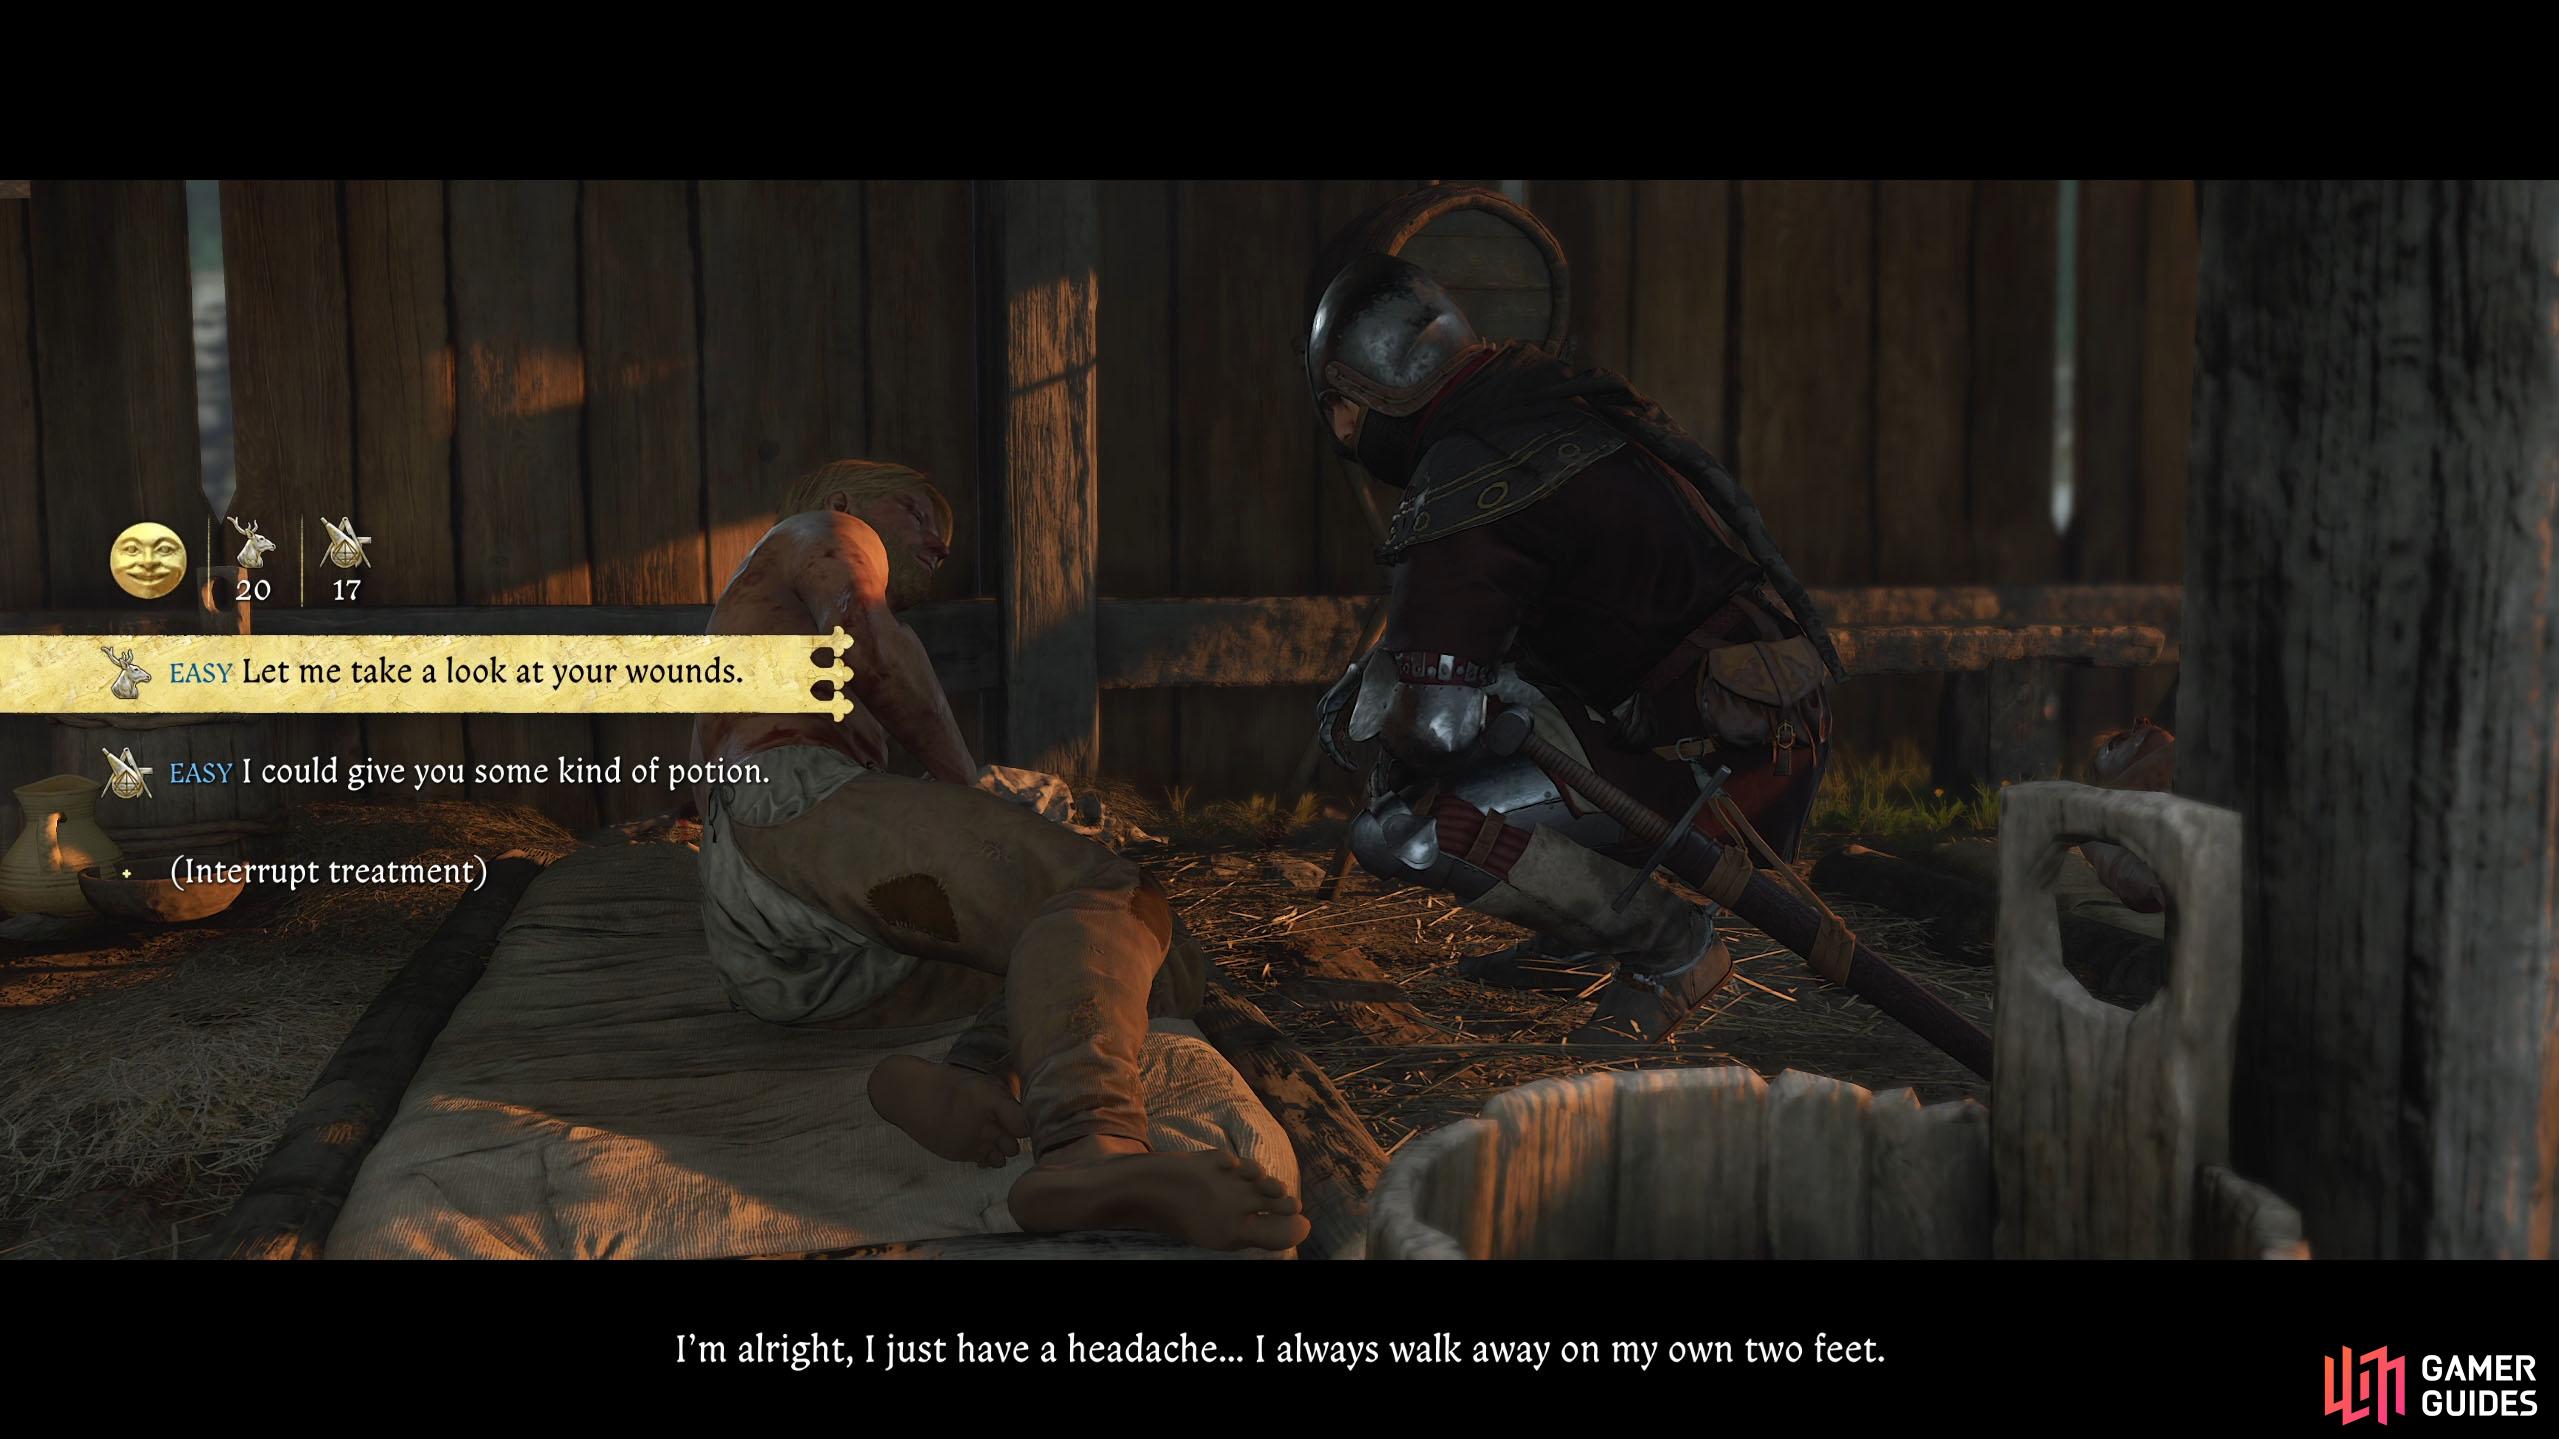
You’ll find Mark on the mattress to the left of Kozliek. Examine him, and you’ll immediately find out that he has a headache. Once again, pass the Survival and Alchemy checks to check his wounds. Furthermore, he vomited and had a bloody wound on his leg.
Pass the next checks (Craftmanship and Alchemy), but start with his head first. You’ll find out he took a hard hit, and he does have a wound there. For now, take a look at his leg to find out he has a cut on it. Treat Mark in the following order:
- Clean his wounds just don’t fall asleep (possible concussion).
- Give him a
 Painkiller brew.
 - Clean the wound with Marigold decoction.
- Dress the wound with a bandage.
- Don’t give him any liquor.
Finish the treatment, and Mark should be as right as rain.


(1 of 2) Mark can be found to the left of Kozliek.
Mark can be found to the left of Kozliek. (left), His initial checks are easier to pass than his. (right)
Head back to Klara
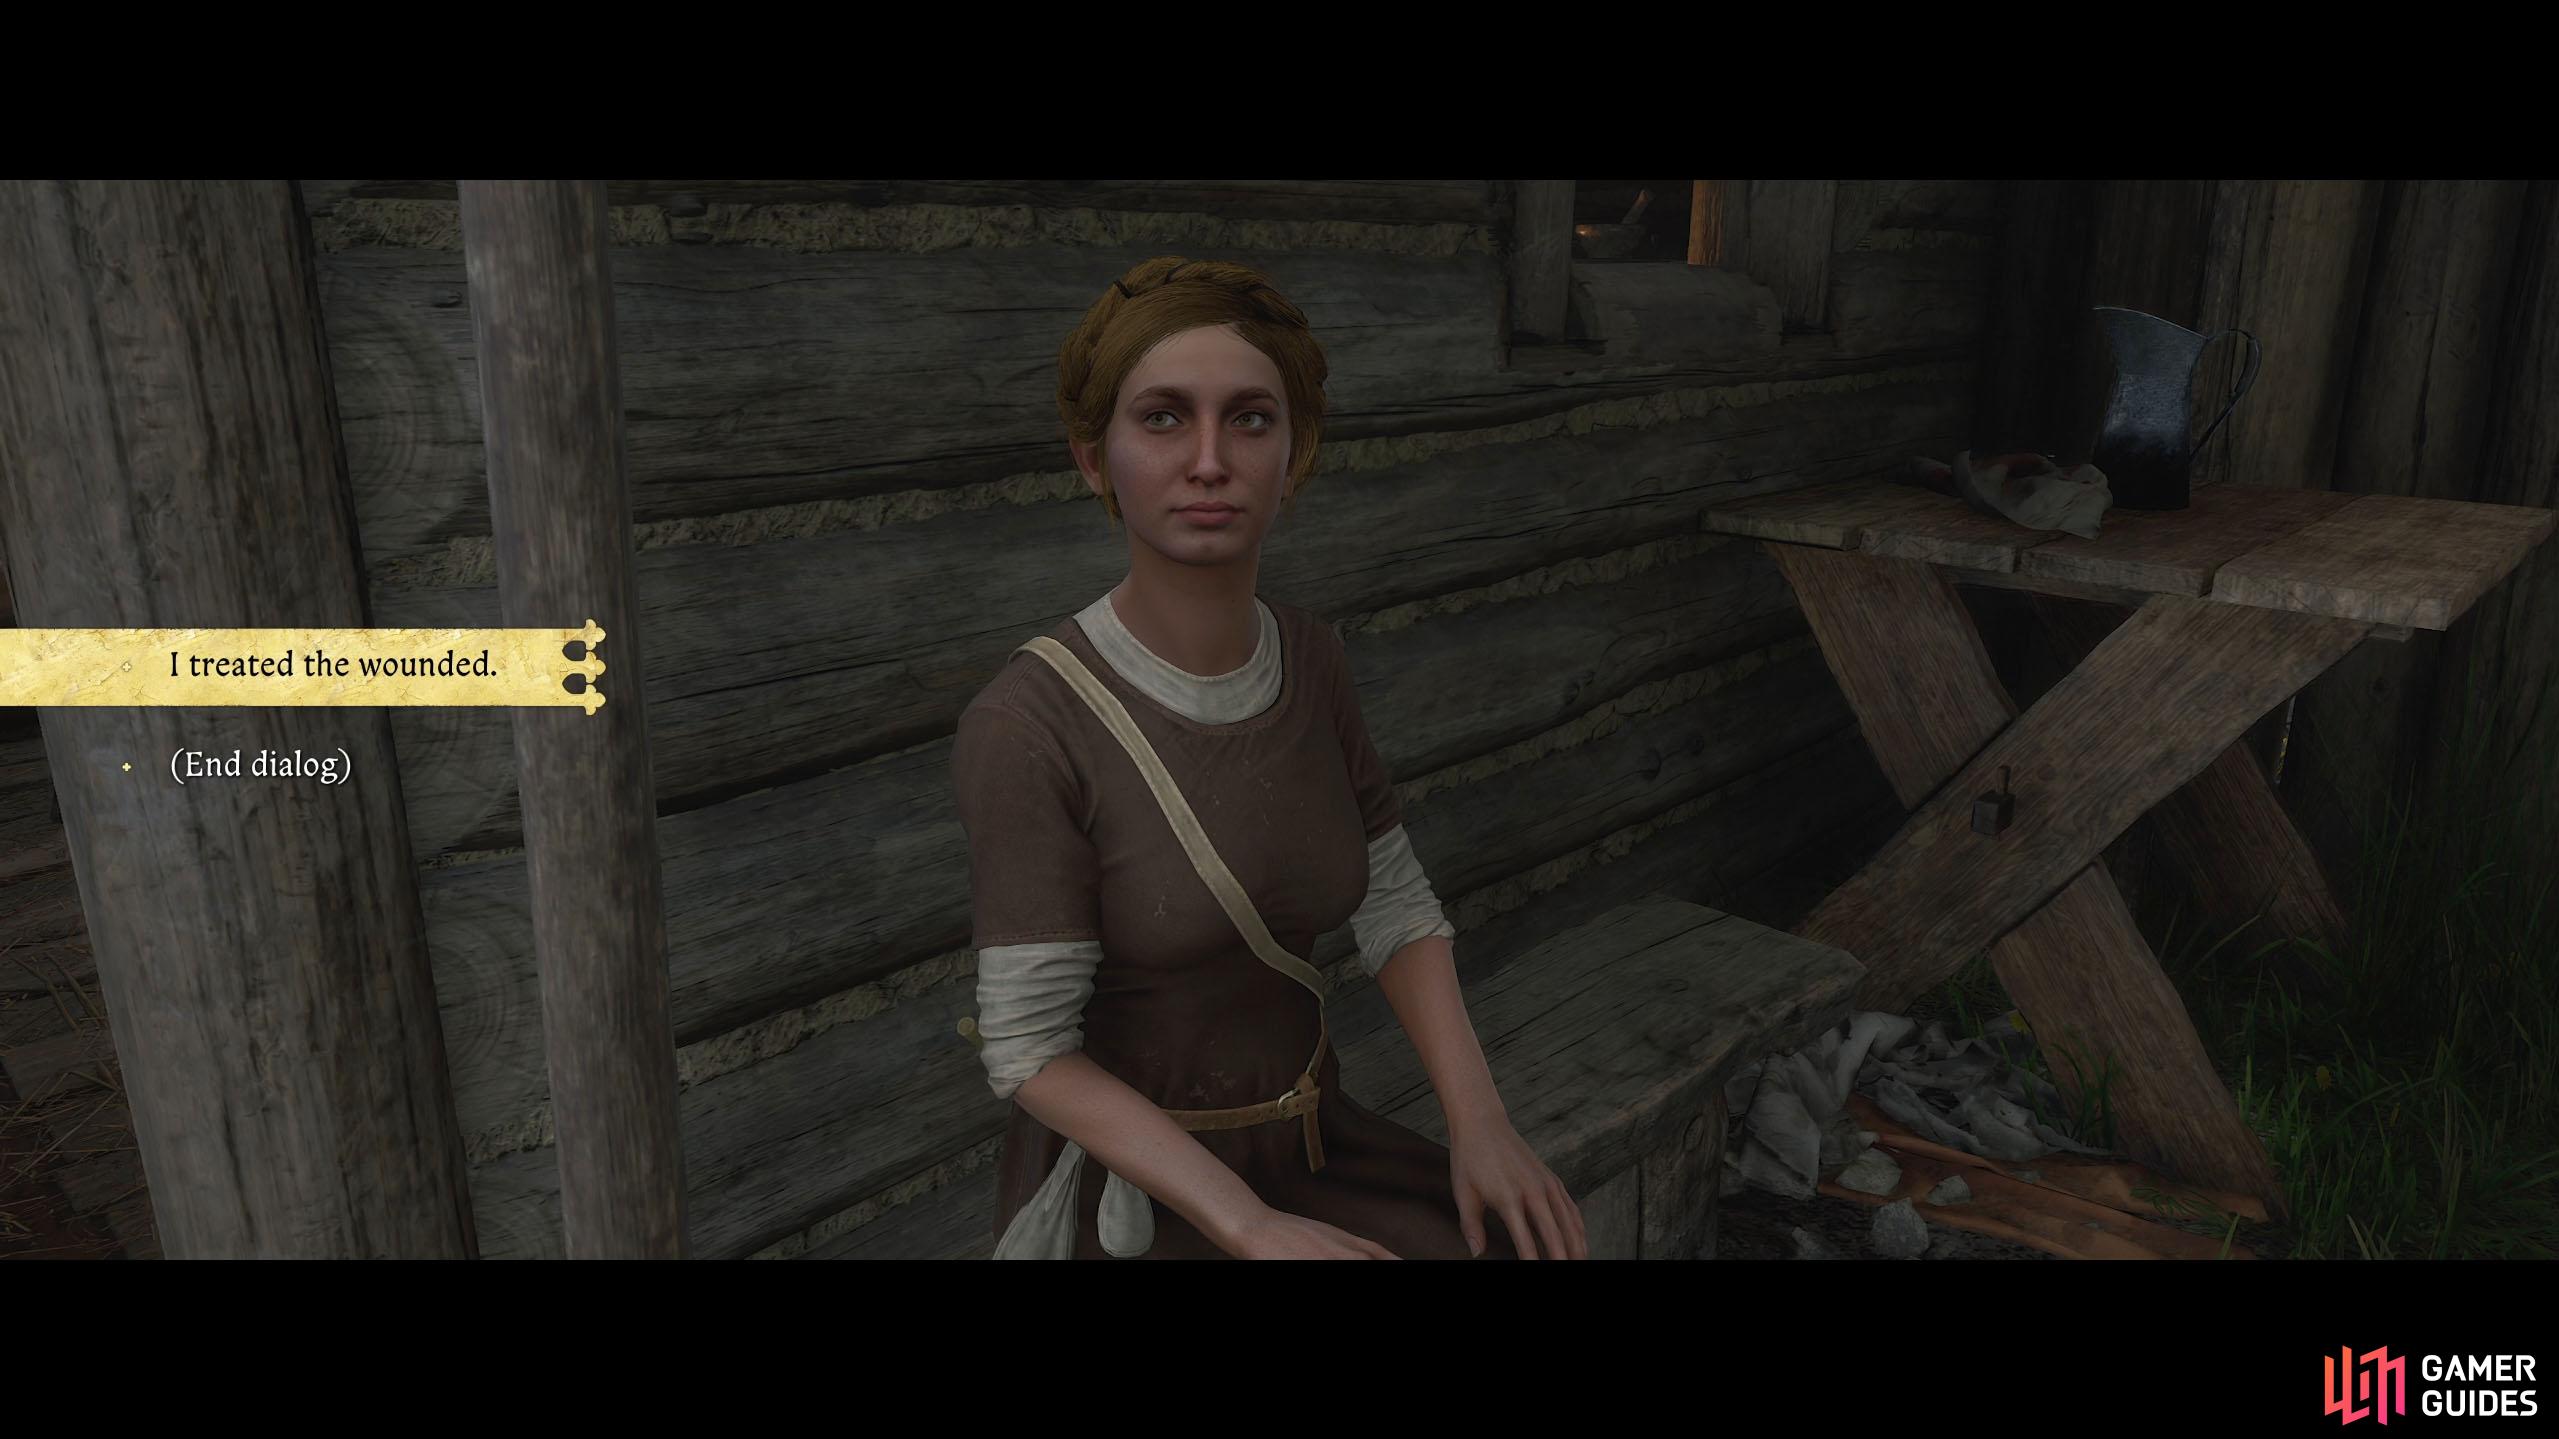
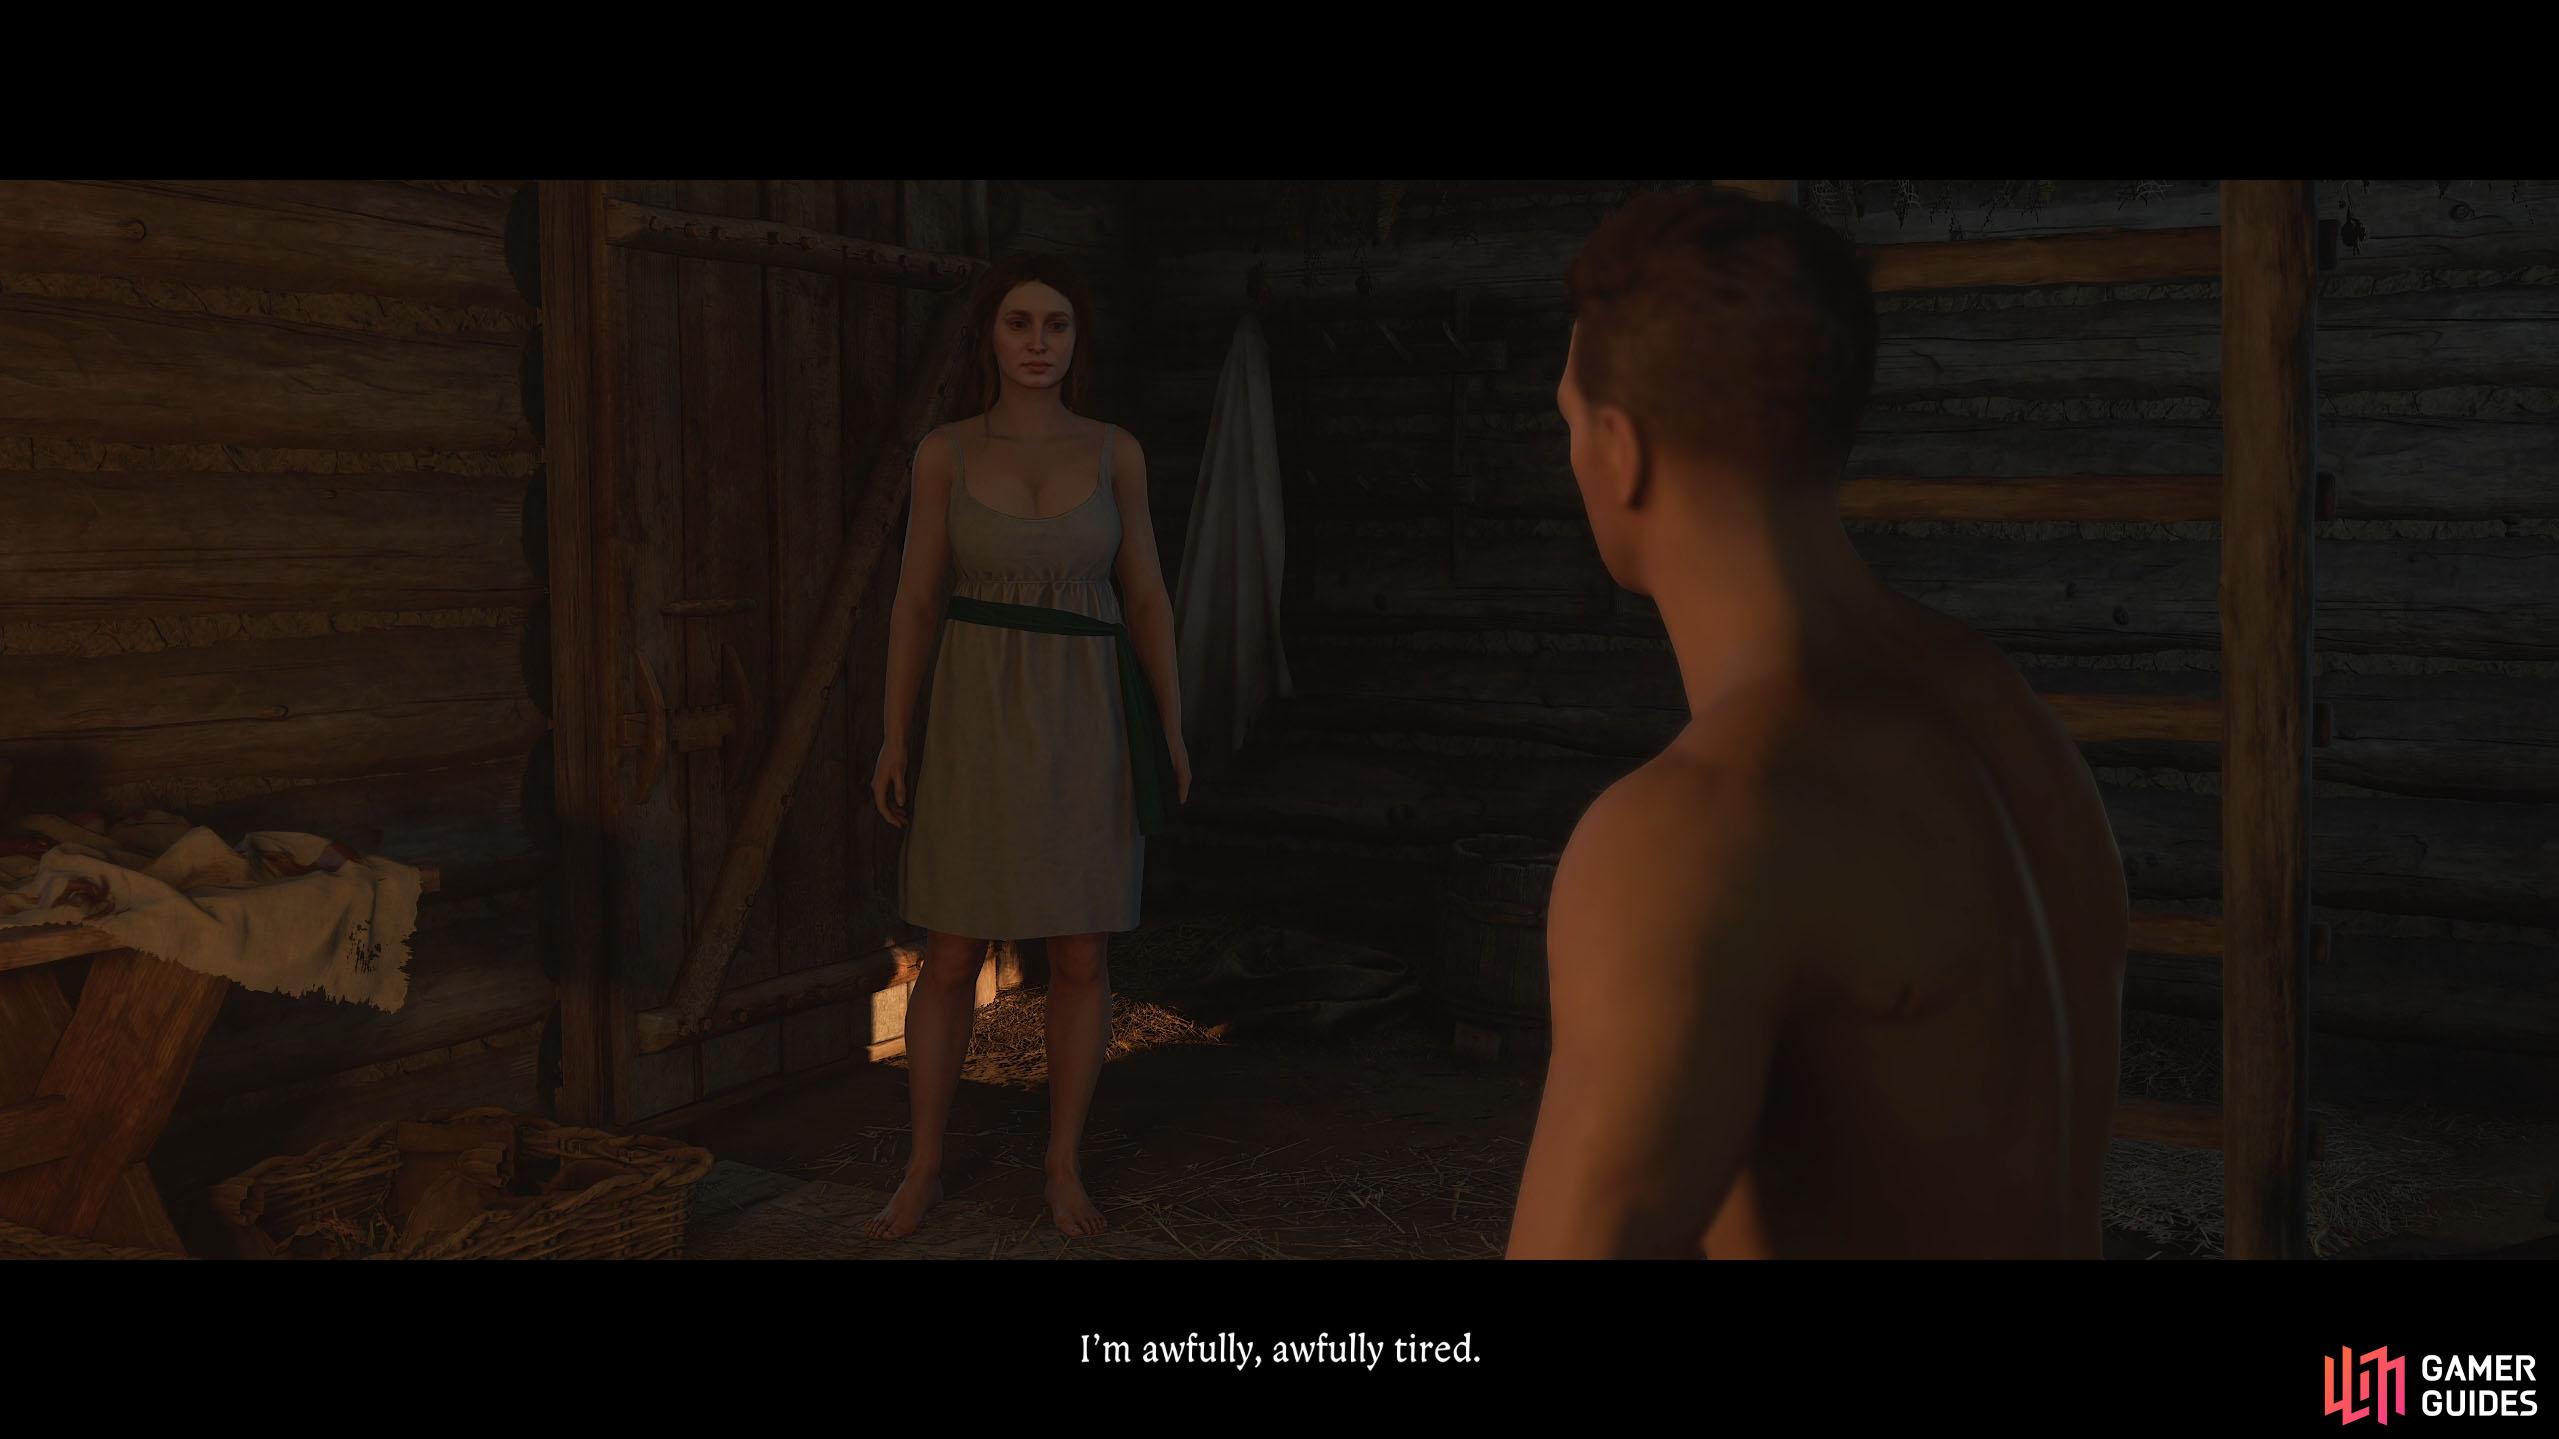
Go back up the slope and you’ll find Klara by her hut. Tell her that you treated the wounded, and she’ll reward you with a few potions and a bandage. Ask her if she’s finished working and then ask her if there is anyone she cares about.
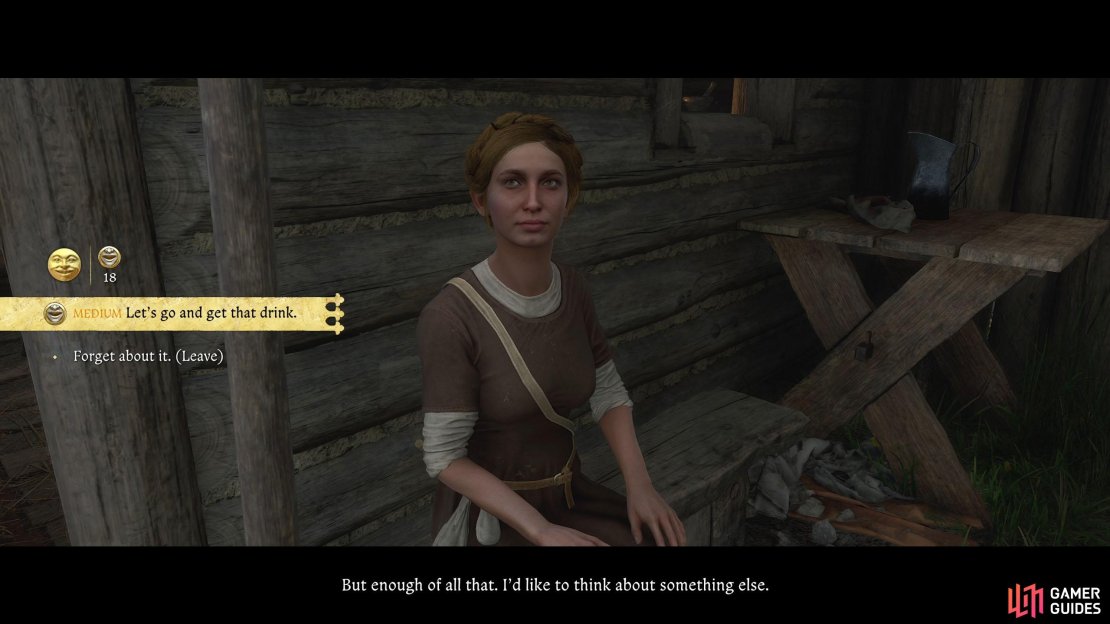
A speech check will appear and if you pass the persuasion check, you can go and get a drink with her. She’ll decline the drink but offer you something more. She’ll spend the night with you! This will happen when you sleep in her bed later on.


(1 of 3) Tell Klara you’re done.
Speak to Hans Capon
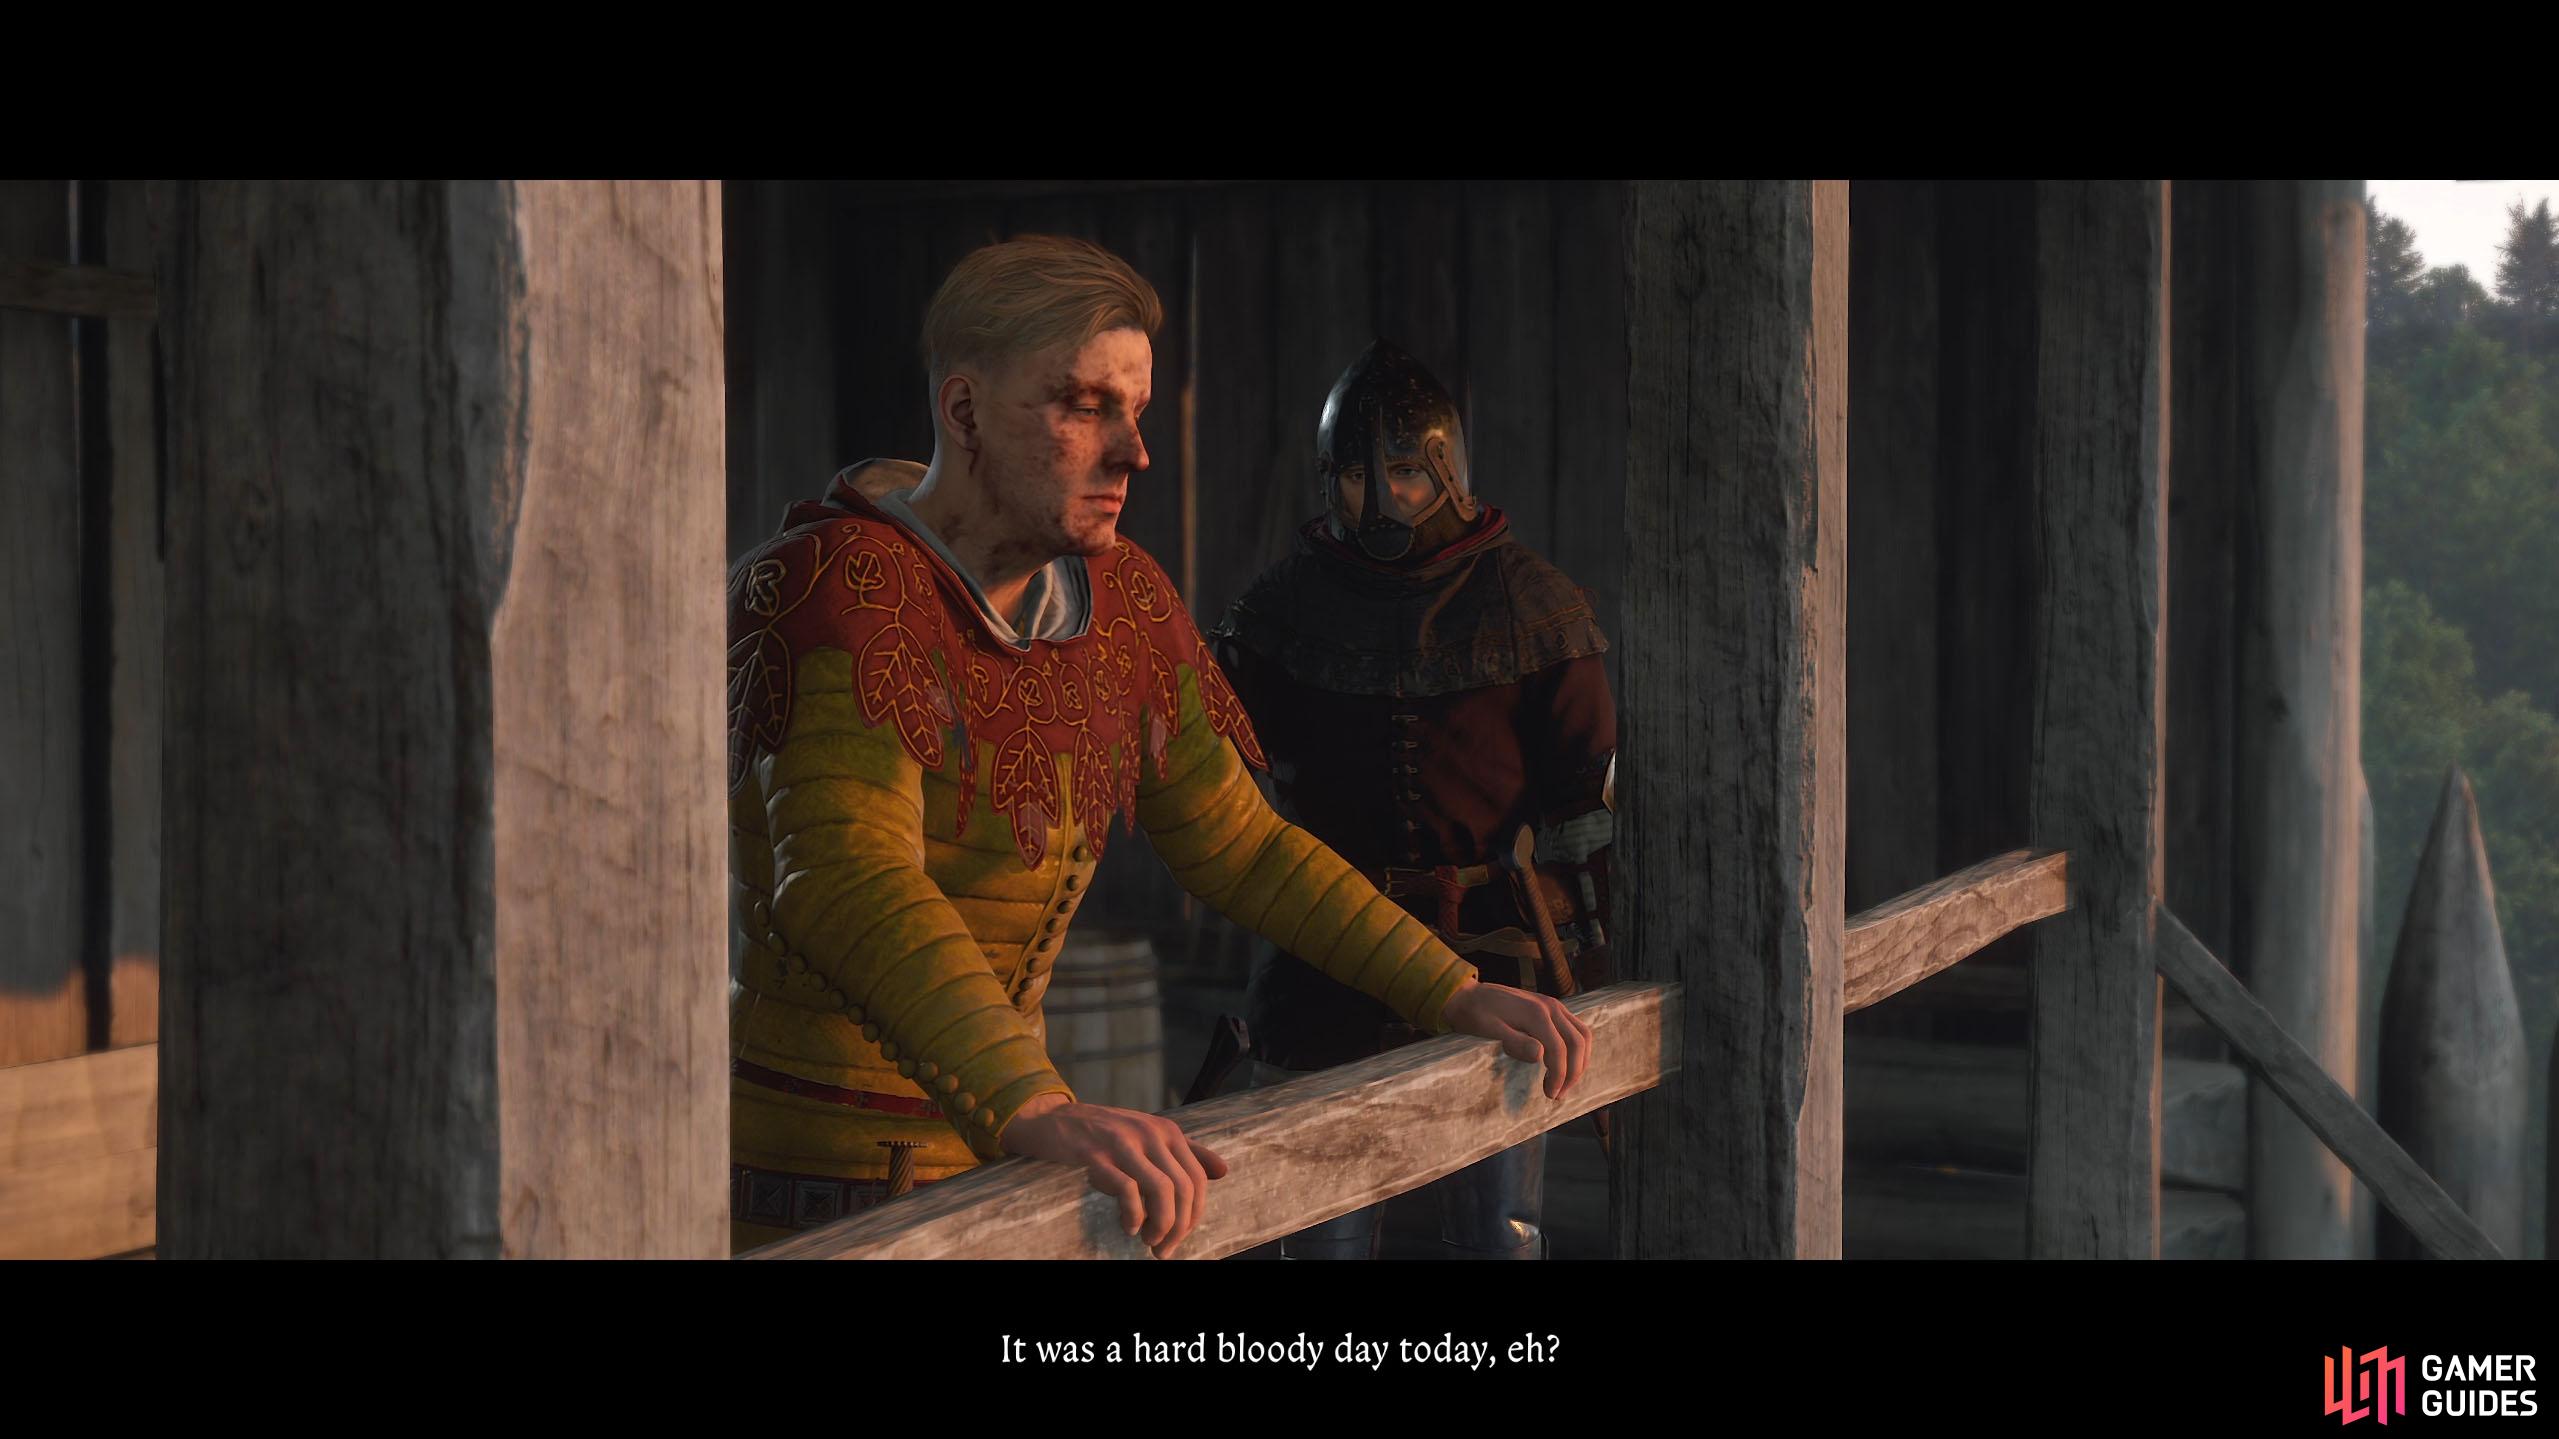
You may have noticed that every time you run past the blacksmith, Hans will shout out to you, and you’ve been ignoring him. Well, now it’s time to find out what he wants. Agree to his request and go up and speak to him. He’s clearly frustrated at what’s happened the past few weeks or so, and he’s venting his frustrations to you.
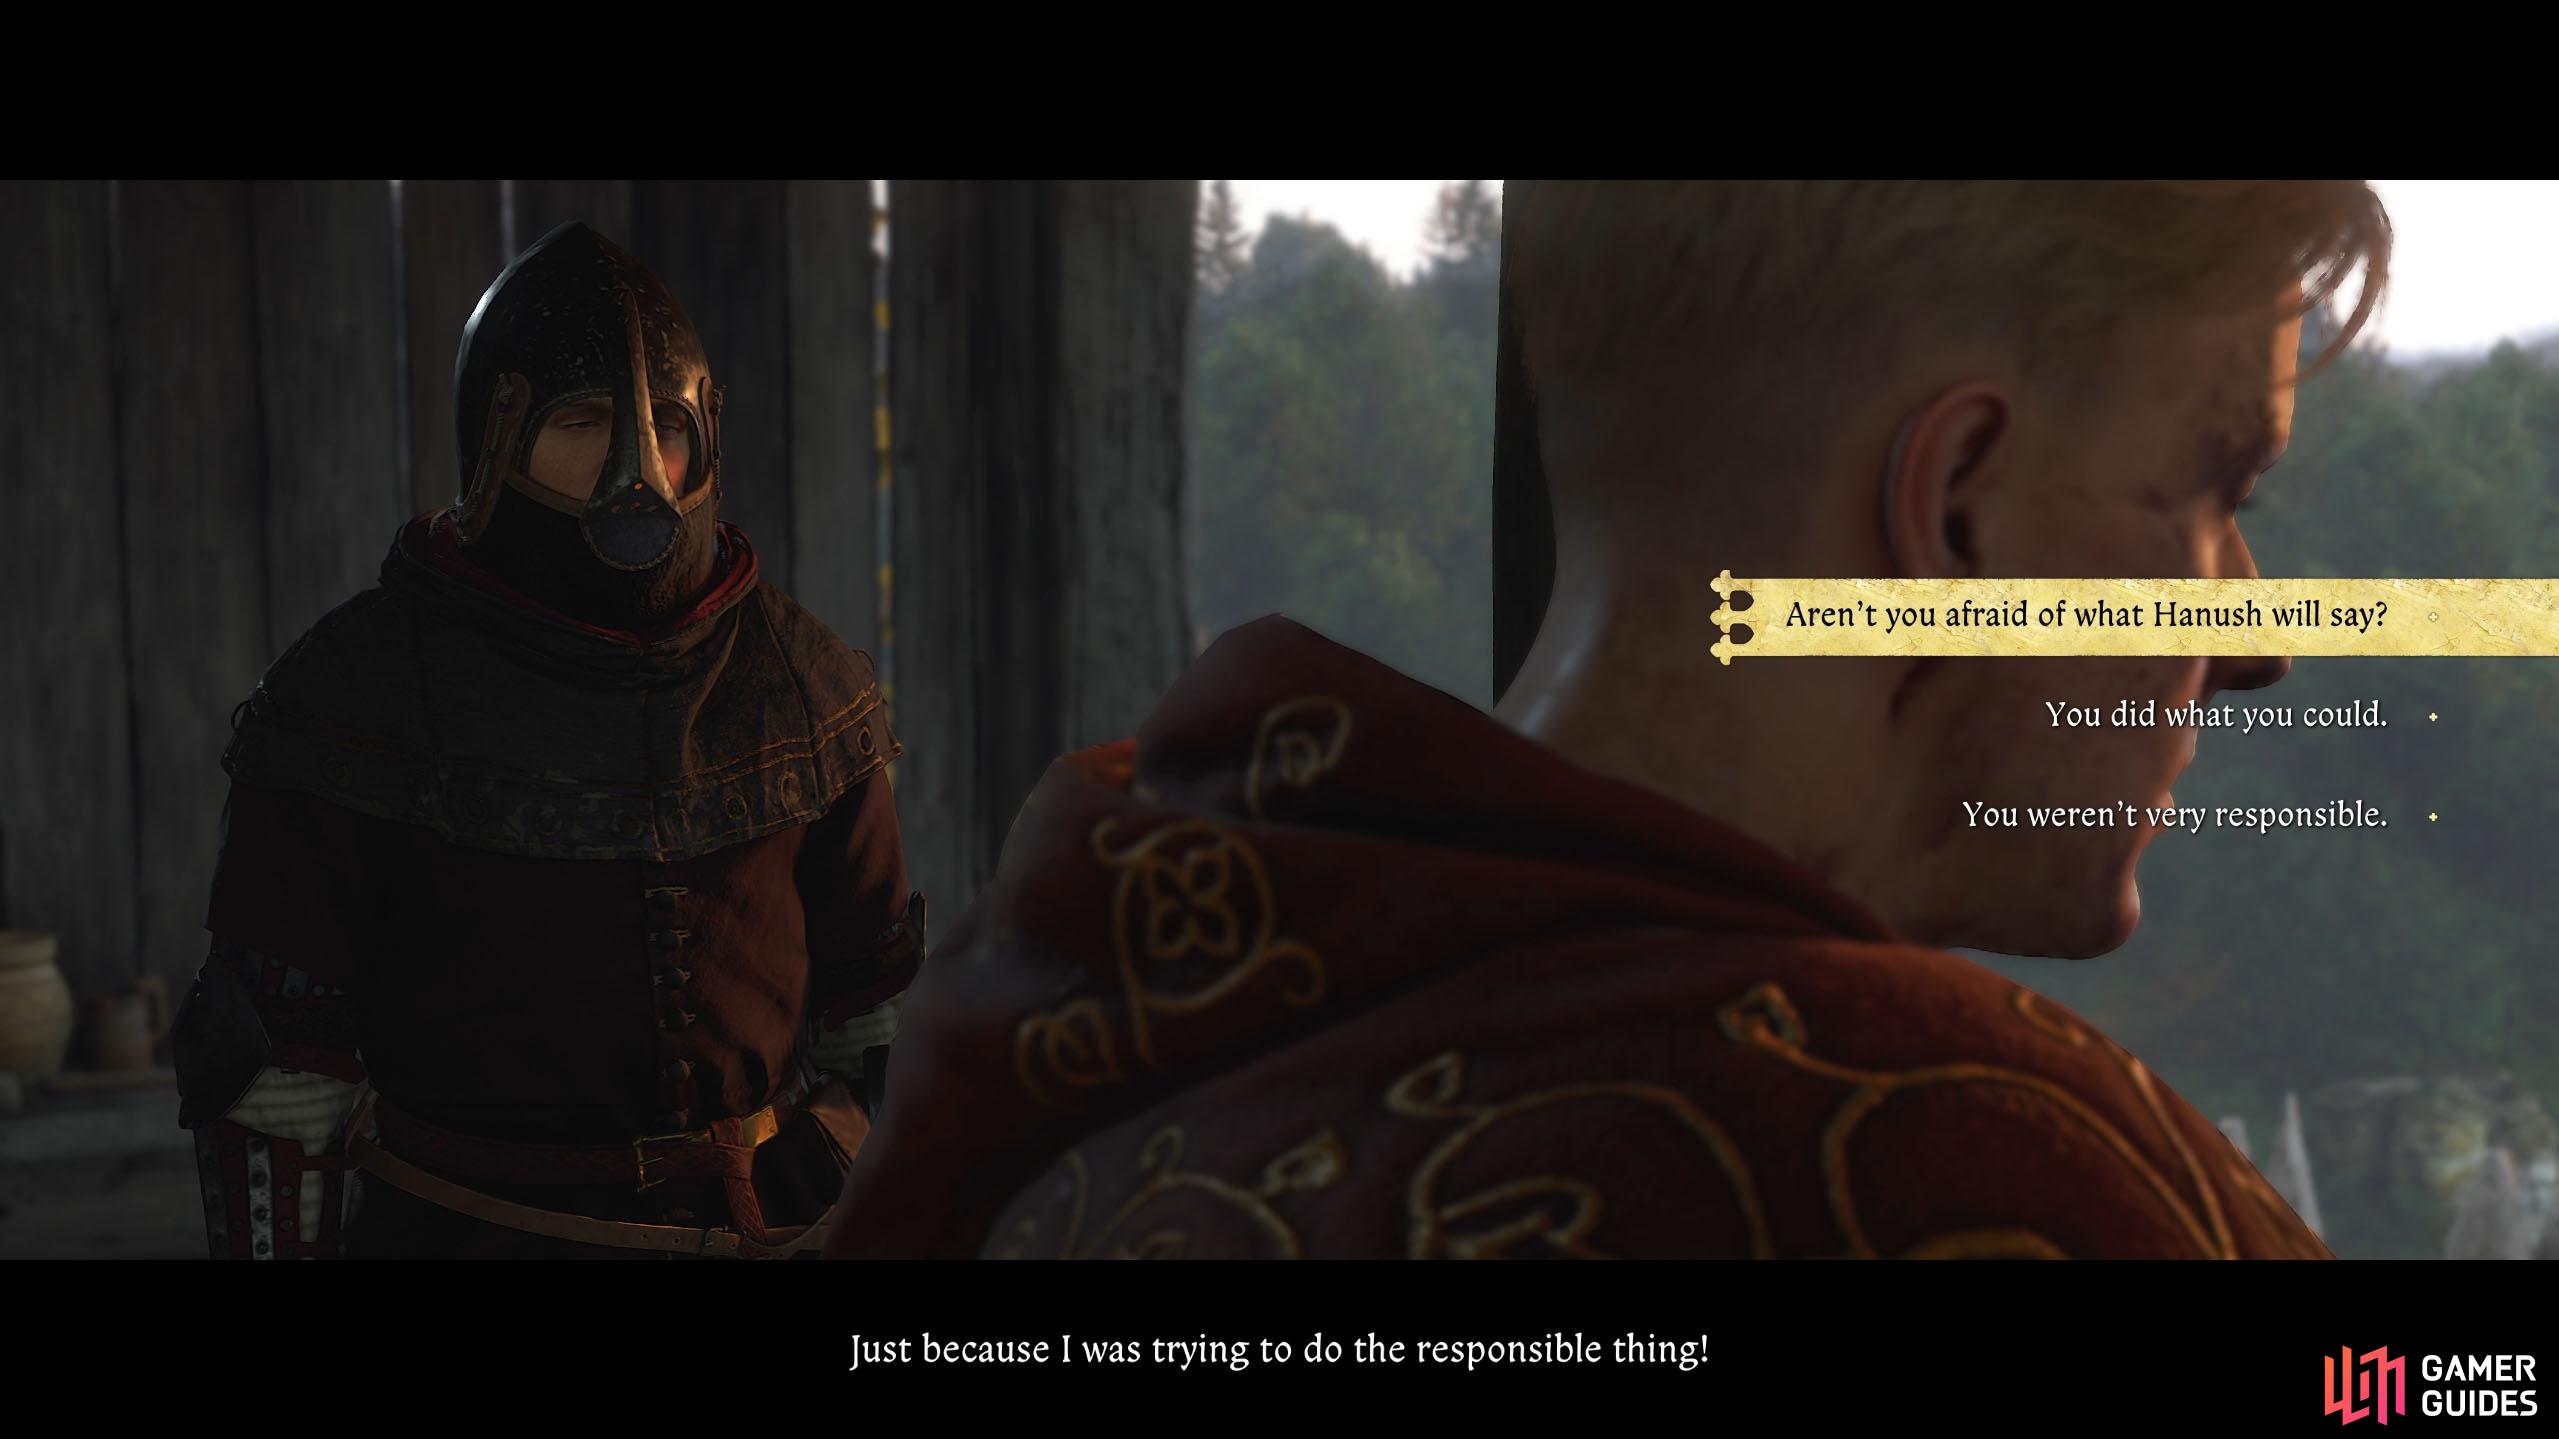
There’s not much you can do here, but when given the option to respond to him, be a friend, and convince him he’s done all he could and that none of this is his fault. This will give you numerous reputation gains.
Finally, he’ll ask you if you want a game of ![]() Dice. Agree to his request, and beat him if you can. The outcome won’t matter outside a few groschens anyway. You can tell him that some money will help, and he’ll give you some to play with. After the dice game, ask him if he wants to enjoy life again for another reputation boost.
Dice. Agree to his request, and beat him if you can. The outcome won’t matter outside a few groschens anyway. You can tell him that some money will help, and he’ll give you some to play with. After the dice game, ask him if he wants to enjoy life again for another reputation boost.


(1 of 2) Speak to Hans near the blacksmith. Tell him he did what he could, and play him at dice.
Speak to Hans near the blacksmith. Tell him he did what he could, and play him at dice. (left), Odds are he may cheat, but you can play him with the money that you just got from him. (right)
Sleep at the Cabin
There’s nothing else to do here now, so, when you’re ready, head to Klara’s cabin, and sleep on the bed. If you convinced her earlier, she’ll spend the night with you. When you wake up, the castle will be under siege. After a poor attempt at negotiation, sooner or later, the castle is going to get breached.
Zizka gives everyone their orders, and if you saved anyone earlier with your treatments, you’ll be able to place them somewhere in the castle. Your choice is either to be reserves at the gate or the battlements. There are plenty of soldiers on the battlements, so give Capon a couple of extra men at the gate.
When the cutscene ends, you’ll need to defend the castle. The game will periodically prompt you to do specific things. For now, there isn’t much you can do unless you have a ranged weapon that you can shoot them with from the battlements.
If not, wait around until they start placing the ladders on the battlements. Look through the battlements to see where they’re going and then go grab a halberd from the armory around the corner to your right. Interact with the ladder while wielding the halberd and you will push them over.


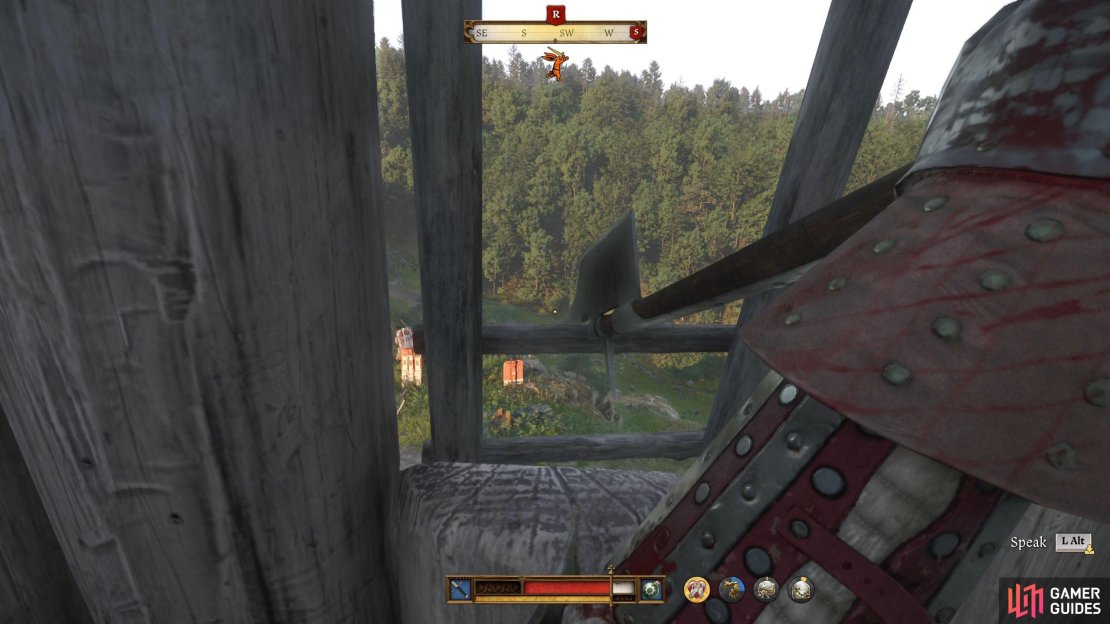
(1 of 4) After spending the night with Klara, you’ll awaken to a siege.
If and when they reach the battlements, switch to your sword and only attack the enemies in combat with your allies. If more than one attacks you at the same time, back up, and try to funnel them behind each other. Don’t forget to use your battle cries as they help maintain your stamina in battle. Once you’ve dealt with the first attack, Godwin will let you know that Hans is in trouble. Head toward the castle gate, and help Hans out.
Run up the stairs to the right of the gate, pick up a rock, and drop it through the hole in the floor. Zizka will call you down and tell you that you have a problem. Go down the stairs and talk to him in front of the gate. He’ll tell you they’ve made it into the lower castle and the troops are getting battered. Follow him to the lower castle, and take out every enemy while making your way down. Always try to fight someone already in combat, and they’ll go down a lot quicker. Once you’ve defeated all the enemies at the lower castle you’ll get a cutscene.
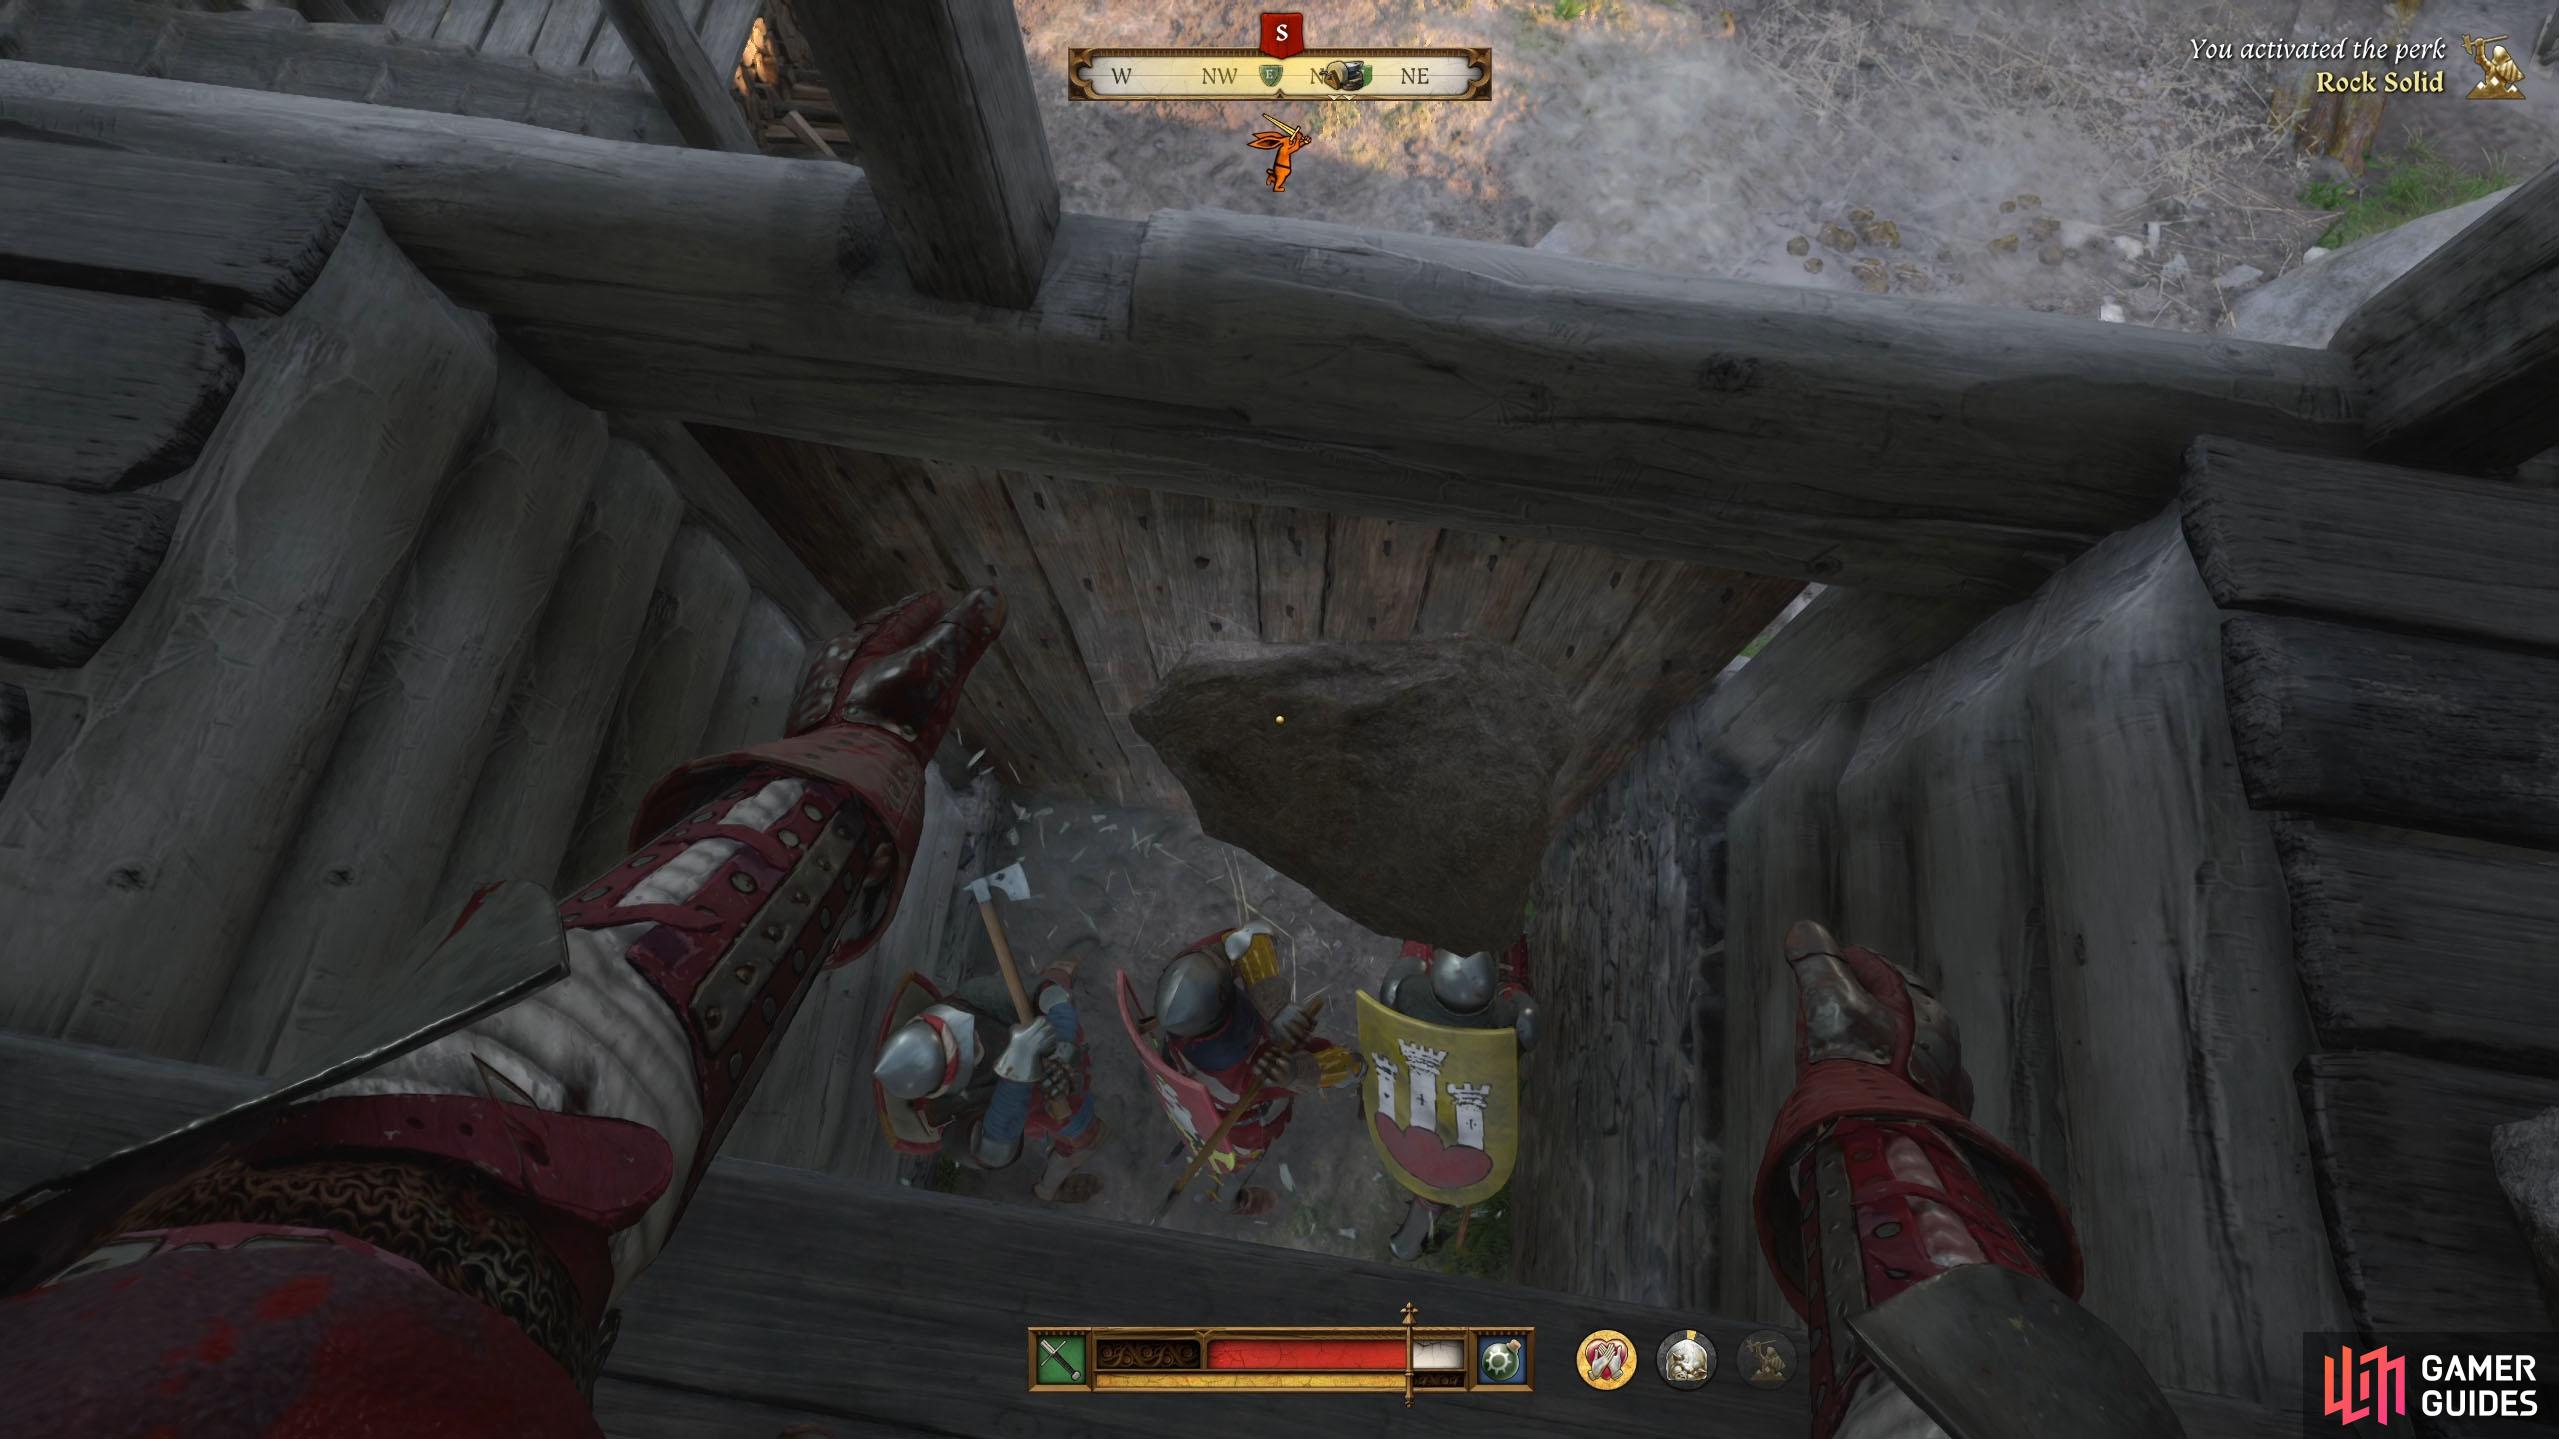


(1 of 3) When the front gets attacked, head to where you spoke to Hans and drop a stone through the hole.
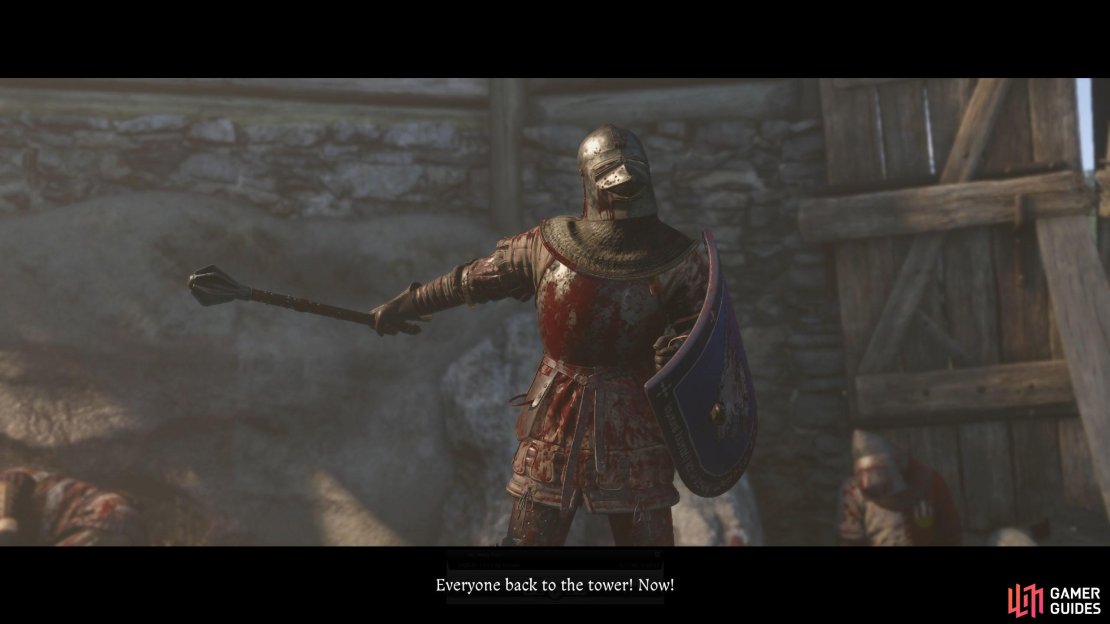
When you regain control, head back to the top, and you’ll find a few more enemies in front of the gate. Take care of them, and you’ll get another scene. Shouts are heard far and wide telling everyone to retreat to the tower. Just when you thought things couldn’t get worse, the camera will pan to expose a giant cannon. This scene will conclude the mission.
No Comments