
Henry might be the protagonist, but he’s not the only one keen on hunting down treasure in Trosky! With the help of some smooth talking (or a good memory) and a bit of serendipity, Henry can outsmart another treasure hunter and make off with the treasure they mutually seek! This page will cover how to both find the Treasure Map - Second and the treasure indicated on it in Kingdom Come: Deliverance 2.
Page Breakdown
How to find the Treasure Map - Second
Finding this treasure map can be tricky, as you’ll get it during a random encounter while fast travelling. If luck is on your side, you’ll eventually be interrupted on the road with the text “You see a man by the road who seems to be looking for something.” Once you get this encounter, be sure to stop and find a Mercenary. Talk to him and he’ll flat out admit he’s searching for treasure.
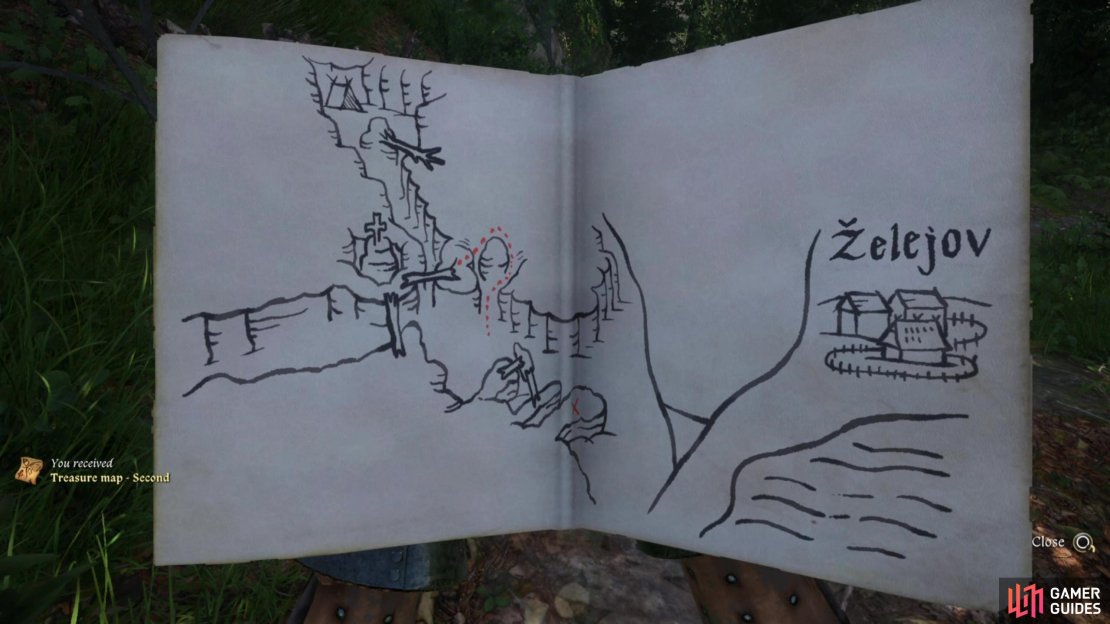
Ask to see the map and the mercenary will understandably become suspicious - succeed at a hard Speech check and the mercenary will hand the map over long enough for you to look at it. Do so and if you’re using modern technology, take a screenshot of the map, then talk to the mercenary again and hand the map back, where you’ll get an easy Speech check to convince the mercenary that the map is bogus, in which case you’ll get to keep the map (not that you need to since, you know, screenshots, plus this guide page!).
If for whatever reason you can’t pass these speech checks, you’ll need to either steal the map from the mercenary, or kill the mercenary and plunder the map. Or failing any of that, you don’t actually need the map to find this treasure, it just makes everything feel more… cohesive. If you aren’t lucky enough to encounter this mercenary or get his map when you do, don’t be deterred - keep reading to find this treasure!
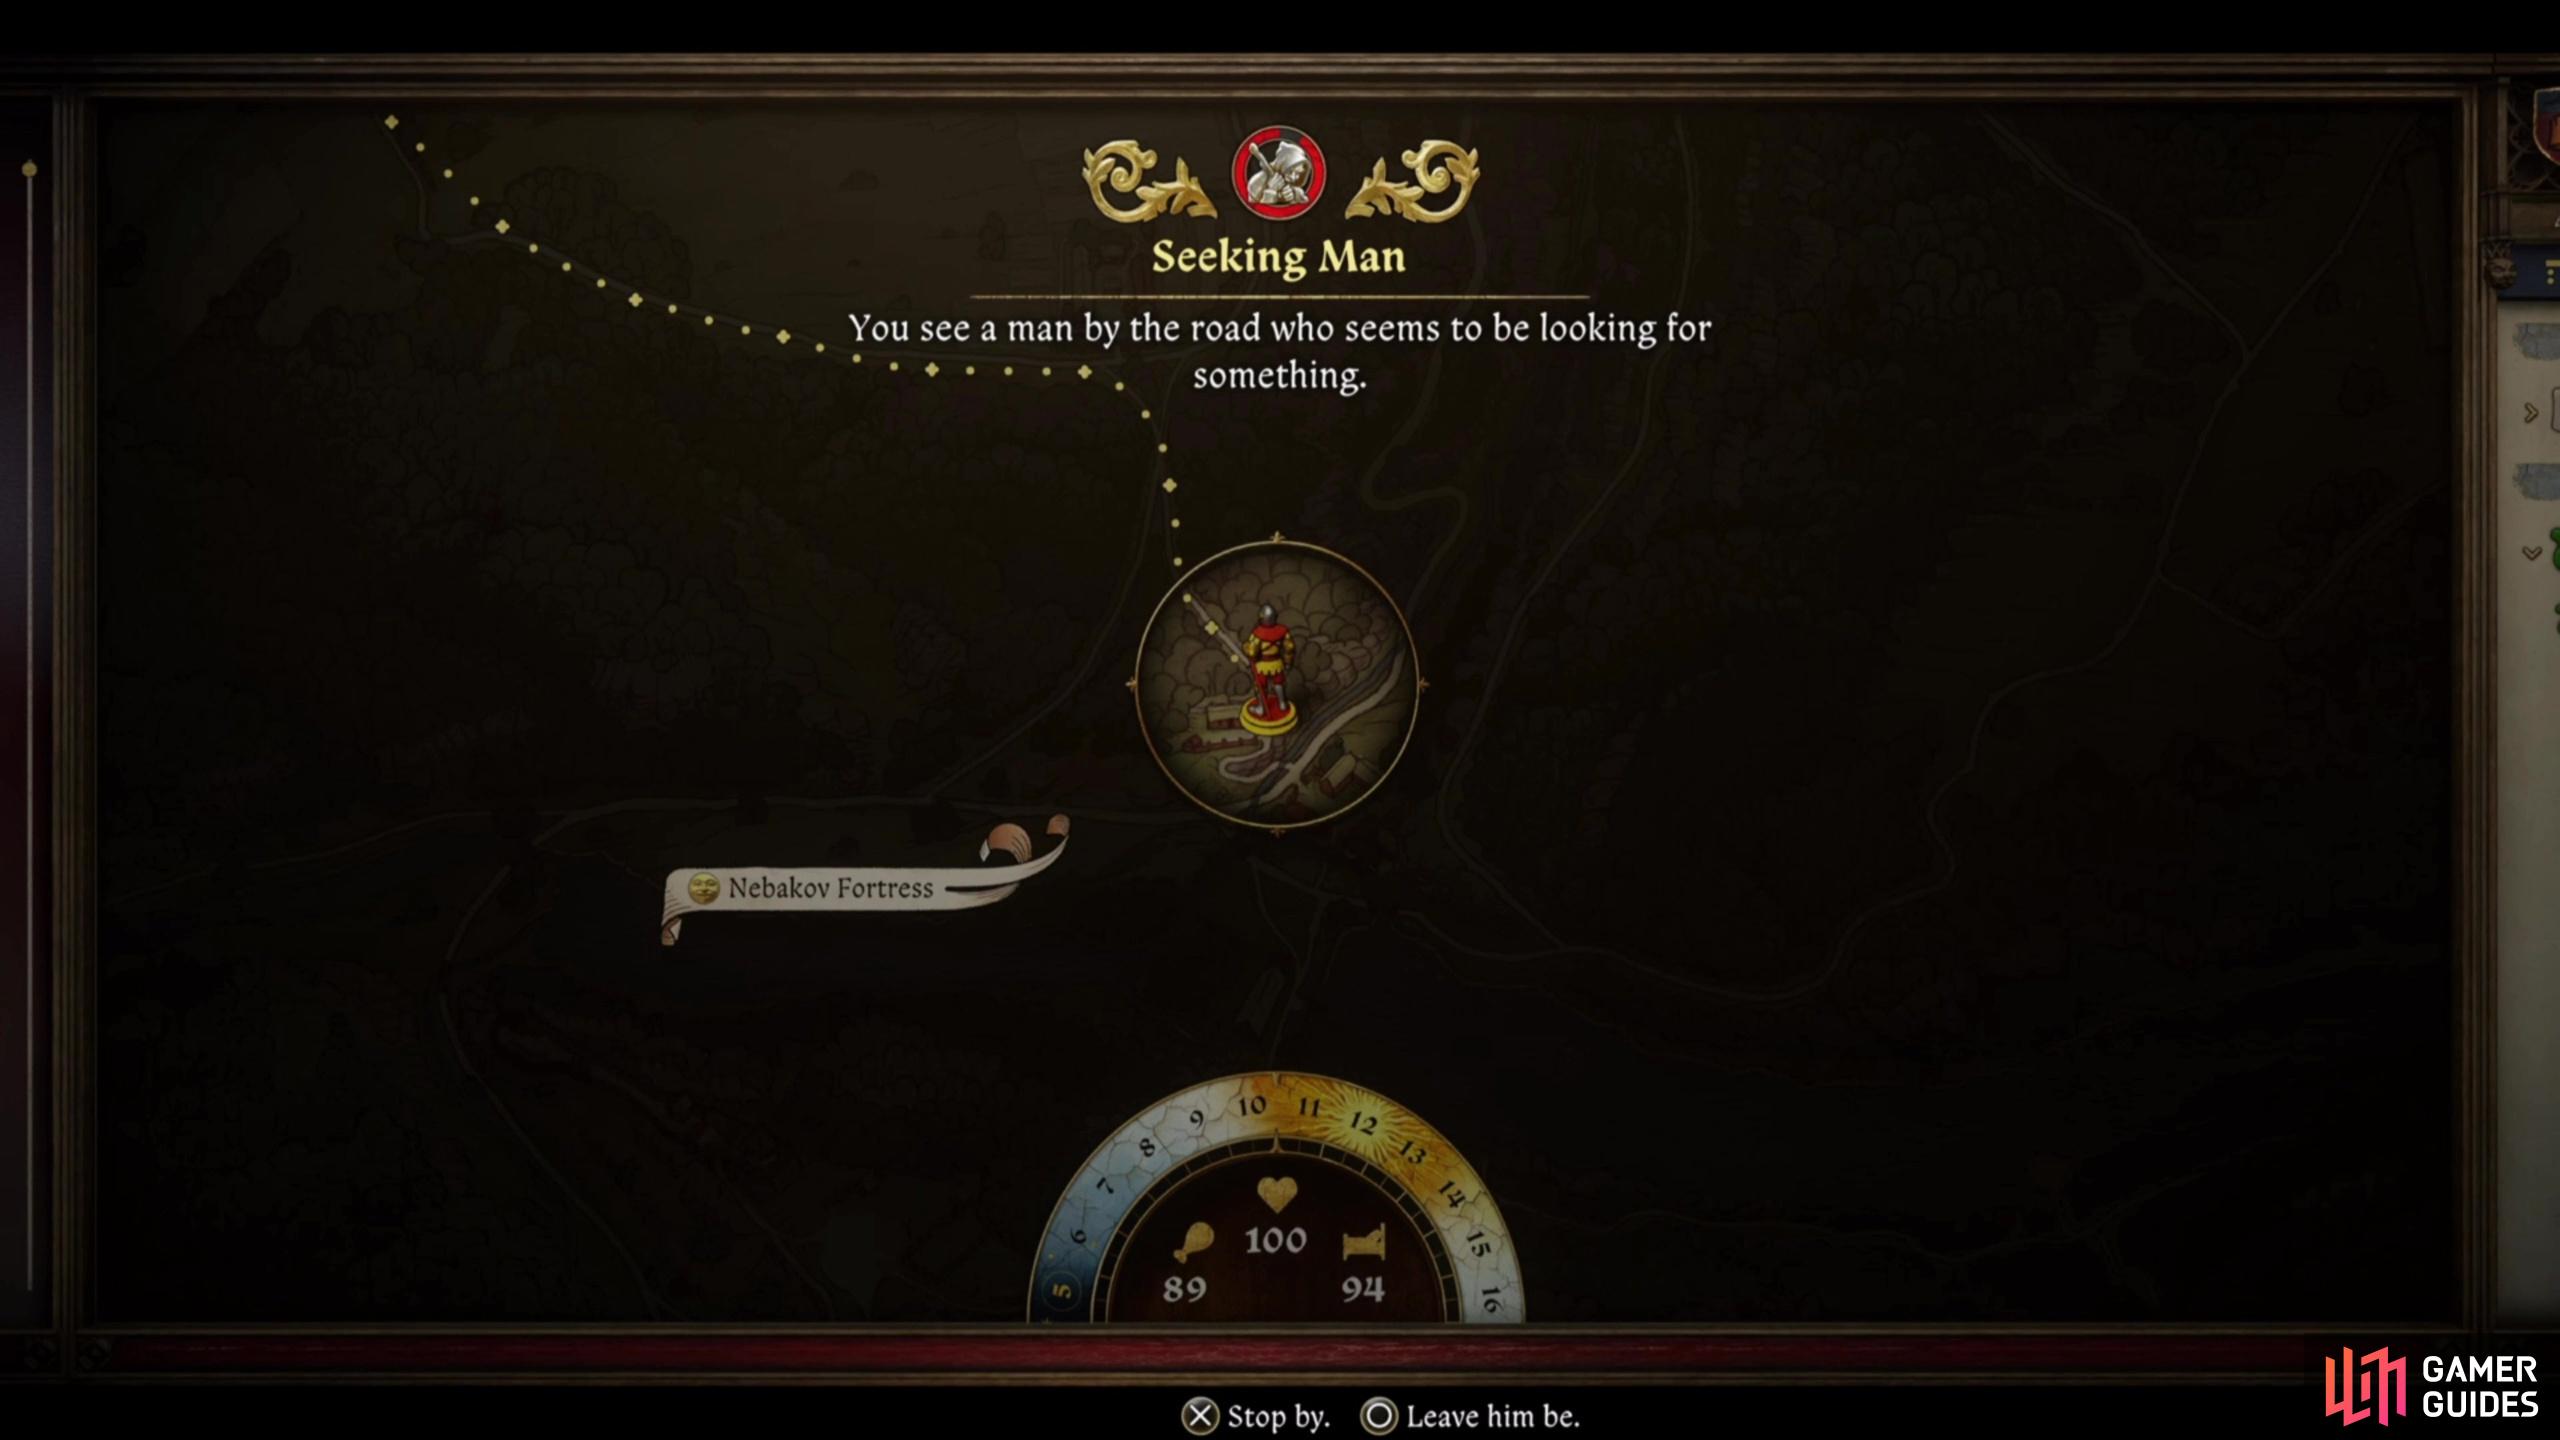


(1 of 3) Fast travel until you stumble across a mercenary looking for treasure,
Find the Treasure at the Skeleton with Treasure
Getting this treasure can be a chore for a few reasons. First, the map only gives you a crude idea of where to go - you’re looking for some chasms west of ![]() Zhelejov, but the map itself does great abuse to the actual geography at play, with the roads and water on the map being irreconcilable with reality. It almost resembles the area just north of the Zhelejov Wagoners’ Inn, but ultimately a few landmarks - namely “
Zhelejov, but the map itself does great abuse to the actual geography at play, with the roads and water on the map being irreconcilable with reality. It almost resembles the area just north of the Zhelejov Wagoners’ Inn, but ultimately a few landmarks - namely “![]() The Devil’s Finger”, a “Poacher’s
The Devil’s Finger”, a “Poacher’s ![]() Camp” and some fallen logs bridging the chasms - makes the ravines west of Zhelejov the more likely candidate. Second, the route marked on the map is frankly a pain in the ass to reach - bring some
Camp” and some fallen logs bridging the chasms - makes the ravines west of Zhelejov the more likely candidate. Second, the route marked on the map is frankly a pain in the ass to reach - bring some ![]() Saviour Schnapps with you, as gravity might thwart your attempts to reach this treasure.
Saviour Schnapps with you, as gravity might thwart your attempts to reach this treasure.
To get to this treasure, cross the swamp west of the Zhelejov Wagoners’ Inn or northwest from Zhelejov and follow the road running along the road following the northern coast of ![]() Rocktower Pond. Keep following this road northwest and west until the road bends southwest, at which point you’ll find a triangular grassy plain northwest of the road and more importantly, a trail running northwest through the grass into a rocky ravine.
Rocktower Pond. Keep following this road northwest and west until the road bends southwest, at which point you’ll find a triangular grassy plain northwest of the road and more importantly, a trail running northwest through the grass into a rocky ravine.
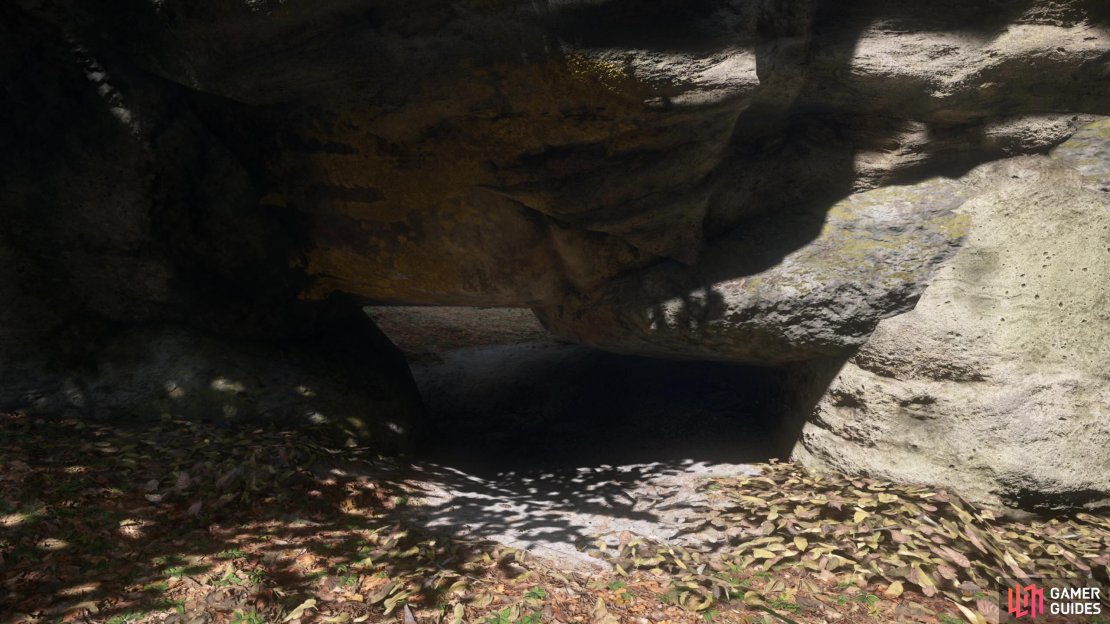
Enter the ravine and follow the cliffs west but keep your eye to the right until you find a hole in the rocks near the ground (north) - crouch down and you can crawl through the opening, and when you’re on the other side, turn northwest and work your way through the rocks, going left whenever possible until you find a triangular hole in some rocks ahead. Pass through (to the north again) and you’ll find two promising-looking slopes uphill, one to the west and one to the north. Climb the northern slope and turn right when your path is blocked by fallen logs and you’ll find a trail running around the nearby rocks. Follow this trail around and it’ll lead to some rocks to the west you can jump across - do so and continue west until you find some logs crossing some gaps to the northwest. Consider chugging a Saviour ![]() Schnapps, then cross to the northwest.
Schnapps, then cross to the northwest.
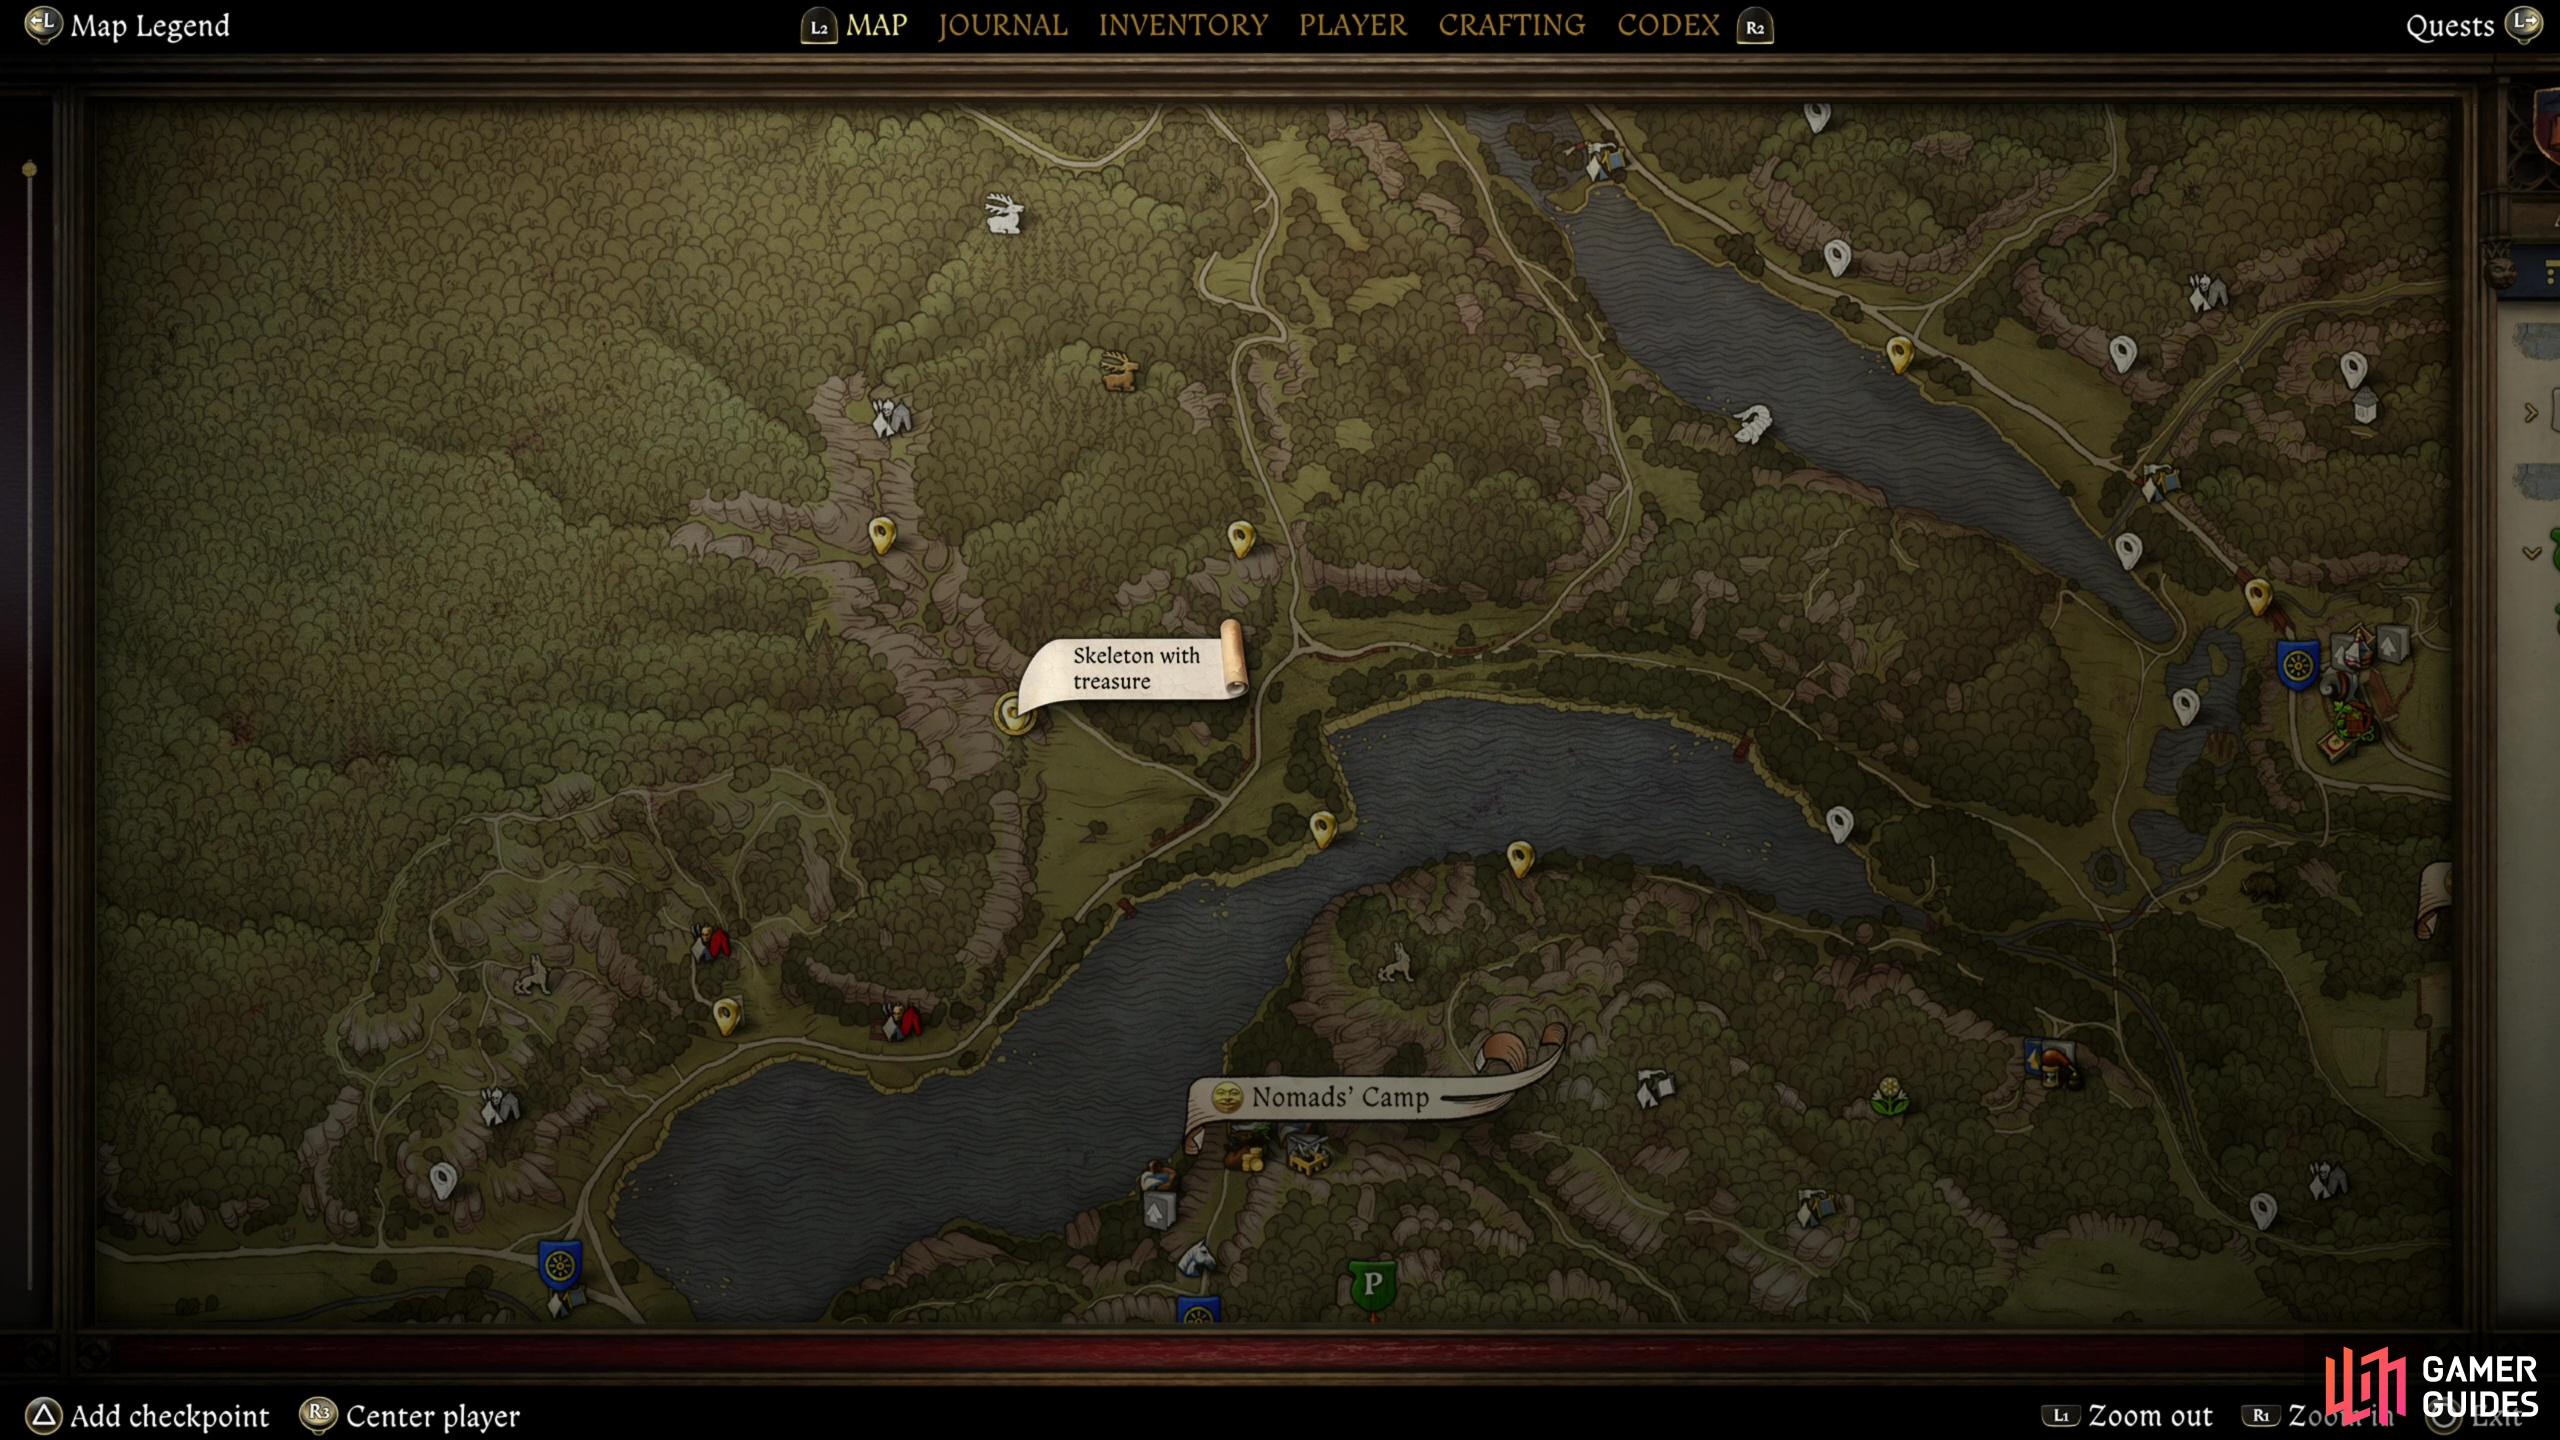


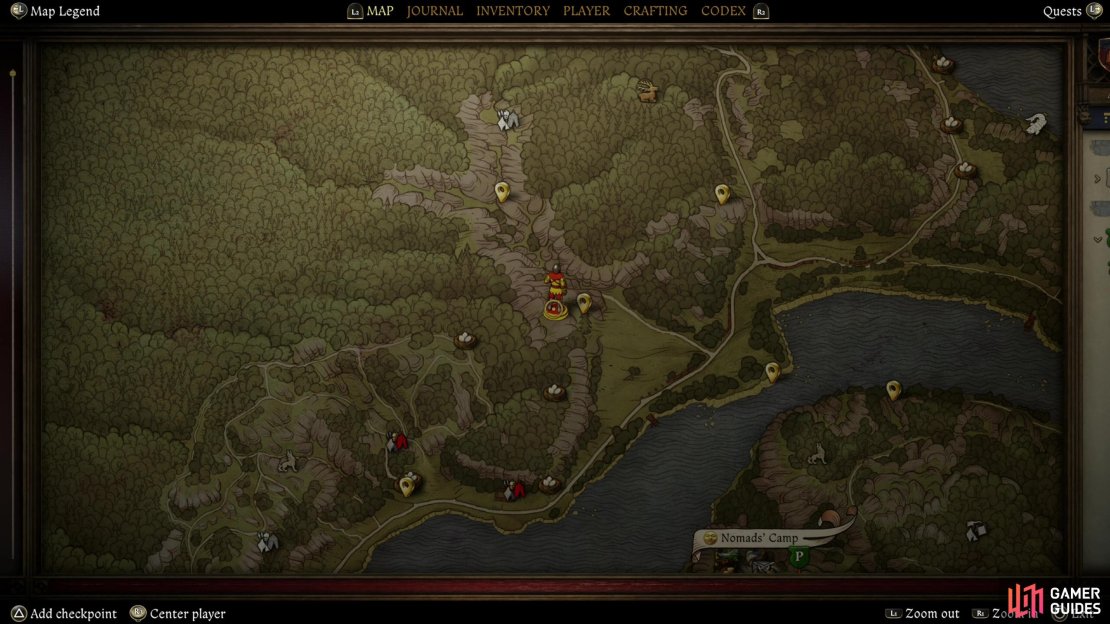
(1 of 6) Your goal is the “Skeleton with Treasure” point of interest in the rocks northwest of Rocktower Pond.
Now you have some choices - continue west to reach the second log, which crosses another gap to the south. This will take you towards your destination, or you can continue past the log and work your way around the rocks, climb ledges and jump gaps to ascend the precarious monolith above you to reach the top, which houses “The Devil’s Finger” point of interest. Atop this monolith you’ll find a grave, which you can loot for 281 groschen and some ![]() Strong Saviour Schnapps. You’ll want to drink this, as the way down is perilous and Henry is prone to squishing fatally after a long fall.
Strong Saviour Schnapps. You’ll want to drink this, as the way down is perilous and Henry is prone to squishing fatally after a long fall.
Plunder “The Devil’s Finger” if you wish, then work your way back down and cross the log to the south. Once you’re across the log you’ve mostly home-free as far as this treasure is concerned, but there are also fewer landmarks to help you reach your destination. Follow the cliffs to the east through the forest until you’re due west of the “Skeleton with Treasure” point of interest (see included map screenshots) - you’ll need to work your way downhill at the target location to find a rock you can jump onto with a running start. Again, you might want to save before attempting this, as missing will be painful, if not fatal, and worse, you’ll have to hoof it all the way back to try again.
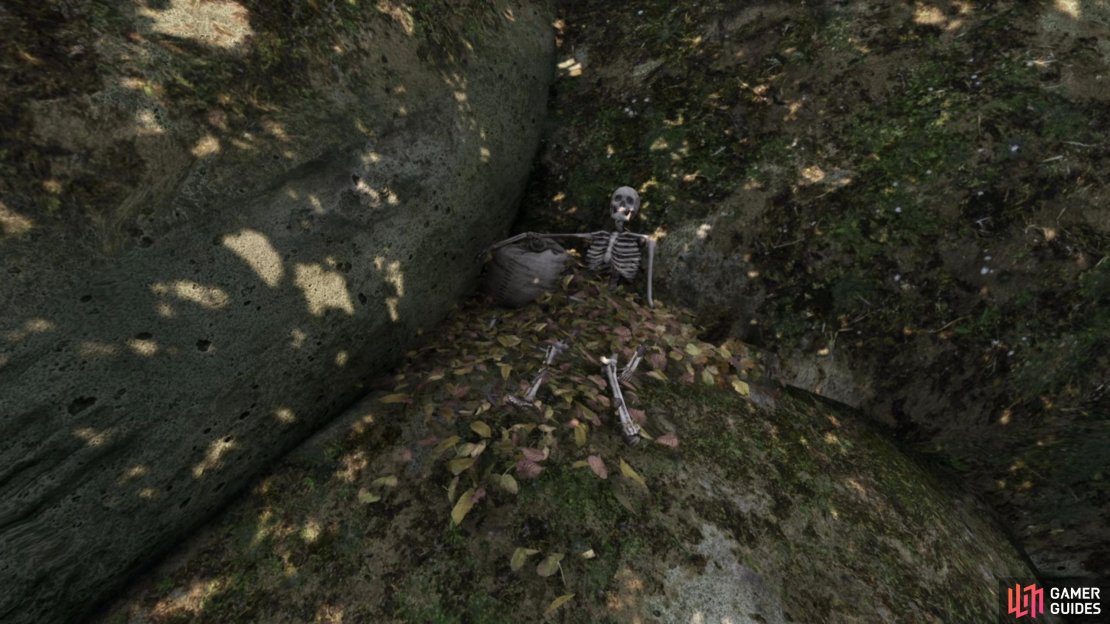
Once you’re on this rock, turn east and walk onto another boulder, then south onto a smaller, slightly lower boulder, on the eastern edge of which you’ll find a skeleton sitting in a corner, with a bag under one arm. Loot the bag to score an Engraved Silver Ring, a Gemstone Silver Ring, some ![]() Cobwebs, a Coin Sword Pommel and 182 groschen. Whether this treasure is worth the effort is up to you to decide.
Cobwebs, a Coin Sword Pommel and 182 groschen. Whether this treasure is worth the effort is up to you to decide.
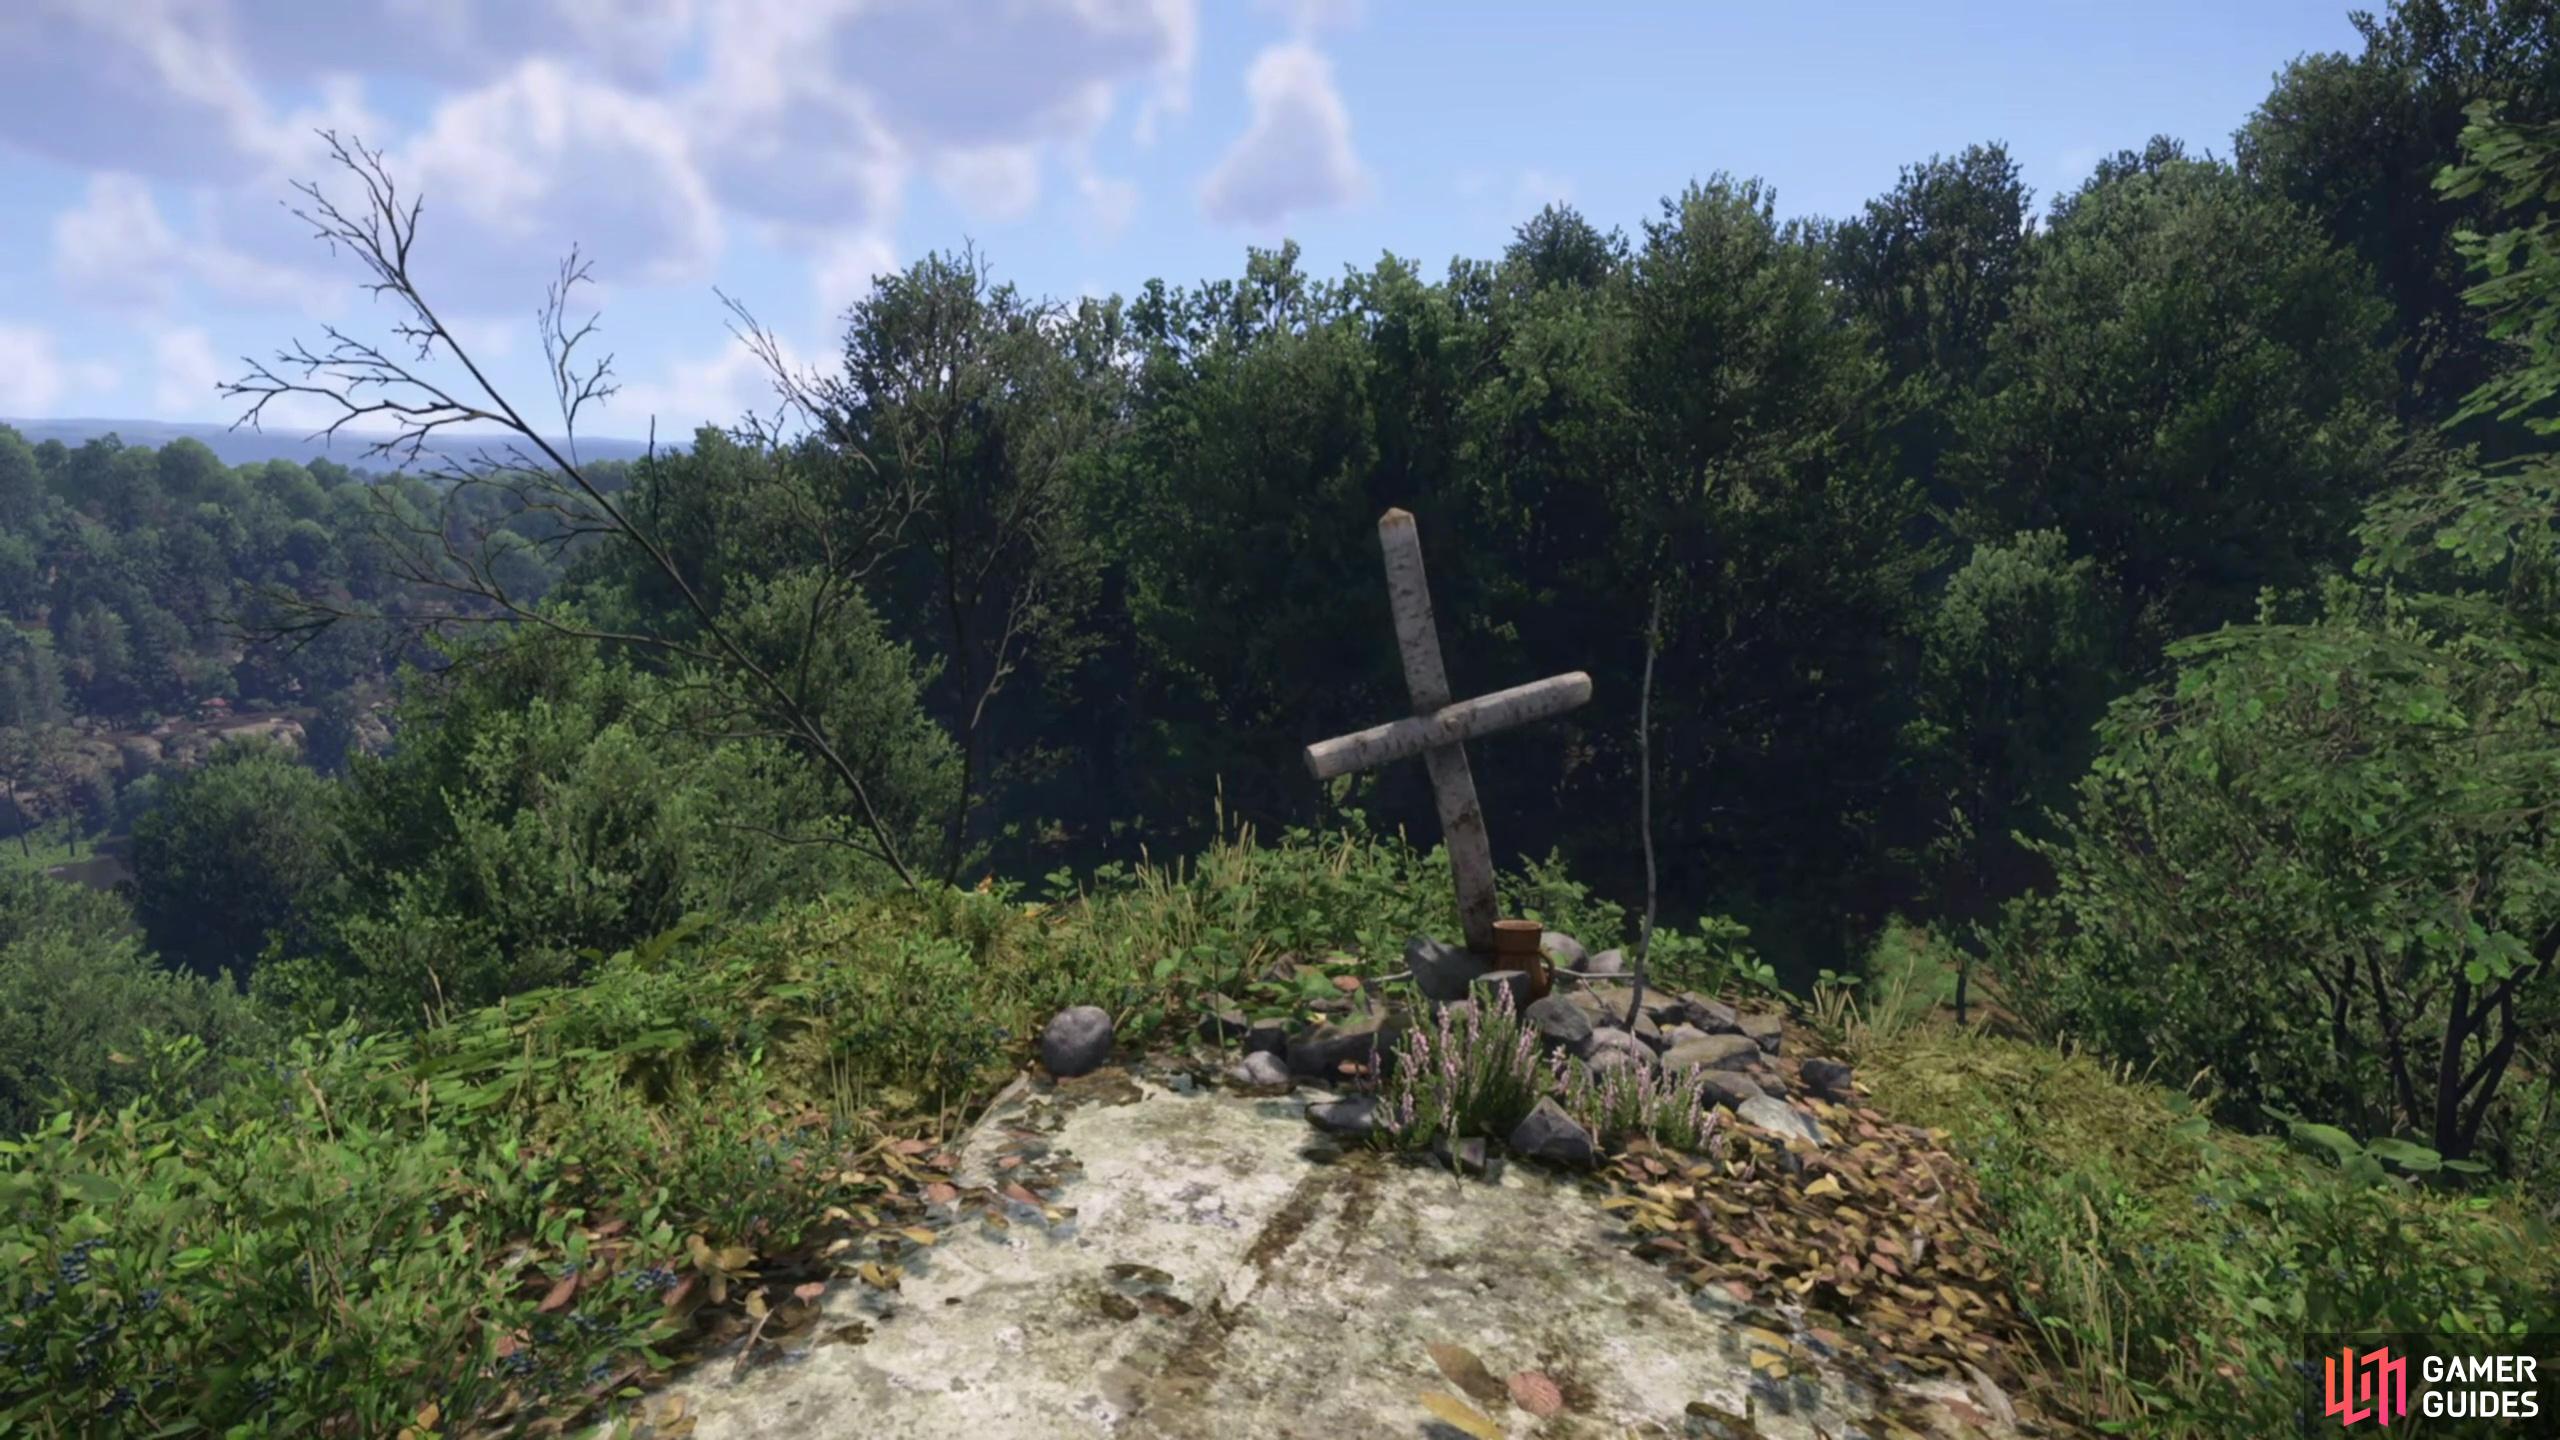


(1 of 4) Take a detour after the first log and ascend the monolith to find a grave - which is “The Devil’s Finger” point of interest.
No Comments