
Dry Devil’s actions at the end of the ![]() Civitas Pragensis quest has provoked the Praguers into instant action against the group, and you must defend
Civitas Pragensis quest has provoked the Praguers into instant action against the group, and you must defend ![]() Suchdol and Sigismund’s silver. This is a relatively short, but combat-filled encounter, so keep reading to learn how to complete the
Suchdol and Sigismund’s silver. This is a relatively short, but combat-filled encounter, so keep reading to learn how to complete the ![]() So it begins… main quest in Kingdom Come: Deliverance II.
So it begins… main quest in Kingdom Come: Deliverance II.
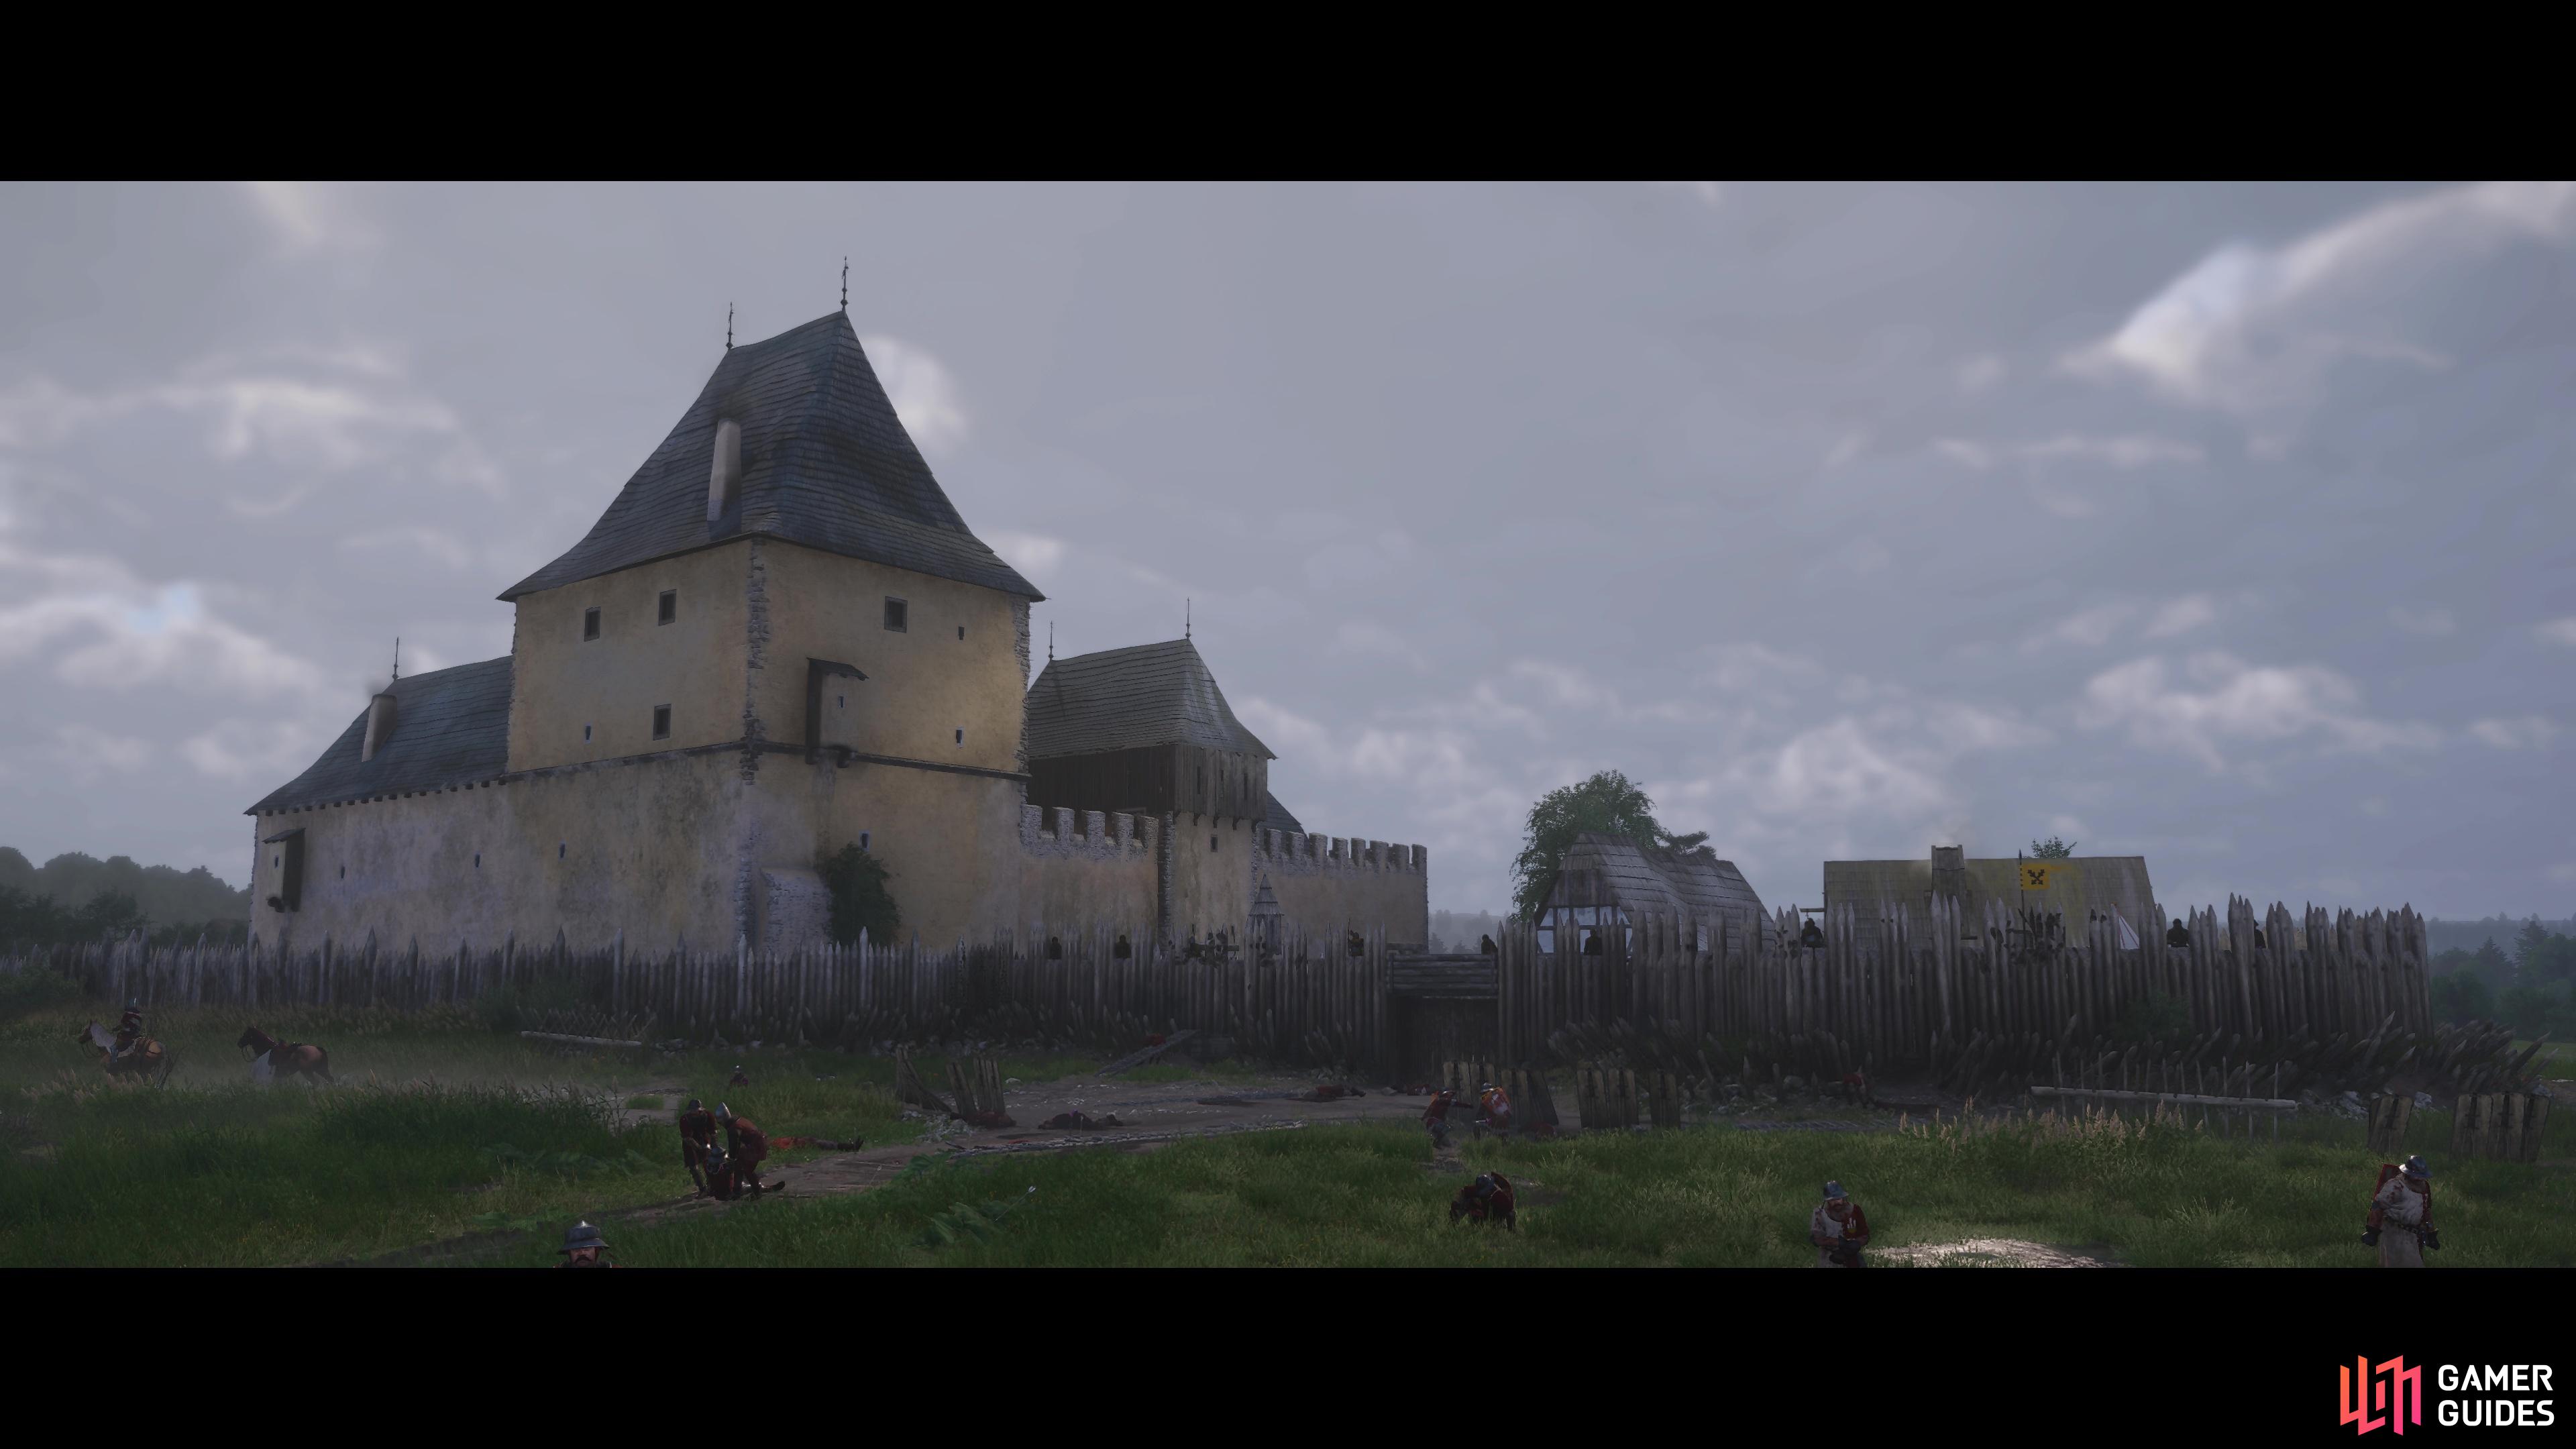
So it begins… is a main quest in Kingdom Come: Deliverance II.
Table of Contents
If you want to jump to a specific section, click on the links below.
| Quickjump |
|---|
| Repel the Praguers’ assault! |
| Go to the Walls with Godwin |
| Recruit Squad Members |
| Check on the Guards |
| Don’t Let the Enemy Get Control of the Gate |
Repel the Praguers’ assault!
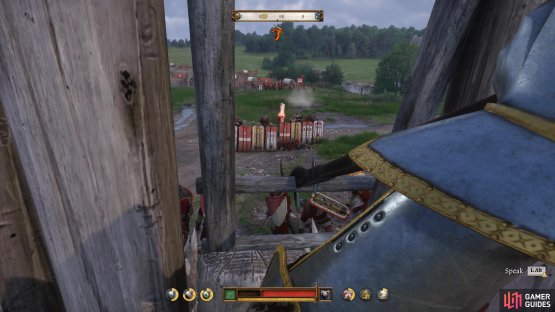
The quest will open immediately with the attack from the Praguers, as such, you need to get to the walls as soon as possible. If you don’t already have a Polearm, grab one from the nearby rack and equip it, then take cover behind the walls to begin. While you can shoot back with a ranged weapon, it’s not required and has no bearing on the proceedings.
Eventually, you’ll find some soldiers are attacking the gate, go to the hole above it and begin tossing rocks down on their heads, you’ll need to line yourself up with each one for the rocks to hit. After you’ve knocked all five of them down, deal with any remaining enemies that may have made it up and then a scene will trigger.
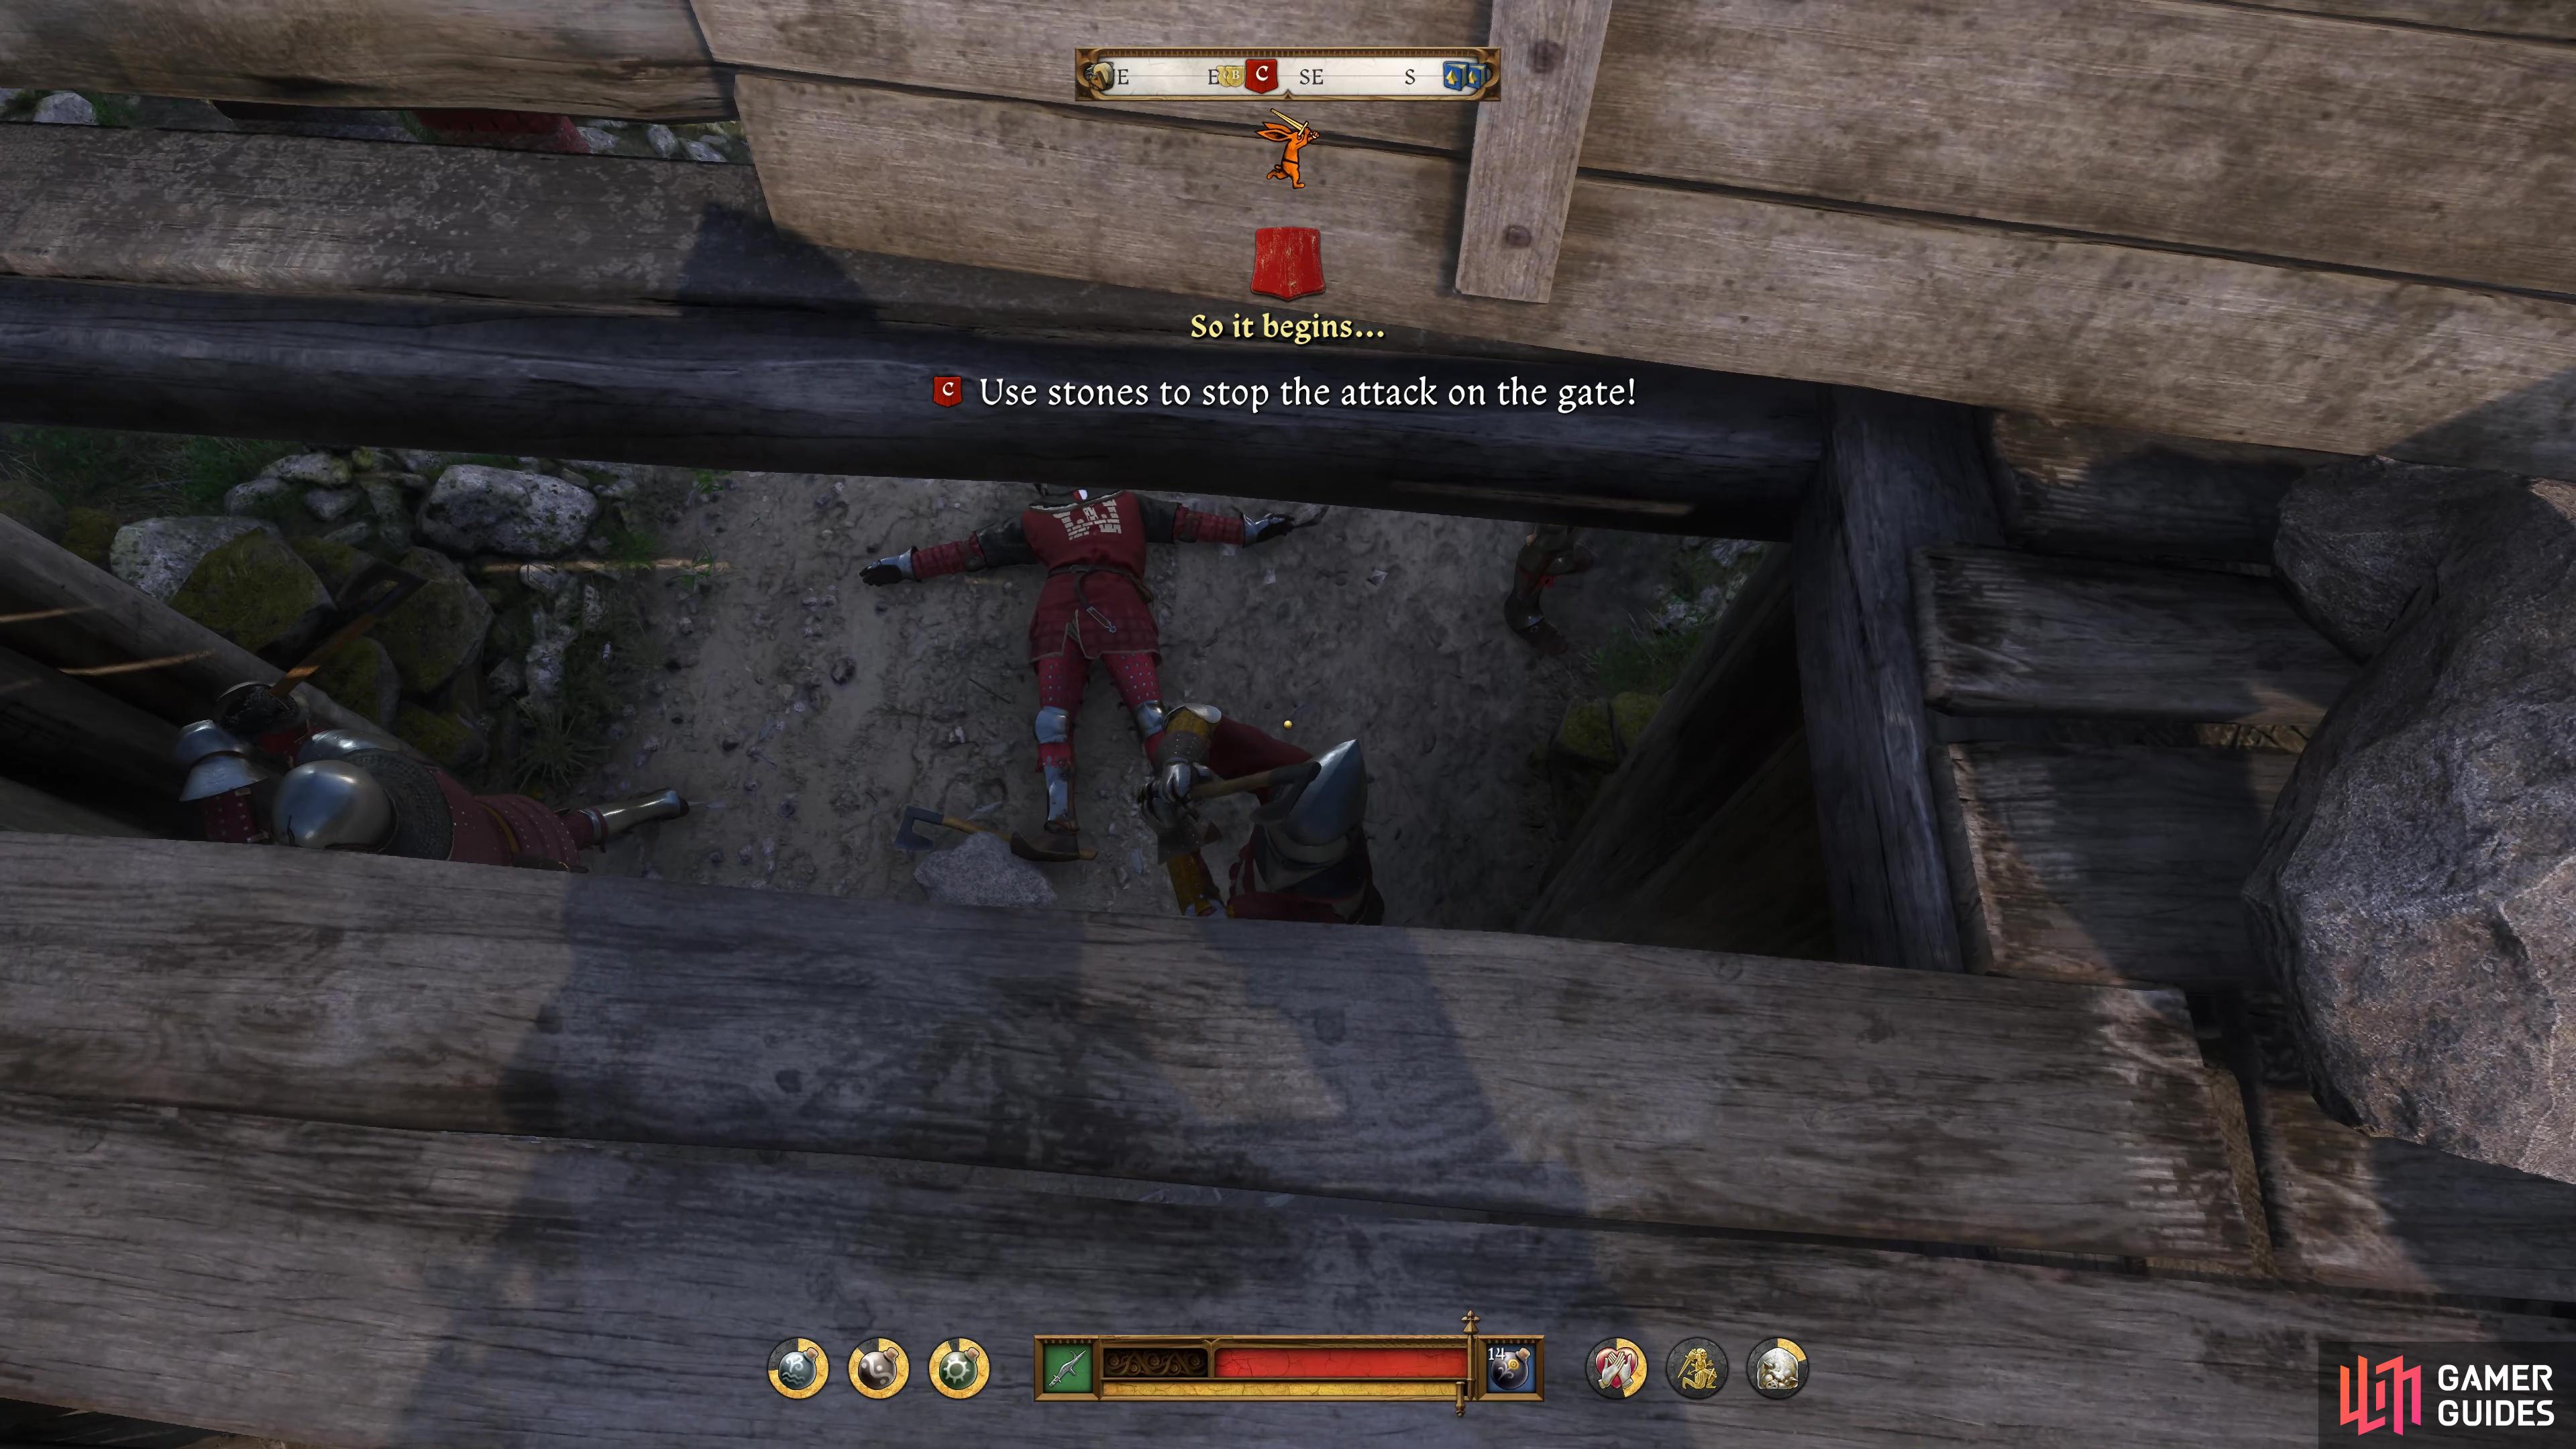

(1 of 2) Position yourself in line with the soldiers before letting go of a stone.

Position yourself in line with the soldiers before letting go of a stone. (left), You need a Polearm to push the ladders down. (right)
Go to the Walls with Godwin
Godwin will wake you up the next morning and offer some advice when it comes to Zizka and Peter about how the defense of Suchdol should be handled. Follow him out to the courtyard and then, before following him to the walls, take care of the optional tasks first.
Go and see Janosh, who can be found in the kitchen, located to the left of the ![]() Baths and get yourself some food. You can push for more at the cost of a hit to your reputation, but the initial batch he gives you is fine for now, you can always come back later and get some food from the pot. Be sure to eat what he gives you now, though, as you’ll need your strength later.
Baths and get yourself some food. You can push for more at the cost of a hit to your reputation, but the initial batch he gives you is fine for now, you can always come back later and get some food from the pot. Be sure to eat what he gives you now, though, as you’ll need your strength later.
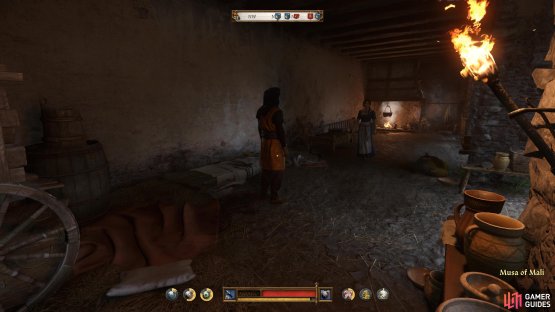
Following this, go over to where the door to the ![]() Alchemy bench is to find Musa and
Alchemy bench is to find Musa and ![]() Katherine has set up a makeshift Infirmary. Should you find yourself with any major injuries in the battles to come, head back here and get yourself patched up. Realistically though, this is all for flavor as you shouldn’t find yourself in need of these services and can
Katherine has set up a makeshift Infirmary. Should you find yourself with any major injuries in the battles to come, head back here and get yourself patched up. Realistically though, this is all for flavor as you shouldn’t find yourself in need of these services and can ![]() Bandage yourself just fine. Finally, head to the north of the fortress to find
Bandage yourself just fine. Finally, head to the north of the fortress to find ![]() Captain Frenzl near the
Captain Frenzl near the ![]() Smithy and you can help him by sharpening some swords for a reputation boost (this is quickest by speaking to the
Smithy and you can help him by sharpening some swords for a reputation boost (this is quickest by speaking to the ![]() Blacksmith and having him repair them).
Blacksmith and having him repair them).

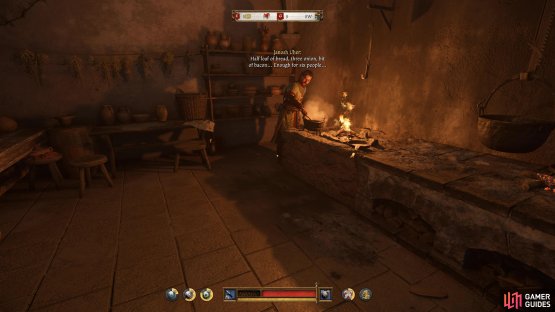
(1 of 2) Find Janosh in the kitchen and get some food.

Find Janosh in the kitchen and get some food. (left), Then speak with Musa and Katherine in the makeshift infirmary. (right)
Once you’ve finished doing the rounds, head up to the walls where Godwin and Zizka will be talking and you’ll get the opportunity to have your say on things. Let them know you think Zizka should handle the defense as the one with the most experience and you’ll eventually learn that Zizka has given you command of your own squad, directing you to go and gather each of them.
Recruit Squad Members
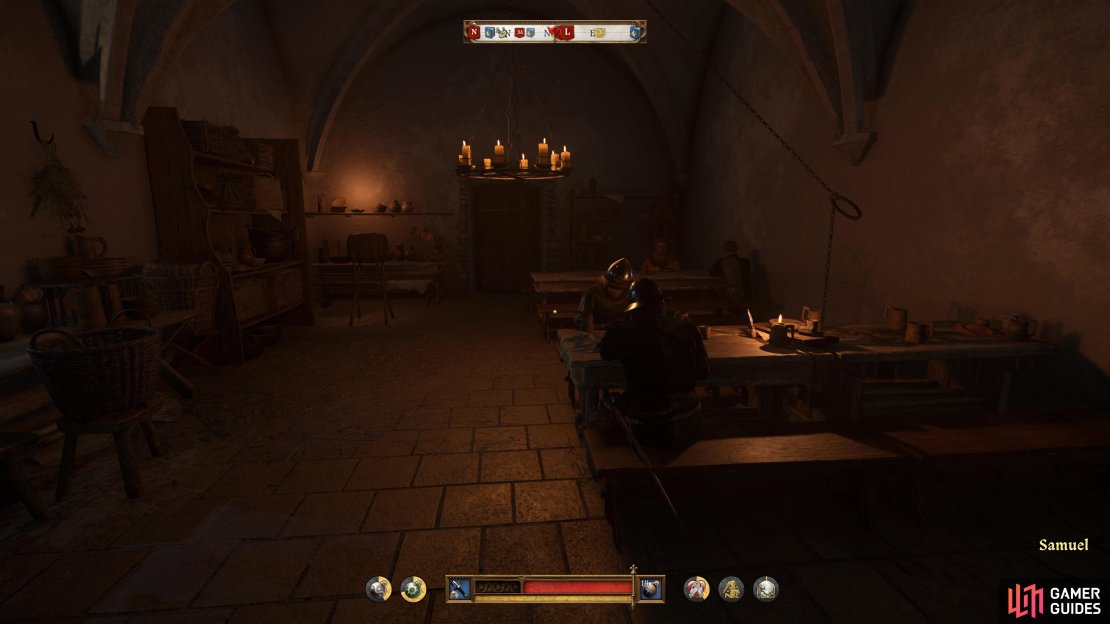
You’ll have to go around the fortress now to recruit the three sets of members for your new squad that Zizka has just given Henry command over. Start by heading back to the kitchen where Janosh was and go through the door to the left to find both Samuel and ![]() Kubyenka, it’s a good idea to get them to stop drinking when you have the chance here.
Kubyenka, it’s a good idea to get them to stop drinking when you have the chance here.
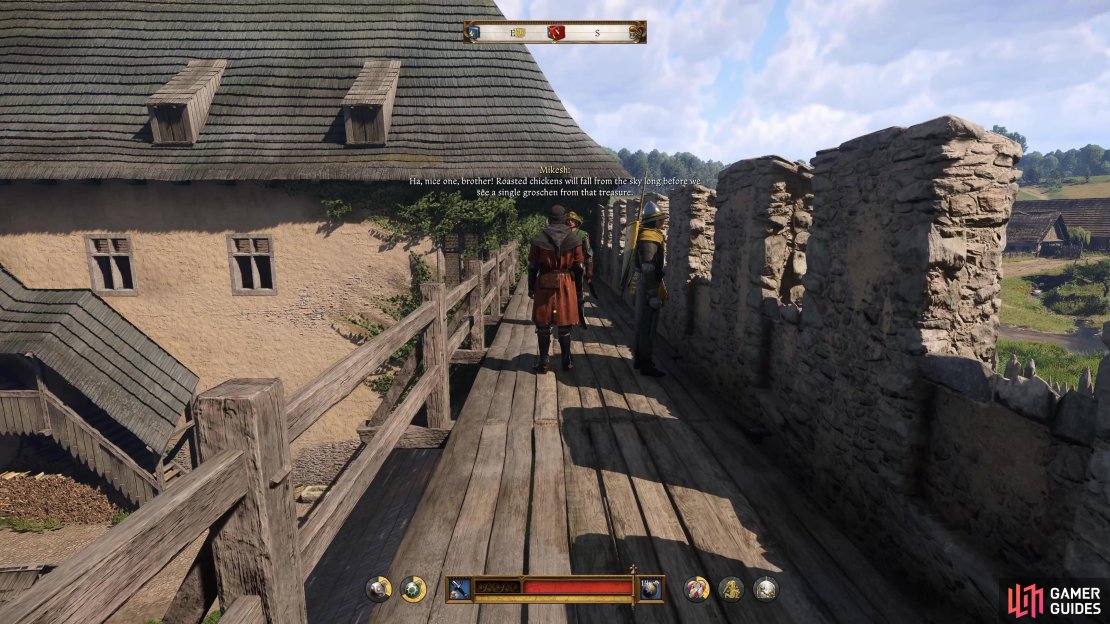
Next, take the stairs up near the ![]() Alchemy bench, then go up the next set of stairs inside and out to the walls where you’ll find both Mikesh and Kozliek, once again, exhaust all of the options here to send them to the gathering spot. Finally, go back to where the Blacksmith was and look on the table nearby to find some old friends from
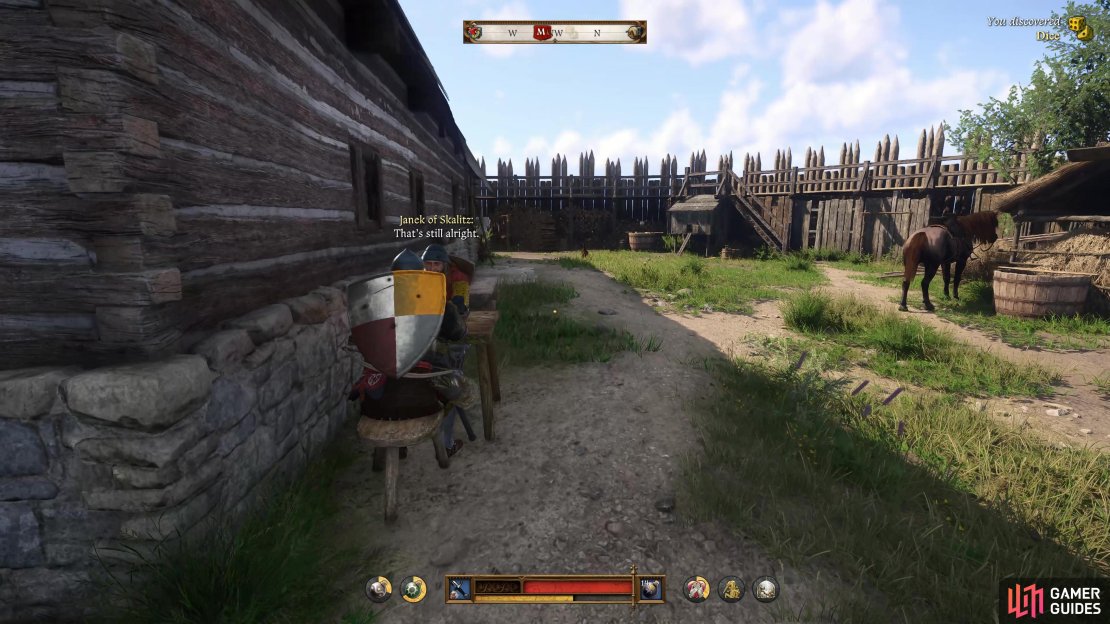
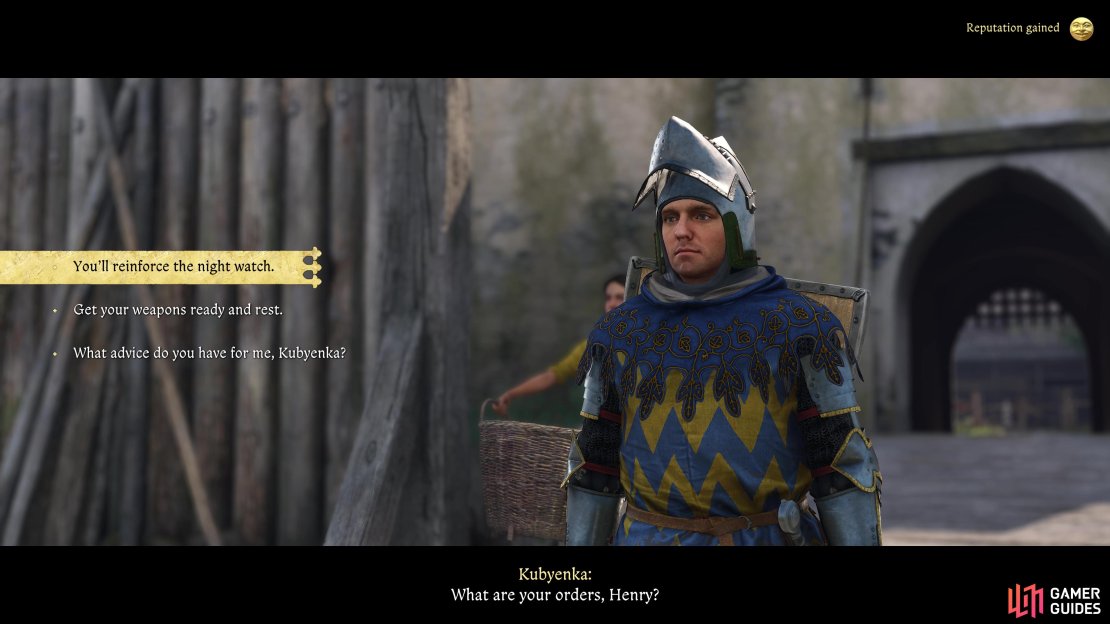
Alchemy bench, then go up the next set of stairs inside and out to the walls where you’ll find both Mikesh and Kozliek, once again, exhaust all of the options here to send them to the gathering spot. Finally, go back to where the Blacksmith was and look on the table nearby to find some old friends from ![]() Skalitz. Once you’ve recruited all three groups, meet them in the outer bailey and speak to any of them, when given the chance, choose any of the options that requires a skill check, followed by “You’ll reinforce the night watch.”.
Skalitz. Once you’ve recruited all three groups, meet them in the outer bailey and speak to any of them, when given the chance, choose any of the options that requires a skill check, followed by “You’ll reinforce the night watch.”.

(1 of 4) Find Samuel and Kubyenka drinking.
With that handled, return to your room in Suchdol and you’ll find Hans standing outside, speak with him and exhaust all of the dialogue options, then go to sleep to advance the time.
Check on the Guards
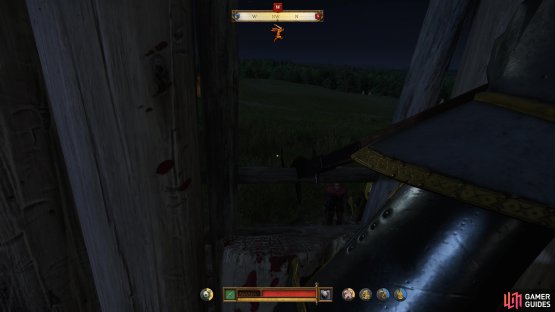
![]() Dry Devil will wake you up in the middle of the night for your shift, apparently he has let himself get a bit too drunk as usual. Head out of the building and you’ll now need to go and check on all of the guards that are positioned around the walls of the castle. While you can go and check on each objective marker, ultimately, only one of them matters and will update the quest, that is of objective marker “T”, who can be found on the wall to the northwest.
Dry Devil will wake you up in the middle of the night for your shift, apparently he has let himself get a bit too drunk as usual. Head out of the building and you’ll now need to go and check on all of the guards that are positioned around the walls of the castle. While you can go and check on each objective marker, ultimately, only one of them matters and will update the quest, that is of objective marker “T”, who can be found on the wall to the northwest.
Don’t Let the Enemy Get Control of the Gate
You’ll immediately deduce that this soldier is in fact a Praguer that has snuck into the fortress, quickly deal with him and then get to the walls to prevent more ladders that start rising. Remember, you’ll need to equip your Polearm first and then push back the two ladders that are erected. You’ll then need to deal with any soldiers that have made it into the fort, if you’re quick enough, it shouldn’t be too many of them and you can simply attack them from behind while they’re focusing on other people.

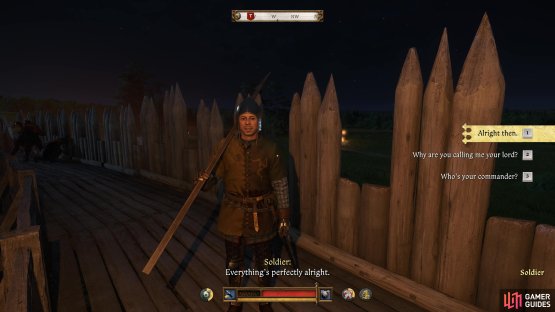
(1 of 2) The soldier at objective T is an imposter.

The soldier at objective T is an imposter. (left), Focus on pushing the two ladders down with a Polearm during the battle. (right)
Once the final soldier falls, Zizka will come out to the courtyard, talk to him and he will give new orders, before complimenting Henry on his decision to bolster the night watch. At this point, more scenes will take over and the quest will end, automatically starting ![]() Besieged.
Besieged.
No Comments