
![]() Taking French Leave is a main story quest in the
Taking French Leave is a main story quest in the ![]() Kuttenberg region in Kingdom Come Deliverance II. The quest begins immediately after completing the previous quest, Via Argentum. Sir Kunzlin will give you a way into
Kuttenberg region in Kingdom Come Deliverance II. The quest begins immediately after completing the previous quest, Via Argentum. Sir Kunzlin will give you a way into ![]() Maleshov, so you save Sir Hans Capon. Read on to find out where to find the secret entrance, and how you should handle the escape.
Maleshov, so you save Sir Hans Capon. Read on to find out where to find the secret entrance, and how you should handle the escape.
Eric finds out some bad news at Maleshov.
Table of Contents
If you want to jump to a specific section, click on the links below.
| Quickjump |
|---|
| Speak to Kunzlin Ruthard |
| Talk to Rosa |
| Go to Hashtal’s Stables |
| Secret Entrance Location |
| Rescue Capon |
| Escape Maleshov |
Speak to Kunzlin Ruthard
Go to the south of ![]() Kuttenberg and head over to the Ruthard Palace. When you get into the courtyard, you’ll be stopped by a guard. Looks like Kunzlin has increased his security. Henry will explain that Kunzlin is waiting for you, and he’ll let you in. You’ll get a short scene of Kunzlin speaking to an important man who goes by Sir Martin Oderin. You’ll have a chance to interrupt their conversation but continue listening, and then Henry will interrupt of his own volition when they start speaking about Vavak.
Kuttenberg and head over to the Ruthard Palace. When you get into the courtyard, you’ll be stopped by a guard. Looks like Kunzlin has increased his security. Henry will explain that Kunzlin is waiting for you, and he’ll let you in. You’ll get a short scene of Kunzlin speaking to an important man who goes by Sir Martin Oderin. You’ll have a chance to interrupt their conversation but continue listening, and then Henry will interrupt of his own volition when they start speaking about Vavak.
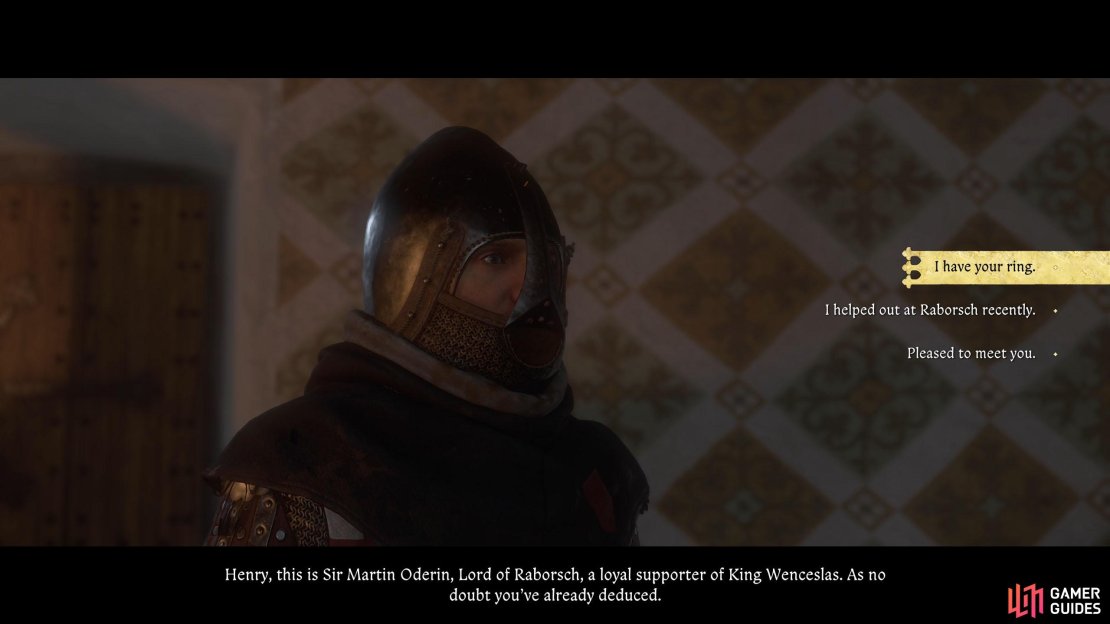
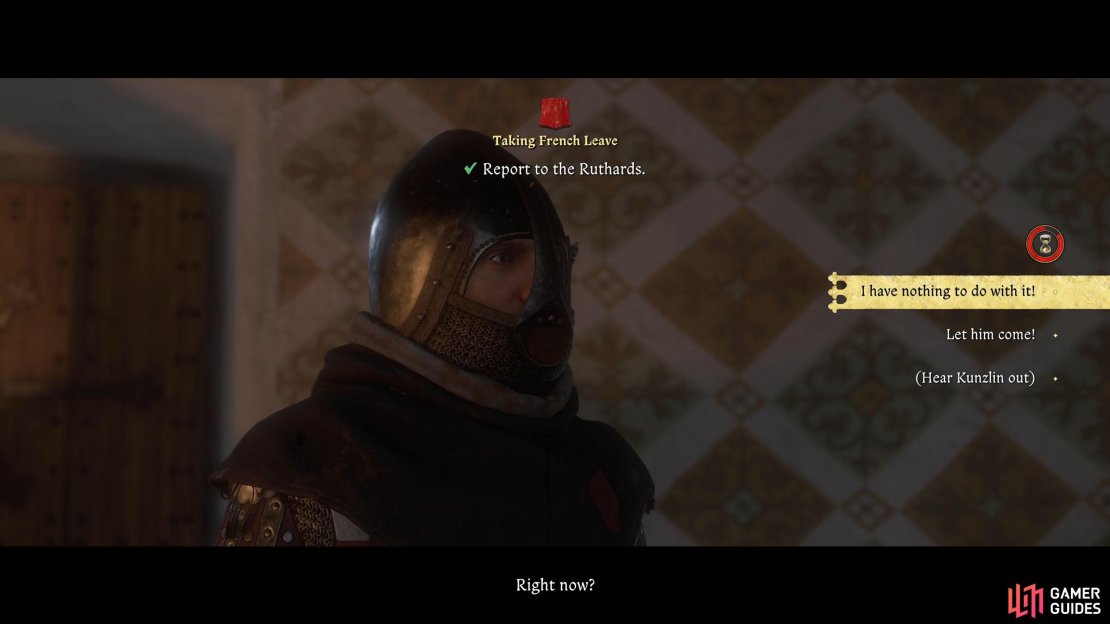
Furthermore, you’ll get a brief moment to speak to Sir Oderin, so you can hand over the ring that Godwin gave you earlier in the game if you need help. Do so, and Sir Martin isn’t too pleased about it, but he will agree to help you out. Shortly after, Shimek interrupts the conversation and tells you that the Mint Master is on his way with a score of men. Hear Kunzlin out when given the chance, and he’ll fortify his defenses.
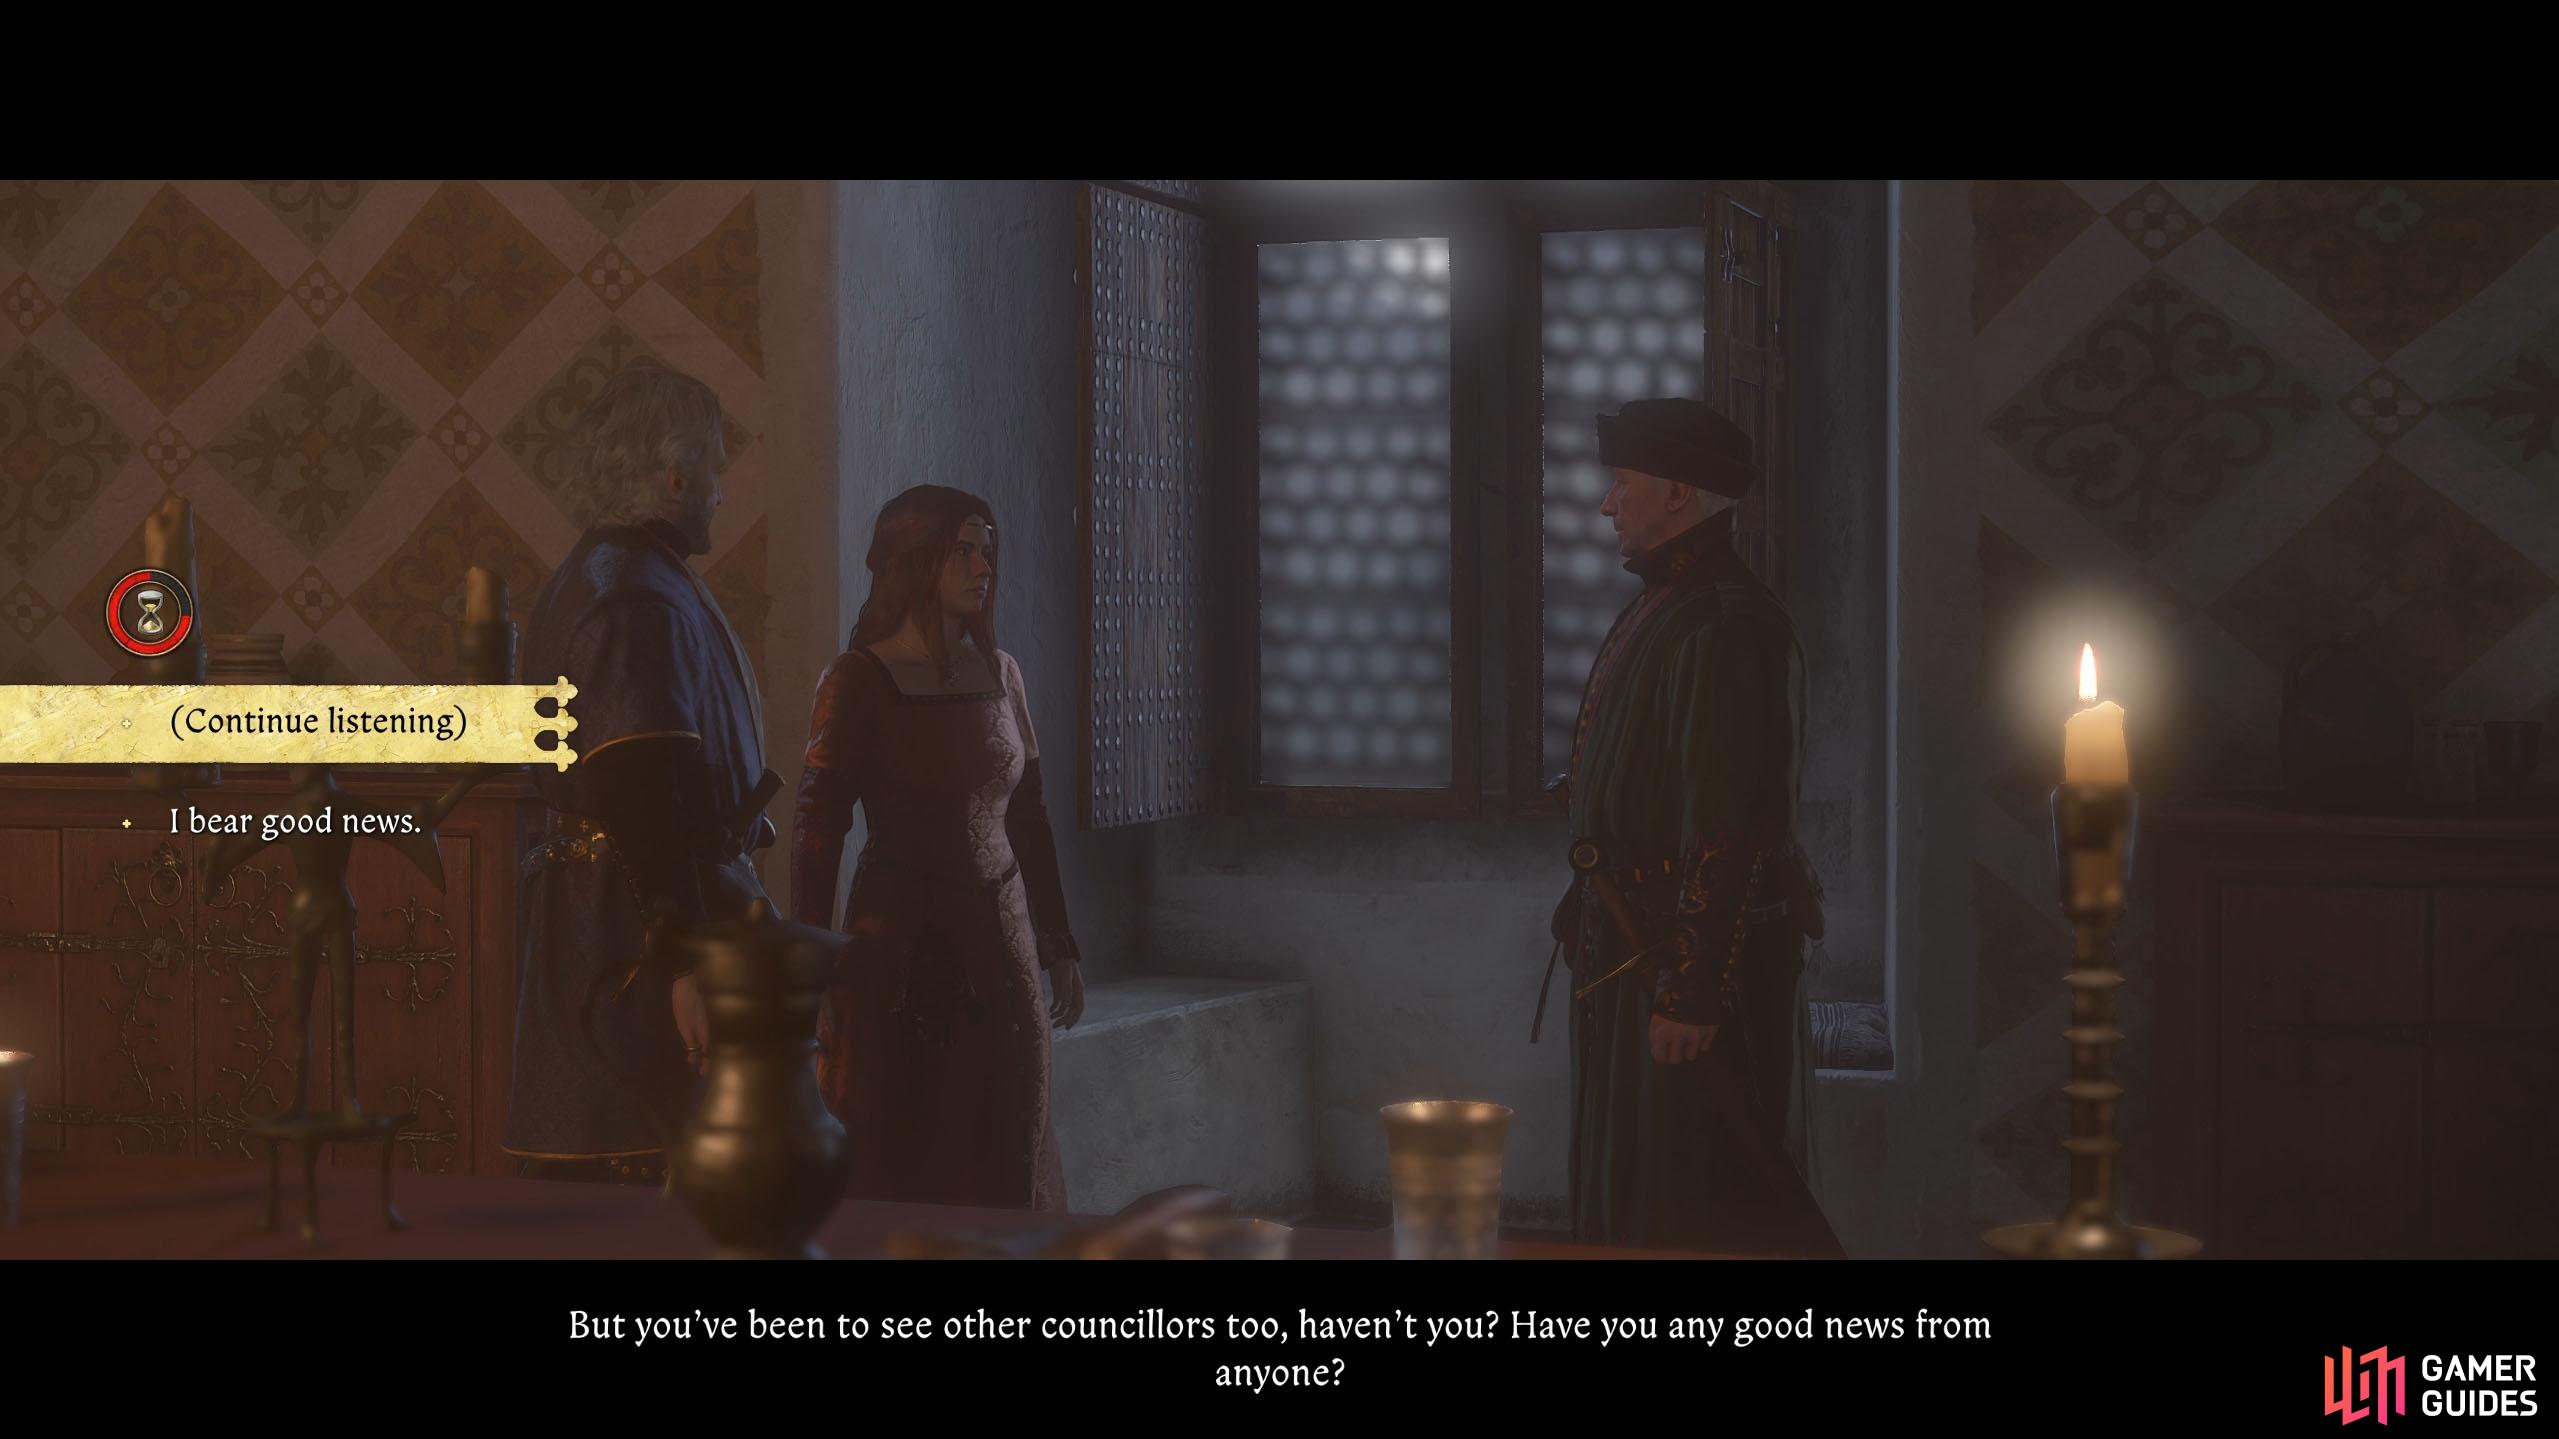

(1 of 3) When you have a chance to interrupt, stay silent instead for bonus speech experience.
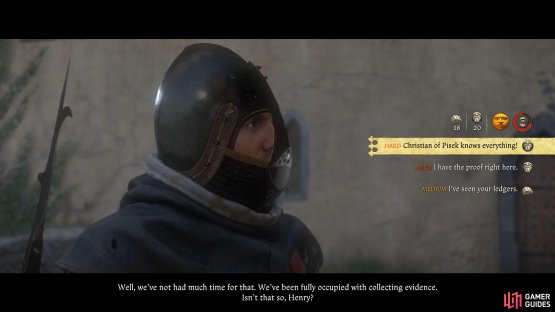
Once that’s done, you’ll head outside with Kunzlin and Martin and speak to Vavak. There are some threats thrown back and forth until Kunzlin asks you to inform Vavak about what he’s been up to. Mention that you know he’s been secretly operating his own mint, and then shortly after, you’ll have a difficult speech check to pass.
The first option is a coercion check that reads as Hard at level 20, and the same goes for the second option. Finally, you’ll have a scholarship check that reads as Medium at level 18. The bottom option should be the easiest to pass, and the top is the best answer, but any answer will do, although you will lose some reputation for the bottom.
The news of your evidence puts Vavak in his place, and after some consideration, they choose to keep Vavak alive, for now. You’ll hand over the evidence to Kunzlin, and he’ll tell you about a secret passage leading out of Maleshov, but Rosa is the one who found it, and also the best person to ask about it. You will have one more speech check before you’re done with Kunzlin, both of which are difficult to pass, but the only difference is a bit of reputation.
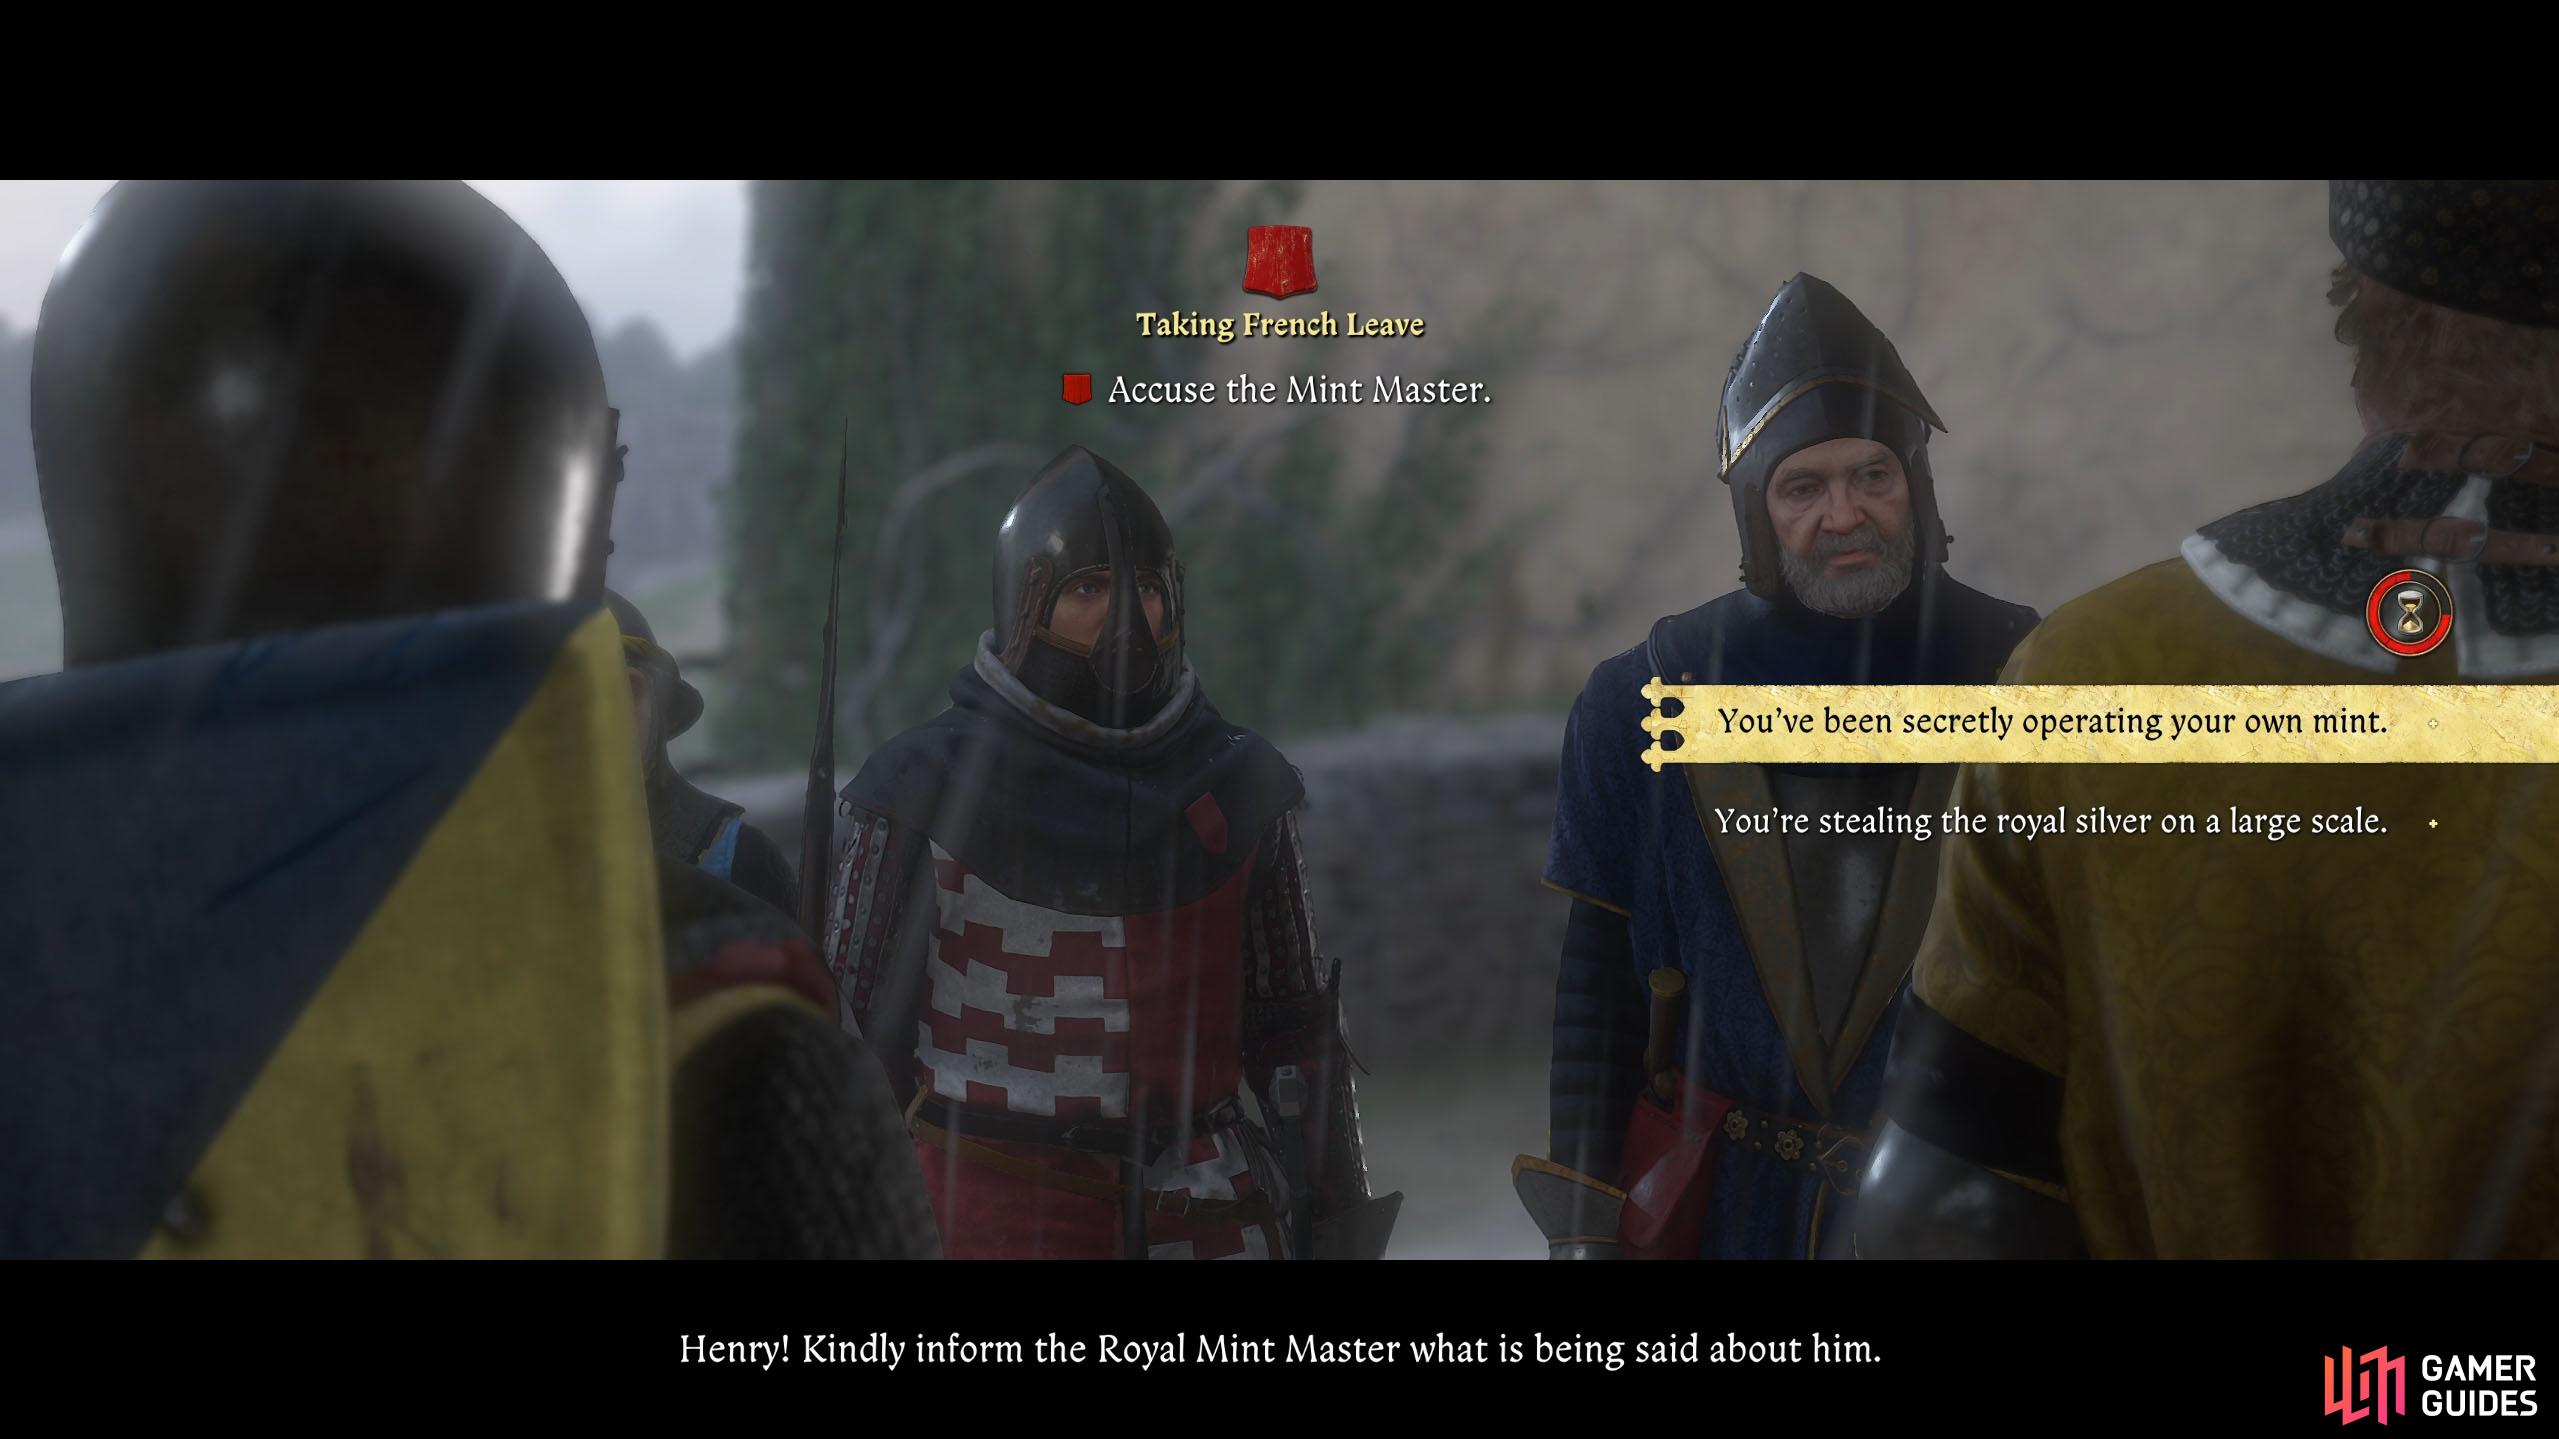

(1 of 2) Tell Vavak that he has been secretly operating his own mint.

Tell Vavak that he has been secretly operating his own mint. (left), Christian is the better option, but telling him you’ve seen his ledgers works. (right)
Talk to Rosa
Go up the stairs behind you and you’ll find Rosa at the top. Speak to her, and she already knows what you’re going to ask, as she was eavesdropping. According to Rosa, the secret entrance leads to the cellars in Maleshov, but the outside entrance is hidden underground. The first thing you’ll need to do to find the secret entrance is stop at the nearby stables and speak to the owner, Hashtal, who will help you out.
From there, you’ll find a shrine nearby and from the shrine, a group of boulders. Beyond them is a remnant of an Old Chapel that has a gap you can look through that leads to some ruins. At the ruins, you’ll find a stone cross that will point you to another cross.
Follow the direction that the second cross is pointing, and it will lead to another stone cross, where the entrance to the secret passage is. Make sure you have a shovel (you can pick one up at the ruins if not) when you get to the entrance, as it has been buried.
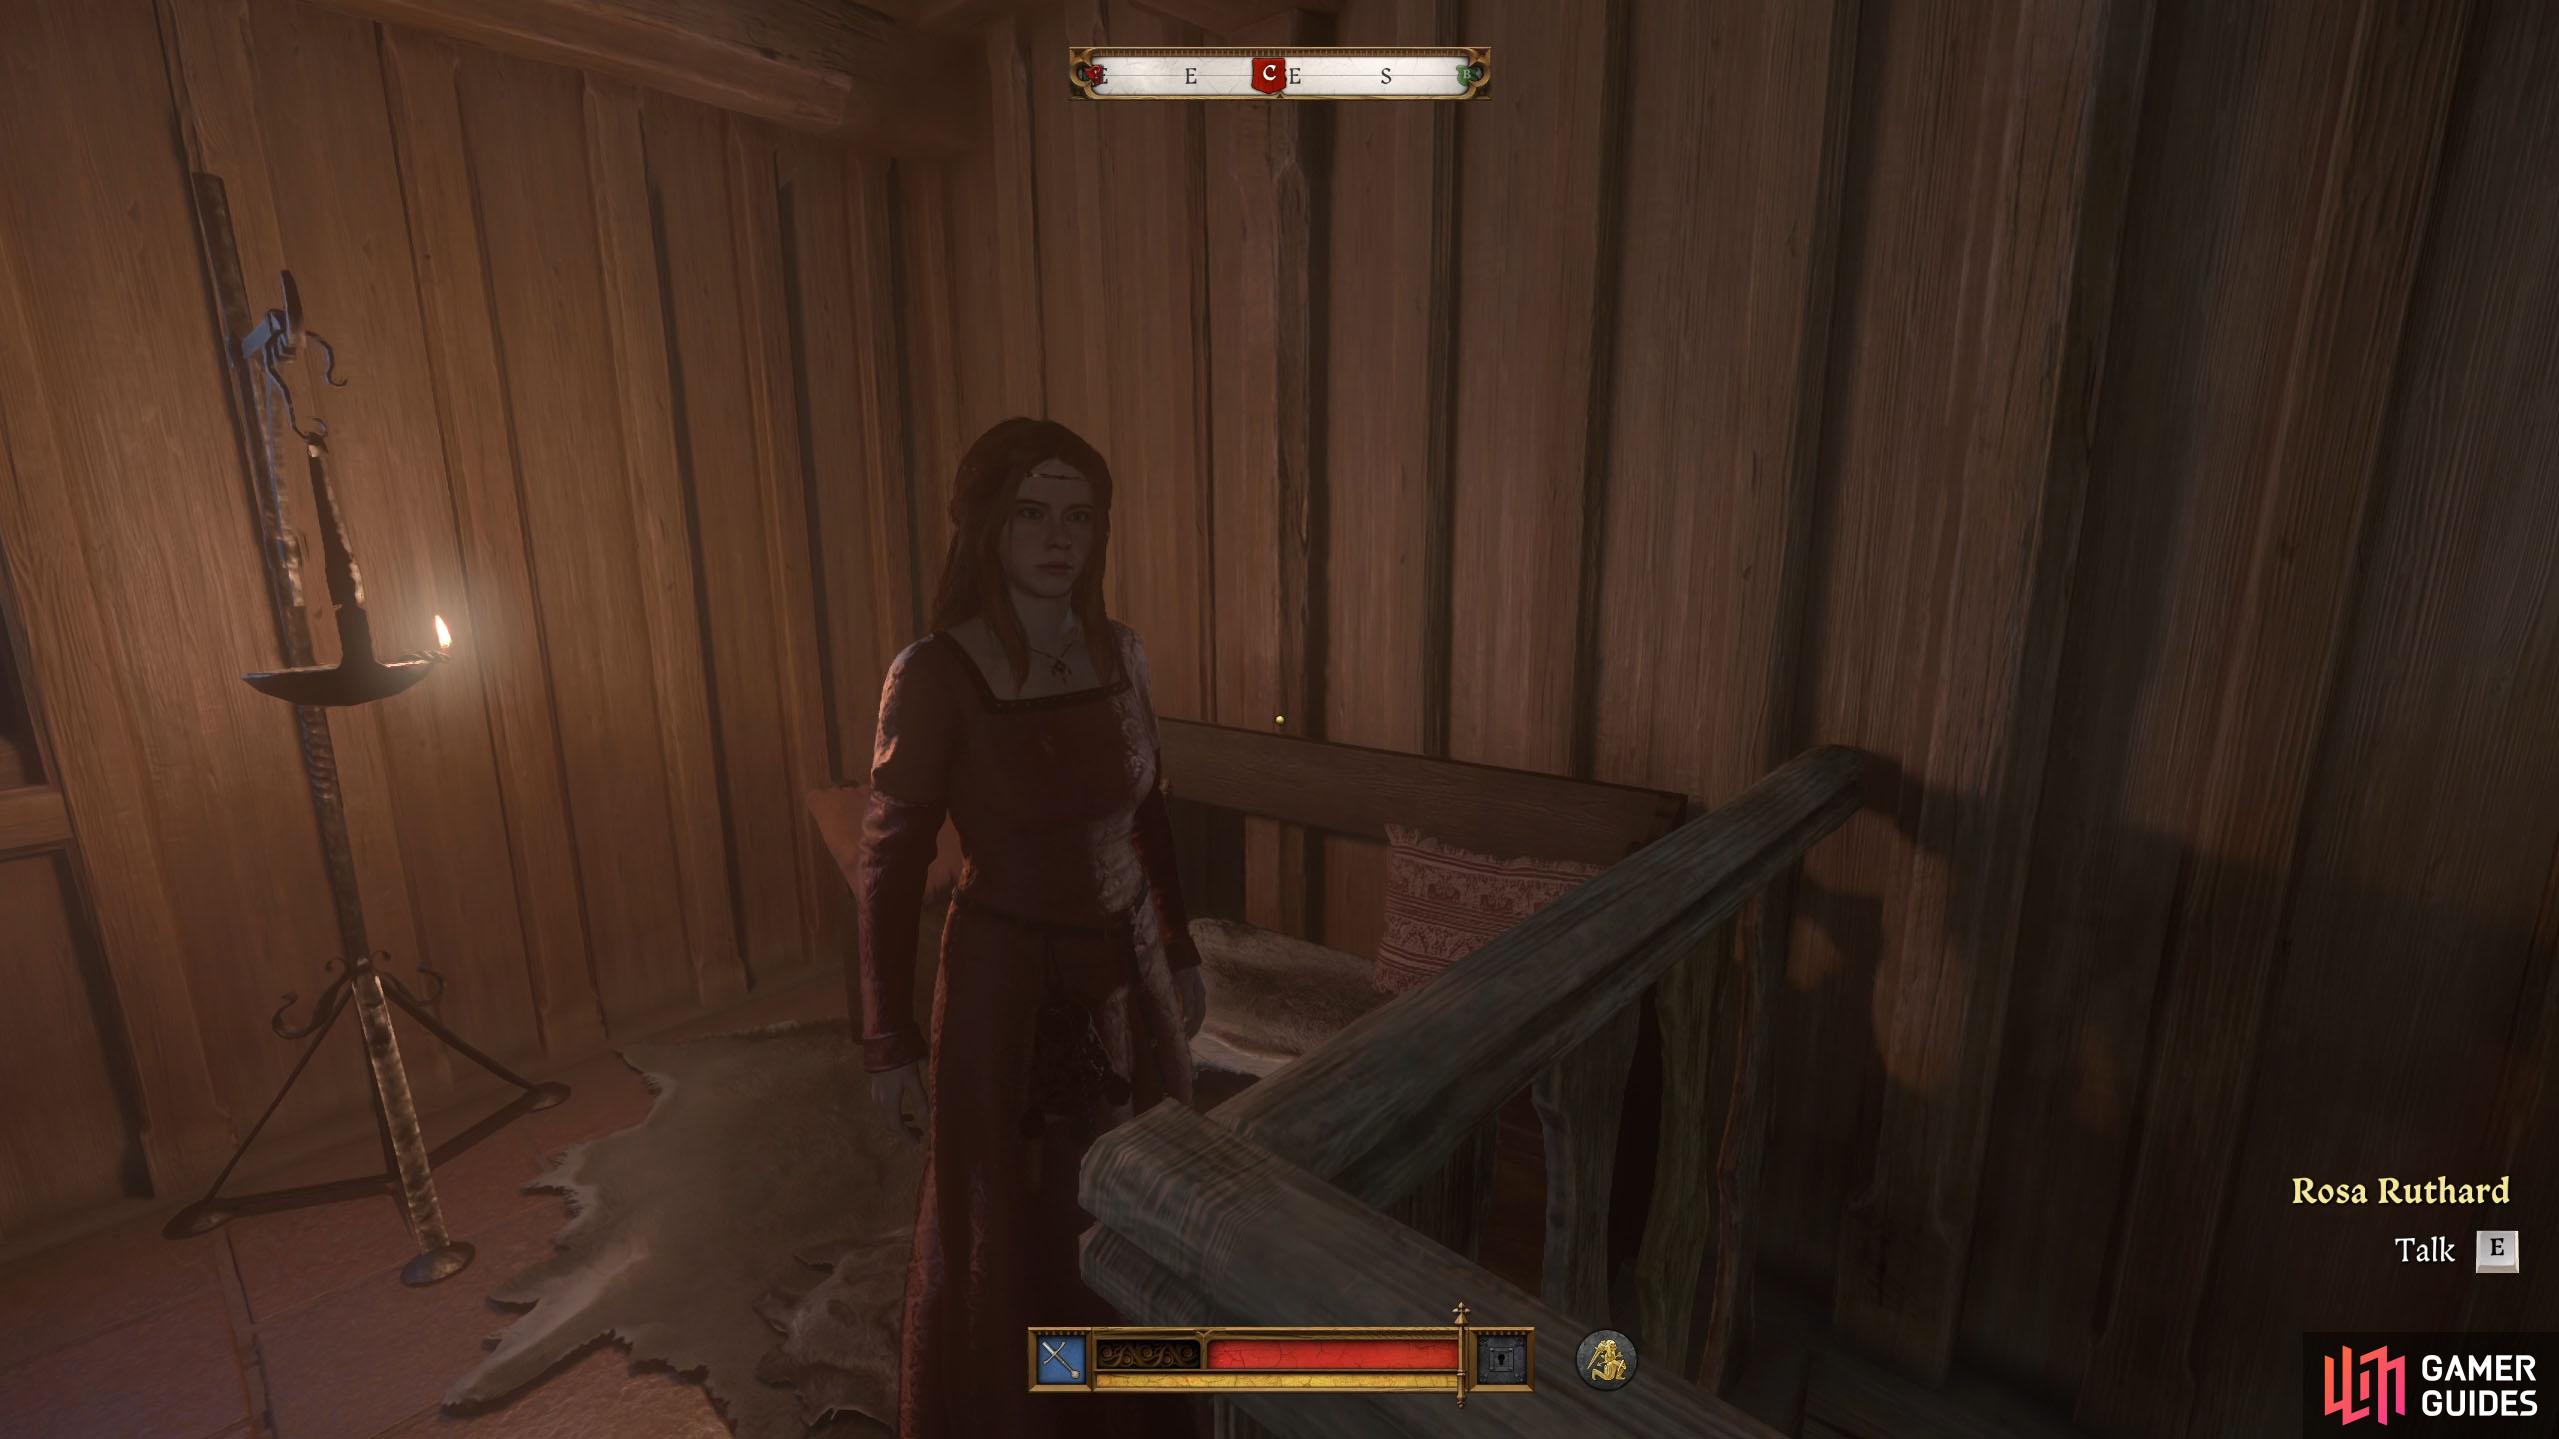

(1 of 4) Rosa can be found at the top of the stairs, listening in on your conversation.
This will get you into the castle, but getting out will require some fast horses for you and Capon; Rosa will tell you that Hashtal can handle that, and the family will pay for them if needed. Make sure you ask her what the catch is, as she’ll mention that her father is still paying for masses for Hashtal’s dead father, and this information will come in handy shortly.
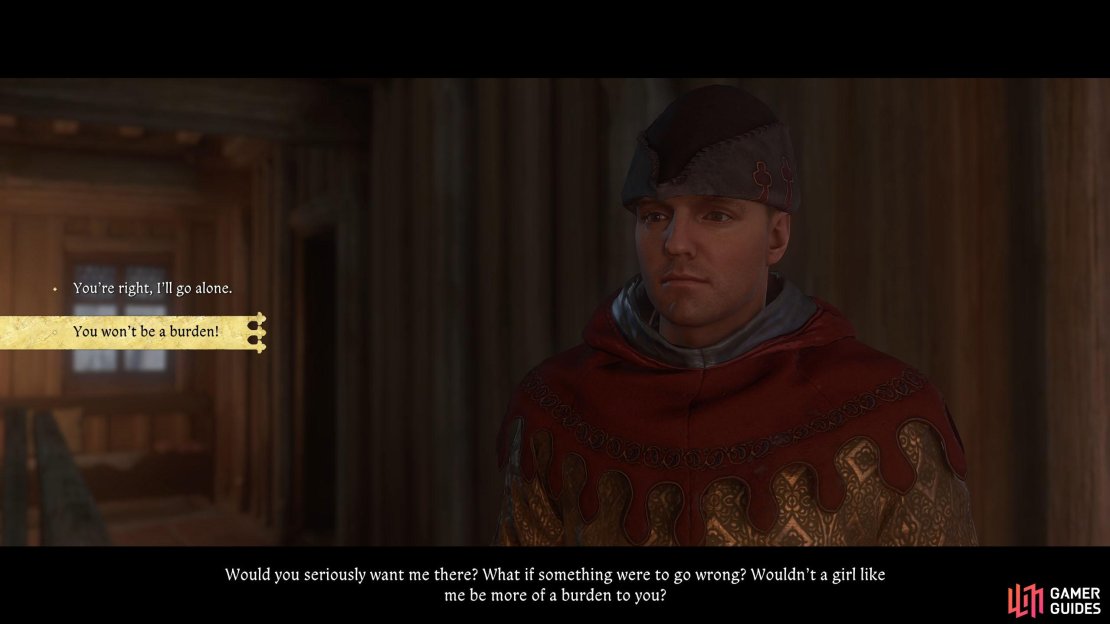
Now, you know all you need to know to save Capon, but before leaving, ask Rosa to come with you, and that she won’t be a burden. She’ll reject the invitation, but she will ask for a favor, to pick up her book in Maleshov.
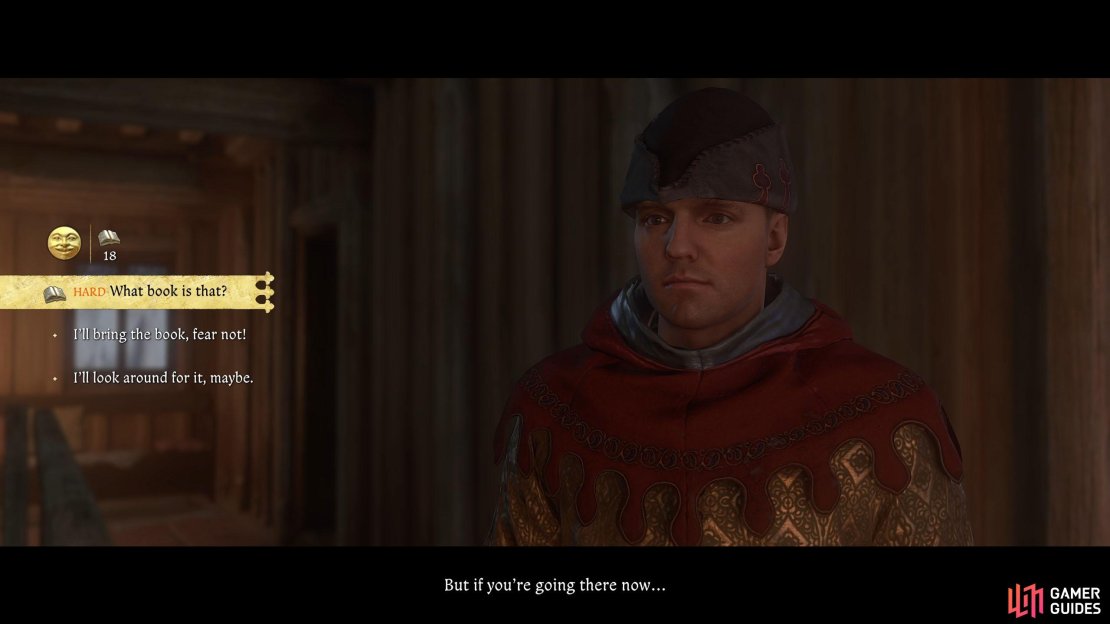
Pass the scholarship check to find out the book has a scarlet cover and inlaid with gold. She’ll also hand over a couple of maps to help you not get lost in the fortress. This will unlock a task called “![]() Rosa’s Book”.
Rosa’s Book”.
Go to Hashtal’s Stables
If you have the ![]() Bylany fast travel, use it, if not, leave Kuttenberg via the southwest and continue southwest for a while until you find it. From Bylany, stay on the southwest path, and you will go past/through
Bylany fast travel, use it, if not, leave Kuttenberg via the southwest and continue southwest for a while until you find it. From Bylany, stay on the southwest path, and you will go past/through ![]() Old Lhota. Continue southwest and then south to find the stables. You’ll find Hashtal in the main stable area, by the entrance, and then tell him that the Ruthards sent you.
Old Lhota. Continue southwest and then south to find the stables. You’ll find Hashtal in the main stable area, by the entrance, and then tell him that the Ruthards sent you.
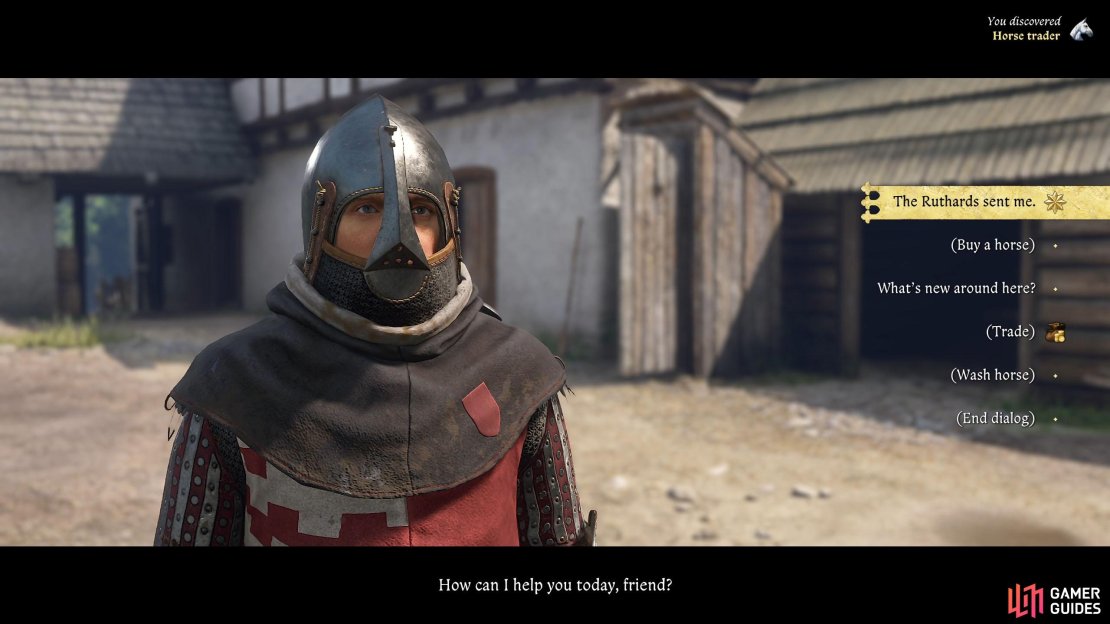
At first, he will act like he doesn’t care about them anymore, but when you remind him about the masses, he’ll change his tune. You can mention the secret entrance, but you’ll need to tell him where it is if you don’t want to lose any reputation. Otherwise, tell him to get the horses ready, and he’ll reluctantly agree to your request and tell you where he’ll leave them for you later.
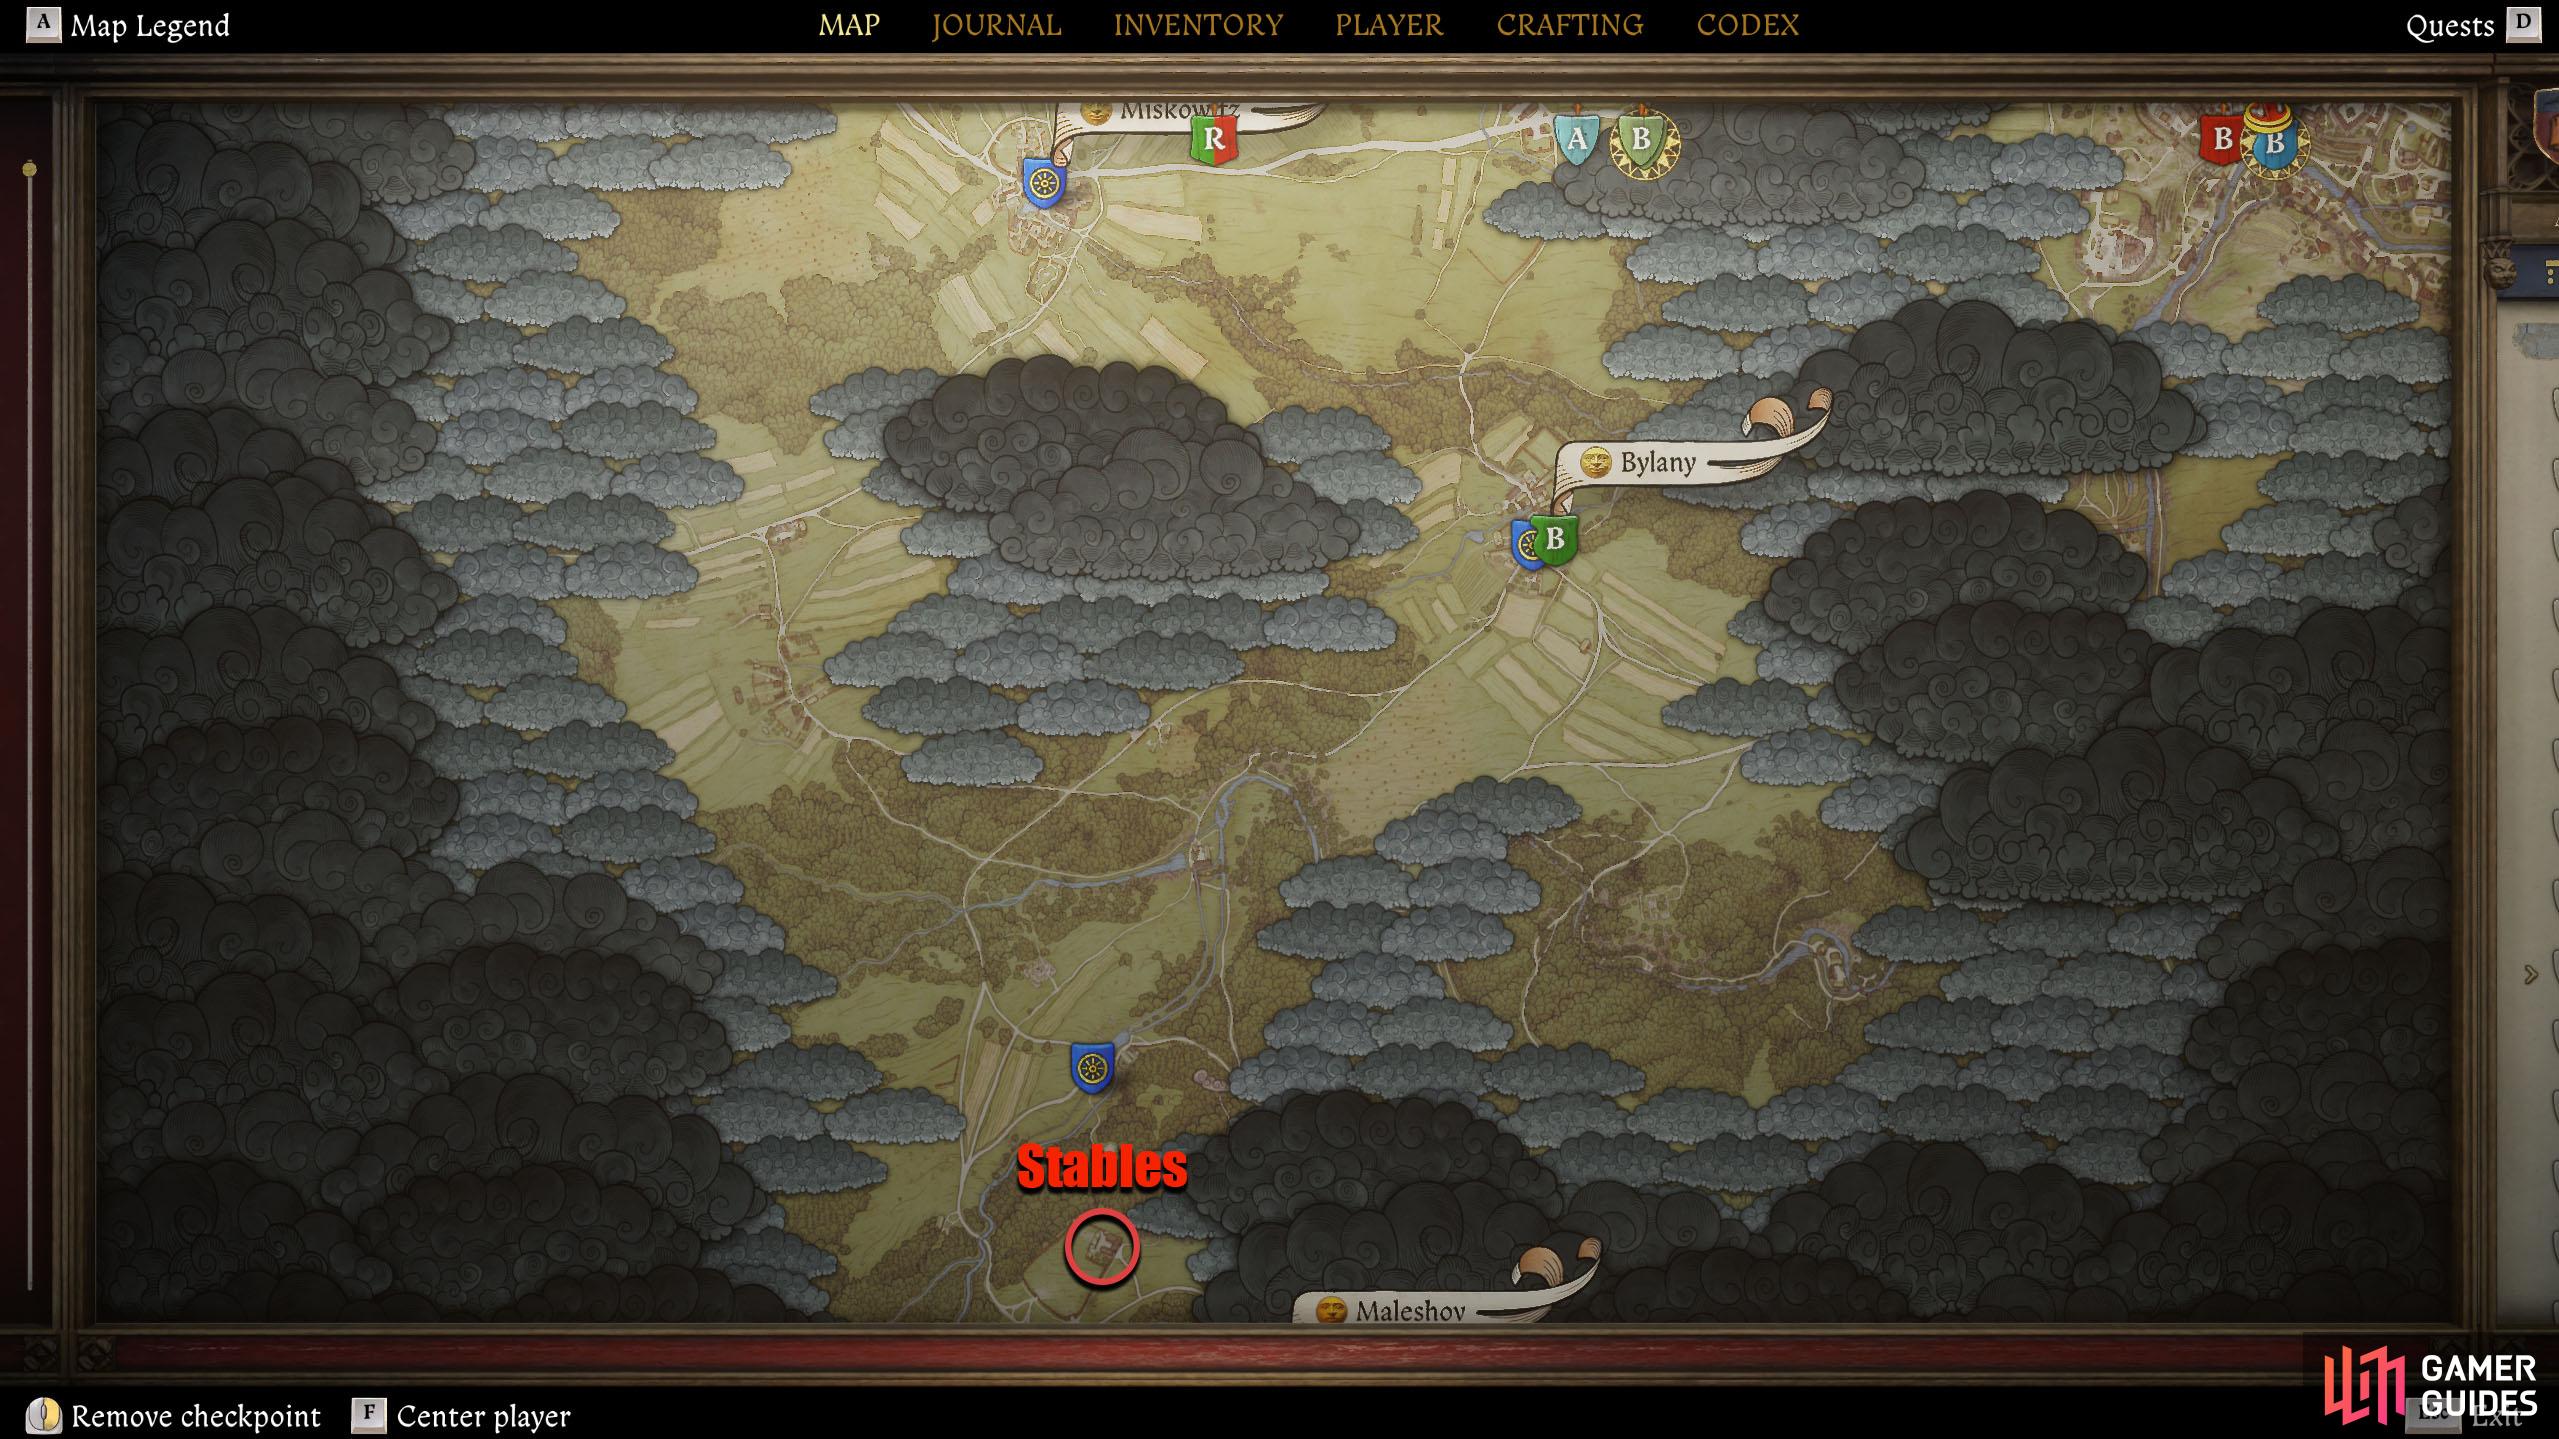


(1 of 3) The stables are in the far south, south of Old Lhota.
Secret Entrance Location
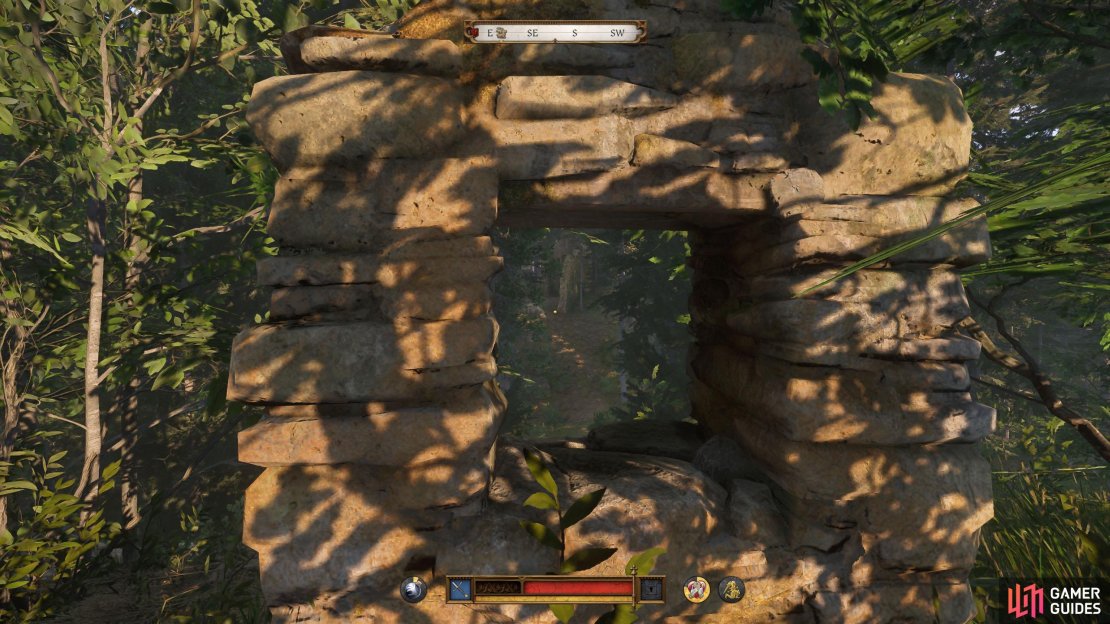
Exit the stables and take the path southeast until you reach a shrine. This is the shrine that Rosa mentioned earlier. To the right of the shrine, on the opposite side of the path, you’ll find some boulders with moss on them. Head over to them and follow the trail to the right of them to find a small piece of wall (remnant of the old chapel) with a hole in it. Look through the hole to find some ruins behind it.

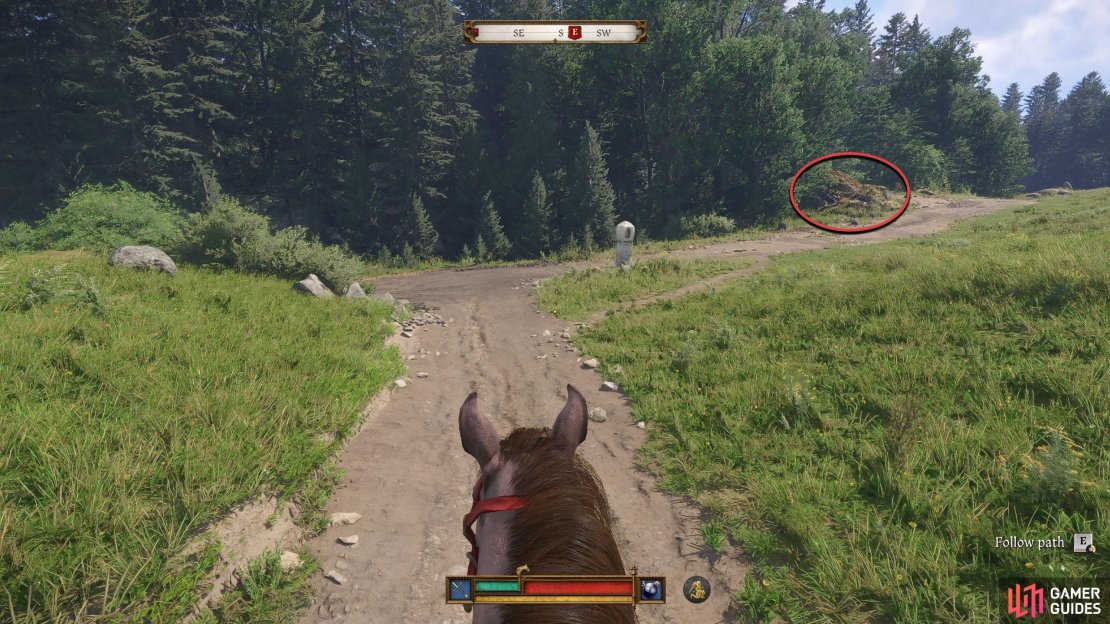
(1 of 3) Southwest of the stables is the shrine Rosa mentioned. To the right of it are the boulders.
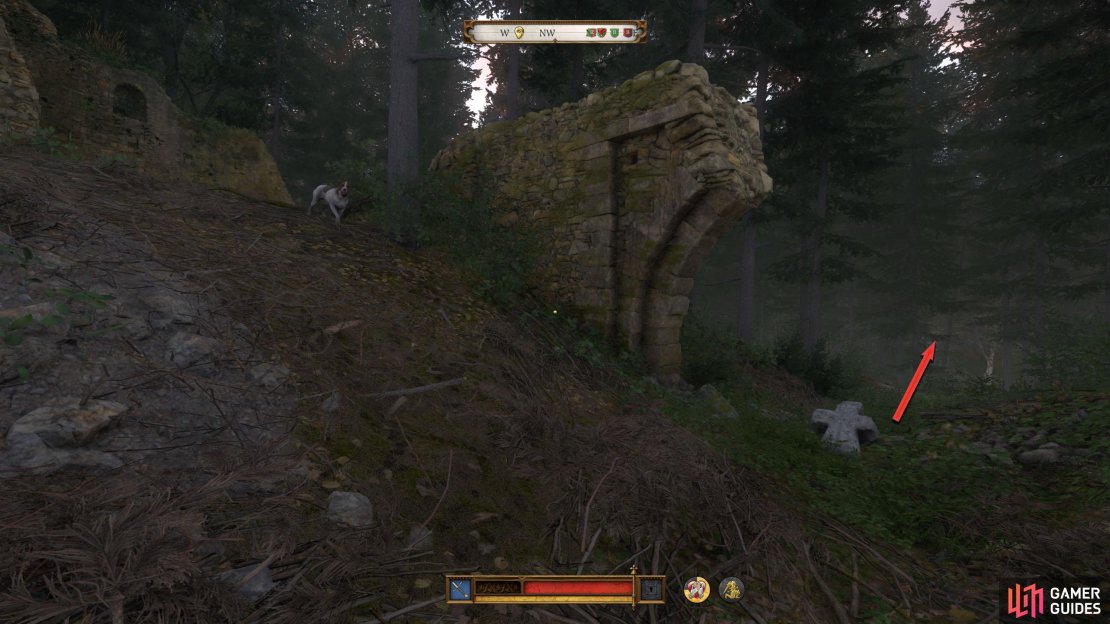
Go down the slope and head south/southeast to the ruins. At the ruins, you’ll find a spade leaning against the wall. From the ruins, follow the dilapidated wall to the southeast, and you’ll come across a stone cross on the floor.
If you look at the cross, one end is raised slightly. This is the direction you want to go. As this cross is pointing north, head in that direction and don’t move for anything unless your path is impeded by a tree or something.


(1 of 2) Keep going northwest until you reach the dead tree to find another cross.
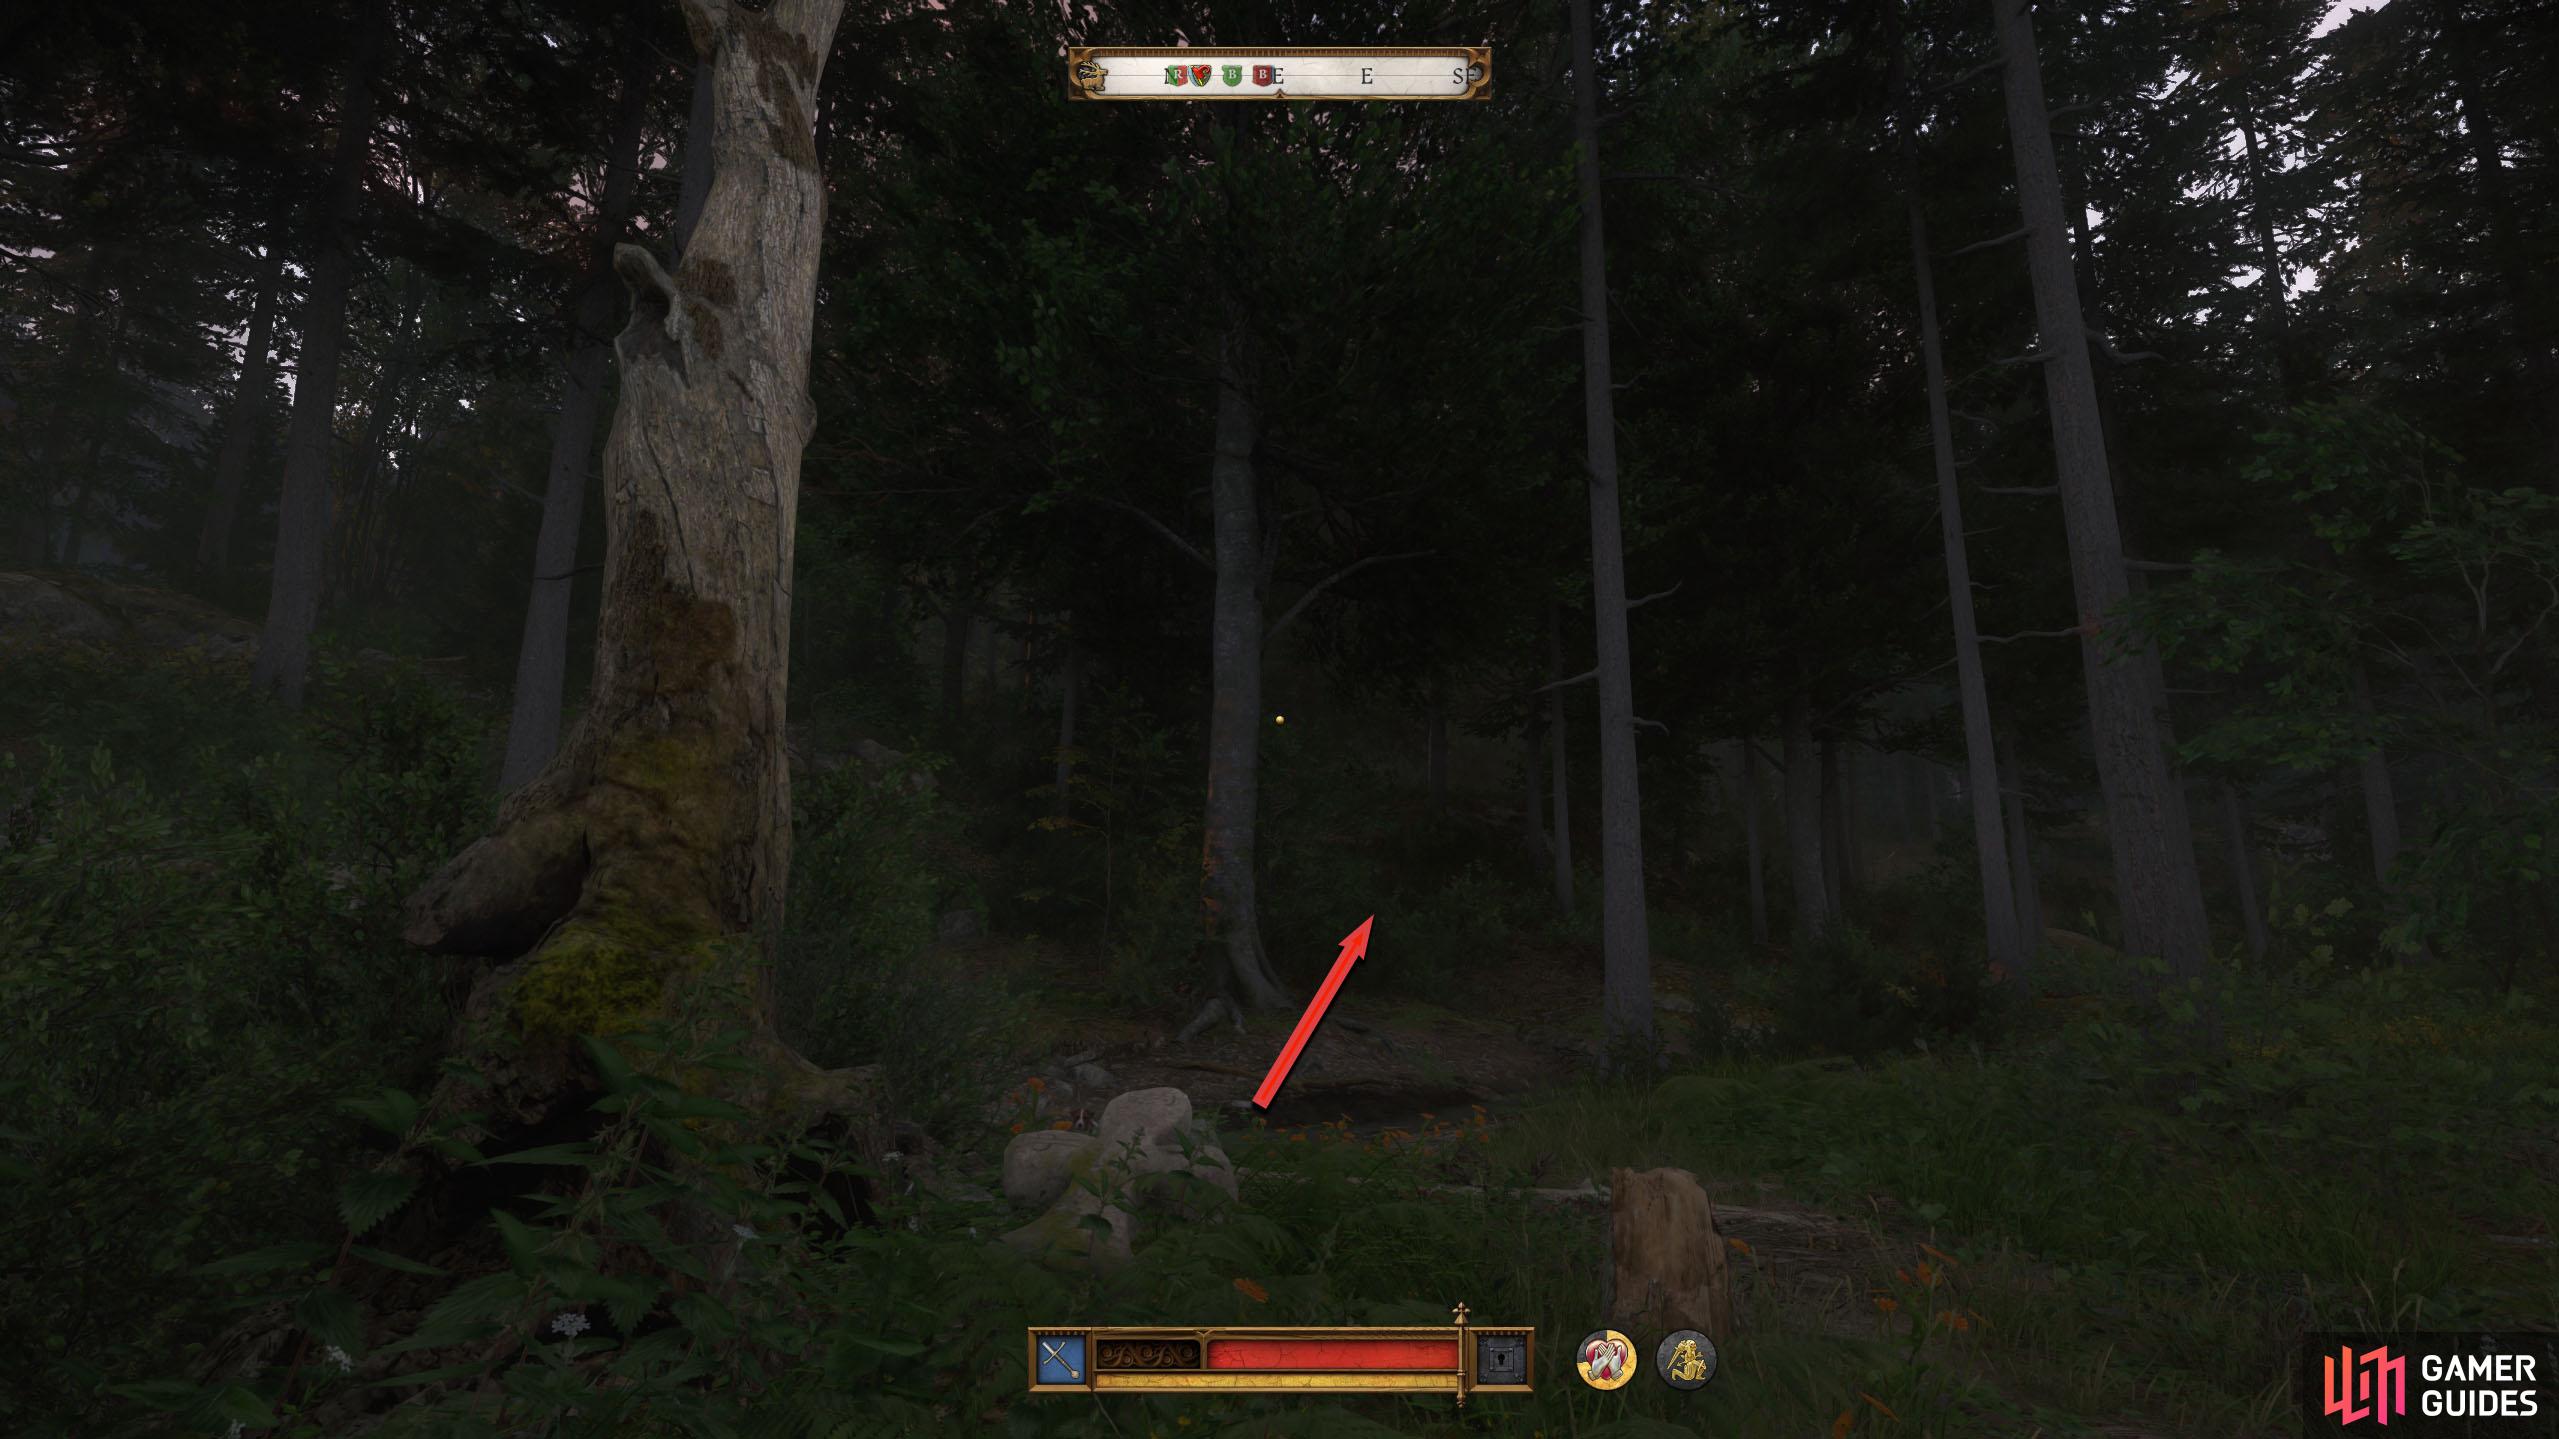
Keep going northwest until you reach the dead tree to find another cross. (left), Now, go northeast until you reach the large tree with the stone slab in front of it. The entrance can be found in front of it. (right)
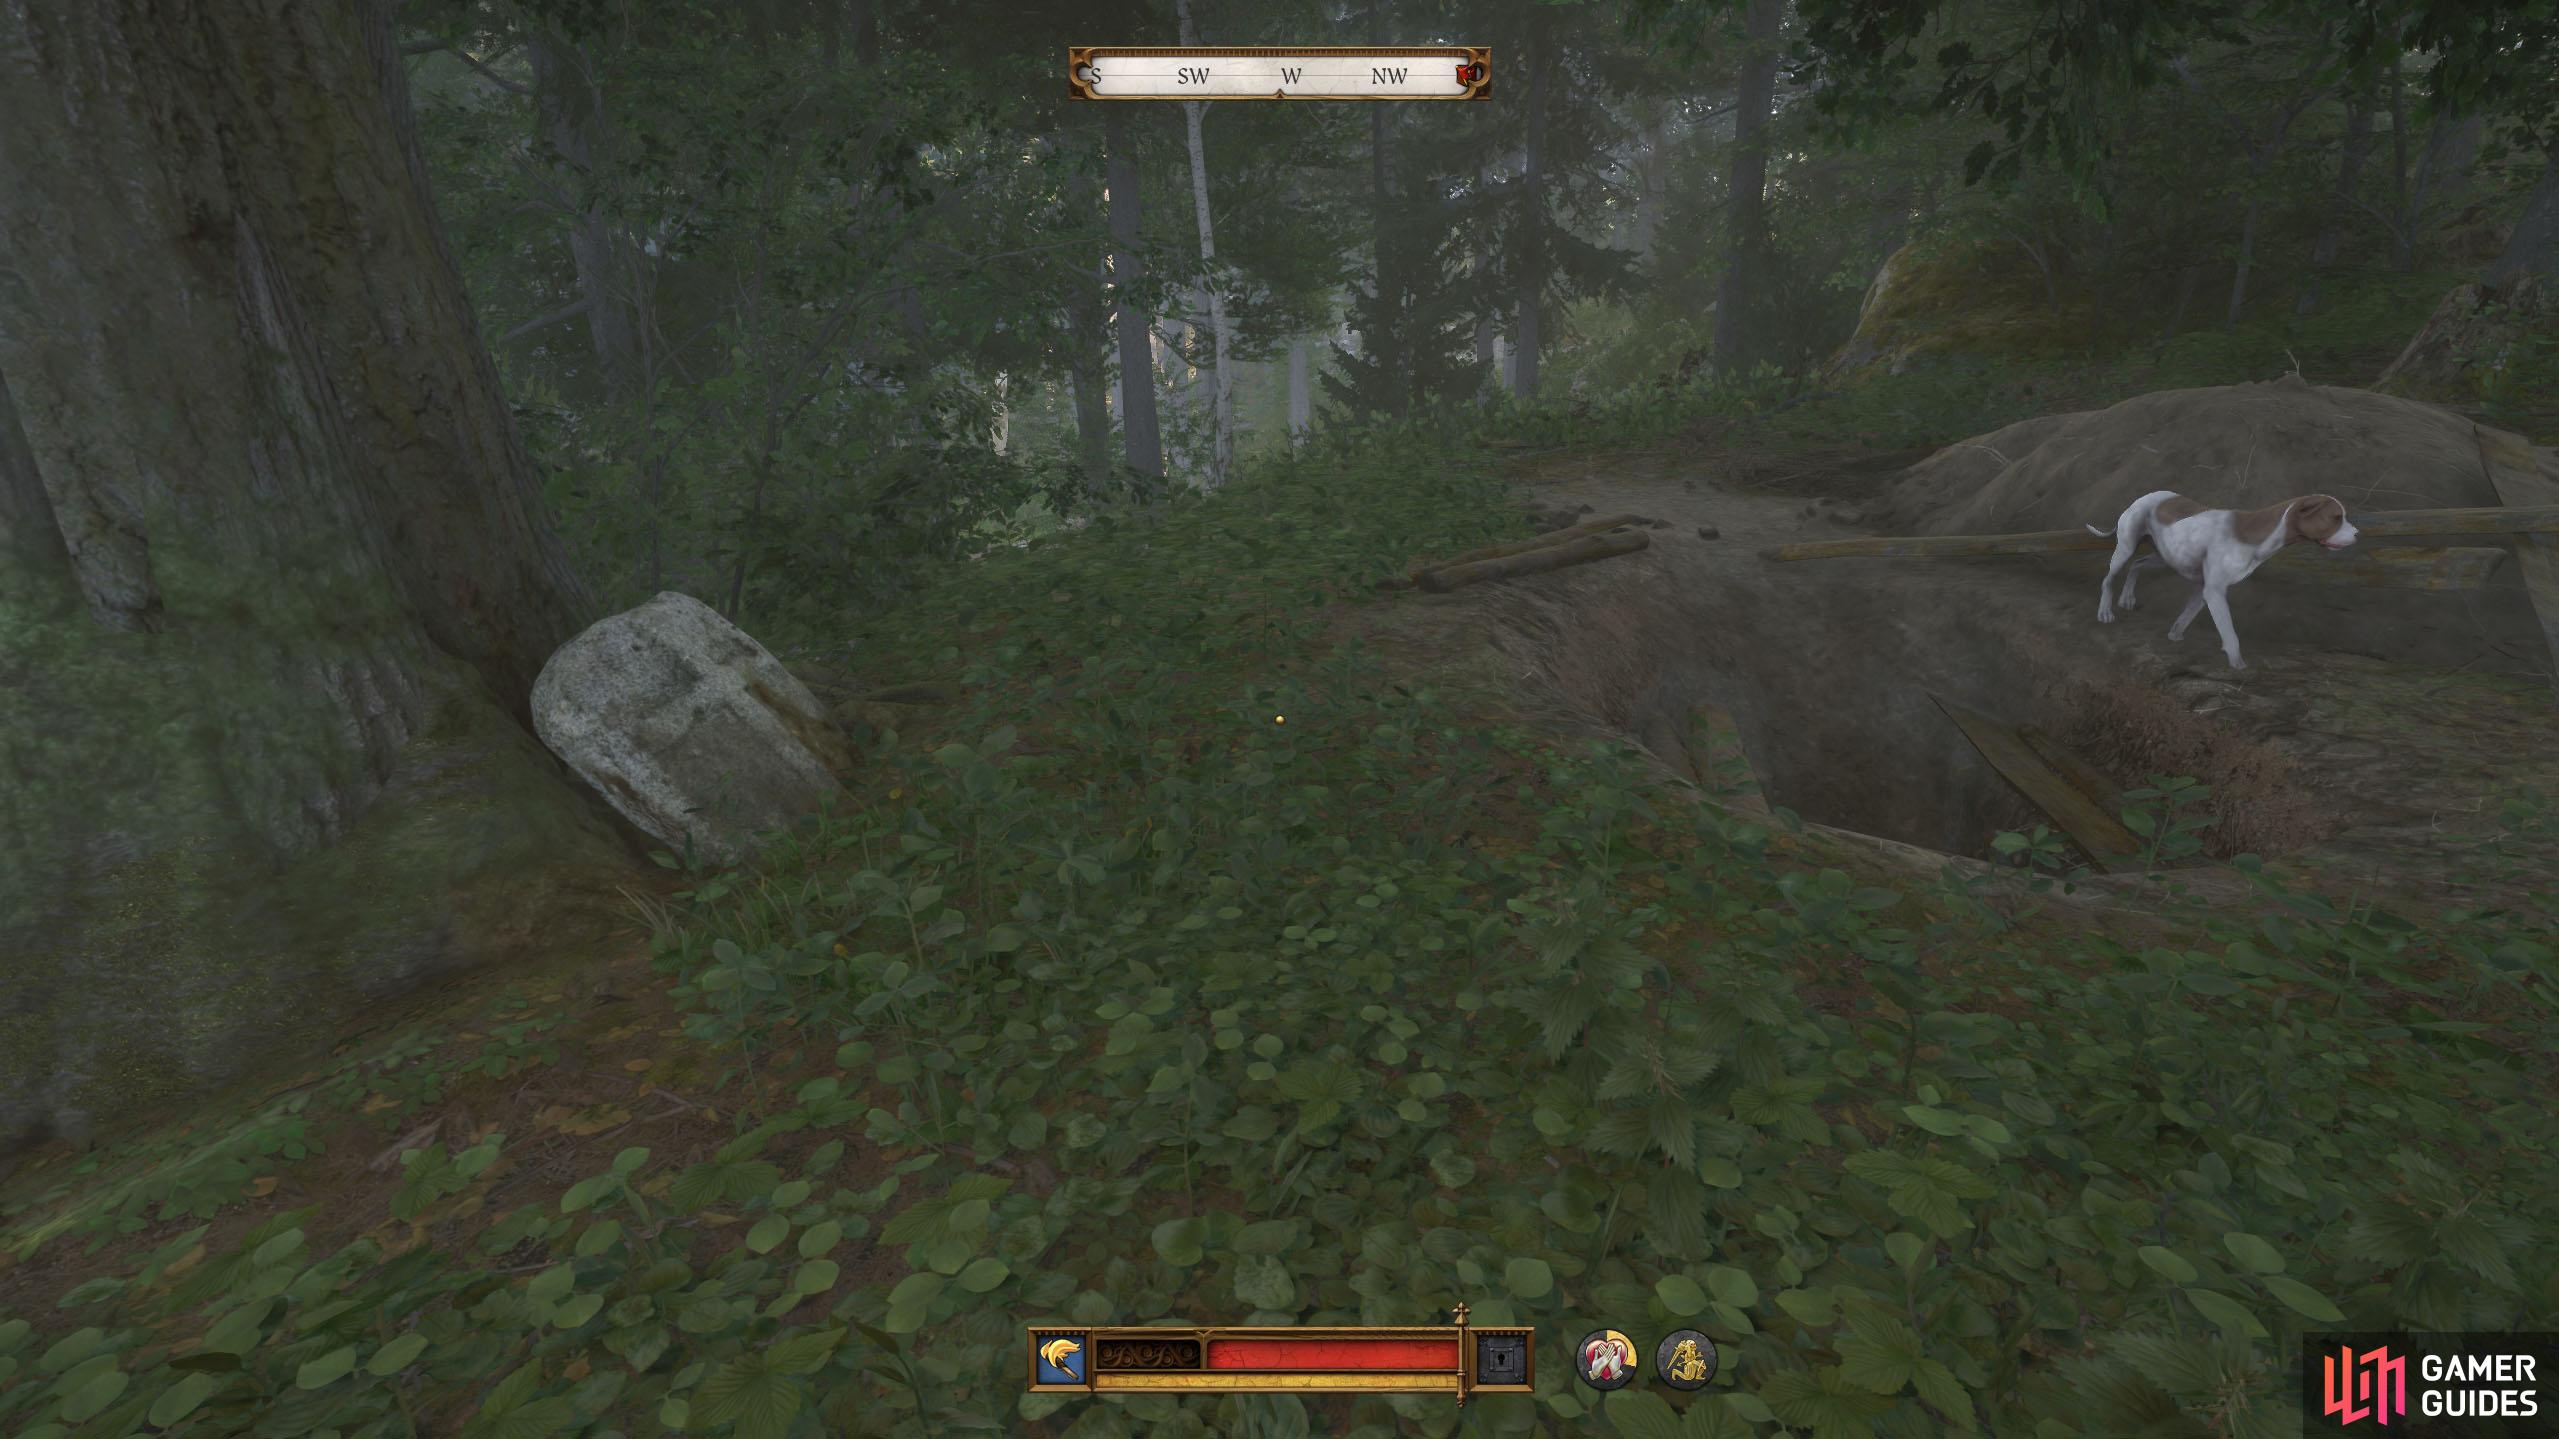
Eventually, you’ll end up by another stone cross, sitting in front of a dead tree. This is pointing northeast, so head in that direction. You’ll end up by a large tree with a stone slab with a cross on it. The place you need to dig is opposite the stone slab, but a little further back. Interact with the dirt beneath you to dig the entrance. The secret tunnel is quite the trek, but it’s linear, so just follow the tunnel through until you reach Maleshov.
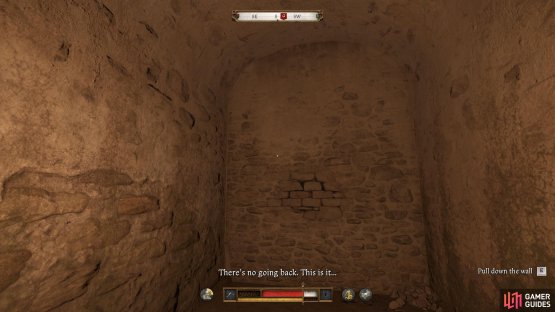
There are a few things to look at while you go through, such as the ladder you need to take to go down, but none of it has any value later on. Anyway, you’ll eventually reach a wooden door leading to the cellars in Maleshov. Enter the room and then interact with the stone bricks on the back wall to create an entrance into the fortress.
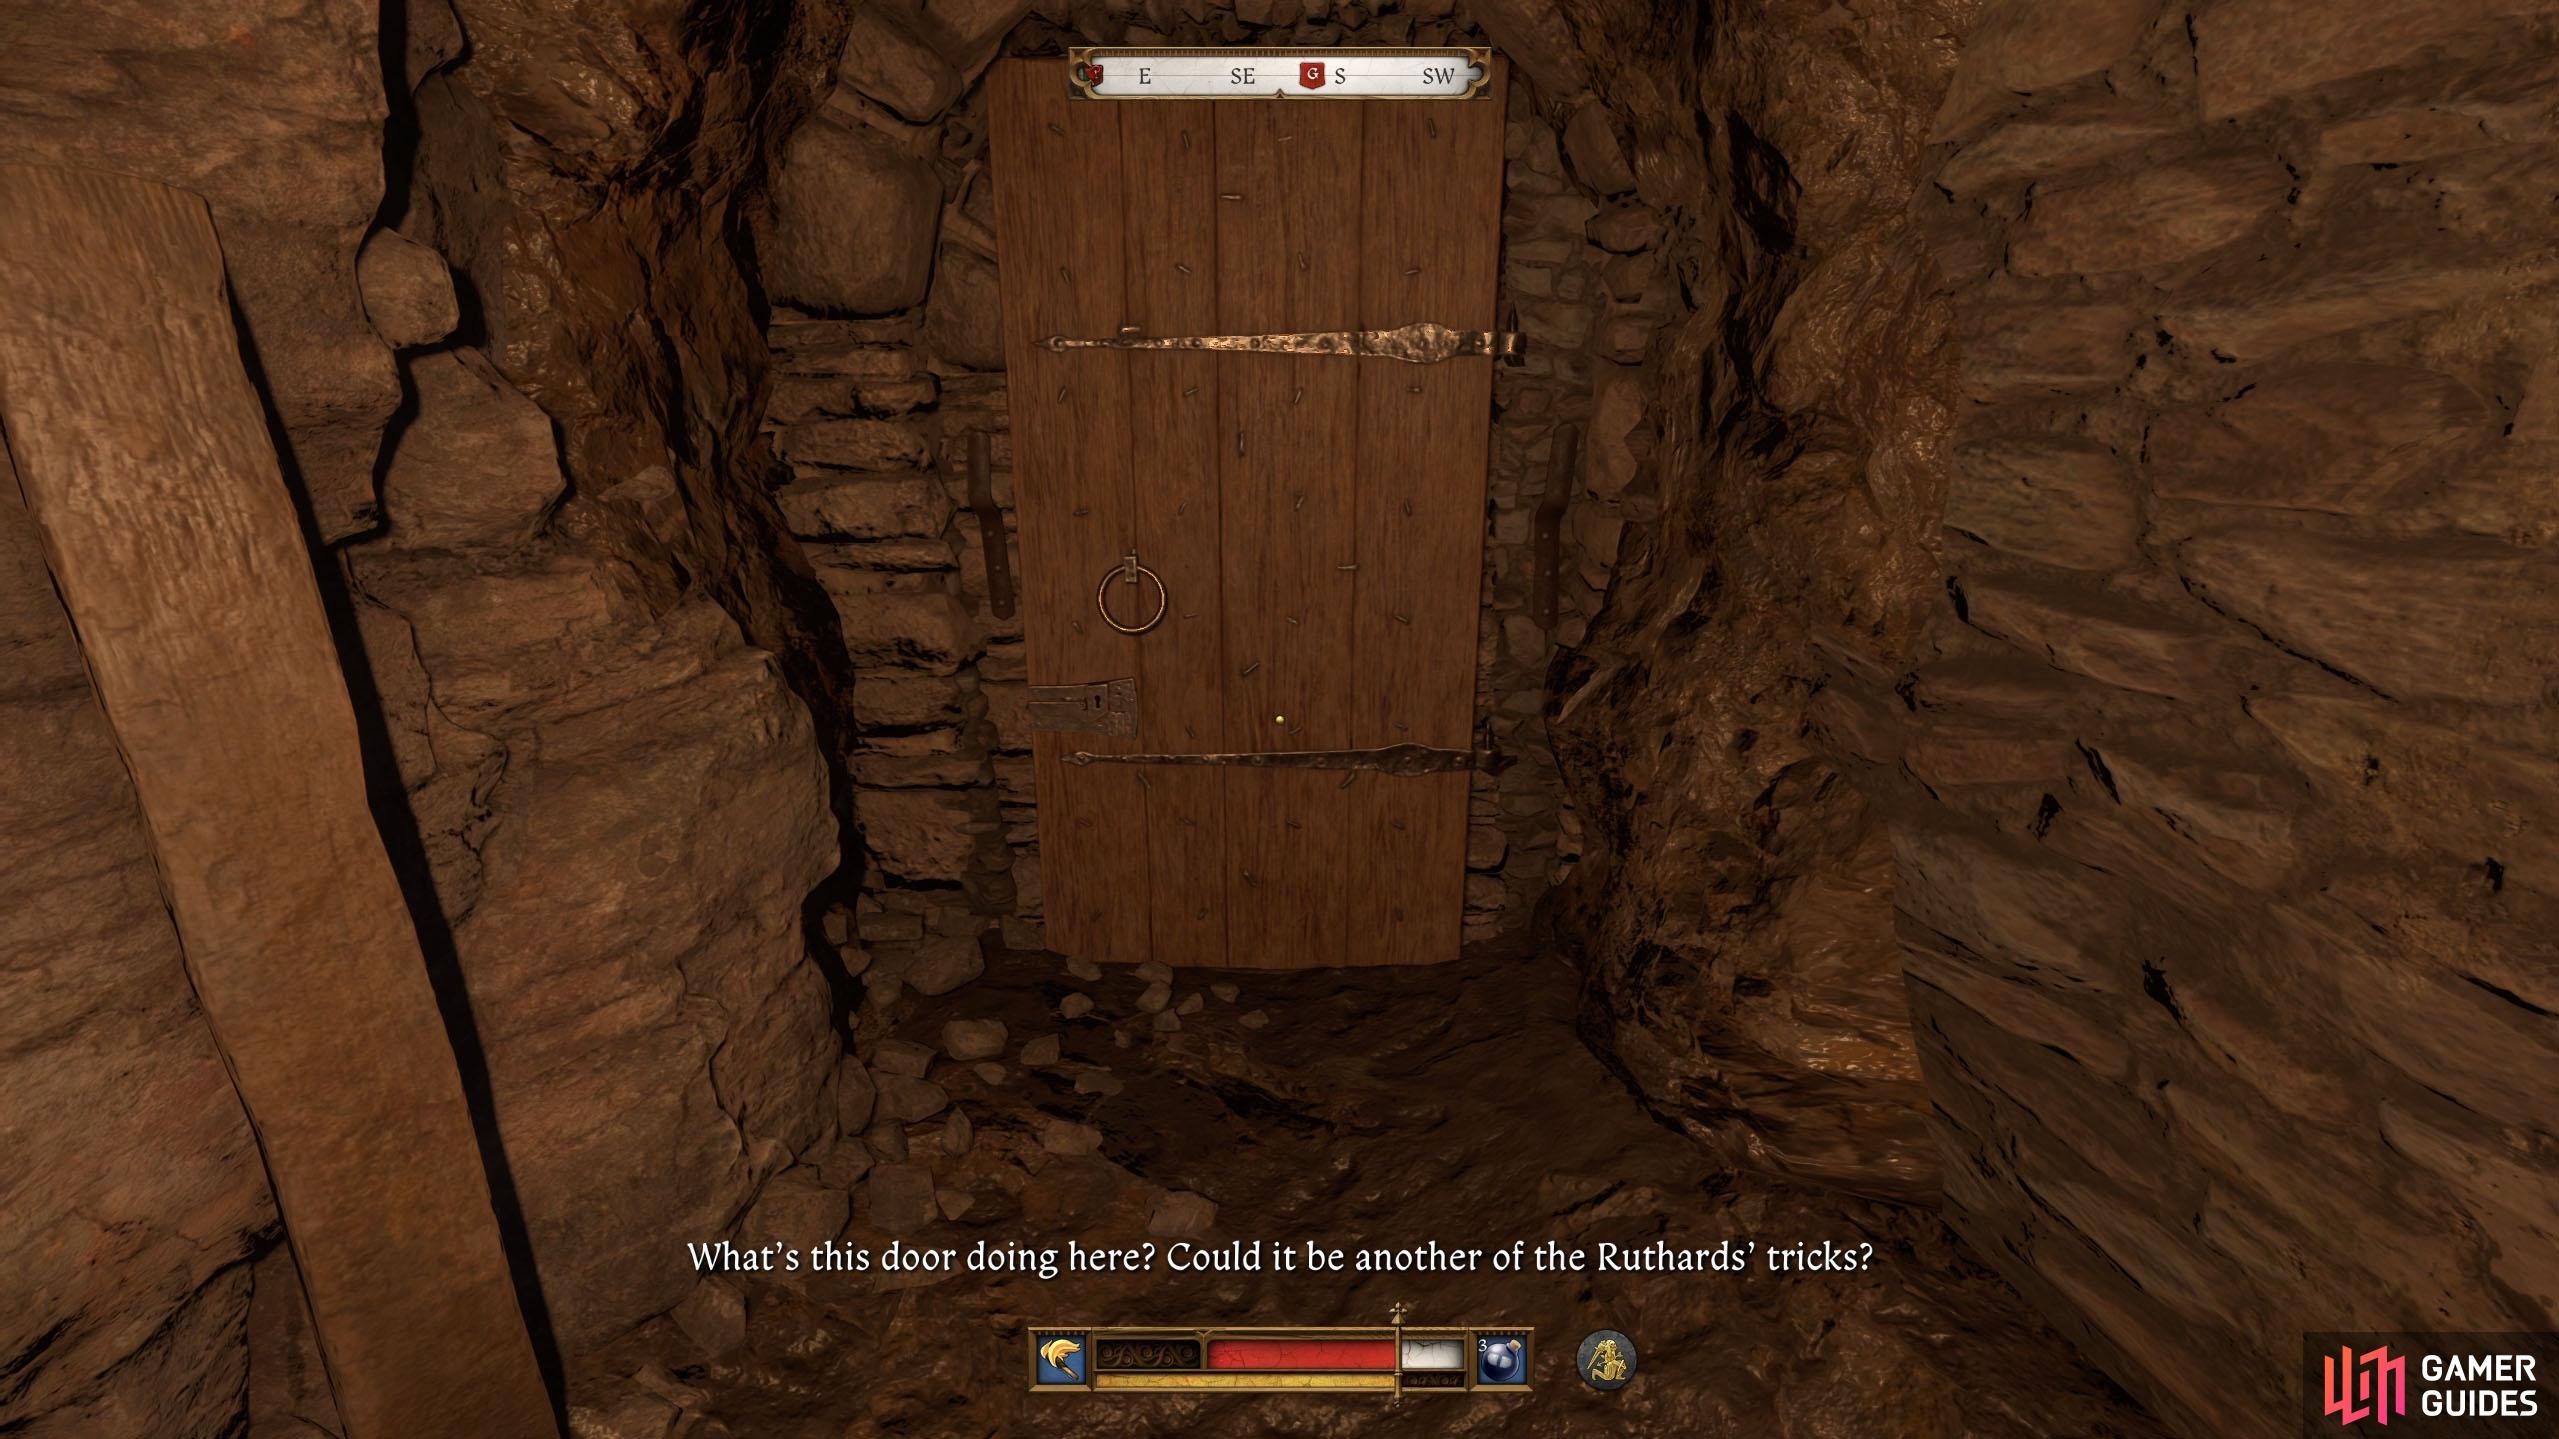

(1 of 2) After digging out the entrance, follow the linear tunnel until you reach a door.

After digging out the entrance, follow the linear tunnel until you reach a door. (left), In the following room, interact with the wall to get inside Maleshov. (right)
Rescue Capon
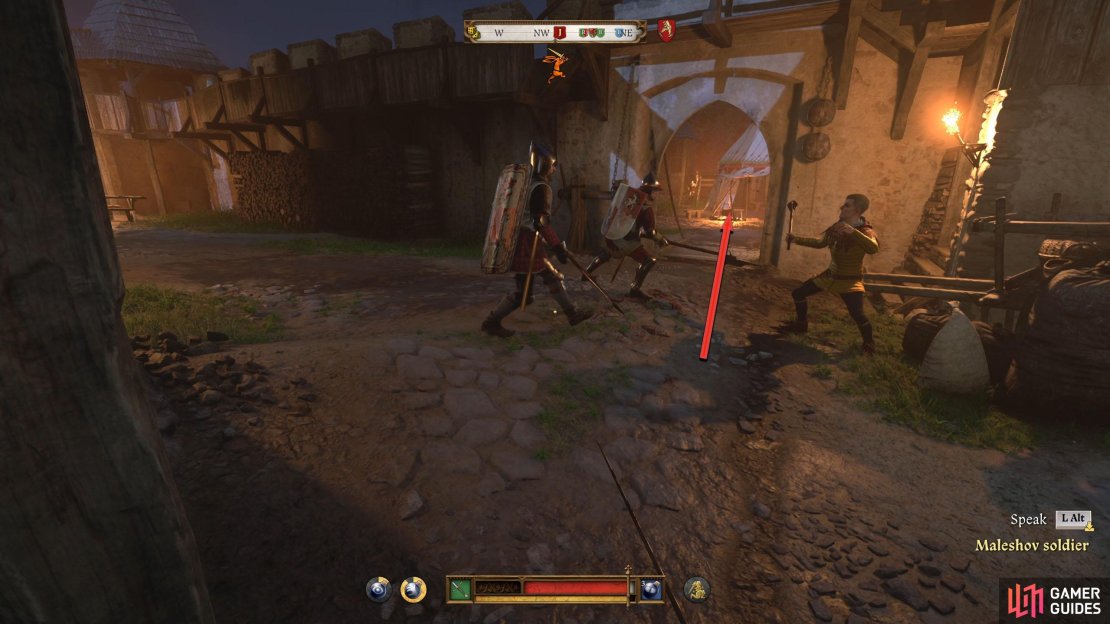
Before you go through the hole, equip your “Stealth armor set” and drink a ![]() Nighthawk potion if it’s too dark for you. Go through the hole, open the door, and head southwest for a cutscene. After the scene, you’ll be on the battlements. Make sure you stay crouched and proceed south across the battlement, and then go through the door at the end to find the tower.
Nighthawk potion if it’s too dark for you. Go through the hole, open the door, and head southwest for a cutscene. After the scene, you’ll be on the battlements. Make sure you stay crouched and proceed south across the battlement, and then go through the door at the end to find the tower.
There will be a guard here, but he will be looking outside. Either knock him out or stealth kill him before going down the stairs. Don’t forget to loot him for his Door and chest keys, as they will come in useful later.
As you go down the stairs, you can find a ![]() Lockpick on the small table to the right of the chest. Continue down to the bottom of the tower and open the southern door to find a storage room containing a
Lockpick on the small table to the right of the chest. Continue down to the bottom of the tower and open the southern door to find a storage room containing a ![]() Milanese cuirass, a
Milanese cuirass, a ![]() Hounskull bascinet, a Shield, and a
Hounskull bascinet, a Shield, and a ![]() Marksman’s kit.
Marksman’s kit.
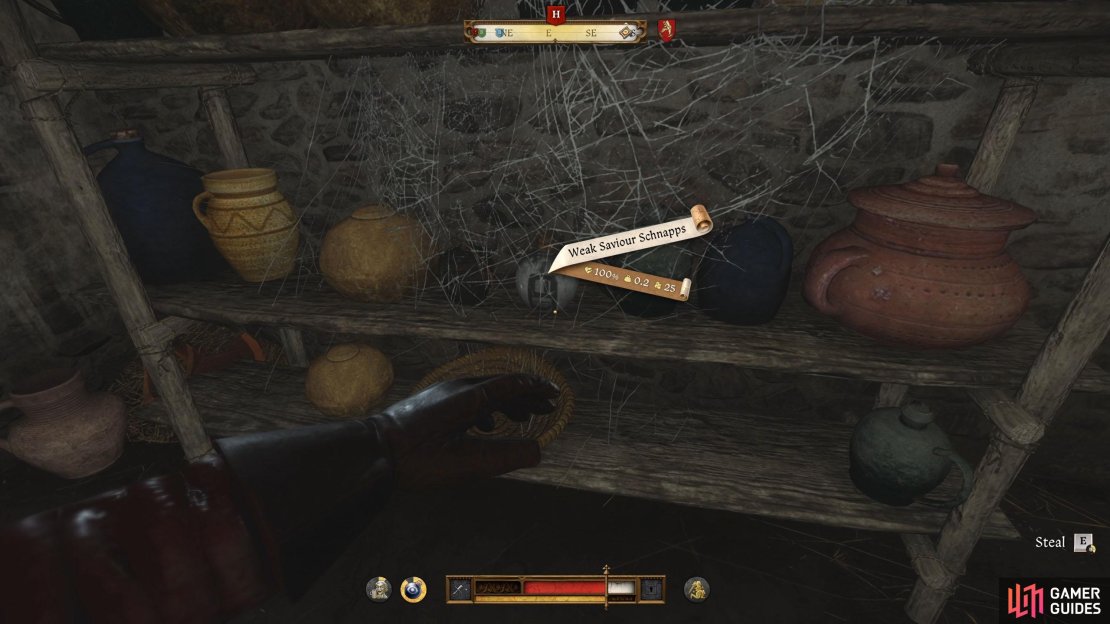
If you took the guard’s key above, you won’t have to pick the door locks. Exit the room, open the opposite door, and check out the shelves before you for a ![]() Weak Saviour Schnapps. If you want, There are more shelves that contain an
Weak Saviour Schnapps. If you want, There are more shelves that contain an ![]() Embrocation potion.
Embrocation potion.


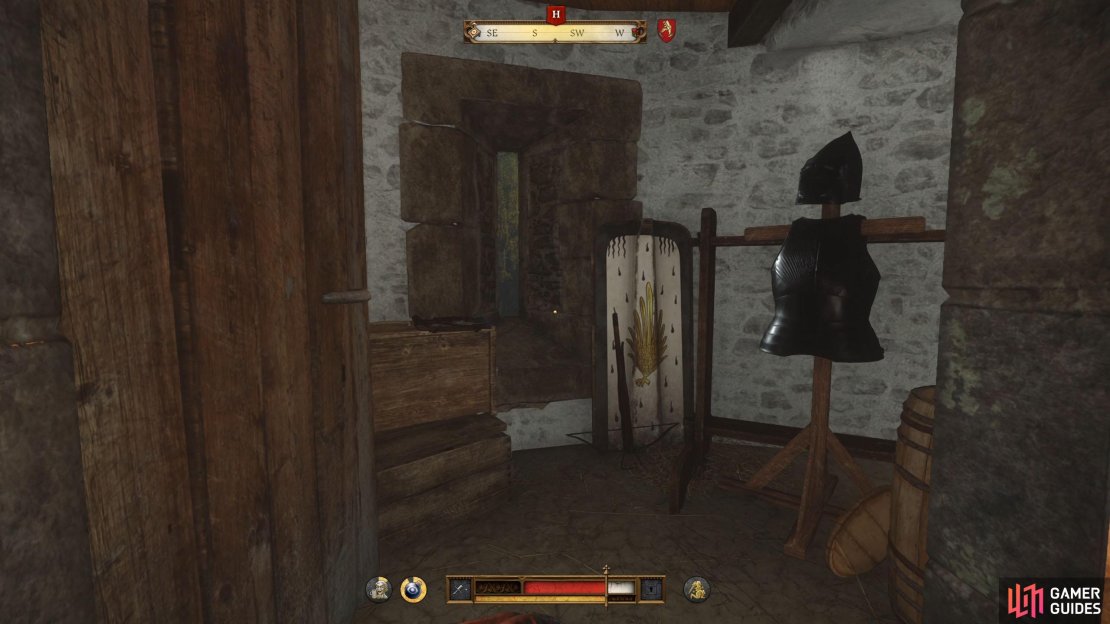
(1 of 4) Follow the battlements south and go through the door.
Go back to the door you just came through, and head into what looks like the pantry. You’ll find plenty of food around here should you need some nourishment. Near the end of the room is a small crate with a Lockpick and a ![]() Tailor’s kit on it, so make sure you pick them up.
Tailor’s kit on it, so make sure you pick them up.
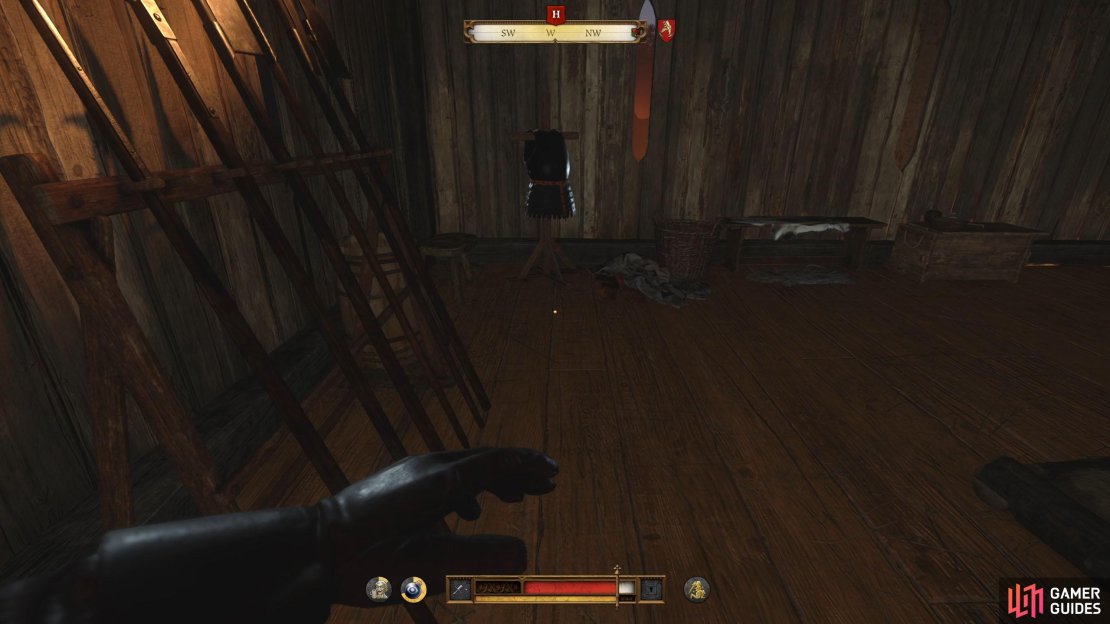
When you’re done looting, continue through the room and go through the door at the end. In this room, you’ll find a Digestive potion on the floor to your right, next to the tub. Go up the stairs to find a weapon rack in front of you. This holds a ![]() Hazel longbow, a
Hazel longbow, a ![]() Military sword, and a
Military sword, and a ![]() Field crossbow.
Field crossbow.
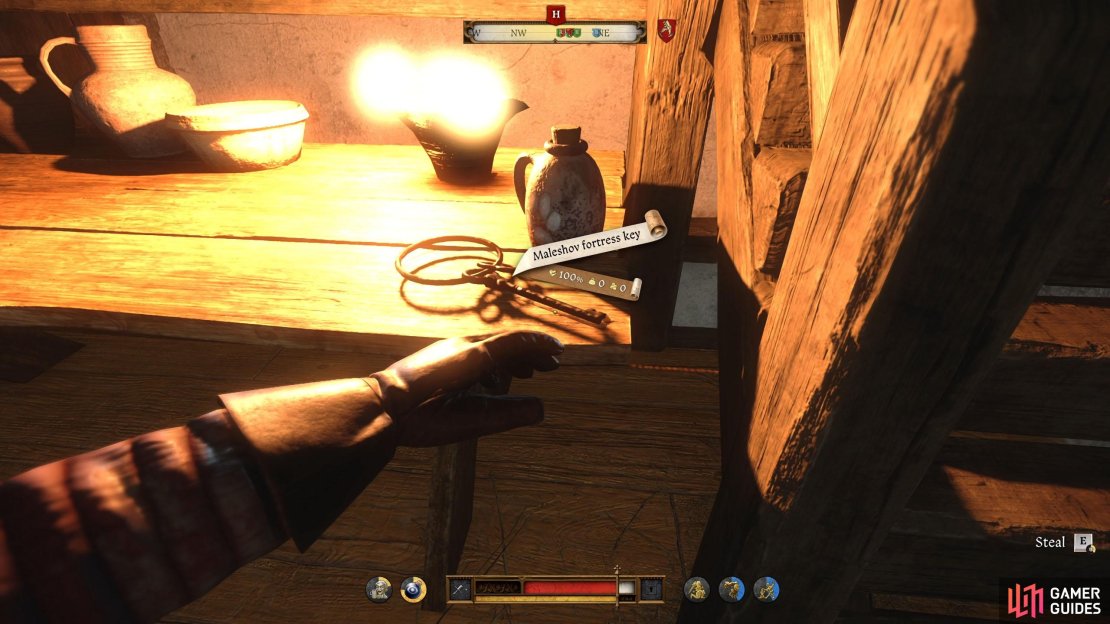
To the left is a sleeping soldier. Either kill or knock him out and then pick up the ![]() Maleshov fortress key on the table opposite him, as well as the
Maleshov fortress key on the table opposite him, as well as the ![]() Weak Quickfinger potion. Head up the next set of stairs to find the armory where you’ll find an assortment of polearms including the
Weak Quickfinger potion. Head up the next set of stairs to find the armory where you’ll find an assortment of polearms including the ![]() Guisarme. To the right of them, you’ll find a
Guisarme. To the right of them, you’ll find a ![]() Cuirass with falds, which sells for a pretty penny.
Cuirass with falds, which sells for a pretty penny.
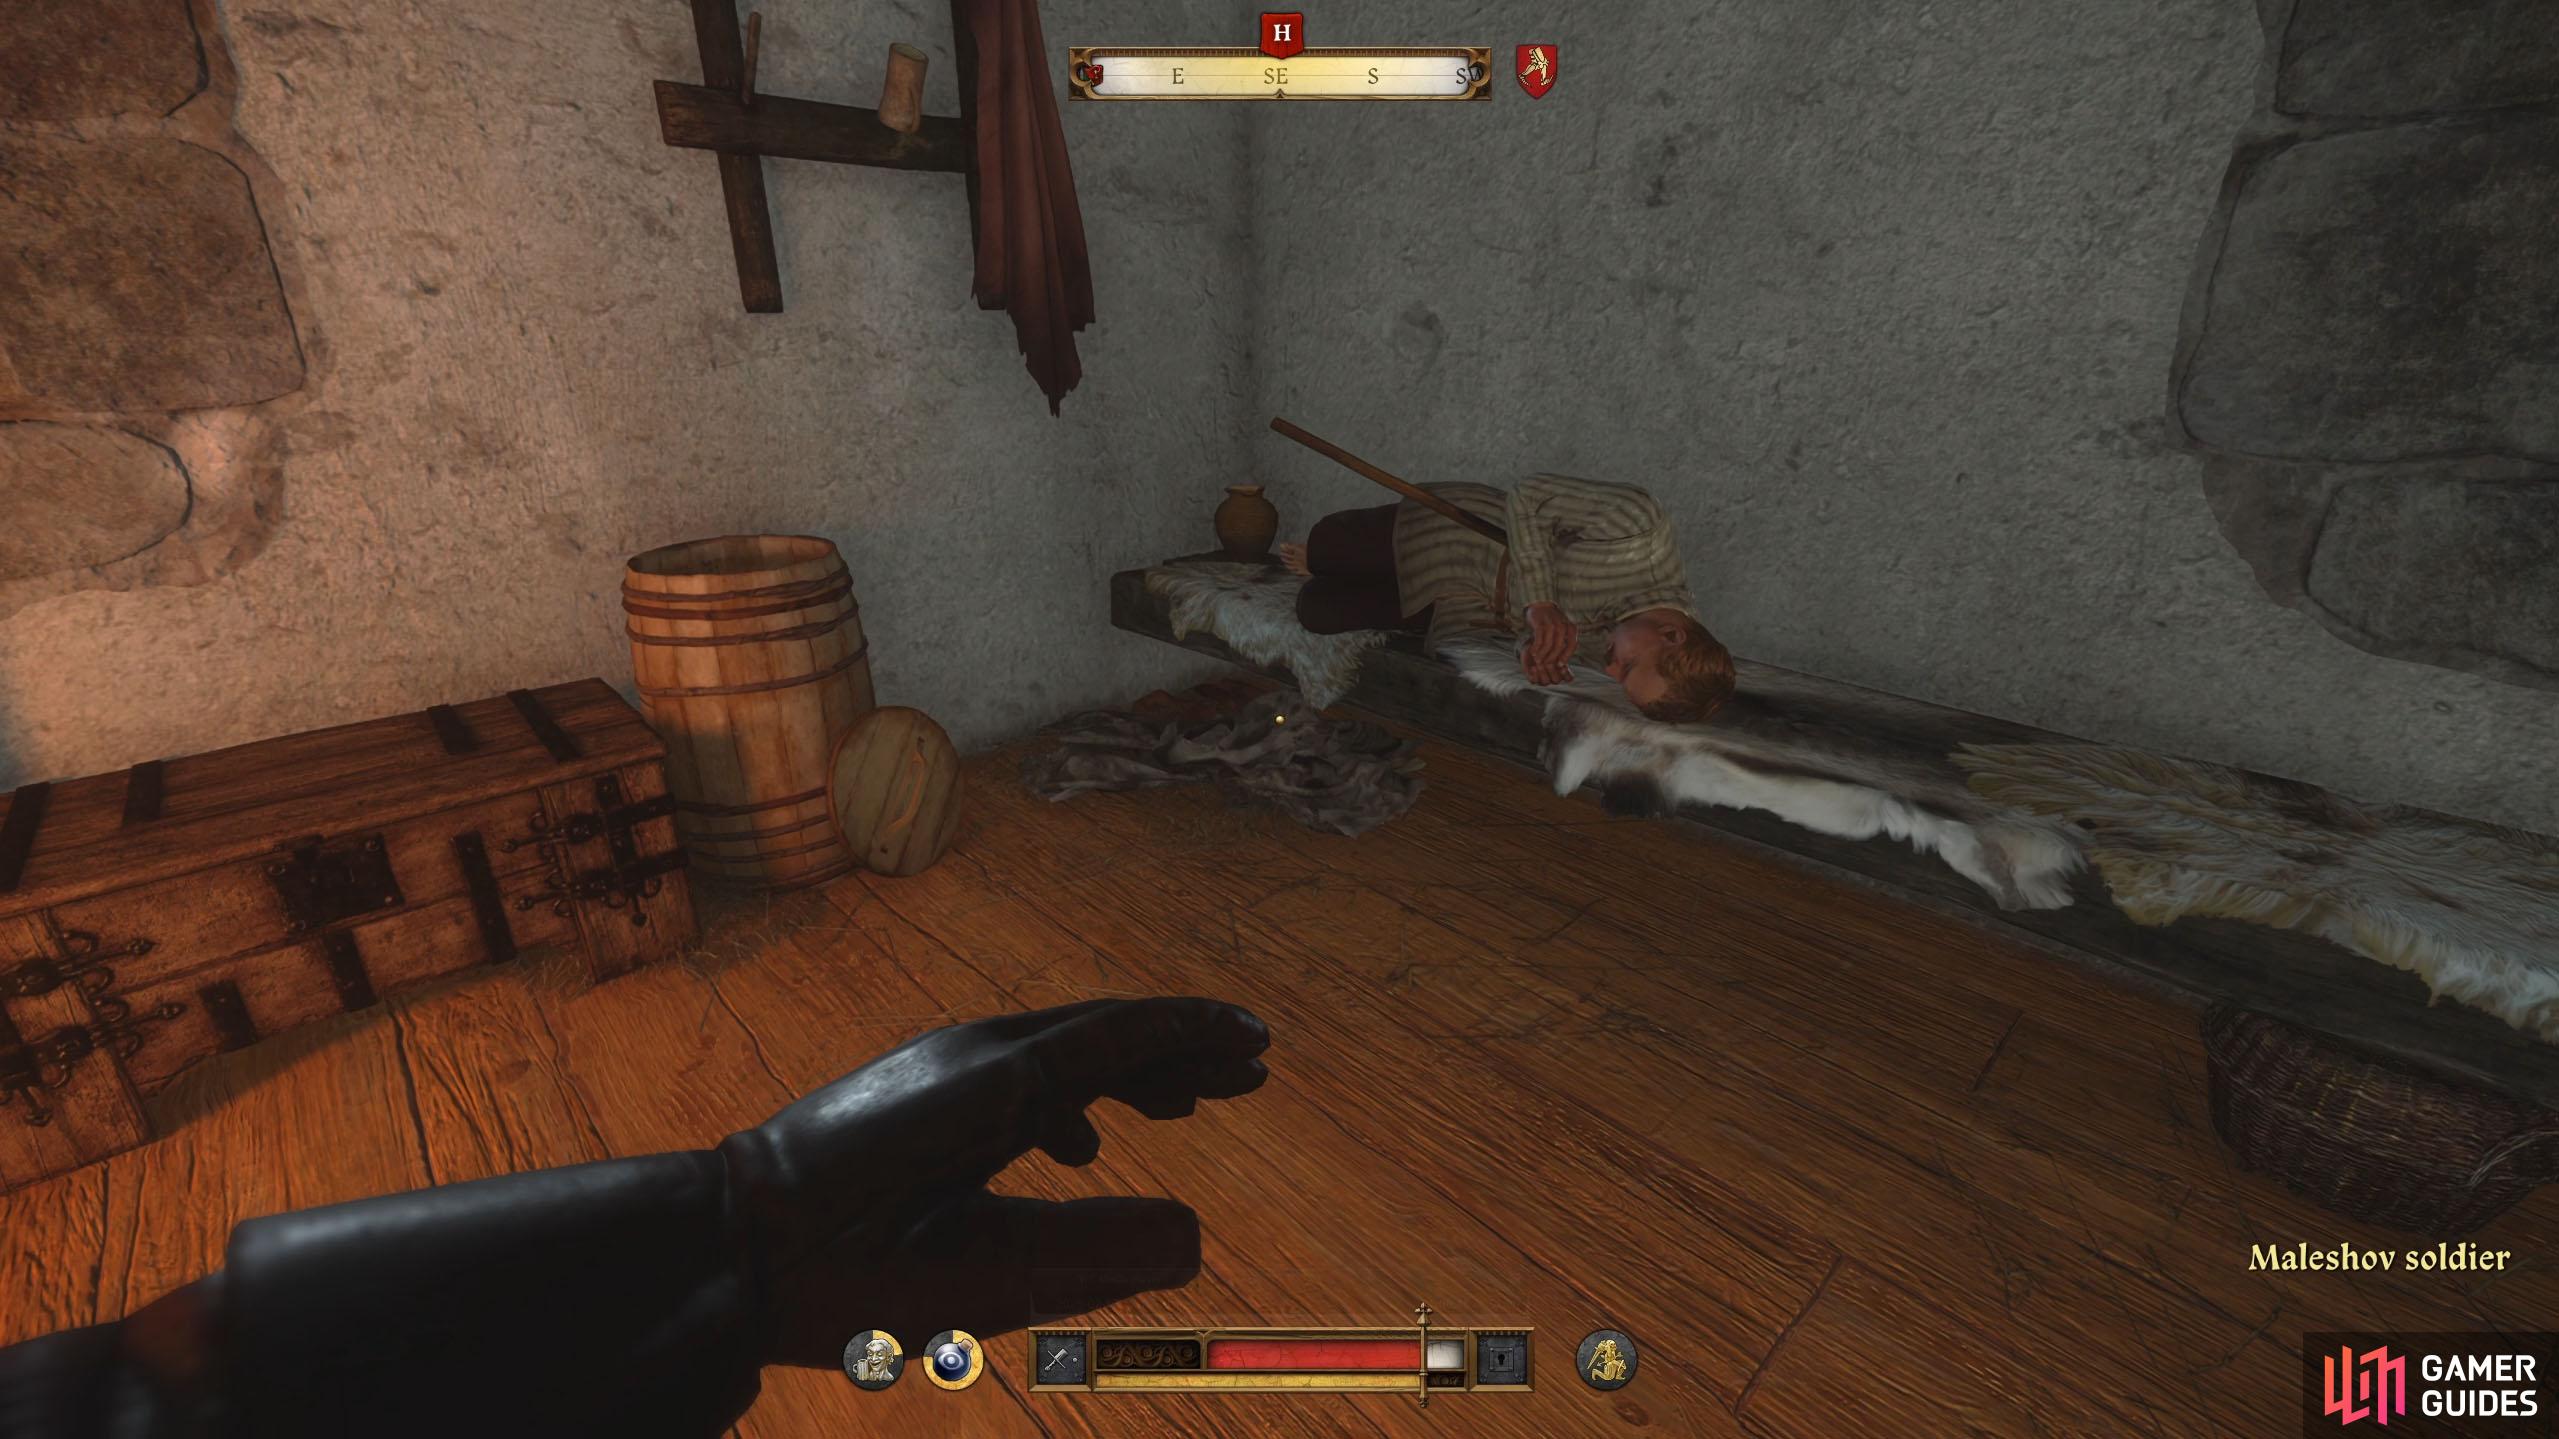

(1 of 3) Take out the guard sleeping on the bench to your left.
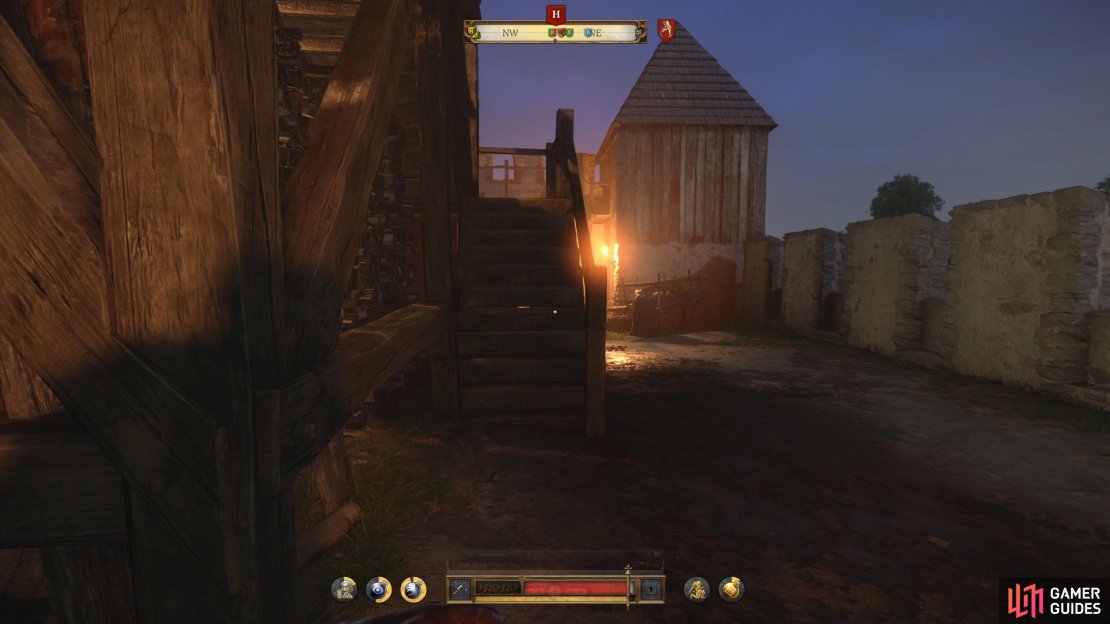
Head back down the stairs and exit the tower via the northern door to go outside. Take the wooden stairs up in front of you to your left and enter the door at the top. You will need to pick the lock if you didn’t pick up the keys from the soldier earlier.
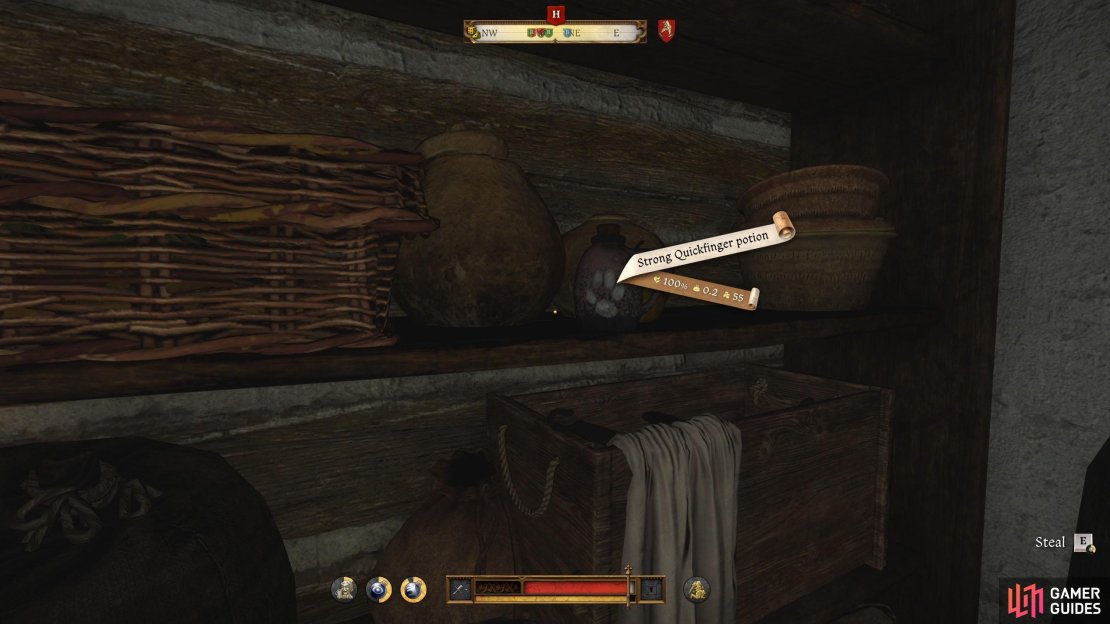
Continue and go left just before the door, and head under the stairs immediately to your left to find a ![]() Strong Quickfinger potion on the shelf (this is also a good place to hide if you’re being searched for). Go up the stairs and enter the room to your left. Once again, you’ll need the soldier’s keys or a Lockpick.
Strong Quickfinger potion on the shelf (this is also a good place to hide if you’re being searched for). Go up the stairs and enter the room to your left. Once again, you’ll need the soldier’s keys or a Lockpick.
Loot the room if you want, and then enter the door in the same room. To your lef,t you’ll find a ![]() Milanese brigandine, a Hounskull bascinet, a
Milanese brigandine, a Hounskull bascinet, a ![]() Von Bergow knight shield, and a few weapons next to them. In the wardrobe next to them, you’ll find some more armor pieces, including the pricey
Von Bergow knight shield, and a few weapons next to them. In the wardrobe next to them, you’ll find some more armor pieces, including the pricey ![]() Hourglass gauntlets.
Hourglass gauntlets.
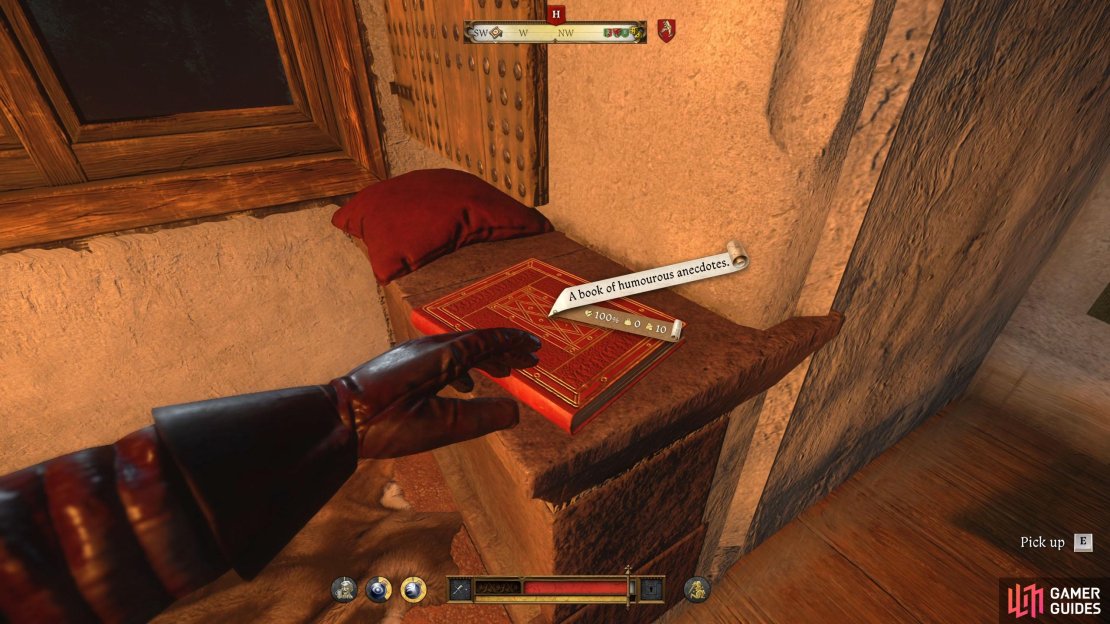
To the left of the bed, near the window, you’ll find a red book with gold inlaid. Sound familiar? ![]() Well, this is the book Rosa wanted you to find. Pick it up, exit the room, and go up the stairs. At the top, go through the door on the left, and pick its lock (or use the tower key found in the room below) and you’ll get a scene.
Well, this is the book Rosa wanted you to find. Pick it up, exit the room, and go up the stairs. At the top, go through the door on the left, and pick its lock (or use the tower key found in the room below) and you’ll get a scene.


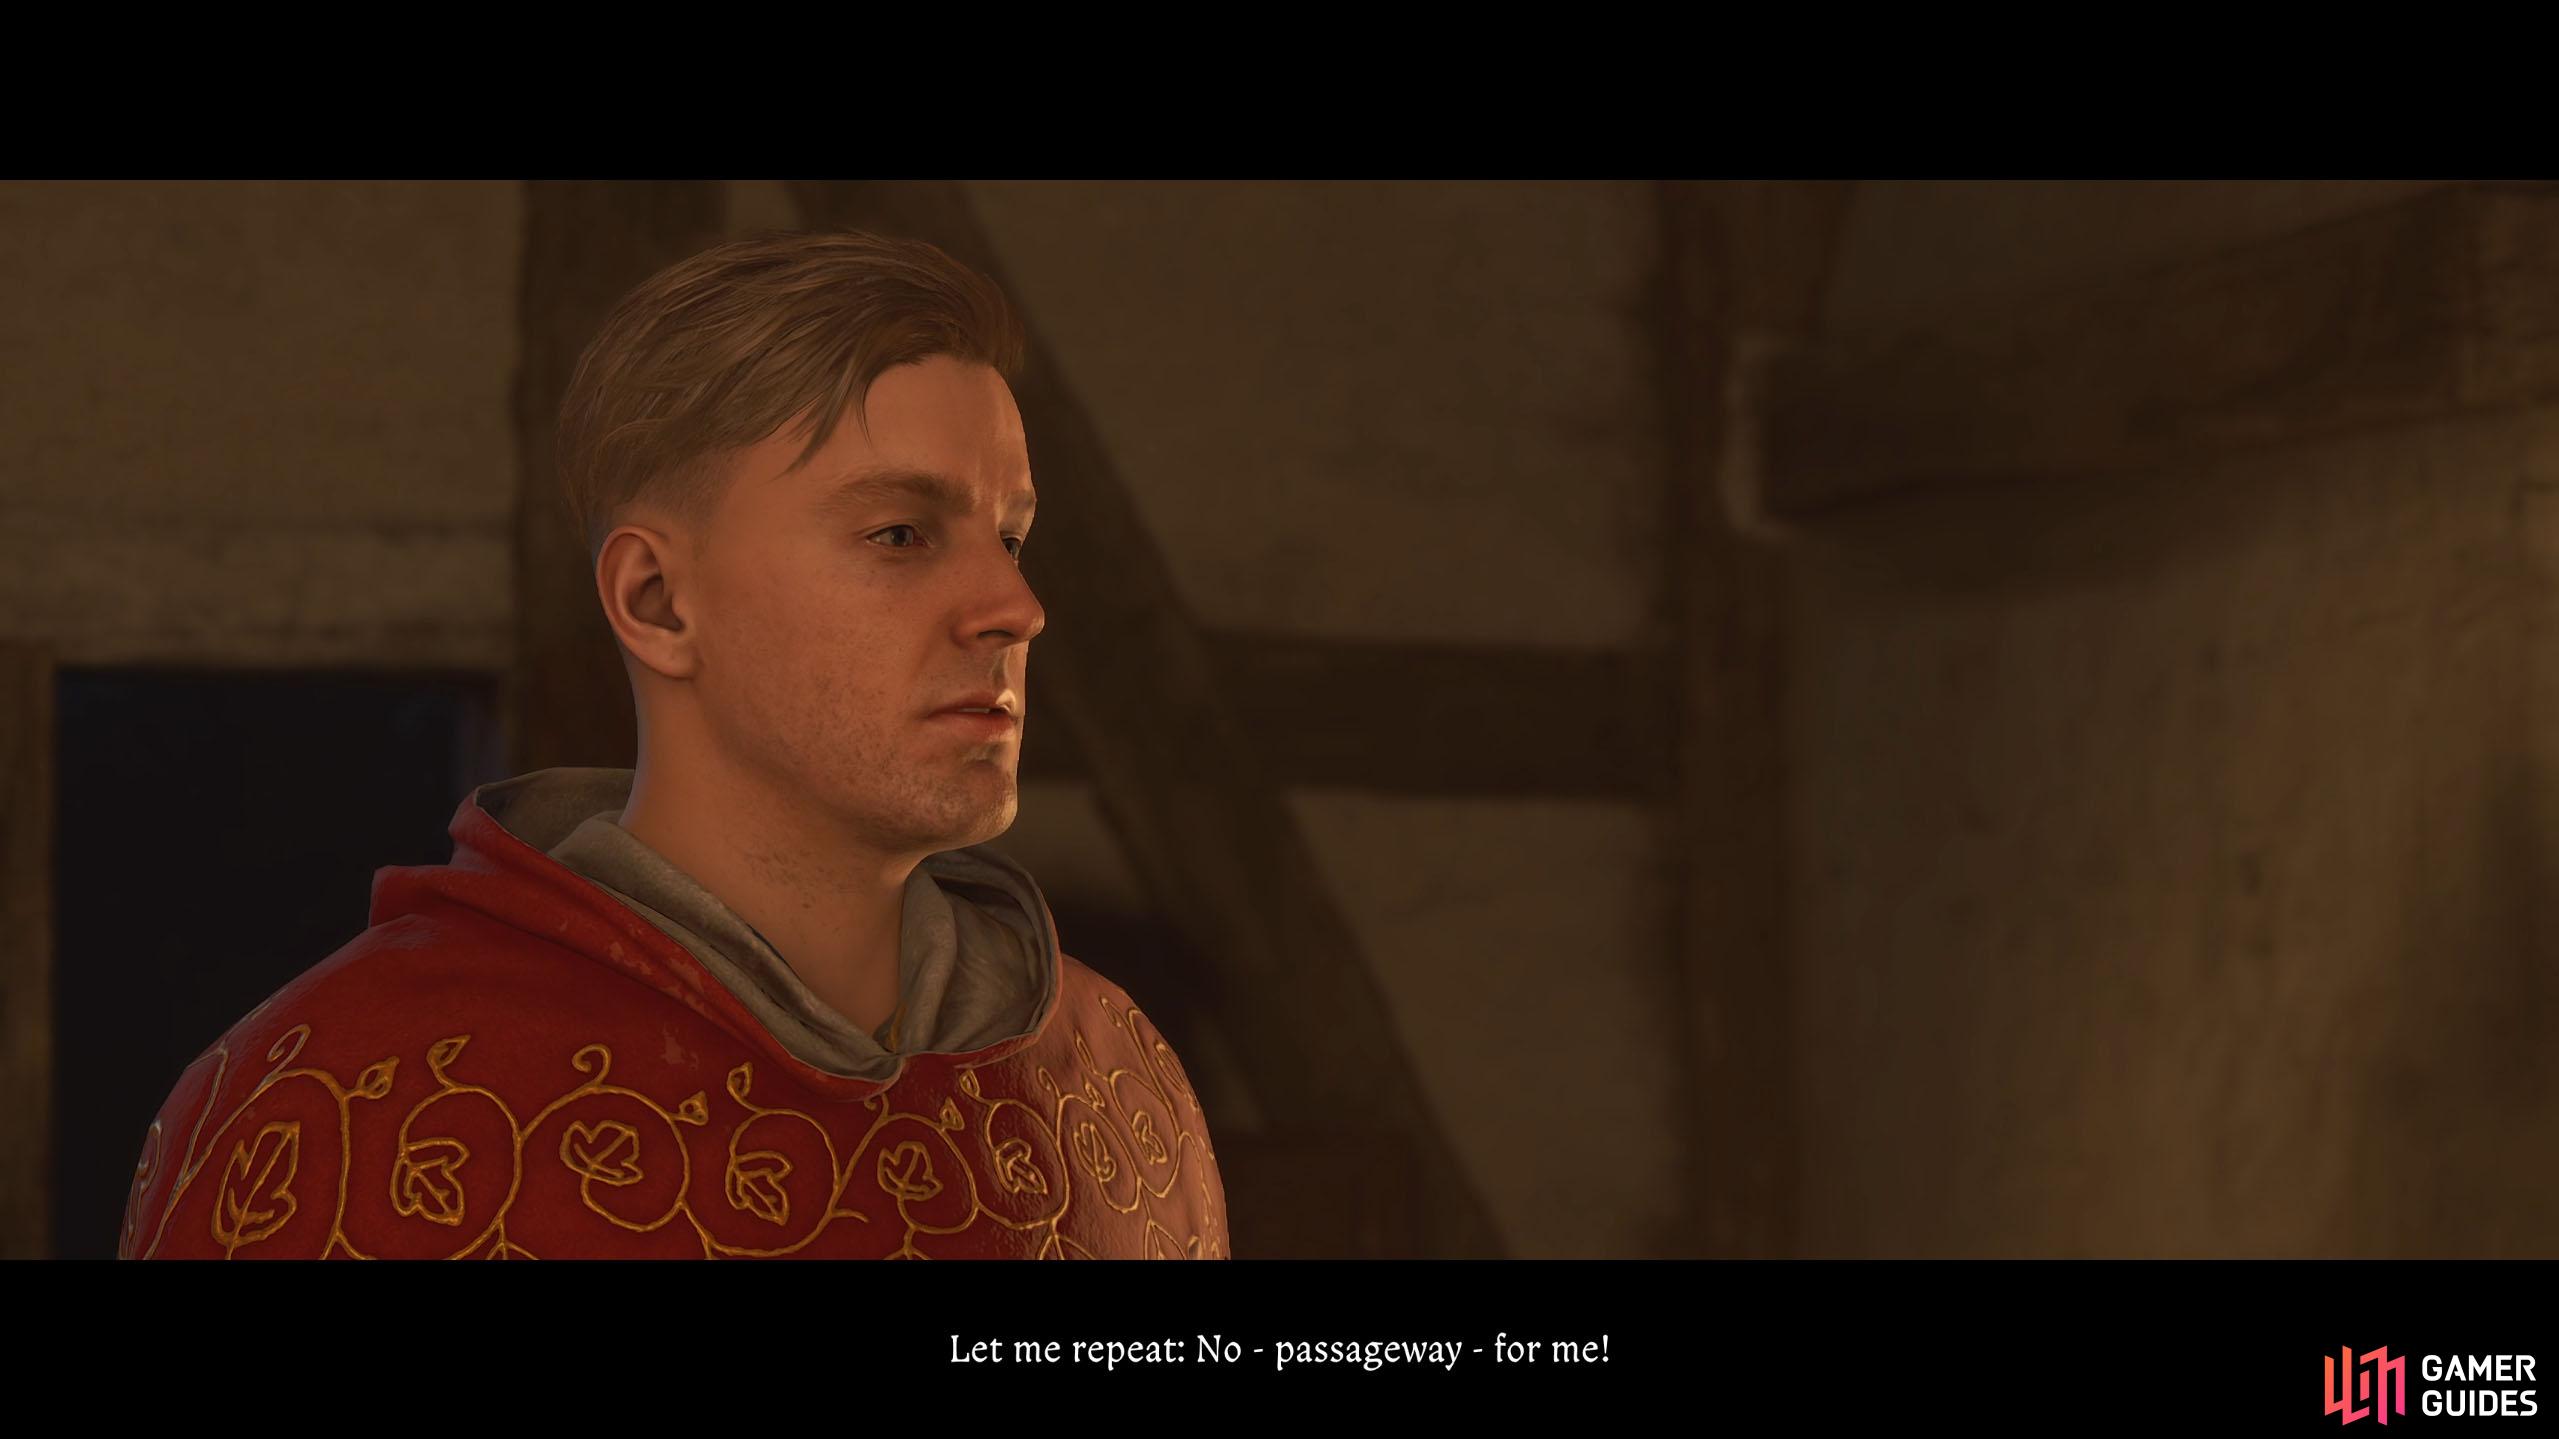
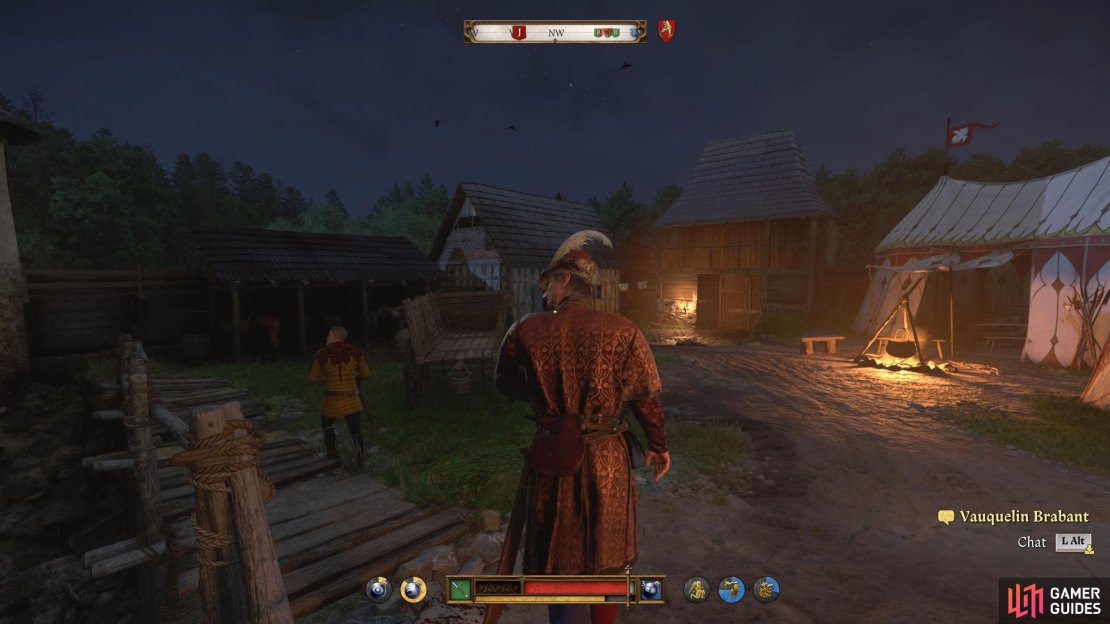
Finally, you’ll find Hans, and he’s got a new friend who goes by Vauquelin Brabant with him! He’ll ask you about your plan to escape, and you’ll tell him about the secret passageway you took to get here. Great, right?
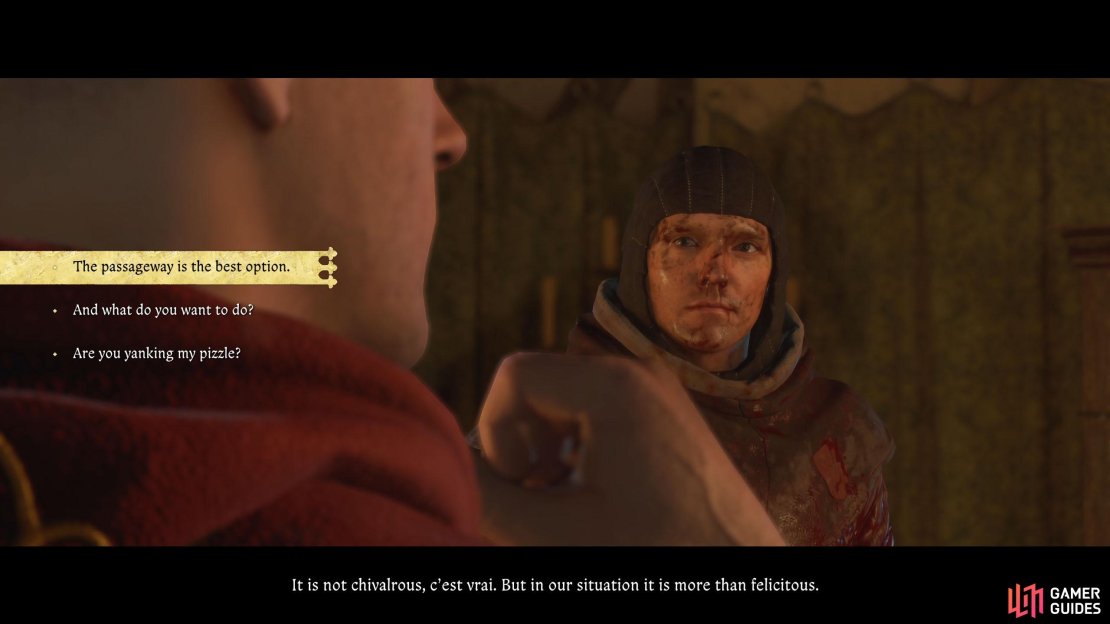
No. Hans refuses to take the passageway due to the events that transpired in ![]() Nebakov Castle. You can respond with “what” or “what the hell”, but it won’t make any difference. You can then tell him the passageway is the best option, but it won’t sway his mind. Likewise, you’ll ask him what his plan is, and the best he can come up with is to break open the front gate.
Nebakov Castle. You can respond with “what” or “what the hell”, but it won’t make any difference. You can then tell him the passageway is the best option, but it won’t sway his mind. Likewise, you’ll ask him what his plan is, and the best he can come up with is to break open the front gate.
Although it sounds like a crazy plan, Vauquelin will remind you that you mentioned von Bergow and the others left with some guards, so the fortress won’t put up much resistance. Also, there are horses here, so it might not be a crazy plan after all.
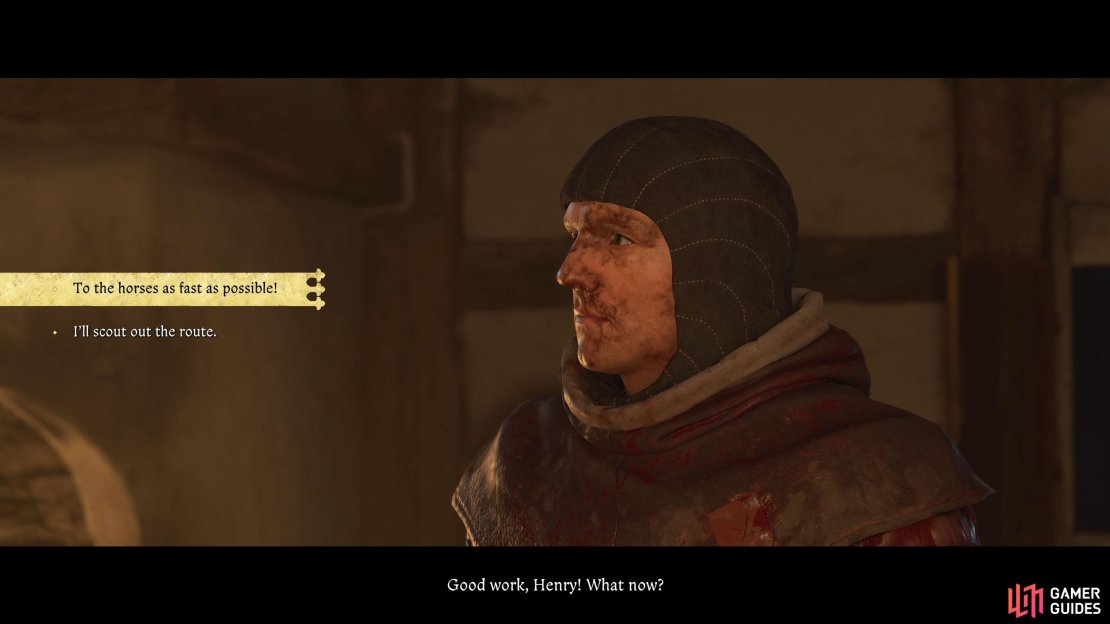
They’ll ask you if you have any weapons they can have, and if you took note of what we mentioned earlier, you will have. Hand over a weapon to both Capon and Vauquelin and then you’ll have a choice to make. Whether you go together or scout ahead and signal them when the coast is clear.


(1 of 4) Hans will refuse to use the passageway to escape.
Escape Maleshov
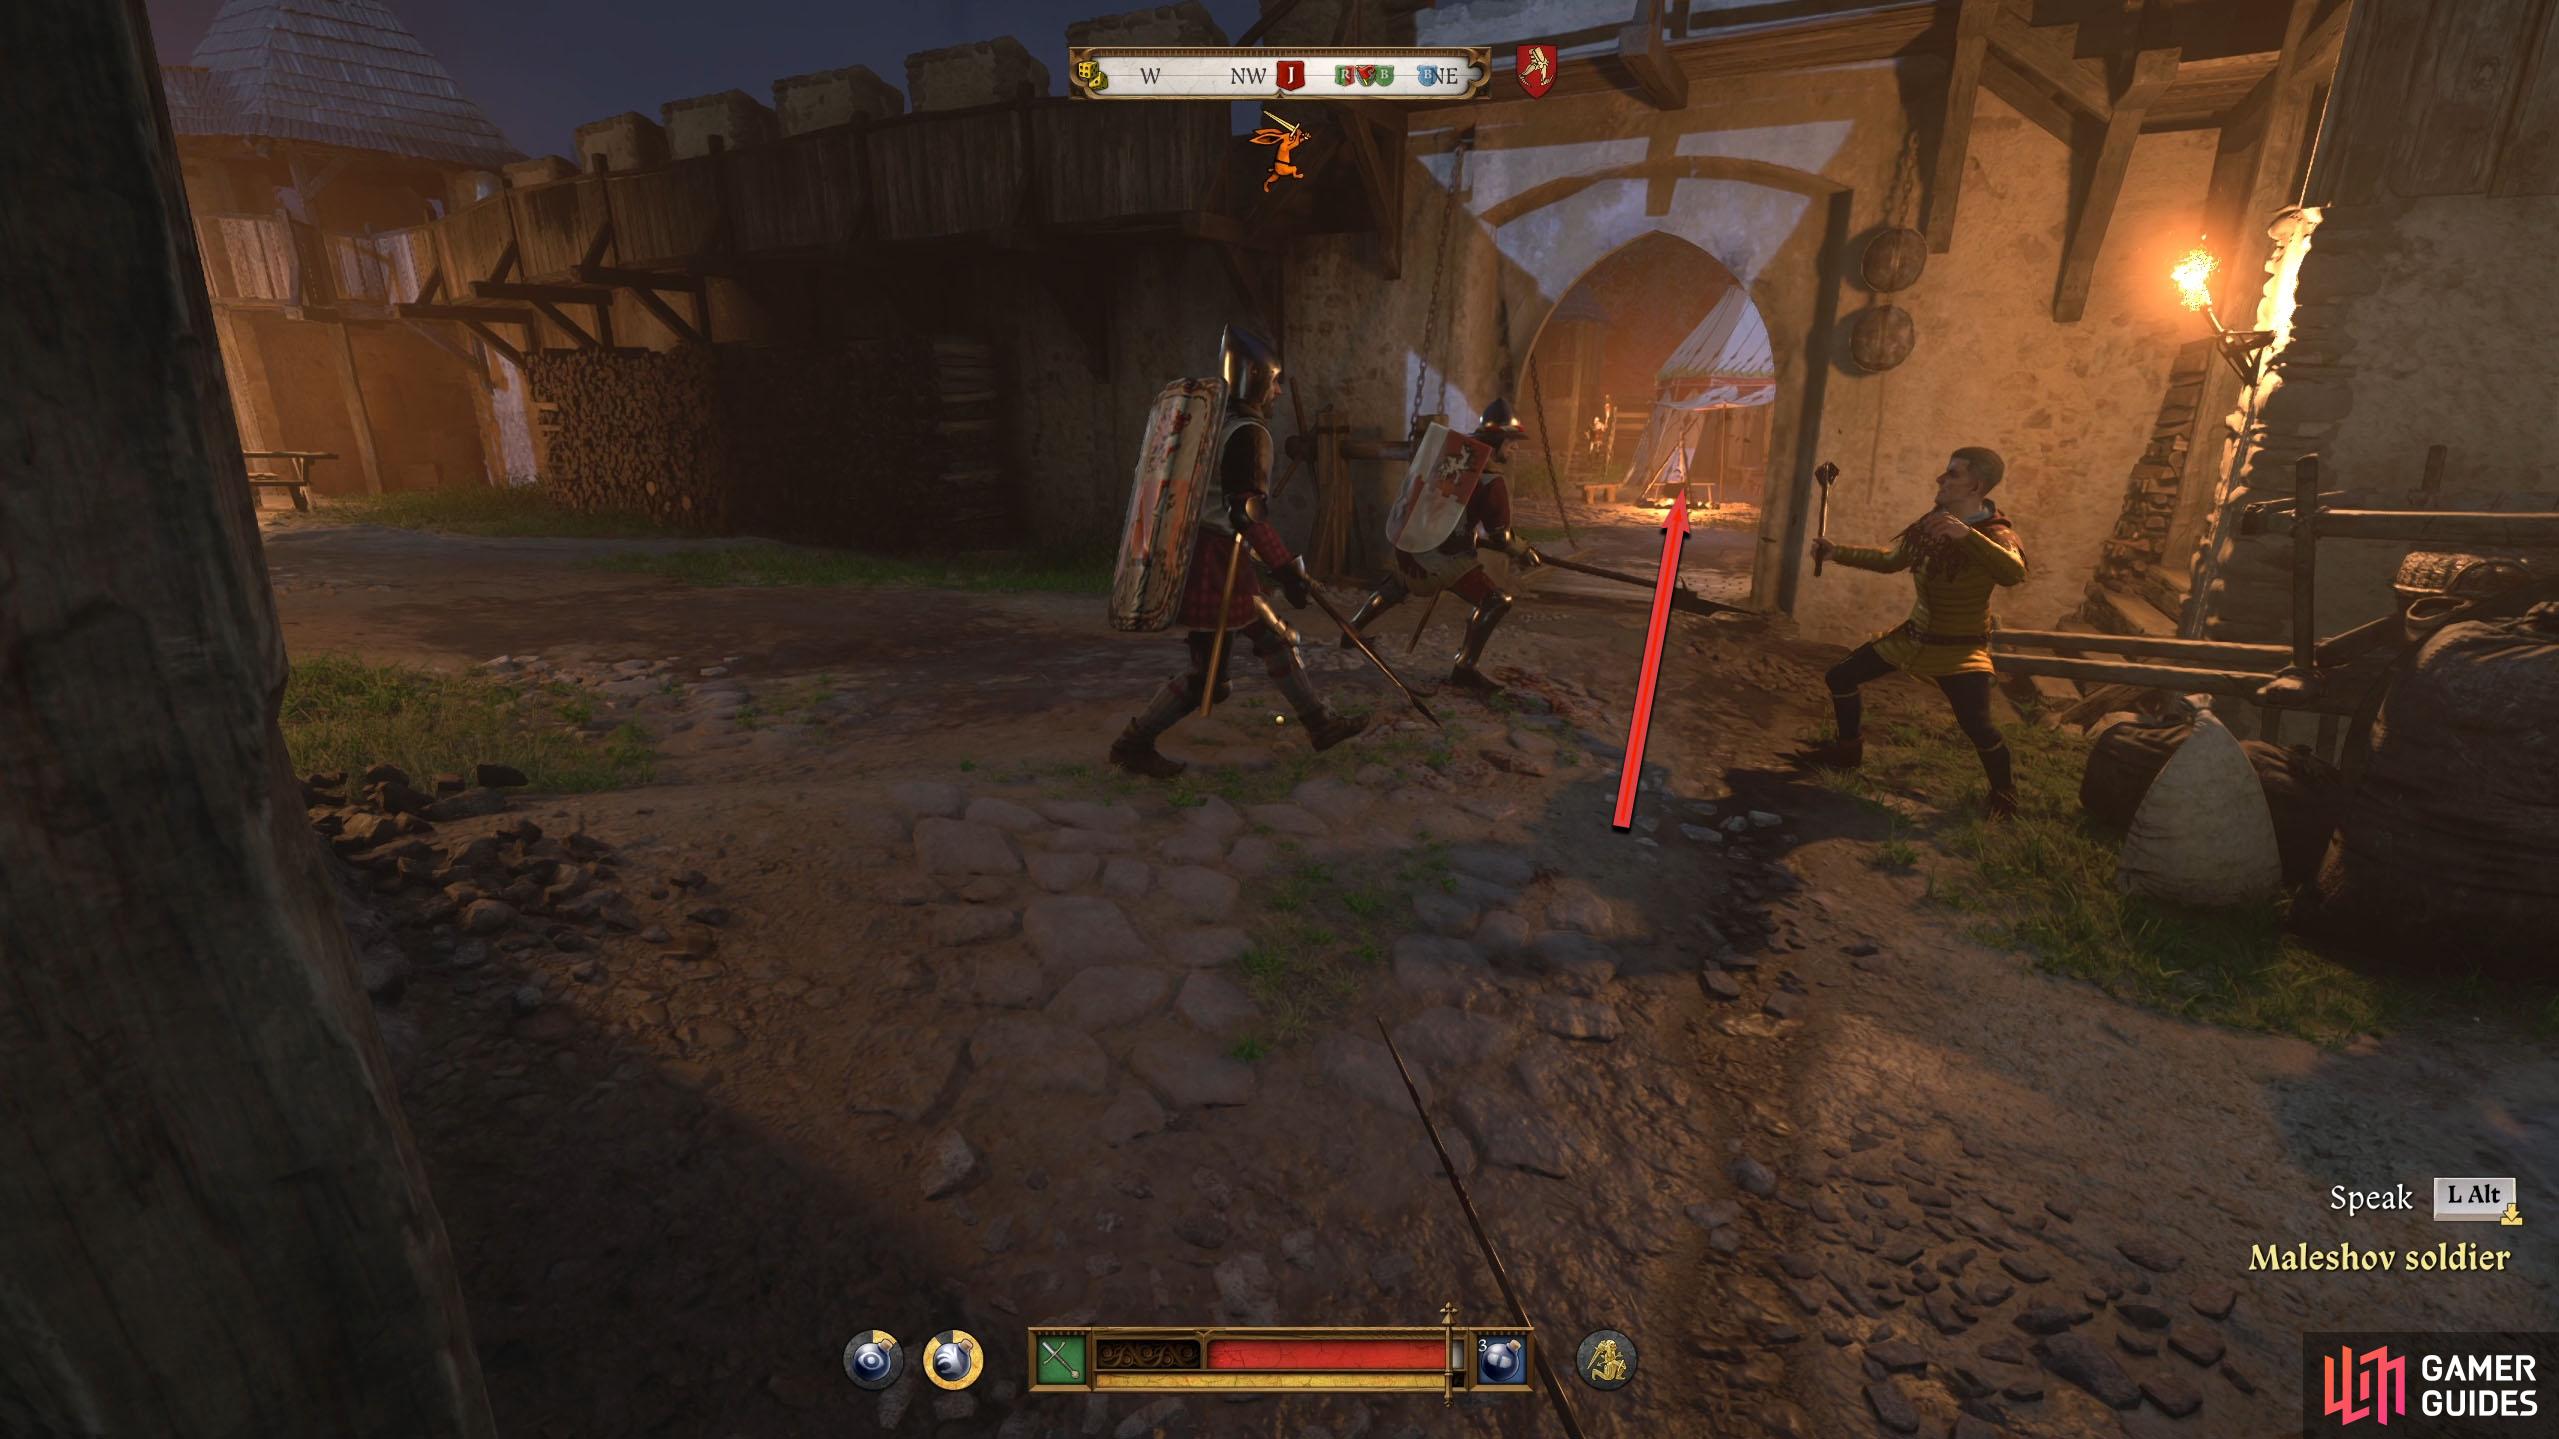
If you alerted any soldiers before finding Capon and Vauquelin, then you should head to the lower courtyard together. However, you will have to fight around eight soldiers on your way there, and if either of them dies, you’ll get game over. The better method is to scout ahead, and then signal them when you get to the gate after clearing the soldiers out. If you scout out first, make your way to the stables in stealth, and clear the way for Capon and Vauquelin by throwing stones away from them, allowing them to pass.
When you get to the stables, select the prompt to signal them to come. They can still alert and be attacked by the soldiers, so make sure you escort them through the area and distract the soldiers.

(1 of 4) Exit the tower the way you came and head through the archway in the courtyard.
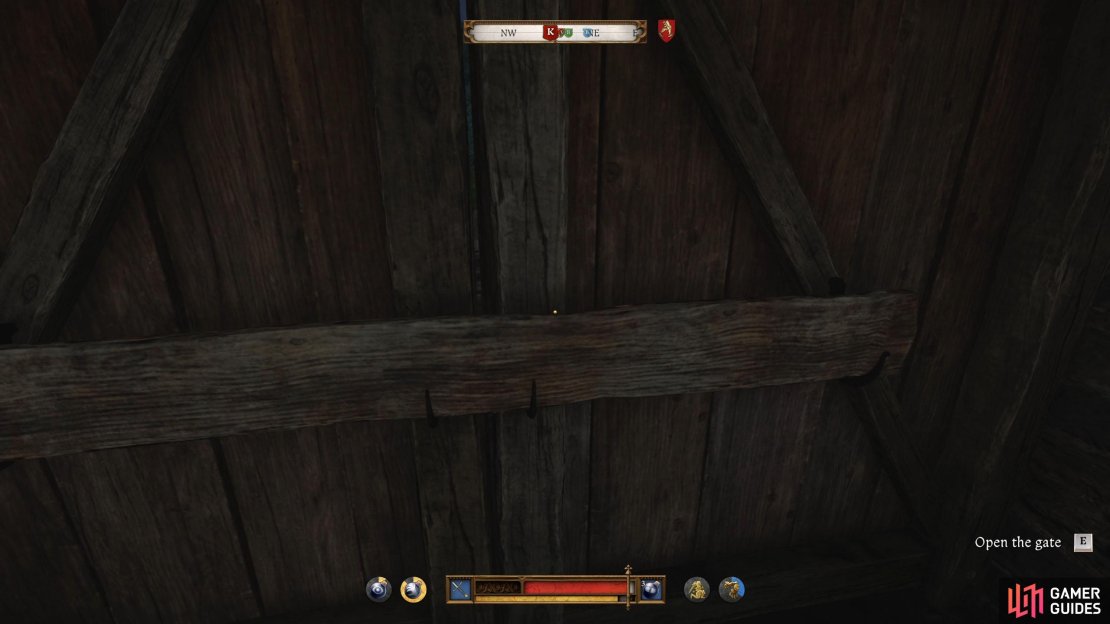
The other method involves you running in the open to the stables while making sure they both survive. If one is getting attacked, help them dispatch the soldier as quickly as possible. Between the three of you, this isn’t too difficult, and if you do fail, there’s a save just before you go, so you don’t lose much progress. To find the stables, exit the tower the way you came in, go through the archway to the north, and then open the front gate further north. When you open the gate, you’ll get a scene of the trio escaping. After the scene, you’ll follow the pair while having a conversation. You’ll get to respond to some questions, but none of the answers have any weight, so select what you like.
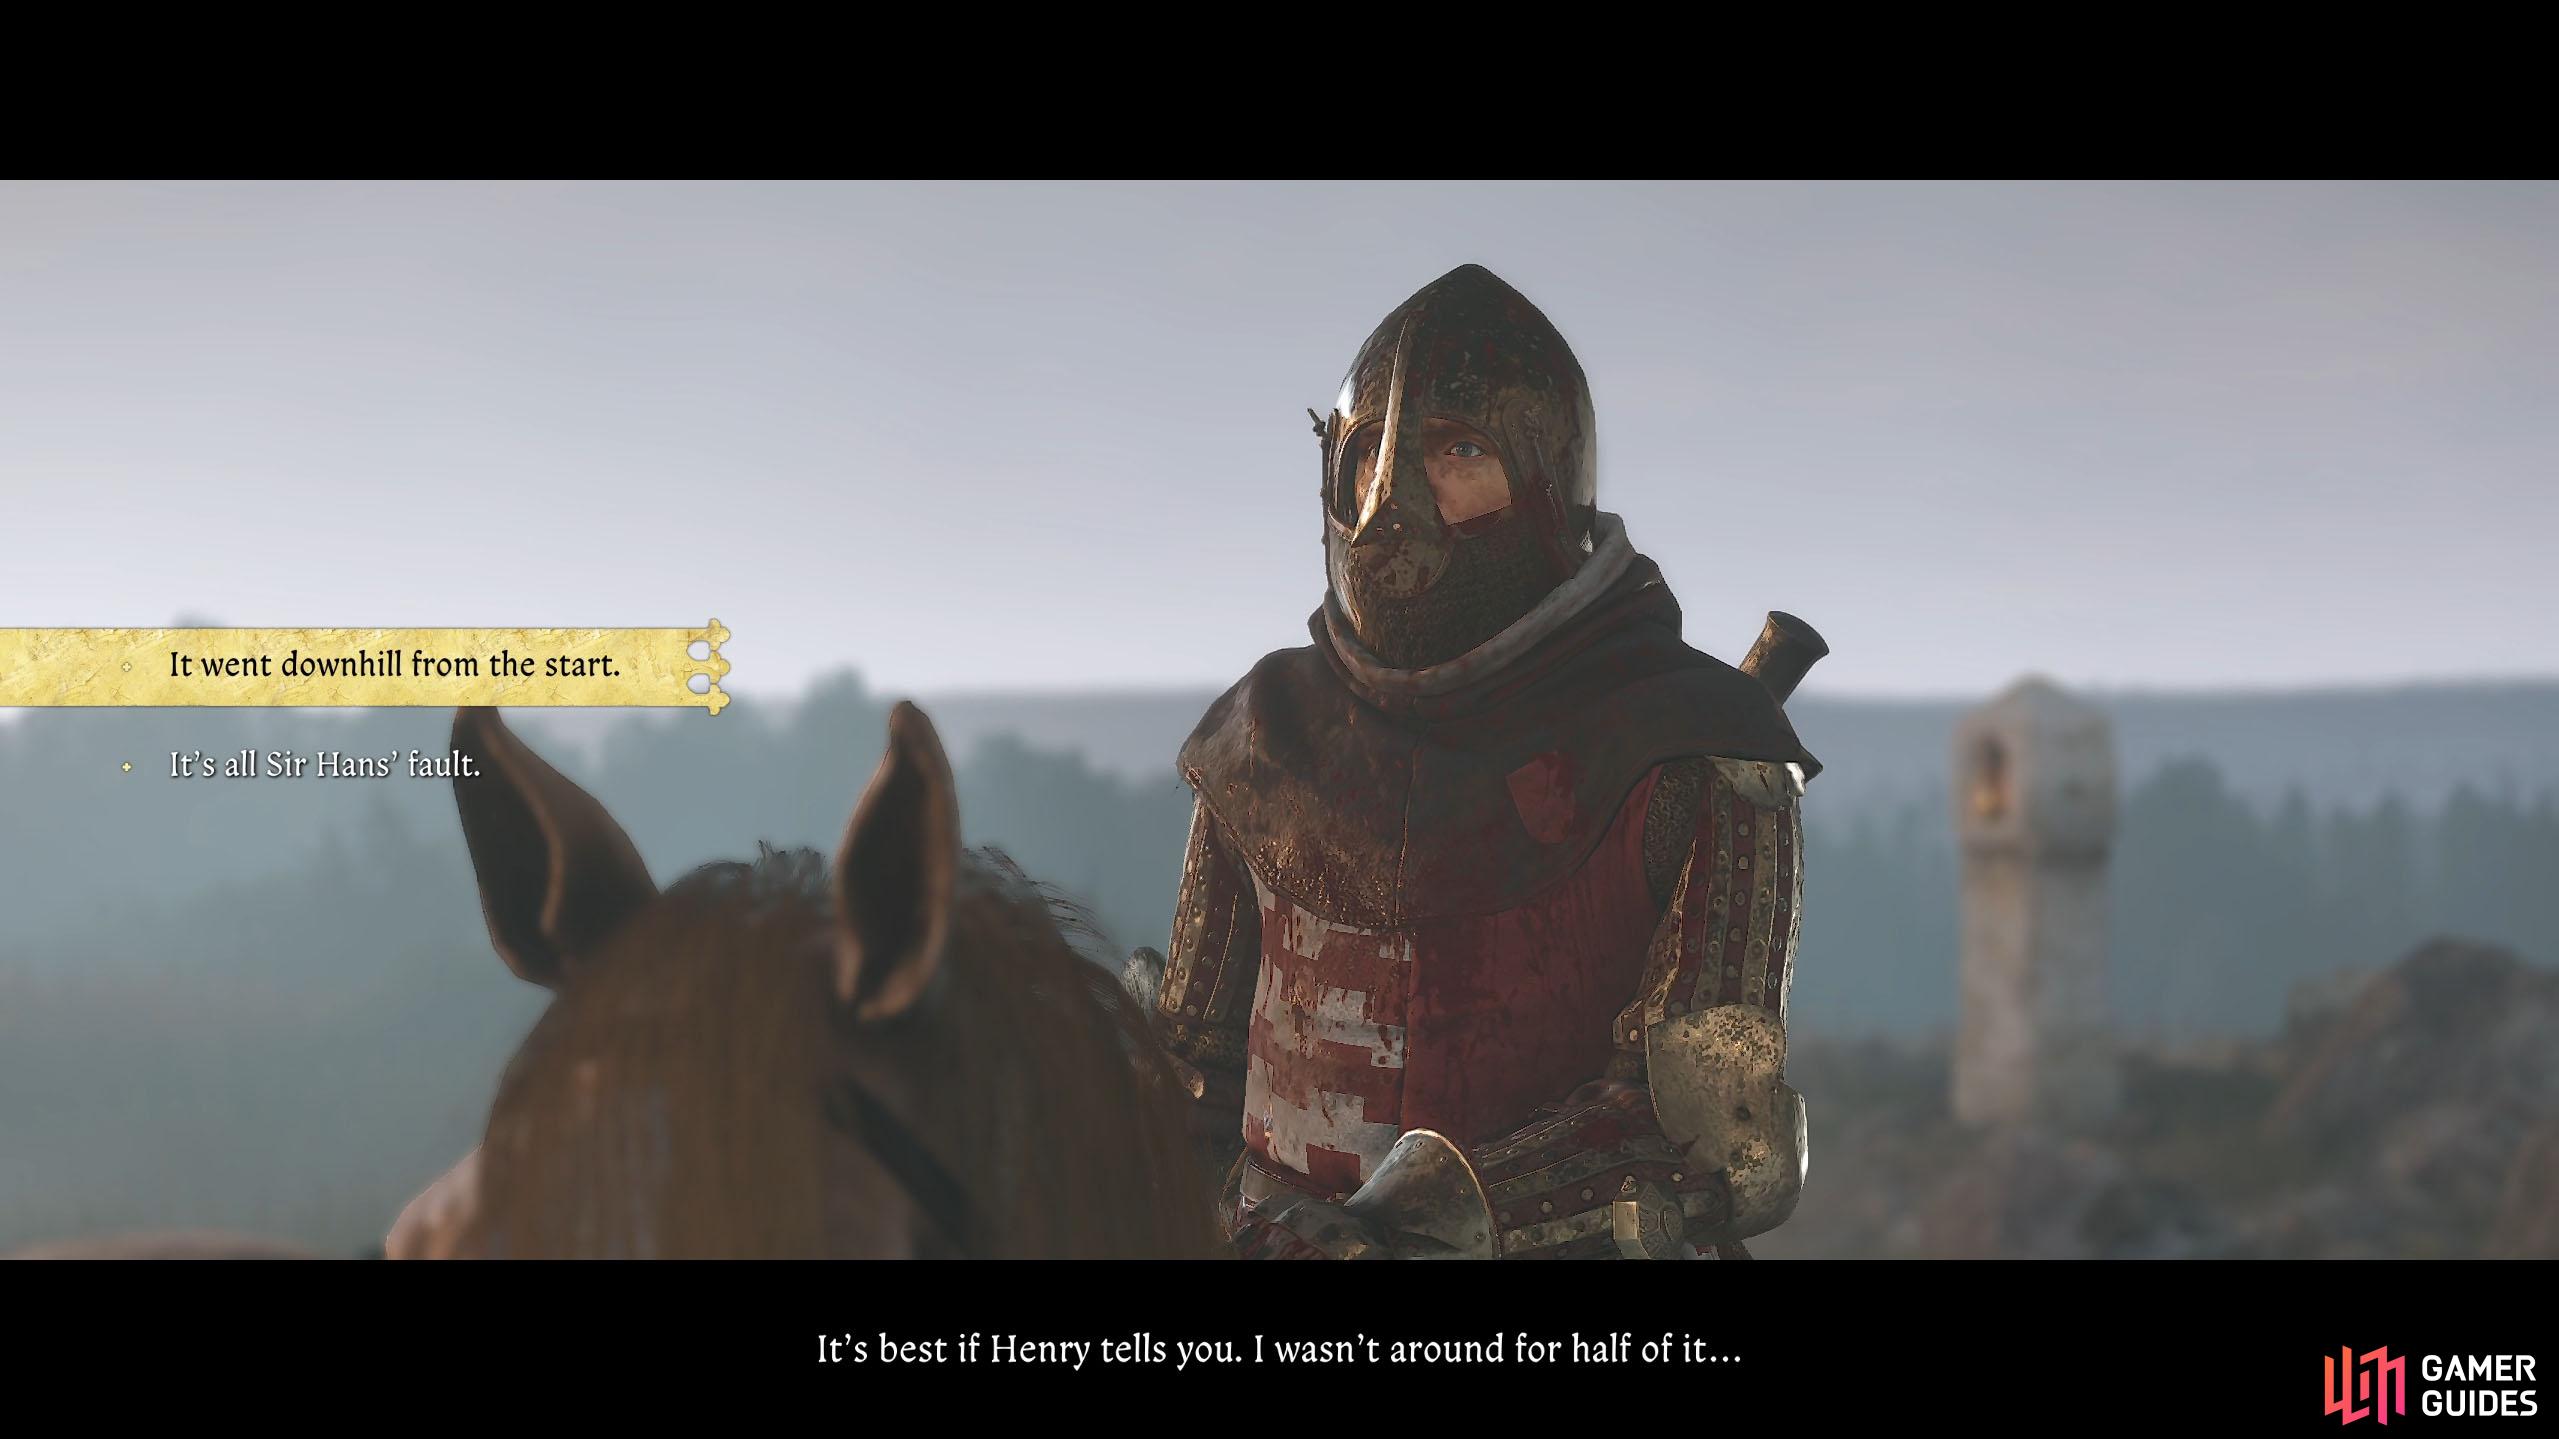

(1 of 4) Tell them that it went downhill from the start, even if you want to blame Hans.
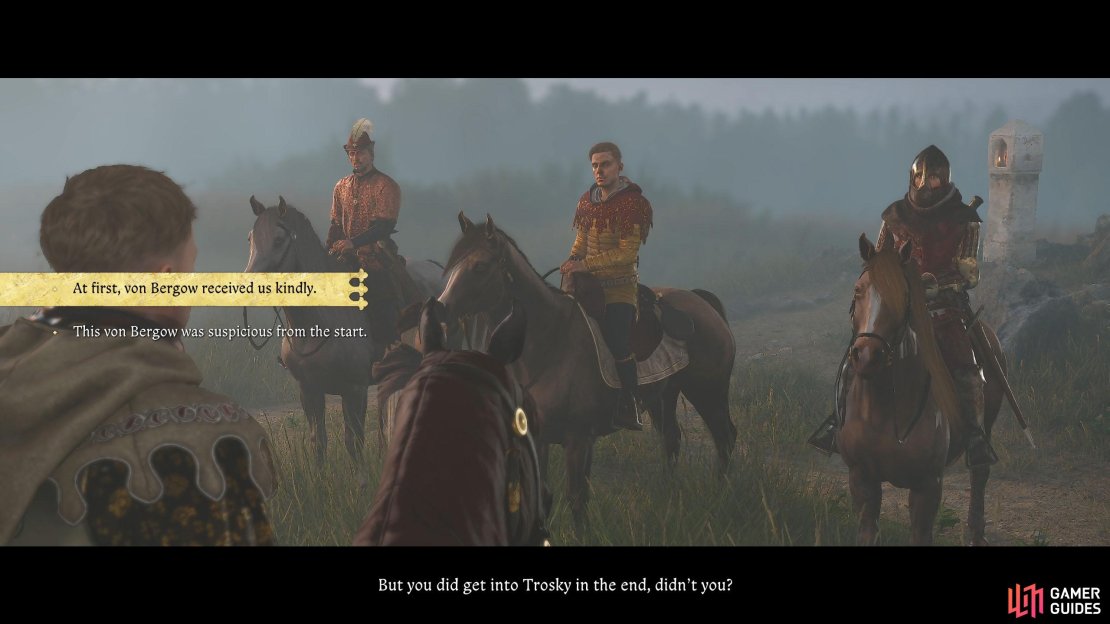
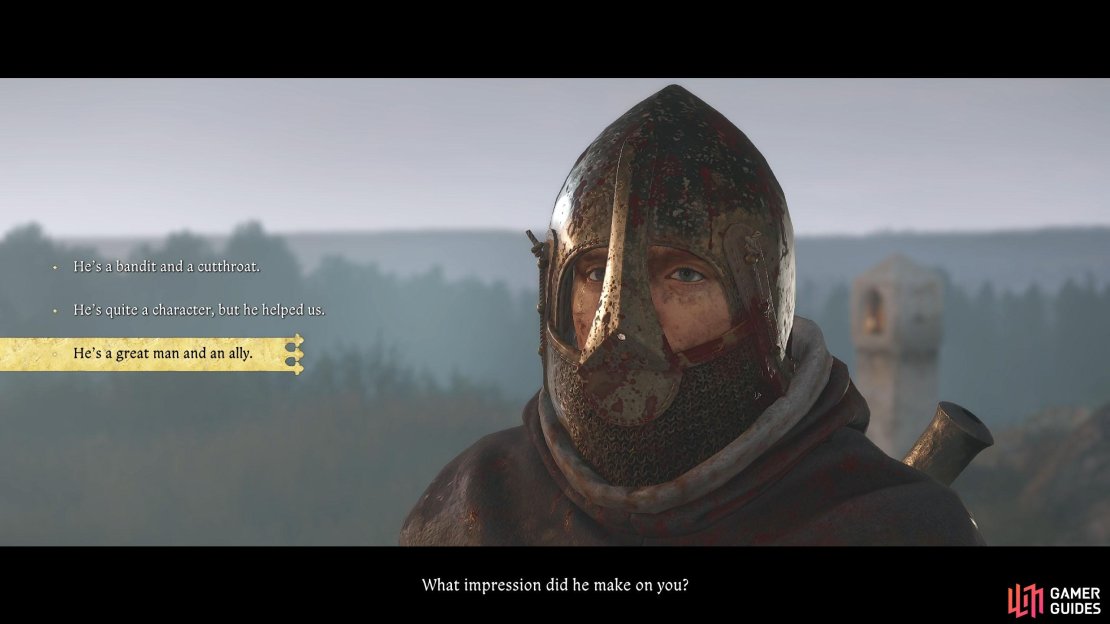
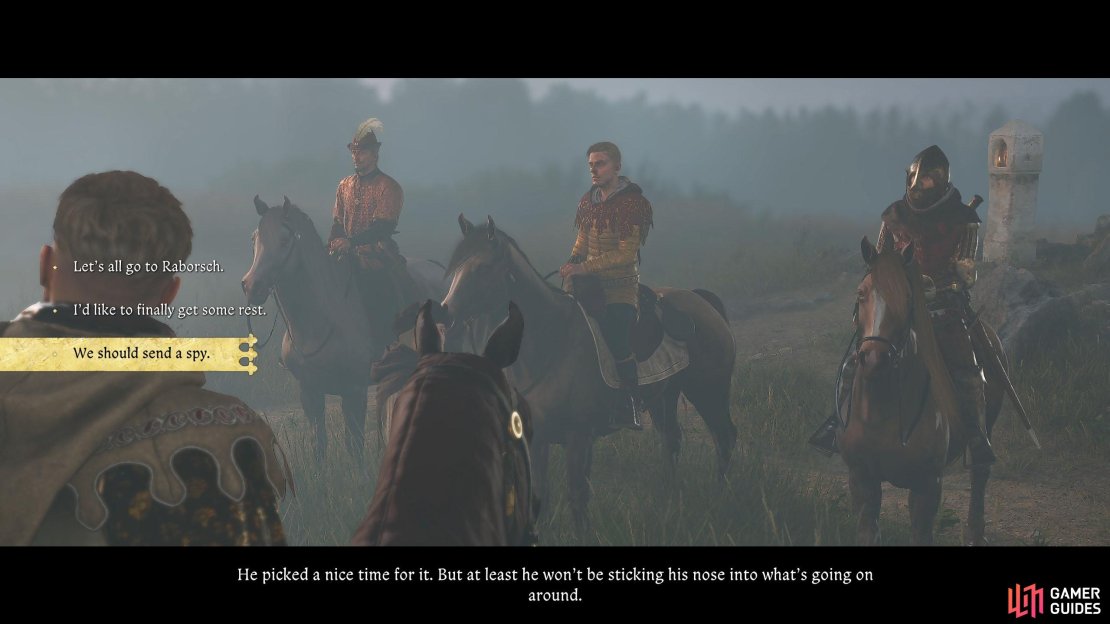
Eventually, you’ll get another scene, where you’ll meet up with Hanush of Leipa and ![]() Radzig Kobyla. They’ll ask you to explain what’s happened so far, and the best outcome for this is to follow the answers below.
Radzig Kobyla. They’ll ask you to explain what’s happened so far, and the best outcome for this is to follow the answers below.
-
It went downhill from the start.
-
At first, von Bergow received us kindly.
-
He’s a great man and an ally.
-
We should send a spy. (Yes, it will be you.)
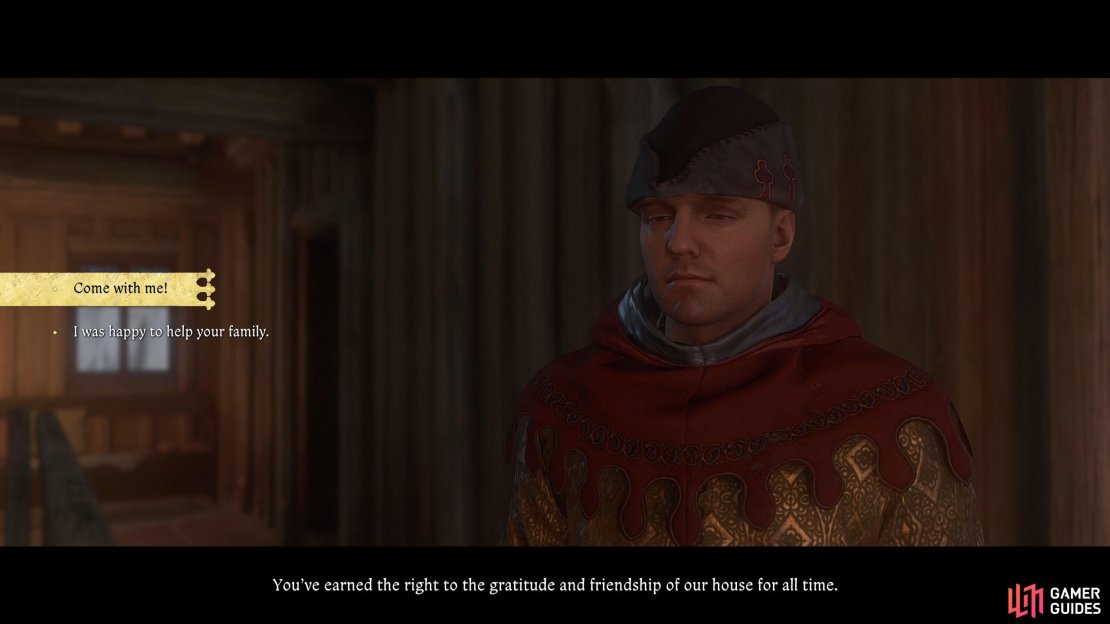
After the scene, the quest will end and ![]() The King’s Gambit will be immediately added to your journal. If you picked up Rosa’s book, make sure you head back to Ruthard Palace to return it to her. You may just make a new friend!
The King’s Gambit will be immediately added to your journal. If you picked up Rosa’s book, make sure you head back to Ruthard Palace to return it to her. You may just make a new friend!
No Comments