
![]() The King’s Gambit is a main story quest situated in the
The King’s Gambit is a main story quest situated in the ![]() Kuttenberg region in Kingdom Come Deliverance II. Obtained immediately after finishing the Taking French Leave quest. What begins as a quest on how to attend the council meeting descends into high-level politics as the fate of the kingdom is on everyone’s lips.
Kuttenberg region in Kingdom Come Deliverance II. Obtained immediately after finishing the Taking French Leave quest. What begins as a quest on how to attend the council meeting descends into high-level politics as the fate of the kingdom is on everyone’s lips.
The King’s Gambit is a main quest in Kingdom Come: Deliverance II.
Table of Contents
If you want to jump to a specific section, click on the links below.
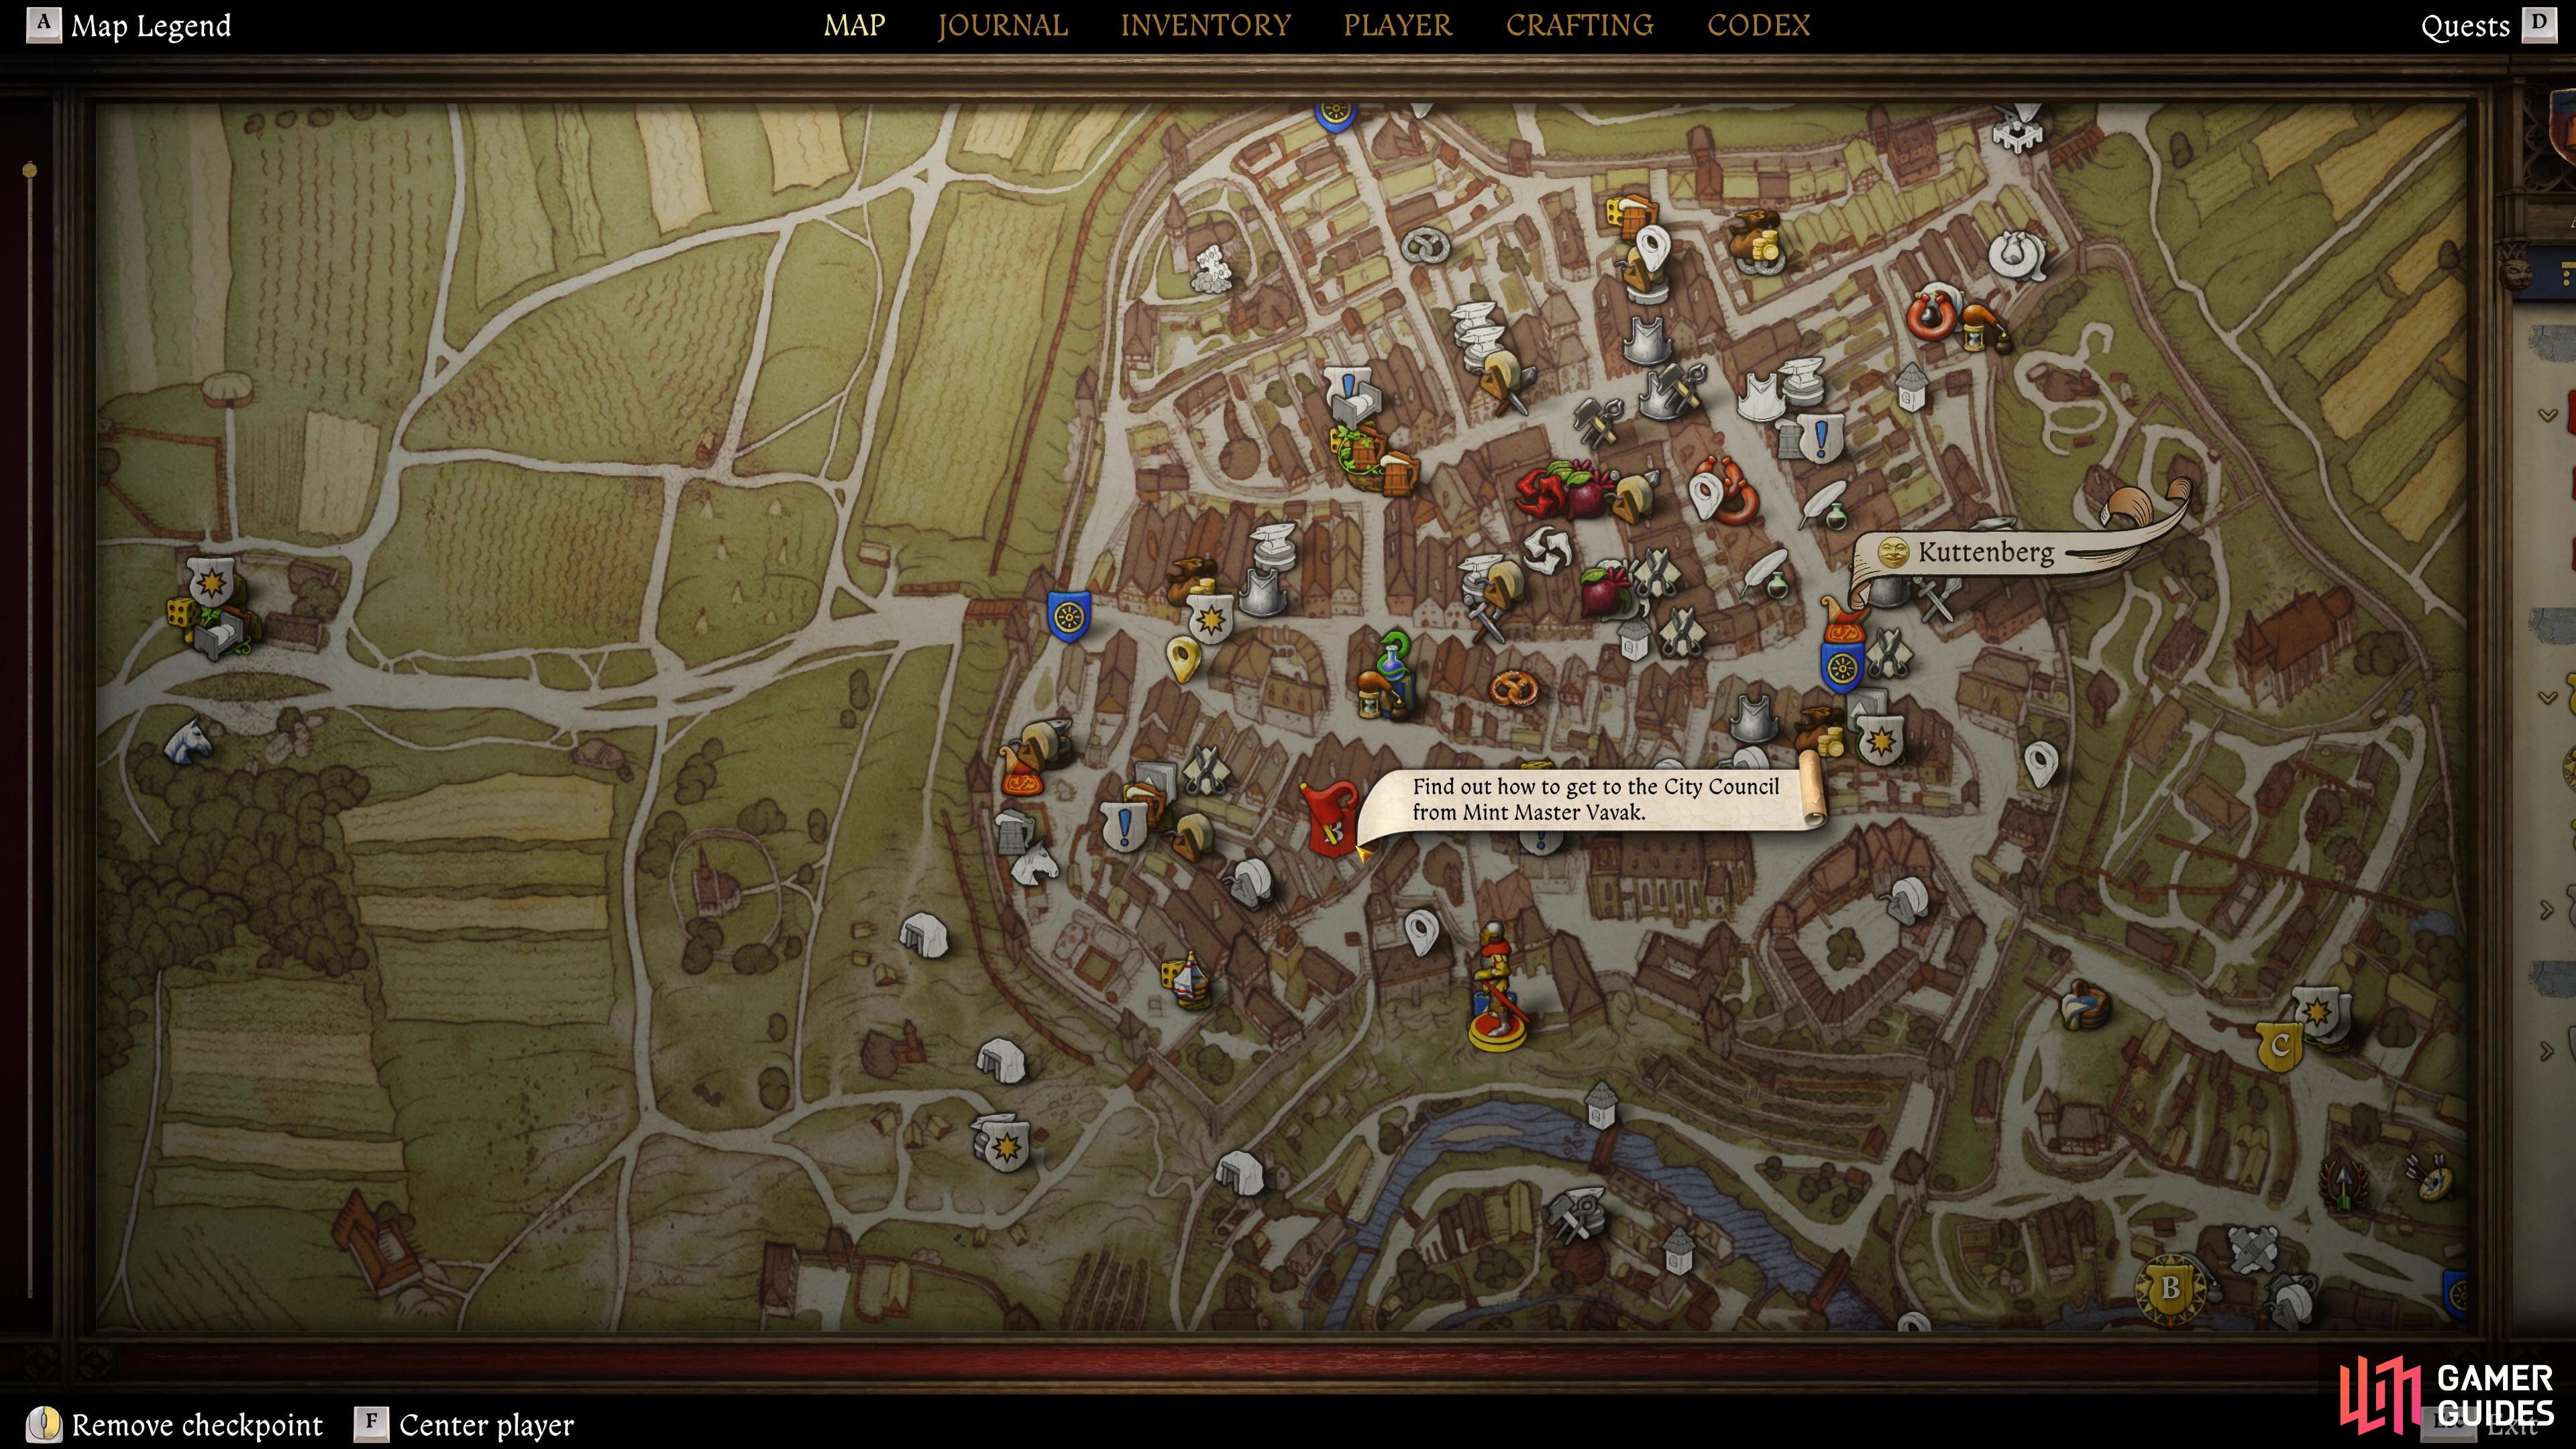
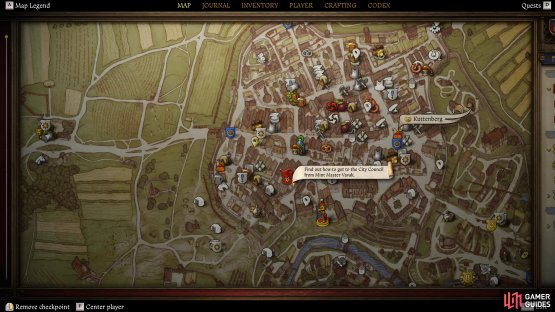
Find Out How to Get to the City Council From Mint Master Vavak
After completing your daring rescue of Hans Capon at ![]() Maleshov, you’ll be given a new task as they ride off for a gathering at
Maleshov, you’ll be given a new task as they ride off for a gathering at ![]() Raborsch, find a way into the council meeting that King Sigismund appears to be attending in
Raborsch, find a way into the council meeting that King Sigismund appears to be attending in ![]() Kuttenberg. Fortunately, you have a new spy that you’ve recently acquired following the completion of Via Argentum, the Mint Master Vavek. You’ll find Vavek at his house not too far from the Ruthards, just northeast a little of the City
Kuttenberg. Fortunately, you have a new spy that you’ve recently acquired following the completion of Via Argentum, the Mint Master Vavek. You’ll find Vavek at his house not too far from the Ruthards, just northeast a little of the City ![]() Baths.
Baths.
When you go around the back to enter, you’ll speak to the guard, tell him you have an appointment and you’ll be let upstairs to speak with him. As you may expect, he’s not keen to see you but after a bit of back-and-forth, you’ll get him to agree to finding a way to get you in, although you will get the opportunity to pass a Hard Speech check to get some ![]() Groschen out of him if you really want to turn the screw.
Groschen out of him if you really want to turn the screw.
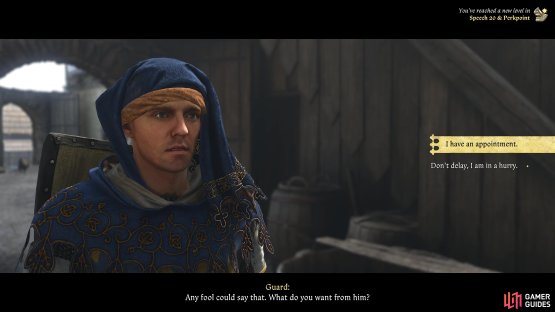
(1 of 2) Head to Vavek’s house to get him to find you a way into the assembly.

Head to Vavek’s house to get him to find you a way into the assembly. (left), Tell the guard standing outside that you have an appointment to get access. (right)
You’ll learn that his cook is attending and if you want to get in, you should look to take his place. You’ll need a certificate to prove that you have access, and a specific set of clothing to look the part, so you’re going to need to track him down. Vavek tells you where he may be during the day (around the eastern market), but if it’s evening already, you’re more likely to find him at a tavern.
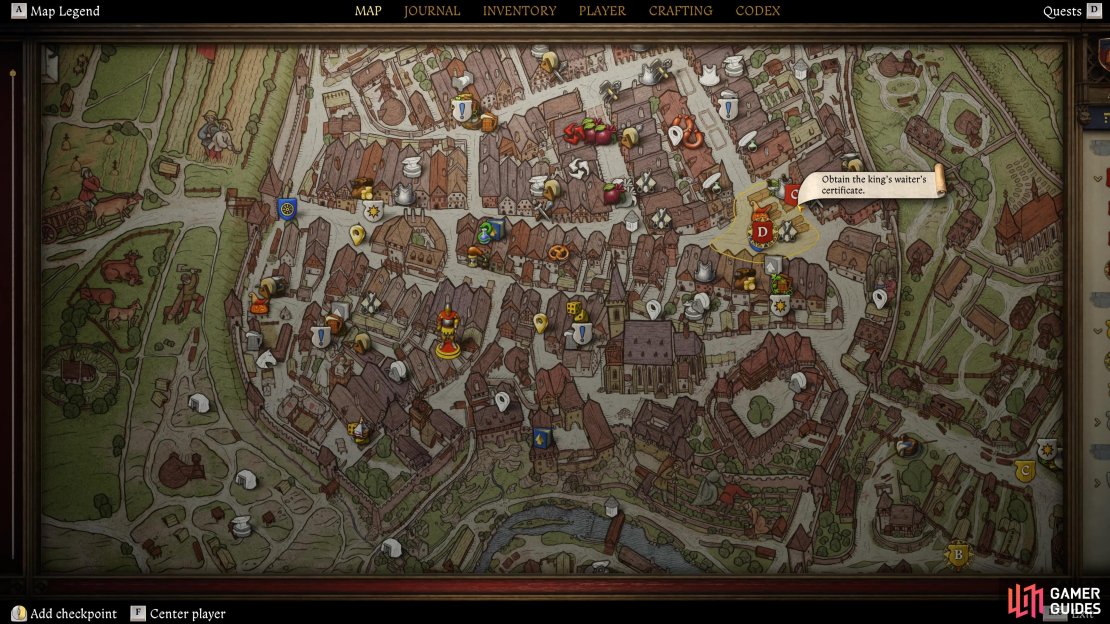
Obtain the King’s Waiter’s Certificate and Clothes
The easiest way to go about this is to do it during the day, if you look at your map and at the eastern market, you’ll see a search area, but more importantly, look at objective “C”, this is the precise location so follow it and get ready to put on some charm, Franta will be in green, if you’re having trouble picking him out.
Tell him you’ll do the job and, eventually, you’ll get a speech check that you’ll need to pass. You will need to pass one of these if you want to continue the quest without paying his fee, which is a hefty 1000 Groschen! The easiest choice is the top one, “I have important news for the King!”, which is a medium difficulty choice (while the second choice is Hard). Regardless of how you get him to come around, he’ll hand over both the certificate and the set of clothes you need, urging you not get them muddied before the assembly.


(1 of 4) You can find Franta at the eastern market during the day.
Once you’re ready to lock yourself in for some lengthy quests, head over to the city council and don your new apparel, it’s important that you’re not wearing anything other than the given clothes (you can equip some shoes at least), then talk with Majordomo who will want to know why Franta’s not coming in today. Reply that it’s because he’s drunk and then take him up on his offer to learn about the etiquette you’ll need to follow. This is important to heed, as if you fail enough at this, you’ll get a Game Over. Once you’re finally ready to kick it all off, tell him you know what you need and the assembly will begin.
Serve the Kuttenberg Councillors
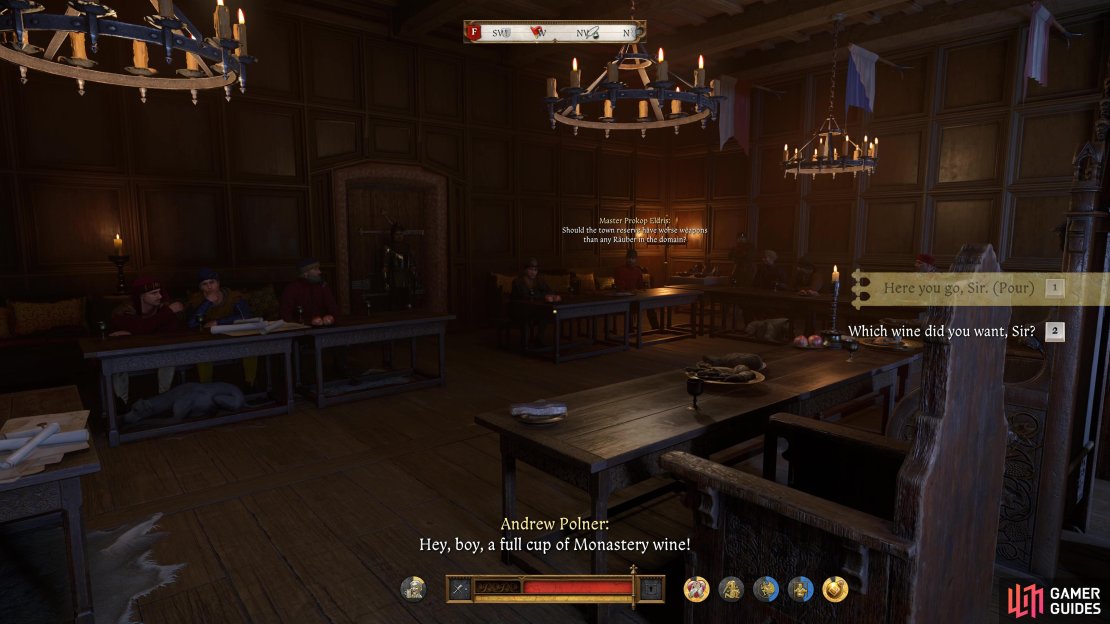
Over the course of the next 10-15 minutes, you’re going to have to play your role perfectly as you attempt to listen in on the meeting and glean as much information as you can from it. What Councillor asks for what type of wine is random, so you’ll have to instead pay attention to some general rules, as noted below:
-
Where you appear when this section begins is where you should be stood unless you’re called to pour some wine.
-
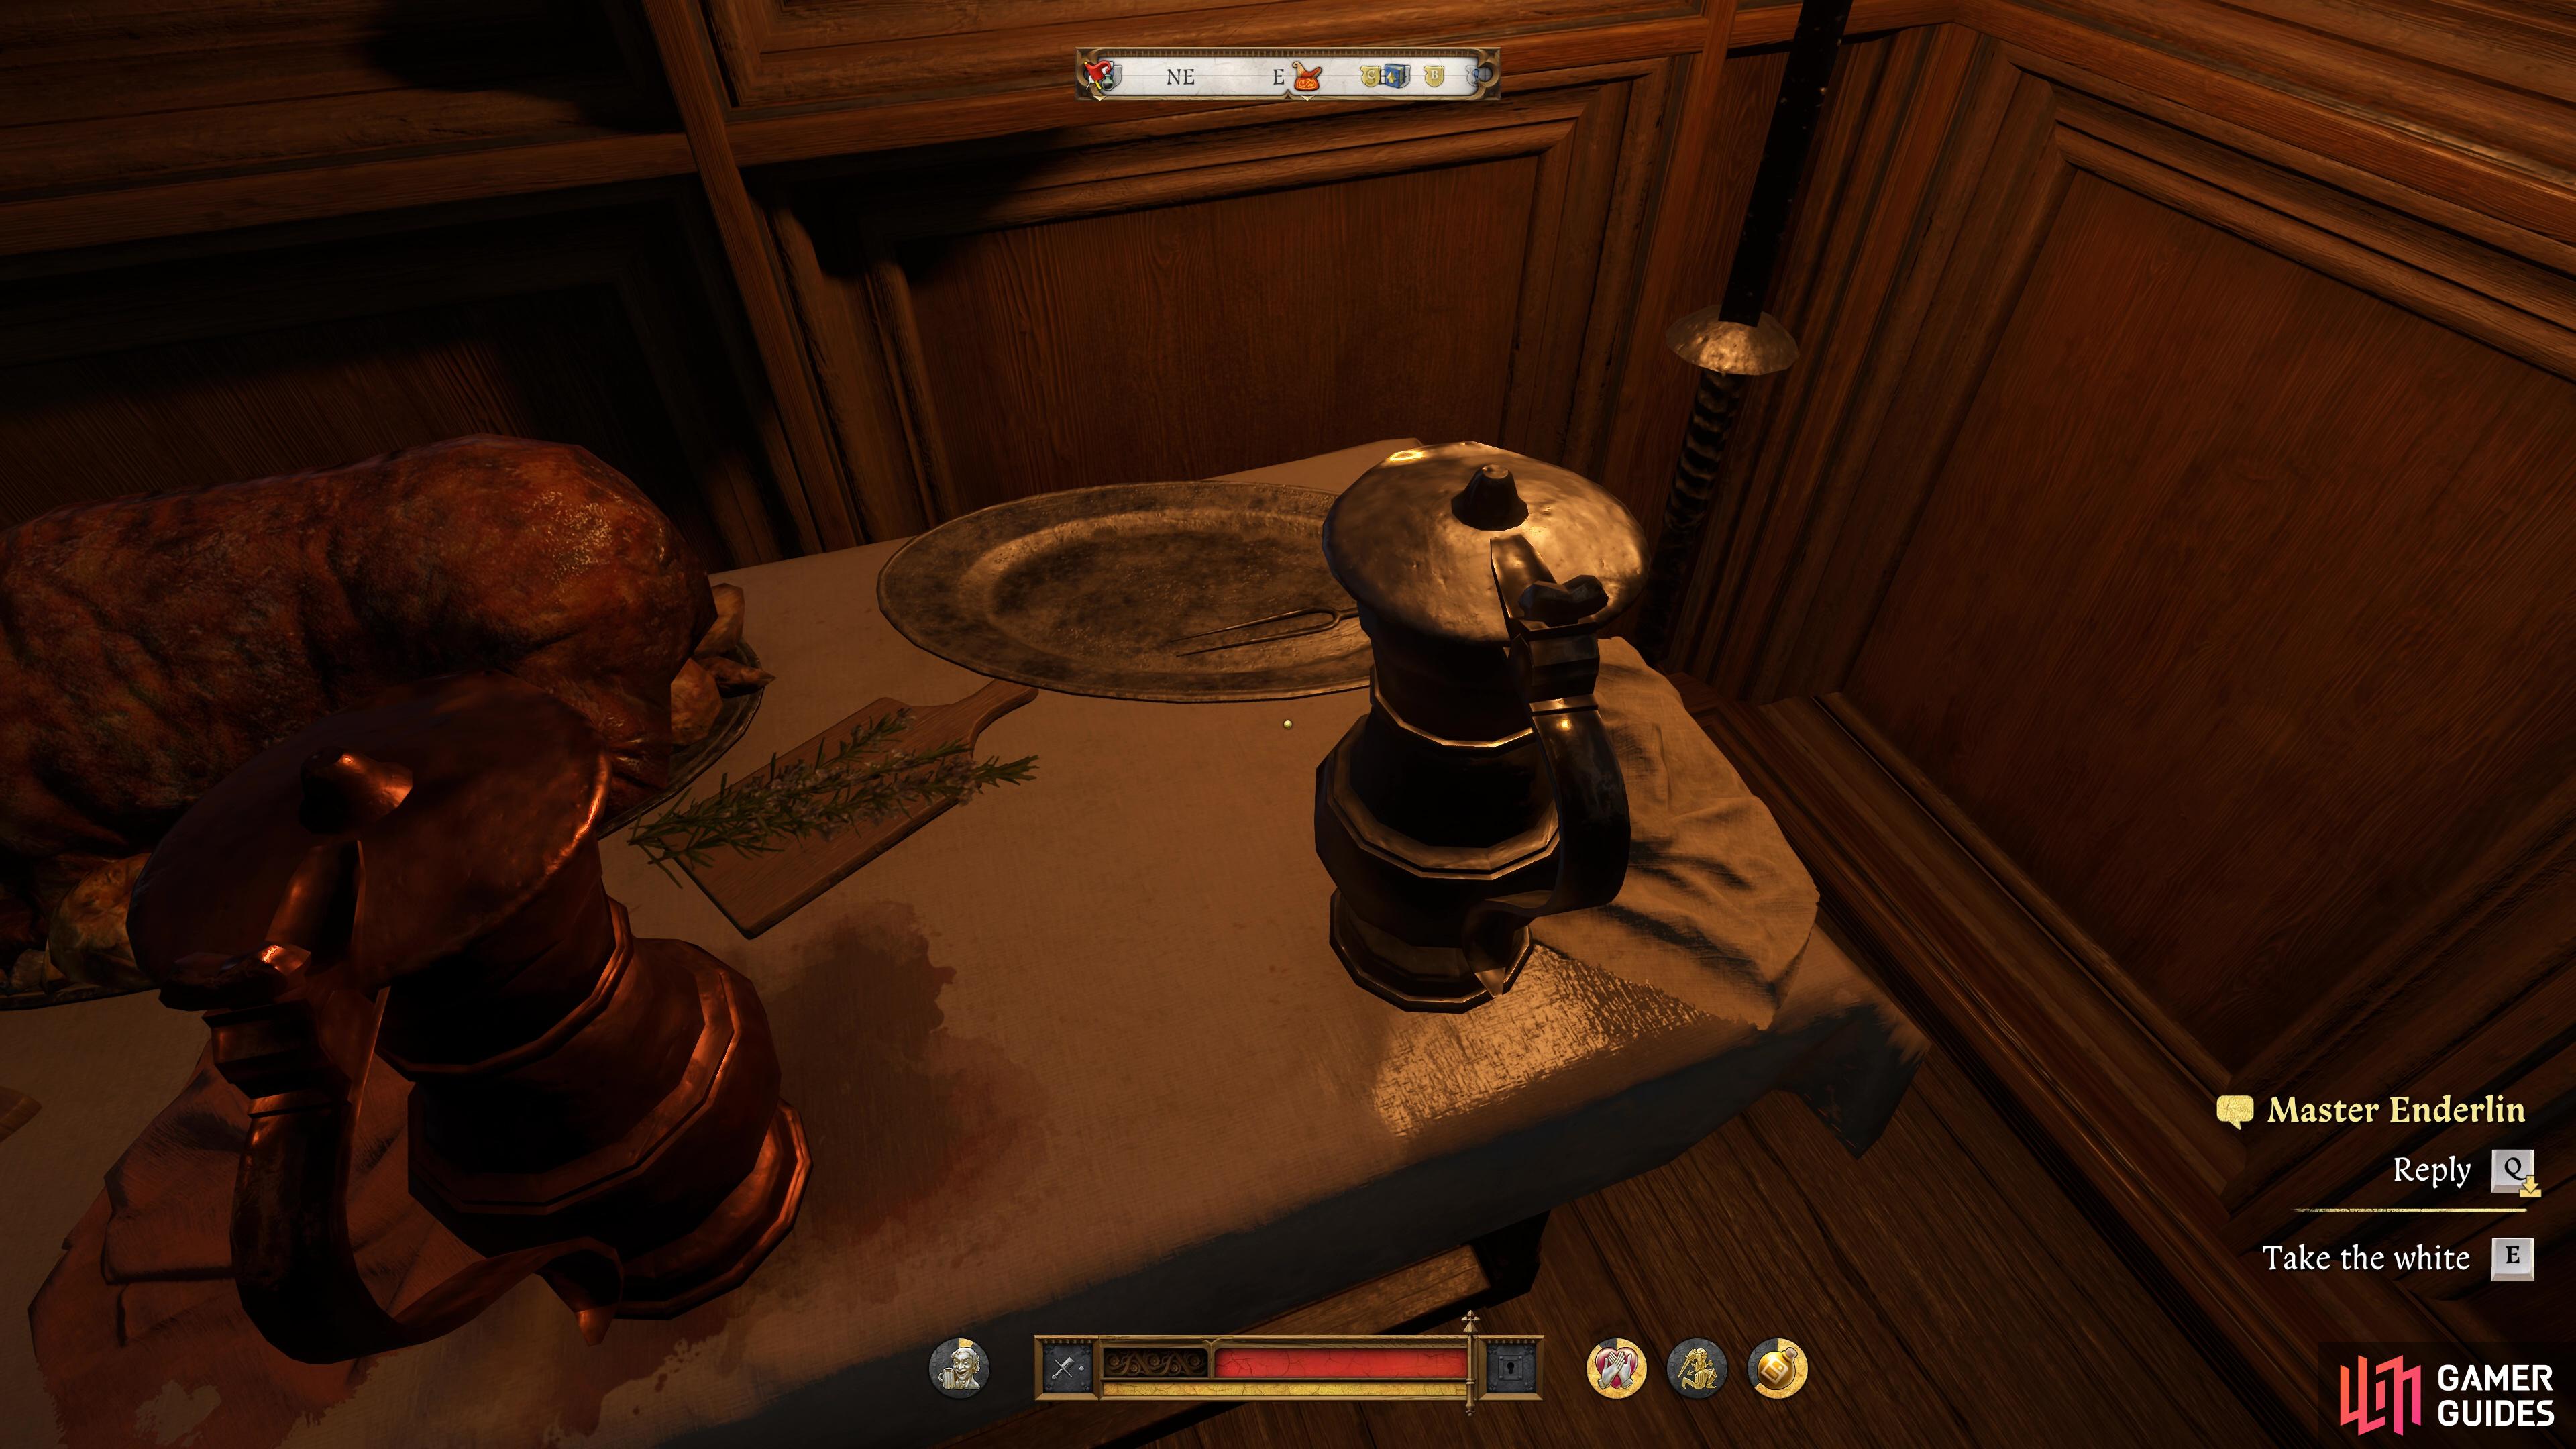
The wine can be found on the table behind where you start, every time you pour some, remember to come back and put the pitcher back down on the table.
-
When you look at the wine, it will say “Take the Red” or “Take the White”. Remember these rules when it comes to requests, Tokaji
 Wine = White Wine and Monastic or Monastery Wine = Red. Sometimes the Councillors will ask for the type of wine directly, but others may mention the names above, so it’s important to keep this in mind.
 -
When you’re called, hold the button in to look at the person and that way you can be sure you’re pouring for the right person.
-
If you get a request from Adam of Zarzitz, be sure to say “I’m forbidden.”.
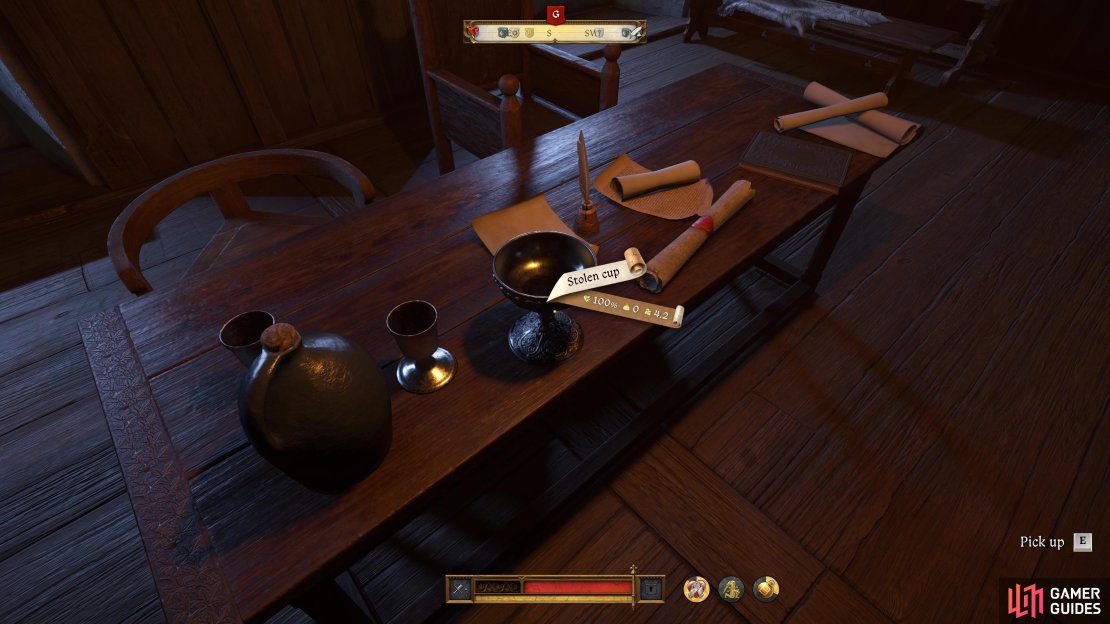
During this session, you’ll also get two requests that are unlike the others. The first will have Bailiff Andreas Plumel ask you to find a stolen silver goblet in his office and bring it to him. Go back to where the table with the wine is and climb the small stairs to the right of it to reach his office, inside you’ll find the ![]() Stolen cup, pick it up and return it to the Bailiff to complete this task.
Stolen cup, pick it up and return it to the Bailiff to complete this task.


(1 of 5) The Wine can be found on the table behind where you first start this scene.
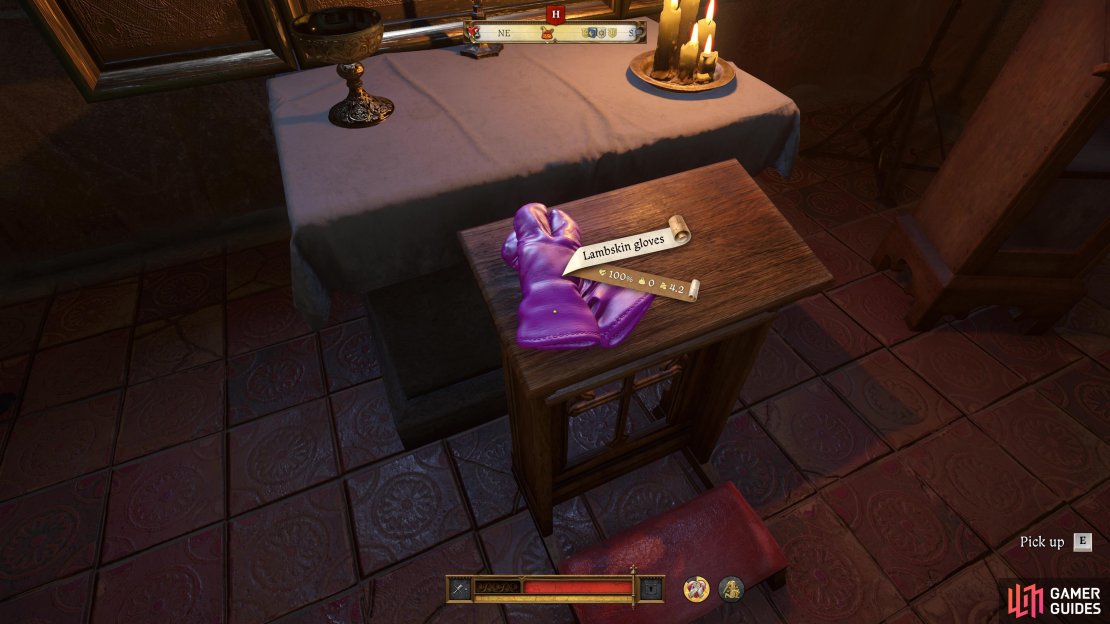
Some time after this, Franz Rosenthal will call you over to assist him with retrieving his gloves that he left in the chapel. This is the other room (not up the stairs) near where the wine is sat, go inside and pick them up, and then return to him. His other request doesn’t have no bearing on anything, so feel to answer however you wish and then you can resume your duties. Eventually, a scene will take over as King Sigismund finally makes his entrance, at which point, your view point will change to that of Godwin.
Meet Brabant and Get to Know the Rabbi and his Escort
Now in control of Godwin at Raborsch, after a quick conversation with Hans, you’ll need to go and introduce yourself to two of the guests. The first, Brabant, can be found in the room behind where you start, go on over and exhaust all of the dialogue choices to satisfy the objective.
The ![]() Rabbi and his escort, on the other hand, can be found in the main room where you started in, go over to the window and have a chat to learn a bit more about the Rabbi and Samuel, who you would have met during Into the Underworld who seems to have a connection with
Rabbi and his escort, on the other hand, can be found in the main room where you started in, go over to the window and have a chat to learn a bit more about the Rabbi and Samuel, who you would have met during Into the Underworld who seems to have a connection with ![]() Skalitz. Once again, exhausting all of the dialogue choices here will do and then a scene will trigger.
Skalitz. Once again, exhausting all of the dialogue choices here will do and then a scene will trigger.
Looks like Jobst’s plan isn’t going according to plan and following the scene, you’ll find yourself talking to Liechtenstein. Just like the others, exhaust all of the dialogue choices and the pair of you will hatch a plan to garner more support for Jobst’s plan, but with a twist.
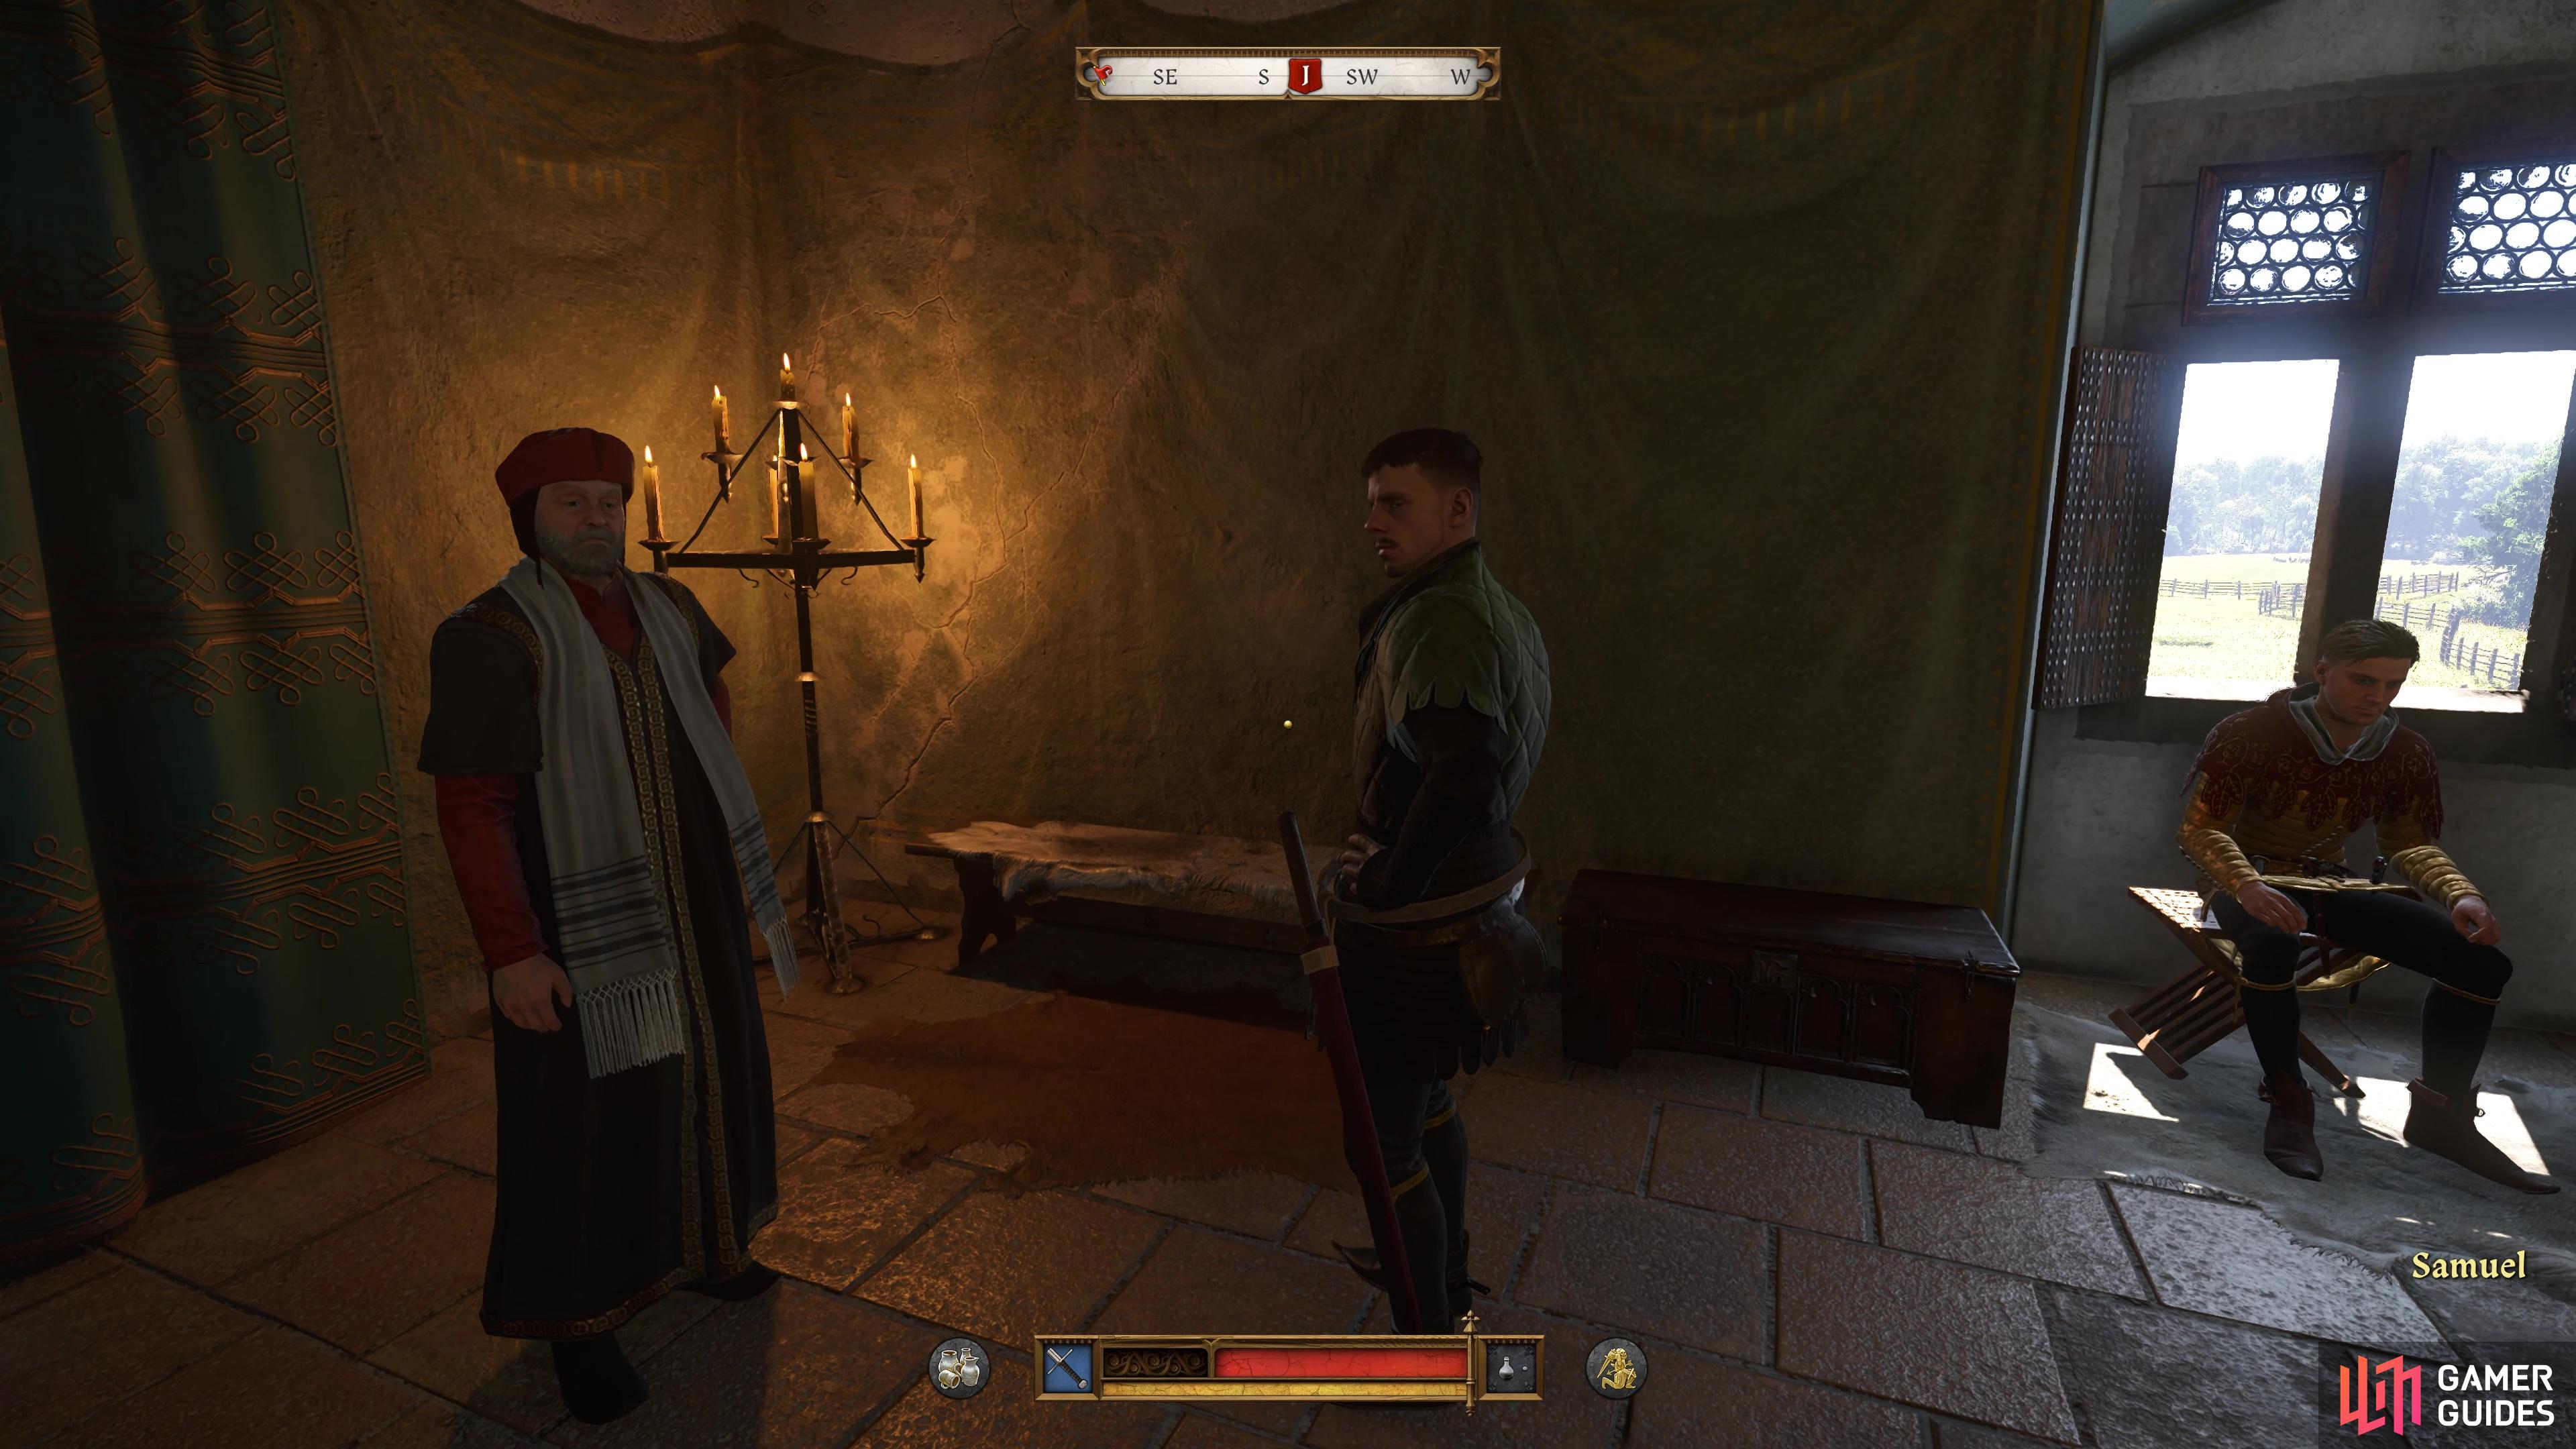

(1 of 2) Get to know the Rabbi and Brabant.
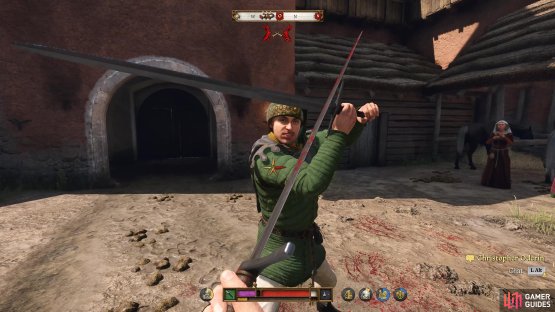
Get to know the Rabbi and Brabant. (left), Then you’ll need to duel Christopher to win Adler’s support. (right)
Get Support from Haman Alder
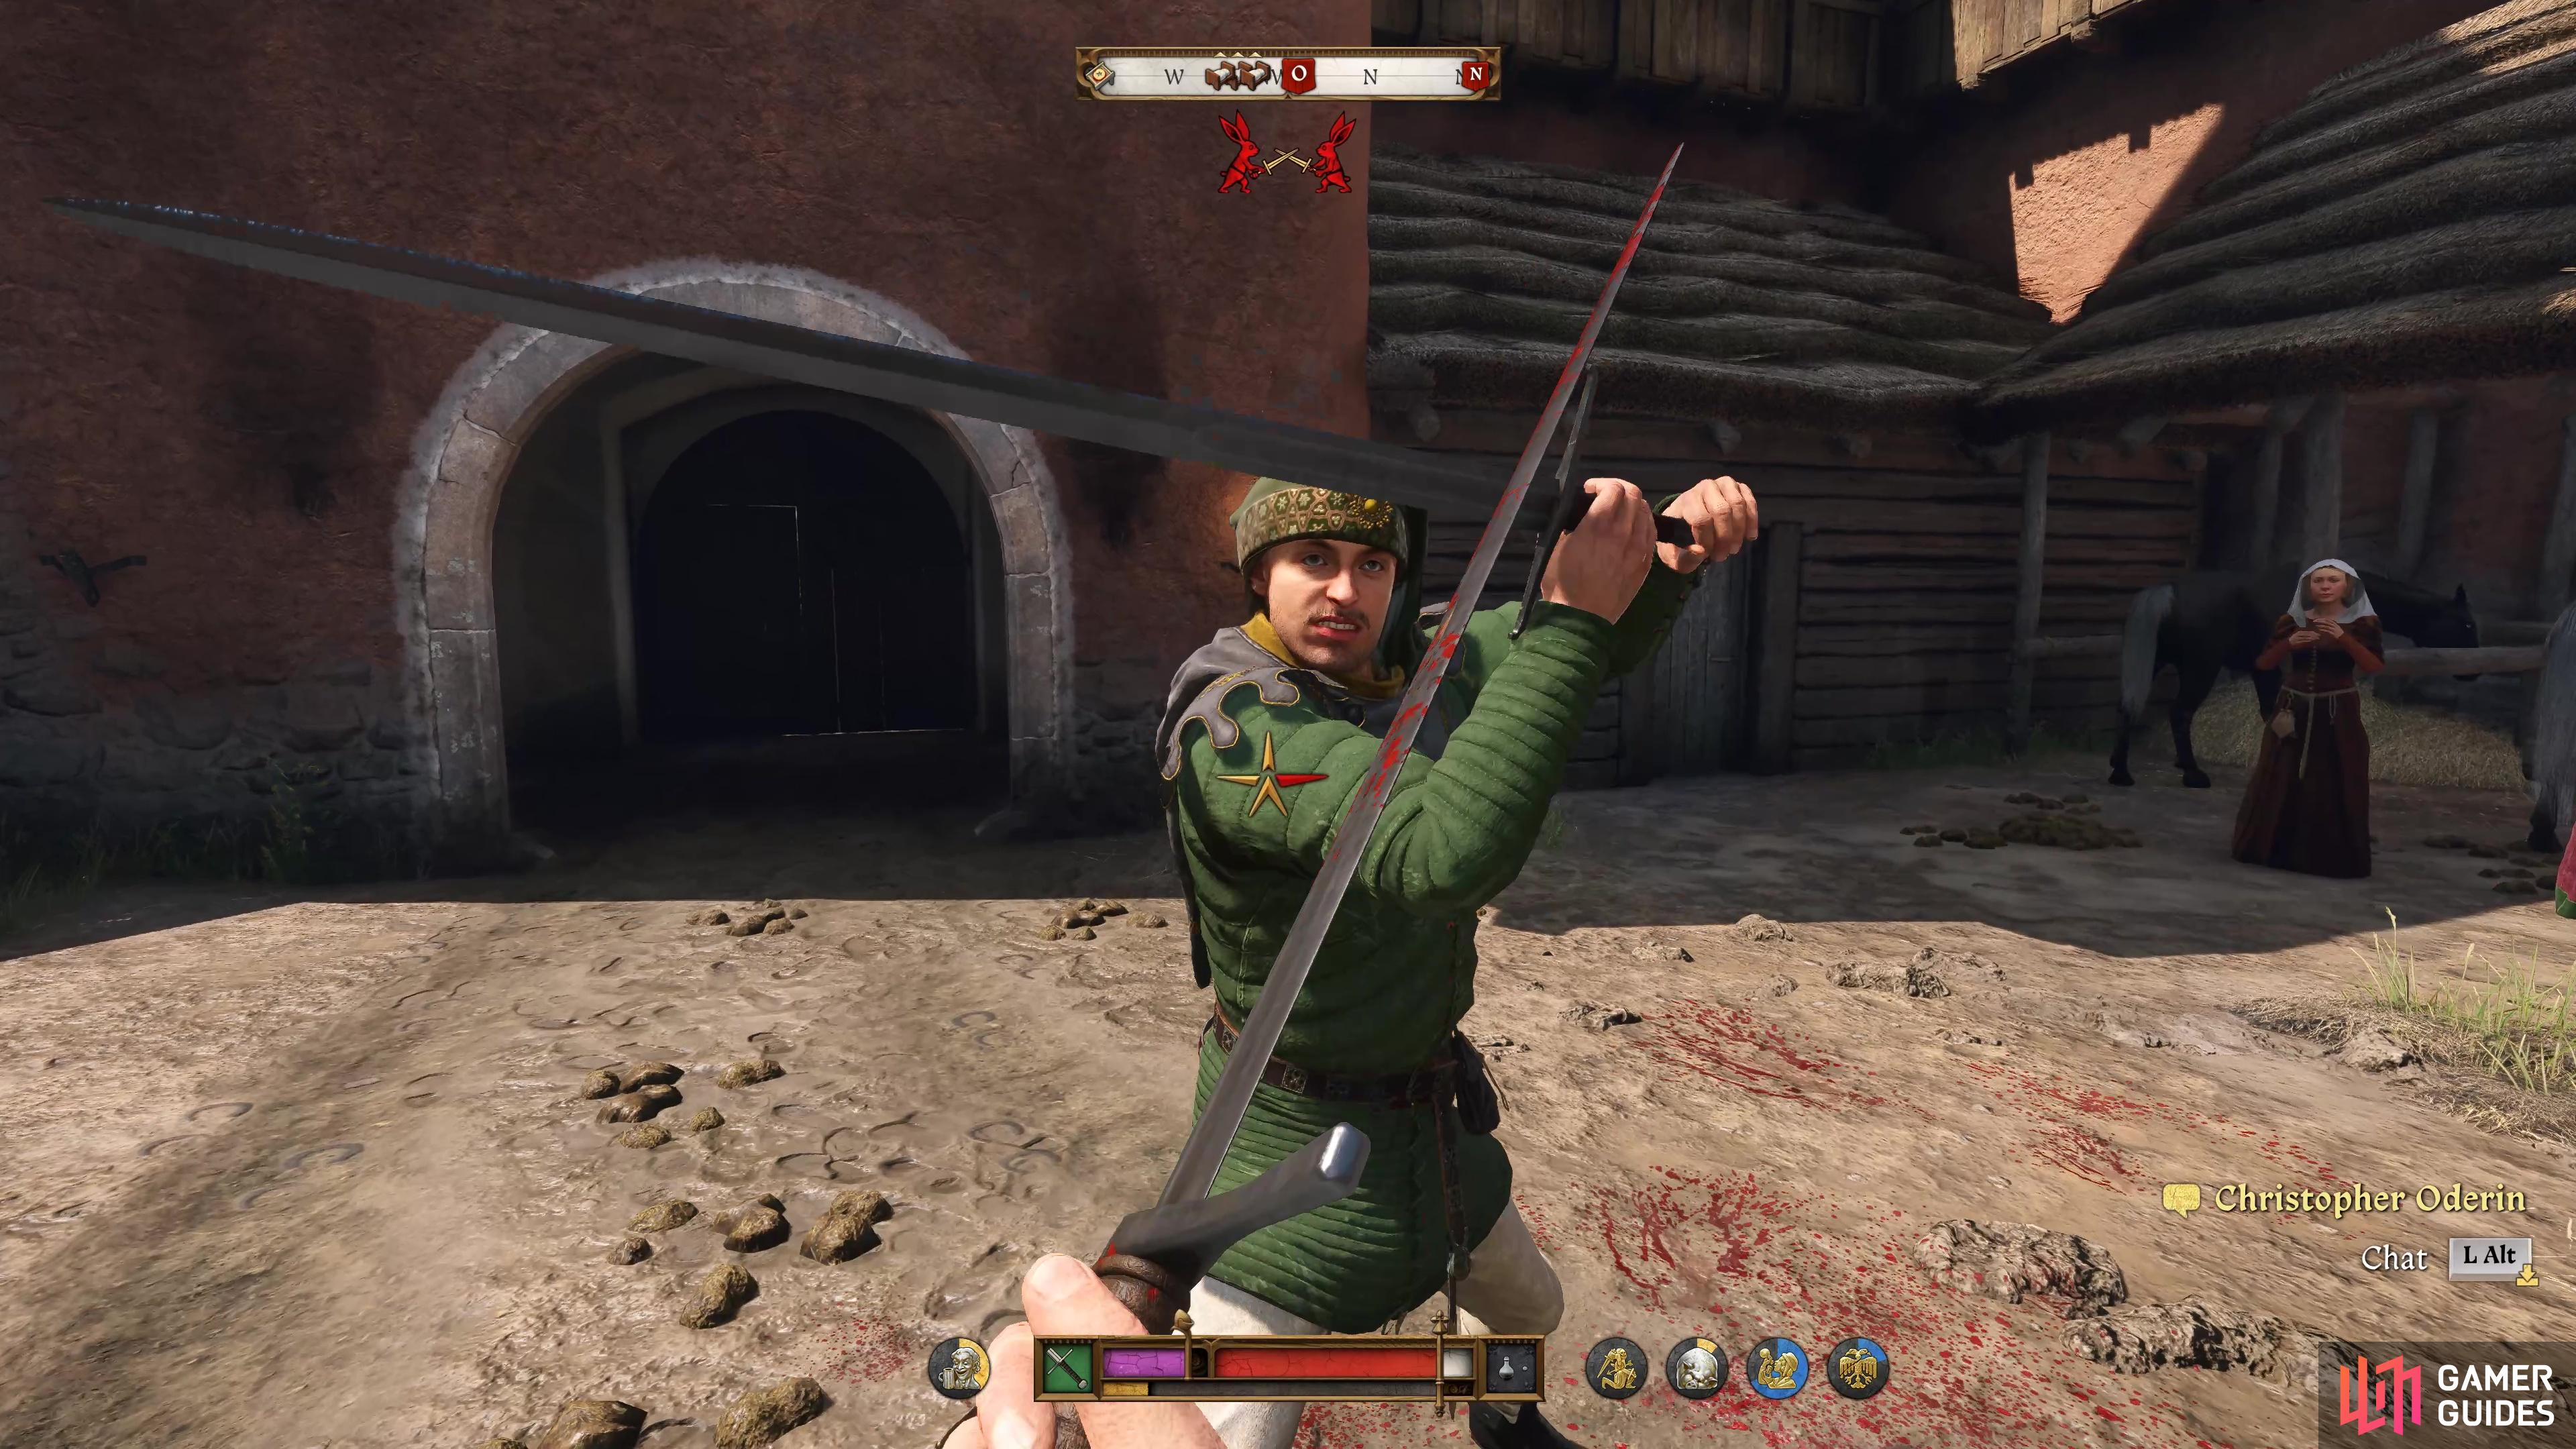
The first person you need to get to play ball is Haman Alder, and you’ll find him by heading through the door to your left and looking to the left in the next room to find him speaking with Godwin’s father. Regardless of how you might try, Christopher, Godwin’s brother, will intervene and request a duel, one that you’ll have to fight regardless of how you answer him.
The outcome of the duel doesn’t matter too much, but you can win this with little difficulty if you focus on either parrying his blows and countering with your own or, if you’re feeling confident in your abilities, use ![]() Master Strikes against him. If you’re focusing on single strikes, 12 of them will end the duel in your favor and as a result, Christopher agrees to get Alder on board.
Master Strikes against him. If you’re focusing on single strikes, 12 of them will end the duel in your favor and as a result, Christopher agrees to get Alder on board.
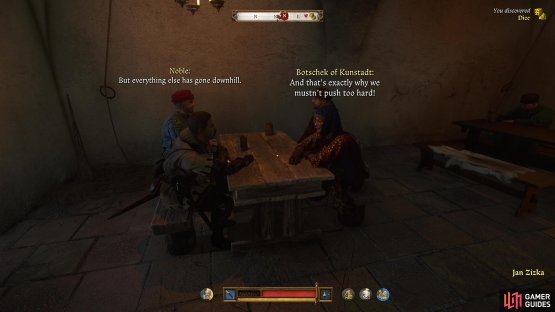
Get Support From Botschek of Kunstadt
Next on your list is Botschek of Kunstadt, and you’ll find him by taking the southeast stairs up out of the courtyard and into the first door, then sitting on a bench in the room to your left. Botschek will not be so forthcoming to begin with, so ask him you can convince him and you’ll learn that he doesn’t want to be left alone, should things go south. Eventually, you’ll settle on arranging a marriage between his niece and Hans Capon (regardless of your choice, it will lead to this outcome), if you can do that, he’ll be on board.


(1 of 2) Find Botschek and pledge Hans to his niece.
Find Botschek and pledge Hans to his niece. (left), Seal the deal by speaking to Hanush just outside in the courtyard. (right)
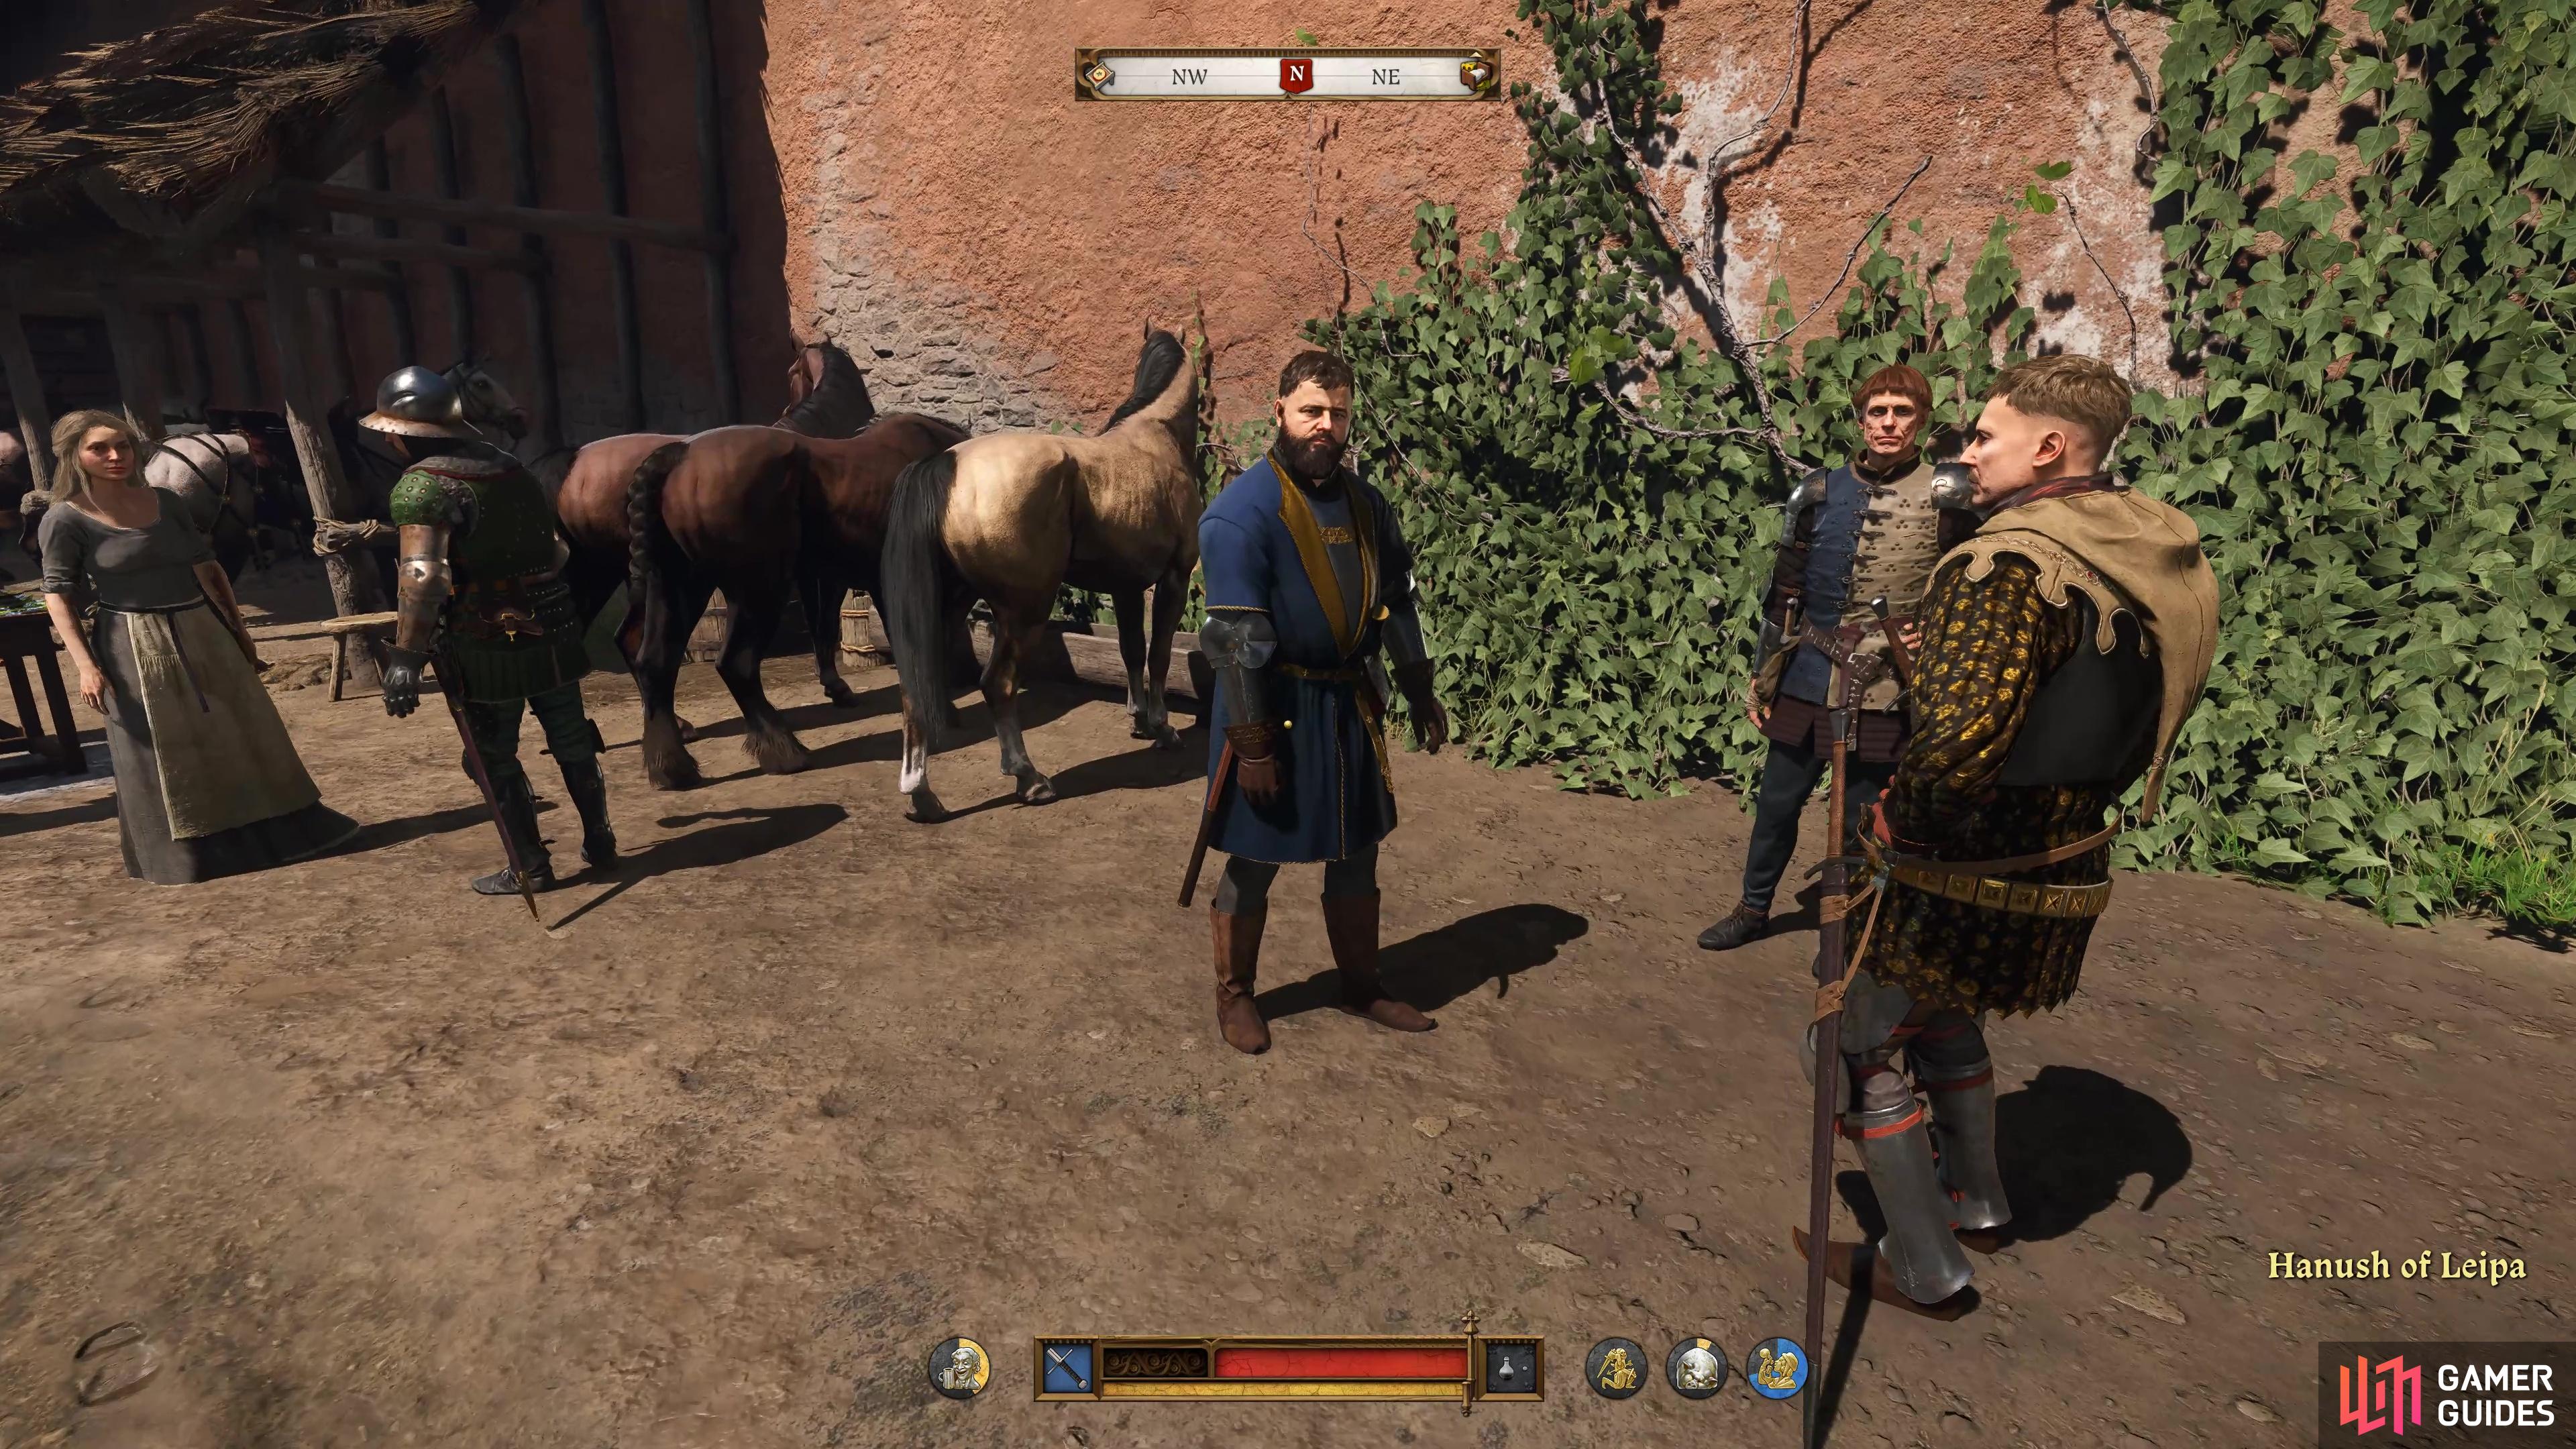
Leave the room, go back down the stairs, and you’ll find Hanush of Leipa standing nearby with Radzig and ![]() Dry Devil. Speak with him and fill him in on the plan to marry off Hans and he’ll be in awe of your matchmaking skills. Return to Botschek to deliver the news and his support will be yours.
Dry Devil. Speak with him and fill him in on the plan to marry off Hans and he’ll be in awe of your matchmaking skills. Return to Botschek to deliver the news and his support will be yours.
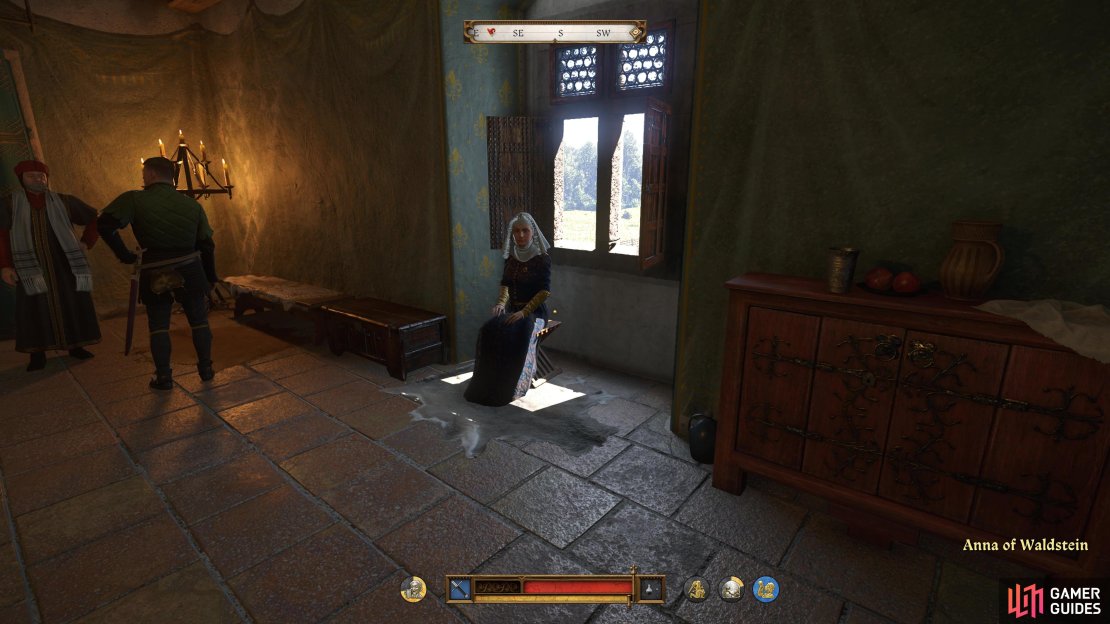
Get Support From Anna of Waldstein
The final person you’ll need to get support from can be the trickiest to find, as there’s no objective marker indicating where she is. Fortunately, you can find her by heading up the stairs to the top floor (the floor above Botschek) and she’ll be sat near the window. Once again, regardless of your choices here, you’ll be led down the path of swapping documents in Alder’s Saddlebags.
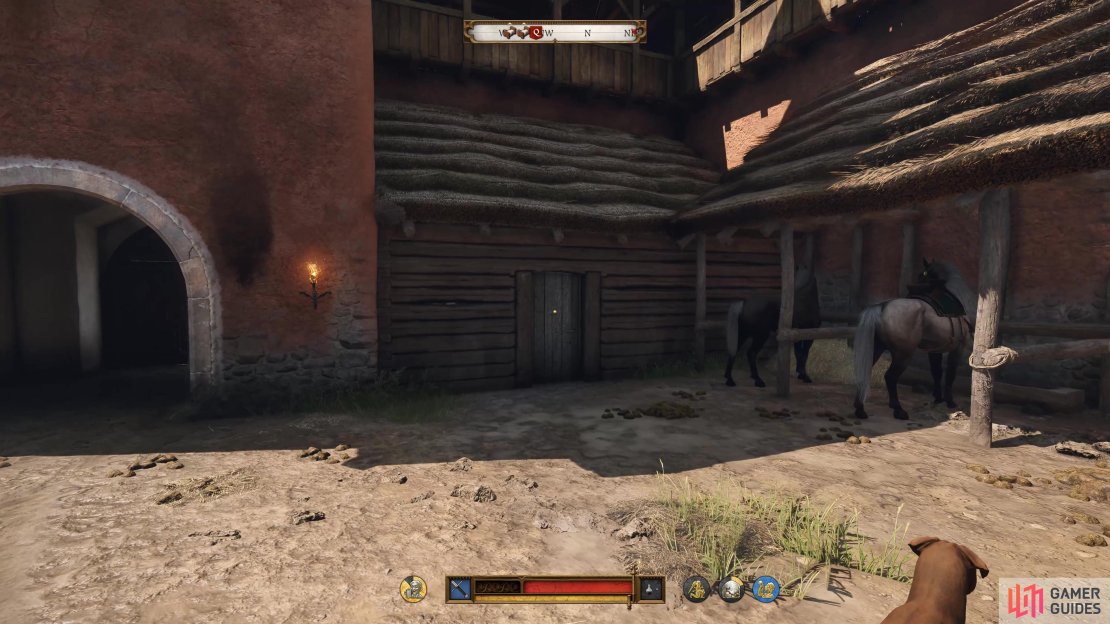
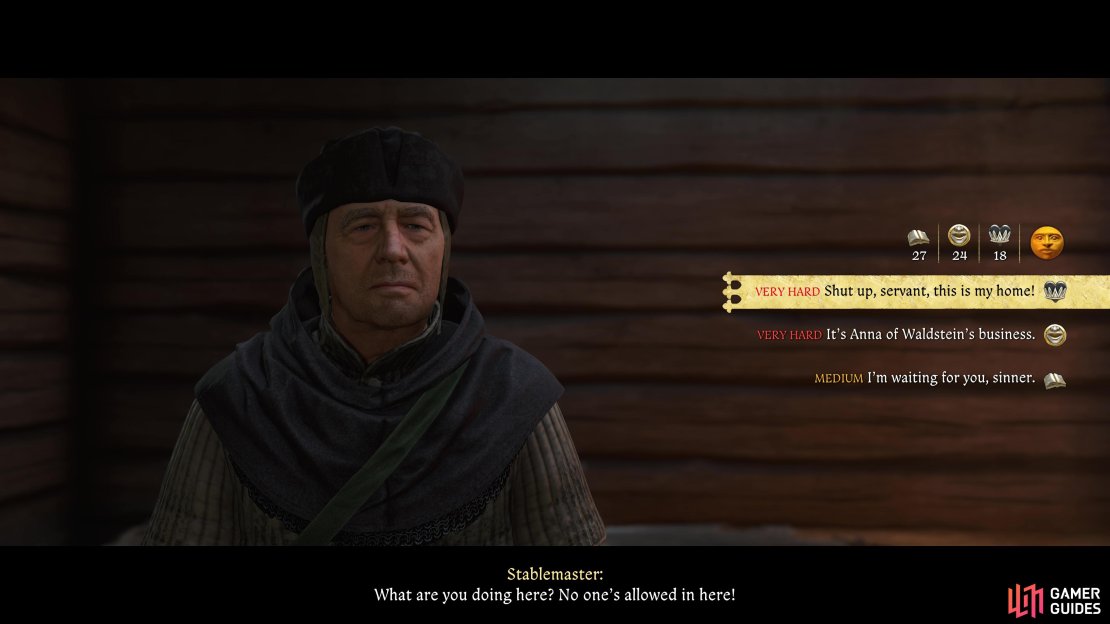
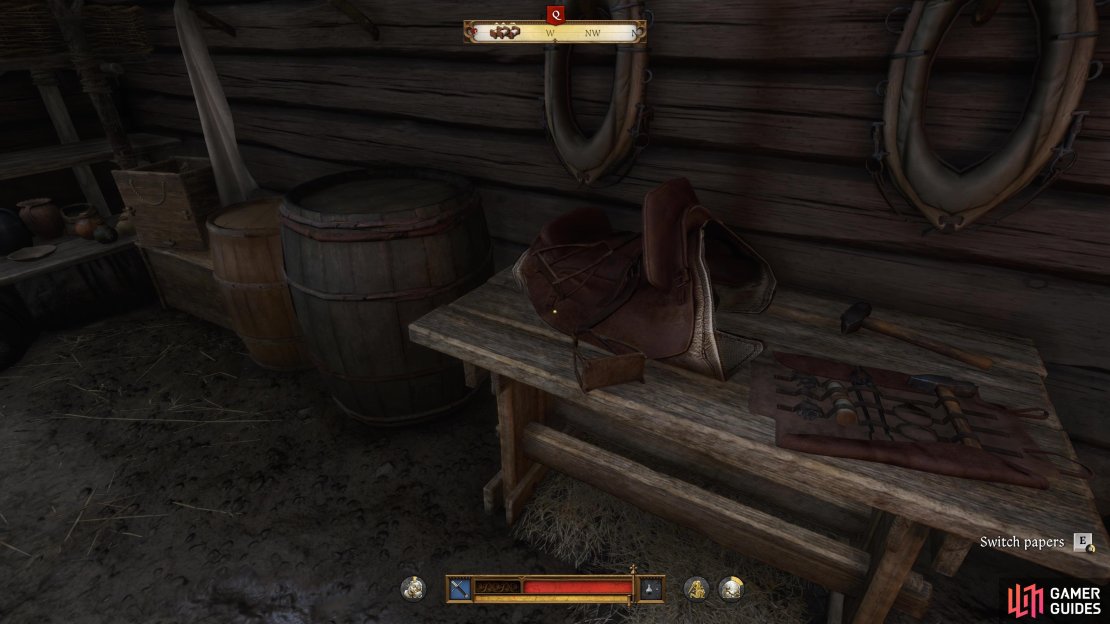
Leave the building, go back down to the courtyard and enter the door to the north, near where the horses are. Odds are, you may get stopped by the Stablemaster, and you’ll be presented with three choices. The easiest of these is the Scholarship one (Medium difficulty) “I’m waiting for you, sinner.”, select this to have him leave you alone, then look at the Saddlebags on the table and switch out the documents. Return to Anna to let her know that you’ve done the deed and she’ll pledge her support.
Once all three tasks are fulfilled and support gained, return to Liechtenstein in the same room as Anna and deliver the news, this will trigger a scene in which you see the outcome of all your scheming before play switches back to Henry once more.

(1 of 4) Anna can be found on the top floor, near the window.
Serve King Sigismund of Luxembourg
Following another lengthy scene, you’ll be in control again in a room with just Sigismund and Markvart von Aulitz. You’ll need to resume your waiter duties here, so remember the difference between the two types of wine (see the notes at the top of this page) and ensure you pour the correct wine, failure here will result in a Game Over. Eventually, the King will ask to toast with you, at which point you should reply with “For Victory.”, doing so will bring the quest to an end, and ![]() The Feast will begin immediately.
The Feast will begin immediately.
No Comments