You will find plenty of different side quests in The Legend of Zelda: Tears of the Kingdom, all across the various regions of the game. Some side quests will come after completing others first, like the Wanted: Stone Talus one. In fact, you can get this side quest alongside the Wanted: Molduga and Wanted: Hinox. You will find details on where to find this particular Stone Talus, as well as tips on how to bring it down.
Wanted: Stone Talus is one of three quests you can get from Gralens, at the same time.
Where to Start Wanted: Stone Talus in Tears of the Kingdom
There are a few things you need to do, before you’ll have access to this side quest. First, you need to complete the ![]() Crisis at Hyrule Castle main quest, which is gotten from
Crisis at Hyrule Castle main quest, which is gotten from ![]() Lookout Landing (your recommended first stop after getting to the Surface). After that, find and complete the
Lookout Landing (your recommended first stop after getting to the Surface). After that, find and complete the ![]() Bring Peace to Hyrule Field side adventure, then return to Lookout Landing. Upon going back there, you can find
Bring Peace to Hyrule Field side adventure, then return to Lookout Landing. Upon going back there, you can find ![]() Scorpis in the middle of the area and speak to him, who will open the
Scorpis in the middle of the area and speak to him, who will open the ![]() Emergency Shelter.
Emergency Shelter.
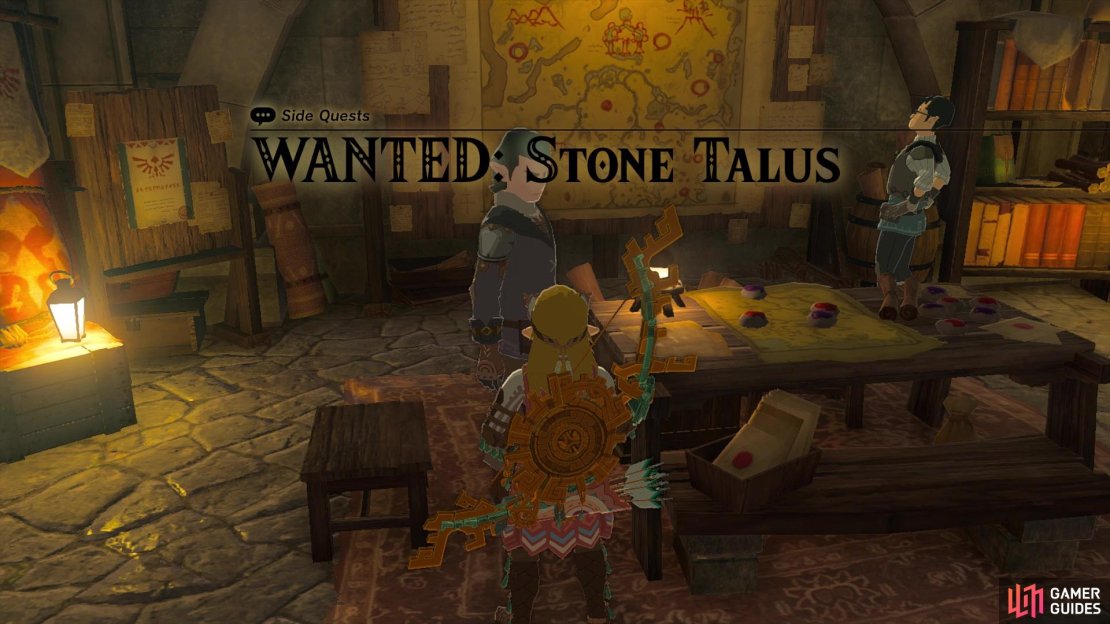
It is here that you will find ![]() Gralens, the head of the monster-controlling crew. Speak with him to learn about other groups out there, going after monster groups (these point you to the Bring Peace quests), as well as the big monsters options. The latter will take you to three specific monsters, which trigger the Wanted quests. For this particular page, choose the
Gralens, the head of the monster-controlling crew. Speak with him to learn about other groups out there, going after monster groups (these point you to the Bring Peace quests), as well as the big monsters options. The latter will take you to three specific monsters, which trigger the Wanted quests. For this particular page, choose the ![]() Stone Talus option.
Stone Talus option.
Where to Find the Stone Talus for Wanted: Stone Talus in Zelda TOTK
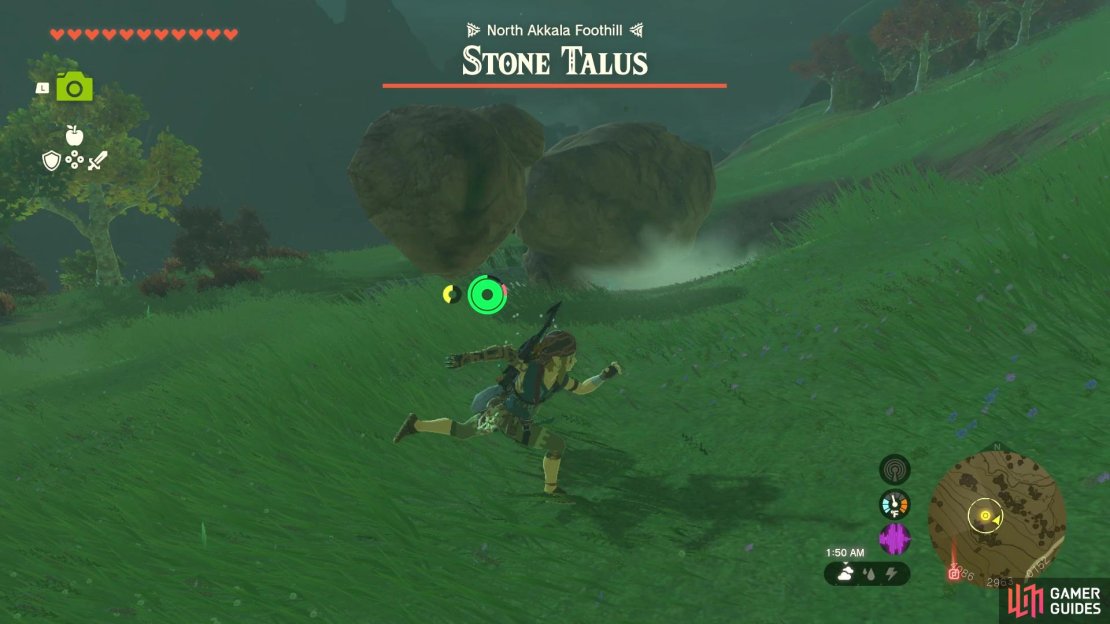
The rocks sitting in the small pool is actually the Stone Talus miniboss.
This particular Stone Talus is found in the Akkala region, which is in the northeastern portion of the map. Specifically, it’s northwest of the East Akkala Stable, so if you have the nearby Jochi-iu Shrine, then that is where you want to fast travel. From the shrine, head west and a little north and keep heading in that direction, until you eventually reach a small pool of water. If you look in it, you should see some rocks and that will be your Stone Talus.
How to Defeat the Stone Talus in Tears of the Kingdom
The Stone Talus miniboss is usually inactive when you first encounter it, so you’ll need to either get close enough (like, standing on one of the rocks) or just attempt to attack it, to get the thing to come alive. Normally, the Stone Talus is impervious to attacks on its body, but if you look closely, you should see an ore node on its back. That is its weak point and any attacks on the node will cause damage to the creature.
For this particular case, the ore node will be on the back of the Talus, not on the top. This makes it a little more difficult, as striking the node with your melee weapon is tough. However, you are still able to shoot the node with arrows, so that might be your best option here. This might stun it for a short period, where you can go behind the boss, lock on and attempt to melee strike it. However, this isn’t guaranteed, although a spear might help quite a bit in this situation.
(1 of 3) Be careful when the Talus throws its hand at you.
As for its attacks, it has a sweeping one with its arms and it can shoot its “hands” at you. To avoid the latter attack, run to the opposite side of the hand that is firing. For example, if it’s shooting its left hand (from your perspective), then you you run to the left. After it shoots both, or just one, hands, the Stone Talus will “fall” on the ground to regrow them, which is another good opportunity to try and attack the ore node.
Keep attacking the node until the boss’ health is completely gone, after which, you can return to Gralens to finish the quest. He will give you a ![]() Silver Rupee (100) for completing this quest and if you’ve done the other two Wanted side quests, then you will receive an additional
Silver Rupee (100) for completing this quest and if you’ve done the other two Wanted side quests, then you will receive an additional ![]() Gold Rupee (300).
Gold Rupee (300).


No Comments