This page offers a guide on how to complete ![]() Orochium Shrine, which can be found in the Hebra region in The Legend of Zelda: Tears of the Kingdom.
Orochium Shrine, which can be found in the Hebra region in The Legend of Zelda: Tears of the Kingdom.
Where to Find Orochium Shrine
Orochium Shrine is found in the Tabantha Tundra region (Map Marker) near ![]() Snowfield Stable. To get to it, you can either fly from Pikida Stonegrove Skyview Tower, or you can follow the road all the way from either Rito Village or
Snowfield Stable. To get to it, you can either fly from Pikida Stonegrove Skyview Tower, or you can follow the road all the way from either Rito Village or ![]() Central Hyrule until you reach the shrine. It is found quite deep in the snowy area so you may need some Cold Resistance food and/or armor to help protect you from the cold!
Central Hyrule until you reach the shrine. It is found quite deep in the snowy area so you may need some Cold Resistance food and/or armor to help protect you from the cold!
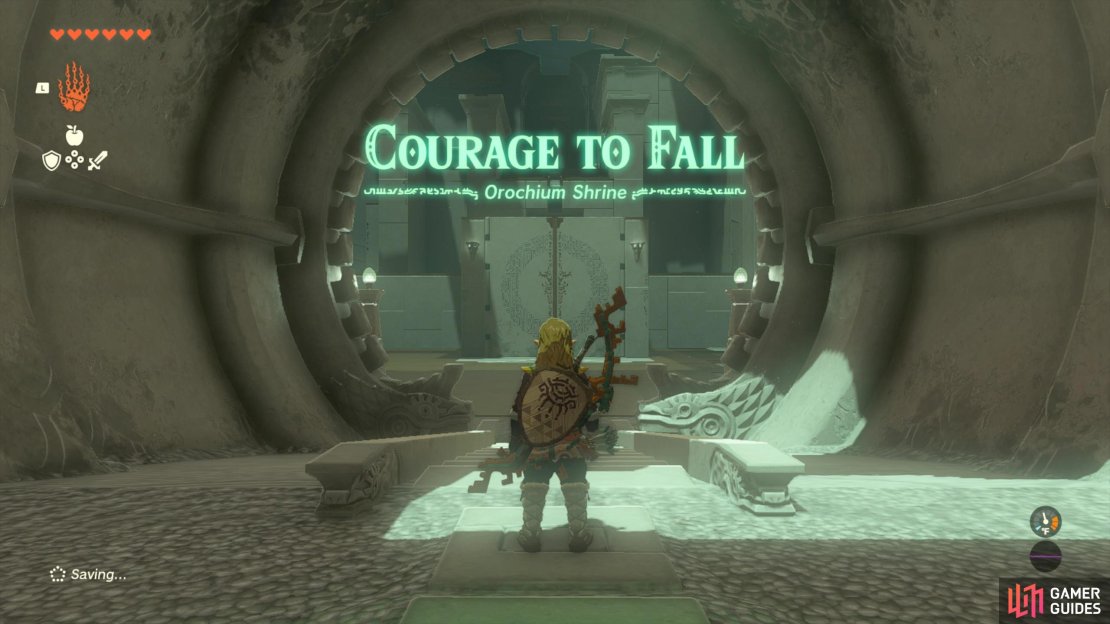
Orochium Shrine: Courage to Fall.
Orochium Shrine: Laser Puzzle Solutions
Now this shrine is relatively straight forward except for one kinda troll-y puzzle…and the clue is in the name of the shrine, “Courage to Fall”. Firstly, when you open the gates up ahead using ultrahand you’ll find that there are lasers blocking your path. Instead, you’ll want to head round to the left side and defeat the Construct enemy. Then, use ![]() Ascend to head up to the higher ledge. From here you can head up the ladders and then crouch by pressing in the left analog stick
Ascend to head up to the higher ledge. From here you can head up the ladders and then crouch by pressing in the left analog stick 
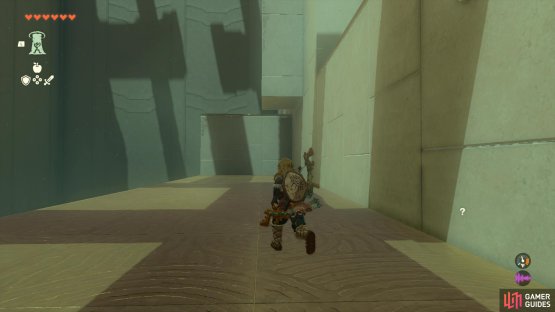
(1 of 2) Ascend up the block up ahead
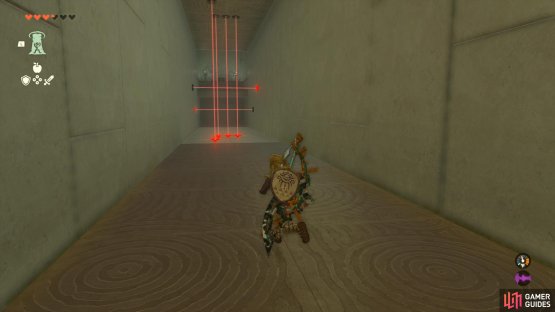
Ascend up the block up ahead (left), then crouch through the small entry and shoot at the enemy below before dropping down. (right)
Continue around the corner and you’ll find another Construct enemy (he has a shield so will block arrows) guarding a treasure chest containing x5 ![]() Arrows. Once you’ve looted the chest, head back around and open up the doors in front using ultrahand.
Arrows. Once you’ve looted the chest, head back around and open up the doors in front using ultrahand.
Orochium Shrine: Where to Find the Key
Now this is where the shrine trolls you - rather than trying to dodge the lasers ahead you’re going to want to walk into them. This will drop the floor beneath you and you’ll enter a secret area with some more lasers. You will need to dodge these lasers and at the end of this underground room you’ll find a chest containing the key you need for a locked cage on the ground floor. Use Ascend to pop back up and then use the key to open up the small locked room with the ball. There are a few enemies round here that you’ll need to deal with first!
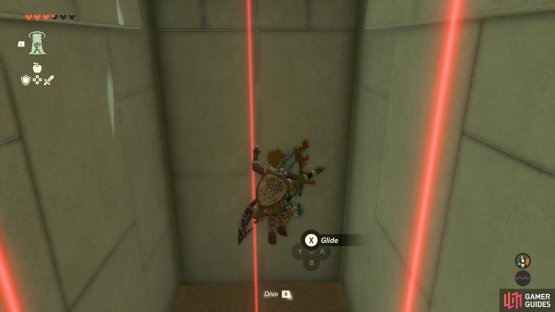
(1 of 2) Walk into the lasers to drop down below
Walk into the lasers to drop down below (left), and find yourself in a room with more lasers and a chest containing a key. (right)
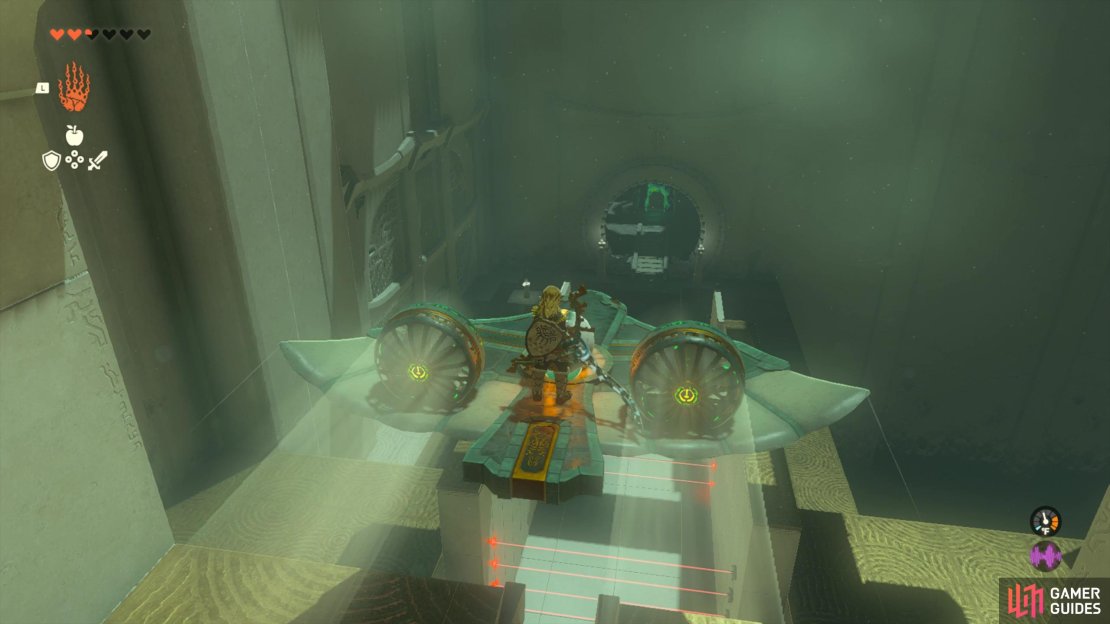
Next use ultrahand to pick up the ball and take it round the back and place it on one of the platforms that moves up and down. Once up there, proceed up the steps and drop the ball in the allocated hole in the ground - this will open up a gate to the right containing a flying device. Place the flying device on the rails in front and then stick the ball onto it.
Position yourself on the wing device and hit it to get to start flying. Don’t worry too much about hitting the wall ahead, you’re gonna wanna jump off and then wait for the device to kinda start falling down - and at this point you can grab the ball and detach it, then place it in the hole in front of the gate. This will open up the gate to the end of the shrine where you can earn yourself a ![]() Light of Blessing.
Light of Blessing.
Use the wing device to get the ball down below.




No Comments