The world is much larger in The Legend of Zelda: Tears of the Kingdom, since you will not only have the surface map, but also the Sky and the Depths. In the Depths, the entire place is dark and in order to see anything, as well as reveal the map, you’ll have to activate Lightroots. Most of the Lightroots are pretty obvious and out in the open, but some of them are a little trickier to get to, as is the case for the !Cugukaram Lightroot, which is the focus of this page.
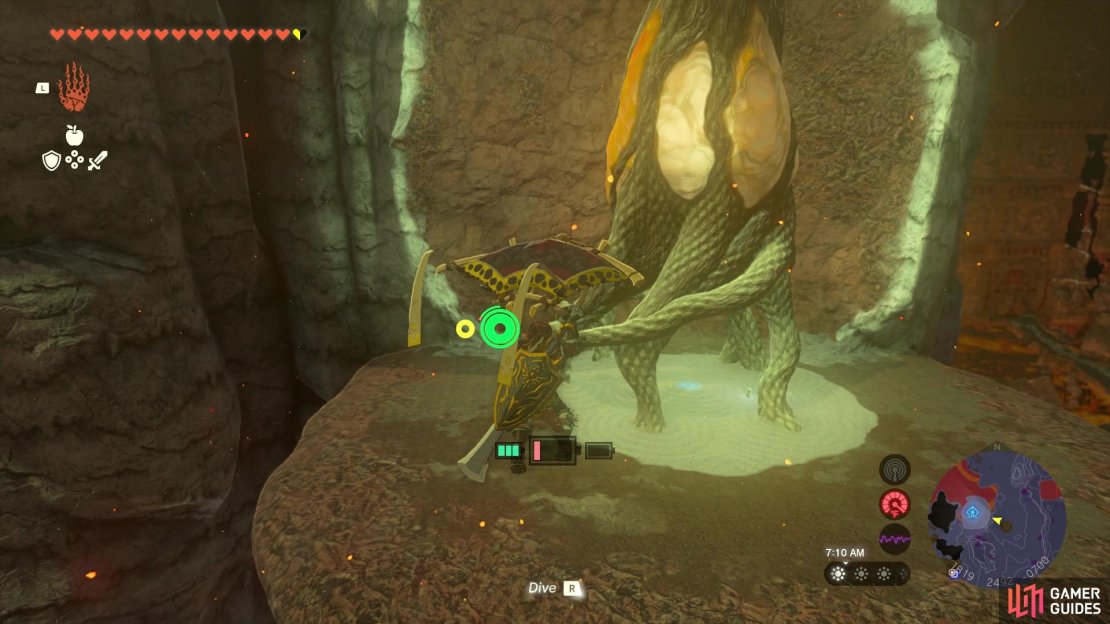
The Cugukaram Lightroot can be tricky to find, as it’s on a ledge.
Where to Find the Cugukaram Lightroot in Tears of the Kingdom
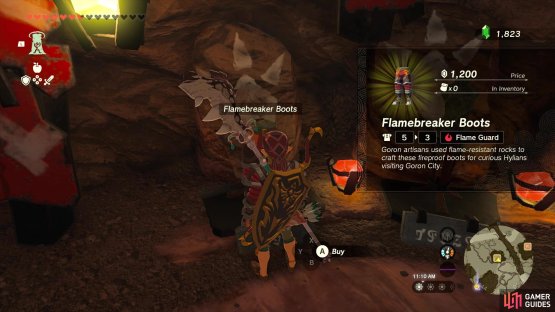
There are a few things you will want to do before you start adventuring for this Lightroot, as it’s located in the Eldin Canyon Depths. This place is very dangerous, if you go into it unprepared. That’s because it’s very hot and setting foot in the surrounding area will actually light Link on fire. Since this is the case, you will want to head to Goron City on the surface first, and locate the Armor Shop there. They will sell the Flameguard armor pieces, and you will need to purchase two of them to begin exploring the Eldin Canyon Depths.
(1 of 2) Go to Goron City and purchase the Flameguard armor there.
Go to Goron City and purchase the Flameguard armor there. (left), You’ll want the second tier of the Flame Guard buff. (right)
The two cheaper pieces will set you back 1,900 Rupees, so they’re not exactly all too cheap. An alternative is to find ![]() Fireproof Lizards and use those to create Fireproof Elixirs, but these will have timers attached to them, which isn’t all too ideal for actually exploring. You will also want to procure some Zonai devices, just in case, with the two needed being a Flame Emitter and a Balloon. Look around the various device dispensers to see which ones have these items. When you’re ready to go, head to the Woodland Stable and north of there, to the Minshi
Fireproof Lizards and use those to create Fireproof Elixirs, but these will have timers attached to them, which isn’t all too ideal for actually exploring. You will also want to procure some Zonai devices, just in case, with the two needed being a Flame Emitter and a Balloon. Look around the various device dispensers to see which ones have these items. When you’re ready to go, head to the Woodland Stable and north of there, to the Minshi ![]() Woods Chasm.
Woods Chasm.
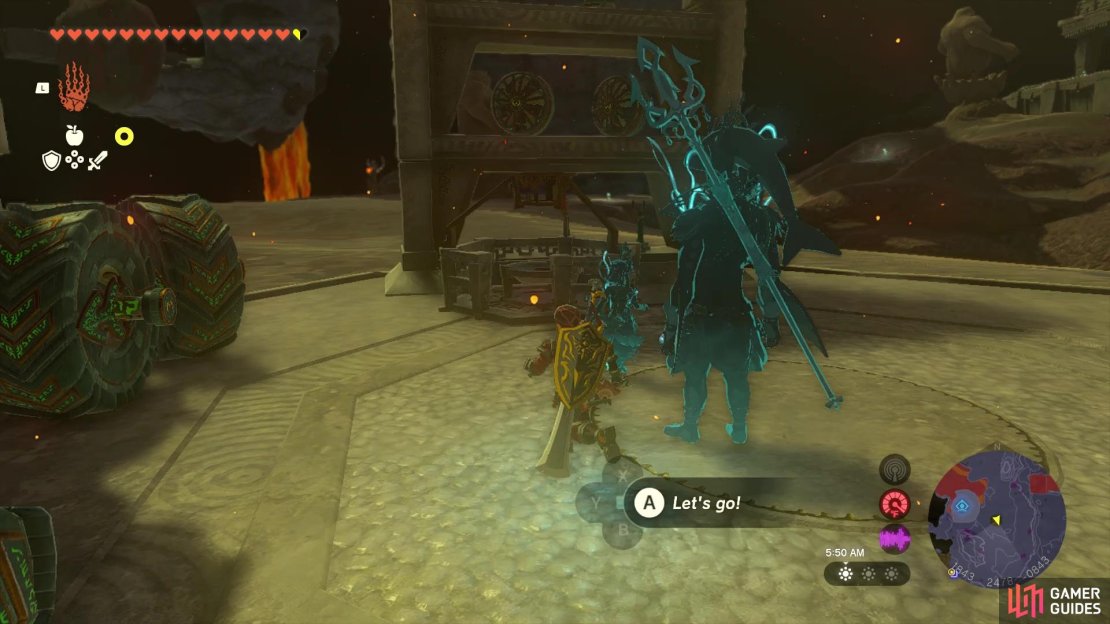
Drop down into the Depths from there, then start heading northeast. It shouldn’t take too long from the bottom of the chasm, before your temperature gauge catches fire, so make sure you have the necessary equipment on once you dive. Also, make sure that none of your currently equipped gear is wooden, as that will burn up and you’ll lose it eventually. You will basically be looking for the Abandoned Eldin Mine here, as it’s very close to the Cugukaram Lightroot. When you’ve found the mine, go a little more northeast to find the little Zonai outpost.
(1 of 4) Go to this little Zonai outpost just northeast of the Abandoned Eldin Mine.
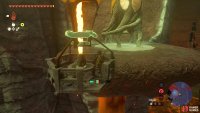
These are the various circular platforms that normally have some Zonai devices on them. Upon finding this, you will want to look up, towards the sky, to the northwest of that Zonai outpost. See where the lavafall is coming down, out of the cliffside? That is the ledge that will be housing the Lightroot, so you’ll need to construct a flying device to get to it. At the outpost, break out the Balloon and Flame Emitter, and attach them to the hot-air balloon thing there. Once you have them together, stand on the platform and activate the device to start going into the air. If you don’t have enough battery, then use some ![]() Zonai Charges to replenish it.
Zonai Charges to replenish it.
Once you’re high enough, you can jump off of your balloon and glide down to the Lightroot. Activate it to light up the surrounding area of the Depths and you’re well on your way to uncovering the map!





No Comments