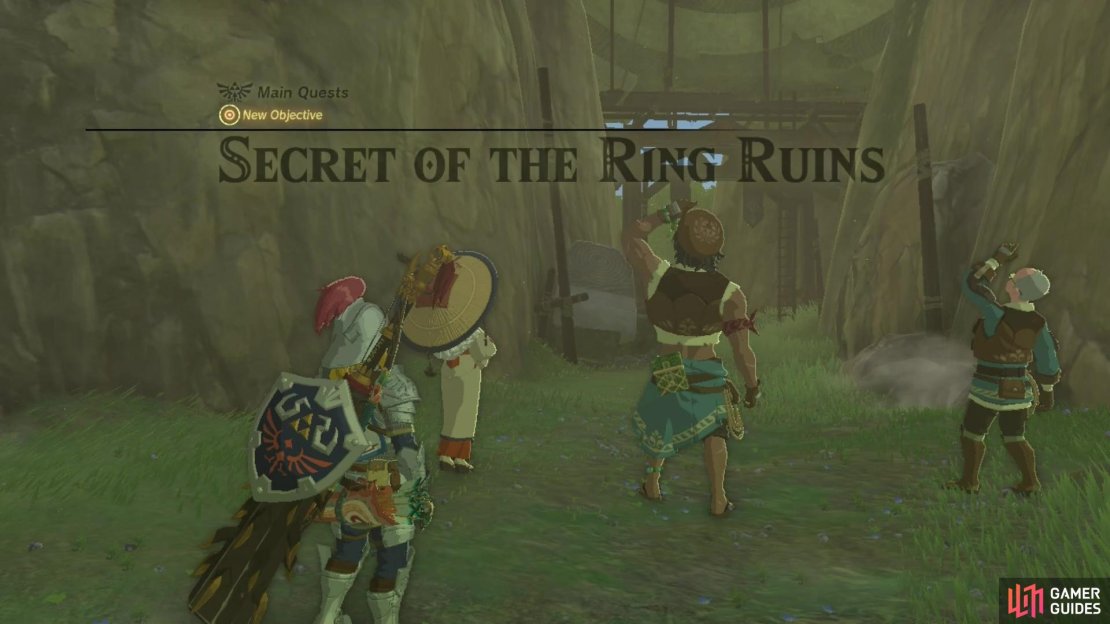
This page offers a guide on how to complete the main quest, ![]() Secret of the Ring Ruins in The Legend of Zelda: Tears of the Kingdom. This is a sub-quest that you’ll need to complete during the
Secret of the Ring Ruins in The Legend of Zelda: Tears of the Kingdom. This is a sub-quest that you’ll need to complete during the ![]() Find the Fifth Sage main quest, which involves finding and completing the Spirit Temple.
Find the Fifth Sage main quest, which involves finding and completing the Spirit Temple.
The Secret of the Ring Ruins is the beginning of the search for the .
On this page, you’ll find information on how to start Secret of the Ring Ruins, how to find the Charged Armor set and how to reach ![]() Thunderhead Isles and Dragonhead Island. These are all required in order to progress through the main quest to finally defeat Ganondorf! You can use our table of contents below to jump to the relevant section:
Thunderhead Isles and Dragonhead Island. These are all required in order to progress through the main quest to finally defeat Ganondorf! You can use our table of contents below to jump to the relevant section:
- How to Start Secret of the Ring Ruins
- How to Find the Charged Armor Set at Dracozu Lake
- How to Reach Thunderhead Isles
- How to Reach Dragonhead Island
How to Start Secret of the Ring Ruins
In order to begin this quest, you need to speak with Tauro and Chief Paya in Kakariko Village in the !West Necluda region. You can do this at any point in the game, but you will be prompted to go here after defeating the Monster Forces at Hyrule Castle once you’ve finished the ![]() Regional Phenomena quest line (completing all four temple dungeons). We highly recommend waiting until later on, when you’re prompted by the main quest storyline to head here, as the quests that follow can be quite tricky! Plus, for a later portion of this quest, you will need at least 10 hearts to open up a door barricading your way.
Regional Phenomena quest line (completing all four temple dungeons). We highly recommend waiting until later on, when you’re prompted by the main quest storyline to head here, as the quests that follow can be quite tricky! Plus, for a later portion of this quest, you will need at least 10 hearts to open up a door barricading your way.
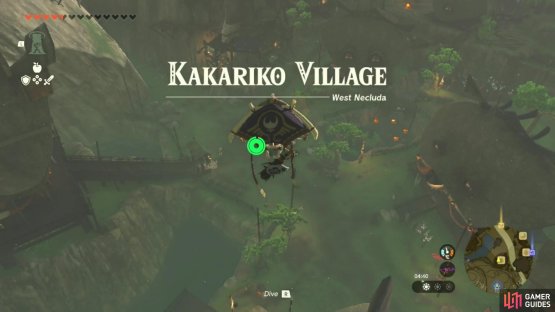
(1 of 2) Head over to Kakariko Village in West Necluda
Head over to Kakariko Village in West Necluda (left), and speak with Chief Paya about the Ring Ruins. (right)
Once in !Kakariko Village, you’ll need to find Chief Paya who will tell you about the mysterious rings that have appeared in the village. She wants to discover more about the Ring Ruins and mentions that there is an ancient Zonai slab inside the floating ring in front of her that might help Zelda.
How to Get Inside the Ring Ruin
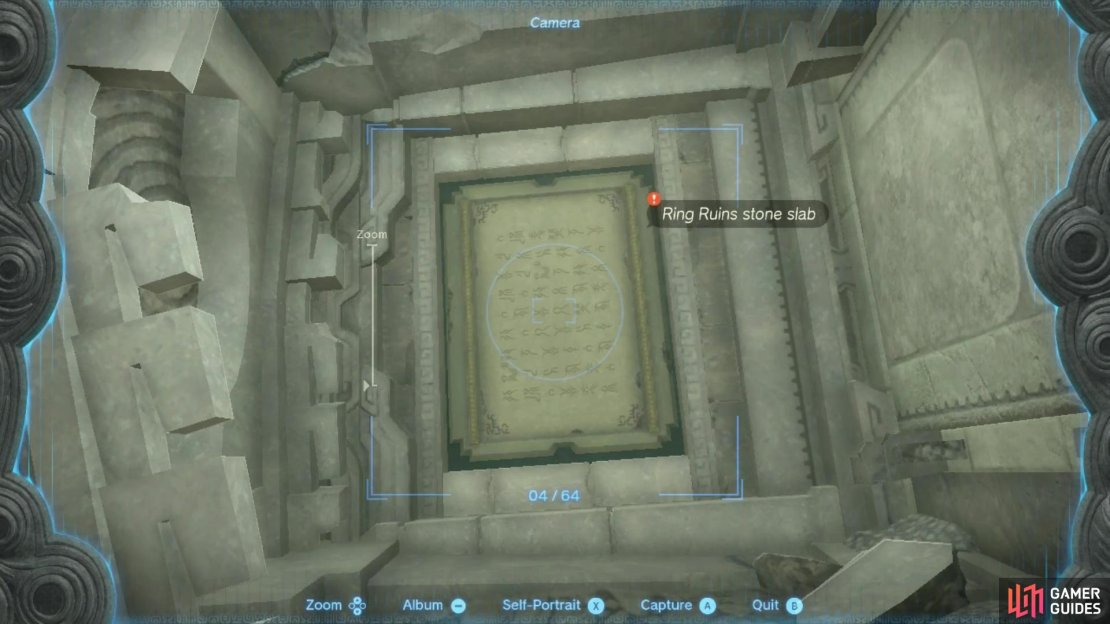
To get into the ring ruin, you’re going to need to first climb up the scaffolding and ladders nearby, to position yourself directly beneath the floating part of the ring. Once high enough you should be able to use ![]() Ascend to get into the ring. The inside of the ring is quite small but on the opposite wall you’ll find a plaque with some writing on it. Whip out your Purah Pad Camera and take a picture of it. Then to get out of this ring, ascend onto the ceiling and paraglide down to talk with Paya and Tauro again.
Ascend to get into the ring. The inside of the ring is quite small but on the opposite wall you’ll find a plaque with some writing on it. Whip out your Purah Pad Camera and take a picture of it. Then to get out of this ring, ascend onto the ceiling and paraglide down to talk with Paya and Tauro again.
Ascend into the Ring Ruin and take a picture of the slab to show Tauro and Paya.
After witnessing a brief cut scene, you’ll be prompted to meet with Tauro and his researcher friend Calip. They have deciphered the words “southeast” and “dragon land”. You’ll need to meet them at the base of Popla Foothills Skyview Tower, which is located southwest of !Kakariko Village in West Necluda (Map Marker).
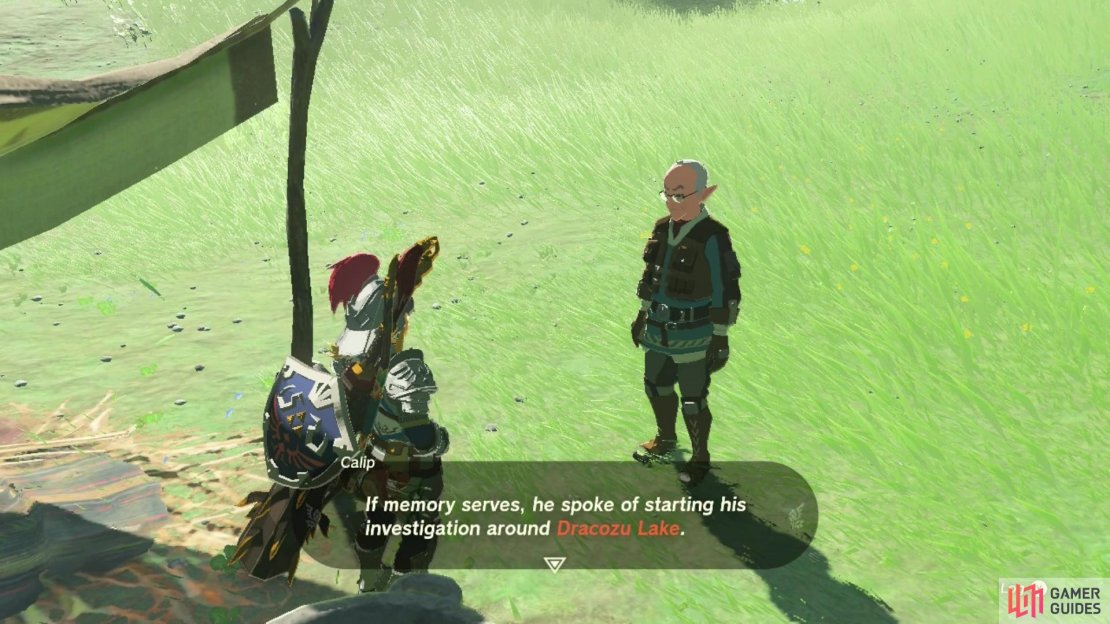
Speak with Calip at the base down the steps from the tower, and he’ll tell you that Tauro has already gone off to find some clues near ![]() Dracozu Lake. Dracozu Lake is not that far from the tower, and you’ll just need to head southeast. As you approach the lake, you should see a glowing entrance way opposite a small camp. Head inside to find Tauro. He’ll tell you about some more of his findings, including a cryptic poem: “Wear the electric garb hidden at the long-necked dragons along the wide-mouthed forest serpent”.
Dracozu Lake. Dracozu Lake is not that far from the tower, and you’ll just need to head southeast. As you approach the lake, you should see a glowing entrance way opposite a small camp. Head inside to find Tauro. He’ll tell you about some more of his findings, including a cryptic poem: “Wear the electric garb hidden at the long-necked dragons along the wide-mouthed forest serpent”.
How to Find the Charged Armor Set at Dracozu Lake
He will also mention a mysterious chest at the back of the room that he can’t figure out how to open…
The chest in question is a Zonai chest and so you’ll be able to open it with no issues (Map Marker). It contains the ![]() Charged Shirt, which is apart of the Charged Armor Set that grants a special charged attack when the wearer equips it during a thunderstorm.
Charged Shirt, which is apart of the Charged Armor Set that grants a special charged attack when the wearer equips it during a thunderstorm.
Equip the shirt and then speak with Tauro. He’ll tell you that you need to find the other bits of the armor (head and leg armor pieces). Then, once you have all the armor the next part of the riddle tells you to wear it and “offer a Zonai Charge to the altar at the tail”.
(1 of 3) First head to Poplar Foothill Skyview Tower and speak with Calip.
How to Find the Charged Trousers
It’s actually really easy to find the rest of the armor, and you dont have to go far to find them! All you need to do is follow the river down from where you spoke to Tauro, towards the “tail” of the dragon-shaped lake. Follow the lake south a bit and you’ll find another glowing entry way (Map Marker). Smash the rocks blocking your path, and you’ll find a chest at the back of the room containing the ![]() Charged Trousers.
Charged Trousers.
Look out for this doorway south from the initial cave and you’ll find the trousers inside.
How to Find the Charged Headdress
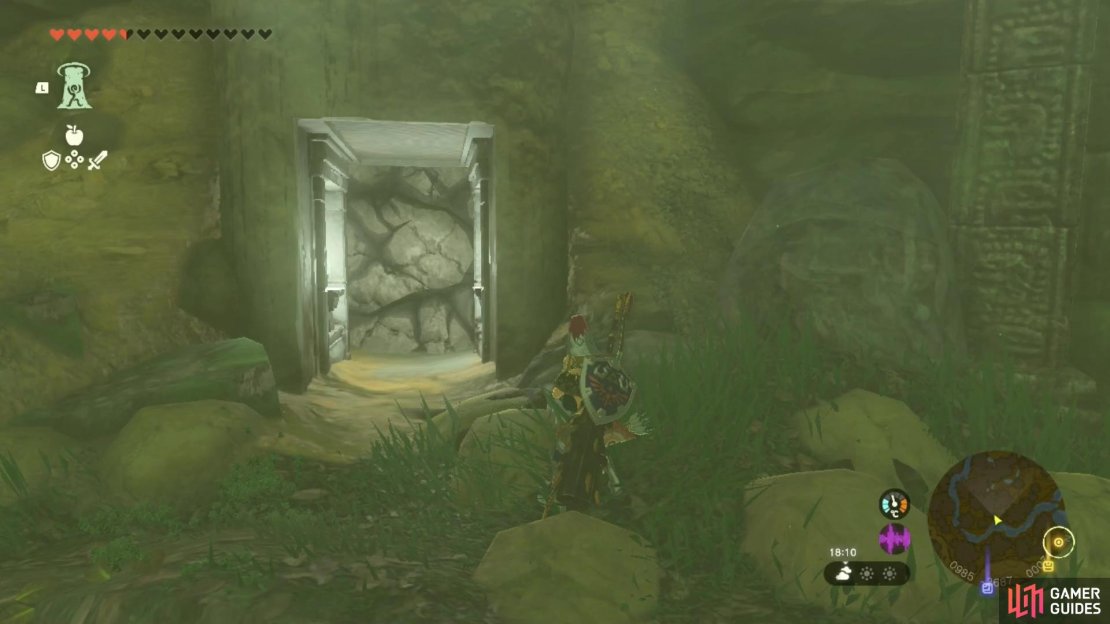
Continue further down the lake to the south and you’ll find another glowing entrance (Map Marker). Slice away the vines blocking your path, and inside you’ll find another chest. This one contains the ![]() Charged Headdress. Make sure to equip the full armor set and then exit the cave. You know the drill, head all the way to the end of the lake and you’ll find the final glowing room.
Charged Headdress. Make sure to equip the full armor set and then exit the cave. You know the drill, head all the way to the end of the lake and you’ll find the final glowing room.
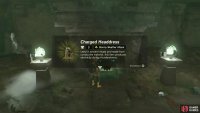
(1 of 2) Find the next temple room down the lake
Find the next temple room down the lake (left), to find the Charged Headdress. (right)
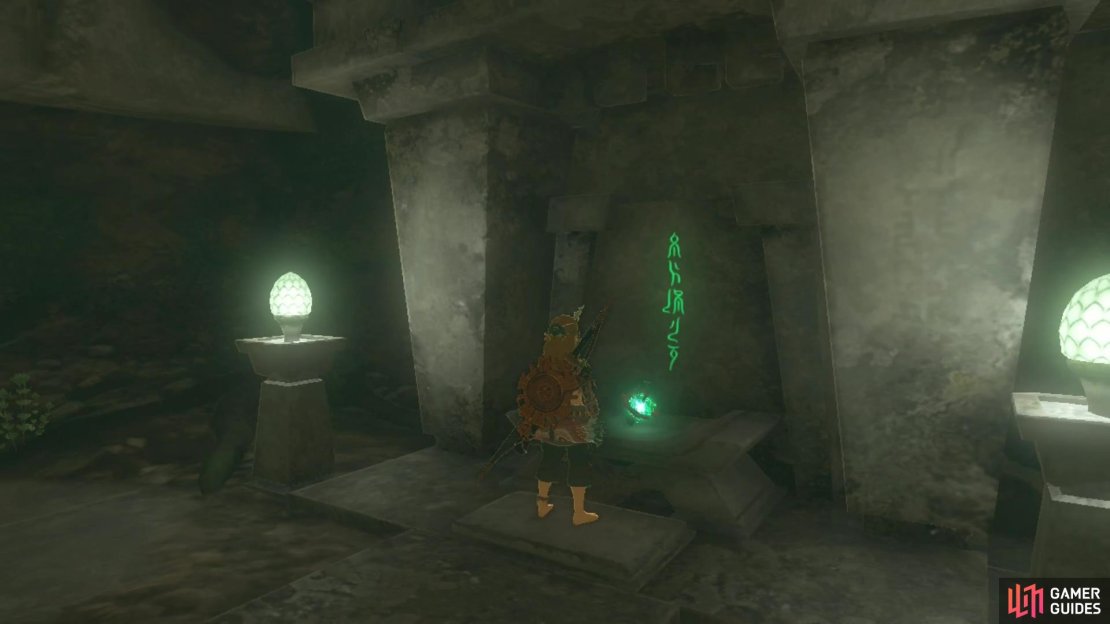
Inside this room, you won’t find another chest. Instead, you’ll need to head to the back of the room to find the offering altar. You need to drop a ![]() Zonai Charge into the bowl and you’ll trigger a cut scene in which the thunderstorm clouding the islands above the lake will dissipate. It’s still raining and thunderstorming, of course, but the super foggy clouds above the islands will be gone and you can traverse the area a lot easier.
Zonai Charge into the bowl and you’ll trigger a cut scene in which the thunderstorm clouding the islands above the lake will dissipate. It’s still raining and thunderstorming, of course, but the super foggy clouds above the islands will be gone and you can traverse the area a lot easier.
Find the final temple room at the end of the lake, and offer up a Zonai Charge at the altar.
How to Reach Thunderhead Isles
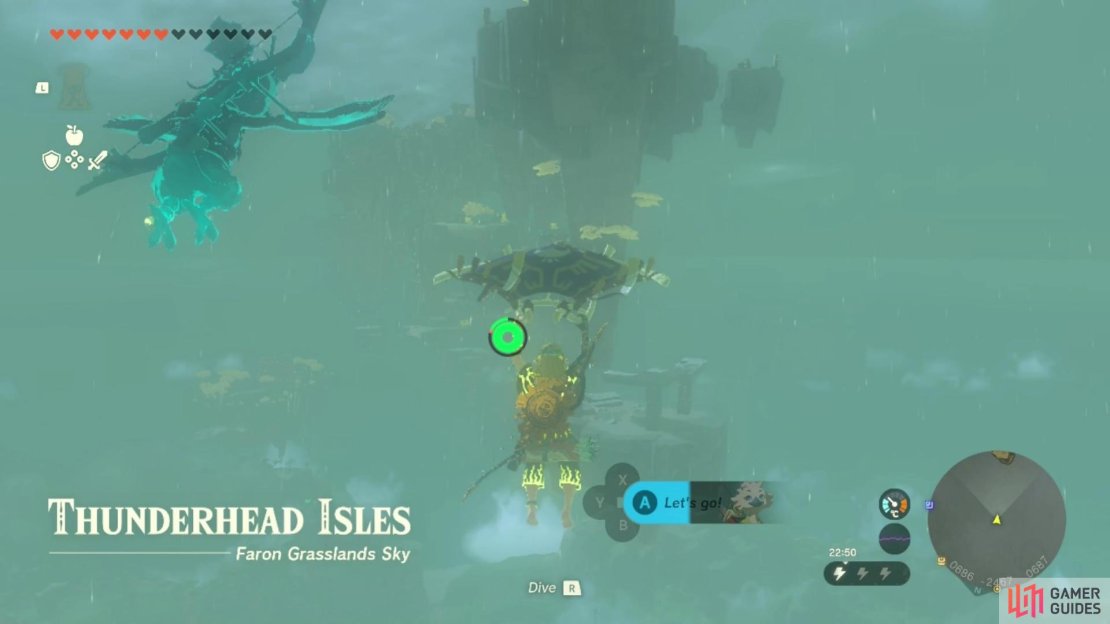
In fact, after the clouds have cleared, Tauro and Calip will ask you to head up to Thunderhead Isles to explore them. To get up there, you’ll want to fast travel back to !Popla Foothill Skyview Tower and then use it to propel yourself into the air. Once in the air, fly south towards Thunderhead Isles.
Fly to Thunderhead Isles from Poplar Foothill Skyview Tower.
How to Reach Dragonhead Island
If you open up your map, you’ll notice that the isles are in the shape of a Serpent Dragon (like the ones flying over Hyrule Kingdom). Your goal is to reach the dragon head shaped island at the far end of the set of islands - known as !Dragonhead Island (naturally). You can either make your way to the “head” isle by crafting a wing device with zonai devices from your inventory and fly over, bypassing all the other islands. Or, if you’d rather take in the scenery and get in some Construct enemy combat, you can take the long way and make your way along the body of the dragon towards the head. If you do this, make sure to keep the Charged Armor equipped as when you’re in thunderous weather, you’ll get frequent lightning charged attacks that do extra damage and disarm enemies!
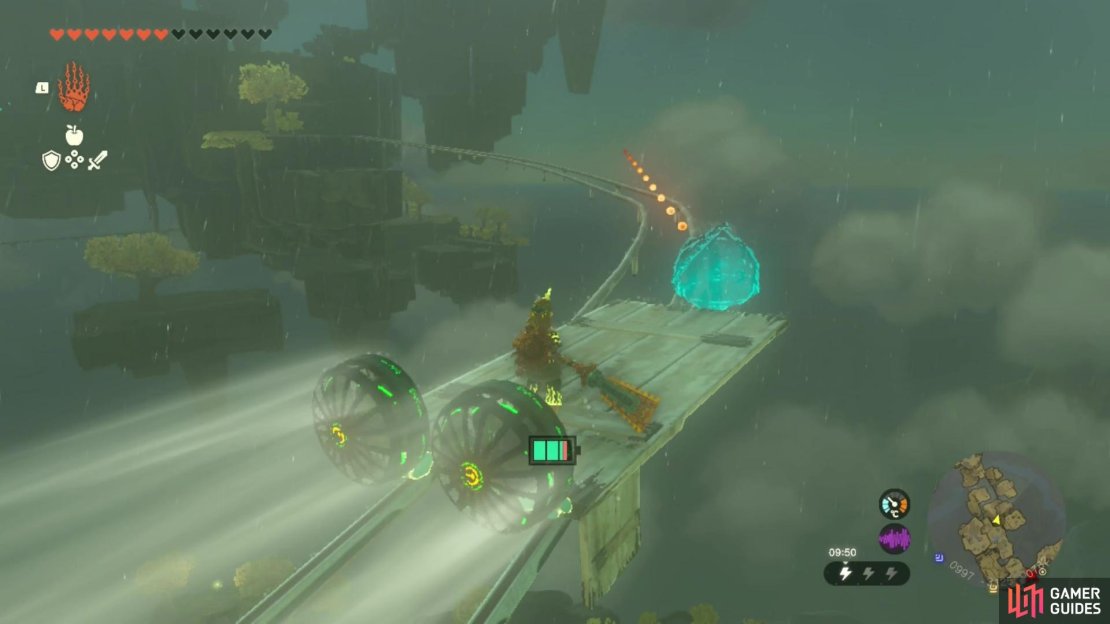
In order to take the long way across the isles, you’ll need to use Ascend frequently as well as make full use of the rails by creating makeshift carts using the wooden planks in a T-shape (see picture below).
Use fans and two planks of wood to create a structure that rides along the old minecart rails.
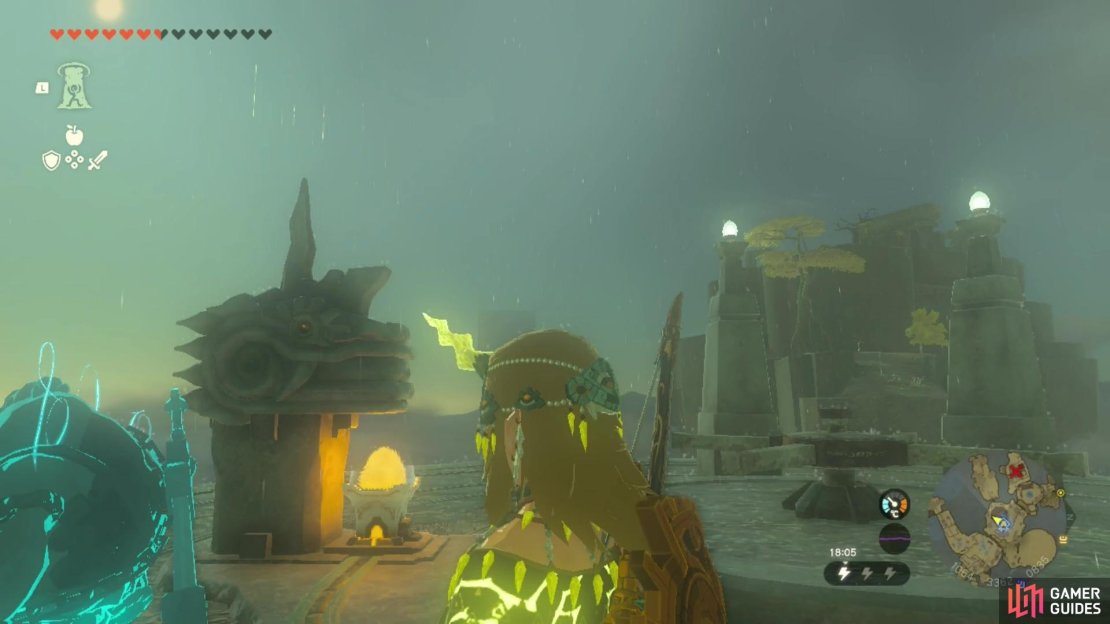
Because it’s raining, you’re going to have a tricky time trying to climb rather than using the mechanisms around the islands. Half way down the Serpents body, you’ll find Joku-usin Shrine which can serve as a useful midway point. After a while, you’ll start coming across some unicorn heads that attract lightning and when struck, it powers up a piston that can launch you into the air. To control the direction of the piston, use the turn wheel nearby to redirect.
Wait till the lighting strikes the unicorn head and then spring into the air from the piston!
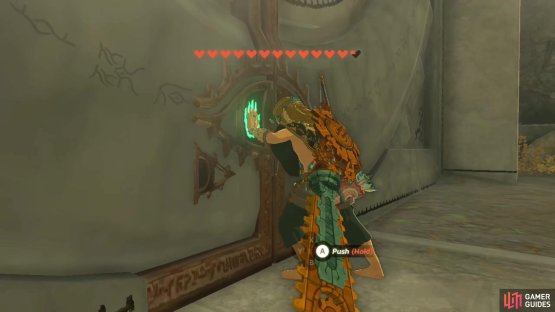
Once at !Dragonhead Island, drop down into the “eye” of the dragon and quickly activate Joku-u Shrine, which is a ![]() Rauru’s Blessing shrine and a bit of a reward for making it all this way! After, head north out of the shrine’s room through the vines and interact with the large door. Here, you’ll need to have at least 10 Hearts in order to open the door. Inside, you’ll find a strange Zonai mask.
Rauru’s Blessing shrine and a bit of a reward for making it all this way! After, head north out of the shrine’s room through the vines and interact with the large door. Here, you’ll need to have at least 10 Hearts in order to open the door. Inside, you’ll find a strange Zonai mask.
(1 of 2) To open the door you’ll need at least 10 hearts
To open the door you’ll need at least 10 hearts (left), it is a pretty mighty door after all! (right)
After witnessing a cutscene, you’ll have completed the Secret of the Ring Ruins quest, and this will trigger the start of the ![]() Guidance from Ages Past quest. Head over to our page on How to Reach the Construct Factory for more information on what to do and where to go next!
Guidance from Ages Past quest. Head over to our page on How to Reach the Construct Factory for more information on what to do and where to go next!







No Comments