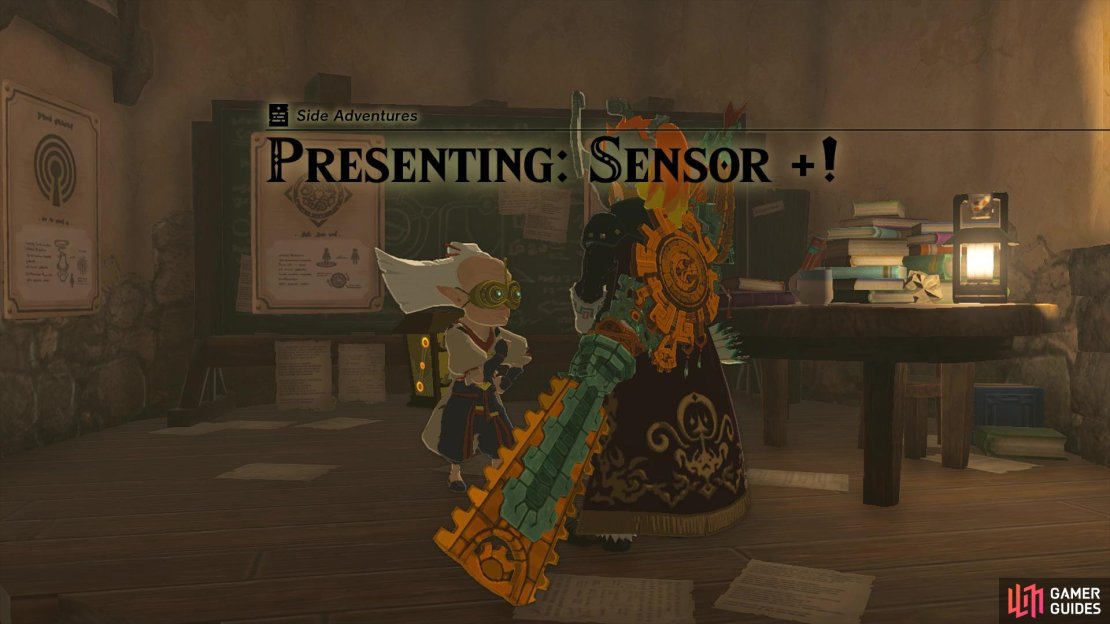
Sensor + is an extra add-on to your ![]() Purah Pad, which allows you to track any item or enemy in the game. The only catch to this is that you’ll need to have that item/enemy in the Hyrule Compendium, so you’ll need to have snapped a picture of it with your camera. You also are only able to track one thing at a time, and it overrides your Shrine tracker.
Purah Pad, which allows you to track any item or enemy in the game. The only catch to this is that you’ll need to have that item/enemy in the Hyrule Compendium, so you’ll need to have snapped a picture of it with your camera. You also are only able to track one thing at a time, and it overrides your Shrine tracker.
You can get the Sensor + quest at the same time as Travel Medallion and Hero’s Path Mode.
Where to Start Presenting: Sensor + in Tears of the Kingdom
![]() Presenting: Sensor +! is in the same family as Presenting: The Travel Medallion and Presenting: Hero’s Path Mode. That’s because you can log all three of those side adventures at the same time. That means you will need to do the following quests before it becomes available:
Presenting: Sensor +! is in the same family as Presenting: The Travel Medallion and Presenting: Hero’s Path Mode. That’s because you can log all three of those side adventures at the same time. That means you will need to do the following quests before it becomes available:
 Regional Phenomena
- Only need to do one temple for this
 Camera Work in the Depths
 A Mystery in the Depths
 Hateno Village Research Lab side adventure
Once you do all of the above, then you can speak to ![]() Robbie and choose this option to start the side adventure.
Robbie and choose this option to start the side adventure.
How to Complete Presenting: Sensor +! in Tears of the Kingdom
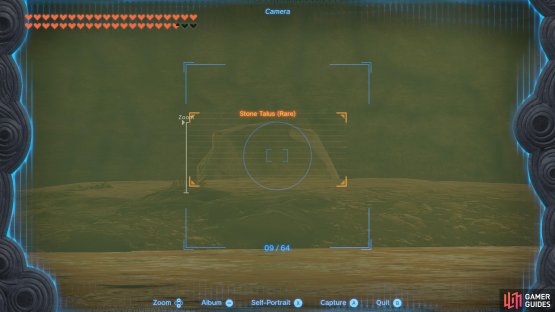
This is probably the easiest of the three Purah Pad upgrade quests, as Robbie asks you to simply bring him information on five different monsters. You will do this by taking photographs of them with your camera. Whenever you see a monster out in the wild, switch to your ![]() Camera and frame it, where you should see their name. Note that if the name is in orange, then it will be a new entry to your compendium. If the name of the enemy is in blue, then it’s already in your compendium and you don’t need to take another photo of it.
Camera and frame it, where you should see their name. Note that if the name is in orange, then it will be a new entry to your compendium. If the name of the enemy is in blue, then it’s already in your compendium and you don’t need to take another photo of it.
(1 of 2) Enemies you don’t have in the compendium will have their names in orange.
Enemies you don’t have in the compendium will have their names in orange. (left), You can even get two whenever you go for the Travel Medallion. (right)
You will want to do this with five different enemies, and you preferably want to snap pictures of them from afar and out of danger. When you have done this, return to Robbie and show him your data, after which, he will install Sensor + on your Purah Pad. You can now choose any item that’s in your compendium and assign it to your sensor, with it acting similarly to the Shrine Sensor. Some good items/enemies for this include ![]() Bomb Flowers,
Bomb Flowers, ![]() Sundelions,
Sundelions, ![]() Bubbulfrogs, or anything else that you might be looking for at the time.
Bubbulfrogs, or anything else that you might be looking for at the time.
When the map is open on your game, you can press the Y button to change the target for your sensor.


No Comments