This page details how to complete ![]() Runakit Shrine, which is found in
Runakit Shrine, which is found in ![]() Central Hyrule region in The Legend of Zelda: Tears of the Kingdom.
Central Hyrule region in The Legend of Zelda: Tears of the Kingdom.
Where to Find Runakit Shrine
This shrine is found in Hyrule Ridge, Central Hyrule (Map Marker). More specifically, you’ll find it directly west of Lindor’s Brow Skyview Tower (Map Marker) and you could glide from the tower over to this shrine after activating it! If you’ve not already activated Lindor’s Brow Skyview Tower, head over to our guide on for more information!
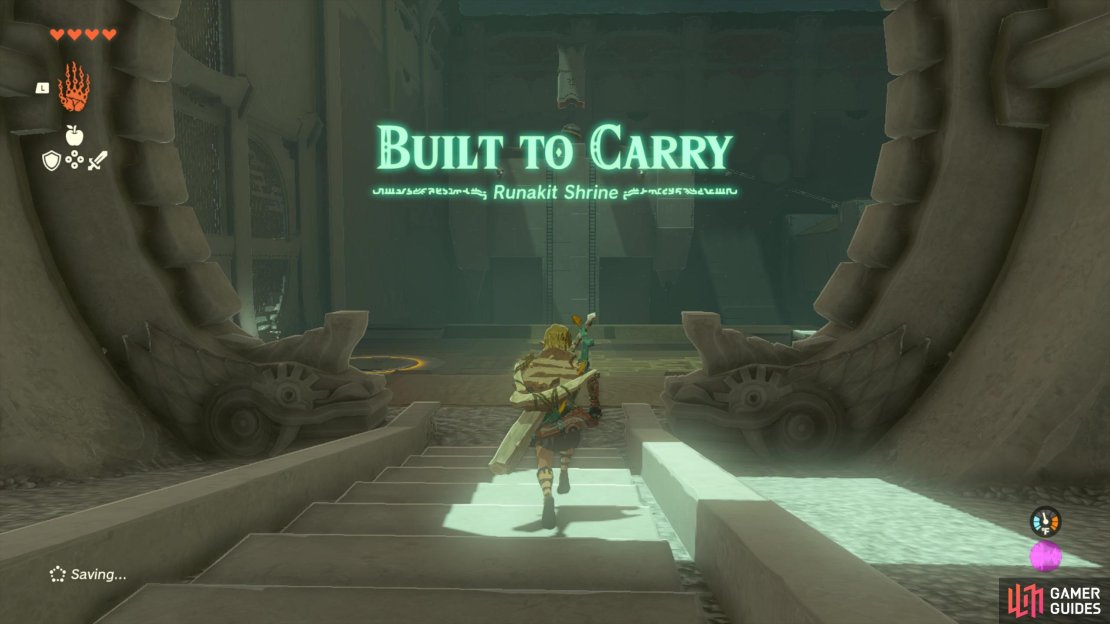
Runakit Shrine: Built to Carry.
Runakit Shrine: How to Get the Boulder to the End
When you enter this shrine, the first thing you’ll notice is a glowing hole in the floor in front of a gate - your aim for this shrine is to get a boulder through an obstacle course of sorts all the way to this hole. When a boulder is placed in the hole, it’ll activate and open up the door to the end of the shrine.
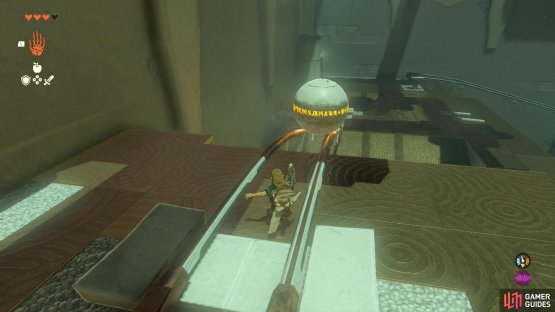
The first thing you’ll want to do is paraglide to the sloped platform to the left. Then climb the ladders to reach the upper level. This first puzzle is straightforward enough: all you’ll need to do is place the ball squarely on the rails and let it roll down to the platform below - easy enough!
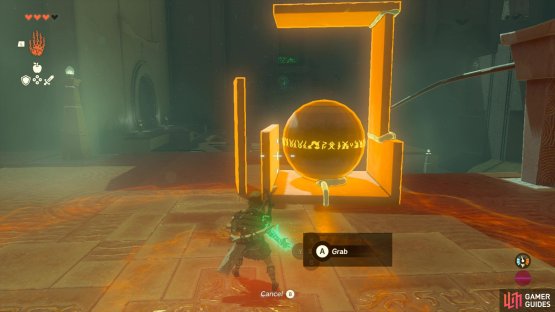
The next rail puzzle will require a little more finessing though, as the rails are too wide for the boulder. This time you’ll need to attach the two long columns to either side of the boulder so that it can slide down the wider rails up ahead. You’ll need to make sure you place the ball quite center to the rails otherwise you might mess up the balancing of the columns.
(1 of 2) The first rail puzzle is easy: just place the ball on the rails.
The first rail puzzle is easy: just place the ball on the rails. (left), the second one will require some extra support as the rails are wider! (right)
How to Get the Treasure Chest
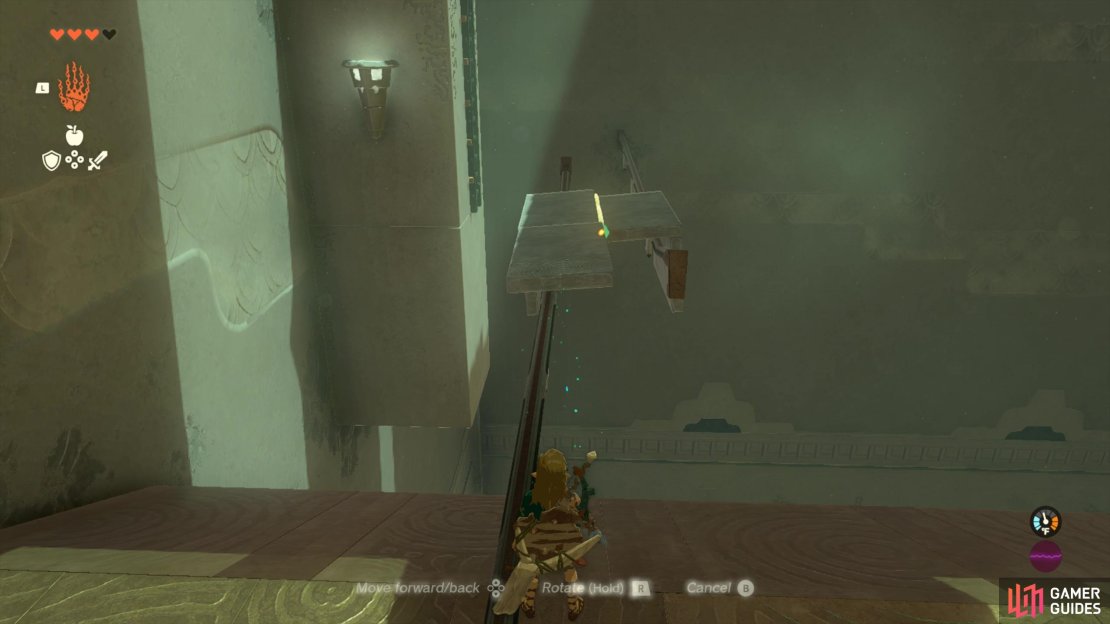
Before making the final contraption to get the boulder across the singular rail to the end of the shrine, you’ll want to use two of the L-shaped pieces and a long platform piece to make a bridge over to the treasure chest platform. Just attach the two L-shaped pieces together to make a U-shape then rest it on the rail and attach a platform to it so you can jump onto the bridge you just made to then reach the ladder to the treasure chest. The chest contains a ![]() Construct Bow.
Construct Bow.
Use these pieces to make a bridge over to the treasure chest platform.
After grabbing the treasure return to the main platform and use that U-shape you just made as a sort of bowl for your boulder by sticking the boulder inside of it. From there, attach the one long thin stone slabs vertically one side of your “bowl”. Then, connect another long slab horizontally to the vertical slab to make a sort of hook. You can then use ultrahand to move this whole contraption over to the final rail, where you can hook it over. It should slide right down to the bottom! If you’re worried about it falling, you could add another slab at an angle to the horizontal slab but make sure there’s a gap for sliding it onto the rail.
(1 of 2) Make this contraption here
Make this contraption here (left), and then watch it go down the rail! (right)
When it reaches the other side, paraglide over and use ultrahand to move it into the hole in front of the door. Pass into this final room to claim your ![]() Light of Blessing and complete the shrine!
Light of Blessing and complete the shrine!




No Comments