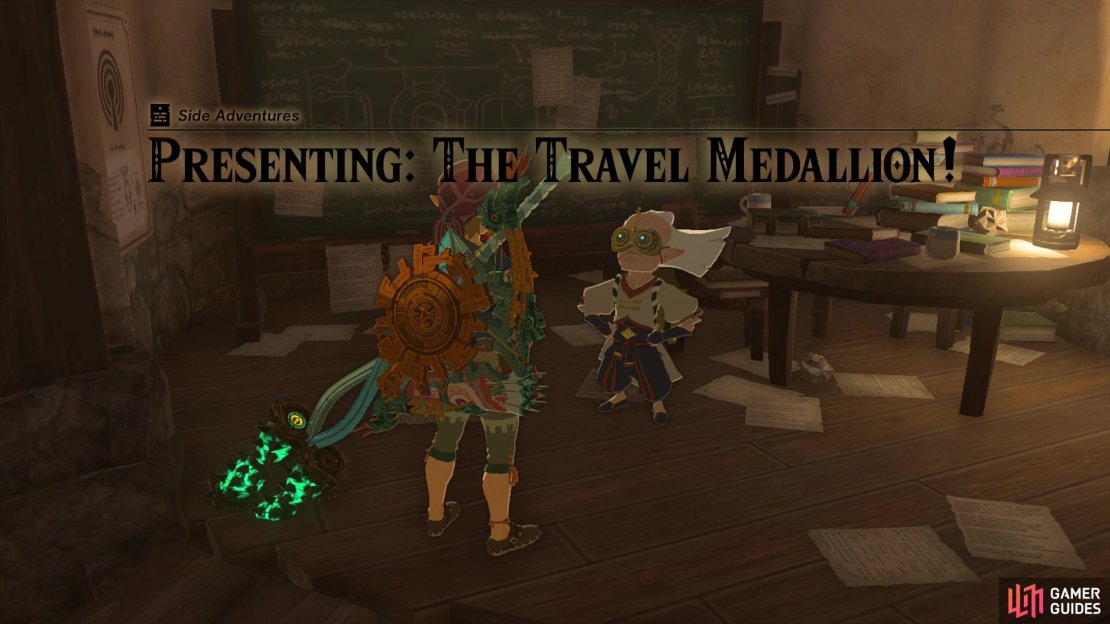
The Travel Medallion is quite the powerful item in The Legend of Zelda: Tears of the Kingdom, as it allows you to create your own fast travel point at any location on the map. This means you won’t have to rely on the various shrines and other, sparse fast travel spots. It was previously a DLC item in Breath of the Wild, and functioned the same there. However, in Tears of the Kingdom, you are able to upgrade it, so you will be able to place three of them at one time.
Speak to Robbie after finishing Hateno Village Research Lab to get this side adventure.
Where to Start Presenting: The Travel Medallion in Tears of the Kingdom
Before you are even able to get this side adventure, you will need to do a few things. First, after finally reaching the surface, head to ![]() Lookout Landing and do the main quests there, until you have the
Lookout Landing and do the main quests there, until you have the ![]() Regional Phenomena quest. This main quest tasks you to going to four different spots on the map, where you will do various things that eventually involve you completing one of the game’s temples. You only need to complete one of these temples, though, before you’re set on the path for the Travel Medallion. If you only had to pick one, it might be best to go with the Rito Village one, as the ability you unlock from that makes traversing the map much easier.
Regional Phenomena quest. This main quest tasks you to going to four different spots on the map, where you will do various things that eventually involve you completing one of the game’s temples. You only need to complete one of these temples, though, before you’re set on the path for the Travel Medallion. If you only had to pick one, it might be best to go with the Rito Village one, as the ability you unlock from that makes traversing the map much easier.
With that out of the way, you will also need to complete two additional main quests, which are ![]() Camera Work in the Depths and
Camera Work in the Depths and ![]() A Mystery in the Depths. The former is available before setting off to do the Regional Phenomena quests, while the latter requires completing one of the temples. The second quest mentioned will also net you the extremely useful
A Mystery in the Depths. The former is available before setting off to do the Regional Phenomena quests, while the latter requires completing one of the temples. The second quest mentioned will also net you the extremely useful ![]() Autobuild ability, allowing you to save your builds and re-summon them at will (as long as you have the materials to do so, or enough
Autobuild ability, allowing you to save your builds and re-summon them at will (as long as you have the materials to do so, or enough ![]() Zonaite).
Zonaite).
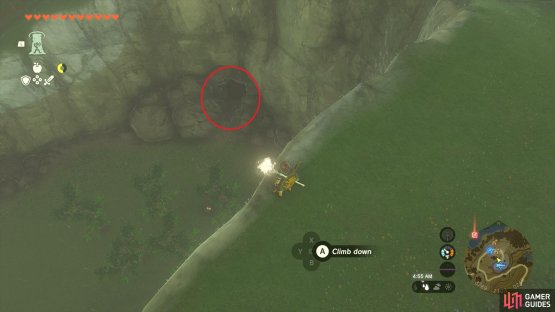
(1 of 2) One of the entrances to the Retsam Forest Cave is shown here.
One of the entrances to the Retsam Forest Cave is shown here. (left), You will find the Mayahisik Shrine inside that cave. (right)
When you have done the second quest, return to Lookout Landing to complete it, which will start the ![]() Hateno Village Research Lab side adventure. He’ll be right outside of Hateno Village, a short walk from the
Hateno Village Research Lab side adventure. He’ll be right outside of Hateno Village, a short walk from the ![]() Zanmik Shrine, if you have it. This will involve finding
Zanmik Shrine, if you have it. This will involve finding ![]() Robbie at the Hateno Ancient Tech Lab, where he’ll have a short quest for you that requires you to find a shrine while using the newly installed Shrine Sensor he put on your
Robbie at the Hateno Ancient Tech Lab, where he’ll have a short quest for you that requires you to find a shrine while using the newly installed Shrine Sensor he put on your ![]() Purah Pad. This will be in the
Purah Pad. This will be in the ![]() Retsam Forest Cave, just down the hill from the lab. Upon completing this side adventure, return to Robbie and he will mention some more upgrades for the Purah Pad, one of which relates to the Travel Medallion.
Retsam Forest Cave, just down the hill from the lab. Upon completing this side adventure, return to Robbie and he will mention some more upgrades for the Purah Pad, one of which relates to the Travel Medallion.
Where to Find the Travel Medallion Prototype in Tears of the Kingdom
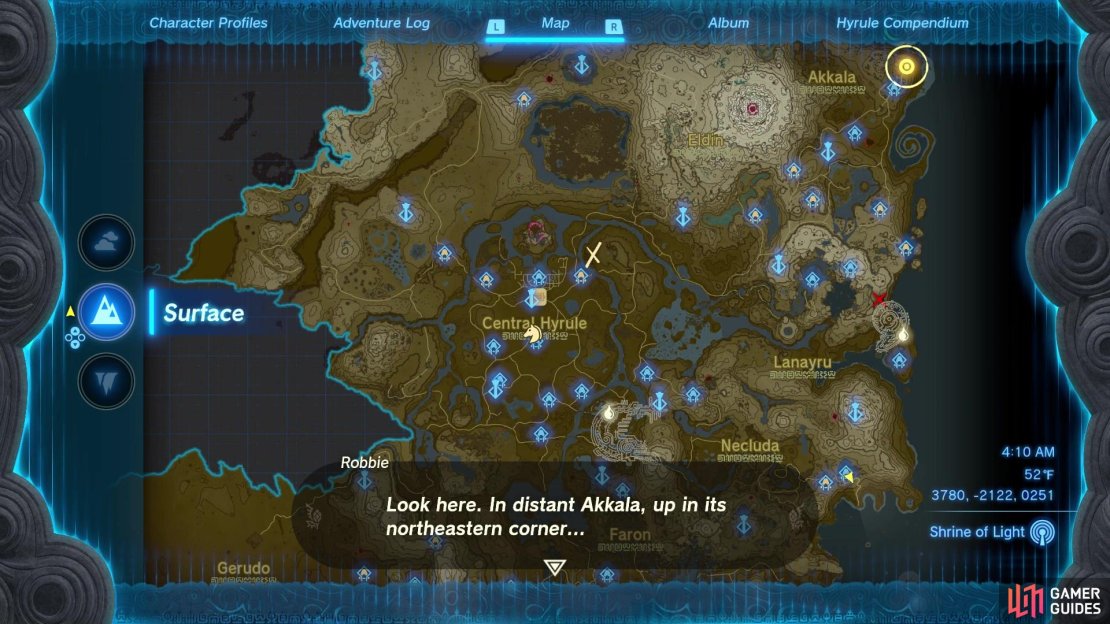
In order to get the Travel Medallion, you will first need to find the ![]() Travel Medallion Prototype. Robbie doesn’t have this, as he left it at the Akkala Ancient Tech Lab, a location found towards the northeastern corner of the map. The closest fast travel point is the Jochi-iu Shrine, which is literally just down the road from the lab. Upon reaching the lab, go to enter it and you will be stopped, with two enemies spawning to make sure you don’t go inside. These will be a
Travel Medallion Prototype. Robbie doesn’t have this, as he left it at the Akkala Ancient Tech Lab, a location found towards the northeastern corner of the map. The closest fast travel point is the Jochi-iu Shrine, which is literally just down the road from the lab. Upon reaching the lab, go to enter it and you will be stopped, with two enemies spawning to make sure you don’t go inside. These will be a ![]() Yiga Footsoldier, and a
Yiga Footsoldier, and a ![]() Yiga Blademaster.
Yiga Blademaster.
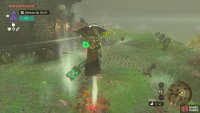
If you’ve never fought these before, then the Footsoldier will do a lot of teleporting around the area. There will be one teleport it does, where it drops on you from above to try and attack you. As long as you keep moving, this shouldn’t hit you and is the perfect time to attack him. As for the Blademaster, he will have two attacks at a distance, one of which is him sending a shockwave when he swings his sword. The other is an earthquake attack, where you want to use your Glider on the wind coming out of the ground to get air. If you don’t, then some rocks will appear and damage you.
(1 of 3) Go to the northeastern corner of the map to find the Akkala lab.
Once you’ve defeated both enemies, go through the door you tried earlier to enter the lab. You will find a NPC inside, who you can talk to and receive the ![]() Yiga Armor. However, he won’t help you with your quest for the Prototype, but that armor is needed for something else, so make sure you grab it. In the same room as the NPC will be a chest, so open it for the Travel Medallion Prototype. Return this to Robbie and you will finally receive the Travel Medallion! This is found under Key Items in your inventory, where you can use it to place a fast travel point at any location.
Yiga Armor. However, he won’t help you with your quest for the Prototype, but that armor is needed for something else, so make sure you grab it. In the same room as the NPC will be a chest, so open it for the Travel Medallion Prototype. Return this to Robbie and you will finally receive the Travel Medallion! This is found under Key Items in your inventory, where you can use it to place a fast travel point at any location.
How to Upgrade the Travel Medallion in Tears of the Kingdom
Note that you’re not completely done with this side adventure just yet, as you can upgrade the Travel Medallion to include more charges. Luckily, you won’t need to go through a rigorous process to do this, as you simply need to activate the Skyview Towers around the surface. To get the second charge on the medallion, you will need to activate 10 Skyview Towers, while getting them all will net you the third, and final, charge for the medallion.




No Comments