As you wander the world in The Legend of Zelda: Tears of the Kingdom, you will run into plenty of NPCs who will give you quests. Some side quests will come after completing others first, like the Wanted: Hinox one. In fact, you can get this side quest alongside the Wanted: Molduga and Wanted: Stone Talus. This page will detail where to find the Hinox, as well as give tips on defeating it.
Wanted: Hinox is one of three monster elimination side quests from Gralens.
Where to Start Wanted: Hinox in Tears of the Kingdom
Upon first setting foot on the Surface area, you will want to go to ![]() Lookout Landing and find some of the main quests there. In particular, look for
Lookout Landing and find some of the main quests there. In particular, look for ![]() Crisis at Hyrule Castle and complete it, which will unlock your
Crisis at Hyrule Castle and complete it, which will unlock your ![]() Paraglider and Skyview Towers. From there, you will want to go ahead and do the
Paraglider and Skyview Towers. From there, you will want to go ahead and do the ![]() Bring Peace to Hyrule Field side adventure. Once that’s finished, head back to Lookout Landing and locate the one NPC in the middle of the area, named
Bring Peace to Hyrule Field side adventure. Once that’s finished, head back to Lookout Landing and locate the one NPC in the middle of the area, named ![]() Scorpis, who will open up the
Scorpis, who will open up the ![]() Emergency Shelter. Once you’ve done the above, you will find
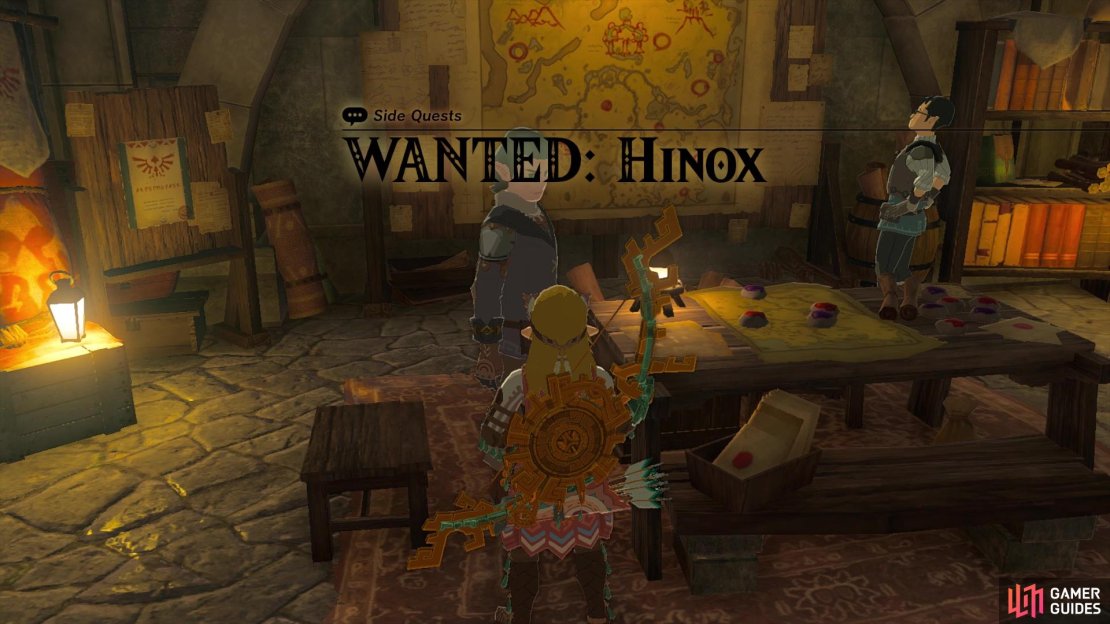
Emergency Shelter. Once you’ve done the above, you will find ![]() Gralens down in the shelter.
Gralens down in the shelter.
Speak to him to learn about more monster-controlling groups, as well as see some options about monsters. Choose this and you will see another three options, each one referencing a specific monster. These are the Wanted line of side quests, and picking each one will start that particular side quest.
Where to Find the Hinox for Wanted: Hinox in Tears of the Kingdom
Placing the side quest as the active one will pinpoint the location of the ![]() Hinox, which will be near Woodland Stable. If you have the
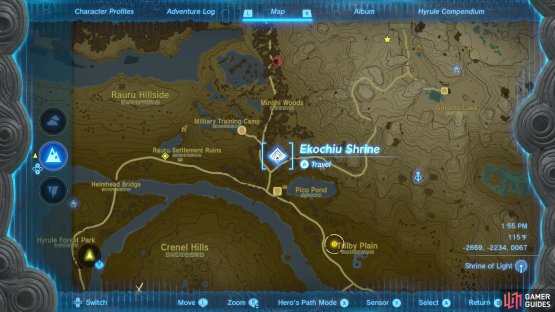
Hinox, which will be near Woodland Stable. If you have the ![]() Ekochiu Shrine already unlocked, then you can fast travel to it, as it’s the closest point (it’s right outside of the aforementioned stable). Follow the road southeast, from the stable, and you will see a little raised area with some trees. The Hinox will be in the middle of those trees, sleeping.
Ekochiu Shrine already unlocked, then you can fast travel to it, as it’s the closest point (it’s right outside of the aforementioned stable). Follow the road southeast, from the stable, and you will see a little raised area with some trees. The Hinox will be in the middle of those trees, sleeping.
(1 of 2) Ekochiu Shrine is very close to where the Hinox will be located.
Ekochiu Shrine is very close to where the Hinox will be located. (left), It should be sleeping in the middle of a clearing, by some trees. (right)
How to Defeat the Hinox in Tears of the Kingdom
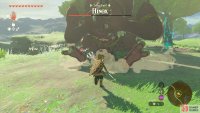
A good number of Hinox enemies in the wild will be found sleeping when you first encounter them. This gives you a chance to sneak up on them and start attacking, sparking a good advantage in depleting their health while they wake up. Once they are fully up, you can then back off and play defensively. The Hinox’s weak spot is pretty obvious, if you realize they are nothing more than a cyclops. That means you will want to be aiming your bow at their eye and if successfully hit, they will likely stumble over, allowing you to get more free strikes on them.
In terms of attacks, the Hinox can do sweeping attacks with its arms, as well as attempt to sit on you, depending on your position. They are also known to take objects around them and use them as weapons, even throwing them at you. In the case of this particular Hinox, it will use the trees as weapons. Depending on when you do this quest, it might take you a while to bring down its health, and at lower health, the Hinox might even start protecting its eye with its hands. If you are having trouble hitting its eye, you could try fusing a ![]() Keese Eyeball to your arrow to have it home in on the eye.
Keese Eyeball to your arrow to have it home in on the eye.
(1 of 3) The eye is the Hinox’s weak point, so make sure you hit it with arrows.
Once you’ve defeated the Hinox, grab the loot it drops, then return to Gralens to report your kill. You will receive a ![]() Silver Rupee for completing this side quest, and if you already cleared the other two Wanted quests, then you will receive an additional
Silver Rupee for completing this side quest, and if you already cleared the other two Wanted quests, then you will receive an additional ![]() Gold Rupee.
Gold Rupee.




No Comments