
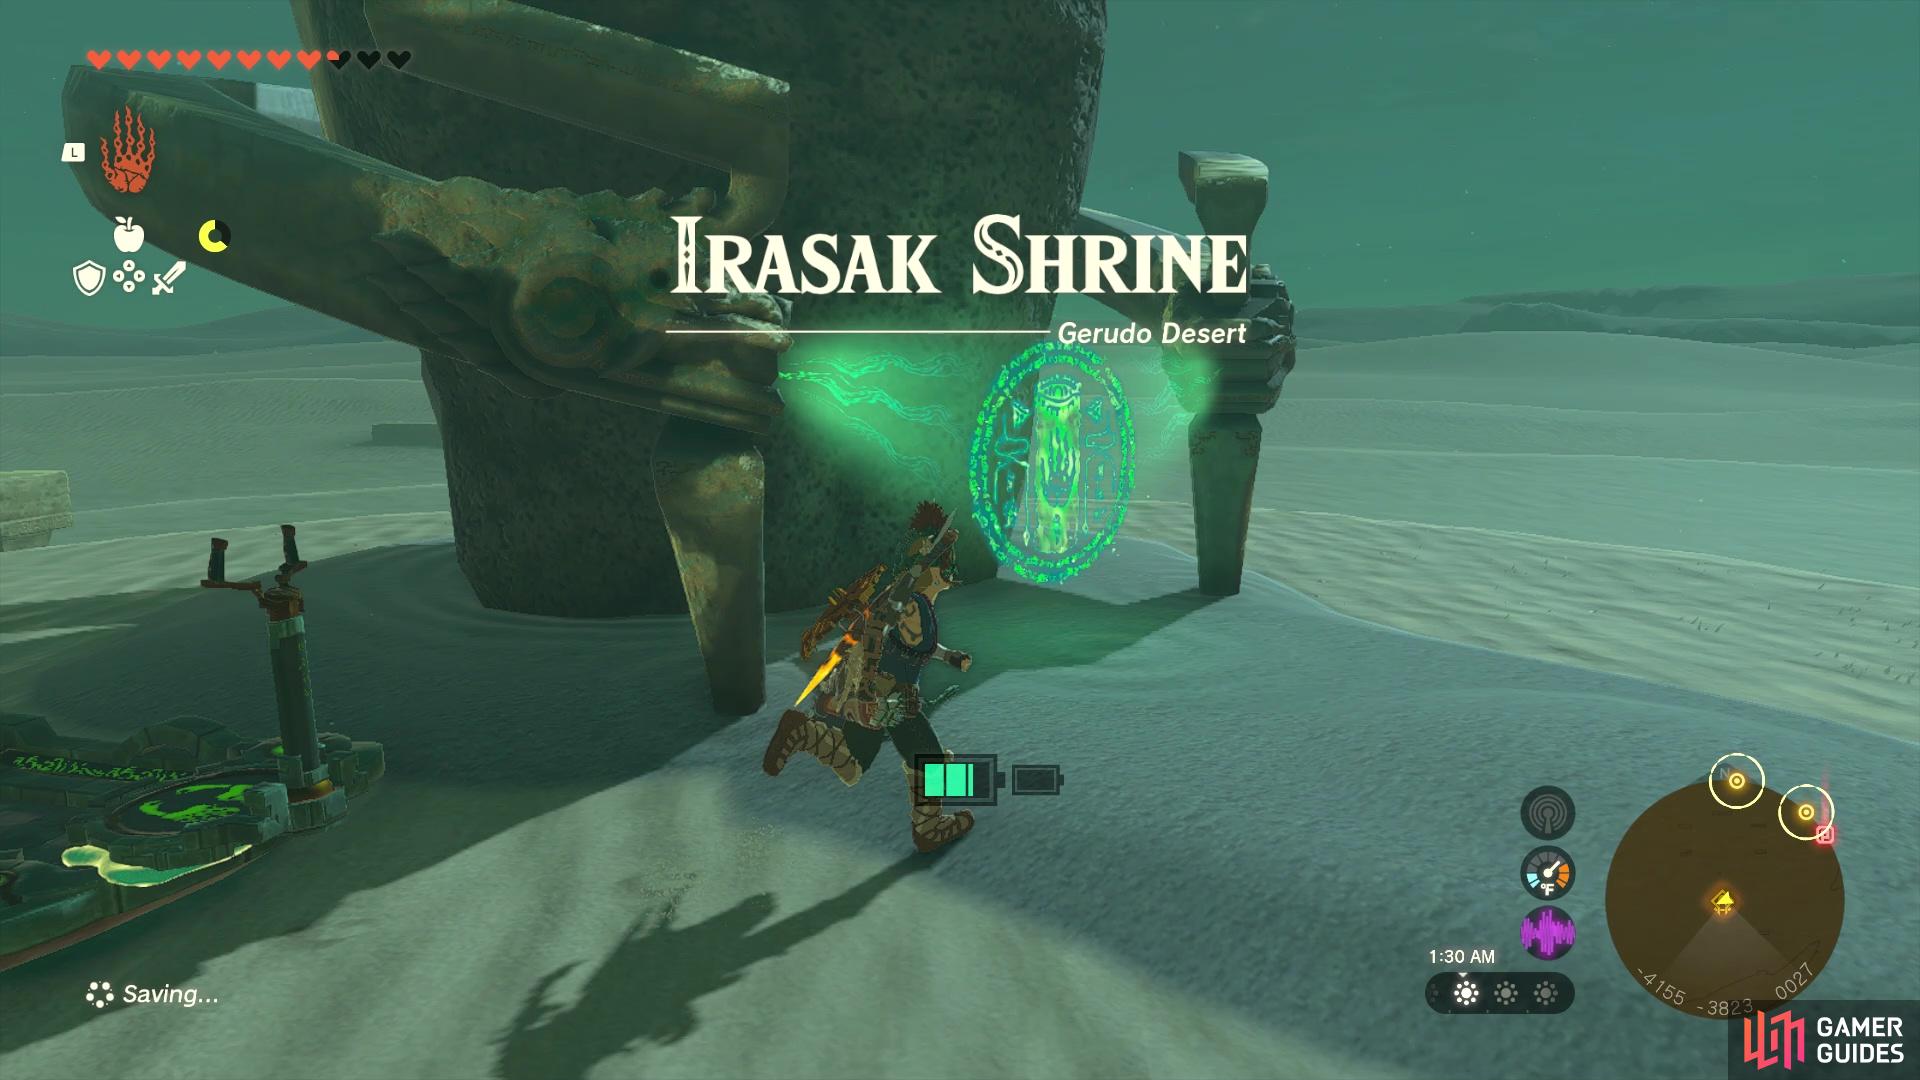
Some Shrines in The Legend of Zelda: Tears of the Kingdom are not about the puzzle inside them, but rather the puzzle in unlocking the Shrine itself. One such case is the Irasak Shrine, located in the !Gerudo Desert. Getting to it can be a bit of a hassle, but once you do, the Light of Blessing will be pretty much given to you. This page will detail the easiest way to reach the Irasak Shrine.
The Irasak Shrine is located just southeast of the Lightning Temple.
Where to Find the Irasak Shrine in Tears of the Kingdom
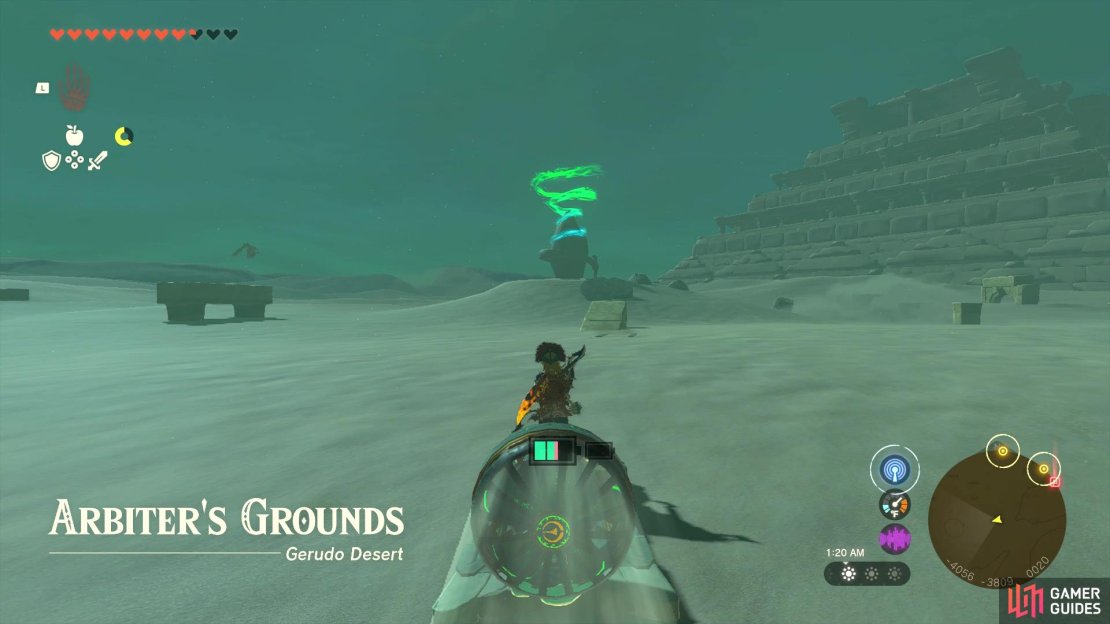
![]() Irasak Shrine is located just southeast of the Lightning Temple, at an area called Arbiter’s Grounds. When you arrive there, though, you will notice that the shrine is surrounded by moving sands. If you’ve never stepped in this before, do so and you’ll be quick to notice that it quickly drains your stamina. There are a few ways you can go about getting to this shrine, though, depending on how you go about things.
Irasak Shrine is located just southeast of the Lightning Temple, at an area called Arbiter’s Grounds. When you arrive there, though, you will notice that the shrine is surrounded by moving sands. If you’ve never stepped in this before, do so and you’ll be quick to notice that it quickly drains your stamina. There are a few ways you can go about getting to this shrine, though, depending on how you go about things.
How to Reach the Irasak Shrine
A little northeast of the shrine is the Southern Oasis Training Area, where you will find some stuff to construct a vehicle. It should be noted that a wooden board with a Fan attached won’t work here, as it can’t move over the sand. However, a Sled should work better, so you can definitely try that. It might also be possible to go on foot, but you’ll have to do a combination of climbing to the top of the various ruins, then trying to not run out of stamina in the moving sands. It’s not the best method, but if it works, then it works. The more stamina you have for this, the more effective it will be.
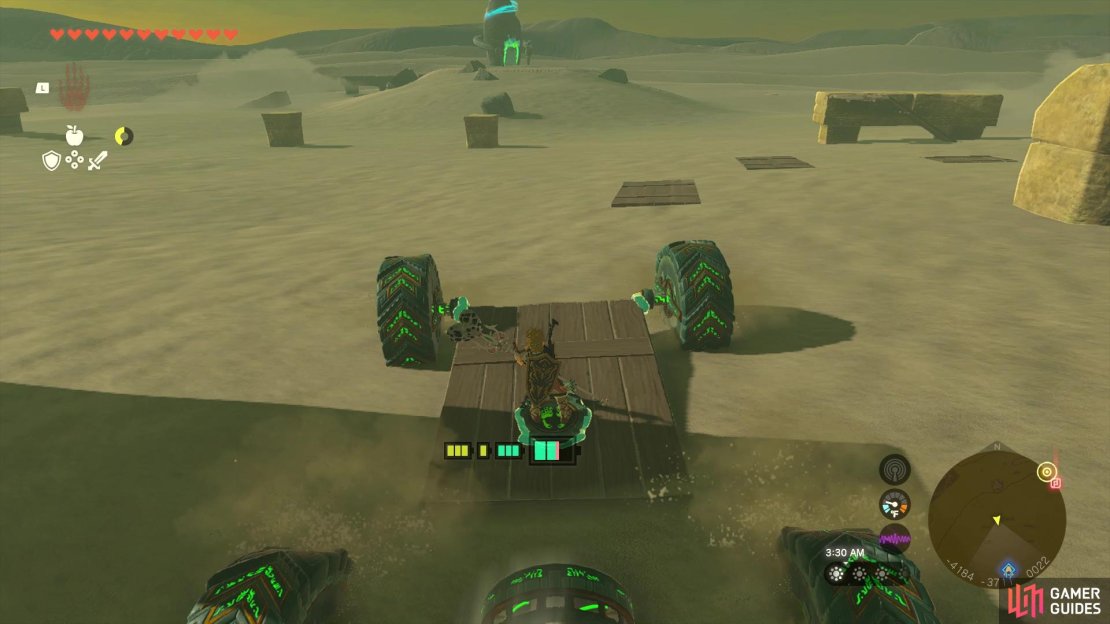
(1 of 4) A Sled with a Fan on it is one way you can get to this shrine.
By far, the simplest method, though, will be to glide down from the !Lightning Temple. If you’ve finished it, then you will want to get to the top of the place, on the outside, of course. If you’ve finished it, fast travel to there, then head to the nearby room with the Construct. You should be able to ![]() Ascend in here, which will put you outside of the temple. From there, it’s just a matter of climbing and using Ascend to reach the top. If you’ve never been to the top before, there is a chest up here, as well as some
Ascend in here, which will put you outside of the temple. From there, it’s just a matter of climbing and using Ascend to reach the top. If you’ve never been to the top before, there is a chest up here, as well as some ![]() Ore Deposits.
Ore Deposits.
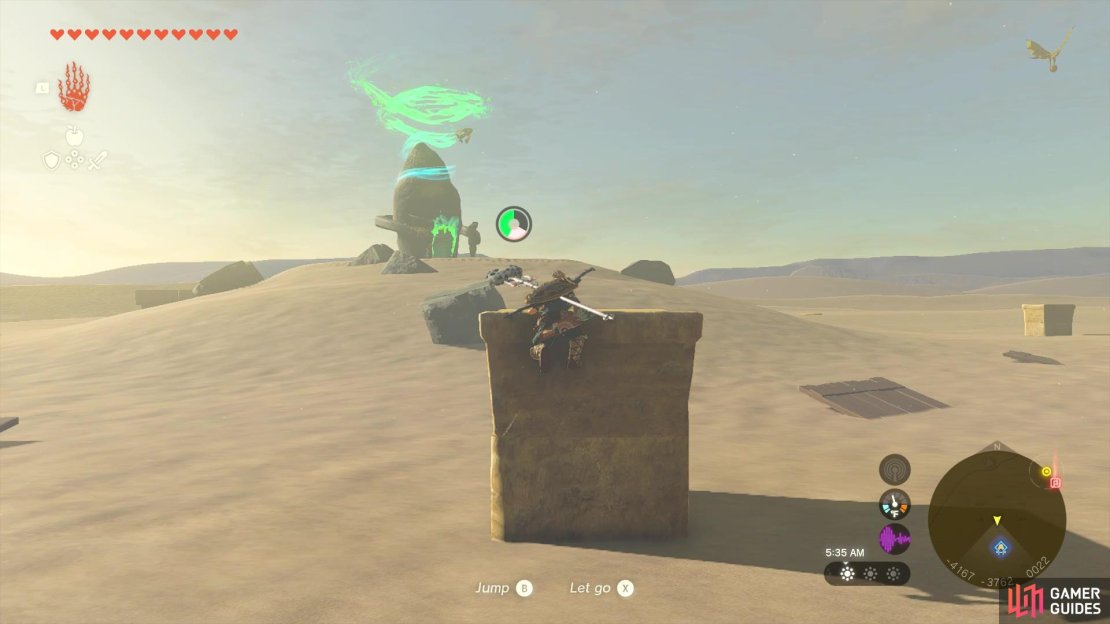
Once you’re at the top of the !Lightning Temple, locate the shrine in the distance and begin gliding to it. Even if you’ve never upgraded your stamina, you should just have enough to get to the shrine. Note that there is an ![]() Aerocuda flying close to the shrine, so it may (or may not) come after you while gliding down to it. Whichever way you get to the shrine, head inside and open the chest in front of you for a
Aerocuda flying close to the shrine, so it may (or may not) come after you while gliding down to it. Whichever way you get to the shrine, head inside and open the chest in front of you for a ![]() Large Zonai Charge, then head to the altar for the
Large Zonai Charge, then head to the altar for the ![]() Light of Blessing.
Light of Blessing.
No Comments