One of the longest quests you will encounter in the main story is ![]() Entangled. That’s due to how strangely the mission is structured and the fact that you will be dealing with two different versions of the same lab. This is a harder mission to complete, as there are a lot of enemies, and it can take a bit to get the hang of using distortions. The guide below is here to help you navigate the Nishina
Entangled. That’s due to how strangely the mission is structured and the fact that you will be dealing with two different versions of the same lab. This is a harder mission to complete, as there are a lot of enemies, and it can take a bit to get the hang of using distortions. The guide below is here to help you navigate the Nishina ![]() Research Lab and ensure that you save both universes for the maximum amount of rewards.
Research Lab and ensure that you save both universes for the maximum amount of rewards.
Entangled will start shortly after you find the strange distress signal from Freya III.
How to Start Entangled
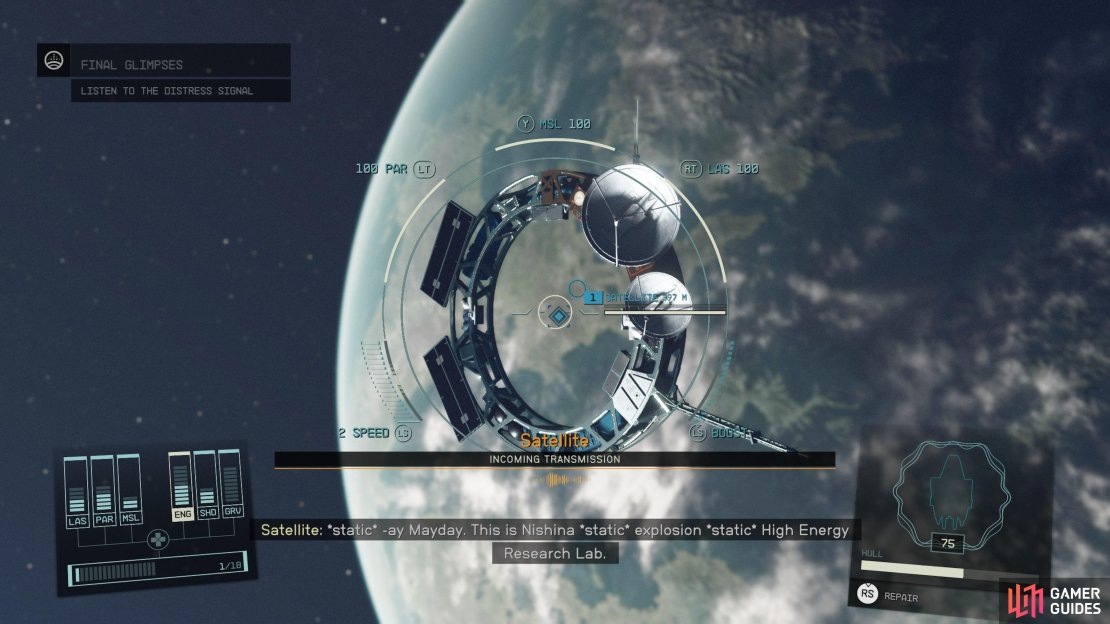
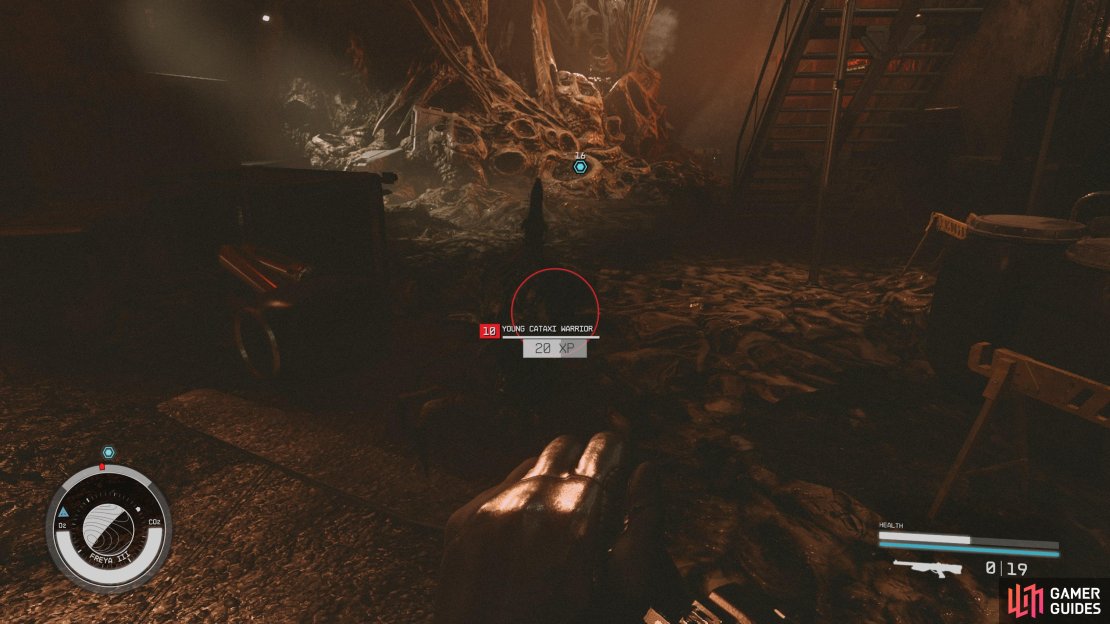
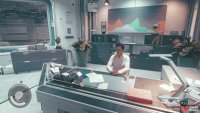
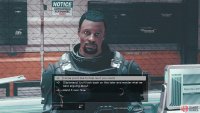
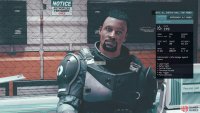
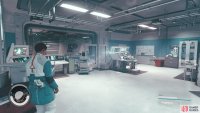
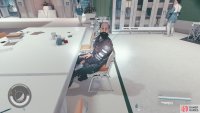
Entangled is a hidden quest as it’s tucked inside ![]() Final Glimpses. When you go to get the artifact on Freya III a distress signal will pop up. When you land at Nishina Research Lab and go inside, you will meet a security guard, Ethan. As he’s taking through the lab, the screen will flash and you will be in a destroyed version of the same room. Several enemies will come at you called Cataxi Warriors. After this, you will warp back to the normal lab and Entangled will already be triggered.
Final Glimpses. When you go to get the artifact on Freya III a distress signal will pop up. When you land at Nishina Research Lab and go inside, you will meet a security guard, Ethan. As he’s taking through the lab, the screen will flash and you will be in a destroyed version of the same room. Several enemies will come at you called Cataxi Warriors. After this, you will warp back to the normal lab and Entangled will already be triggered.
How to Navigate Nishima Research Lab
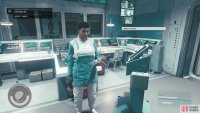
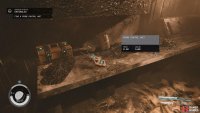
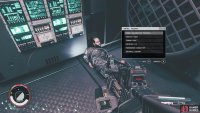
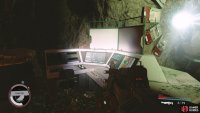
Before you get started, you should note that you can’t bring a companion with you during this quest, so you will be fighting on your own for most of the mission. The mission starts off with you warping back to the normal universe and attempting to follow Ethan to speak with Director Patel. By the time you reach the Work Room, you will flip again. This time you will need to take out several Cataxi and head to the floor below. Here you will meet a lone NPC named Rafael as you talk to him, you will shift again. Now that you’re back, go into the director’s room. As you go around the corner, you will shift back, and head through the decimated lab to the director’s room, you will see a skeleton here, with an optional journal. Continue pushing forward and you will swap back.
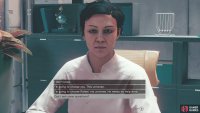
You can now finish following Ethan and speak with Director Patel. She will be at her desk, speak with her about what’s happening and Rafael. You will soon learn that there was an incident that killed Rafael in this universe. Patel will get Maria to take you to Fabrication. Of course on your way there you will swap back, and follow the marker to the lab. You will go down some steps, and then run into Rafael again. He will hand you the Nishina Pantry Keycard. Use it to go through the pantry and use the key on it. Soon after you start inside the new zone, you will find yourself back in the lab. Now head through the main hall to move back to the destroyed universe again.
Follow the marker to find Rafael once again. Shortly after the encounter, you will quickly warp again, only this time you will be in the locked security room with Ethan. Speak to him when you are there, you have the option to persuade him to give him a gun and some ammo. Head through the door Ethan unlocked towards the main hall. As you may have guessed, you will shift universes once again. Follow the marker up the stairs towards the Fabrication Lab to shift back to the normal lab. You can now speak with Maria. She will begin to interact with the frequencies in the lab and will create a portal. Use it to enter the other universe.
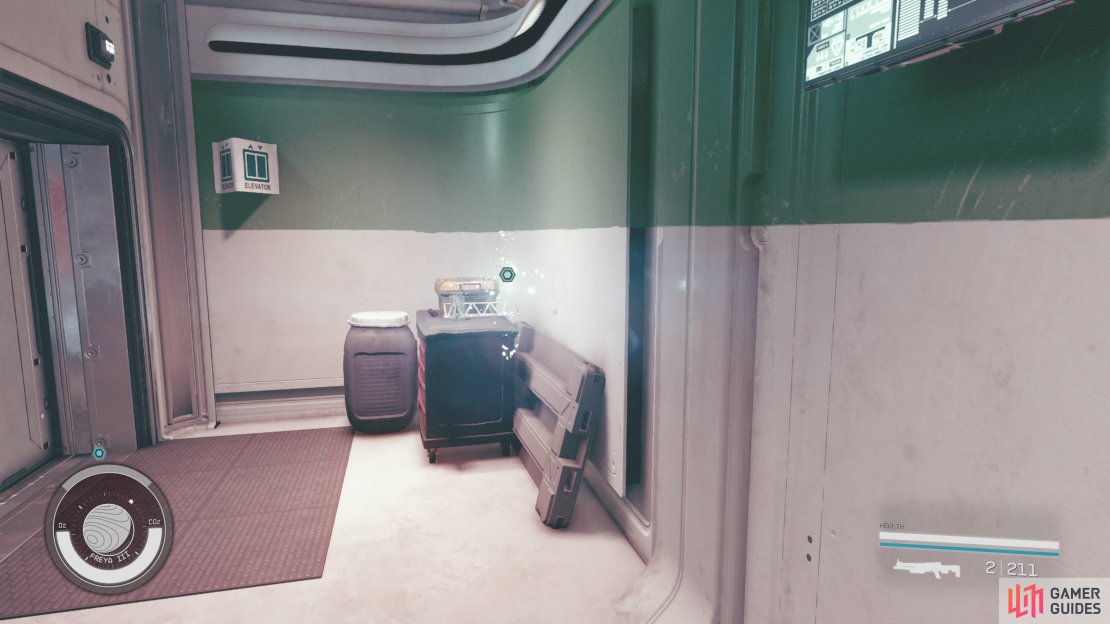
(1 of 13) The first distortion happens suddenly and you will be jumped by Cataxi.
Grab the Probe Control Unit in the destroyed lab and head back through the distortion. From here on out you will control when you shift. You will now need to speak with Maria and then Director Patel. Before you go back into the destroyed lab, go to the clinic and speak with Dr. Tatiana Barakova for free supplies. Head to the non-working elevator and use the distortion to switch universes. You will be able to use the elevator in the destroyed lab to start making your way to the artifact. Head into the marked room and grab the Nishina Particle Lab Keycard. You will see a distortion nearby, warp back to the normal lab, and use the keycard to open the door.
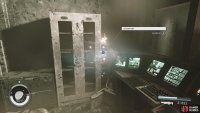
Opening the door will trigger several turrets and robots to activate, there should be a camera that you can destroy nearby that triggers the attack. hang back and take them out. The turrets will quickly chip away at your health if you don’t. You will want to take the door on the right and deal with the turrets in the hallway ahead. Go into the room on the right at the end and you will see another distortion, use it to make your way to the ruined lab again. Head to the marker, it will lead to a destroyed computer, and use the nearby distortion to change back to the normal lab. You will now use the computer to disable some of the lockdown. You will want to head towards the Particle Accelerator. You will soon find another distortion as your path in the normal lab is blocked.
Follow the marker to the next distortion, when you use it you will be transported into a large room with several turrets and robots. Take cover and eliminate them before proceeding onward. Once they’re defeated, head toward the quest marker, and you will find another distortion. Head through the now unblocked door to find the Nishina Utility Closet Key. Use the nearby distortion to get back to the lab, go to the utility closet, use the key to open it, and use the distortion inside.
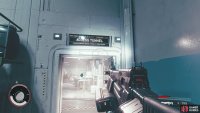
Once here, you will see another marked computer, head towards the distortion in the room to warp back to the intact lab. You will now use this computer to disengage more of the lockdown. Head through the new unlocked path into the Access Tunnel and use the distortion there. You will now start proceeding toward the lab with the artifact. Follow the marker into the cave and be ready as it’s swarmed with Cataxi waiting to pounce on you. Follow the tunnel until you go up a slope, and you will see the next distortion, head through it. Follow the quest marker through the corridor and be careful as there is a camera here that will activate defenses.
Follow the marker to the next distortion, you will once again be using it to get to a computer. Once in the room with the marked device, use the nearby distortion to return to the normal lab. You will now use the computer to disengage even more of the lockdown. Head towards the High Energy Research lab, you will encounter another camera here, meaning you may need to do some fighting if you don’t take it out. Once you go up the stairs, you will find another distortion in front of the locked door that leads to the High Energy Research Lab, use it to enter the area. From here on out you will need to decide which universe to save. Of course, choosing Rafael’s makes things a bit more hostile as you will both need to get out of the lab and onto your ship with a herd of angry Cataxi around you. Luckily, if you don’t want to choose, there’s a way to save both and get the maximum amount of rewards possible in the quest.
How to Save Both Nishina Research Station Universes
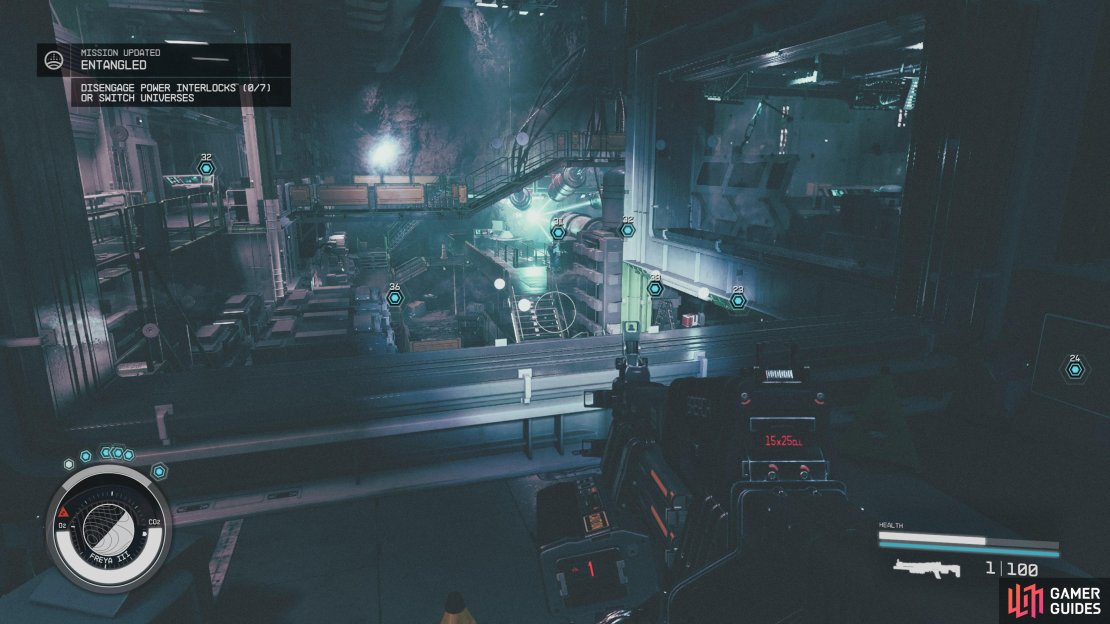
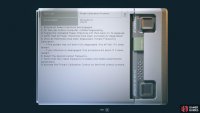
Once you are in the lab with the artifact, seven quest markers will pop up. Ignore them all, and find a distortion to transport you back to the normal lab once you get near the markers. Be wary as this area is full of Cataxi and when you warp back, turrets and robots will be assaulting you. It’s best to go ahead and wipe out all the enemies in the area to make your job easy. Once you’re done mopping up the enemies and in the normal lab, head to the bottom right corner near the stairs. You should see the body of Rafael, and loot it to find the Probe Calibration Protocol. This will teach you how to save both worlds, here are the steps you need to take to do so.
- Head into the lab up the steps from Rafael’s body and use the computer in both universes.
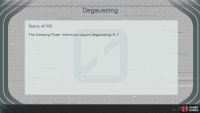
- Choose the Degaussing process in both worlds.
- Each computer will show you what number switches to turn off and back on.
- Go to the indicated switches to turn them off and right back on in both universes.
- Head back to the computer in both universes and proceed with the Degaussing process.
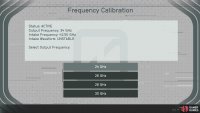
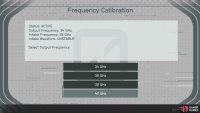
- You will now be able to change the frequency, the ruined lab should be set to 24 GHz and the intact lab needs to be 40 GHz.
- You will now need to interact with the computers near the artifact in both labs.
(1 of 8) Seven switches will be marked for you to press in both universes ignore them.
After completing these steps, your character will pass out and you will wake up in the infirmary with both versions of Rafael. The living one can go on to join your crew if you find him later on in ![]() New Atlantis. For your troubles, you will also receive the following rewards:
New Atlantis. For your troubles, you will also receive the following rewards:
 Experimental Nishina Spacesuit
- Experimental Nishina Helmet
- x2
 Comm Relay
 - Indicite Wafer
- x5
 Tasine
 - x4 Vytinium
If you choose to only save Rafael’s universe you will miss out on the Experimental Nishina Spacesuit and Experimental Nishina Helmet. If you choose to only save Patel’s universe then you will miss out on all the resource goodies. When you save both though, then all of these rewards are yours. If you only want to save one reward, then just choose which one to activate all seven switches in and flip the computer on. After you complete this mission, Final Glimpses will also be complete, as well as, ![]() Unearthed if you’ve already been through NASA. In this case, the next mission you will need to complete is
Unearthed if you’ve already been through NASA. In this case, the next mission you will need to complete is ![]() Revelation.
Revelation.



No Comments