This page offers a guide on how to start and complete the Groundpounder misc mission in Starfield. You’ll find information on how to effectively defeat the Spacer enemies, both in the and in space combat! We also have some advice on how to avoid and potentially fix any bugs you’re having relating to the Groundpounder quest.
How to Start Groundpounder Misc Quest
There are two ways that you can go about beginning this mission. Firstly, whilst you’re out exploring the starfield, you’ll be greeted by a ship that tells you to about a distress signal coming from the Altair system. Where you meet this ship is entirely random, but the location of the distress system is fixed. If you respond to the ship and tell him you’ll go check it out this will begin the Groundpounder mission.
:::image-block-1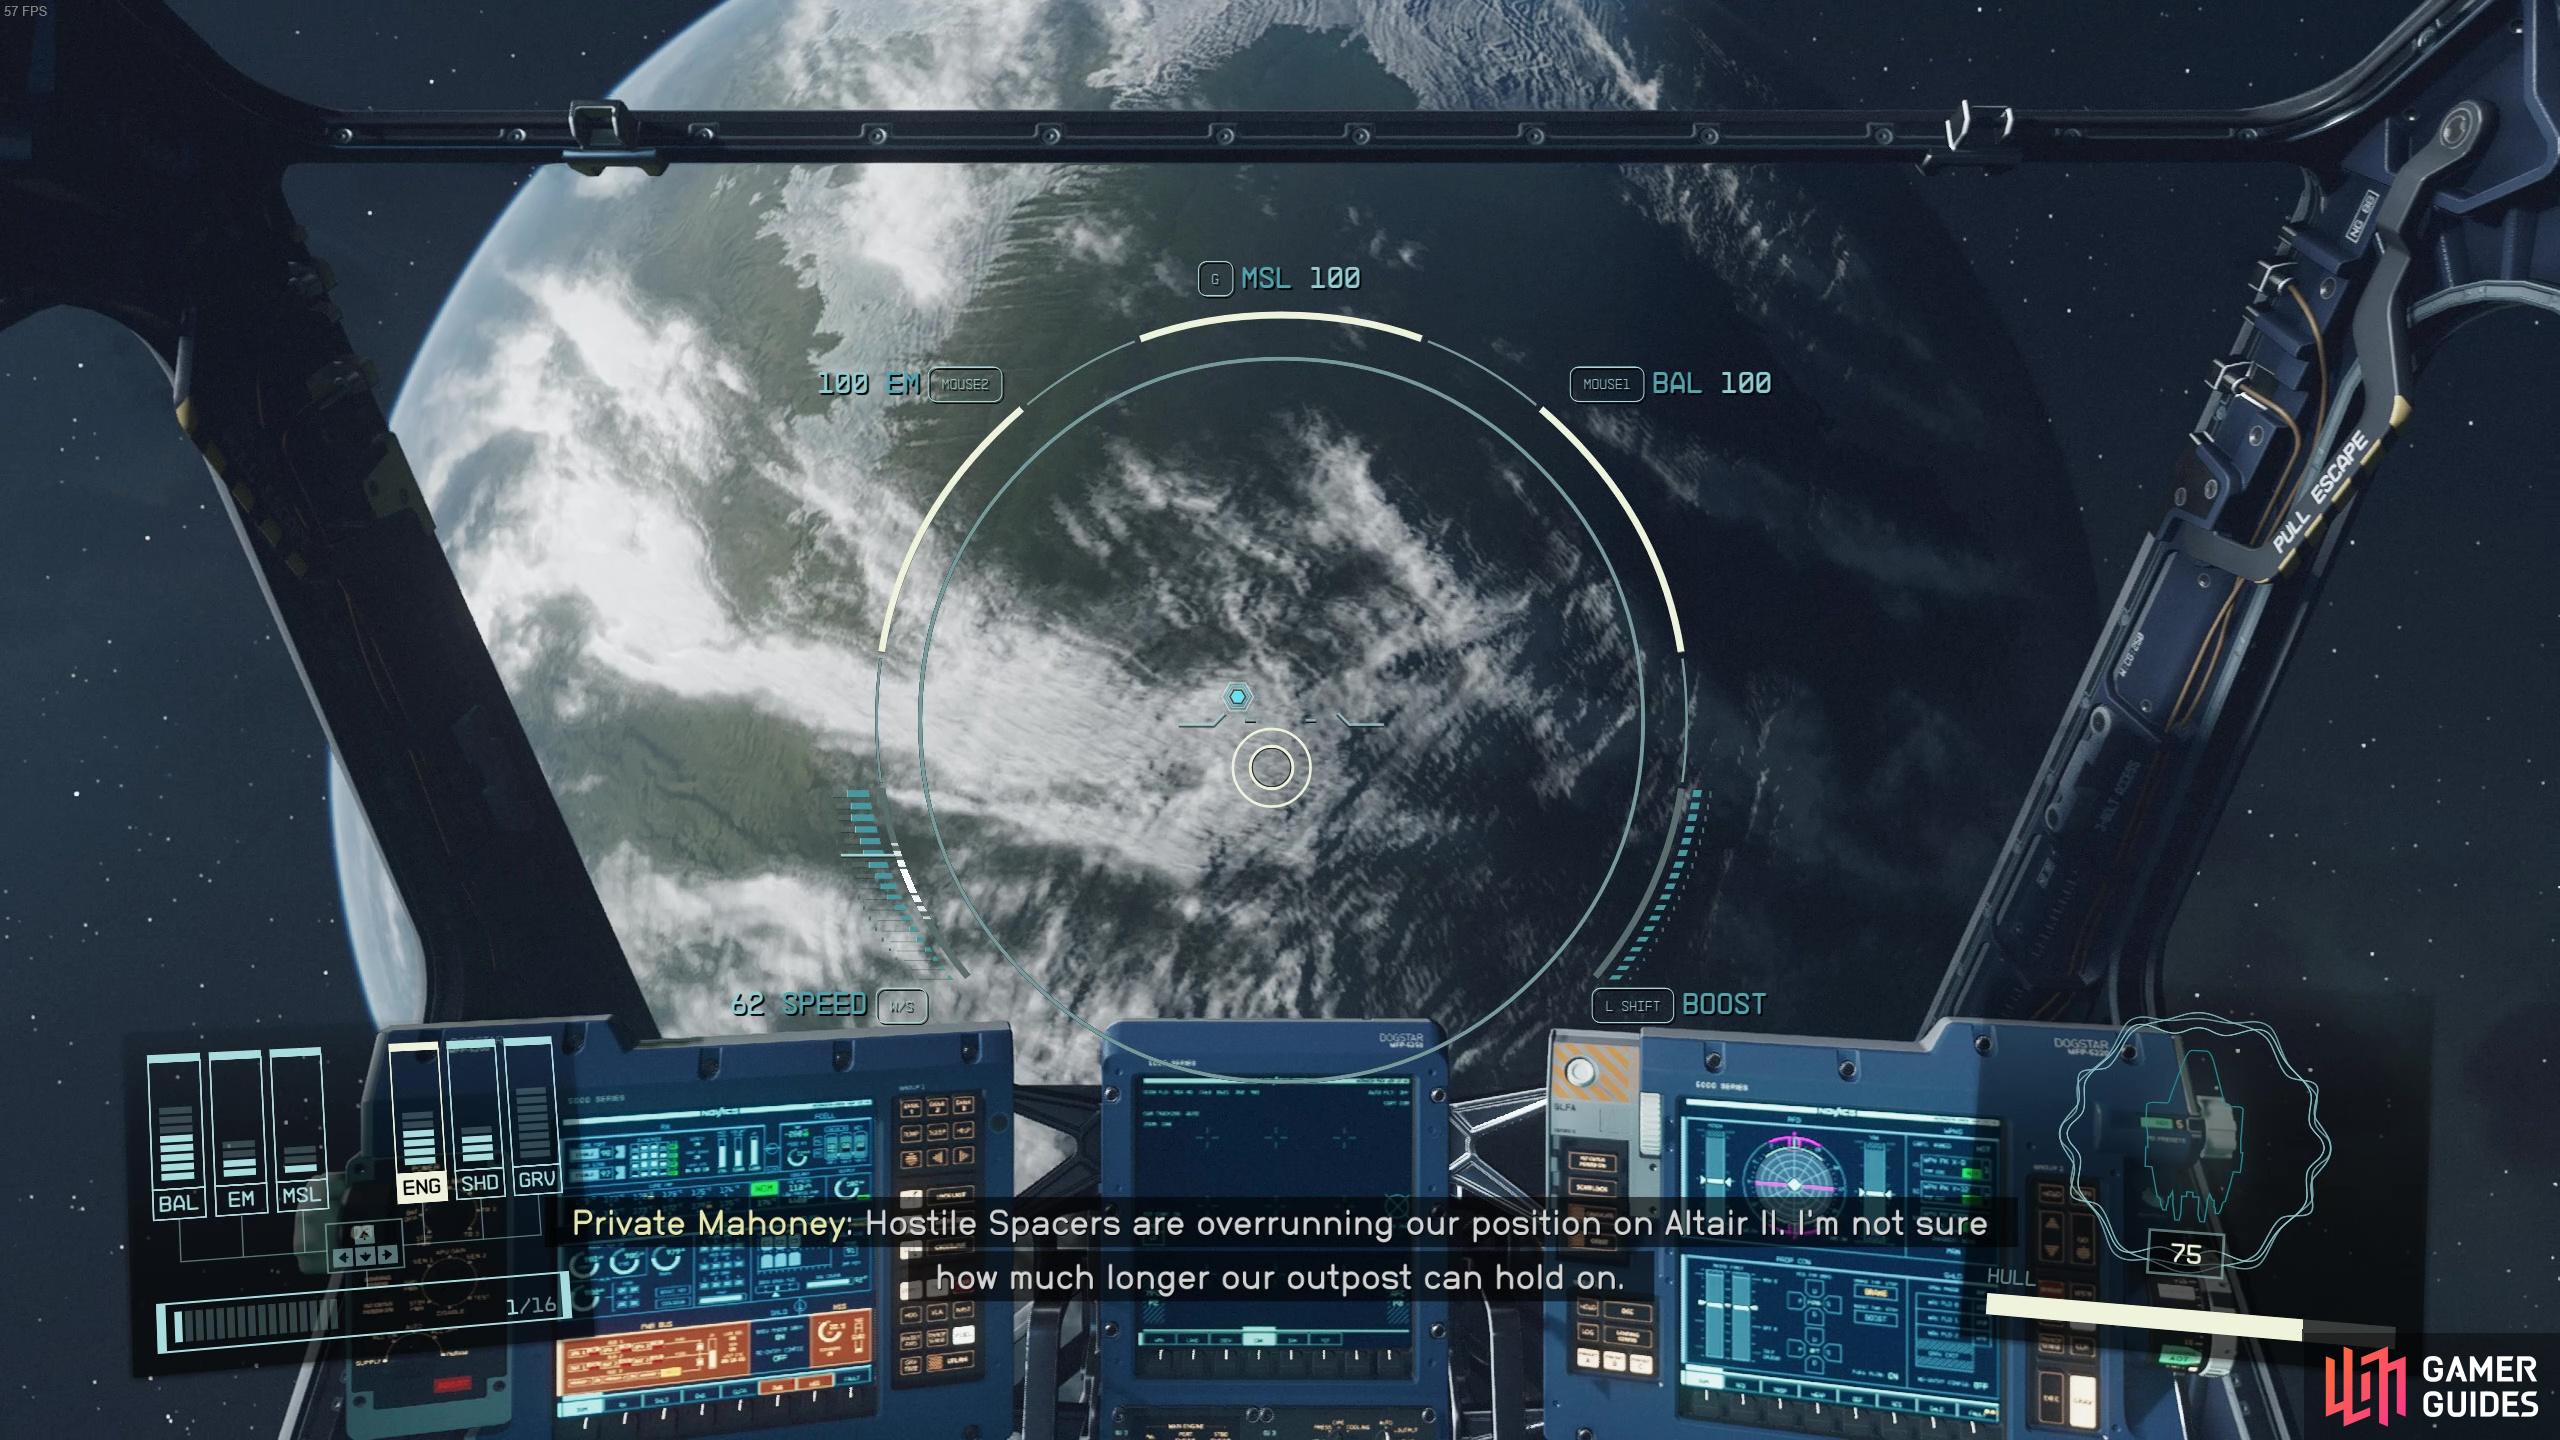
:::
If you don’t want to wait until you get the random encounter, the other way you can begin this quest is by going over to the Altair system straight away. You’ll then hear the distress signal for yourself and this will trigger the Groundpounder mission and add it to your mission log. You can’t actually respond to the distress signal, so you’re gonna need to head down to Altair II, to land at the Research Outpost.
How to Defeat the Spacers at the Research Outpost
Before you exit your ship into the Research Outpost, make sure you have plenty of ammo and med packs. This whole quest is all about fighting and it will go a lot quicker if you have a good gun and plenty of ammo. You can, of course, loot ammo off the Spacers too!
There are several Spacers between where you land and the entrance into the Research Station. There are loads of places to hide, which makes it easy to take cover from shooting, but also makes it tricky to get rid of all the enemies quickly. We found running in with a good melee weapon a pretty effective tool in this area, as there aren’t too many high leveled enemies to deal with.
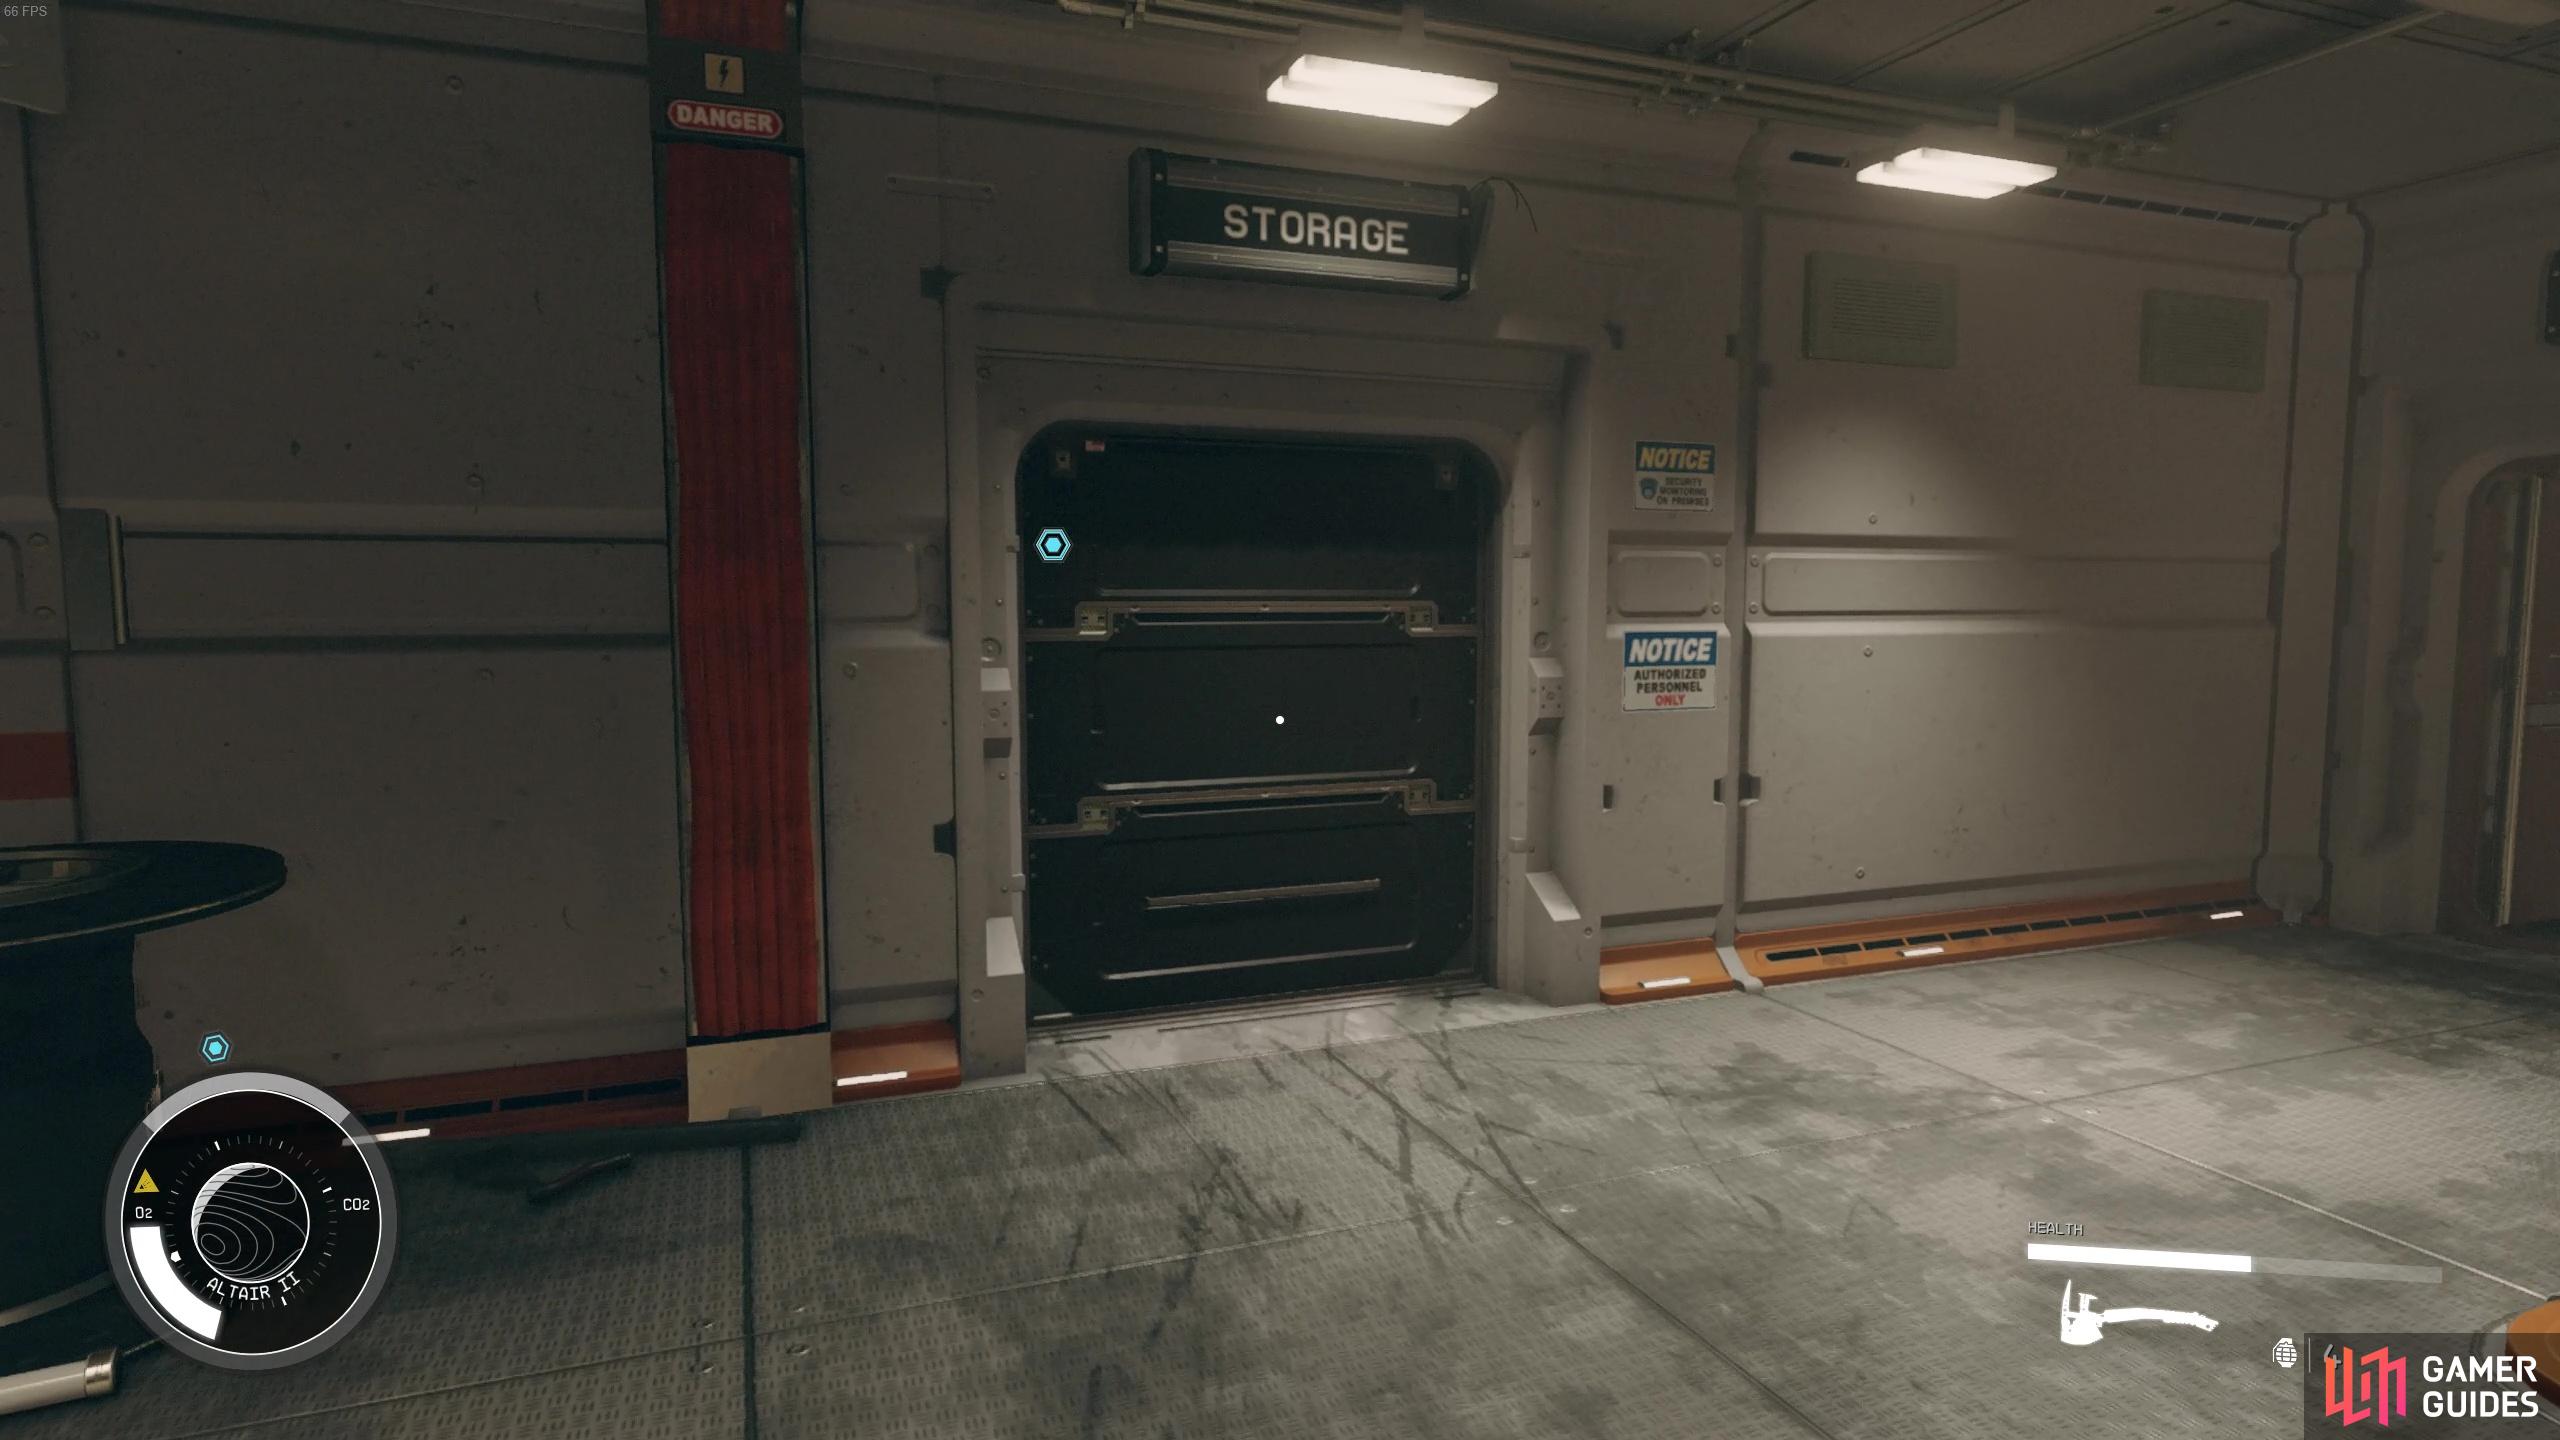
After you’ve defeated all the enemies and looted the area, head over to the entrance into the research station to the south. Once inside, the path through the station is mostly linear, thanks to locked doors and barricades. First, head to the left and proceed through the door labeled “Research 01”. Take another left and you’ll come into more Spacer enemies. After defeating those, take the stairs to find the “Storage” Room. Here you’ll find Private Mahoney, the person who’s been sending out the distress signal.
:::image-block-2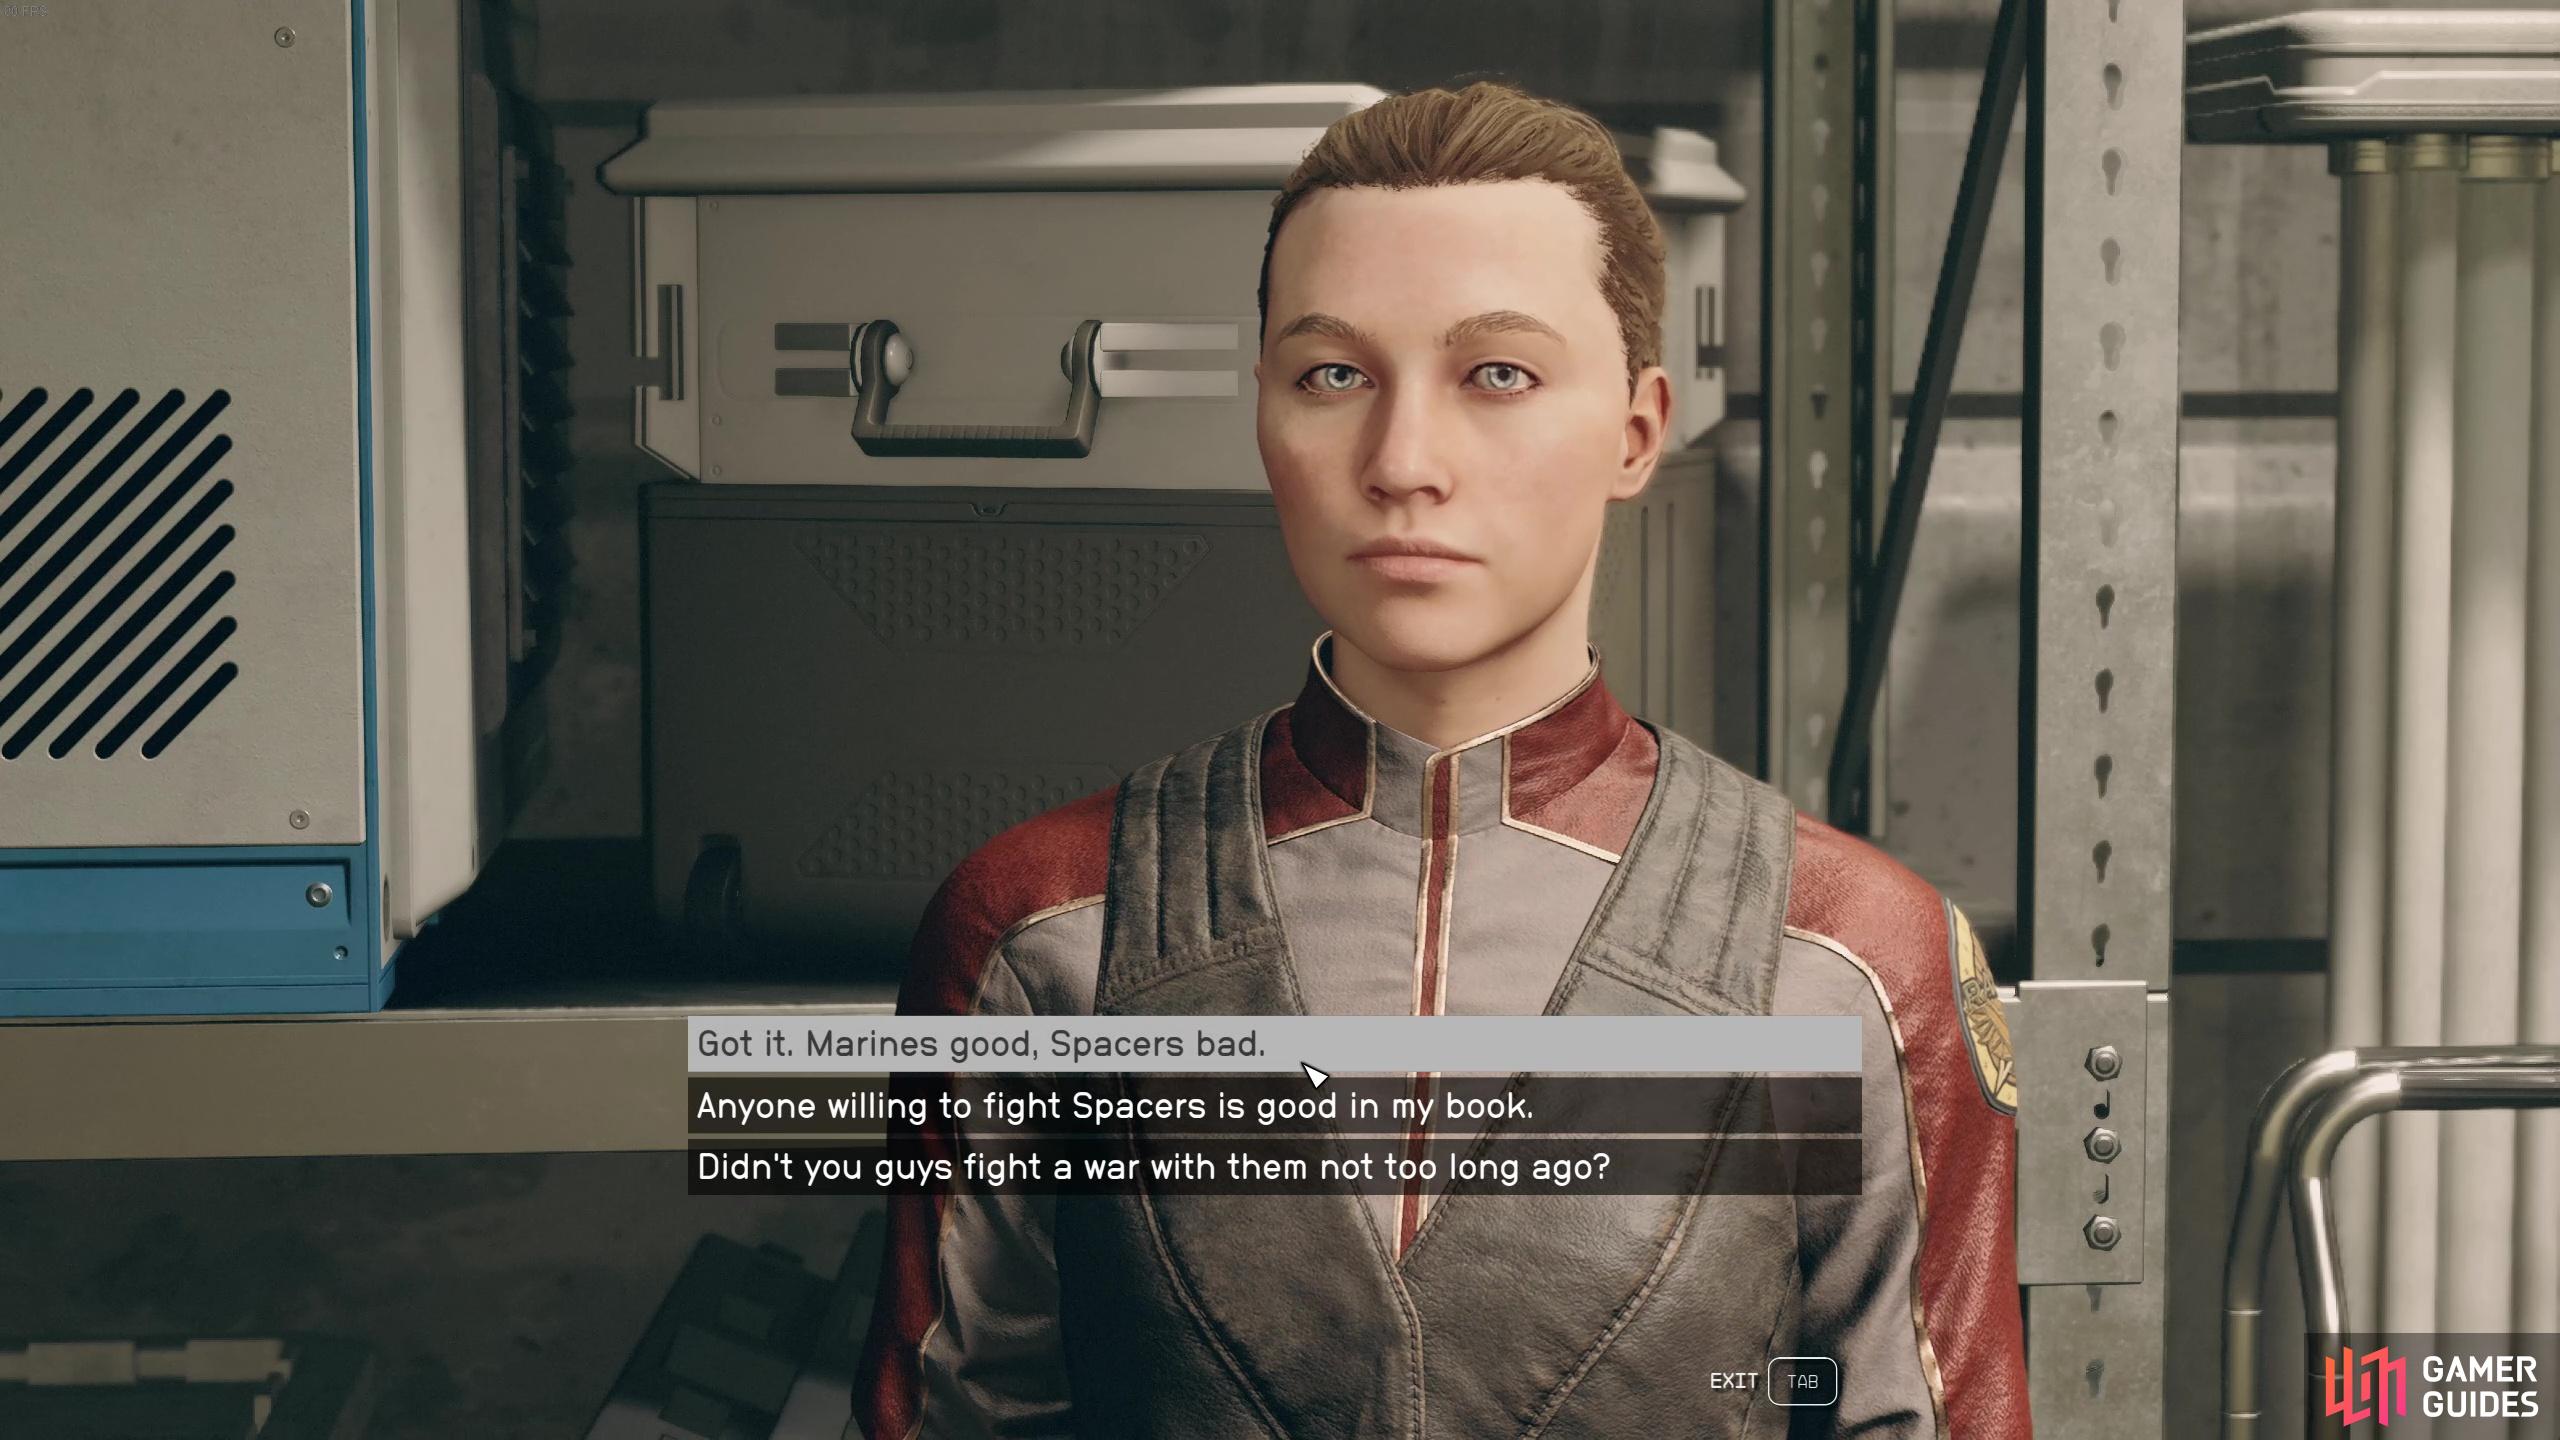
:::
Mahoney mentions that, while the facility belongs to the Freestar Collective, a team of United Colony Marines also responded to the distress call and have been defending the place against the Spacer assault. She also asks players to go relieve the defenders in the Comms Center.
Mahoney asks you to help clear out the Spacers by heading to the Comms Center to find the other defenders. To get to the Comms Center, first head through to the server room to go around a blockade to then find the stairs heading up. At the top of the stairs you’ll find a bunch more Spacers guarding the Comms Center up ahead. You’ll want to make use of the surroundings to duck for cover so you don’t get overwhelmed quickly.
:::image-block-1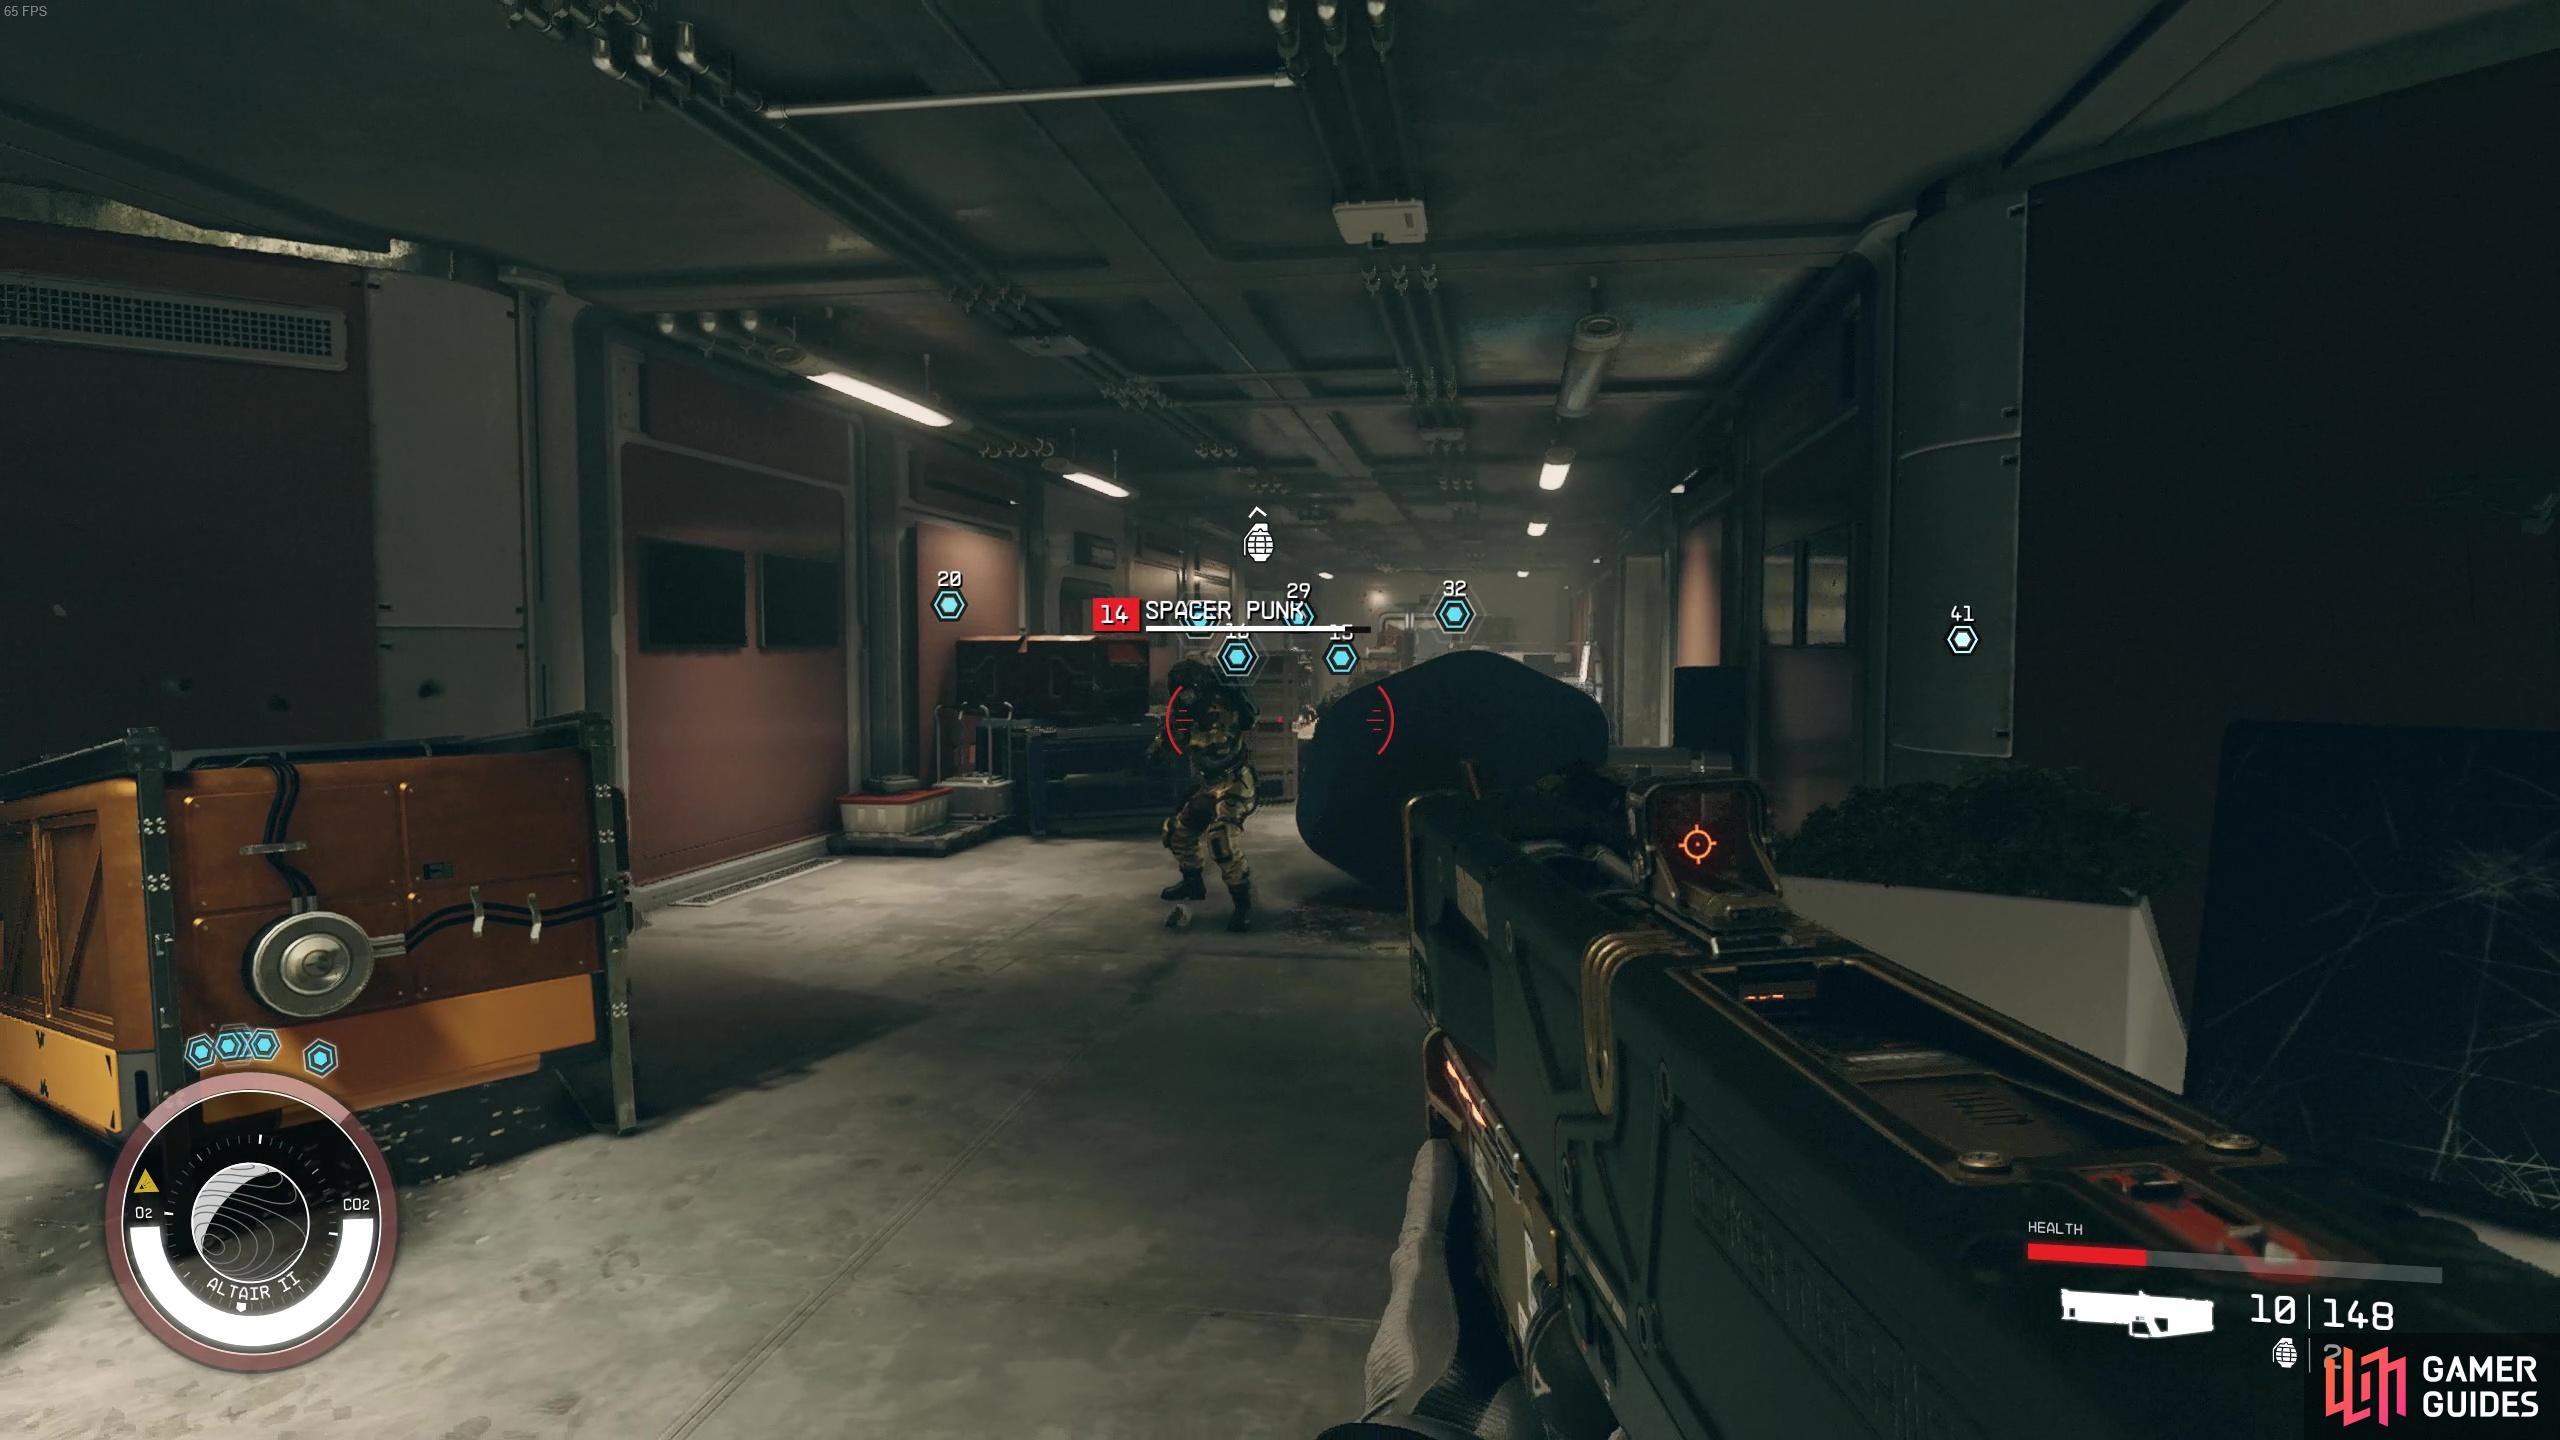
:::
Once you’ve defeated all the Spacers, head into the Comms Center and speak to Corporal Lezama, who’s a part of the UC Marines. He’ll hand you a key and also ask that you find Lieutenant Torres. The door his key opens is back by the stairs you took to reach the Comms Center. You’ll then find another set of stairs to take to continue through the station. You’ll come into a laboratory area where you’ll find even more Spacers. Don’t forget to loot their bodies for more ammo and medical supplies, as well as credits and other miscellaneous resources.
:::image-block-1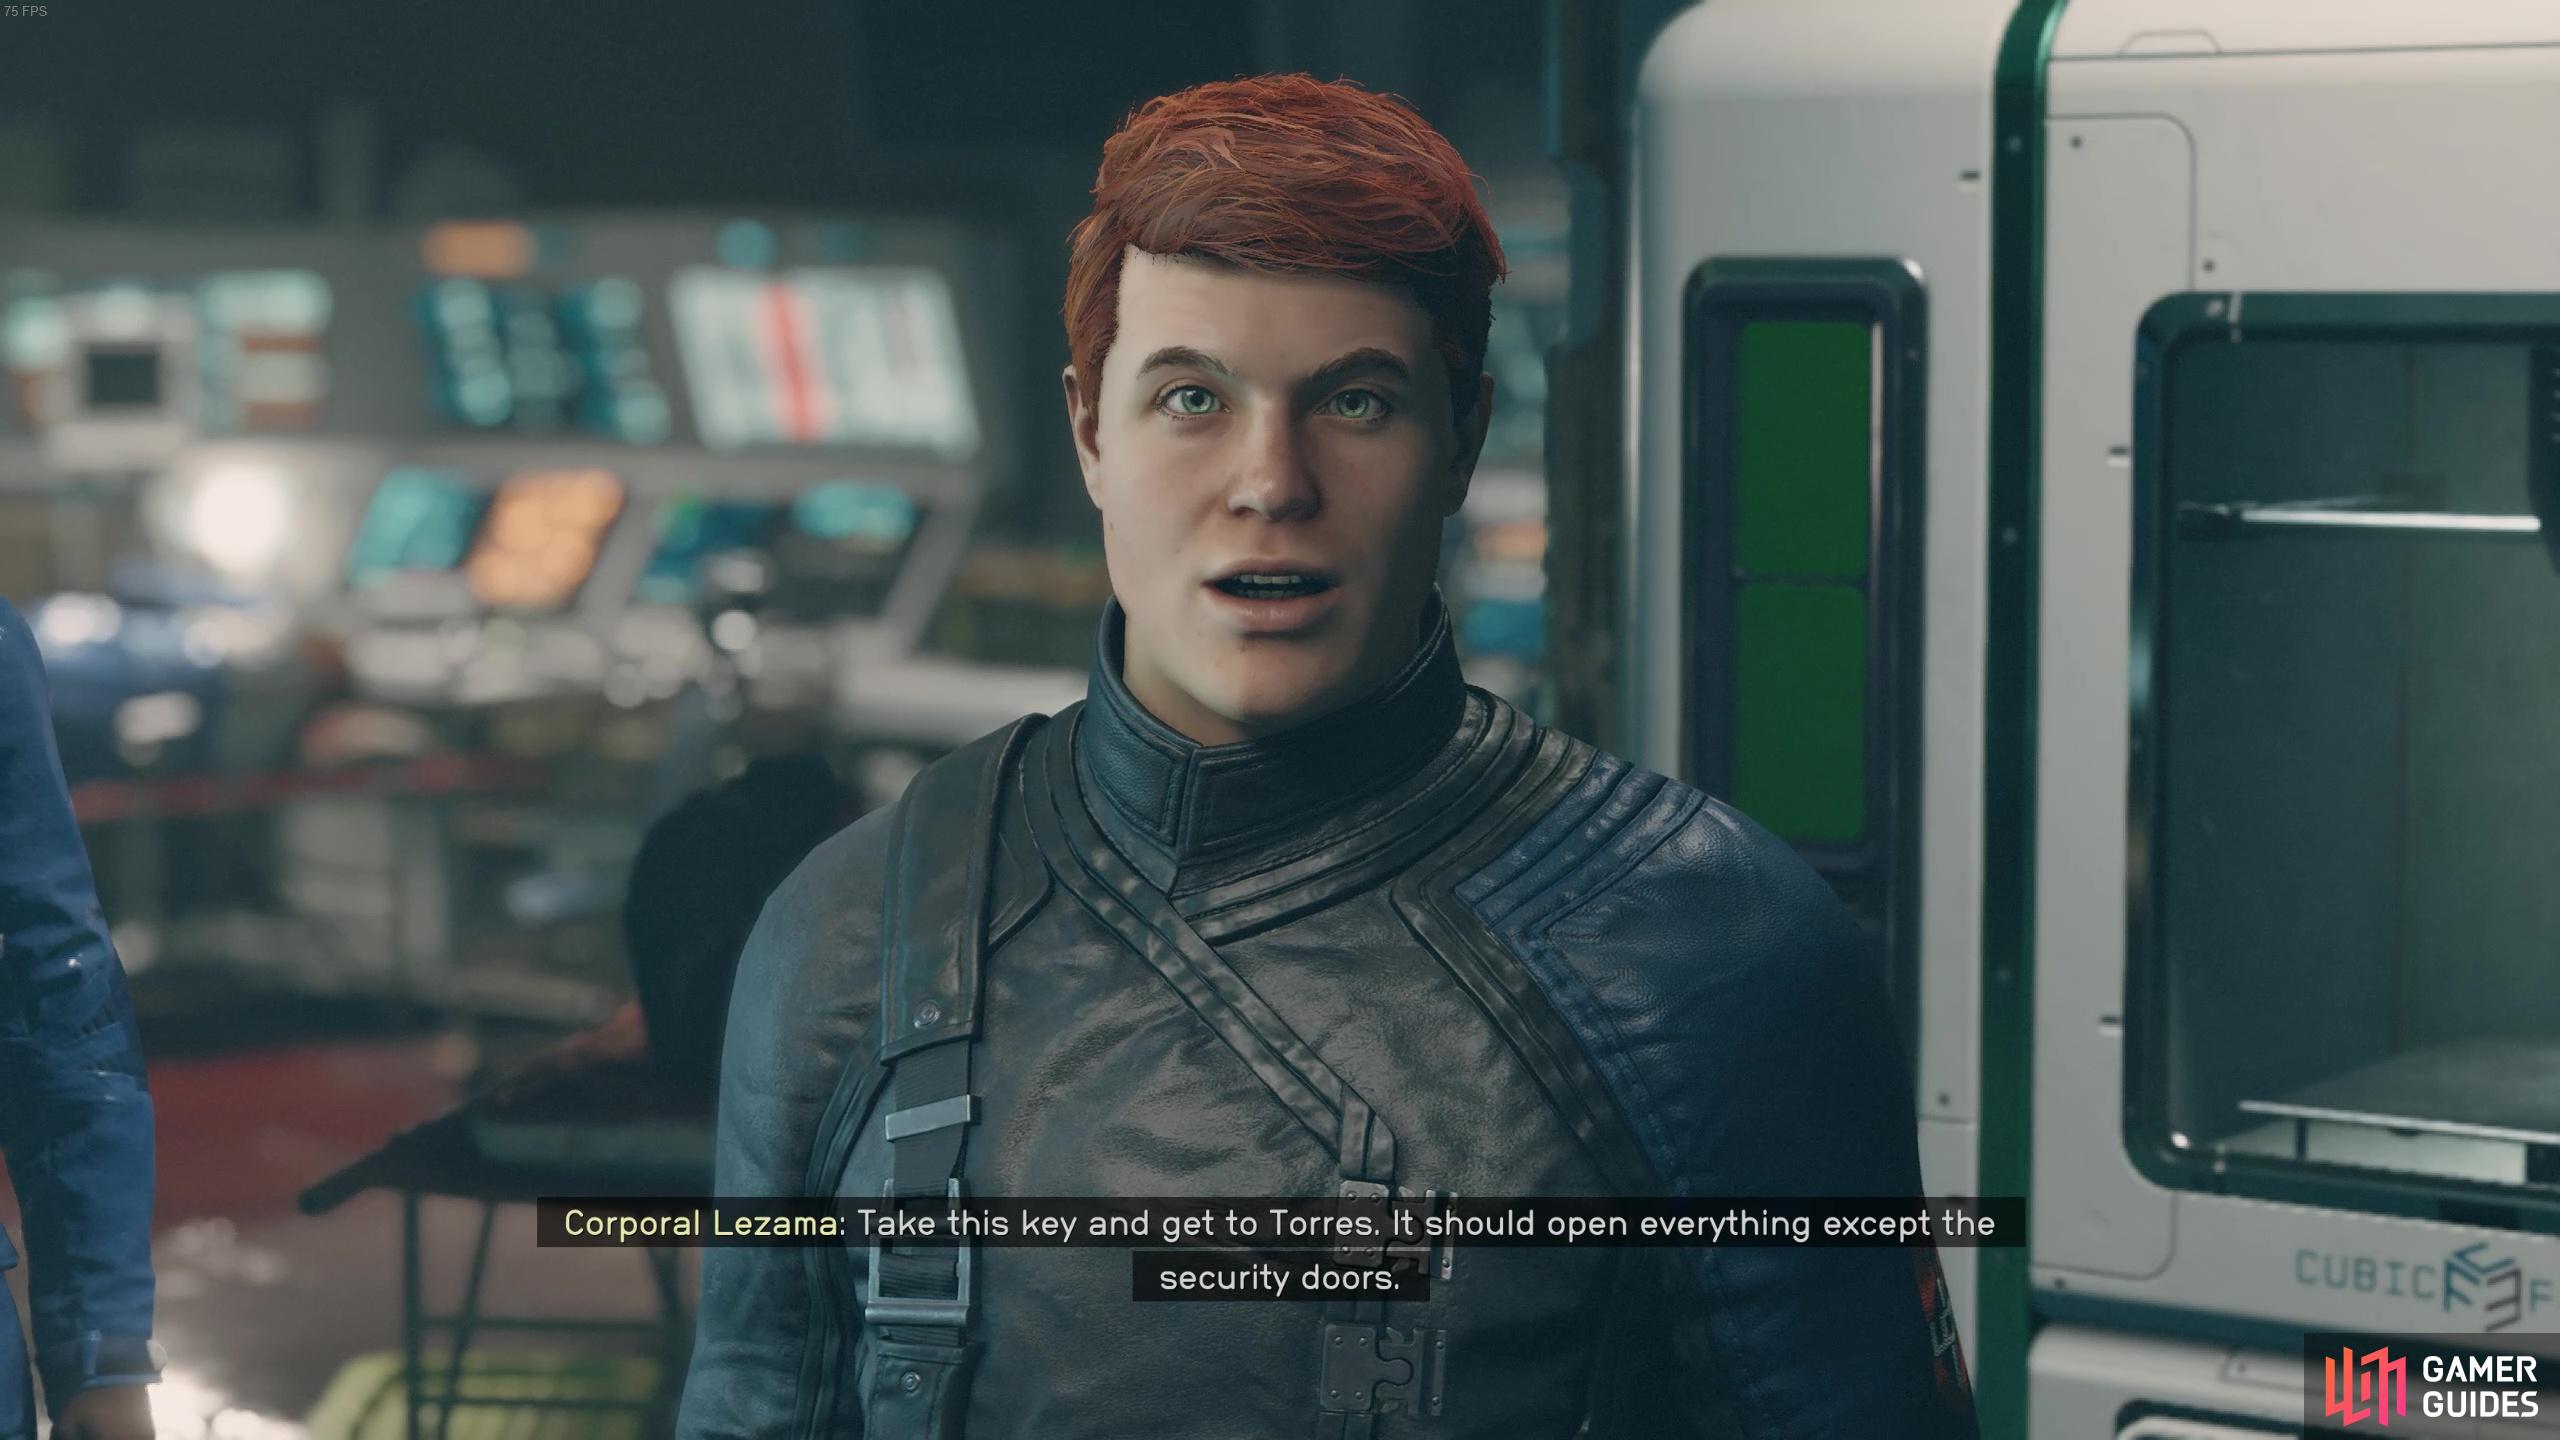
:::
After you’ve cleared out the Spacers again, find the stairs that’ll take you up to the Head of Research Office, which is where you’ll find Lieutenant Torres. He’ll tell you to head over to the office area to help UC Marine Captain Myeong. Before you exit this room, make sure to loot it as you’ll find tons of credstiks and other goodies!
When you enter the Office, you’ll have yet another wave of Spacers to deal with! Before you can speak with Captain Myeong, you’re gonna need to clear the Spacer enemies. Then, when you speak with Captain Myeong, Lieutenant Torres will ask that you head out to another Research Camp on Altair II to deal with the Spacer onslaught there as well. You’ll receive another key that allows you to head out a back door to the outside area again, saving you from having to go all the way back through the station!
:::image-block-1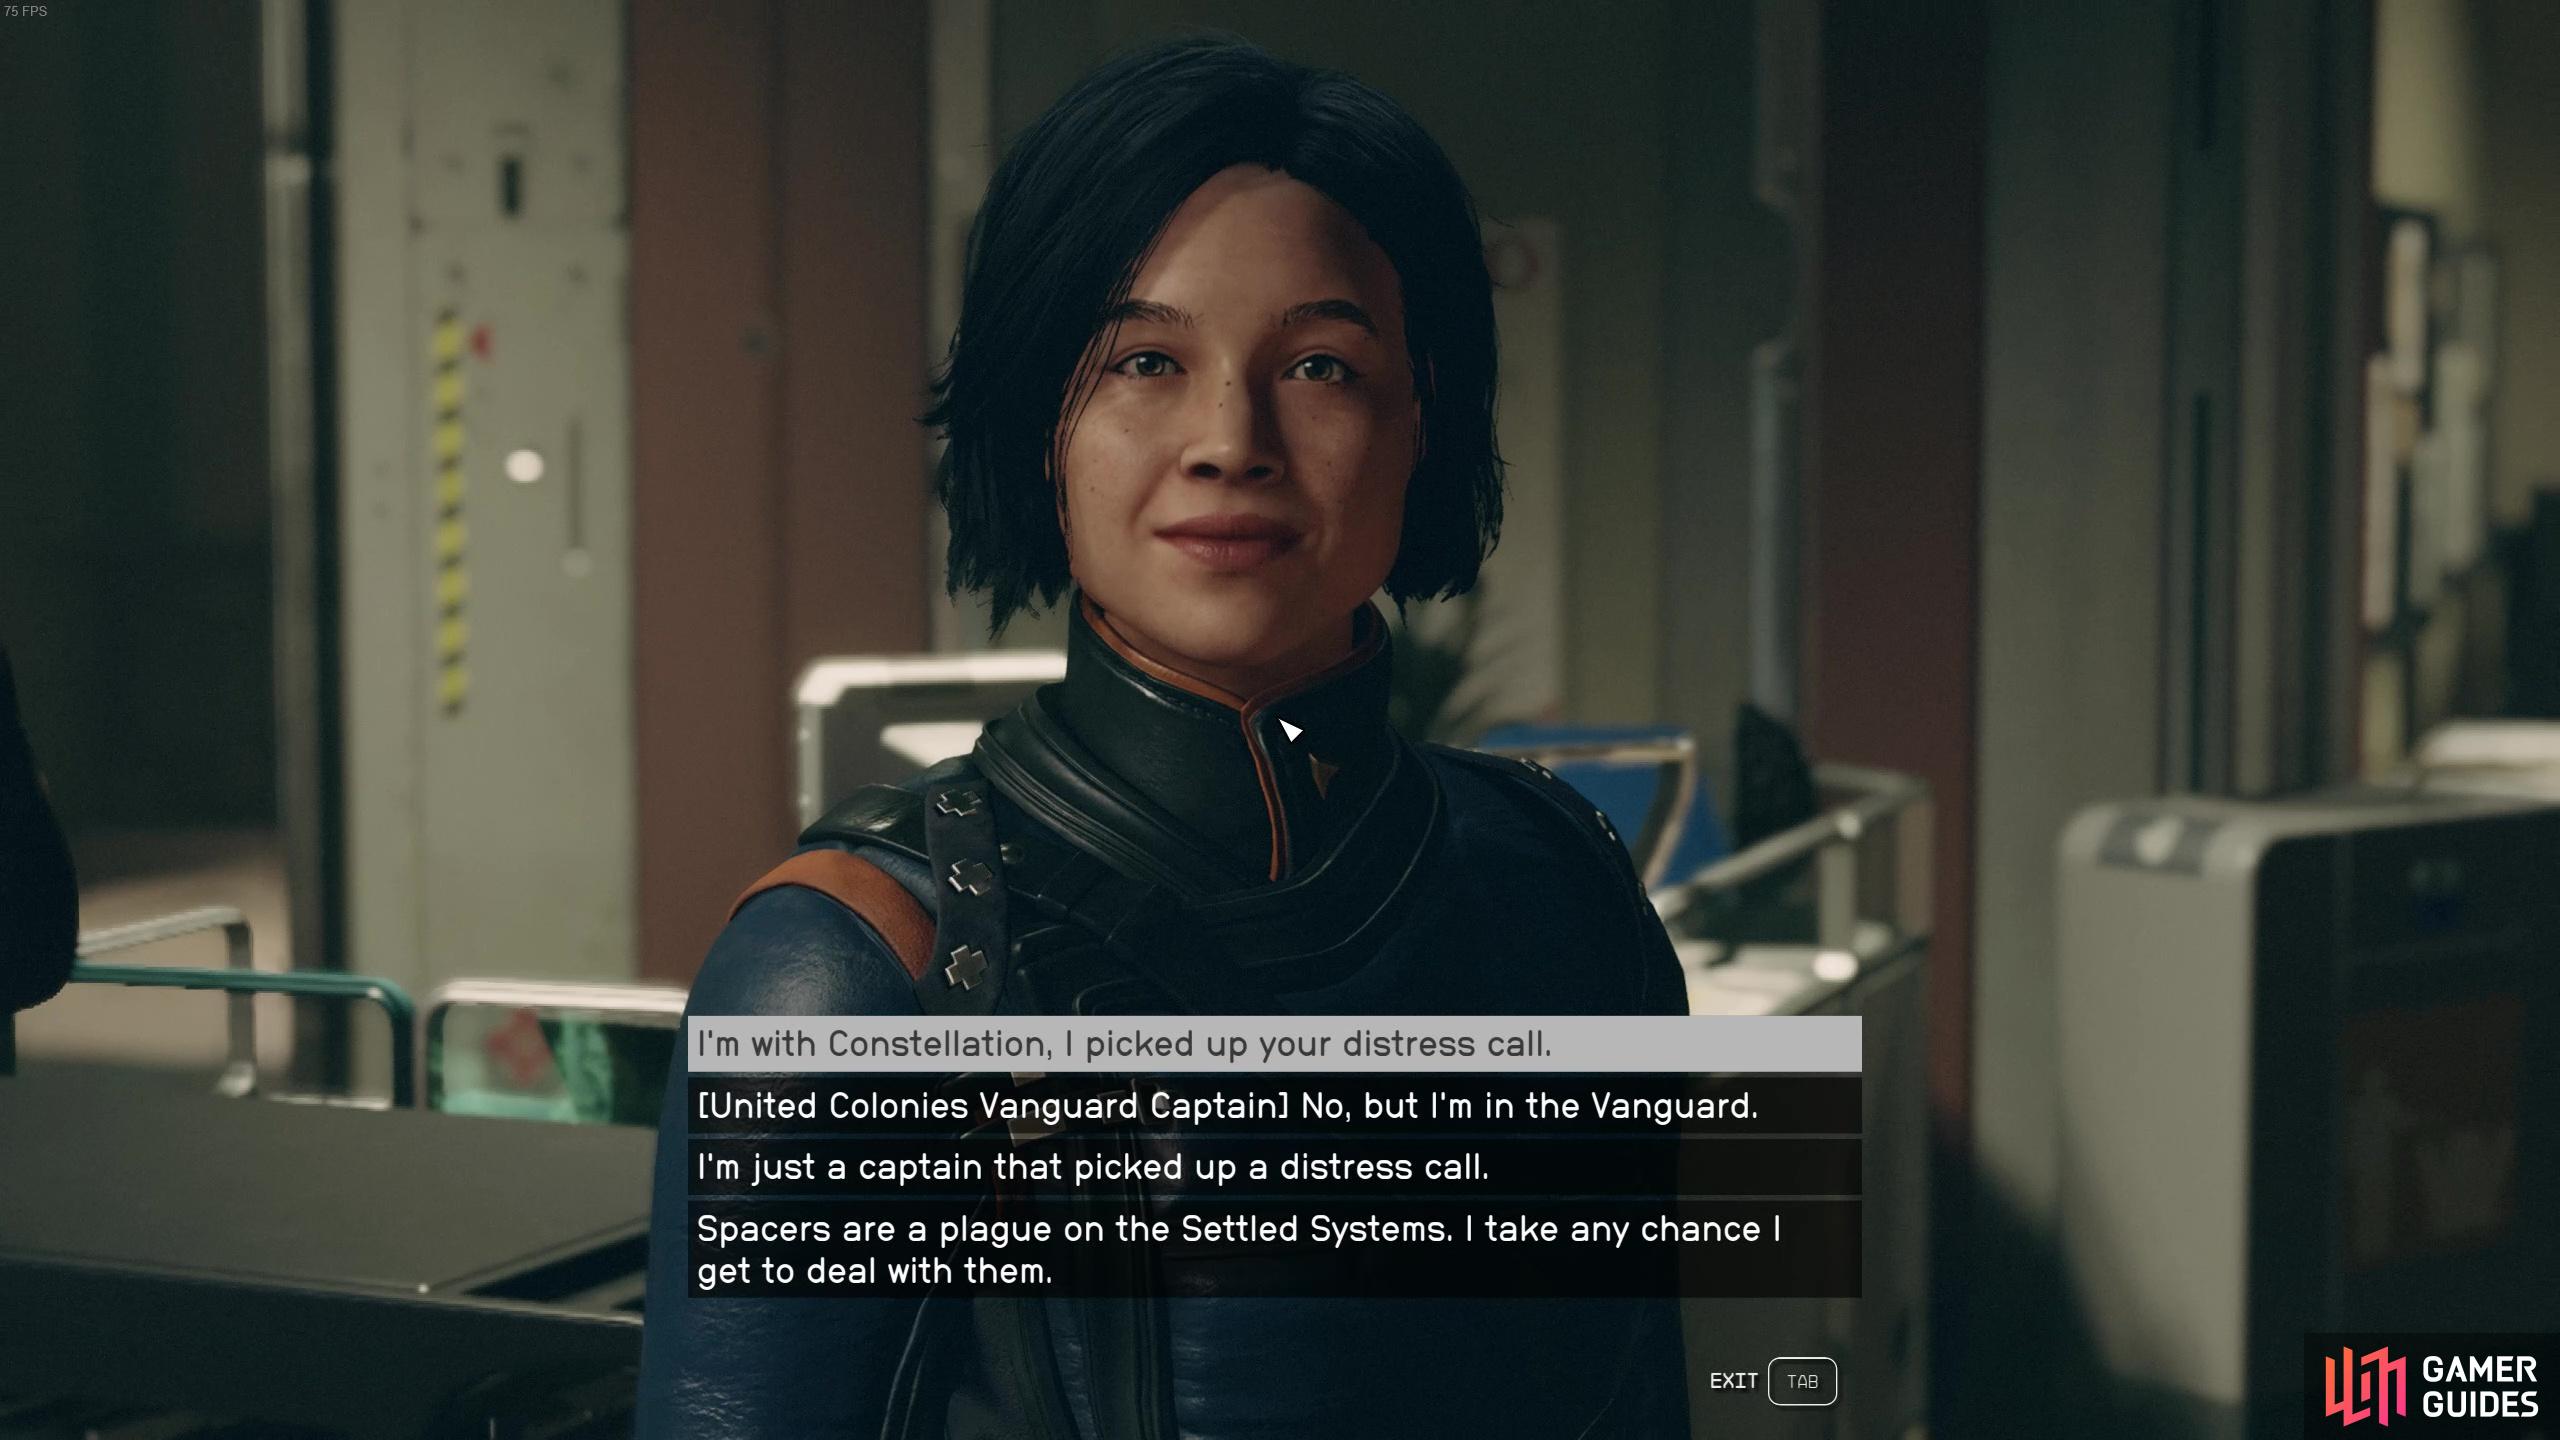
:::
When you’re ready, use your ship to travel over to the Research Camp on the other side of the planet to help out there. There aren’t that many enemies at the Research Camp but you will need to defeat them before you can speak to the survivors inside the camp.
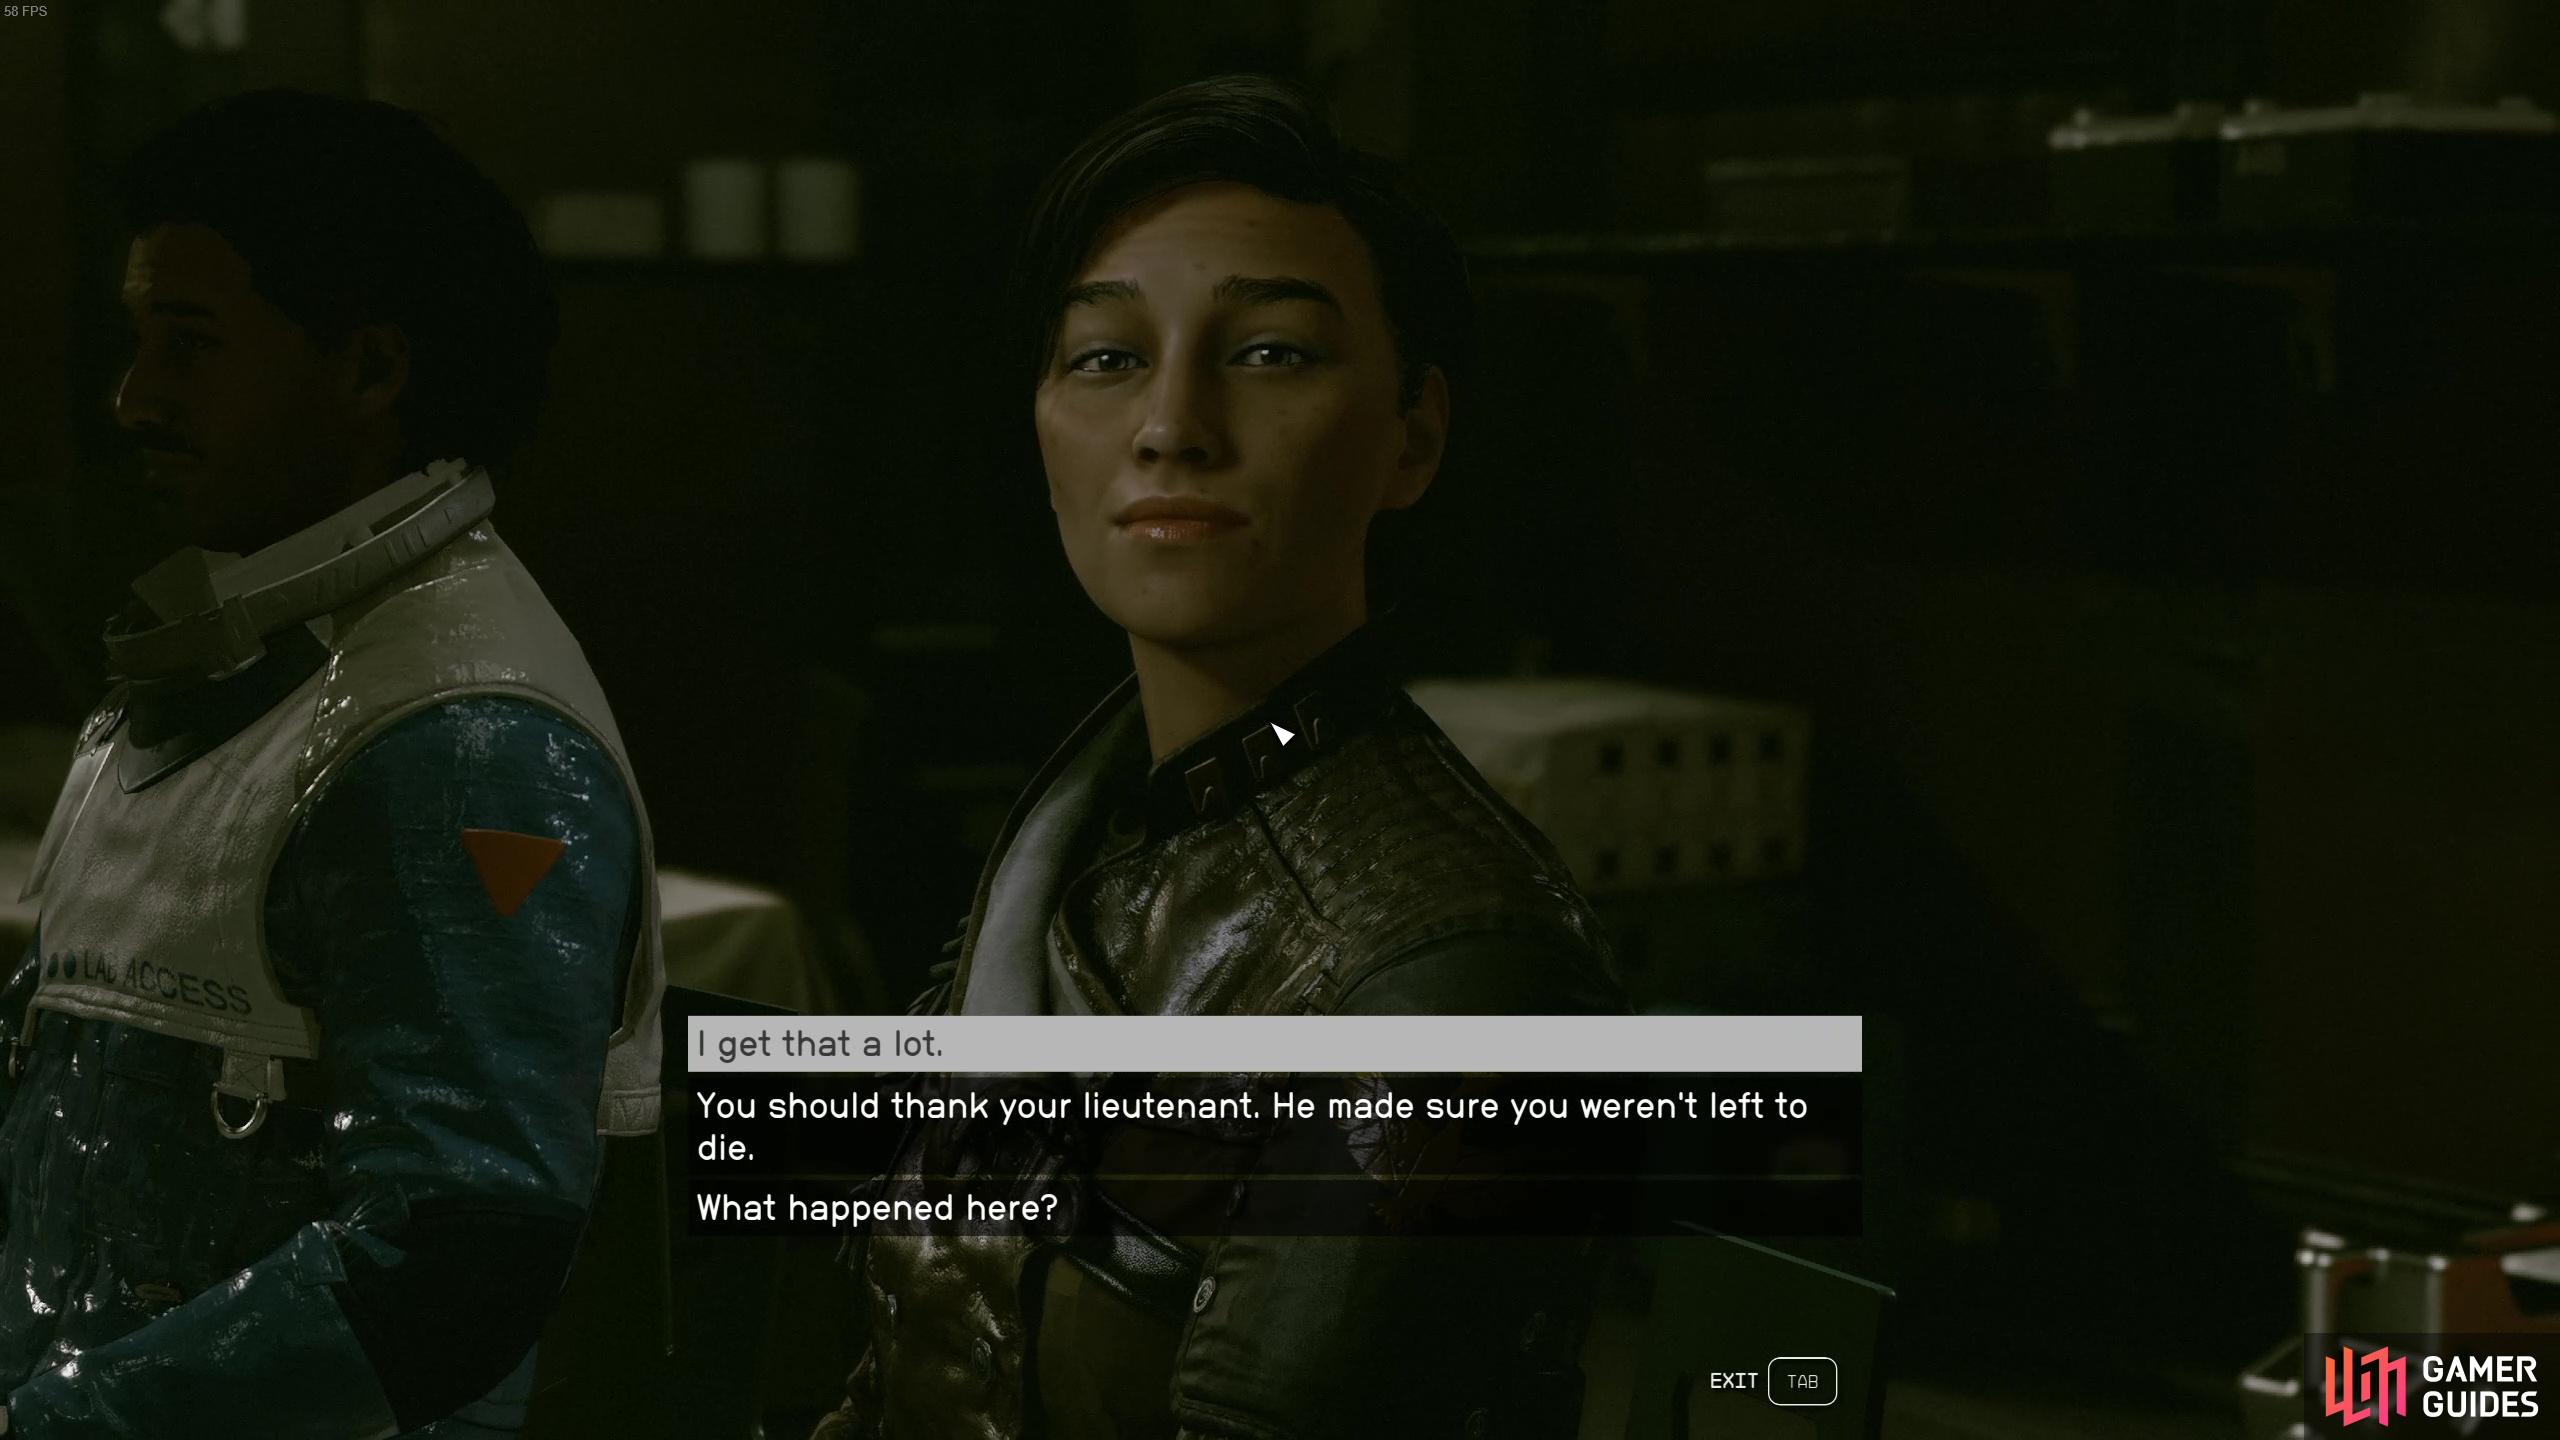
After helping them out, you’ll need to travel back to the Station to speak to Myeong again. She’ll be waiting at the landing area for you. She’s grateful for your help but the mission isn’t quite over yet, you’re gonna need to head out to defeat some Spacer enemies in space combat this time around!
:::image-block-2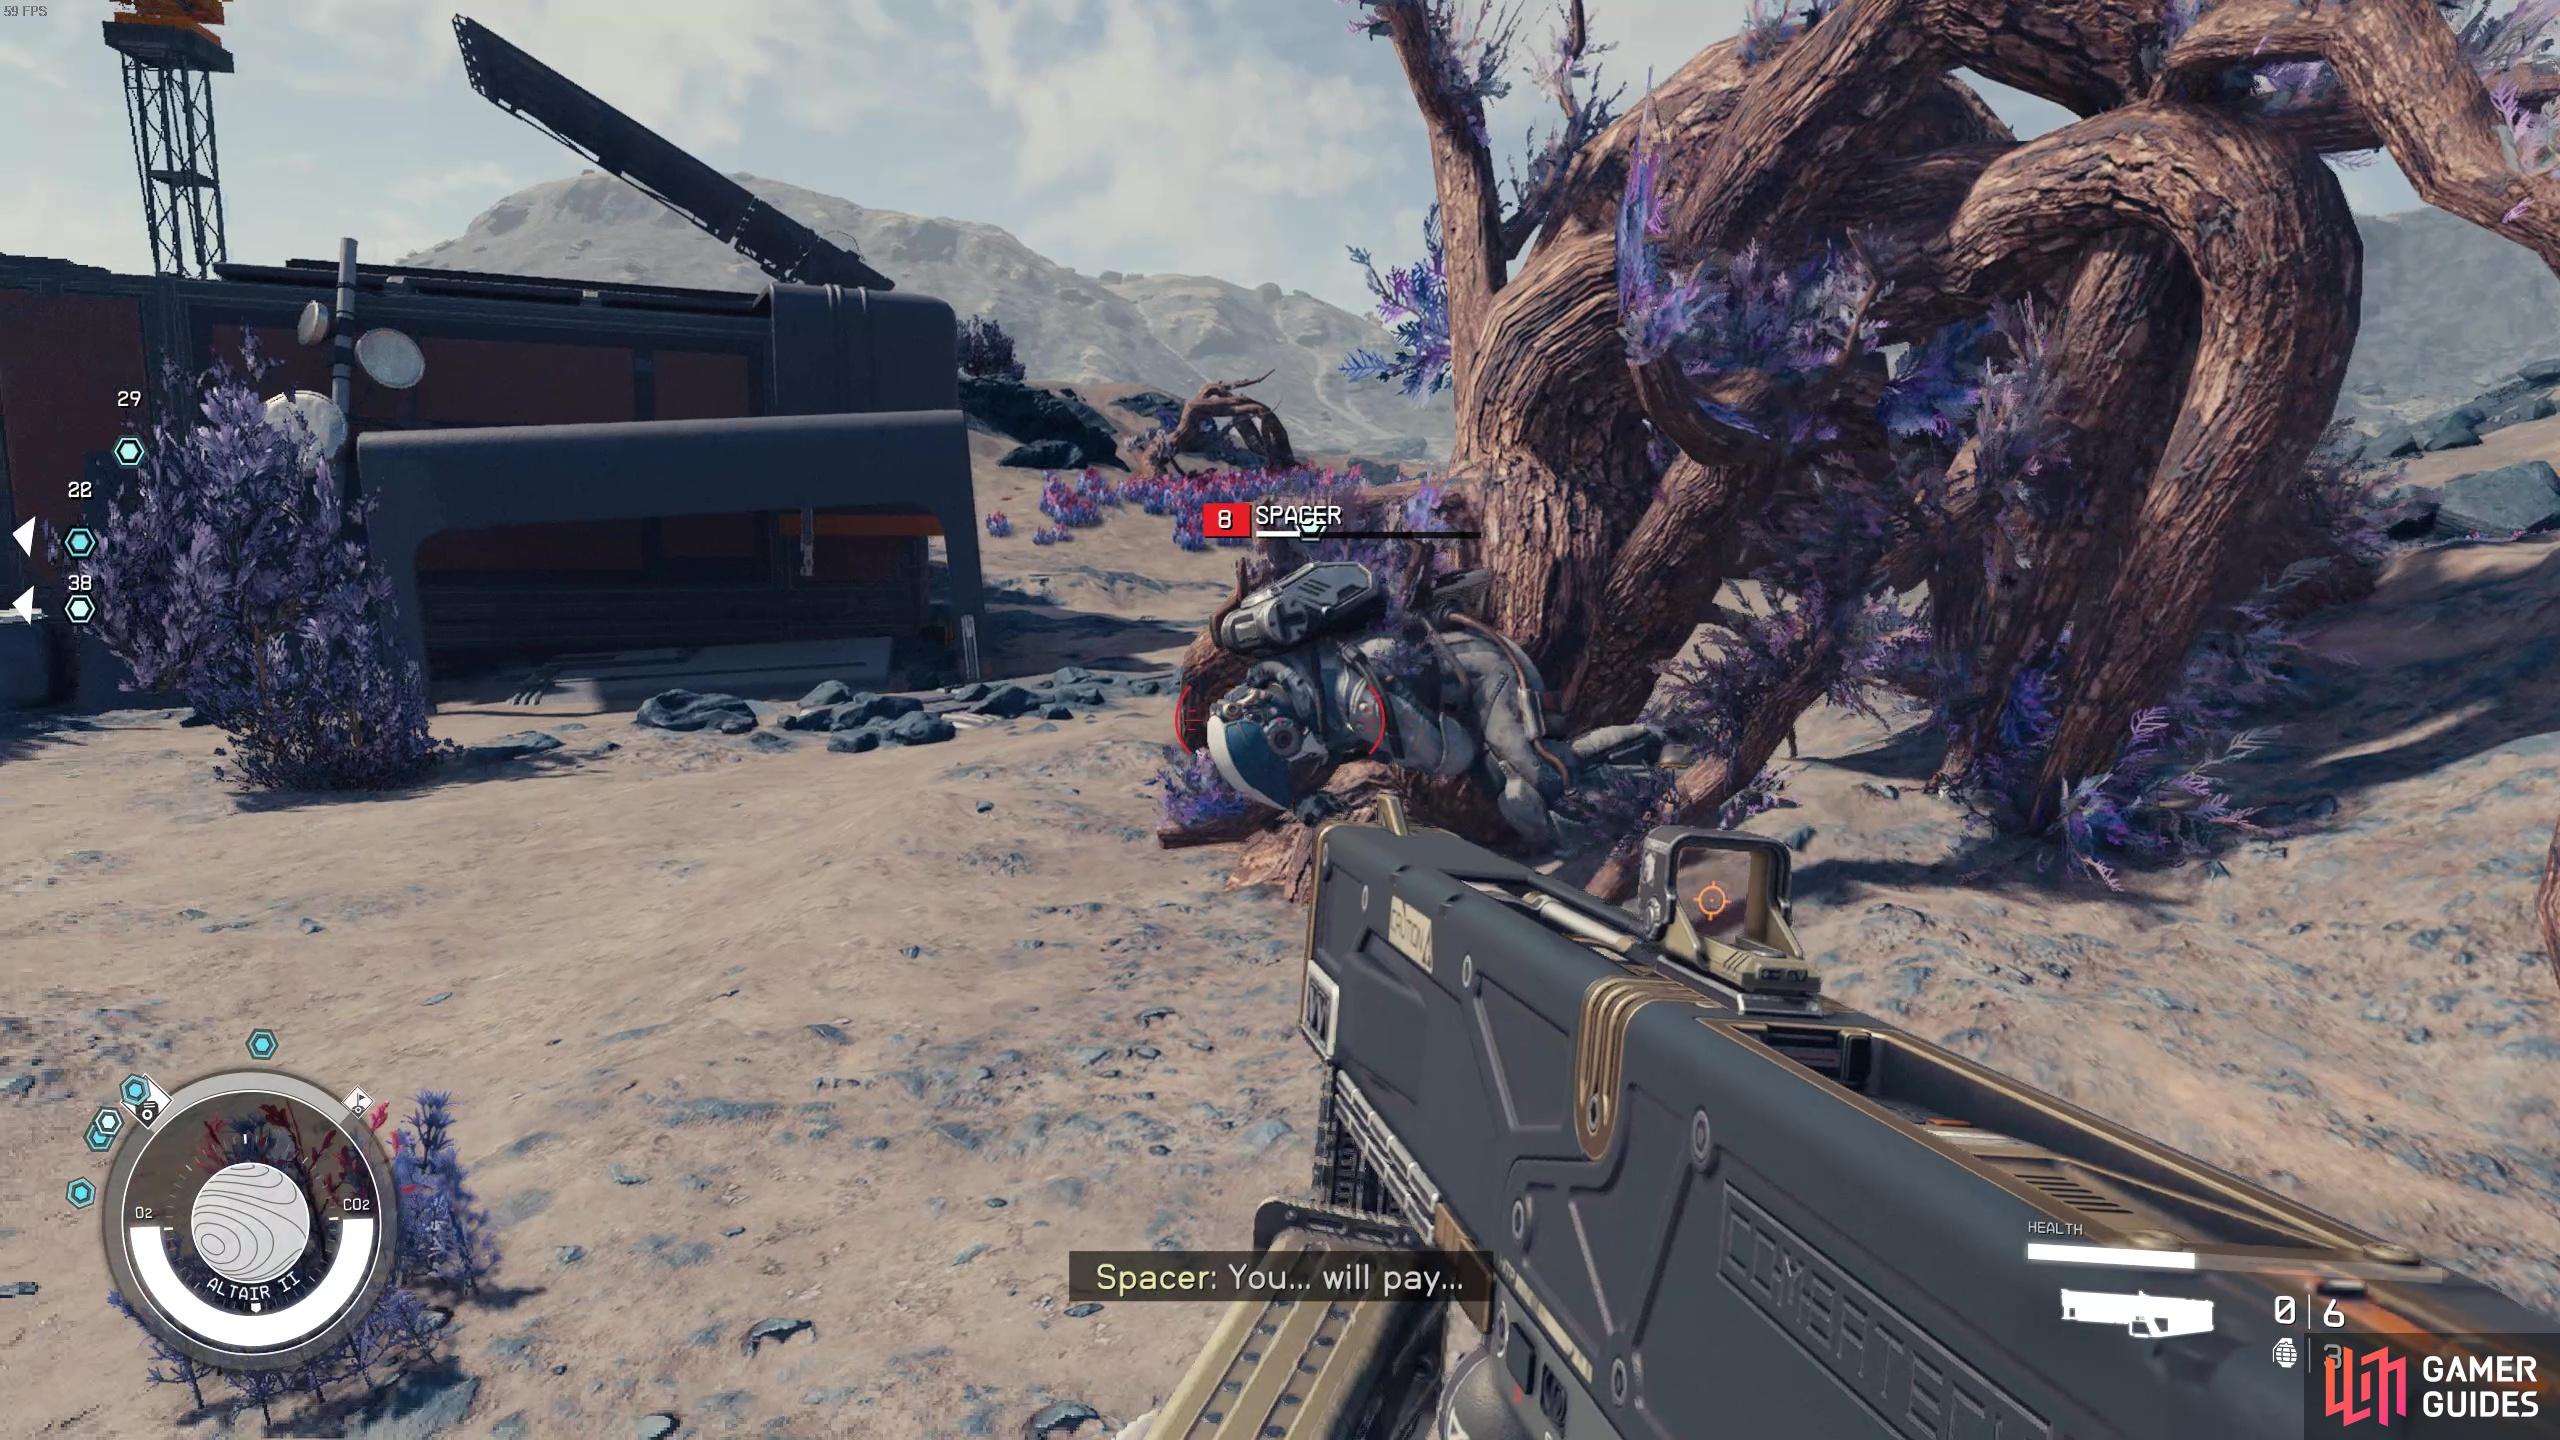
:::
How to Defeat the Spacer Ships in Groundpounder
This might be the toughest part of the quest if you haven’t upgraded your ship yet. We do recommend returning to this part of the mission at a later date when you have a more powerful ship as the higher leveled ships you have to face can be pretty devastating. Head over to our guide for the best ships in Starfield for some advice! We also recommend ensuring you have a few skill points in space combat skill trees, including the skill tree that allows you to target specific parts of ships during combat. This will help you target shields so you can blast through the enemy ships quickly. Additionally, we suggest targeting the higher leveled ships first so your ship isn’t chunked down whilst you’re targeting the lower leveled ships.
:::image-block-1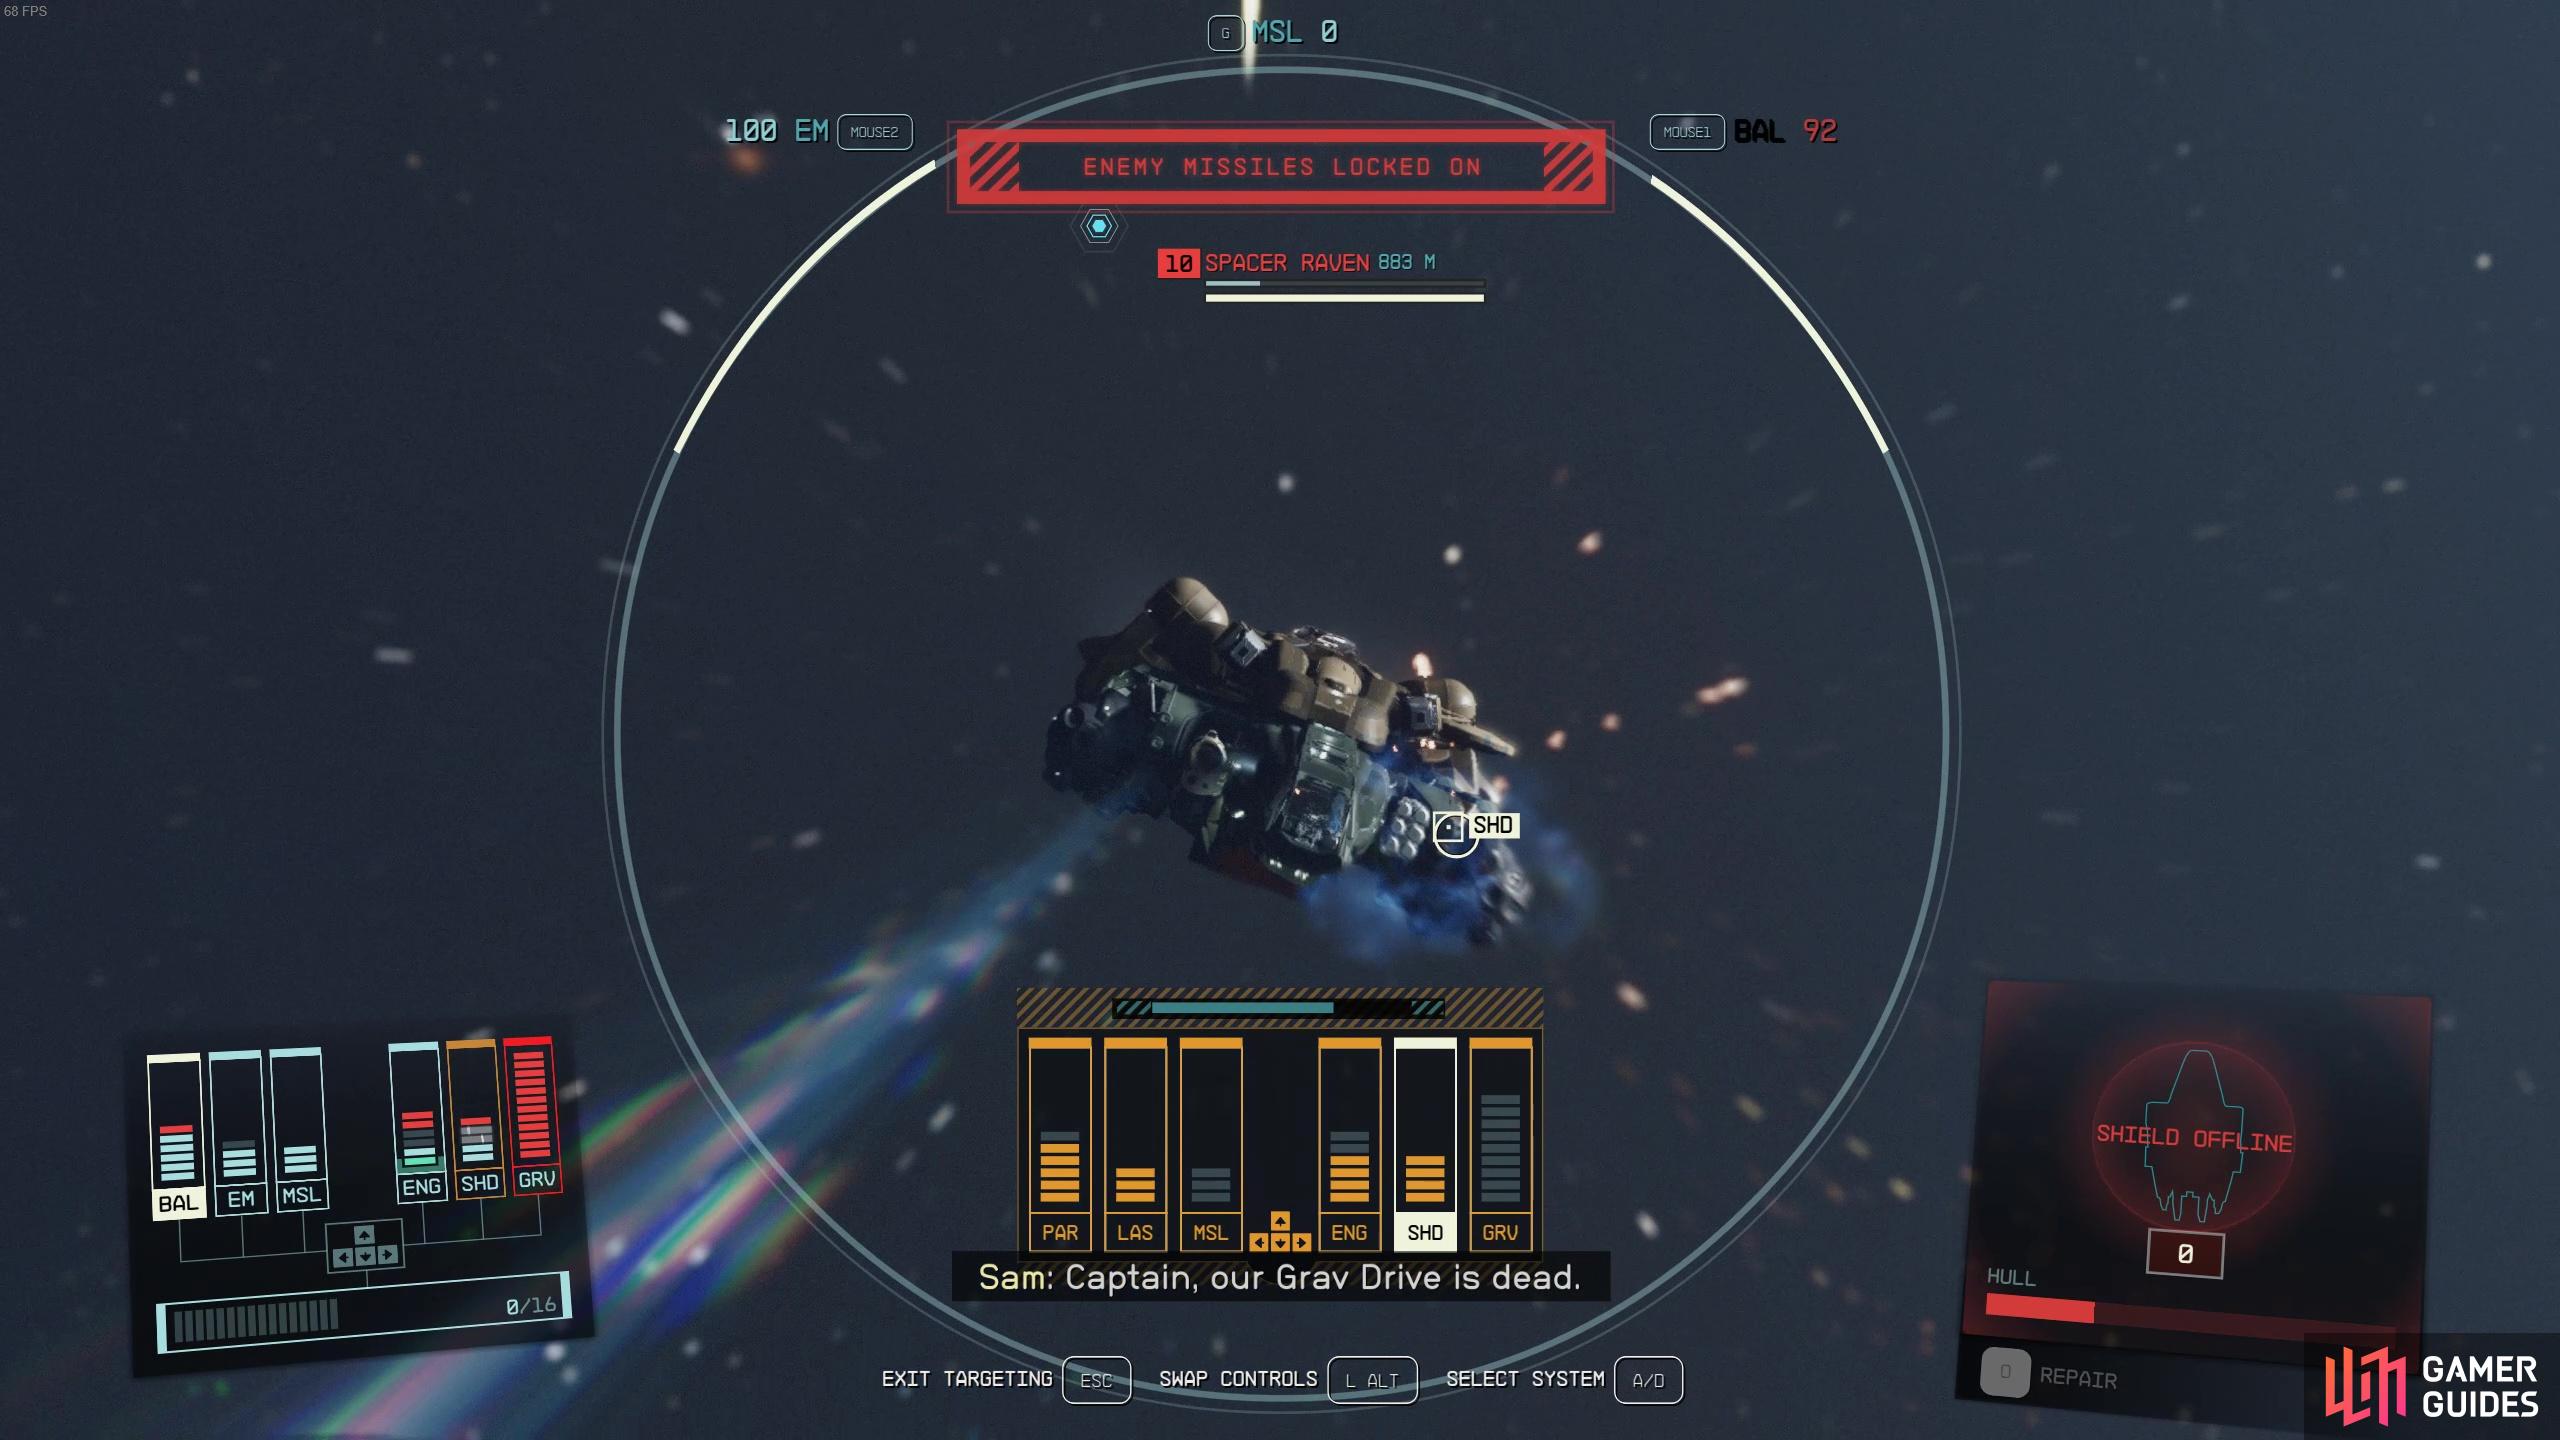
:::
Once both sets of spacer ships are defeated at Altair I and Altair V, return to the Research Station at Altair II and you’ll find yourself in a shooting match with even more Spacers. This time, you’re gonna have military back-up outside and so even though there are a bunch of enemies, you shouldn’t find it too difficult to take them all down.
However, it’s not all smooth sailing. Once you’ve defeated around 70% of the enemies, two more enemy ships will land at the Research Station to join the fight. You’ll wanna head over to where they land to start shooting at them as soon as they arrive. Again, you shouldn’t have much of a problem dealing with all of these enemies given you have decent military back-up. We also experienced some buggy enemies here that felt more inclined to shoot the wildlife around than at us and the UC Marines, so that definitely made it more manageable!
(1 of 2) First get rid of the Spacers that are already at the Research Station
First get rid of the Spacers that are already at the Research Station (left), then defeat the backup that arrive in ships nearby. (right)
Groundpounder Rewards
And finally, once you’ve defeated all the Spacers in the invasion, you can speak to Captain Myeong to finish up the mission. You’ll be generously rewarded 5,000 Credits, an awesome rare rifle called Peacekeeper, as well as 330 XP.
:::image-block-1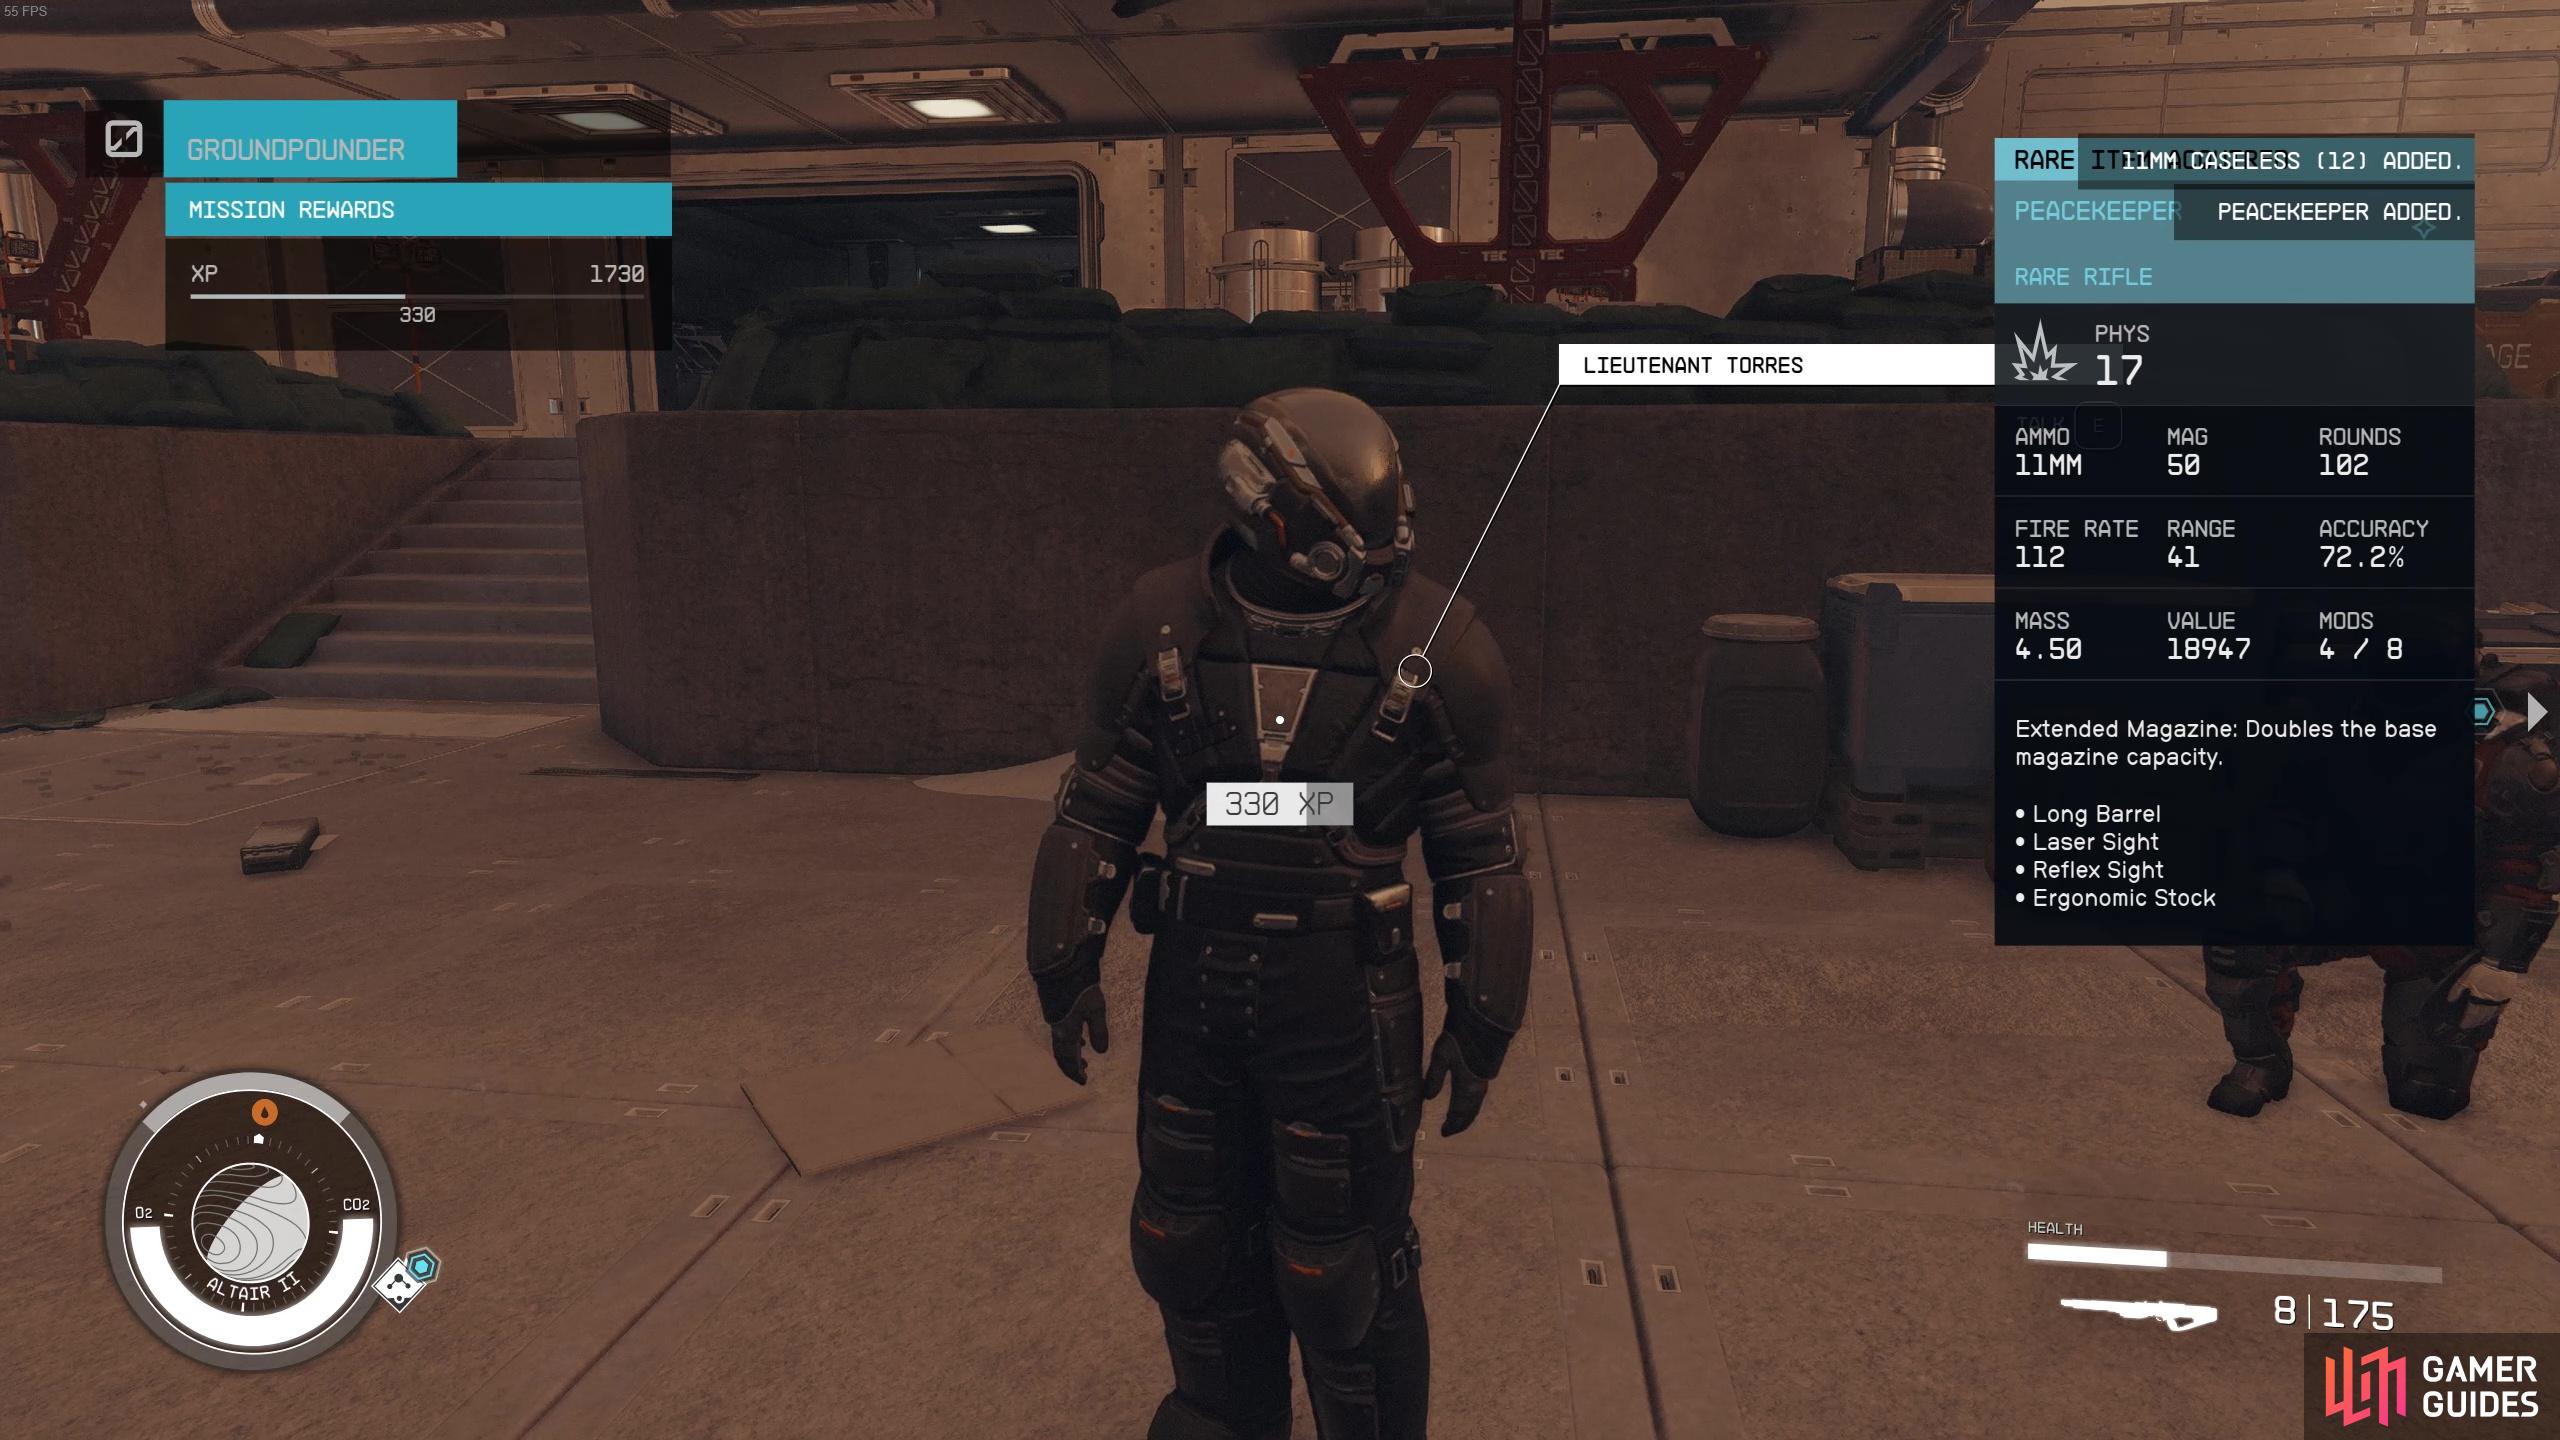
:::
Groundpounder Bug Fixes
There have been multiple bugs reported relating to the Groundpounder. Most of them relate to not being able to finish an objective relating to clearing out enemies. The best way to counteract these kinds of glitches is to save regularly and reload if needed. But if can’t do that for whatever reason and you find that you’ve defeated all enemies during an objective, you could try waiting in your ship or exiting the planet and returning. This won’t always work and seems to be quite hit or miss.


No Comments