The Witcher 3 has a fair few armor sets you can get your hands on, with players getting the Cat and the Griffin gear during the Velen storylines. The Griffin gear is the first set you can come across, with the level range for getting access to it around level 8-13, depending on your ambition. Players who like Stamina, Sigil power, and medium armor will undoubtedly want to get their hands on this gear. Here is everything you need to know about Witcher 3’s Griffin school gear, and how to get it via the Griffin Gear Scavenger Hunt quest.
Witcher 3 Griffin Gear & Build
Here is the Griffin School Gear Build and tips you want to know.
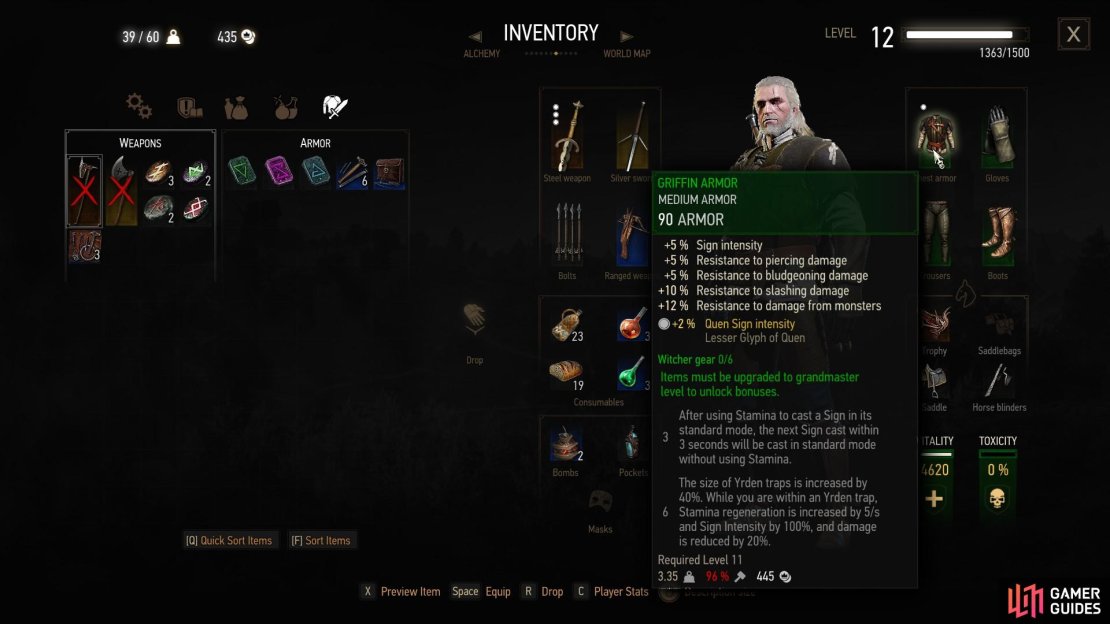
Before going into detail on acquiring the gear, you only need to embark on this questline and hunt if you want the gear diagrams. The core theme of this gear is that the Griffin gear is a medium armor set with a level three and four upgrade.
- Three upgrade: After using Stamina to cast a Sign in its standard mode, the next sign cast in three seconds casts in standard mode and costs no stamina.
- Four Upgrade: The size of Yrden traps is increased by 40%. While you’re in Yrden, Stamina Regeneration is increased by 5/s, and Sign Intensity is increased by 100%, and damage is reduced by 20%
These are the core features of the Griffin School Gear in Witcher 3. Although, there are other benefits, thanks to the Griffin School Techniques under the general branch in the Character build screen. Here you get 5% increase to Sign Intensity and Stamina Regeneration per each piece of Medium Armor Geralt equips. Equipping four pieces of medium armor, or Griffin gear, you get up to a 20% increase in stamina regeneration or Sign Intensity. Scaling this with your Griffin set bonuses, later on, means Geralt’s sign powers, and stamina regeneration is amazing, essentially playing the game like a battle mage.
How to start Witcher 3 Griffin Scavenger Hunt
If the Griffin Gear School in the Witcher 3 interests you, here’s how to start it. There are a few ways to get your hands on the Scavenger Hunt questline.
The easiest way is to visit Midcopse and purchase the notes from the vendor in town relating to the location of some known Griffin School Gear Diagrams. Alternatively, you can stumble upon them by visiting the likes of Dragonscale Grotto to the northwest of the Downwarren in the Crookback Bog area of the map. You can also stumble upon them at the lighthouse to the north of the map called Lornruk an begin th quest that way.
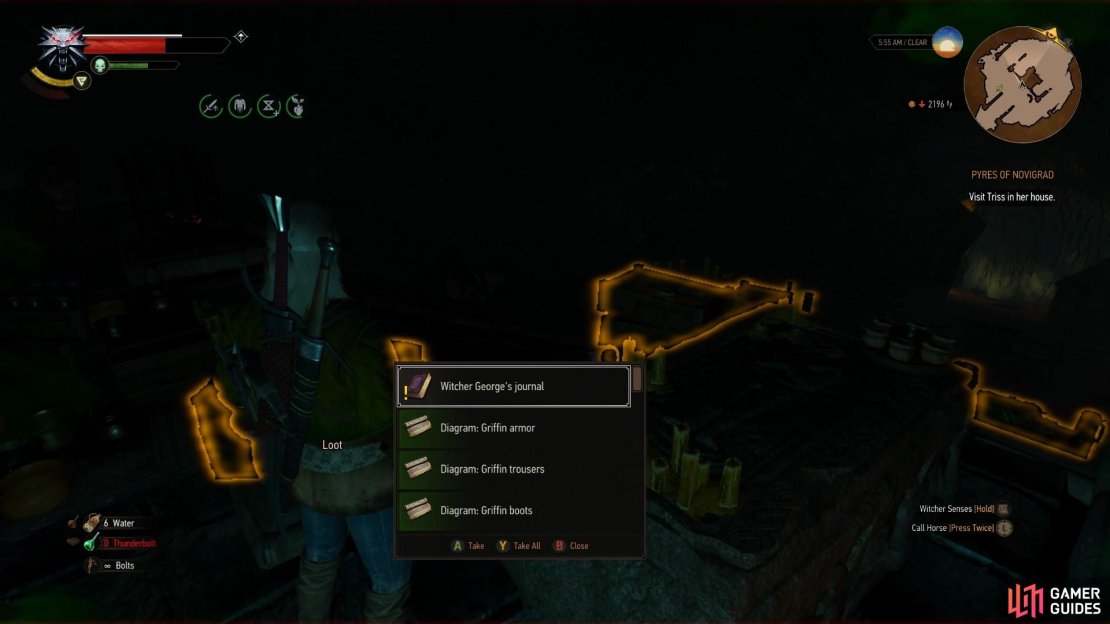
From then on, there are two ways you can do this. The first is following the step-by-step by completing the side quests through the Part 1 and 2 quest chains from the Griffin items in the Midcopse. Alternatively, you can brave a challenge around level 11 following the story of Witcher George from the Griffin school, and get the full armor set in one go, with the weapons from elsewhere. This guide shows you how to get the Griffin Armor set in the Witcher 3 in one go, as it’s the easier option. Therefore, we are doing the Witcher George notes route.
Witcher 3 Dragonscale Grotto & the Griffin Armor Set
You can get all 4 Griffin School Gear diagrams via the Dragonscale Grotto.
Players looking to get all four pieces of the Armor Griffin Armor set in one go may do so using the Dragonscale Grotto location (see the map marker link for more accuracy on the world map). This is located to the northwest of the village in Crookback Bog, on the wise side the mountain ridge, where you can find a place of power. Those who appear on that side will find a ruin under the mountain, with a Witcher sign on it. Heading inside will mean the power encounters several Wraiths, so bring some Specter oils and a trusty silver sword to take out the area’s level 7-8 Wraiths. Moreso, there are plenty of dark rooms for loot opportunities and Diagrams too.
While navigating the main route, you will come across a poisonous chasm. You will need to Igni or Aard Sign it to remove the poison. Igni is good, especially since Wraith moves between the gas clouds, which you can detonate to burst the Wraiths down easily. Once you are through, climb the tunnel and remove the glimmer. Inside is an Ekimara around level 11. This is a vampire, so if you have vampire oils, use that. Once it is dead, you have access to the treasure trove, which features several chest at the top center, one of which contains all four Griffin diagrams for the armor pieces. It saves you from doing steps 1 and 2 in the quest chain.
However, you are still missing the silver and steel sword. Luckily, there are note you get in there points you intend right direction, thanks to the story of George.
Witcher 3 Griffin Lighthouse Location & Lornruk Lighthouse Bridge
Head inside the Lornruk Lighotuse grounds, and climb the ladders to get the nest Griffin diagram.
If you’re on the quest for the Griffin swords, you can find the Griffin Silver Sword diagram Lornruk Lighthouse on the Pontus. Head north and find the undiscovered location on the rock just off the coast of the cliffs.
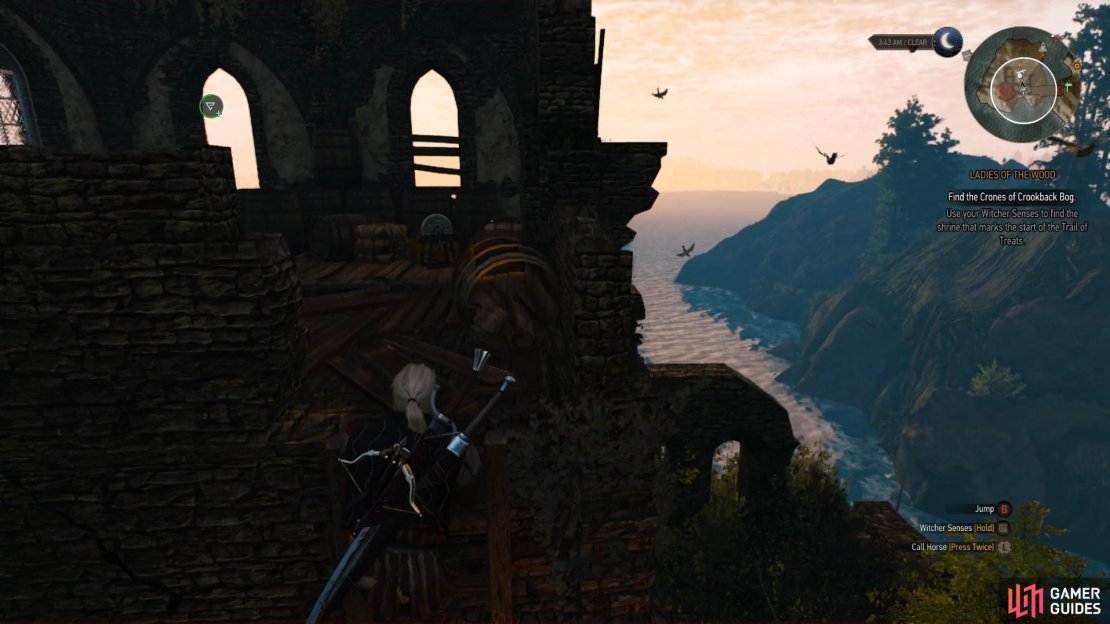
When you arrive, you will find the Lornruk Lighthouse bridge is lifted, and you cannot cross. To get across, you need to jump into the water below. There is a Place of Power you can interact with as a beach point to rest and empower your character with it. Once you’re ready, head back into the water, and right below the Place of Power is a cave entrance. However, it is guarded by Drowners. The good news is that if you have a blue Crossbow at this point, you will likely one shot the Drowners swimming around. If not, you can aggro them to the Place of Power while in the water and fight them with your silver sword instead. Feel free to apply the Necrophage oils to your weapon.
Once you’re inside the water cave, head through, and you’ll find the paint you can claim into the foundation of the Lornruk Lighthouse. Clim to the top, and you will find the main room with chests to loot. There’s another ladder you can climb on the outdoor area, which brings you to a grinding stone to sharpen your gear and then loot a box with the Silver Diagram Sword equipped. Once you’re done scavenging the place, feel free to head outside, and you can lower the Lornruk Lighthouse bridge and get across.
Be aware the Wyvern guards the area. The creature is known to fly around and try to attack in similar attack patterns to that of a Griffin. It’s possible to cheese the fight by shooting your crossbow at it as it flies around the water and letting it fall. It seems to take bonus damage by falling and hitting the floor before it sorts itself out. But, if it does land, you can easily pin it in the corner and unleash hell using Yrden and attacking its back. If you find yourself trapped, you can jump off the wall and into the water below to reset the creature by heading back inside and crossing the bridge, hopefully, with Roach to the rescue.
Griffin Steel Sword and Ruined Lord’s Castle
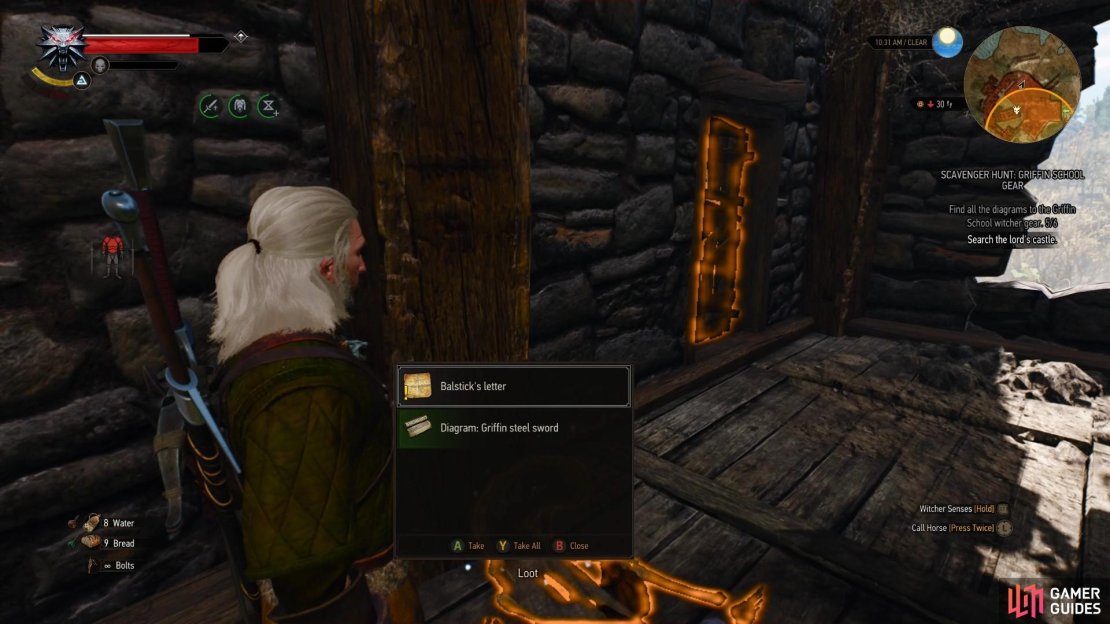
Head inside the broken room of the lord’s castle to get the Steel Sword diagram, and other notes and quest items.
Lastly, the Griffin Steel Sword location is in the Lord’s Castle. The location of the Lord’s Castle is at Hindhold, which is found on the northeast side of Velen, on its own island in the swamp area, to the East of the border island connecting Novigrad and Velen.
When you head over, we recommend preparing your silver sword with Insect Oil, as the soldier and worker Insectoids protect the lord’s castle’s ruins. After you beat them, enter and climb the castle, you’re fending off Harpies. Kill the Harpy population and blow the nest up. Once that’s done, you’ll find a box that goes up some stairs into the rubble to acquire the Griffin Steel Sword Diagram.
After you complete the this, you’ll have earned the basic armor set. Upgrades to the armor set to come later during the Skellige storyline.


No Comments