
The search for Ciri in Novigrad turns out to be even more labyrinthine than in Velen, with multiple characters having snippets of information that must be cobbled together to figure out what happened. When ![]() Dandelion - Geralt’s old friend and Ciri’s recent partner in crime - crosses one of the kingpins of Novigrad’s underworld, the Witcher finds himself hunting for a crime lord’s stolen treasure in order to retrace the steps of those he seeks. This page will provide a walkthrough for the main quest
Dandelion - Geralt’s old friend and Ciri’s recent partner in crime - crosses one of the kingpins of Novigrad’s underworld, the Witcher finds himself hunting for a crime lord’s stolen treasure in order to retrace the steps of those he seeks. This page will provide a walkthrough for the main quest ![]() Count Reuven’s Treasure in The Witcher 3.
Count Reuven’s Treasure in The Witcher 3.
Quest Objectives
Starting Count Reuven’s Treasure
To start this quest, begin the main quest Get Junior and head to Sigi Reuven’s bathhouse. Advance the quest until you get attacked by some of ![]() Whoreson Junior’s henchmen, and after you fight them off you’ll end up chatting with Novigrad’s various gang leaders before you get a private audience with Sigi Reuven. Exhaust his dialog options pertaining to the quest
Whoreson Junior’s henchmen, and after you fight them off you’ll end up chatting with Novigrad’s various gang leaders before you get a private audience with Sigi Reuven. Exhaust his dialog options pertaining to the quest ![]() Get Junior and eventually you’ll get the option to end the conversation, or you can pick the dialog option ”Know what happened to Dandelion?”. It might not seem like it, but this question will lead to more chatter, and when you get the chance respond with ”Maybe I can help… Whaddaya need?” to start the quest Count Reuven’s Treasure.
Get Junior and eventually you’ll get the option to end the conversation, or you can pick the dialog option ”Know what happened to Dandelion?”. It might not seem like it, but this question will lead to more chatter, and when you get the chance respond with ”Maybe I can help… Whaddaya need?” to start the quest Count Reuven’s Treasure.
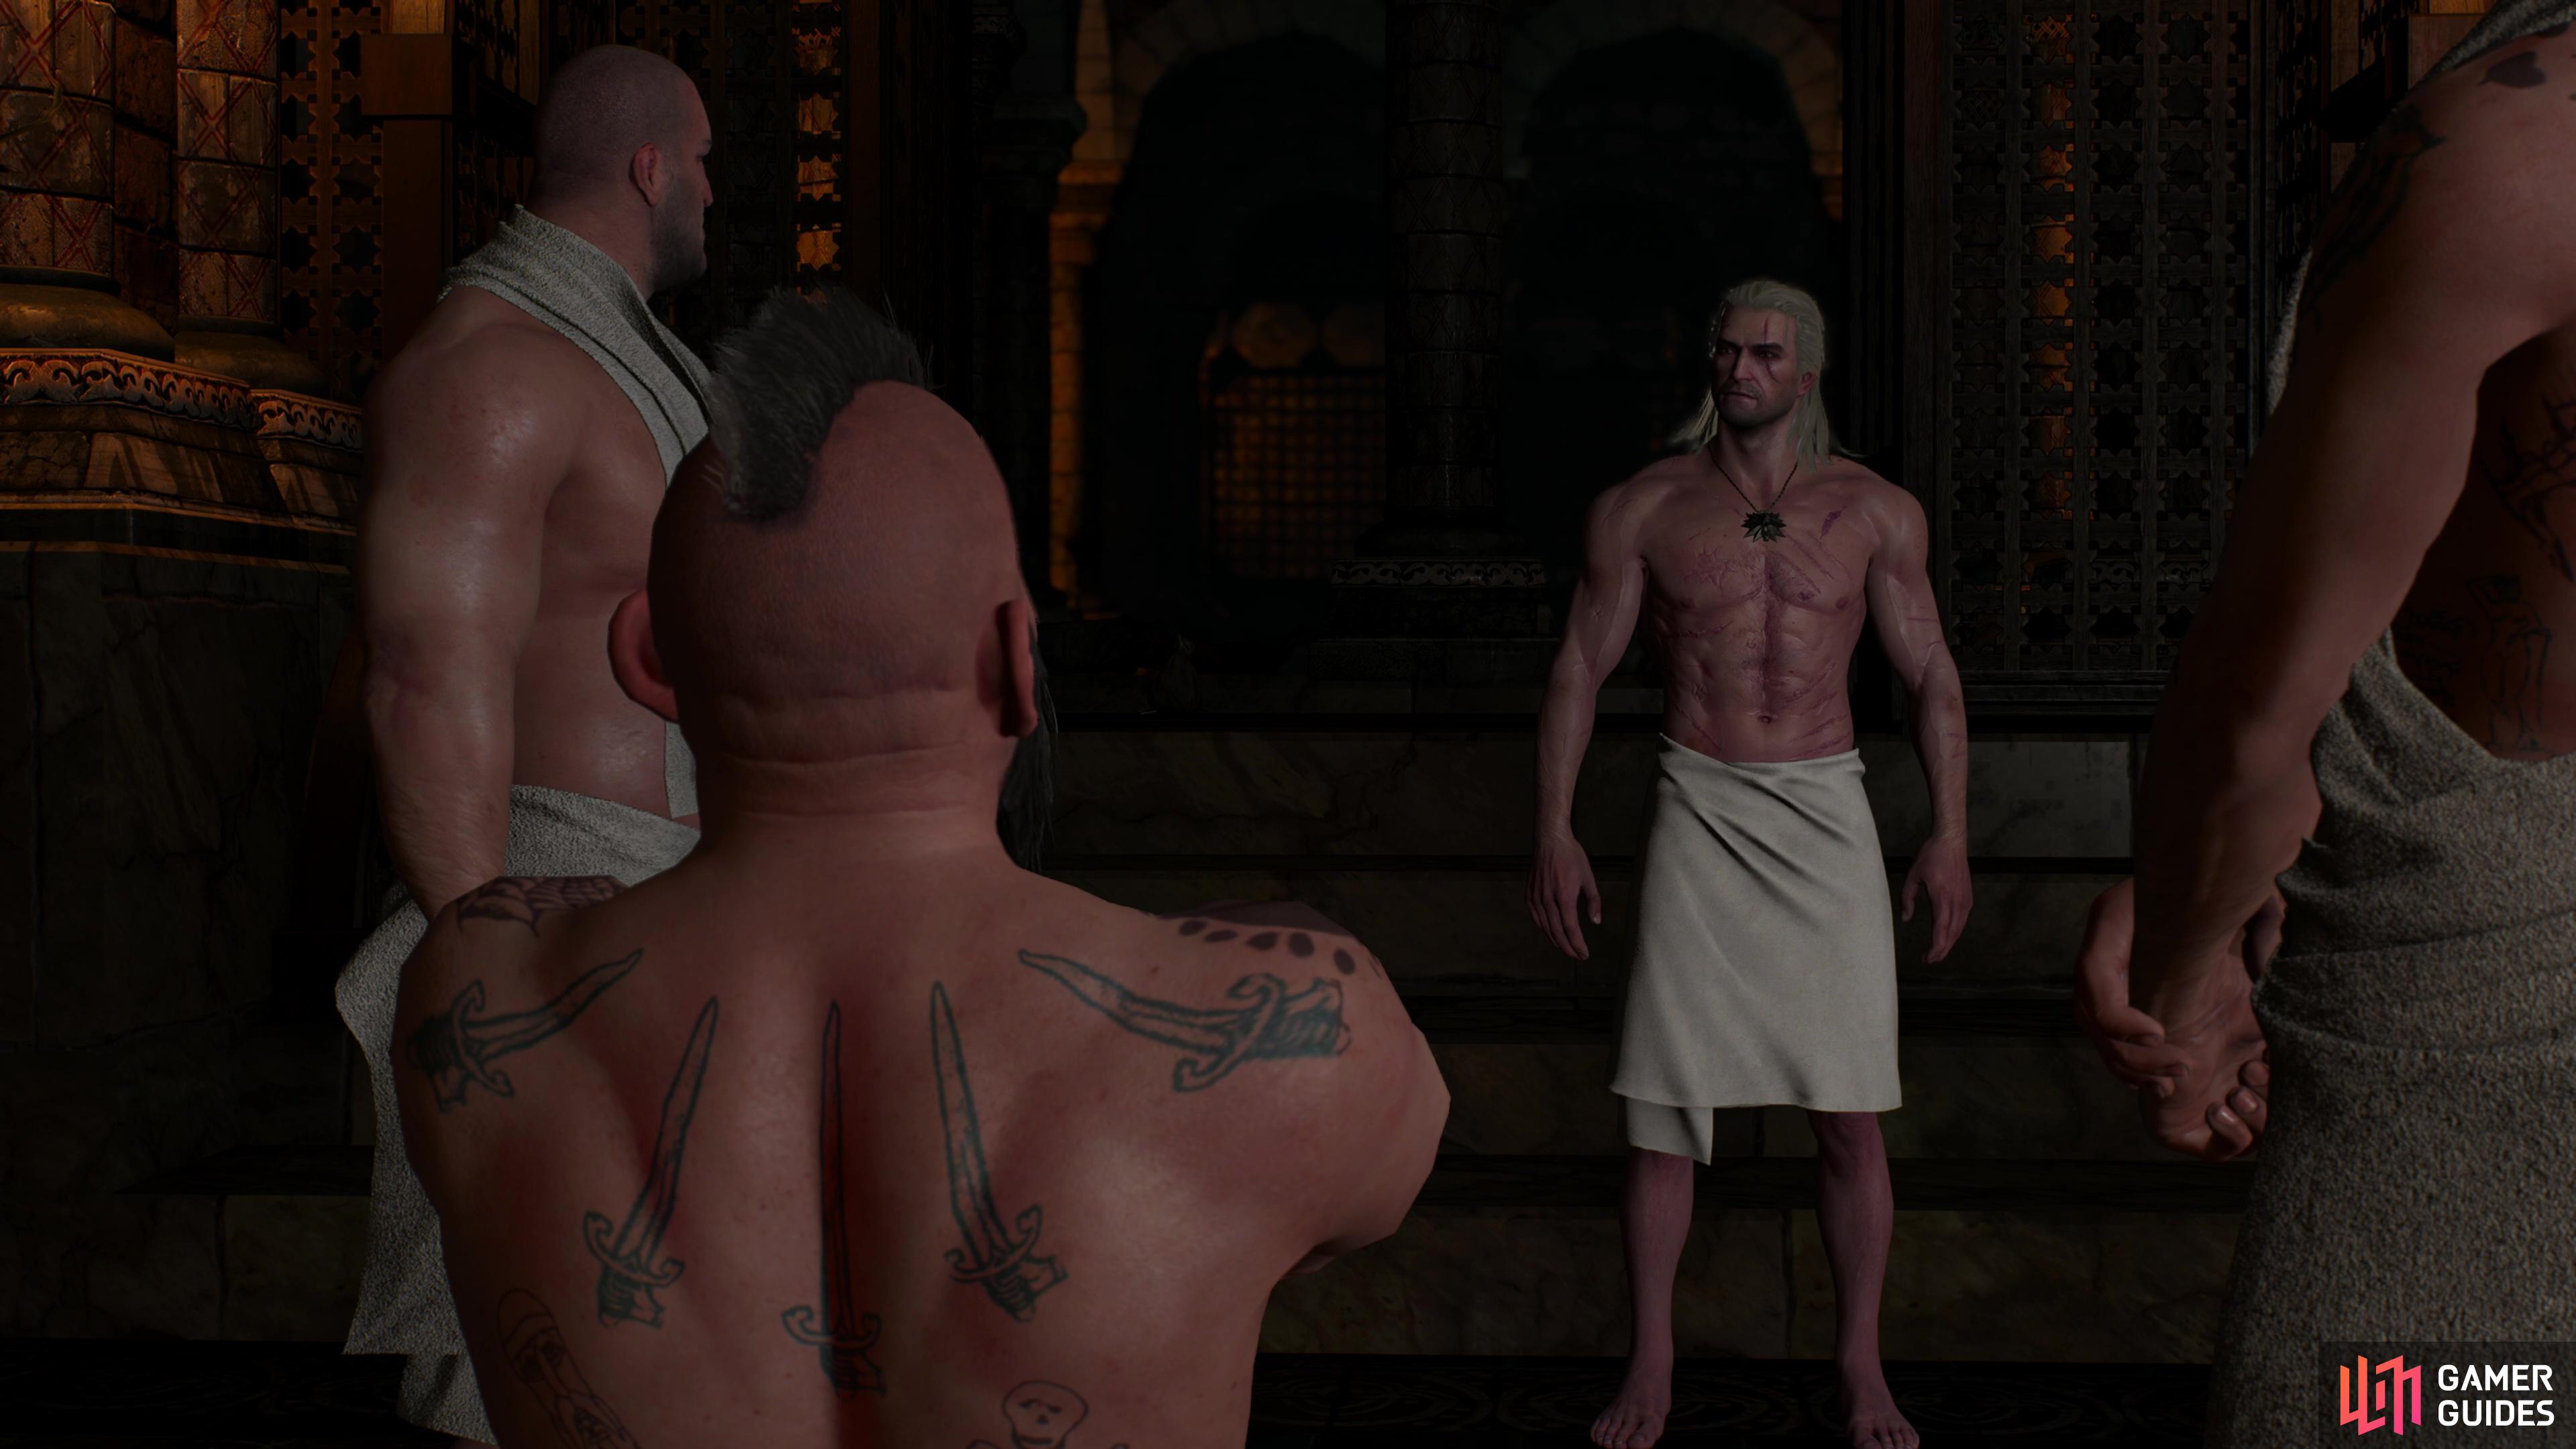


(1 of 2) Meet with various gang leaders in the bathhouse as part of the quest “Get Junior”,
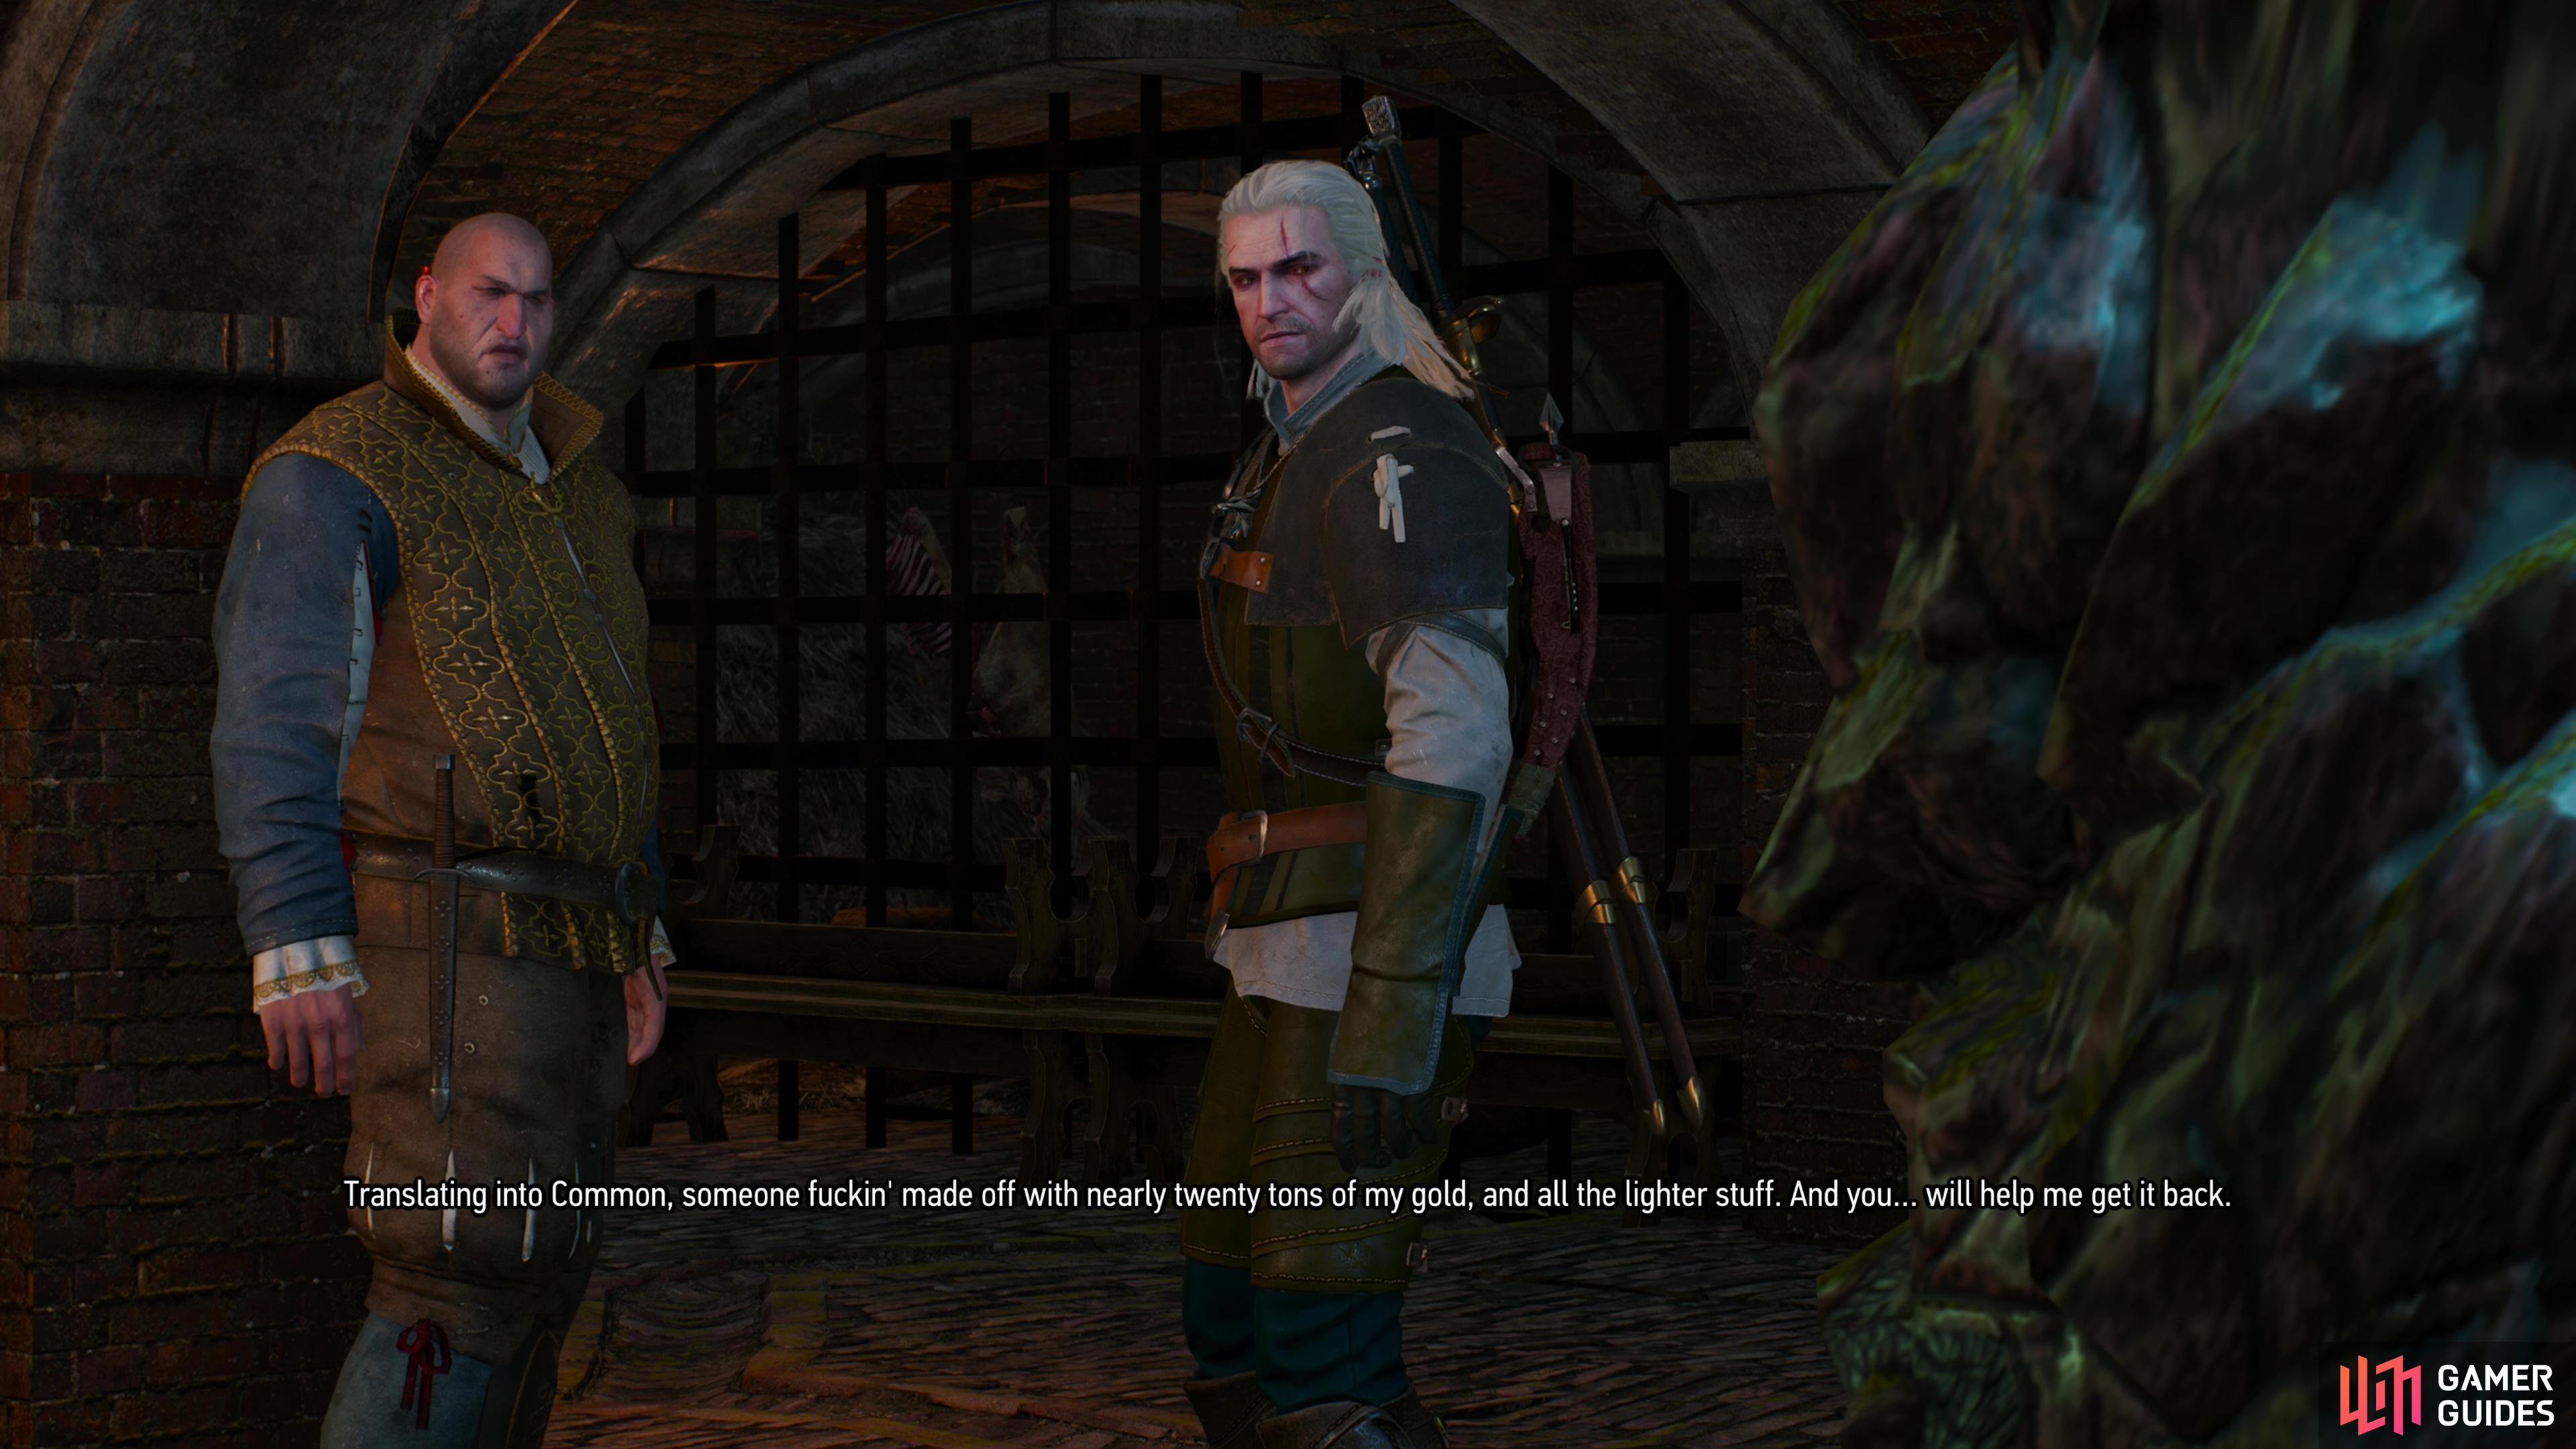
Meet with various gang leaders in the bathhouse as part of the quest “Get Junior”, (left), and agree to help Dijkstra find his stolen gold. (right)
Explore the Sewers
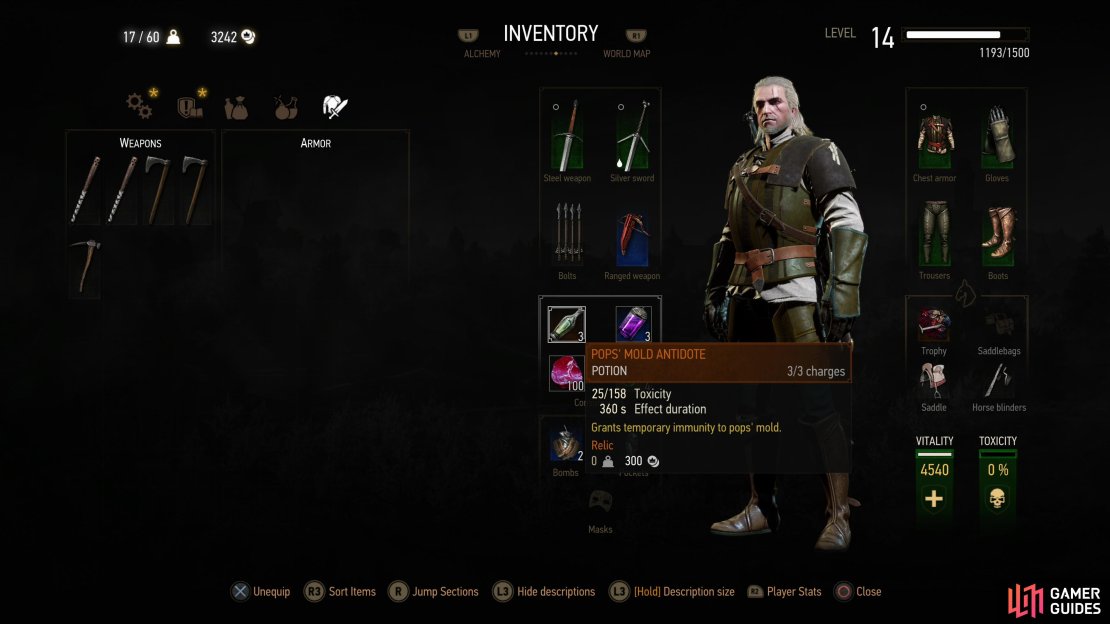
Once this quest starts you’ll get a scene where Sigi Reuven - aka ![]() Sigismund Dijkstra - leads you to his underground vault. Follow Dijkstra, have a chat with the spy-turned-criminal and his pet troll, Bart, and ultimately agree to help him find his stolen treasure. Exhaust Dijkstra and Bart’s dialog options and you’ll be given several vials of Pops’ Mold Antidote and the recipe to create more. You don’t need to worry about this too much - they’ll be automatically equipped and since you know the formula, if you need more you can just rest, assuming you’ve got some hard alcohol in your inventory to restock the potions.
Sigismund Dijkstra - leads you to his underground vault. Follow Dijkstra, have a chat with the spy-turned-criminal and his pet troll, Bart, and ultimately agree to help him find his stolen treasure. Exhaust Dijkstra and Bart’s dialog options and you’ll be given several vials of Pops’ Mold Antidote and the recipe to create more. You don’t need to worry about this too much - they’ll be automatically equipped and since you know the formula, if you need more you can just rest, assuming you’ve got some hard alcohol in your inventory to restock the potions.
After Dijkstra leaves, talk to Bart if you wish, examine a destroyed pipe, then go through the hole in the wall to the north, northwest to reach the sewers. Examine a grate to the north, northwest and a blue line will mark the flow of the current on your minimap, helping to guide you through the sewers. Not that it’s really necessary, as there’s not a whole lot of optional exploration you can do, anyways. Make your way northeast and when you hit a fork examine another section of pip in the corner, then consume the Pops’ Mold Antidote you were given, as the noxious fumes ahead will damage your health over time if you aren’t protected.
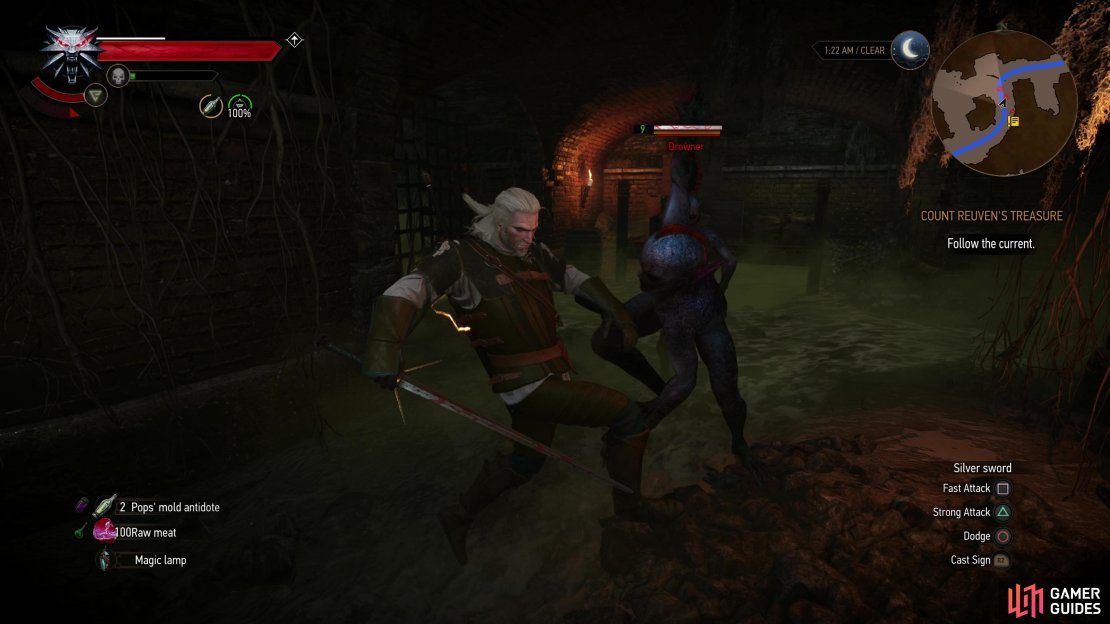
Go through a gate door to the northeast and examine some pipes on the wall, then turn northwest then northeast to find a small horde of ![]() Drowners (Lv9) down some stairs). Kill them and be sure to loot the various containers on wooden platforms you pass by - they hold the odd chest that can yield valuable treasure, like diagrams, formulas and decoctions. In the Drowner-infested chamber, keep an eye out to find a
Drowners (Lv9) down some stairs). Kill them and be sure to loot the various containers on wooden platforms you pass by - they hold the odd chest that can yield valuable treasure, like diagrams, formulas and decoctions. In the Drowner-infested chamber, keep an eye out to find a ![]() Silver
Silver ![]() Emerald Ring on the ground - not a vital clue, but it does confirm the treasure was moved through this chamber, and gives you some nice monetary incentive for being observant.
Emerald Ring on the ground - not a vital clue, but it does confirm the treasure was moved through this chamber, and gives you some nice monetary incentive for being observant.

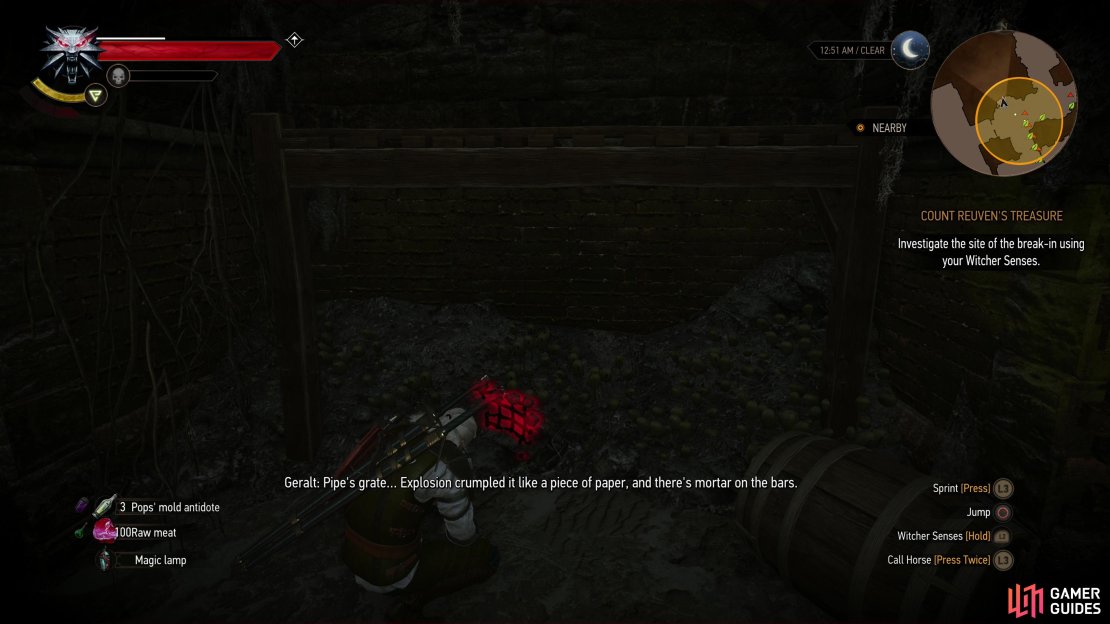
(1 of 3) After leaving the relative safety of Dijkstra’s vault, examine a ruined grate to determine you need to follow the current.
Follow a curved tunnel and you’ll find a ![]() Pearl at the mouth of a chamber to the north. Grab it, investigate a corpse to the northwest, then set it on fire with
Pearl at the mouth of a chamber to the north. Grab it, investigate a corpse to the northwest, then set it on fire with ![]() Igni if you want to disincentivize further necrophage incursions. Ignore the current and head west, then north to grab some loot and you’ll end up in the same spot you would have if you followed the current; examine another corpse along the northern wall, burn it with Igni, grab a Gold Ring off the ground to the southwest, then turn west and go through another gate door to reach a large chamber.
Igni if you want to disincentivize further necrophage incursions. Ignore the current and head west, then north to grab some loot and you’ll end up in the same spot you would have if you followed the current; examine another corpse along the northern wall, burn it with Igni, grab a Gold Ring off the ground to the southwest, then turn west and go through another gate door to reach a large chamber.
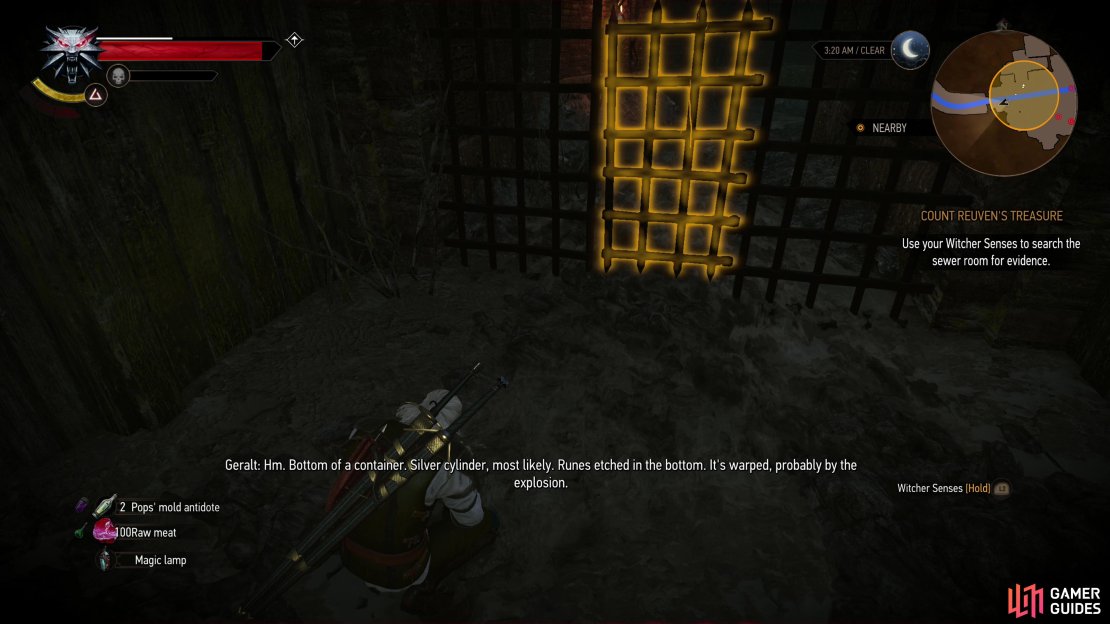
The Pops’ Mold poison isn’t a problem at this point, so if you made it through on one antidote, good on you! Go upstairs and jump a gap if you want to nab a bunch of loot on the high ground, then head back to the bottom of the chamber and make your way over to a gate to the west. Be sure to examine a bomb part on the ground near the gate, which should give you enough evidence to report back to Dijkstra. Before you return, however, go through the gate to the west and follow the passage beyond to reach a canal, where Geralt will make a useful observation that lines up with the claims one of the girls made during Broken Flowers. Interesting, but not quest-important. Exiting via this route does allow you to circle back around to the bathhouse without going through the Pops’ Mold again, however.

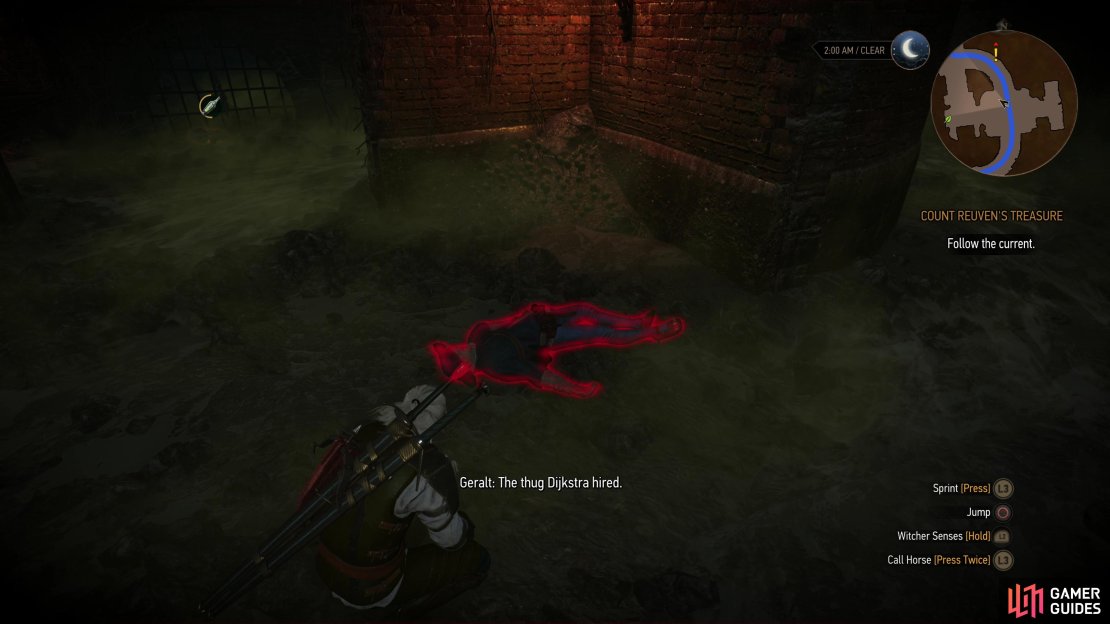
(1 of 3) Find and burn two bodies to prevent more Drowners from congregating.
Report Back to Dijkstra and Examine the Bathhouse
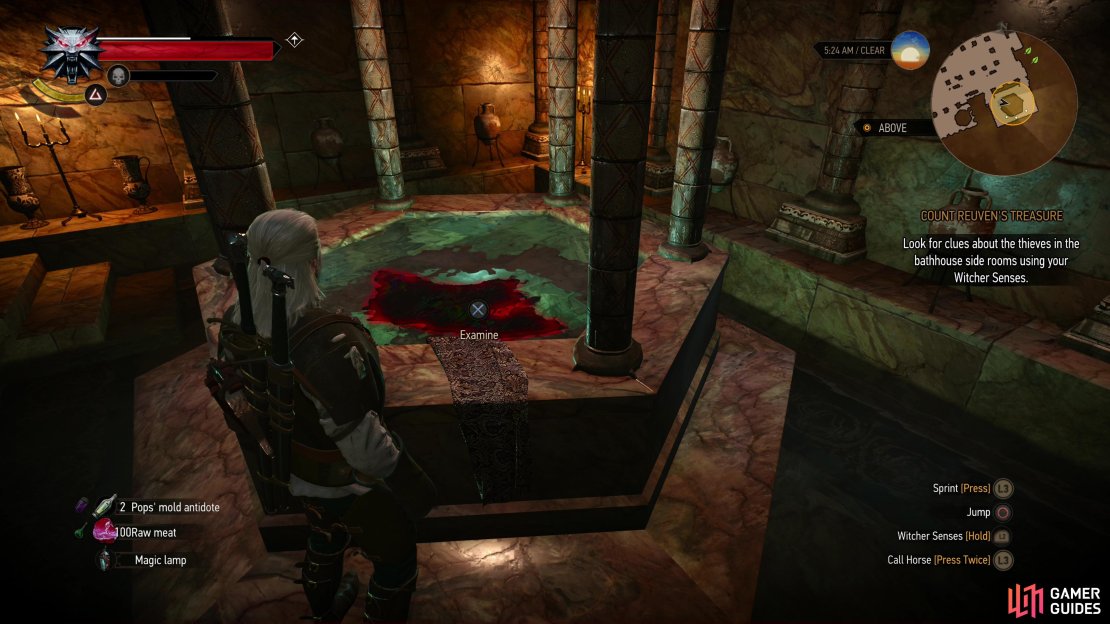
Whether through the sewers or not, make your way back to the bathhouse and meet with Dijkstra in his office, which is just to the left after you enter said bathhouse. Tell Dijkstra what you learned and you’ll ultimately pick up a new lead, gaining a generous 200 EXP in the process. After the chat you’ll be in the bathhouse, tasked with investigating two pools. Ignore the southwesternmost of the two pools and head northeast instead, to the further pool. Use your Witcher senses to examine some oil atop the water, then circle around the pool until you find another bomb part. This triggers more dialog and at length you’ll get a name - Margrave Henckel. This is worth another 50 EXP.
Investigate Margrave Henckel’s House
Leave the bathhouse and head to the southwestern corner of ![]() Hierarch Square - Margrave Henckel’s house is just down the street, towards the Golden Sturgeon.
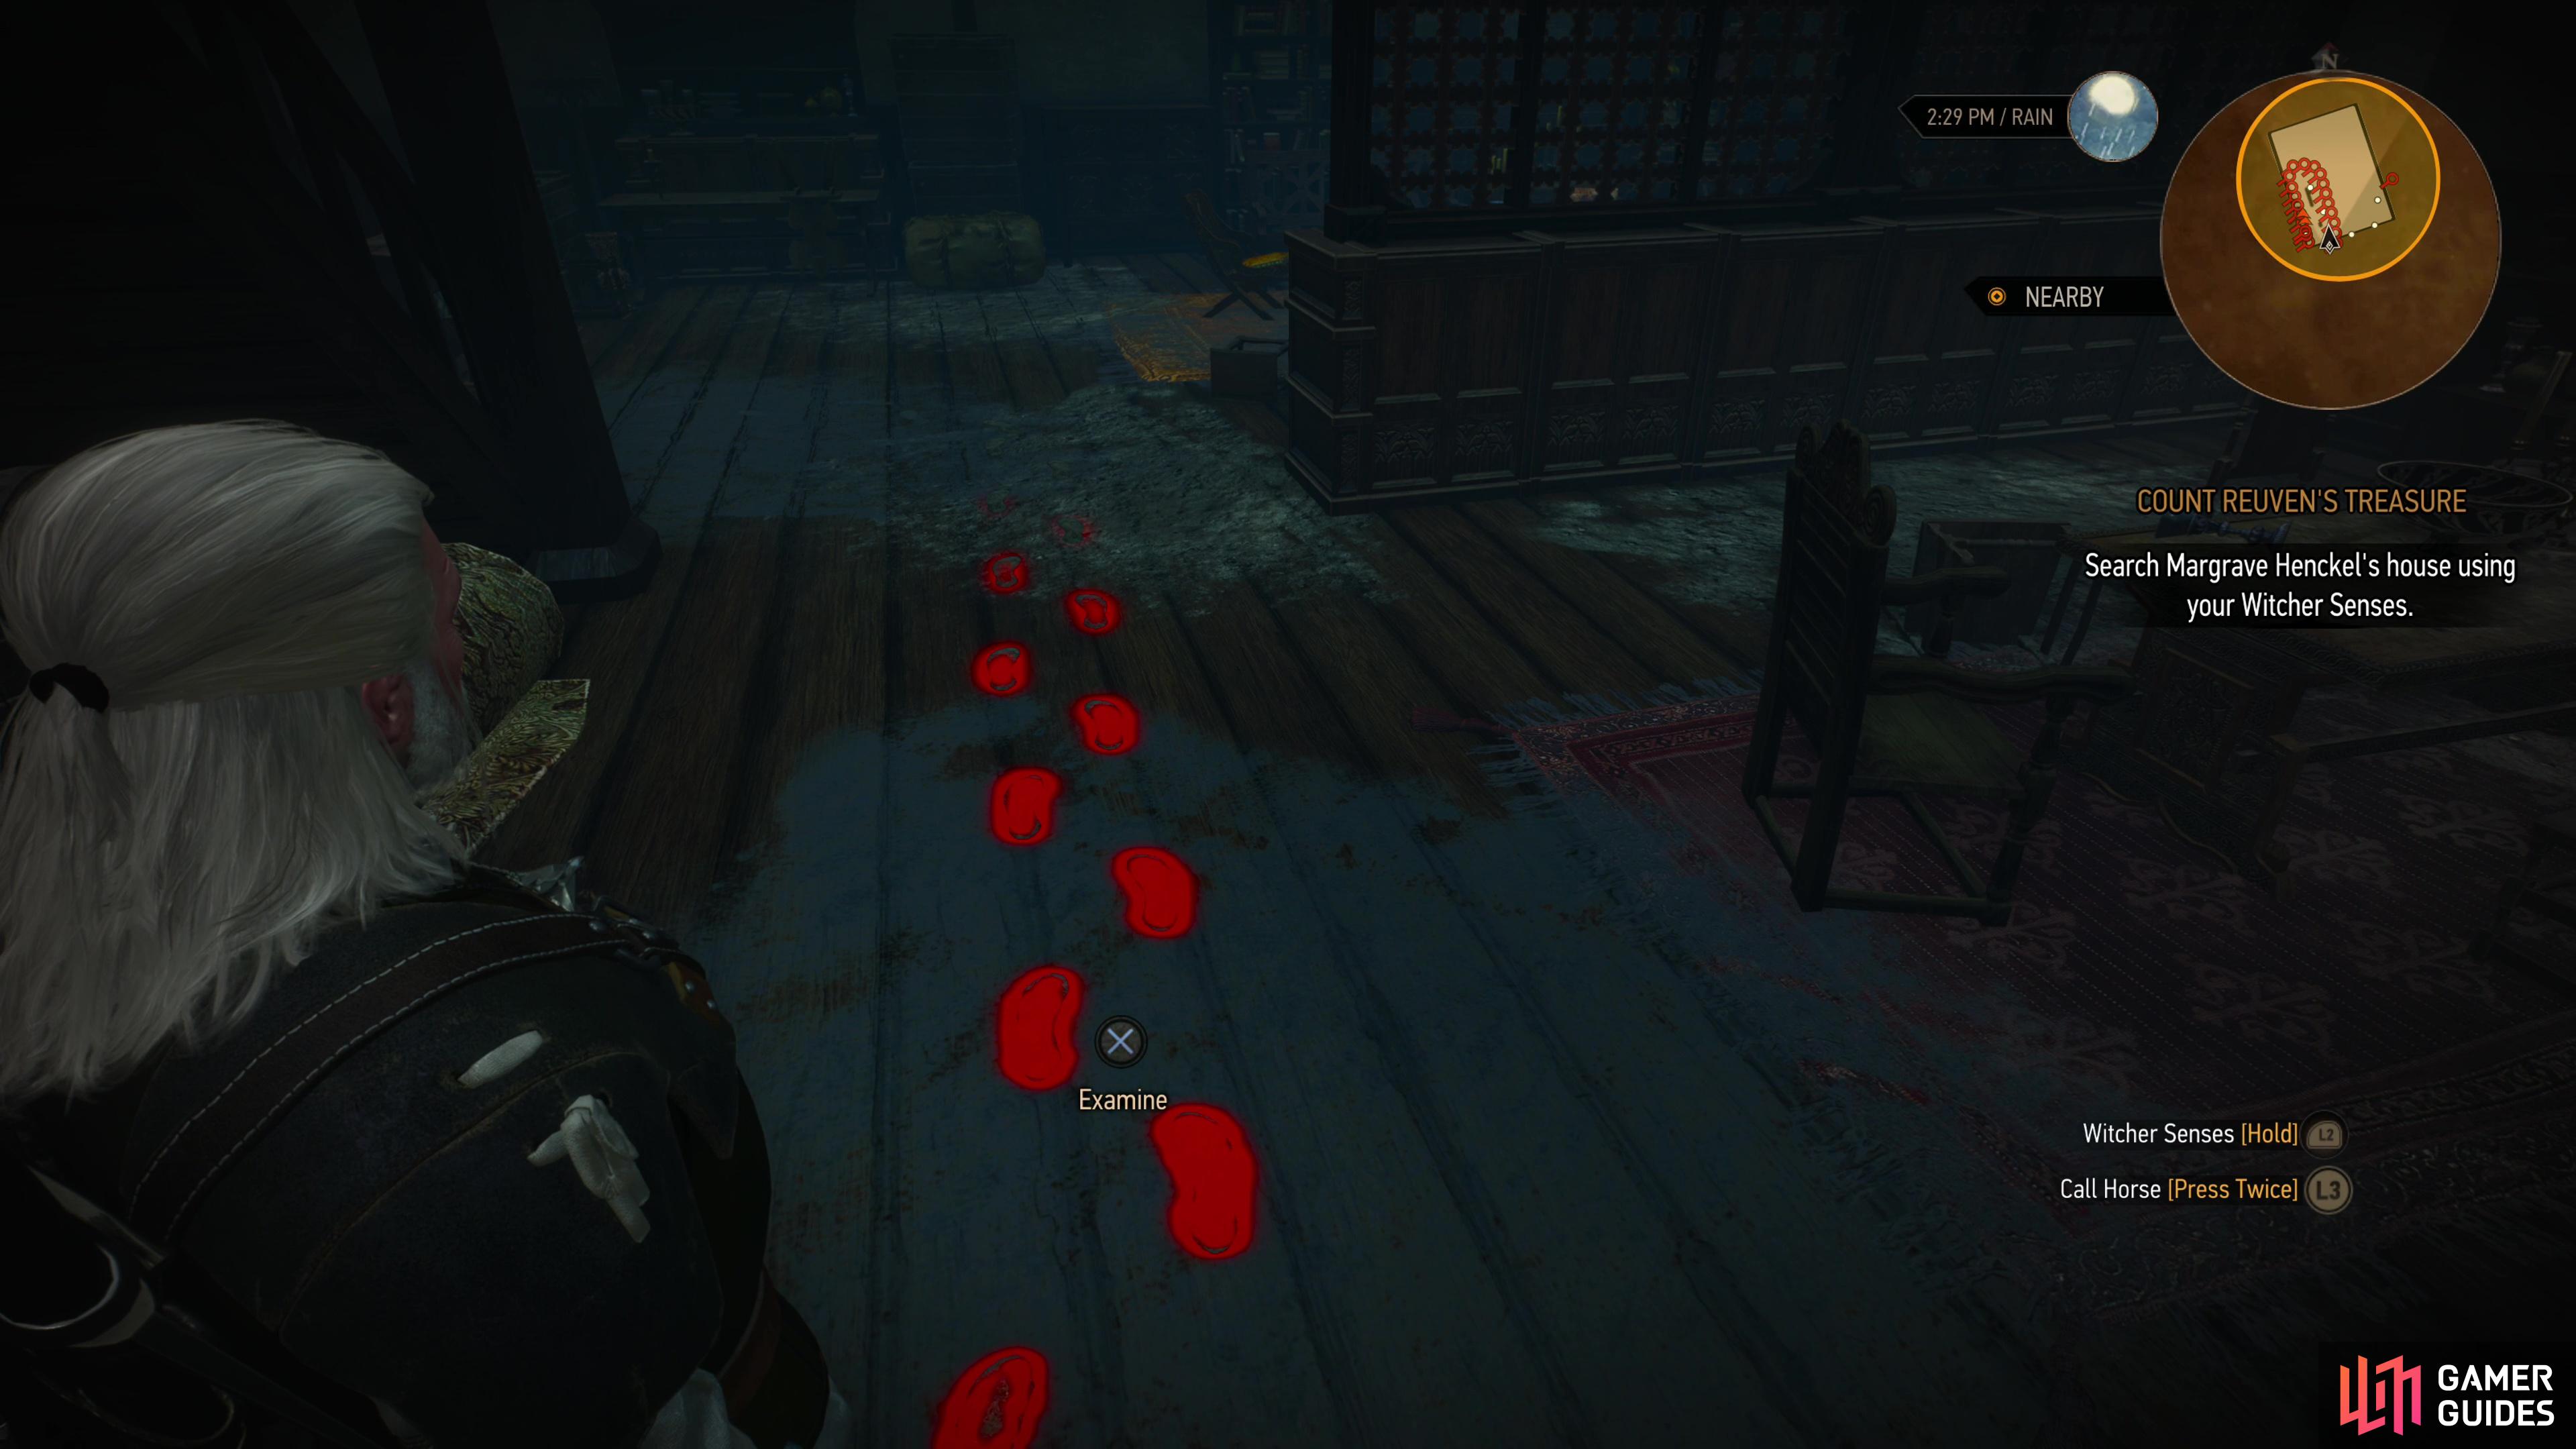
Hierarch Square - Margrave Henckel’s house is just down the street, towards the Golden Sturgeon. ![]() Aard the front door down and investigate some tracks within, but don’t follow them just yet - instead head right past a table to find a bomb casing on a dresser. Looks like we’re in the right place!
Aard the front door down and investigate some tracks within, but don’t follow them just yet - instead head right past a table to find a bomb casing on a dresser. Looks like we’re in the right place!
Solve the Wine Puzzle
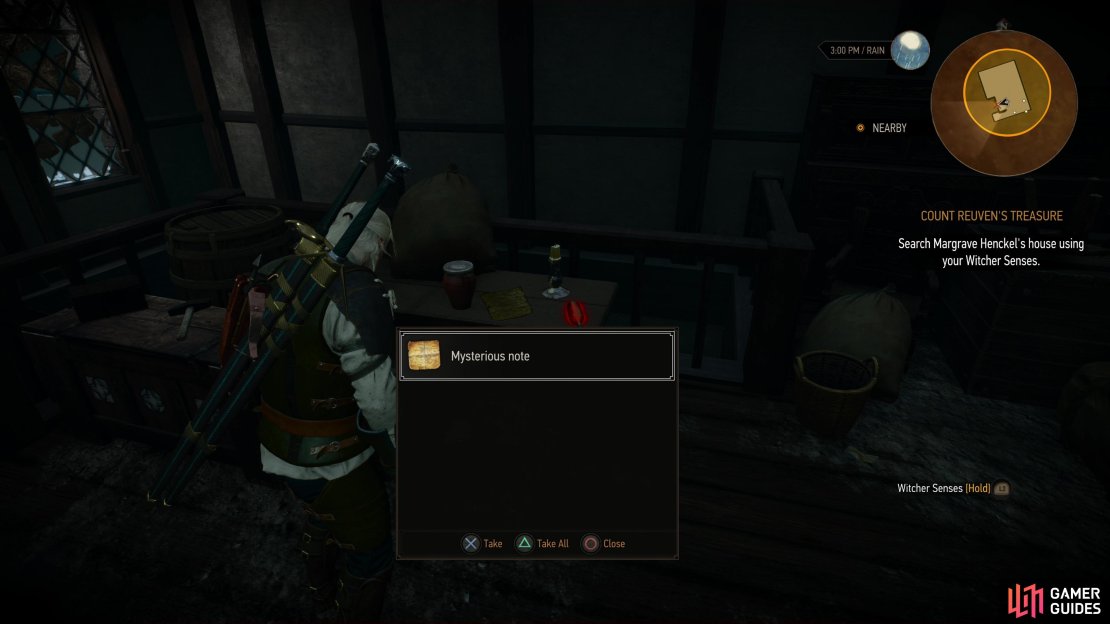
Follow the tracks upstairs and search a desk to find a Mysterious ![]() Note and a
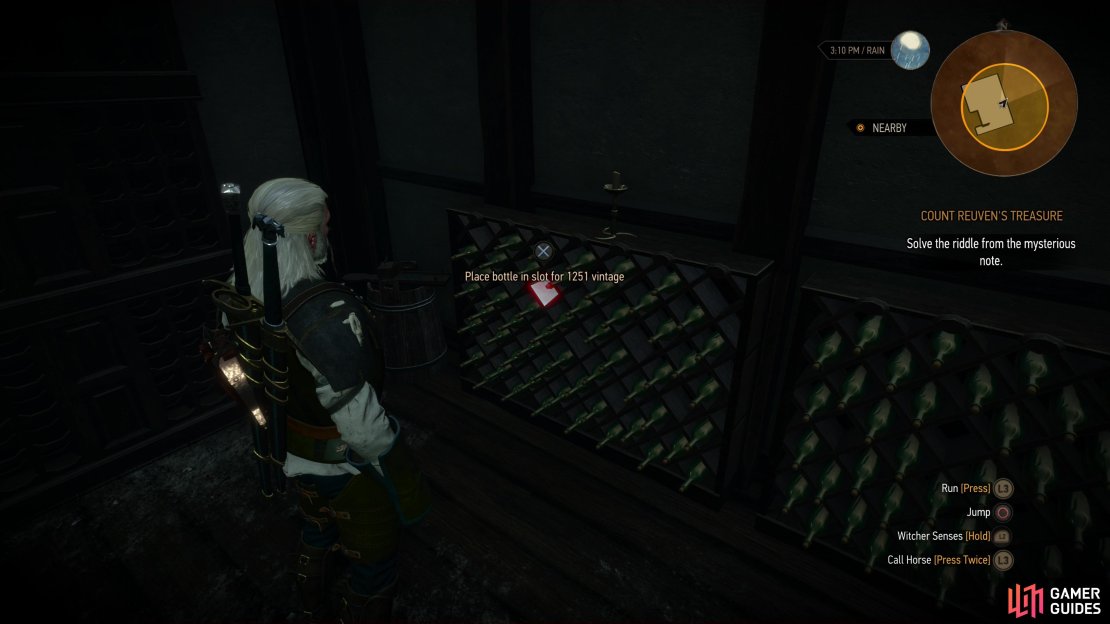
Note and a ![]() Bottle of Wine. There’s also clearly a door to the north, at the end of the tracks, but there’s no conventional way of opening it. That being the case, head around the corner to a small side room where you’ll find some wine racks. Use your Witcher senses to spot an empty slot for 1251 vintage, and when you place the wine bottle there the door at the end of the tracks will open up.
Bottle of Wine. There’s also clearly a door to the north, at the end of the tracks, but there’s no conventional way of opening it. That being the case, head around the corner to a small side room where you’ll find some wine racks. Use your Witcher senses to spot an empty slot for 1251 vintage, and when you place the wine bottle there the door at the end of the tracks will open up.
Head through the now-open doorway and keep your Witcher senses active, as there are plenty of things to search in here, including:
- Spilled wyvern oil on the floor near the door.
- A letter on a bookshelf to find some bomb instructions, signed by one Kalkstein.
- Some bomb components on a table.
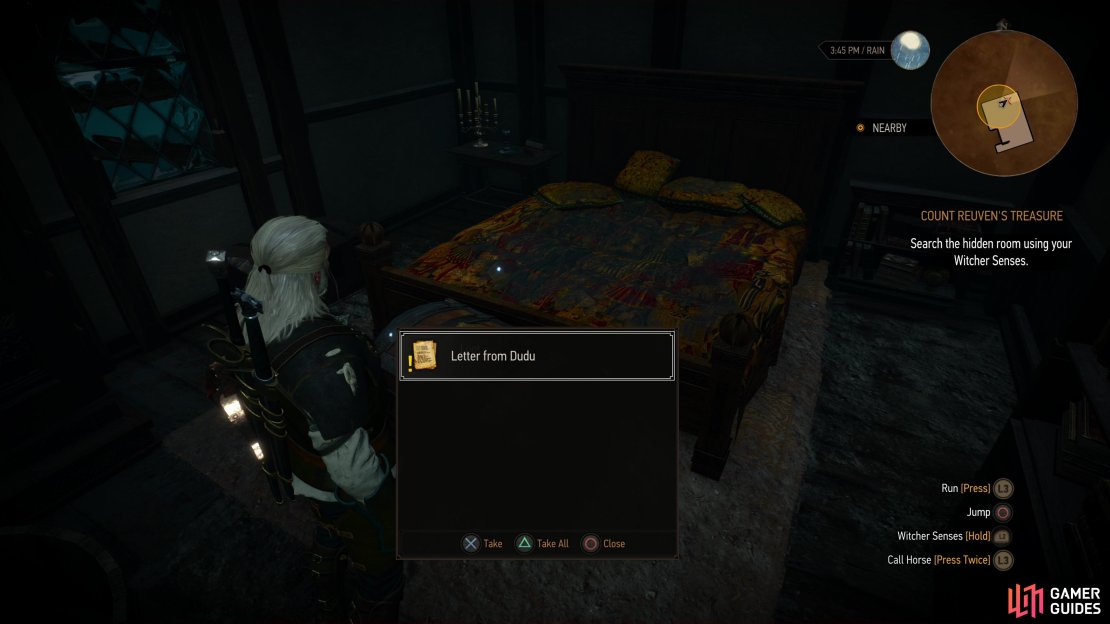
- A
 Letter from Dudu on a chest near the bed.

(1 of 4) Follow some tracks through Henckle’s house,
You’ll get 50 EXP when you read the letter and learn, vaguely, what happened to Dandelion and to Dijkstra’s treasure. Head downstairs and you’ll encounter Triss and Dijkstra, and ultimately strike up a conversation. Say whatever you want to Dijkstra and you’ll get another target, one of great danger, but whose death would be welcome to both Witchers and sorceresses alike. You’ll also get a chance to define your relationship with Triss, if you wish, but this doesn’t actually affect your ability to romance her later, so pick whatever you wish. It’s all just roleplay.at this point.
Infiltrate the Witch Hunter Fortress
There’s been a lot of talking and searching in this quest, and not a whole lot of fighting up to this point, and more importantly, it’s been a fairly linear quest with few choices of import. That changes now. You need to meet up with Triss near the Eternal Fire shrine in the center of the harbor district- the southernmost of Novigrad’s islands - at midnight. Before you go, we recommend you save your game, as some of your choices here do actually matter inasmuch as you’ll be able to determine how much fighting you do in the upcoming segment and how much you learn about Dijkstra’s treasure, which in turn could affect how much he’s willing to help you later on. It’s not a huge change, but it will result in you getting a lot of ![]() Crowns later on if you appease Dijkstra.
Crowns later on if you appease Dijkstra.
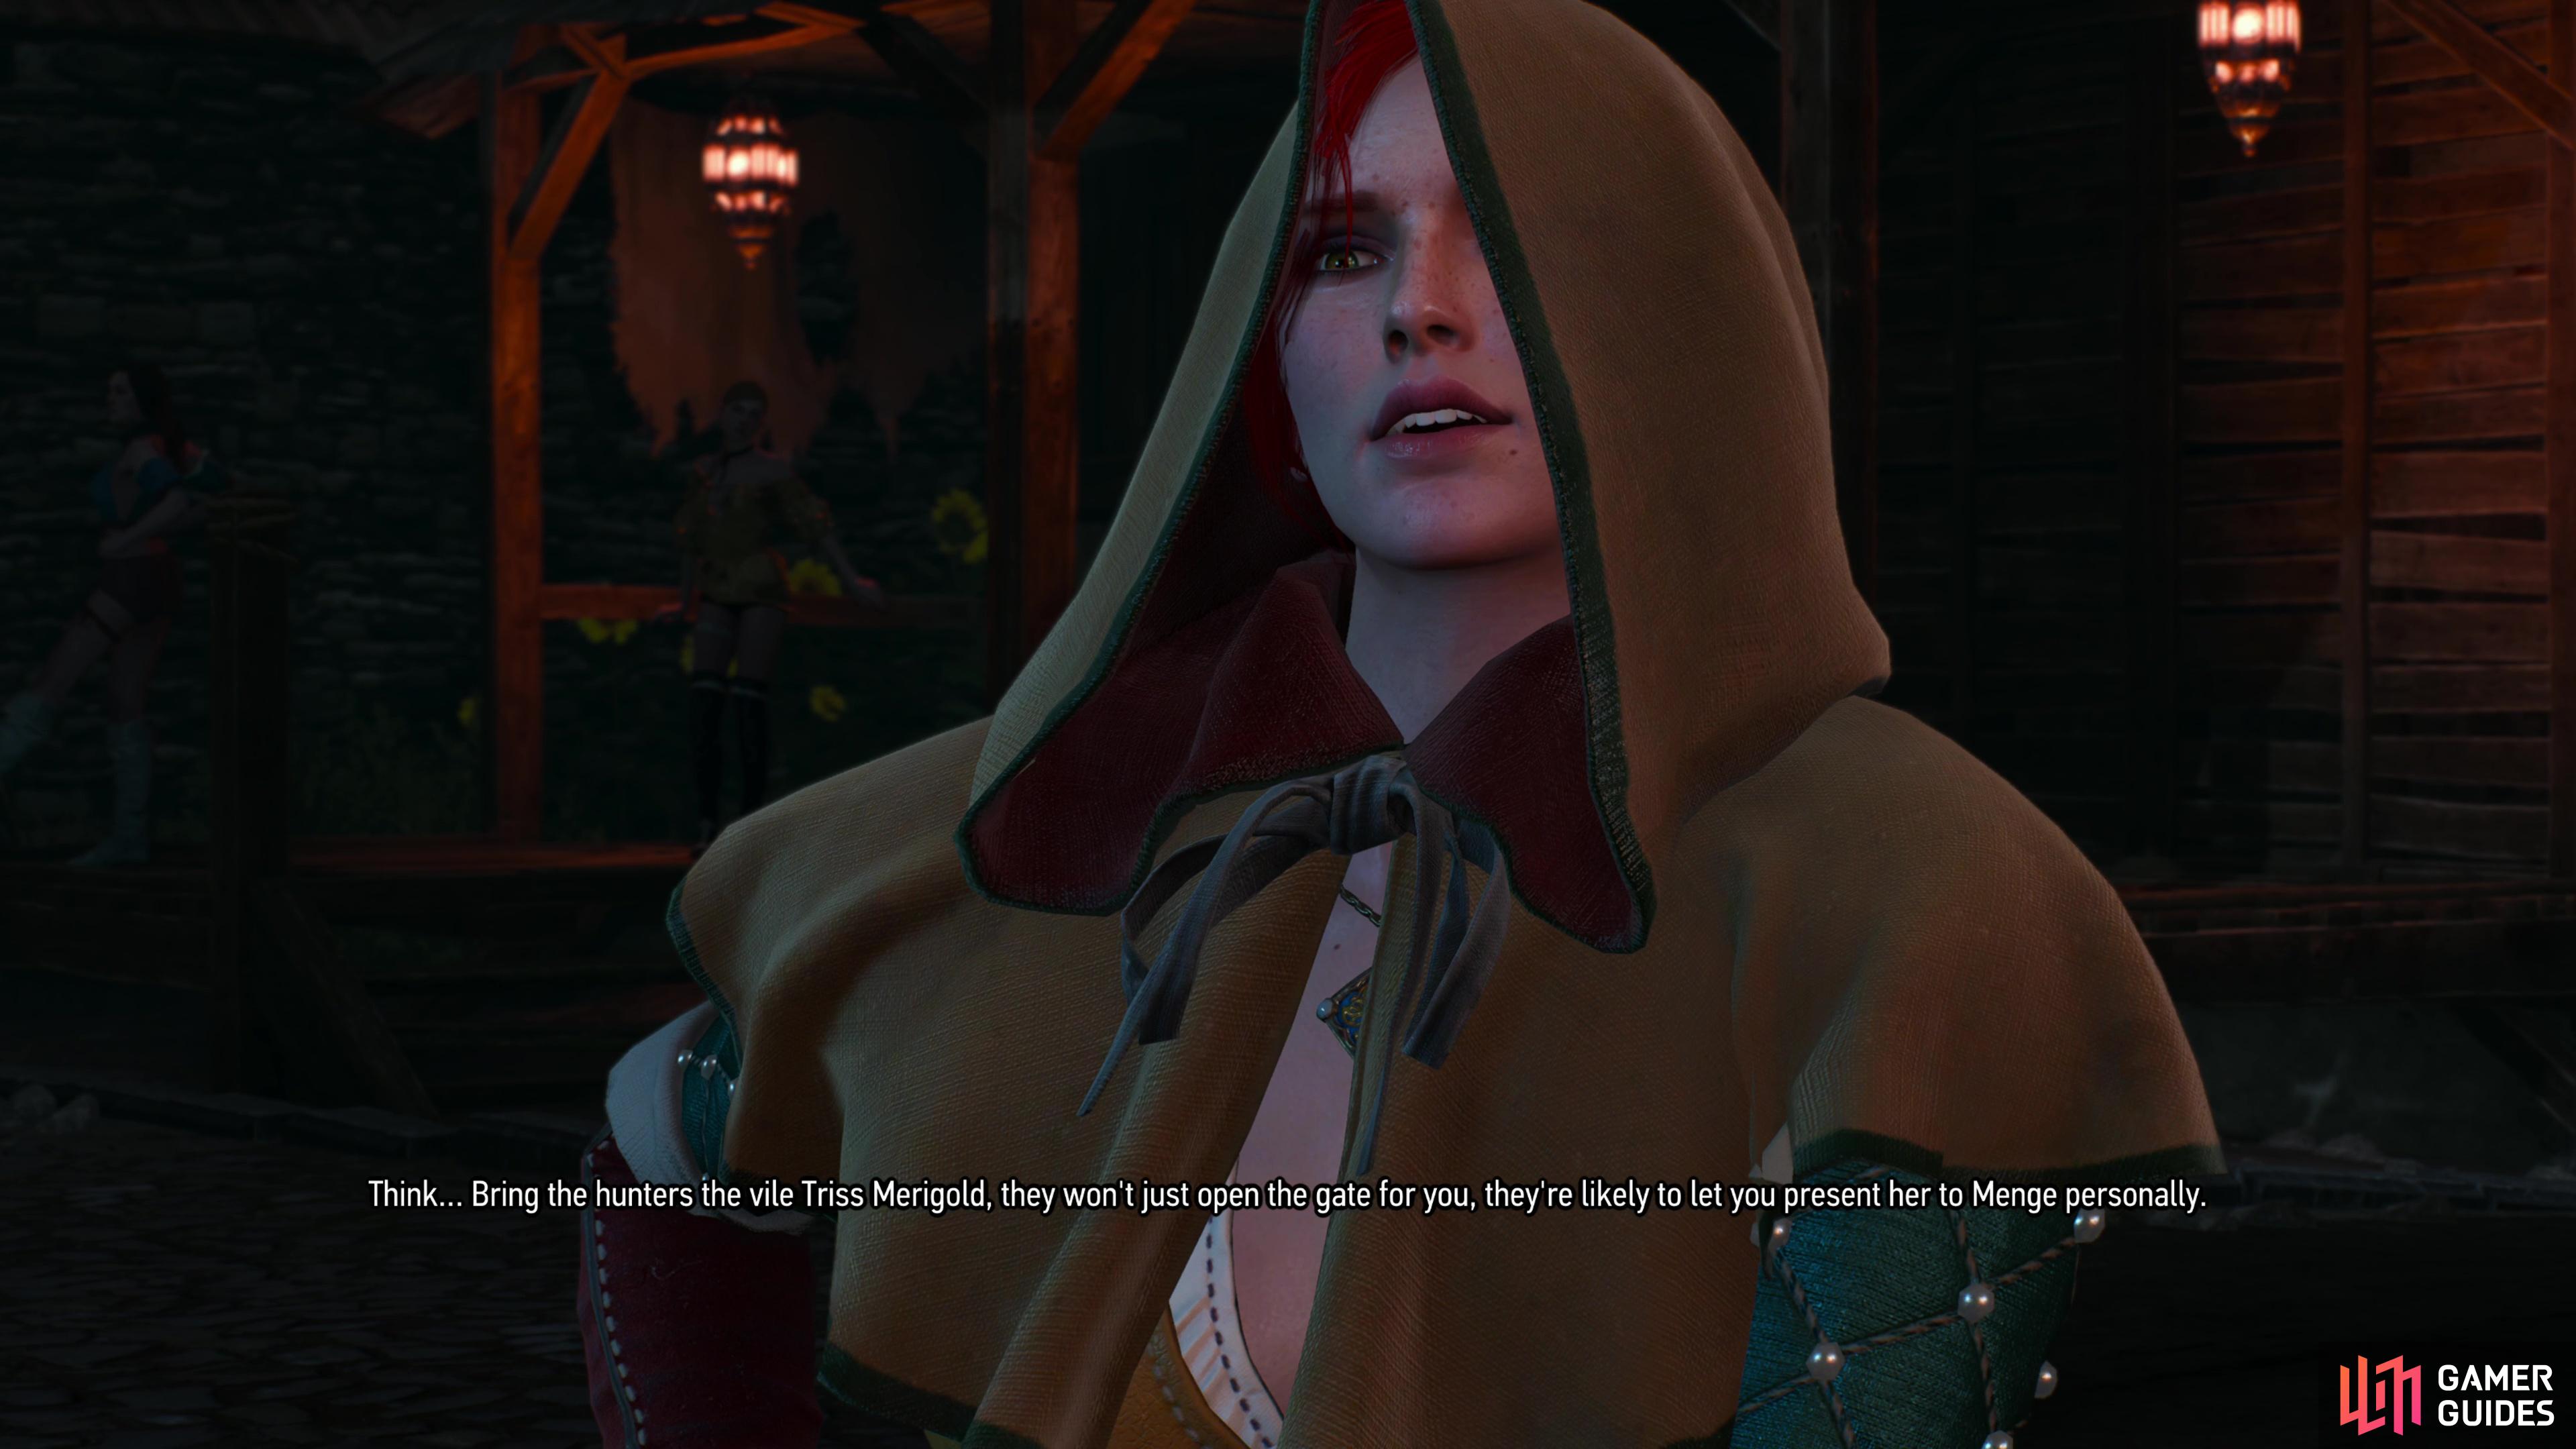
Meditate until midnight, then head to the appointed location to end up in a conversation with Triss, where she’ll suggest a scheme that’ll grant you an audience with Menge. Say whatever you wish here, there’s no way to opt out of the plan or endorse it - you’ll either play your part well enough to succeed or you’ll default to brute force. Triss doesn’t hold a grudge either way, but if you do not get an audience with Menge, you won’t find out where, exactly, Dijkstra’s treasure is being stored. After chatting with Triss you’ll find yourself escorting her into the Witch Hunter’s stronghold, where you’ll need to pick the correct dialog options to secure an audience with Menge:
Secure an Audience with Menge
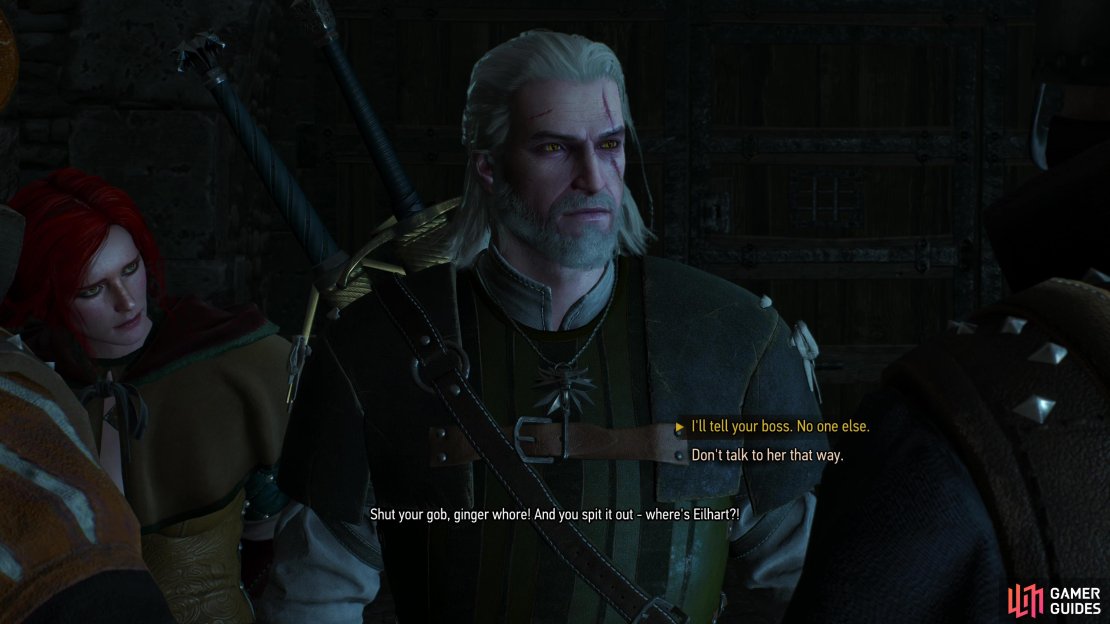
Once you find yourselves chatting with the Witch Hunters, pick the following dialog options to meet with Menge:
- ”Wanna talk to Menge.”
- ”Got something to offer Menge.”
- ”I’ll tell your boss. No one else.”
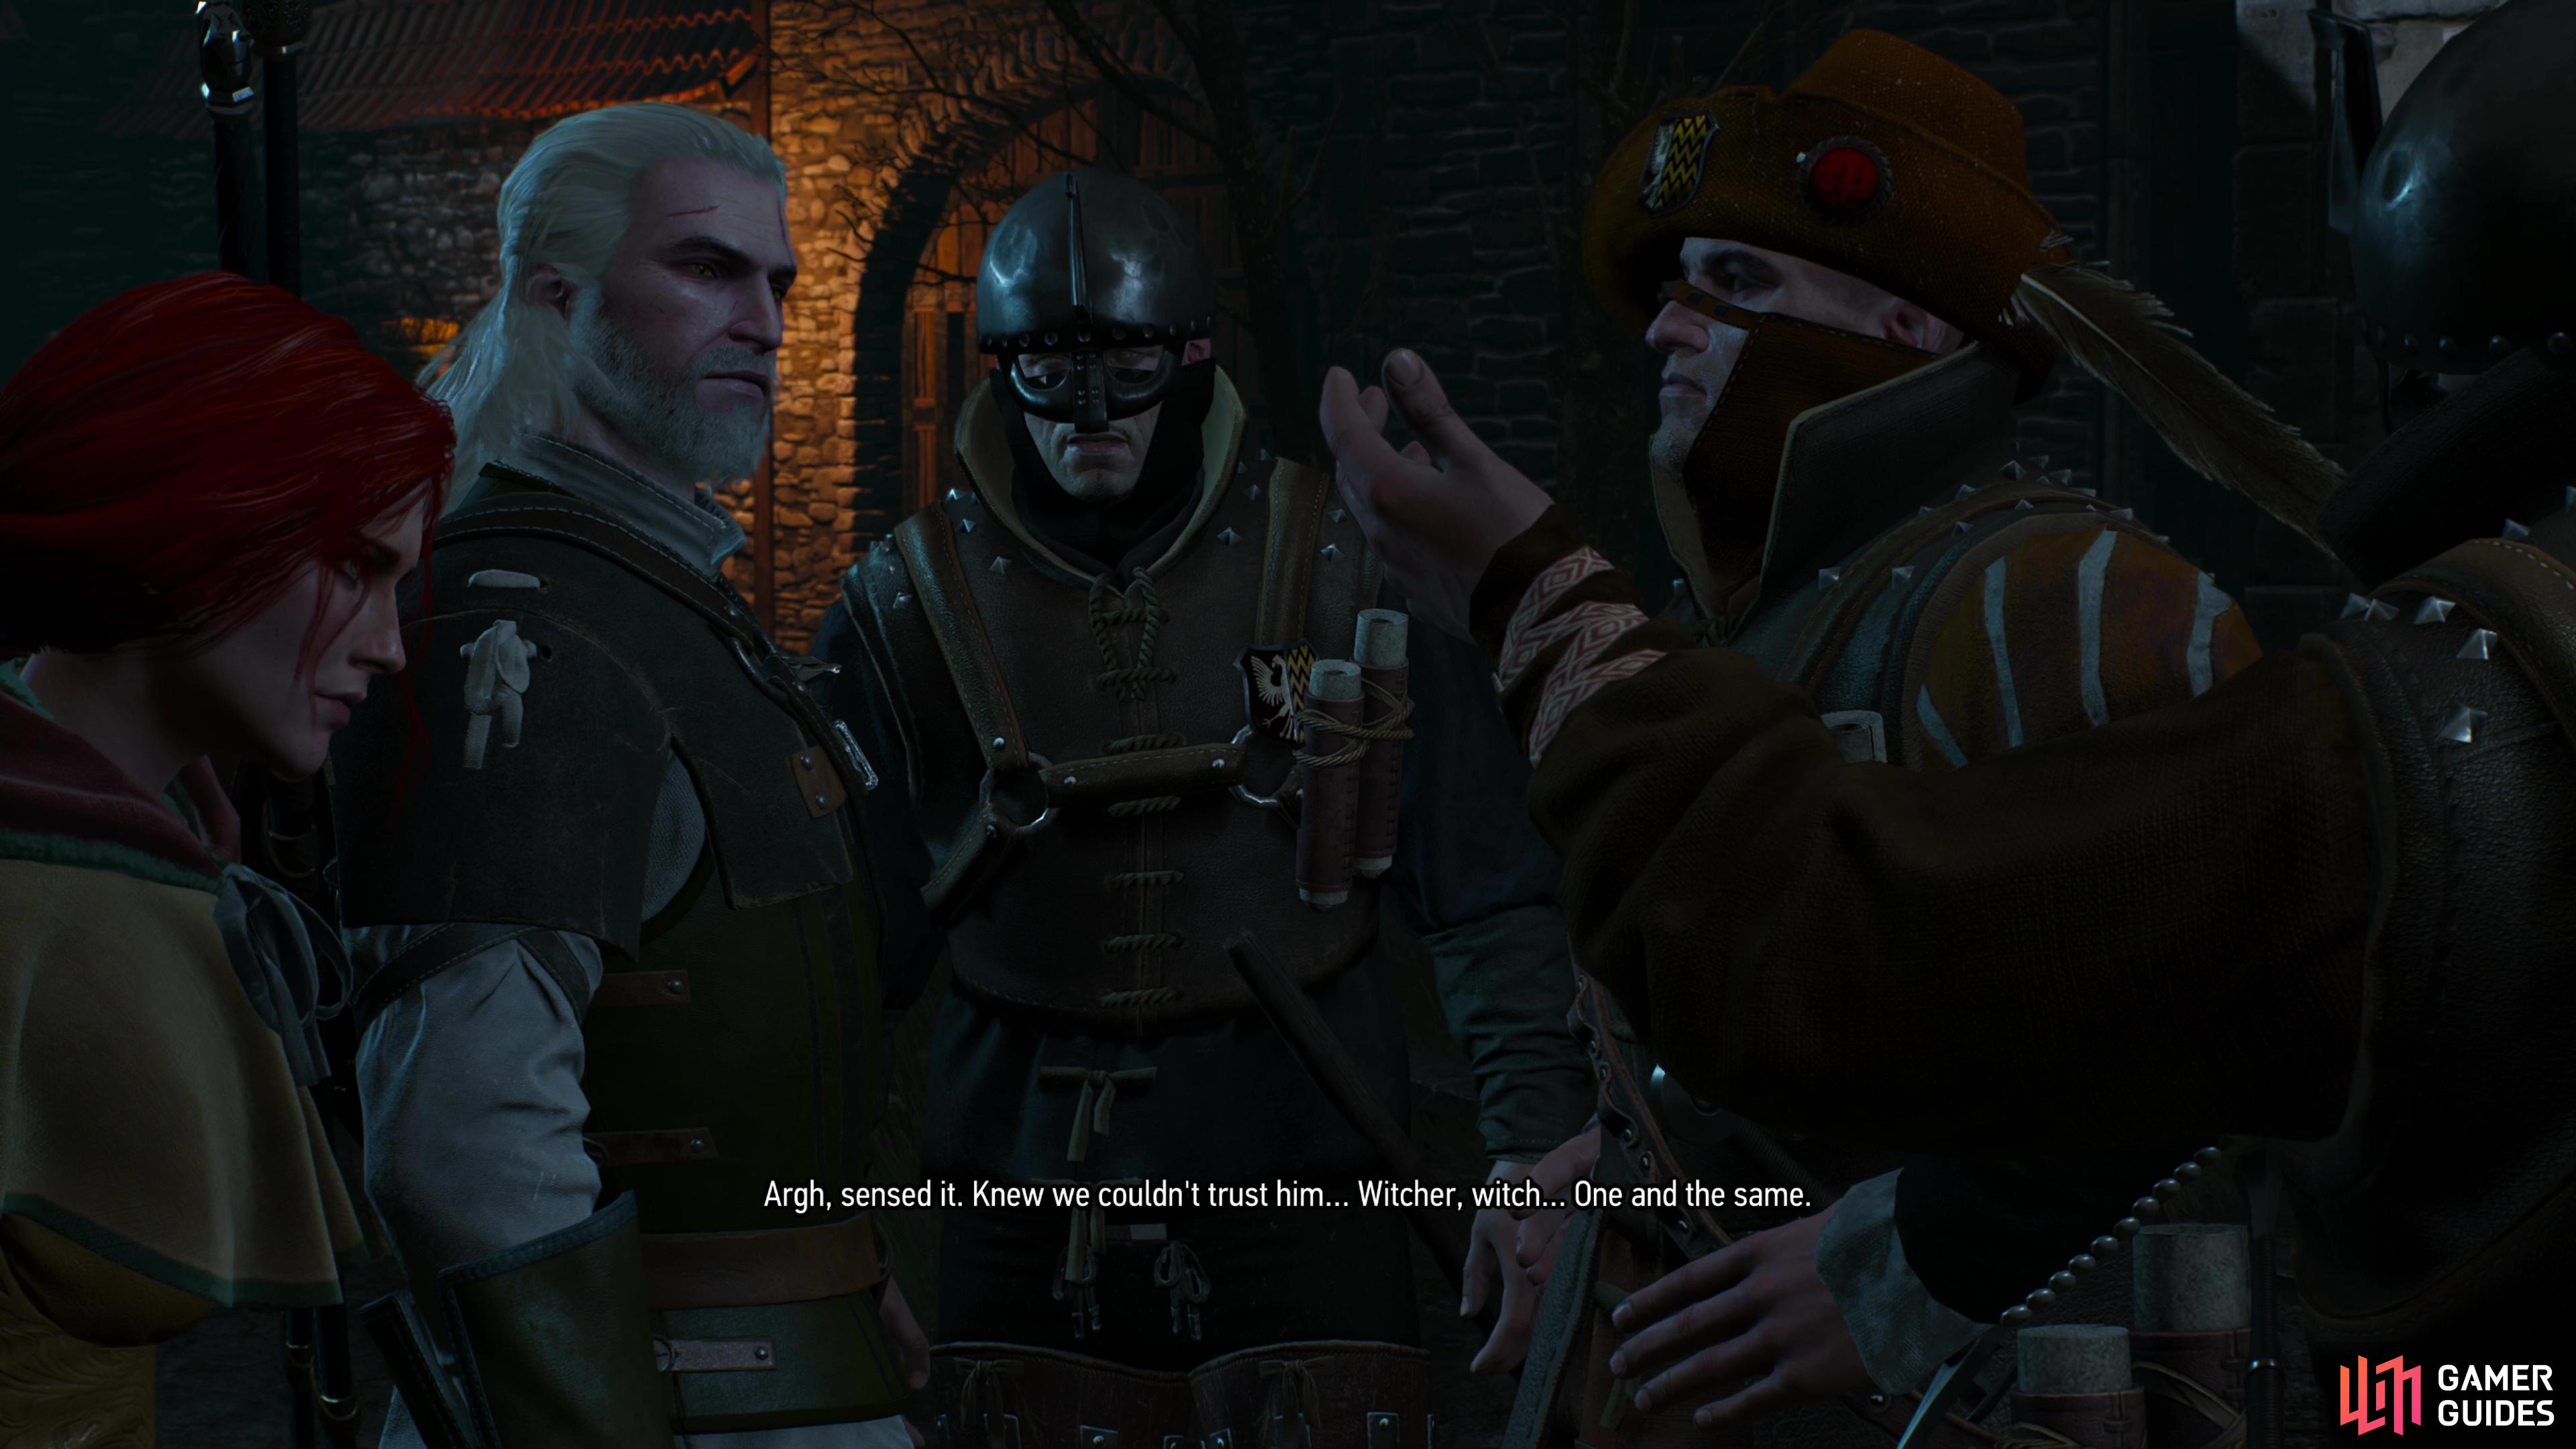
After this, follow the Witch Hunters through the compound and up some stairs, then pick the dialog option ”Fine, take her.”. This secures your audience with Menge, but you’re not in the clear just yet. You must endure the sound of Triss being mistreated by the Witch Hunters while also not provoking Menge in any way. Unfortunately asking about Dandelion will raise Menge’s suspicions, so at this point you’ll need to decide whether you want to finish this section cleanly and according to Triss’s plan or learn where Dijkstra’s treasure is.
Avoid Provoking Menge and Execute Triss’s Plan
If you want to play nice with Menge and let Triss take one for the team, pick the following dialog options:
- ”Why not.”
- ”Got a silver sword on my back. Not enough?”
- ”Triss betrayed me first.”
- ”Free my friend Dandelion.”
Do this and you’ll avoid any combat. A scene will ultimately interrupt your chat with Menge after which exhaust Triss’s dialog options and you’ll be free to explore this part of the Witch Hunter compound without interruption. If you go through either of the doors to the north you’ll have to fight Witch Hunters (Lv9), which rather defeats the point of taking this route, but you’ll be able to loot the compound after you indulge in some slaughter. When you’re ready to leave, exit via the door along the western edge of Menge’s office, head down some stairs, and after Triss gets up to some arson, climb some crates to the west to get over a wall.

(1 of 3) Meet Triss by the Eternal Fire shrine and she’ll explain her plan.
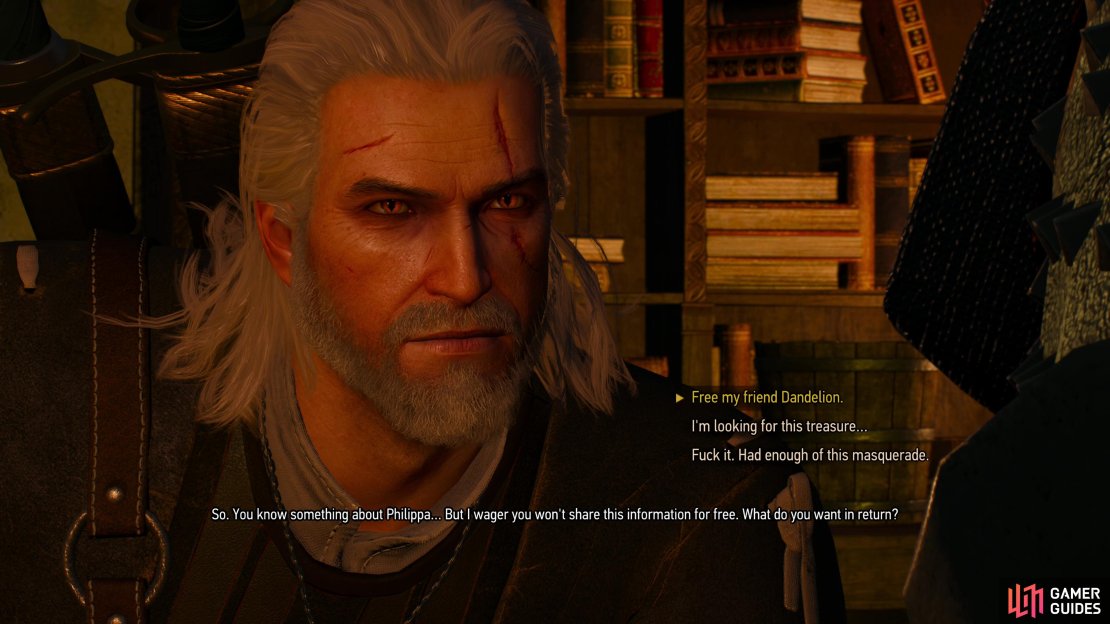
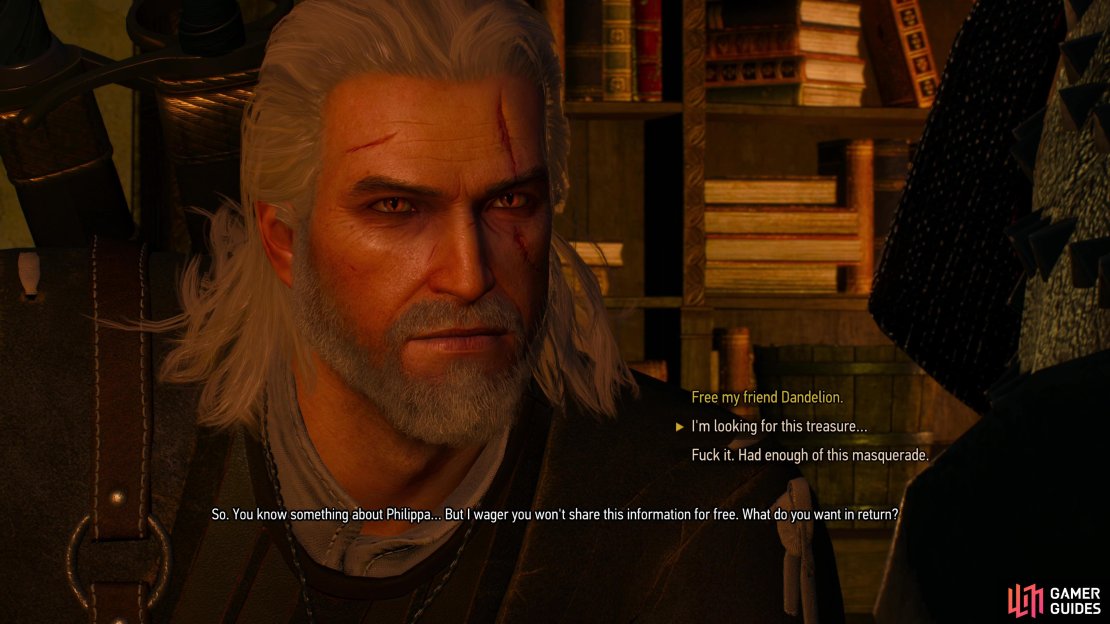
Ask Menge About Dijkstra’s Treasure
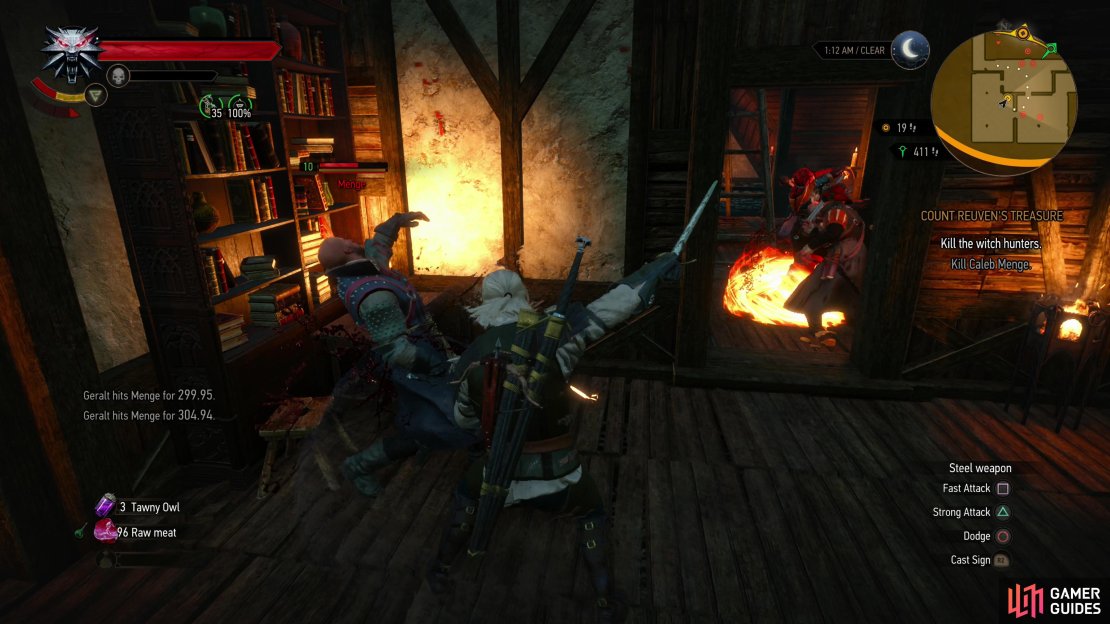
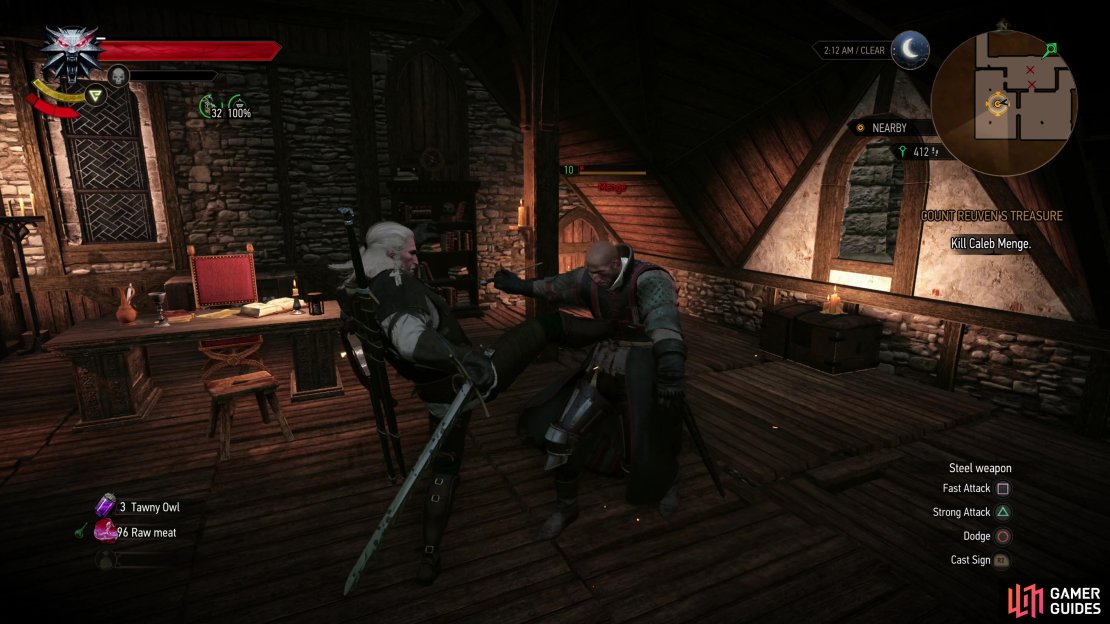
To learn about Dijkstra’s treasure, follow the steps above as if you were trying to stay on good terms with Menge, except this time after saying ”Triss betrayed me first.” you should pick the option ”I’m looking for this treasure…”. This prompts Menge - himself a thief sitting upon twenty odd tons of confiscated gold - to chastise Geralt for the contracts he takes, and once you inevitably end up asking about Dandelion he’ll decide you’re too much of a deviant to do business with. This provokes Menge (Lv10) into attacking, turning the entire compound hostile. See the header Pick a Fight with the Witch Hunters below for more information about killing the Witch Hunters, but suffice to say being able to parry and counter garden variety enemies armed with one-handed weapons and using ![]() Quen to cover for mistakes should see you through just fine.
Quen to cover for mistakes should see you through just fine.
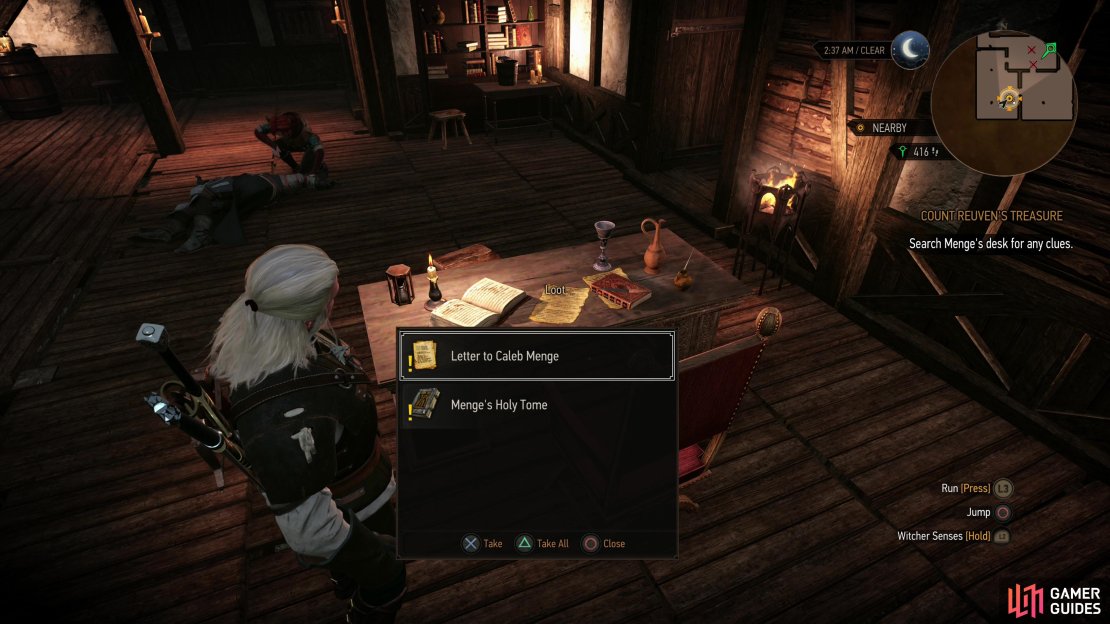
Kill Menge and the rest of his goons, then search Menge’s desk to find a Letter to Menge and ![]() Menge’s Holy Tome. Triss will search Menge’s body and procure Menge’s
Menge’s Holy Tome. Triss will search Menge’s body and procure Menge’s ![]() Key and the Key to Dijkstra’s Treasury, the former of which will allow you to exit via the door on the western wall of Menge’s office.
Key and the Key to Dijkstra’s Treasury, the former of which will allow you to exit via the door on the western wall of Menge’s office.

(1 of 3) If you want to find out where Dijkstra’s treasure is being stored, be sure to ask Menge about it.
Pick a Fight with the Witch Hunters
If you don’t want to play nice with the Witch Hunters or you botch one of the dialog options above, you’ll end up in a fight. You can do this before handing Triss over, sparing her much of the abuse she’d otherwise endure, and aside from Triss teasing you about your lack of subtlety you don’t really face any negative consequences for this approach… aside from having to fight more, and not being able to get information about Dijkstra’s treasure from Menge, of course.
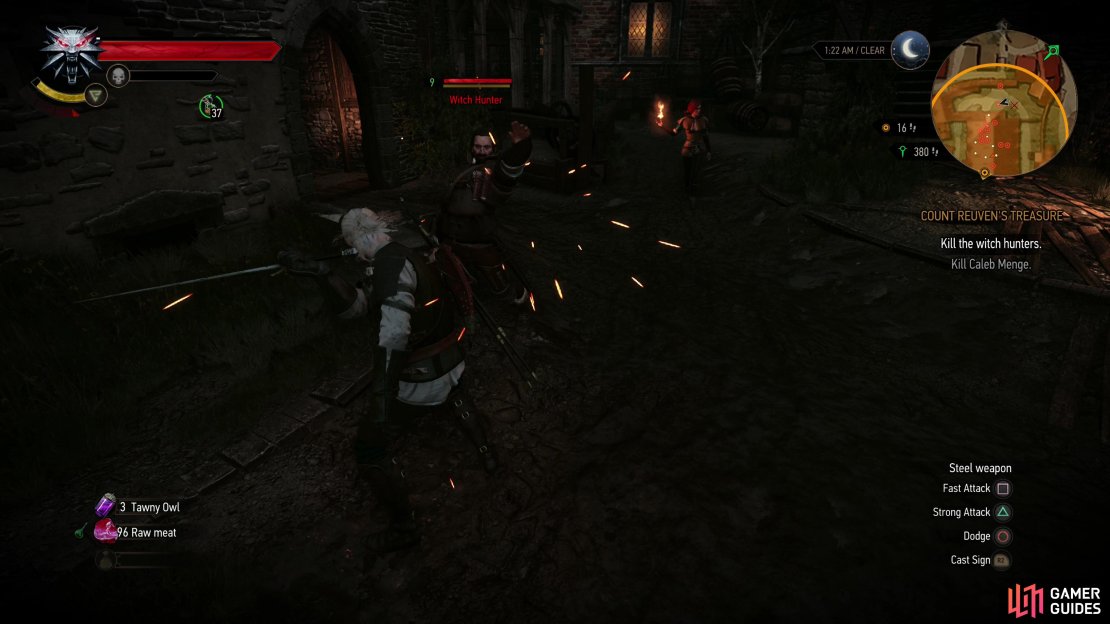
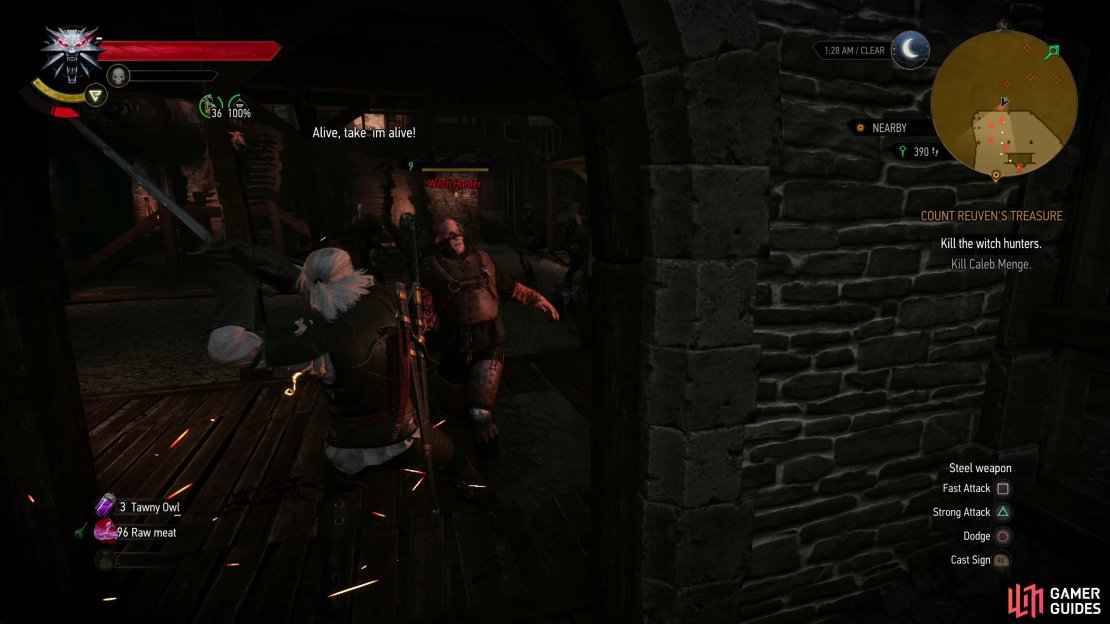
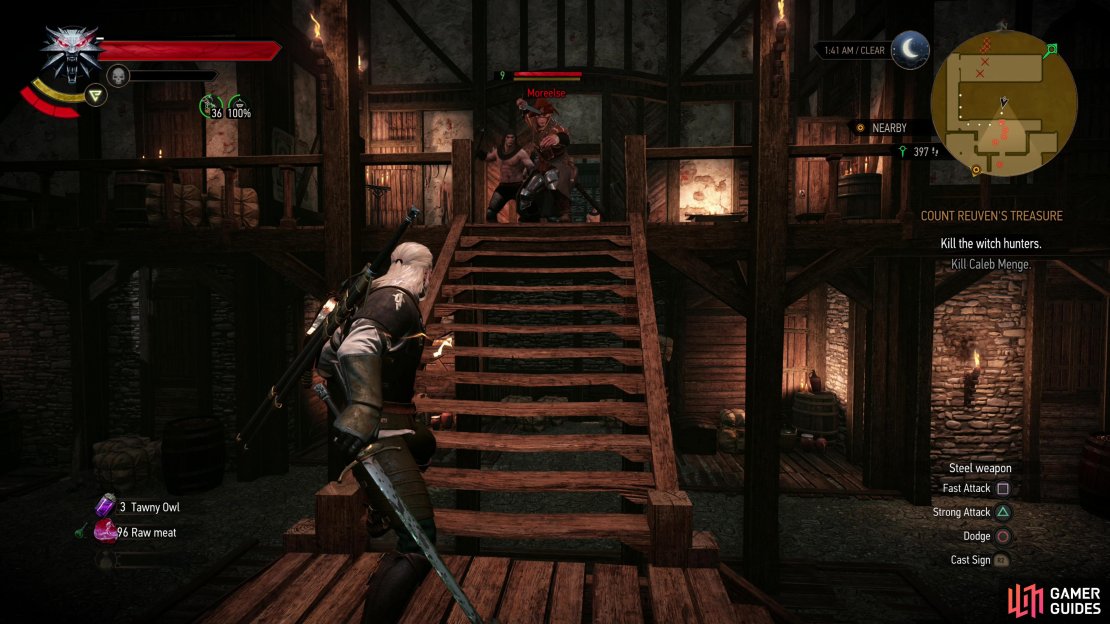
Depending on when you break with or botch Triss’s ruse, you’ll end up fighting at different parts of the stronghold. At the entrance are three Witch Hunters (Lv9) all armed with one-handed weapons, although more may exit the compound to attack. In the ground floor of the compound itself are several more, and up stairs you’ll encounter Moreelse (Lv9), a Witch Hunter Torturer (Lv9) and some more Witch Hunters (Lv9). Menge (Lv10) is in his office along the southwestern corner of the compound, and if you slip up during your conversation with him you’ll end up fighting the foes mentioned above in reverse order, starting with Menge.
Witch Hunters are generally more competent swordsmen than your average grunt - expect some of them to be able to parry and counter fast attacks unless you get around to their flank or rear, counter one of their own attacks, strike when they’re reeling from one of Triss’s attacks, or incapacitate them with ![]() Axii first. To avoid getting overwhelmed consider using doorways as bottlenecks - strong attacking through doorways at Witch Hunters beyond then quickly dodging back through the door can keep fights manageable while you whittle down the opposition. There’s no time limit and with Triss helping out by throwing firebolts this shouldn’t be too hard of a fight, especially if you use Quen to soak the odd mistake and use potions and bombs to bolster your offense.
Axii first. To avoid getting overwhelmed consider using doorways as bottlenecks - strong attacking through doorways at Witch Hunters beyond then quickly dodging back through the door can keep fights manageable while you whittle down the opposition. There’s no time limit and with Triss helping out by throwing firebolts this shouldn’t be too hard of a fight, especially if you use Quen to soak the odd mistake and use potions and bombs to bolster your offense.
Kill Menge, then loot the desk in his office to score a Letter to Menge and Menge’s Holy Tome, after which Triss will extract Menge’s Key and the Key to Dijkstra’s Treasury from Menge’s corpse, allowing you to exit via the door along the western wall of Menge’s office. Of course, now that you cleared the place out there’s no rush - might as well loot the place properly, first.

Meet with Dijkstra After the Witch Hunter Compound
Whatever you did inside the Witch Hunter compound you’ll end up leaving the same way - go through the door along the western edge of Menge’s office, descend some stairs, and Triss will set fire to the building before teleporting away. Climb some crates to the west to get over the nearby wall, then head north and Aard your way through a brick wall. Progress through the hole you made and one of Dijkstra’s thugs will escort you to Dijkstra, who wants to know what you’ve learned.
If you only get ![]() Menge’s key - the consequence of any outcome save for getting an audience with Menge and asking him about Dijkstra’s treasure - Dijkstra will be displeased. If you got the location of Dijkstra’s treasure as well he’ll be appreciably happier. Either way, he’ll still end up cross at Geralt for lying to him, and the conversation will end with Dijkstra rewarding Geralt with 90 Crowns and 100 EXP, while also warning Geralt not to cross him again. The differences between giving Dijkstra the information about his treasure and merely providing a key might not seem substantial while just talking to Dijkstra, but your actions will be referenced in a later quest.
Menge’s key - the consequence of any outcome save for getting an audience with Menge and asking him about Dijkstra’s treasure - Dijkstra will be displeased. If you got the location of Dijkstra’s treasure as well he’ll be appreciably happier. Either way, he’ll still end up cross at Geralt for lying to him, and the conversation will end with Dijkstra rewarding Geralt with 90 Crowns and 100 EXP, while also warning Geralt not to cross him again. The differences between giving Dijkstra the information about his treasure and merely providing a key might not seem substantial while just talking to Dijkstra, but your actions will be referenced in a later quest.
Later in the game you’ll trigger the main quest [Brothers in Arms: Novigrad] where you can visit old allies and acquaintances in order to try and call in some favors. One of these persons is Dijkstra, and if you didn’t find out where his treasure was being kept, he’ll turn you away with nothing. If you did get the location of Dijkstra’s treasure from Menge, however, he’ll reward you with 1,000 Crowns, 50 EXP, a Greater Devana Runestone, a Greater Stribog Runestone and the ![]() Diagram: Tracker’s Gauntlets. Not game-breaking, but it’s a nice bit of wealth for completing an optional objective in a quest.
Diagram: Tracker’s Gauntlets. Not game-breaking, but it’s a nice bit of wealth for completing an optional objective in a quest.
Contact the Spy
If you carried out Triss’s plan and sat through the entire conversation with Menge without provoking a fight, this quest is functionally complete - you learned where Dandelion is directly from Menge, after all. The quest [![]() A Matter of Life and Death] will now begin and all you need to do to finish Count Reuven’s Treasure for good is talk to
A Matter of Life and Death] will now begin and all you need to do to finish Count Reuven’s Treasure for good is talk to ![]() Priscilla at The Kingfisher. On the other hand, if you picked a fight at any point during the infiltration attempt, however, you’ve a bit more work to do. Menge didn’t tell you where Dandelion was, but he also didn’t burn the Letter to Menge either, and you’d have picked this up before leaving the compound. On its own the letter is fairly useless, but Dijkstra will fill you in on where you’re supposed to meet this “Yamurlak” character, allowing you to meet up with this spy Menge was in contact with.
Priscilla at The Kingfisher. On the other hand, if you picked a fight at any point during the infiltration attempt, however, you’ve a bit more work to do. Menge didn’t tell you where Dandelion was, but he also didn’t burn the Letter to Menge either, and you’d have picked this up before leaving the compound. On its own the letter is fairly useless, but Dijkstra will fill you in on where you’re supposed to meet this “Yamurlak” character, allowing you to meet up with this spy Menge was in contact with.
First, however, you need to signal to the spy to arrange a meeting. Head to an Eternal Fire shrine east of Hierarch Square and use your Witcher senses to examine said shrine. On the back of one of the shrine’s pillars you’ll find a panel; interact with it and Geralt will place Menge’s Holy Tome, setting up the meeting with the spy.
Next you need to head to “Farcorners”, which are the suburbs outside the city walls, on the mainland south of the city. Seek out a house on the eastern end of these suburbs, east of Glory Gate and wait until midnight before entering. Hide behind the door and after a moment you’ll get some unexpected company, followed by the spy himself.
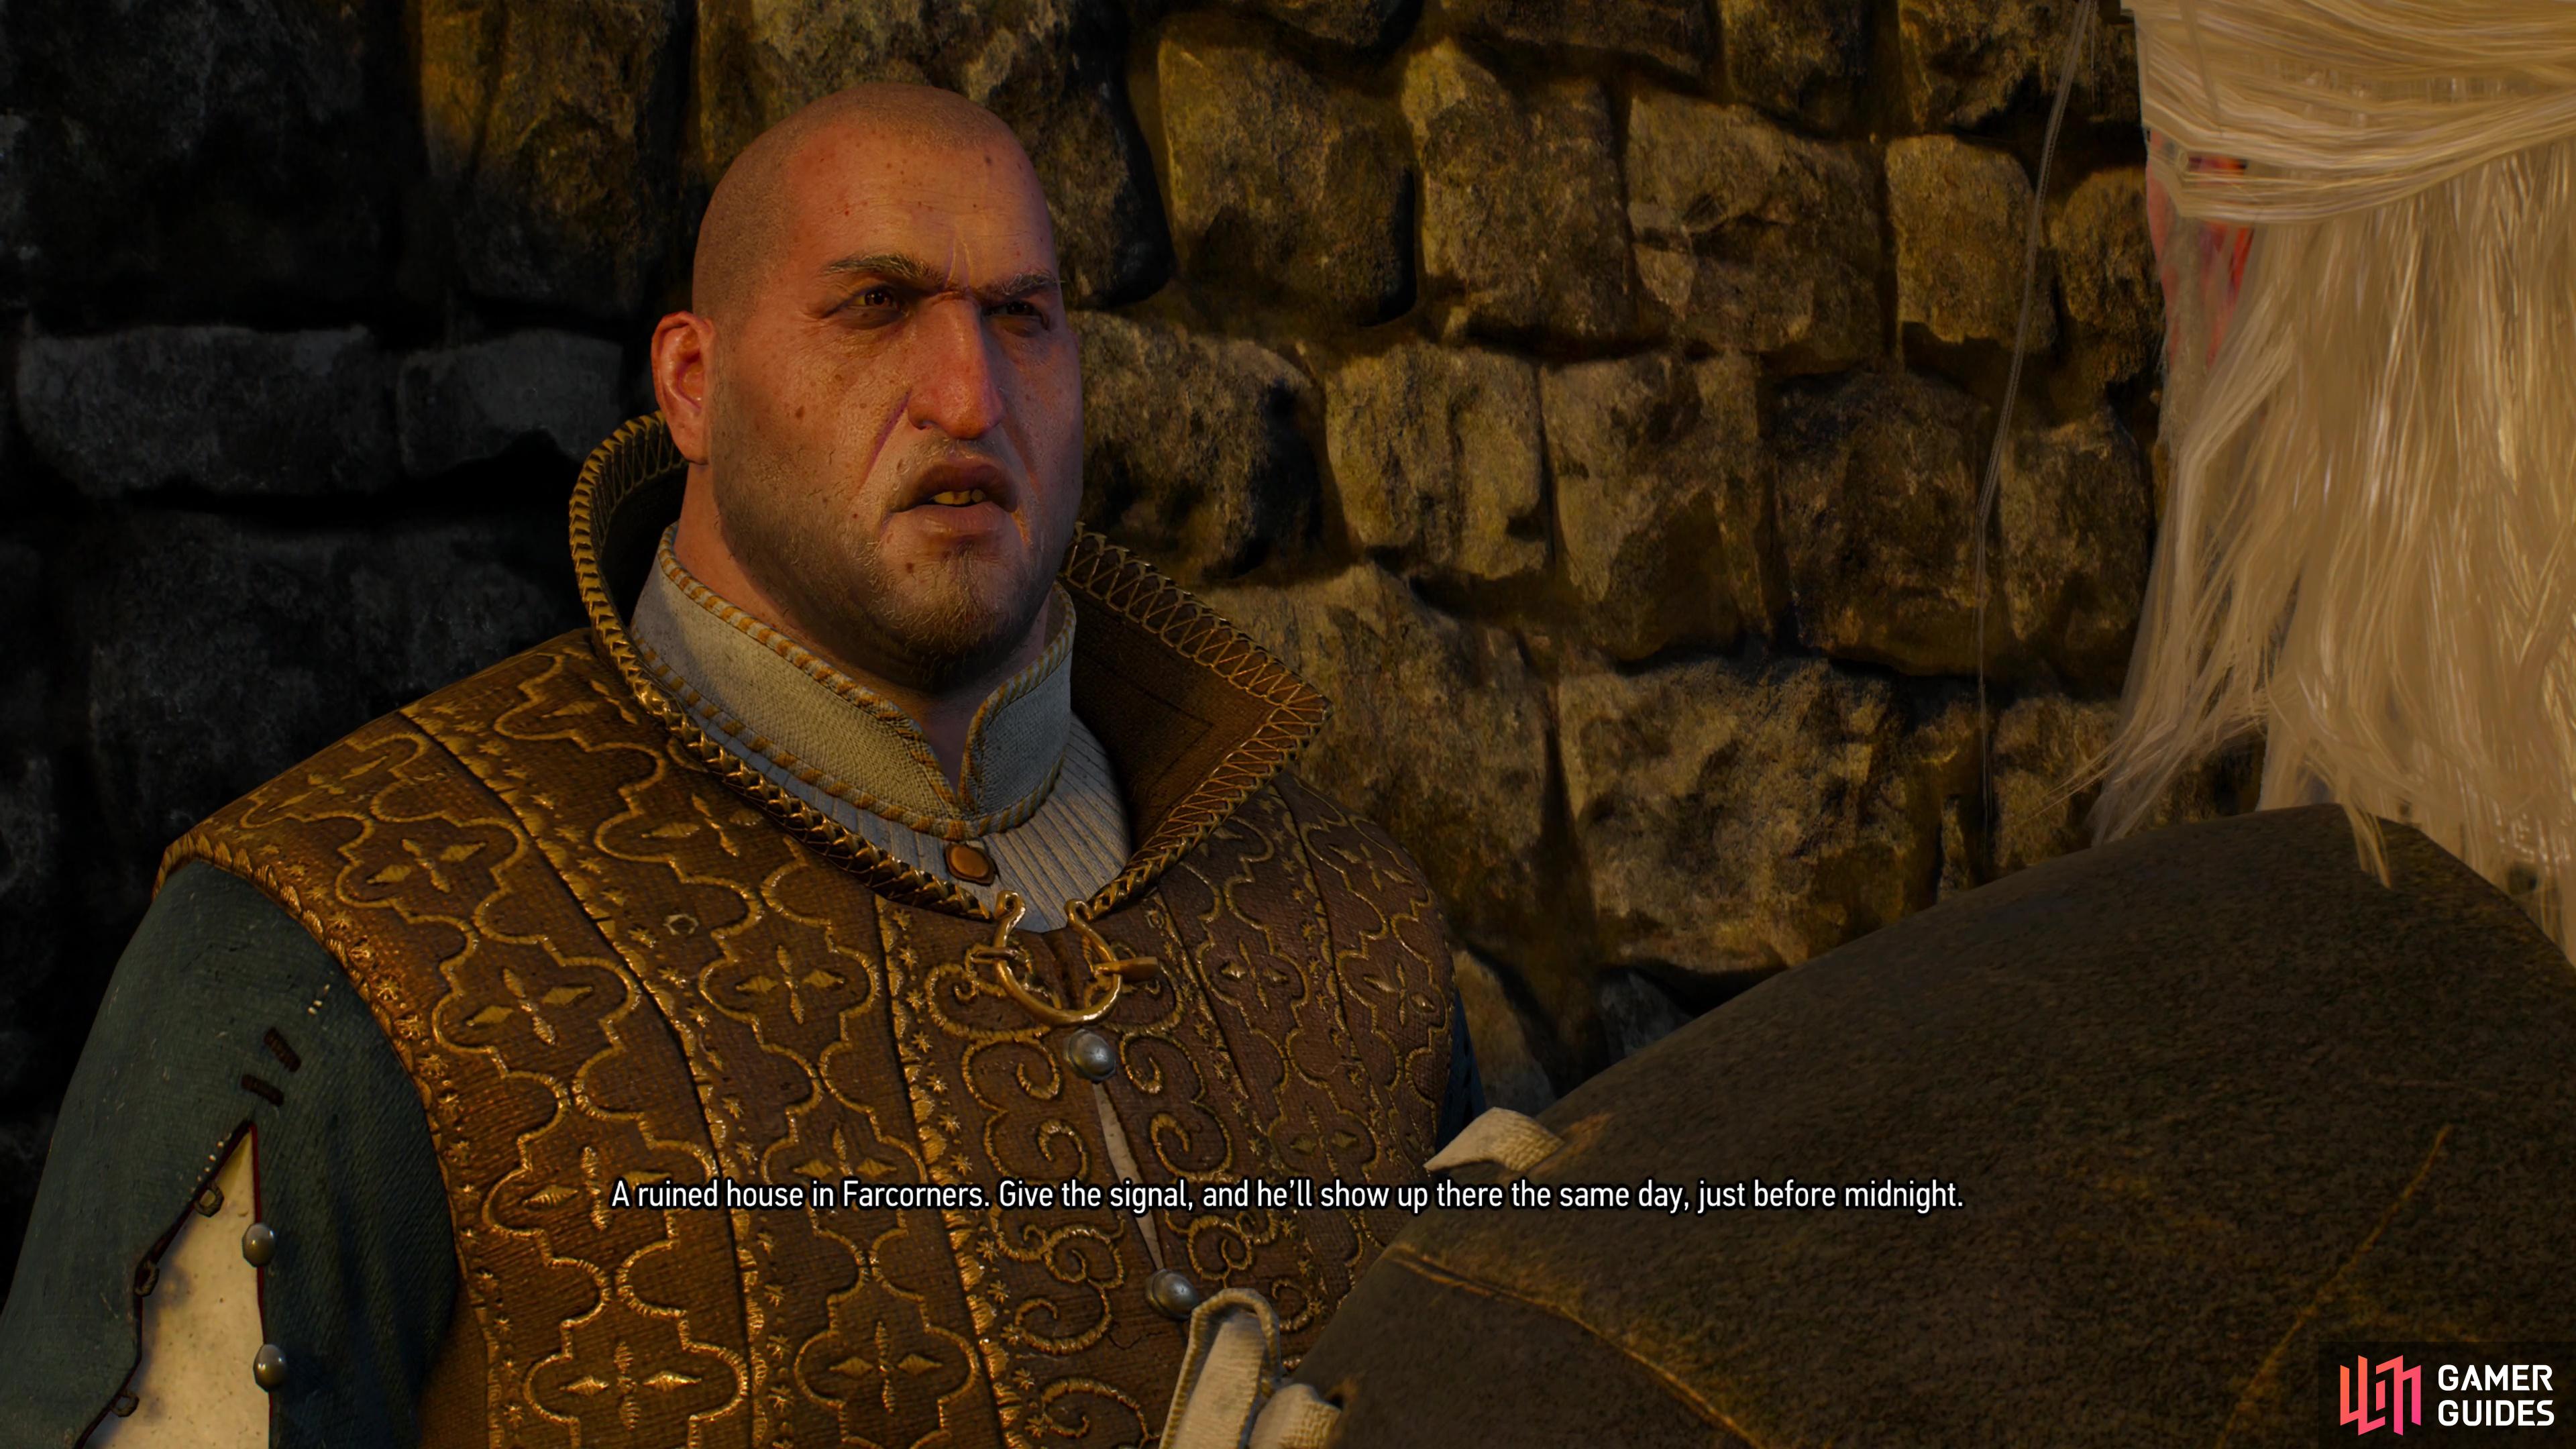


(1 of 2) If you didn’t learn where Dandelion was being held, Dijkstra will tell you how to meet with the spy Mende was in contact with.
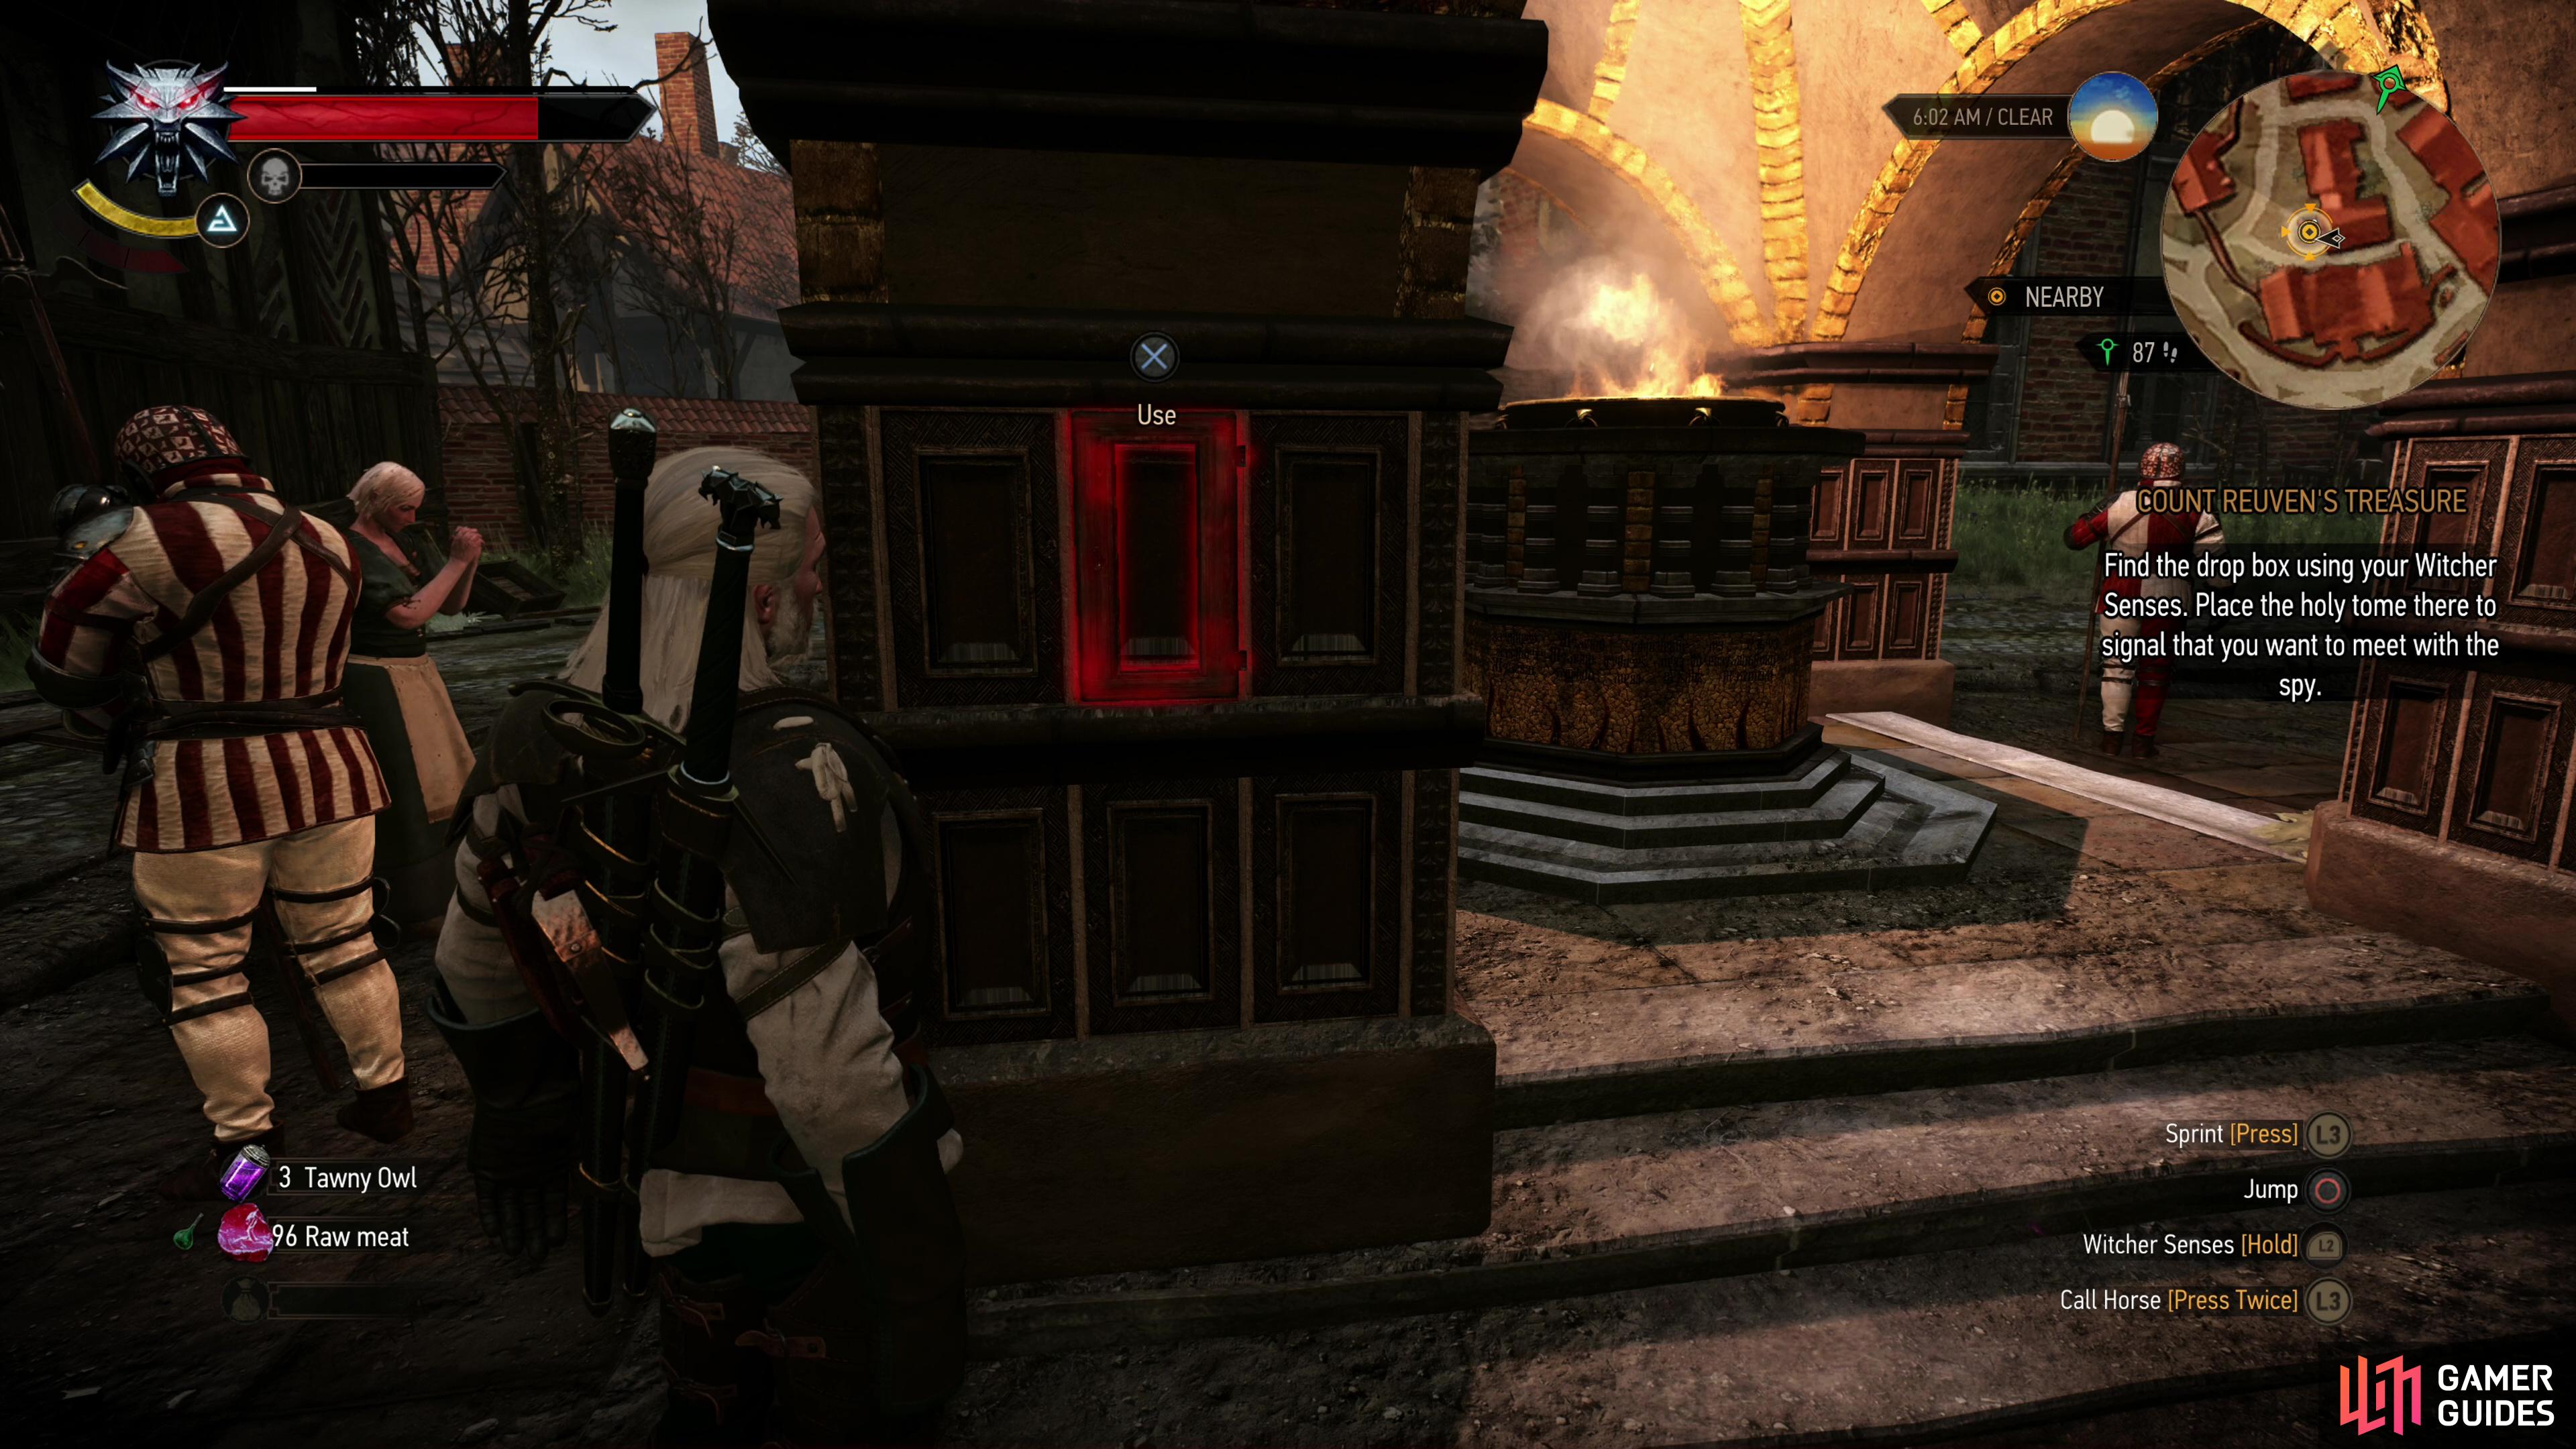
If you didn’t learn where Dandelion was being held, Dijkstra will tell you how to meet with the spy Mende was in contact with. (left), Place Menge’s Holy Tome in an Eternal Shrine pillar east of Hierarch Square to set up a meeting with the spy. (right)
Choice: Kill the Spy or Erase His Memory
During your interrogation there are only two choices that matter. Say what you want until Triss gets her hands dirty playing “bad cop” and when you get a chance to interject pick [Don’t react.] and Triss’s torture will have the desired effect - the spy will name who he works for. If you pick ”Triss… That’s enough.” the sorceress’s resulting lighter touch won’t have the same effect. This isn’t that important - you’ll meet with the spy’s master eventually by pursuing Get Junior.
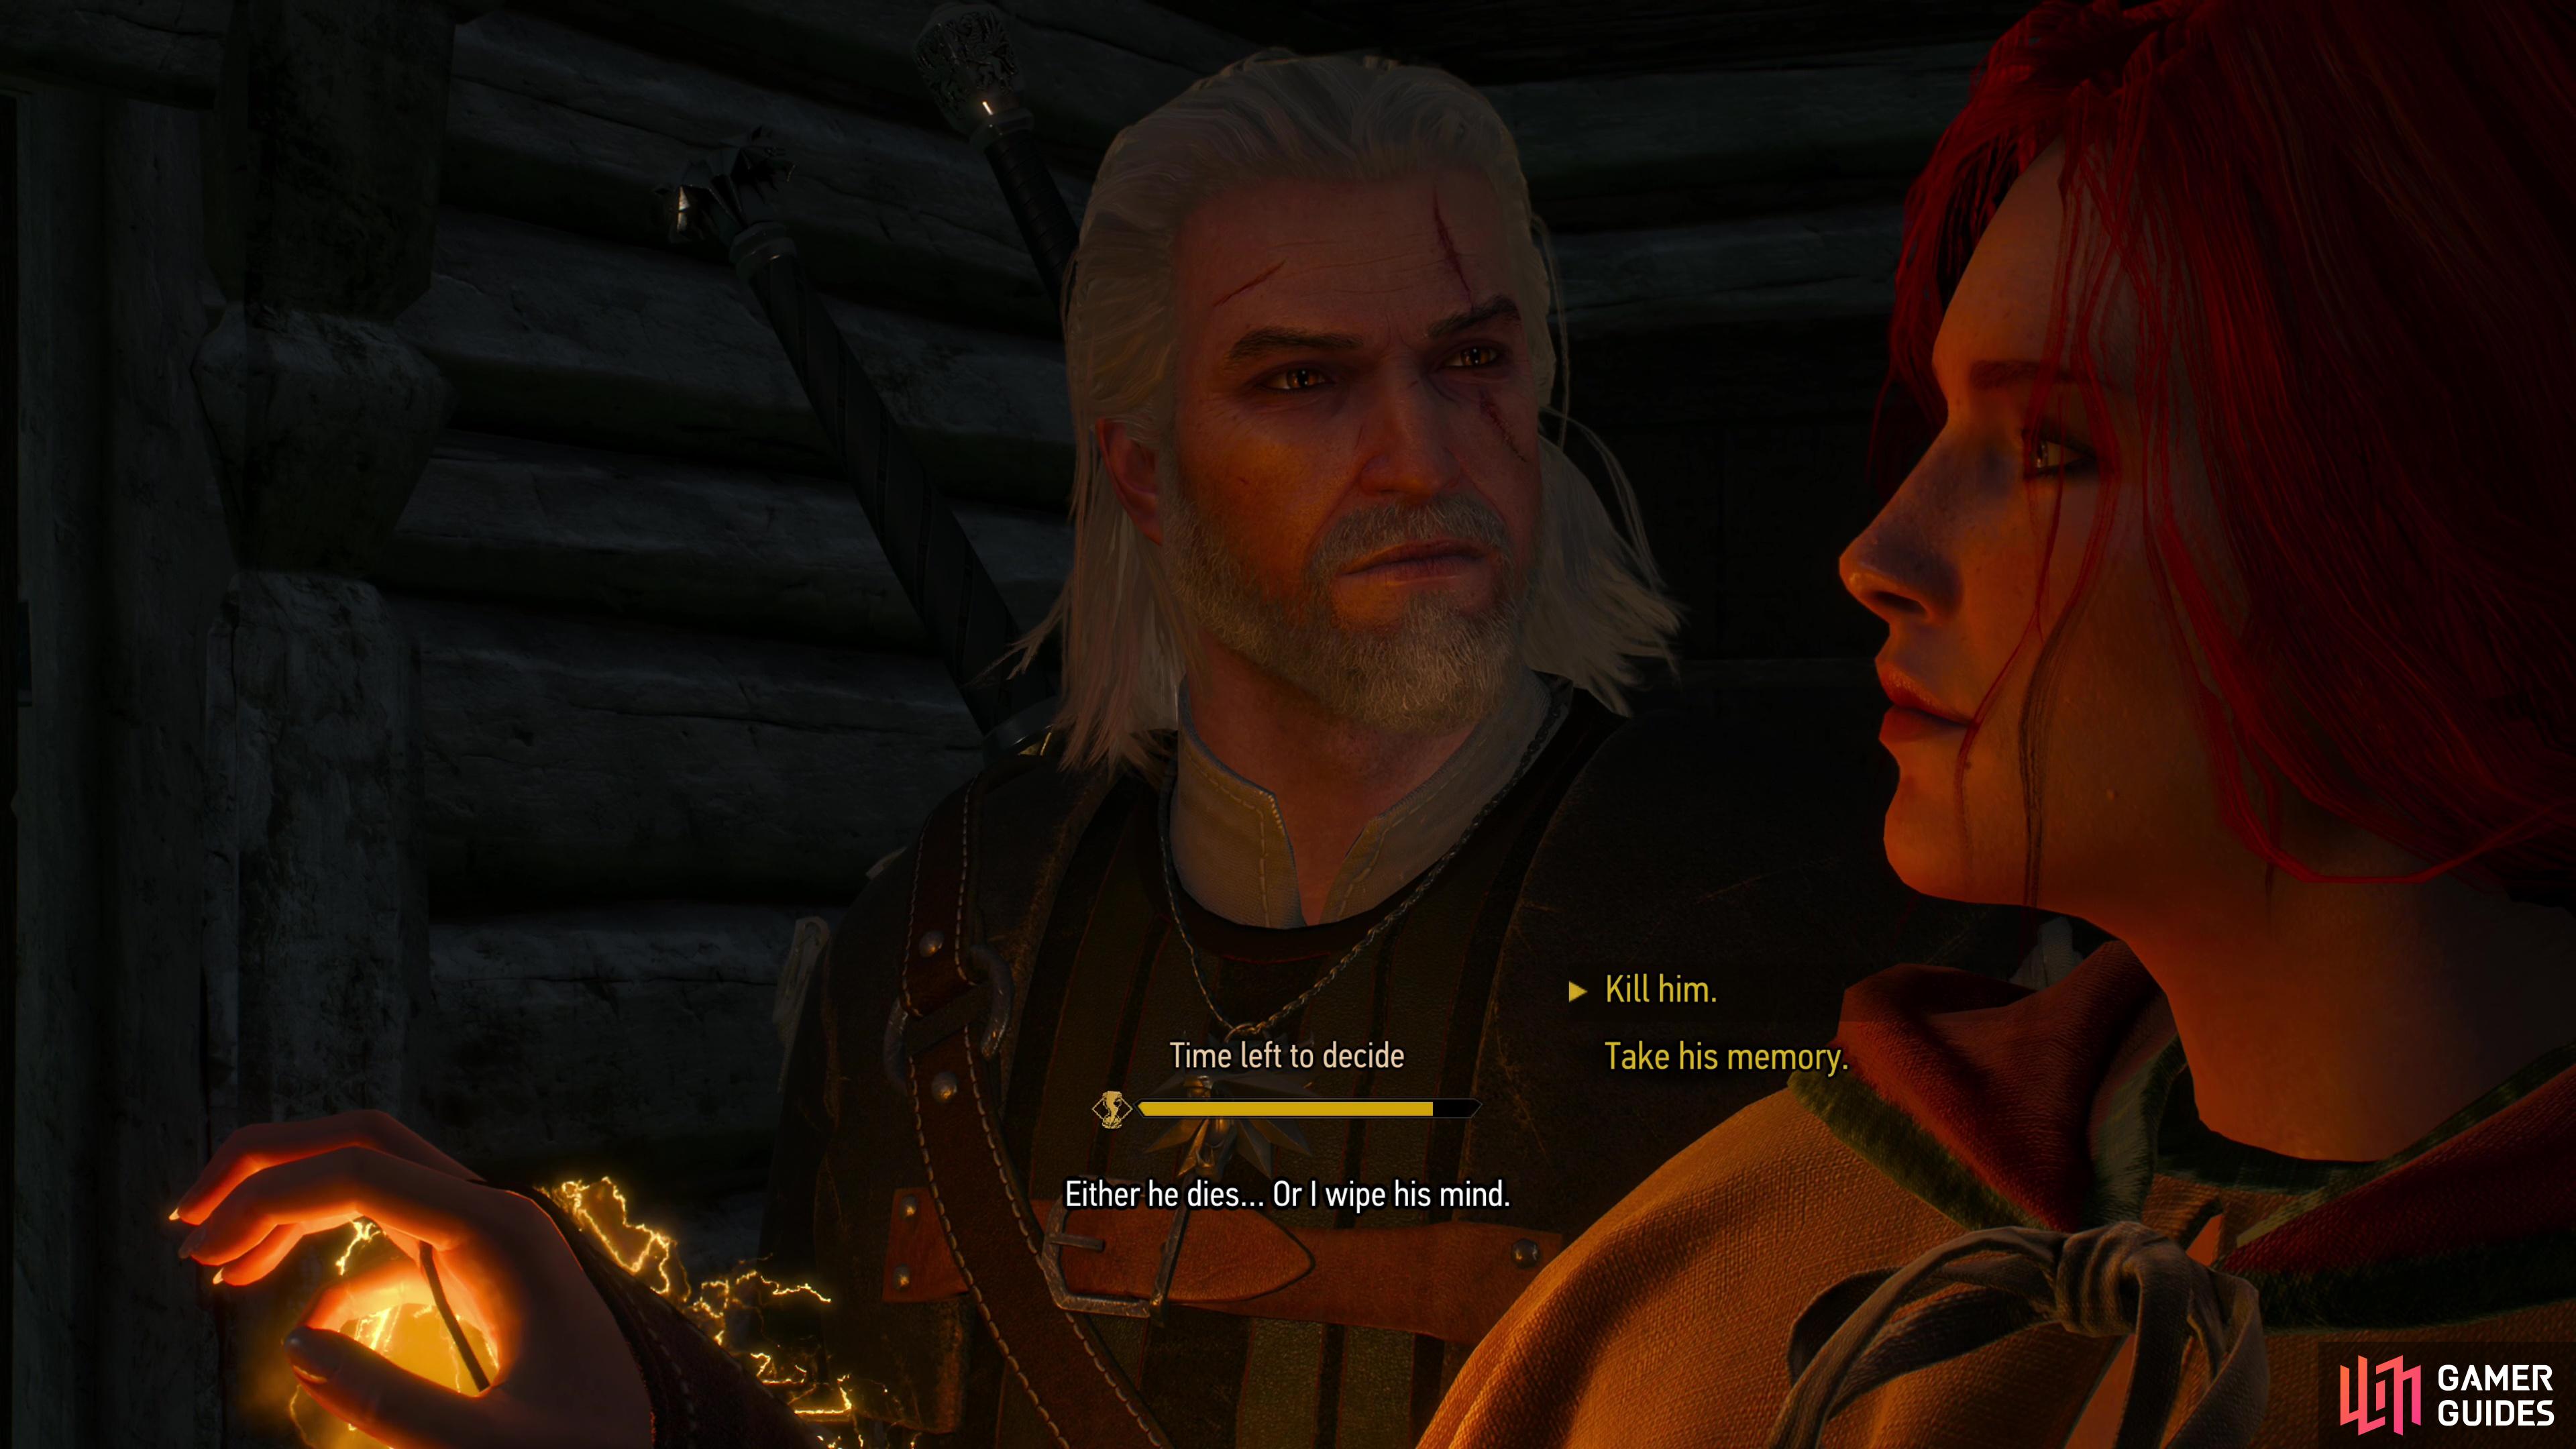
While interrogating the spy, make a timed decision to voice your opinion on the spy’s fate.
Whatever you pick during the interrogation, it’ll end with a timed choice. Deciding the spy has seen too much, Triss will voice two courses of action for dealing with the matter: either she kills the spy or wipes his mind. It doesn’t matter what you pick here, even if you say ”Kill him.” examining the body afterwards will suggest that he’s still alive - presumably Triss settles for wiping the spy’s memory in either case. Whatever the outcome, Triss will ask Geralt to come by later, starting the quest A Matter of Life and Death and you’ll gain 50 EXP. To finish this quest for good, just head back to The Kingfisher and talk to Priscilla - assuming you’ve not advanced Get Junior sufficiently, there won’t be much substance here, but if you have the quest The Play’s the Thing will begin.
No Comments