| Important Items in this Area |
|---|
| Notes of a Pirate |
| Key to Freya’s Garden |
Well, that was a fun Gwent break, but now it’s back to business. Fast-travel back to the Whale Graveyard, fight off whatever Drowners (level eighteen) may have respawned, then… it’s time to find a boat! Hopefully there’s one moored off the shore nearby, if not, you’ll have to try to find one… just don’t cast your greedy eyes to the boat along the coast to the south, as there’s a rather powerful beastie along the way. Anyways, once you have a boat, set sail. Your destination is Hindarsfjall, which is east and slightly south of here.
Taken as a Lass (Part 2) (Level 25) Walkthrough
If you missed Taken as a Lass Part 1, we have a guide for you to catch up on.
Sail around to the western coast of Hindarsfjall, then follow the coast south to reach the southern-western end of the island. Off the south-western end of Hindarsfjall you’ll find three islands - sail to the smallest, eastern-most one of the three to find a beached ship that somehow got itself stuck between the island’s two halves. Stop your ship nearby and swim to the island, then kill the Ekhidna (level nineteen) flying around and search the ship to find a chest, which in turn holds the “Notes of a Pirate”. Reading it provides a lead in the quest “Taken as a Lass” . East of the ship, along the northern shore of the island, you’ll find some corpses and evidence of medicine used to treat them.
Missing Persons (Level 15)
Swim or sail to the north-east, where, on the shore of an inlet, you’ll find Yennefer. After she complains you’ll follow her to the town of Lofoten. Head north into the village and interrupt whatever ritual the villagers are performing by asking them about the Wild Hunt, which they claim destroyed their village. After getting some positive identification of Ciri, Yennefer and Geralt will be disappointed in learning that some cursed man named “Craven” might know more… but he left on a suicide mission to fight a monster named Morkvarg. Ask about this Morkvarg to learn a bit more about him, then gain permission to enter the holy grounds. Follow Yennefer out a gate, go east along a road, then turn north along a river to reach Freya’s Garden to complete the quest “Missing Persons” .
Nameless (Level 14) Walkthrough in Witcher 3
Morkvarg is a main quest in the game, which has you fight a respawning werewolf called Morkvarg. This can be done by itself at any point, but we recommend doing it now.
Yennefer and Geralt will spot Morkvarg through a gate, after which follow Yennefer up some stairs and along a walkway to eventually reach the sacred tree. After some banter, Geralt and Yennefer come to the fair division of labor that has him doing all the work. She, for her part, will do her best to stay out of the way.
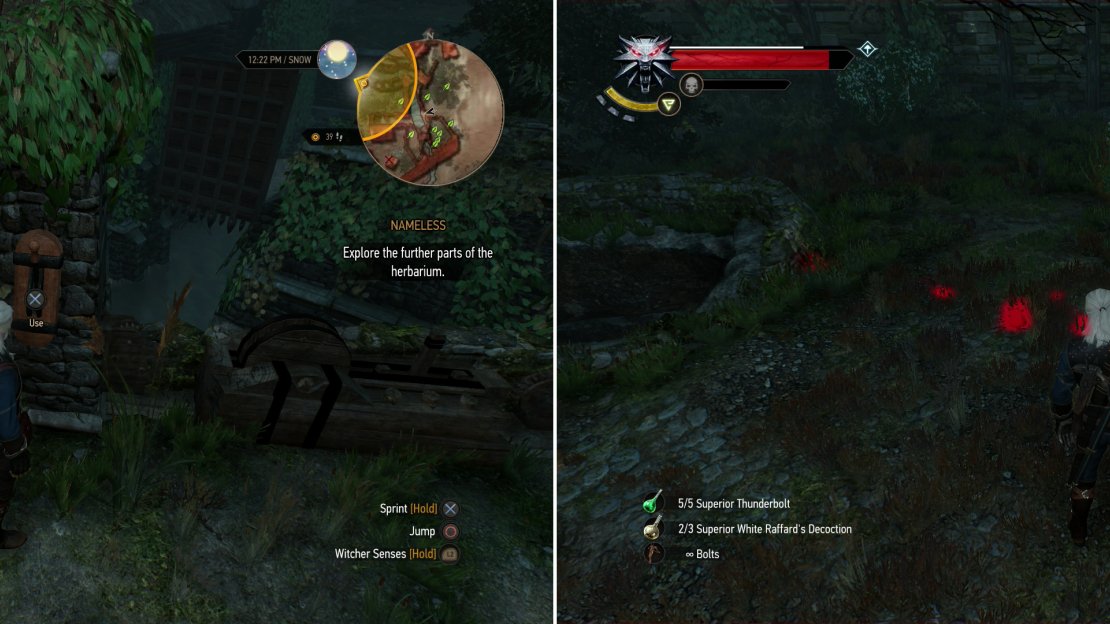
Activate your Witcher Senses and examine some of Craven’s blood, then a hole in the ground. You can follow the trail to the south-east and wander around the garden… or you can just head north-west and drop down a ledge under some vine-covered arches near a bridge. You should land on some stairs, and will likely be immediately attacked by some Wolves (level fifteen). Dispatch them, then examine a wooden door to the north-east (atop the stairs) to surmise that Craven must have fled through it and barred the way behind him.
Return south-east and scale a ledge to return to the sacred oak, then continue south-east and drop down another ledge - this one being north of the walkway you and Yennefer walked on earlier. Once you’ve dropped down, head through a gate to the north-east, kill another Wolf (level fourteen) and continue north-east. Drop down a ledge onto the roof of a wooden shack, cross a bridge, then scale a wall to the north to find some sluice control levers. Activate the right (northern) lever first, then the left (southern) lever. When the sluice gate raises, head back down to the bridge, drop into the canal, and swim to the north-west.
Activate a lever to open a sluice gate (left). Use your Witcher Senses to follow Craven’s retreat into a well (right).
Climb a ledge to the north when you reach the shallows then ascend a ladder built into the stone. Continue north-west until you find some stairs leading down to the south-west. Here you’ll find the other side of the closed gate that confounded you earlier. Activate your Witcher Senses and study a trail leading to a well, and Geralt will surmise what happened. Before you jump down, however, there’s an entirely optional encounter you can partake in.
Head north-east to find a building with a door that was violently rent open. Investigate the door, then head inside the building and search some corpses, then search a chained, severed leg on the floor. Morkvarg will show up and, if you wish, you can listen to his story. Once he’s done telling it, he’ll attack, and like the women in the village promised, he can’t be permanently killed. Beat him into submission, then follow Craven’s lead and leap into the well.
Confront the cursed Morkvarg (left) and when defeat seems certain, follow Craven’s lead and flee into the well, where you’ll find Craven’s corpse (right).
Scale a ledge to the south-east to exit the water, then follow Craven’s blood south, then east to find his body. Before you search it, grab the “Key to Freya’s Garden” off a skeleton to the north, which opens the nearby door. Once you have the key, search the body. Geralt will tell Yennefer about his find, and Geralt resigns himself to a wretched task. Once back in the grove with Yennefer, she’ll use some… controversial magic to learn more about Ciri.
| Objective | Reward |
|---|---|
| For finding Craven’s corpse | XP |
Yennefer will perform dark magic (left) to coax a tale about Ciri’s travels in Skellige out of Craven’s corpse (right).
The Calm Before the Storm
Like foster-father, like daughter; Ciri and Geralt both made it to Skellige in less-than-ideal fashion. When you’re in control of Ciri, engage in some conversation with Skjall, after which you’ll be interrupted by Astrid, who has decided you need to spend some time at a sauna to recover your strength. Follow Astrid out of the house and to the spa, where you’ll have to head into a changing room to… well, change your clothes. Undress, then either wrap yourself in a towel or go to the sauna as-is. Follow Astrid into the shower where she and her mother will talk to you. If you didn’t bring a towel, they’ll ask Ciri about a tattoo she has… but all in all it’s pretty much a meaningless bit of conversation.
Agree to take a dip in the water and after you escape from the mindless babbling you’ll notice that Ciri’s health has replenished somewhat. This is the first time in the game where she didn’t heal on her own - injuries and all. Go through a door to the south-east and jump into the water to further increase your health. When your health bar is done refilling, climb back out of the water and walk across the wooden walkway to find a platter of “Freya’s Firewater” near a tree. Drink some and your health will fill up the rest of the way. Return to the sauna, enter the changing room, put your clothes on and leave.
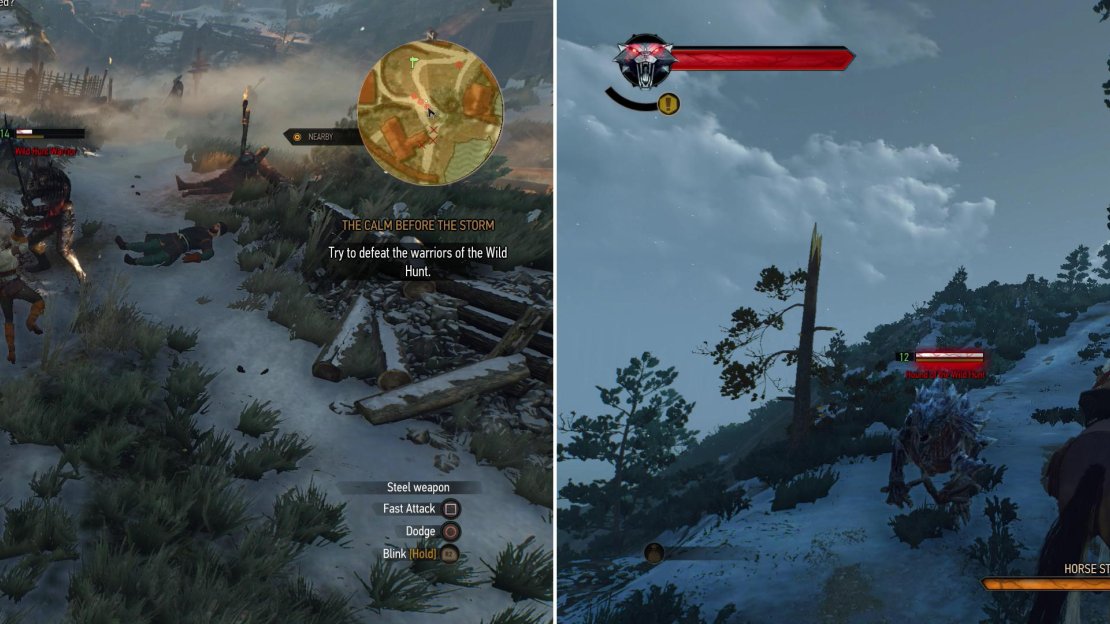
Fight off the Wild Hunt in the village (left) then ride to safety, dodging Hounds of the Wild Hunt as you go (right).
Once outside the sauna head south-west to find the stables, where Skjall has prepared a horse for you. As Ciri you can engage in some flirtatious behavior, if you wish, but whatever you do it’ll be interrupted by Ciri’s usual pursuers. Fight off some Hounds of the Wild Hunt (level twelve) and some Wild Hunt Warriors (level fourteen). The Hounds of the Wild Hunt will now regenerate and summon ice spikes, so do your best to isolate your foes and make use of your Blink ability to get behind them. Skjall will help out by being a punching bag for the Wild Hunt. Once all the enemies around the stable are clear, Skjall will prompt you to flee. The two of you will mount up, and you’ll have to ride along a road, dodging the attacks of Hounds of the Wild Hunt as you ride. Reach the shore and you’ll see what happened to Ciri, and what Skjall witnessed afterwards…
After Yennefer ends her spell, her and Geralt will chat. Before you can leave, however, the village women will show up, understandably upset at what happened to their garden. Yennefer will make an unusually altruistic move and take the blame for the both of you and you’ll leave the garden, after which Geralt and Yennefer will talk about about what they discovered and make some more plans. This ends the quest “Nameless” , and begins “The Last Wish” , “A Mysterious Passenger” and “Ugly Baby” .
| Objective | Reward |
|---|---|
| For finding out what Skjall knew of Ciri | 200 XP |
If you haven’t completed the Bloody Baron questline back in Velen ( “Family Matters” , “Ladies of the Wood” , and “Return to Crookback Bog” ), the quest “A Mysterious Passenger” will start now, requiring you to go meet with Jarl Donar of Hindarsfjall and talk to him about the mysterious creature you saw at the end of the last Ciri segment. You’ll find Donar an Hindar in Larvik, which is where you need to go to continue “The Last Wish” anyways, so be sure to chat with Donar while you’re there to complete this little quest.
You can return to Lofoten after the Ciri segment and loot the bodies of the Wild Hunt Warriors you killed as Ciri… so long as you do so quickly, anyways.
:::::


No Comments