
While the Wild Hunt prevented you from meeting up with ![]() Hendrik, you were still able to find his hidden ledger and get two bits of information that gave you leads on Ciri: she met with the
Hendrik, you were still able to find his hidden ledger and get two bits of information that gave you leads on Ciri: she met with the ![]() Bloody Baron and had a run-in with a witch in Midcopse. In the aptly named quest Bloody Baron, you’ll need to meet with this local strongman and find out what he knows about Ciri, although depending on how you dealt with the Bandits at the Inn at the Crossroads it may be somewhat difficult for you to meet with the Bloody Baron… this page will provide a walkthrough for the main quest Bloody Baron in The Witcher 3, including a walkthrough for both routes depending on your choices during The Nilfgaardian Connection.
Bloody Baron and had a run-in with a witch in Midcopse. In the aptly named quest Bloody Baron, you’ll need to meet with this local strongman and find out what he knows about Ciri, although depending on how you dealt with the Bandits at the Inn at the Crossroads it may be somewhat difficult for you to meet with the Bloody Baron… this page will provide a walkthrough for the main quest Bloody Baron in The Witcher 3, including a walkthrough for both routes depending on your choices during The Nilfgaardian Connection.
Quest Objectives
| Quick Search |
|---|
| Starting Bloody Baron |
| Route: Did Not Kill the Bandits |
| Route: Killed the Bandits |
| Find an Alternate Way into the Castle |
| Find the Shrine Outside of Crow’s Perch |
| Explore the Cave |
Starting Bloody Baron
A main story quest, Bloody Baron will begin as The Nilfgaardian Connection ends, after you read Hendrik’s ledger and pick up on two leads (the other lead being the quest Hunting a Witch). You can pursue either of these quests as you wish - Bloody Baron is closer, but higher level, although the level difference is fairly trivial. Make your way on foot from Heatherton to Crow’s Perch, perhaps stopping by Blackbough along the way, if you wish to score another signpost for future use.
Once you reach ![]() Crow’s Perch, the way you continue this quest will vary greatly depending on your actions during
Crow’s Perch, the way you continue this quest will vary greatly depending on your actions during ![]() The Nilfgaardian Connection. Before you made your way to
The Nilfgaardian Connection. Before you made your way to ![]() Heatherton you needed to stop by the
Heatherton you needed to stop by the ![]() Inn at the Crossroads, where three Bandits interrupted your conversation with the Innkeeper. Depending on your choices you could have either fought the Bandits, or talked them into leaving you alone, and if you killed them, word got around - the town of Crow’s Perch will be on edge and the guards… unfriendly. This naturally affects how easy it is for you to meet the Bloody Baron, and both routes will be covered below:
Inn at the Crossroads, where three Bandits interrupted your conversation with the Innkeeper. Depending on your choices you could have either fought the Bandits, or talked them into leaving you alone, and if you killed them, word got around - the town of Crow’s Perch will be on edge and the guards… unfriendly. This naturally affects how easy it is for you to meet the Bloody Baron, and both routes will be covered below:
Route: Did Not Kill the Bandits
Your restraint serves you well - none of the Bloody Baron’s thugs were butchered by a rogue Witcher, so they’ve no reason to be on edge. Crow’s Perch - the seat of the Bloody Baron’s power - is open for business, as usual. Walk right on over the bridge and into the town, and work your way up to the castle at the highest point. You’ll be stopped by some guards at the gate, but if you were friendly at the Inn at the Crossroads one of the guards will talk you through the gate - just pick the option ”I did. Led me here.” when you get a chance and you’ll be escorted through the gate and to the Bloody Baron himself. It doesn’t matter much what you say to the Bloody Baron, this quest will end and the next main quest, Ciri’s Story: The King of the Wolves will begin.
See how smoothly things can go if you’re nice?
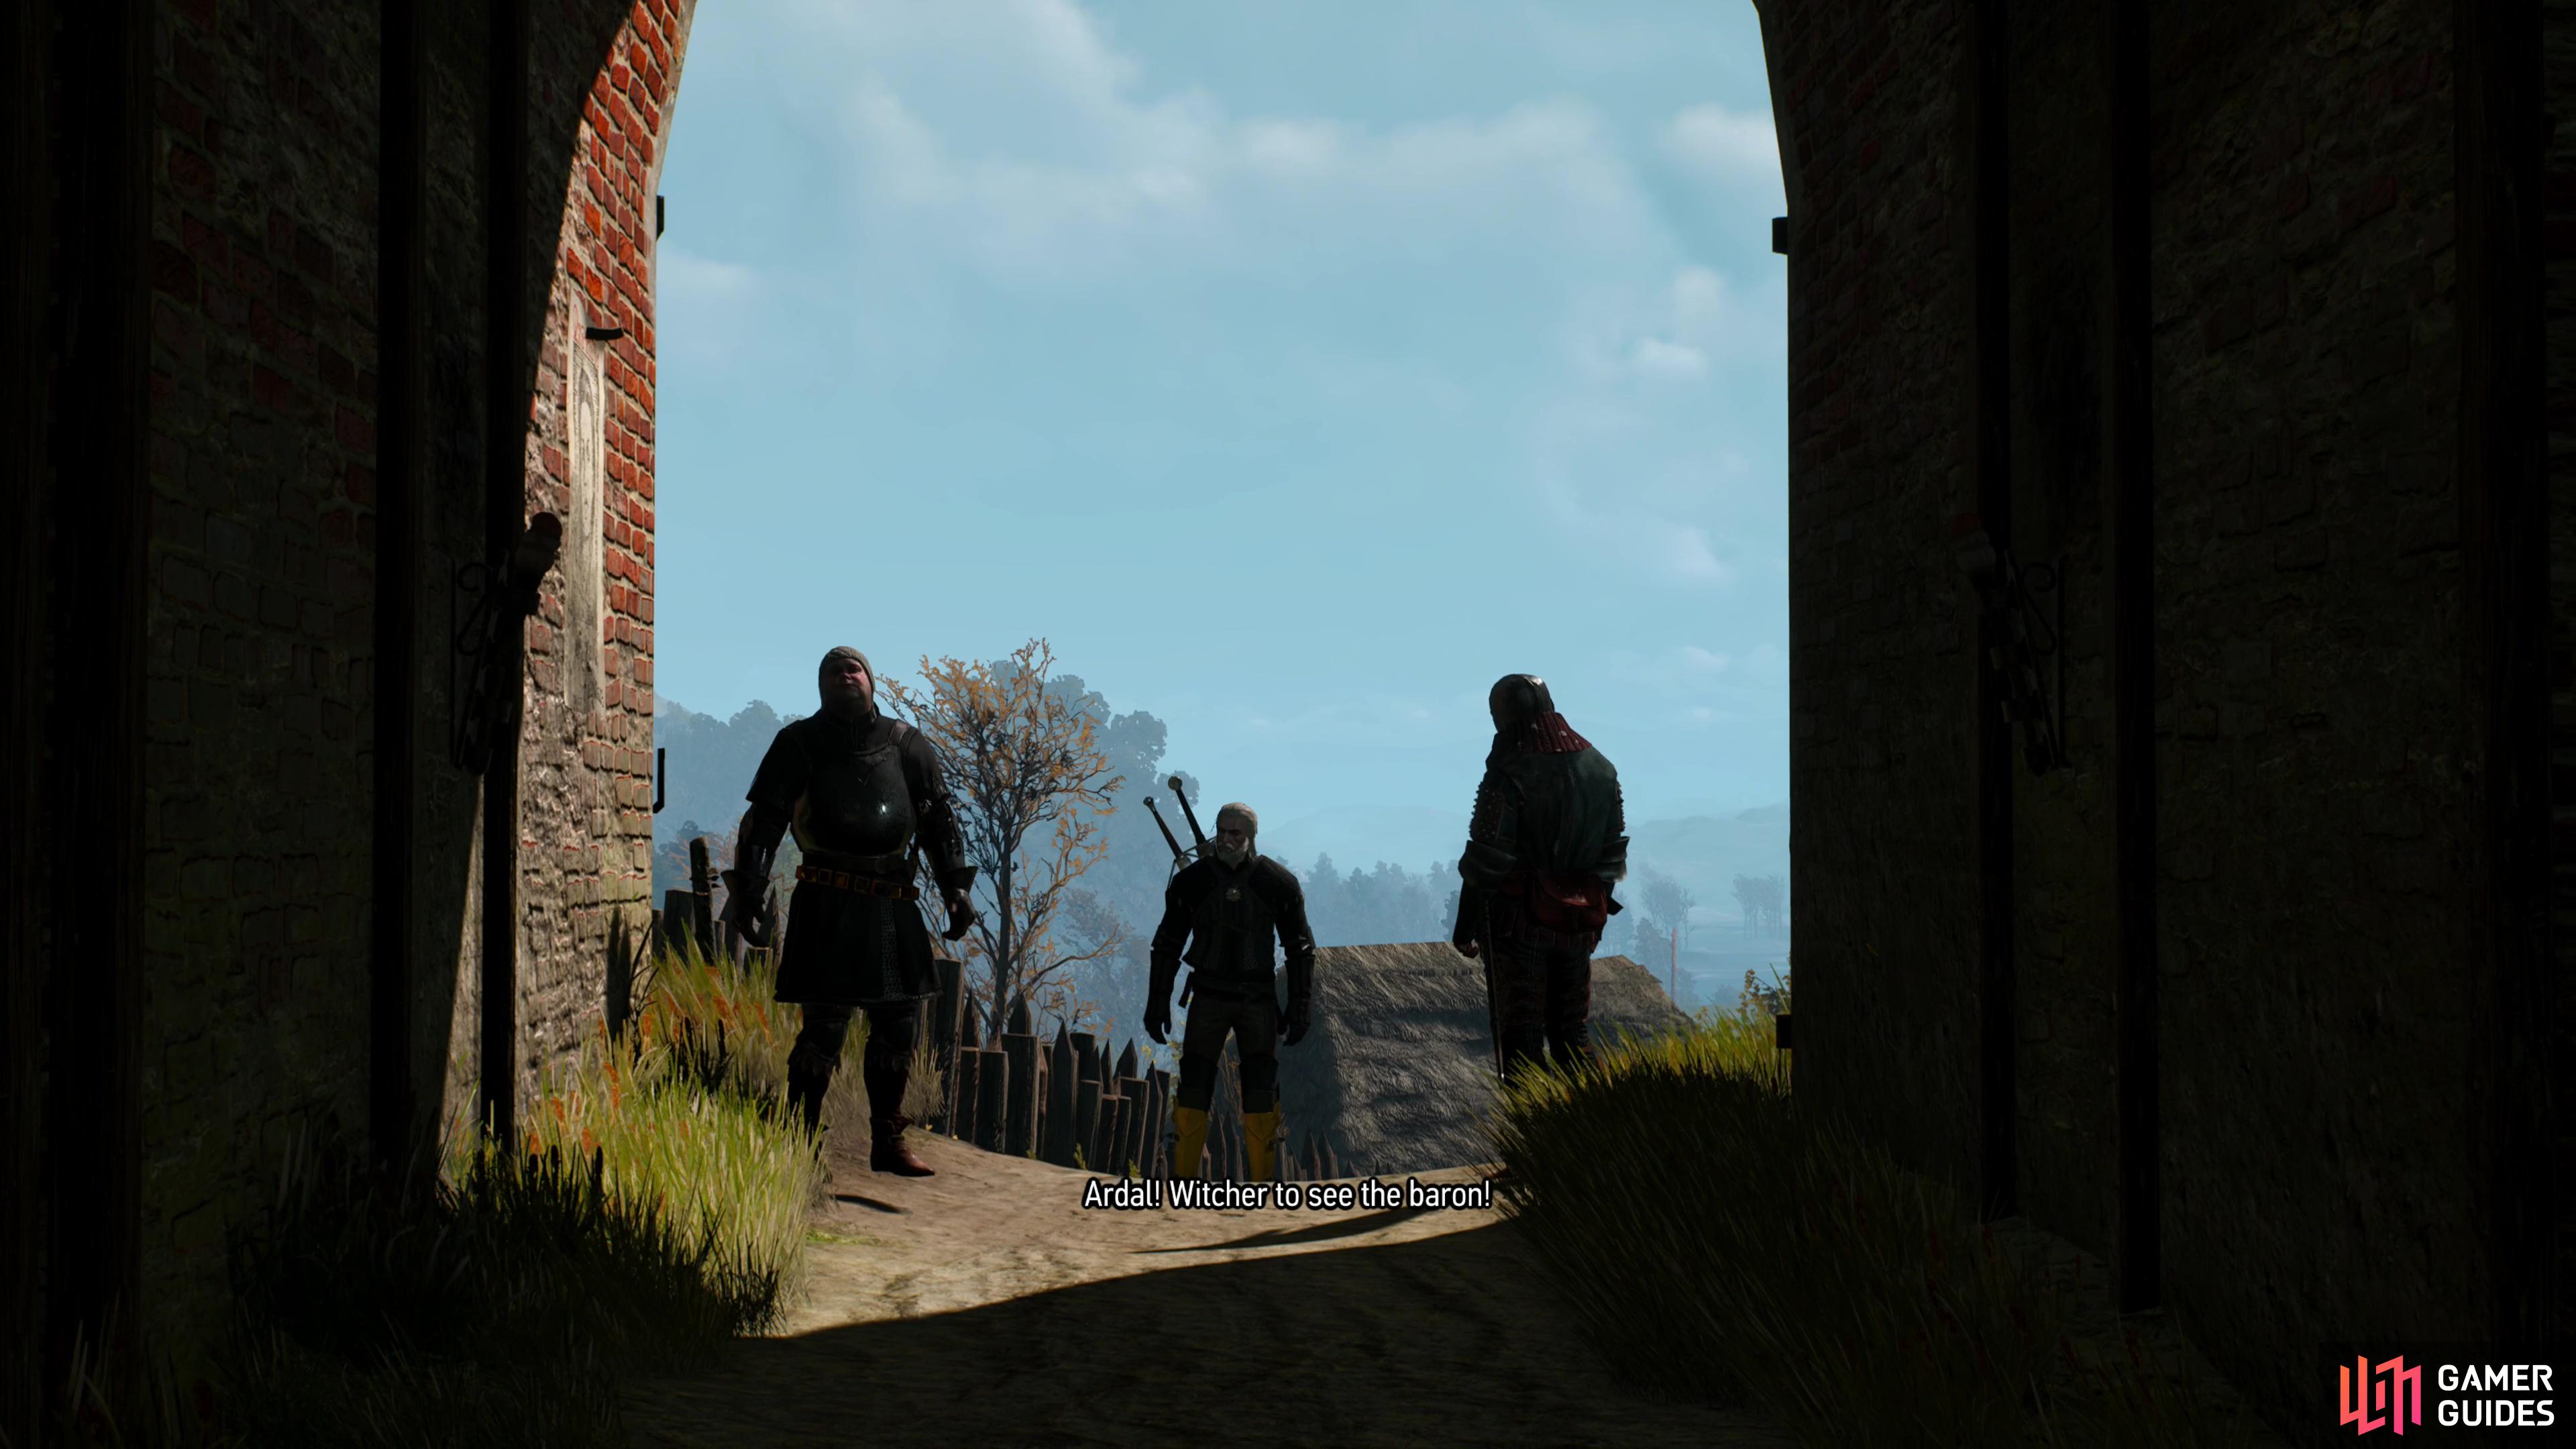
If you didn’t fight the Bandits at the Inn at the Crossroads, meeting the Bloody Baron will be simple - just go up to the gate and talk your way in.
Route: Killed the Bandits
On the other hand, if you killed the soldiers at the Inn at the Crossroads, none of the peasants in Crow’s Perch will be out and about. Over near the doors to the east that lead to the gate, you’ll find two of the Baron’s soldiers (Lv3) that you’ll have to put down. Near the gate itself, more soldiers will speak to you through the barrier, stating that they’ve heard what you did at the Inn, and they wisely aren’t going to allow you in. Well, would you? Looks like you’ll need to find a sneakier way in…

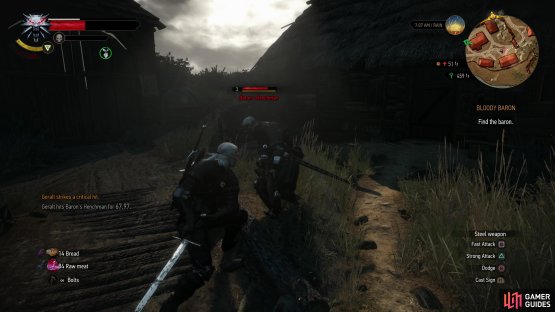

(1 of 2) If you fought the Bandits at the Inn at the Crossroads, you’ll need to fight some of the Bloody Baron’s men in Crow’s Perch,
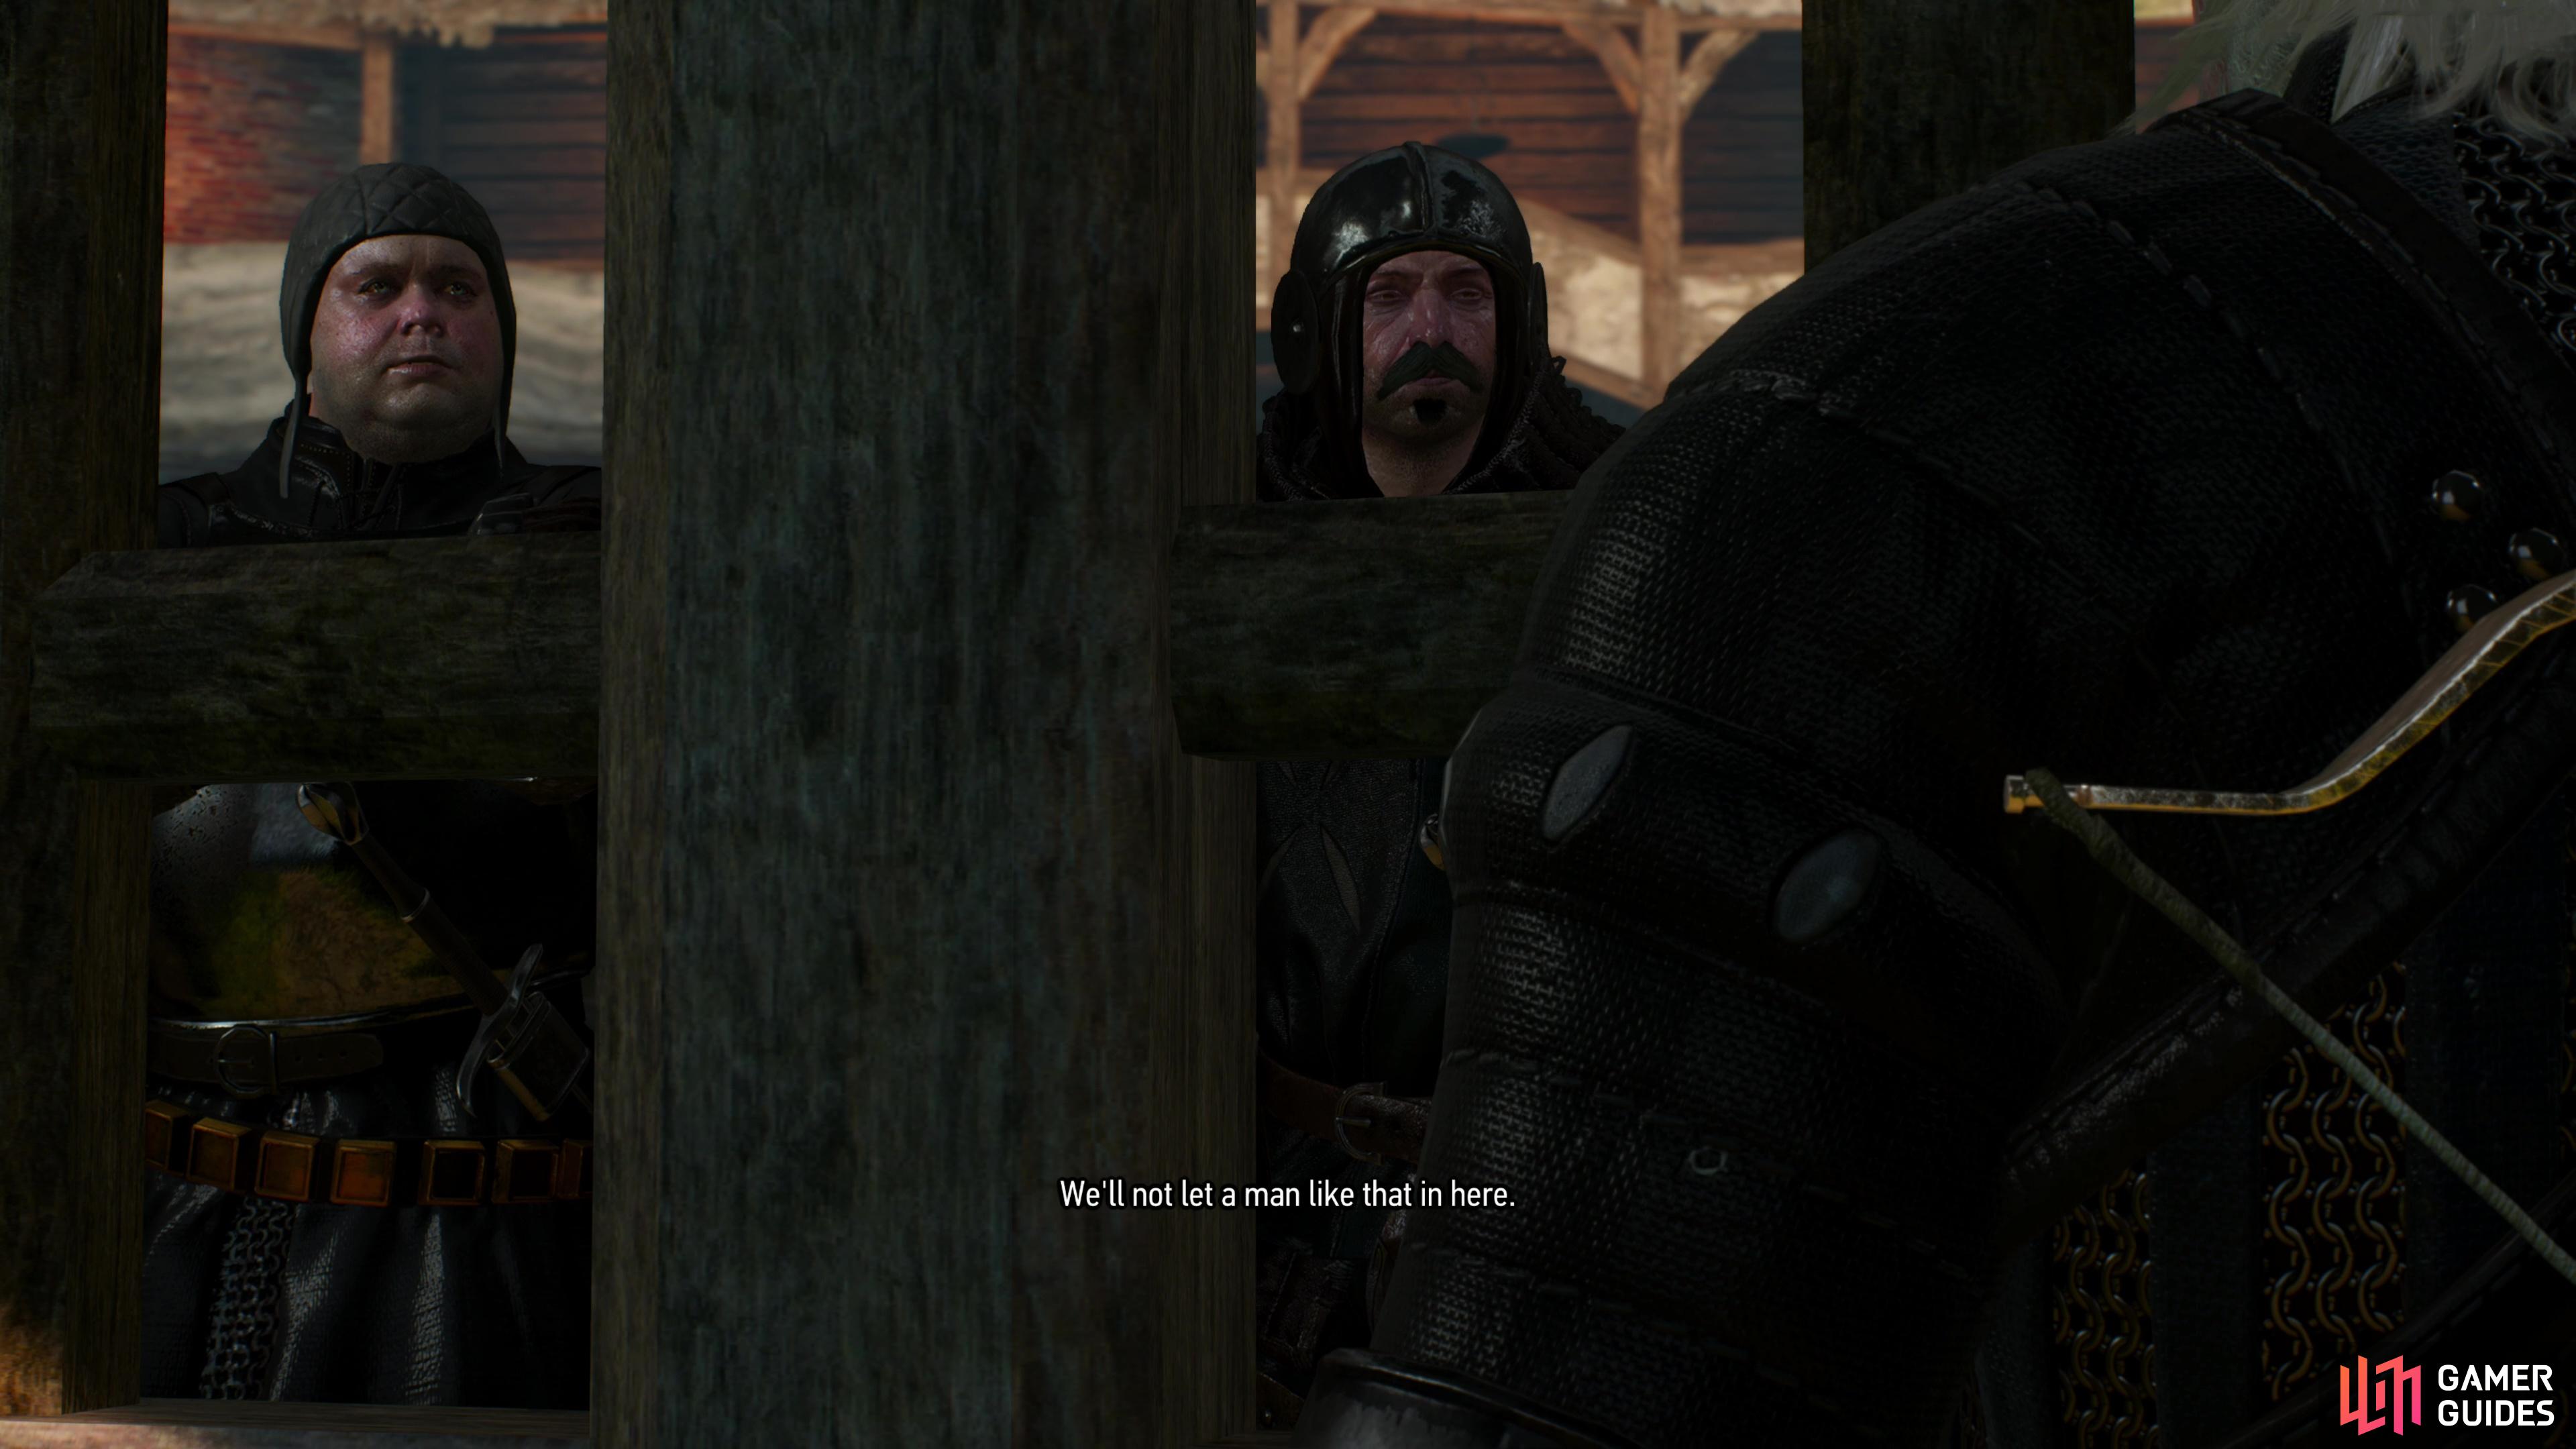
If you fought the Bandits at the Inn at the Crossroads, you’ll need to fight some of the Bloody Baron’s men in Crow’s Perch, (left), and the guards behind the gate will wisely keep you at bay. (right)
Find an Alternate Way into the Castle
Head back downhill to the market, where you’ll see that one lone old man has decided to brave the murderous Witcher. Talk to him and ask him how to get inside the keep, and he’ll try to wrangle 15 ![]() Crowns off of you. Pay him and he’ll tell you a longwinded story that eventually leads to Geralt deducing there’s an alternate way into the castle. You just need to find some shrine northwest of the city…
Crowns off of you. Pay him and he’ll tell you a longwinded story that eventually leads to Geralt deducing there’s an alternate way into the castle. You just need to find some shrine northwest of the city…
Find the Shrine Outside of Crow’s Perch
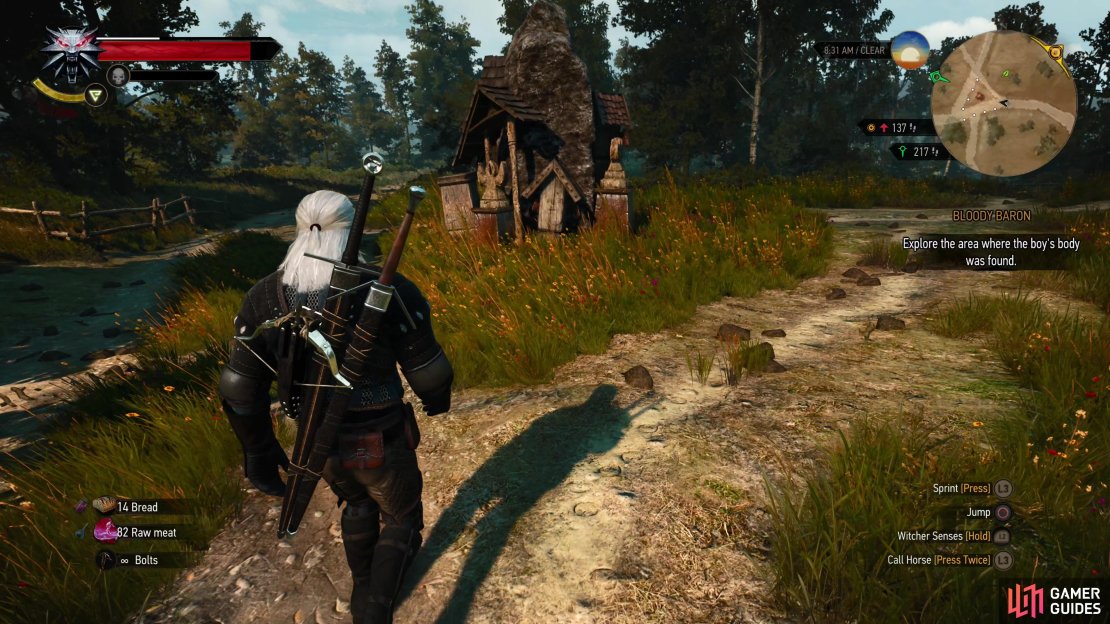
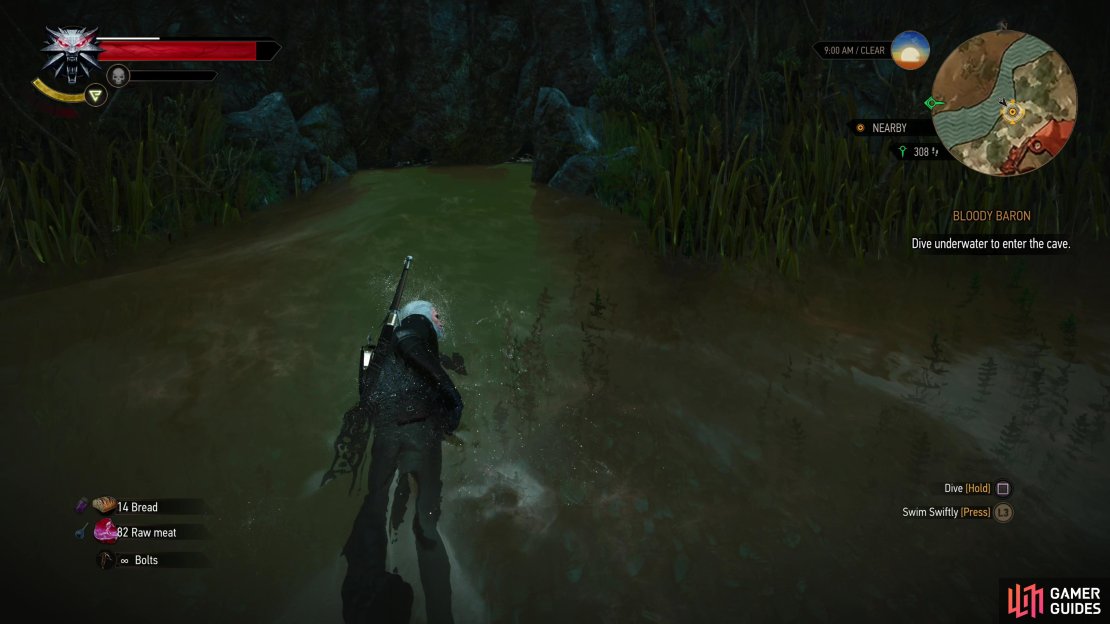
Leave the city via the way you entered and from the Crow’s Perch signpost follow the road west, then north, then northwest around the western edge of the city. The road will turn west again and you’ll find a shrine at the crossroads ahead. This isn’t the shrine you’re looking for, but it’s a useful landmark anyways, as you’ll need to follow the road north from here, which eventually veers northeast. ![]() Note the hanged corpses on the side of the road, and if you attacked the Bandits at the Inn at the Crossroads you should find a search area here, which is largely unnecessary as the shrine is easily visible off the eastern side of the road. If you didn’t attack the Baron’s men at the Inn at the Crossroads and are just following along to plunder the cave we’re looking for, this might be trickier, but if you travel by night the shrine will be lit up by candles, making it easy to see in the darkness. Either way, from the shrine head southeast and into the river, where you should see a cave you can swim into, the roof of which is just above the water line.
Note the hanged corpses on the side of the road, and if you attacked the Bandits at the Inn at the Crossroads you should find a search area here, which is largely unnecessary as the shrine is easily visible off the eastern side of the road. If you didn’t attack the Baron’s men at the Inn at the Crossroads and are just following along to plunder the cave we’re looking for, this might be trickier, but if you travel by night the shrine will be lit up by candles, making it easy to see in the darkness. Either way, from the shrine head southeast and into the river, where you should see a cave you can swim into, the roof of which is just above the water line.


(1 of 4) Find an old man in Crow’s Perch who doesn’t seem afraid and talk to him - bribe him with 15 Crowns to hear about an alternate way into the castle.
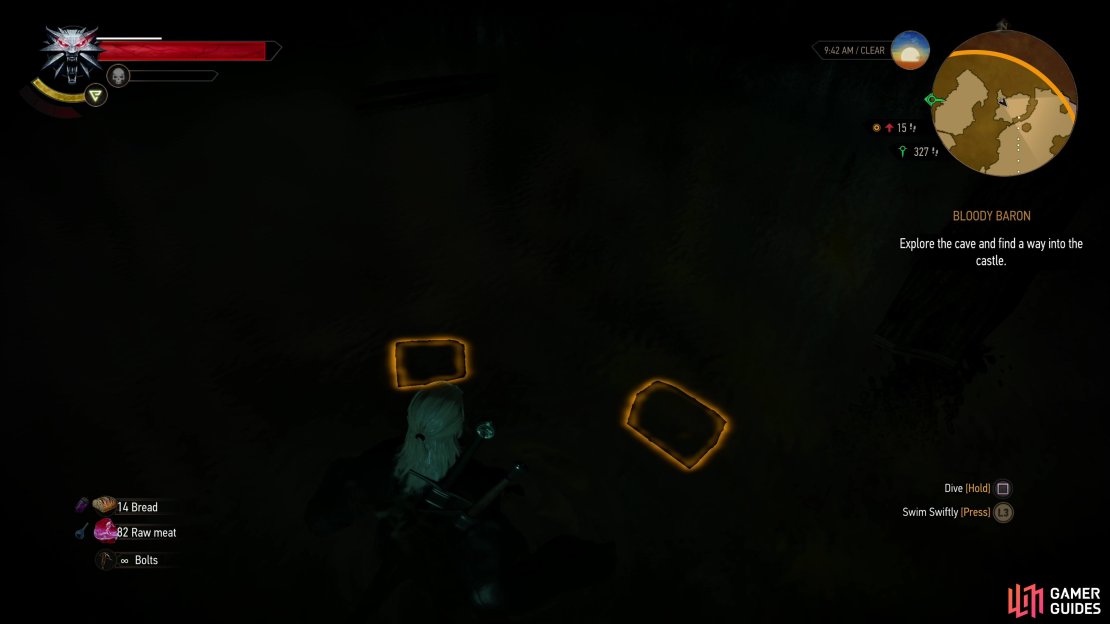
Explore the Cave
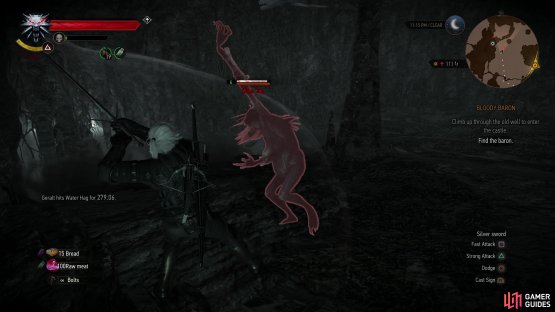
Dive into the river and dive into the cave, then swim south until your progress is blocked by rocks. Climb up onto the stone ledge blocking your path and continue running south, then east, where you’ll find another ledge to scale. Drop off another ledge to the north where you’ll encounter a Water Hag (Lv6). Water Hags can “teleport” by slipping into the muck, emerging elsewhere on the battlefield after a moment, and while their primary attack is a claw swipe, they like to first throw muck at their opponent before closing in. If their projectile hits it’ll stun Geralt, preventing him from attacking or using signs, but he can still move and dodge.

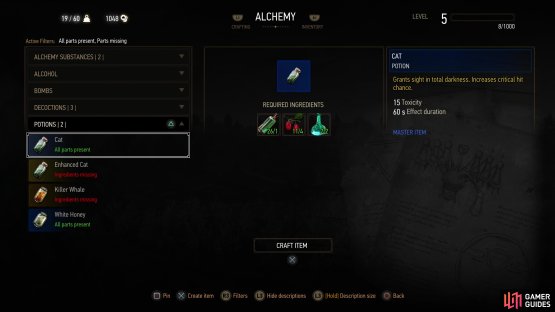
(1 of 2) If you have the materials, quaff a Cat Potion.
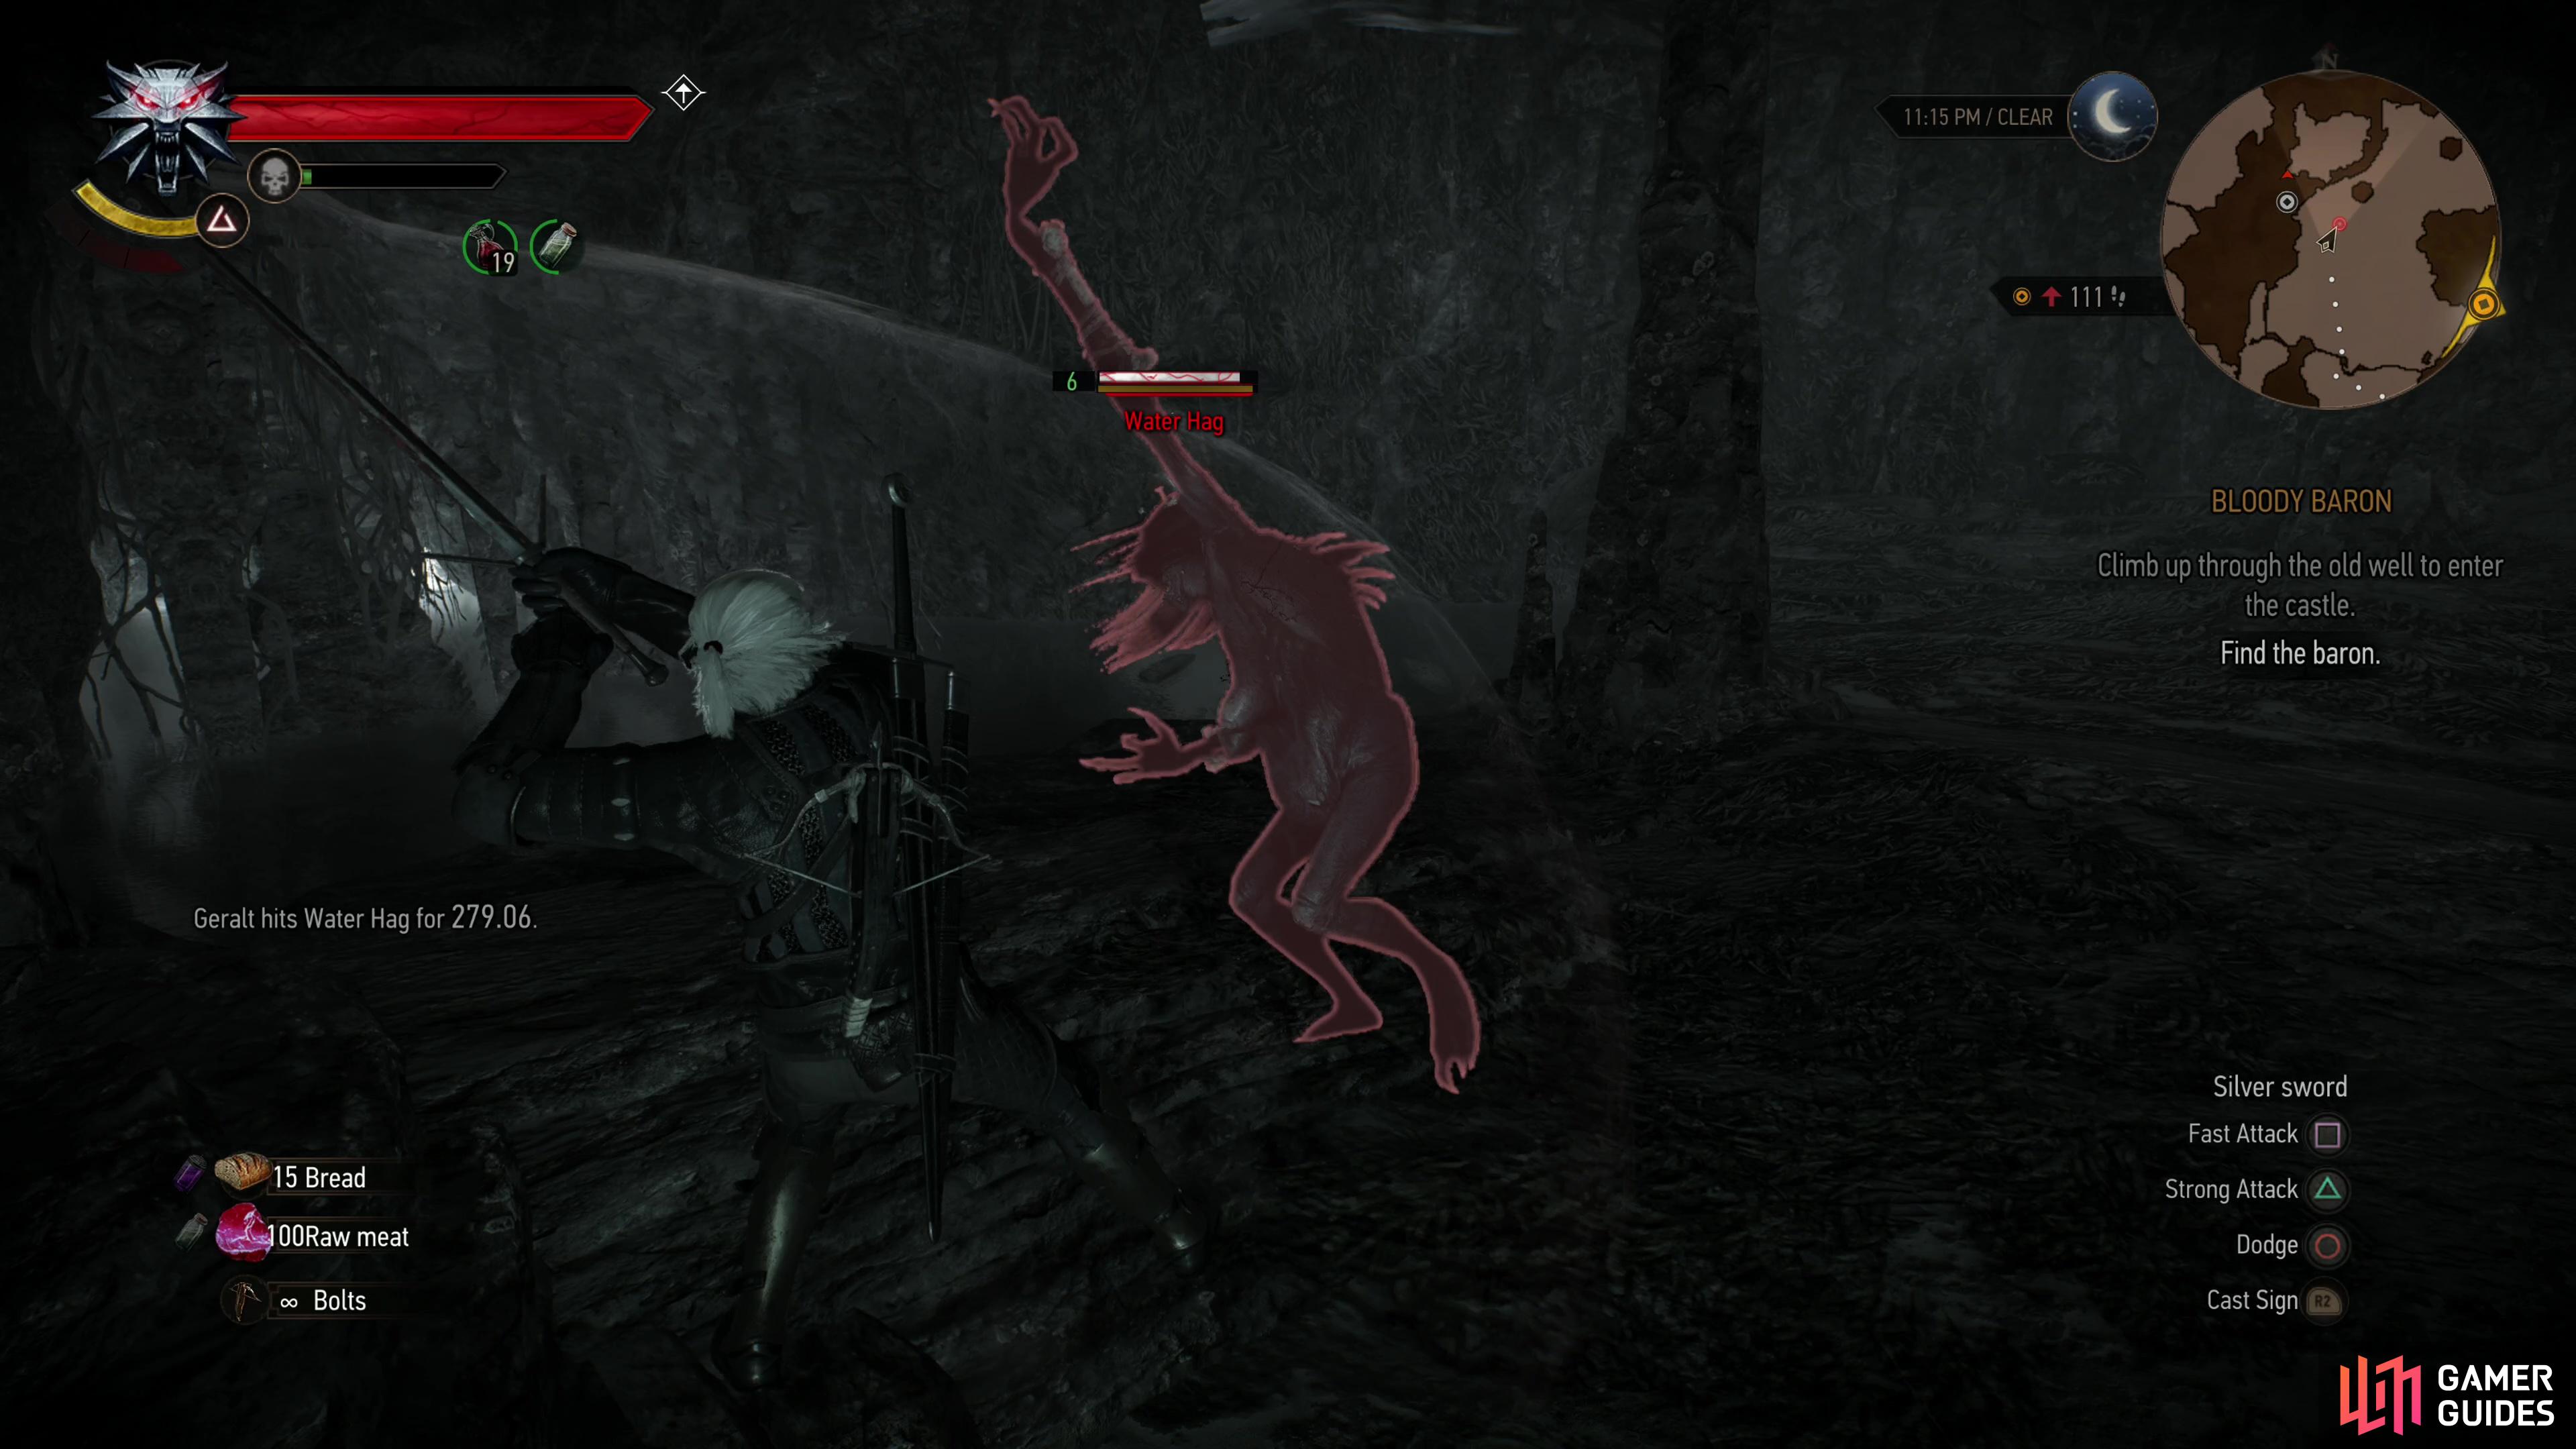
If you have the materials, quaff a Cat Potion. (left), Inside the cave you’ll need to dispatch a Water Hag. (right)
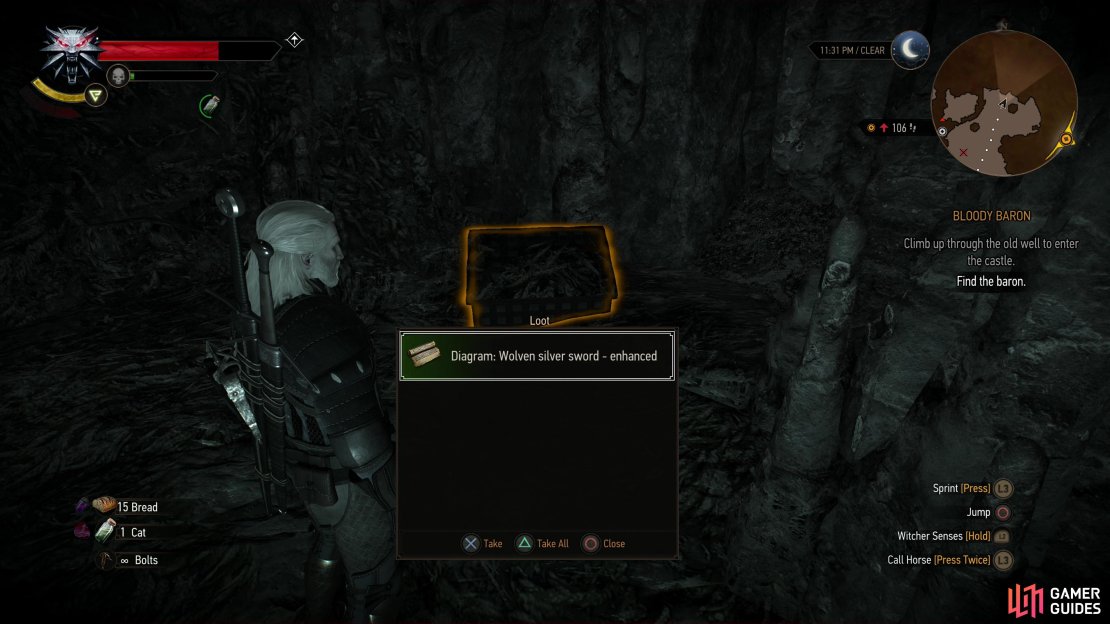
Once the Water Hag is gone, it’s time to go lootin’! Use your Witcher senses to spot a chest to the west (near the ledge you just dropped down), and another to the east. Once those are looted, head north to a stalagmite east of which are two more chests. The northern of these two chests will yield the ![]() Diagram: Wolven
Diagram: Wolven ![]() Silver Sword - Enhanced while the latter usually contains random diagrams or formulae. While it’s nice to have the schematics for the Enhanced Wolven Silver Sword, it has a level requirement of 21, so you won’t be using it any time soon. Not only that, but you’ll have to find the earlier diagrams before you can craft this one. Still, better to have it than not.
Silver Sword - Enhanced while the latter usually contains random diagrams or formulae. While it’s nice to have the schematics for the Enhanced Wolven Silver Sword, it has a level requirement of 21, so you won’t be using it any time soon. Not only that, but you’ll have to find the earlier diagrams before you can craft this one. Still, better to have it than not.
If that’s not enough loot, you’re in luck, as there’s more to find, but you’ll need to get your everything wet to get them. Head west from the chest that contained the diagram for the Enhanced Wolven Silver Sword and dive into some water. Look down with your Witcher senses and you should spot two submerged chests - dive down and loot them, where you’ll might find more random diagrams/formulae.
Climb back out of the water and make your way south of where you fought the Water Hag and climb onto a ledge, then follow the linear path uphill, working your way around counter-clockwise as you go. You’ll find a crate and a sack you can loot, but ultimately you’ll end up under the well - the wooden platform and lantern should mark it out easily enough, if the sun isn’t out to do the job. Climb your way to the surface to witness a cutscene that introduces you to the Bloody Baron.


(1 of 3) After the Water Hag is slain, loot a chest to score the diagram for the Enhanced Wolven Silver Sword,
Whether you reached the Bloody Baron via the well or were on good enough terms with the guards to go through the gate, it doesn’t really matter much. Geralt will end up exchanging words with the Bloody Baron, and regardless of the dialog choices you pick this quest will end and the next quest Ciri’s Story: The King of the Wolves will begin.
"In fact, you ran right past it during the quest “Wild at Heart”."
Once again, the quest is assumed to be completed, although in this guide, this is one of the last sections in Velen.
"The latter is the more lucrative chest (although the former’s no slouch, either!) as it just so happens to contain the “Diagram: Wolven Silver Sword - Enhanced” ."
In my case it was a Mastercrafted silver sword. Therefore, I believe that the loot is random.
That chest always has that diagram... There are a few chests there and it's dark... You likely missed the right chest.
"The barracks east of the stairs leading into the brick ruins also contains a number of lootable objects, which will yield a variety of food and alcohol."
If I'm not mistaken with the description, there is a locked door in these barracks.
I'm going to tell you about secret chests very few ppl know about: from the locked door go to the end and take the stairs UP. Jump over some crates and you will be on the roof. Get the stuff at the end of the roof and then go over to the other side of the roof. At the end of that are more stairs going up, to a tower. At the end of those turn to the left and jump into a secret room containing multiple chests with lots of goodies. The place he was talking about was a different set of stairs altogether.
"Follow the girl downhill to the west and dispatch another quintet of Wolves (level five), then loot around the area to find"
Here you should find dog tally (as quest says), it must be looted from a dead dog, near the place where the wolves were.
"When you reach a crossroads (the southern road leads to the Ghouls nest you cleared earlier) head north until you find a road to the north-east. Follow the road until you find a search area, which is largely unnecessary, because the shrine is easily visible off the eastern side of the road."
For those who want to find on their own, it's simple: follow the road northeast of the shrine at the crossroads and look for the small shrine on the east side of the road. It won't be that far from the intersection.