
This quest starts immediately after Blood Run, and although we took the opportunity to complete numerous side quests throughout Toussaint, there’s no real reason why you need to, as this quest (level thirty-seven) scales nicely from the previous (level thirty-six). To advance this quest you’ll need to head to the Mere-Lachaielongue Cemetery, which is east of Beauclair’s Metinna Gate, and north of Francollarts.
When you arrive, head to the quest marker and knock on the door to a building the cemetery… only to get no response. Lazy vampires! Kill an Archespore (level thirty-seven) and a Ghoul (level thirty-seven) if they bother you, as at least one of each lurks around these parts, then seek out an alternative entrance to the cemetery building, which you’ll find southeast of the aforementioned building in the form of hole you can jump into.
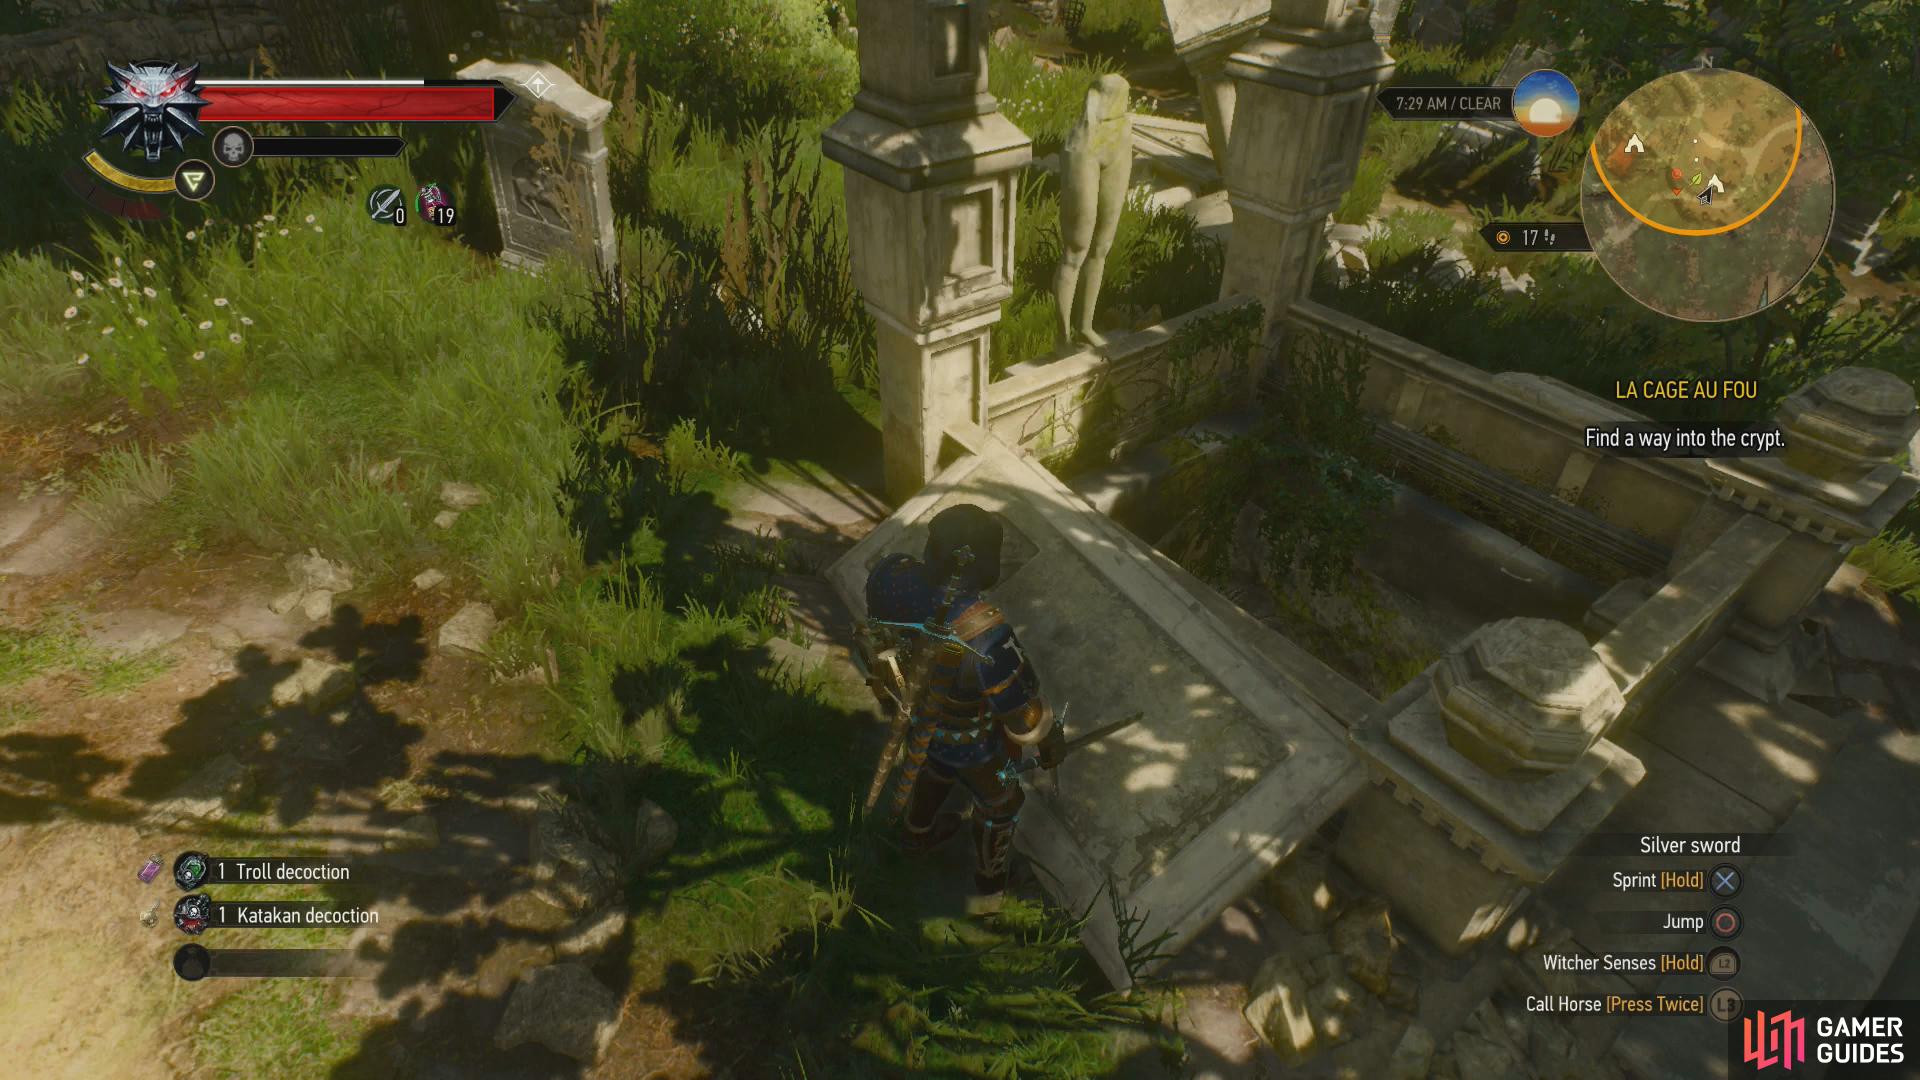

(1 of 3) Locate a pit in the cemetery you can jump down,
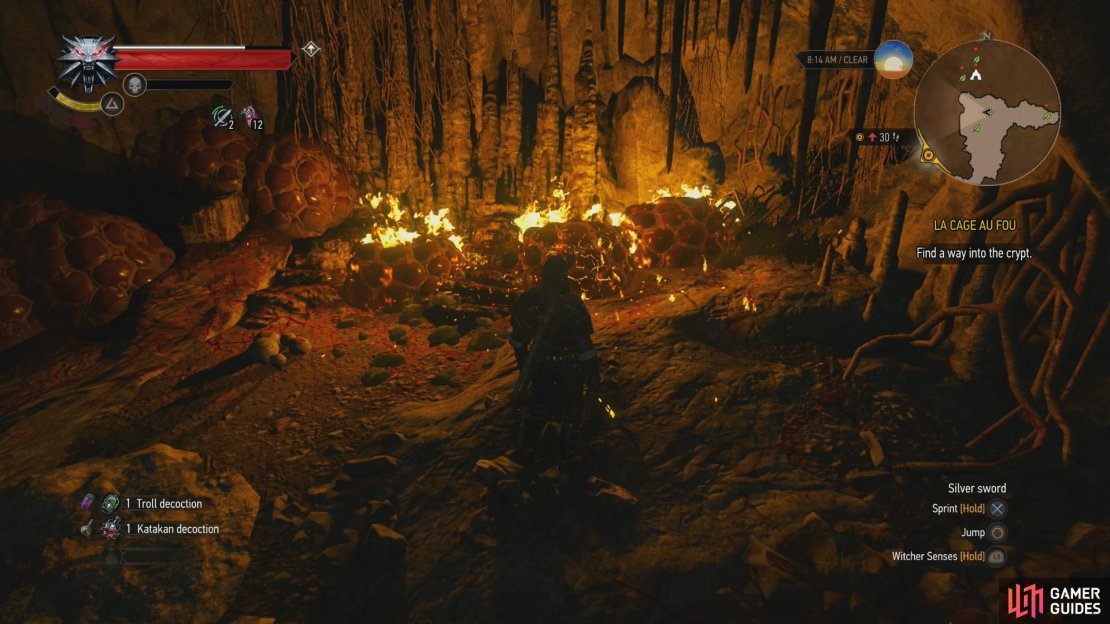
Kikimores Under the Cemetery
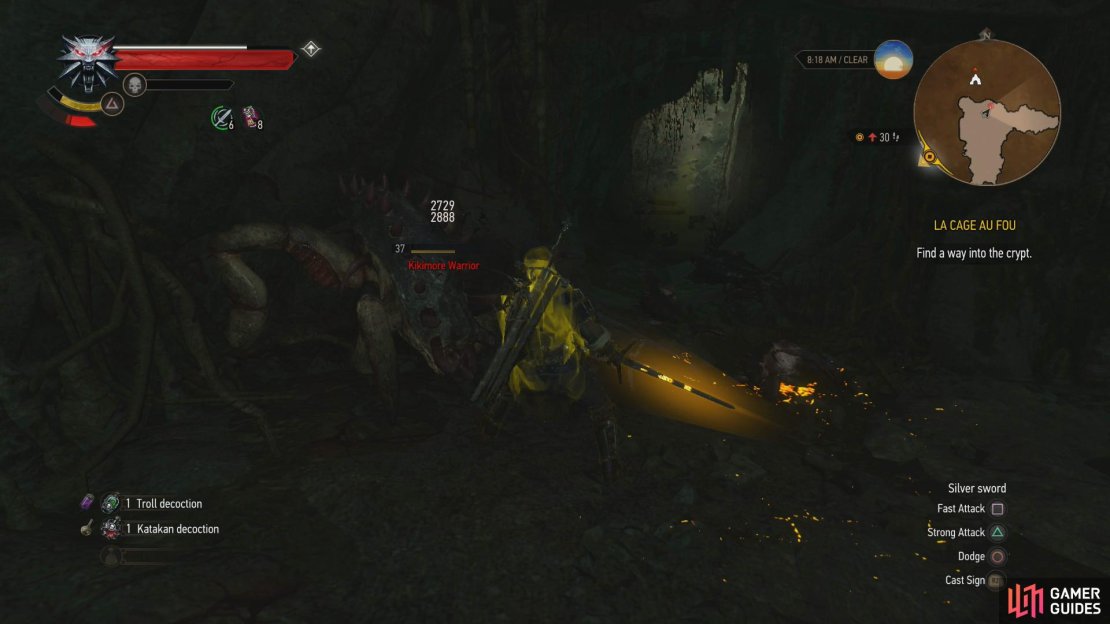
Hop into the pit and slide down a slope, which will deposit you in front of a Kikimore Worker (level thirty-seven). More Kikimore Workers (level thirty-seven) prowl ahead and will emerge from the earth when you advance, so pop a Golden Oriole to mitigate their poison and perhaps a Cat potion if you find the darkness too oppressive. In the larger chamber to the west Geralt will find Kikimore eggs, which he contemplates burning. Burn them all with Igni if you wish for some bonus XP, after which a Kikimore Warrior (level thirty-seven) will rise up to avenge the loss of the brood. Introduce it to death for its trouble.
| Objective | Reward |
|---|---|
| For destroying the Kikimore eggs | XP |
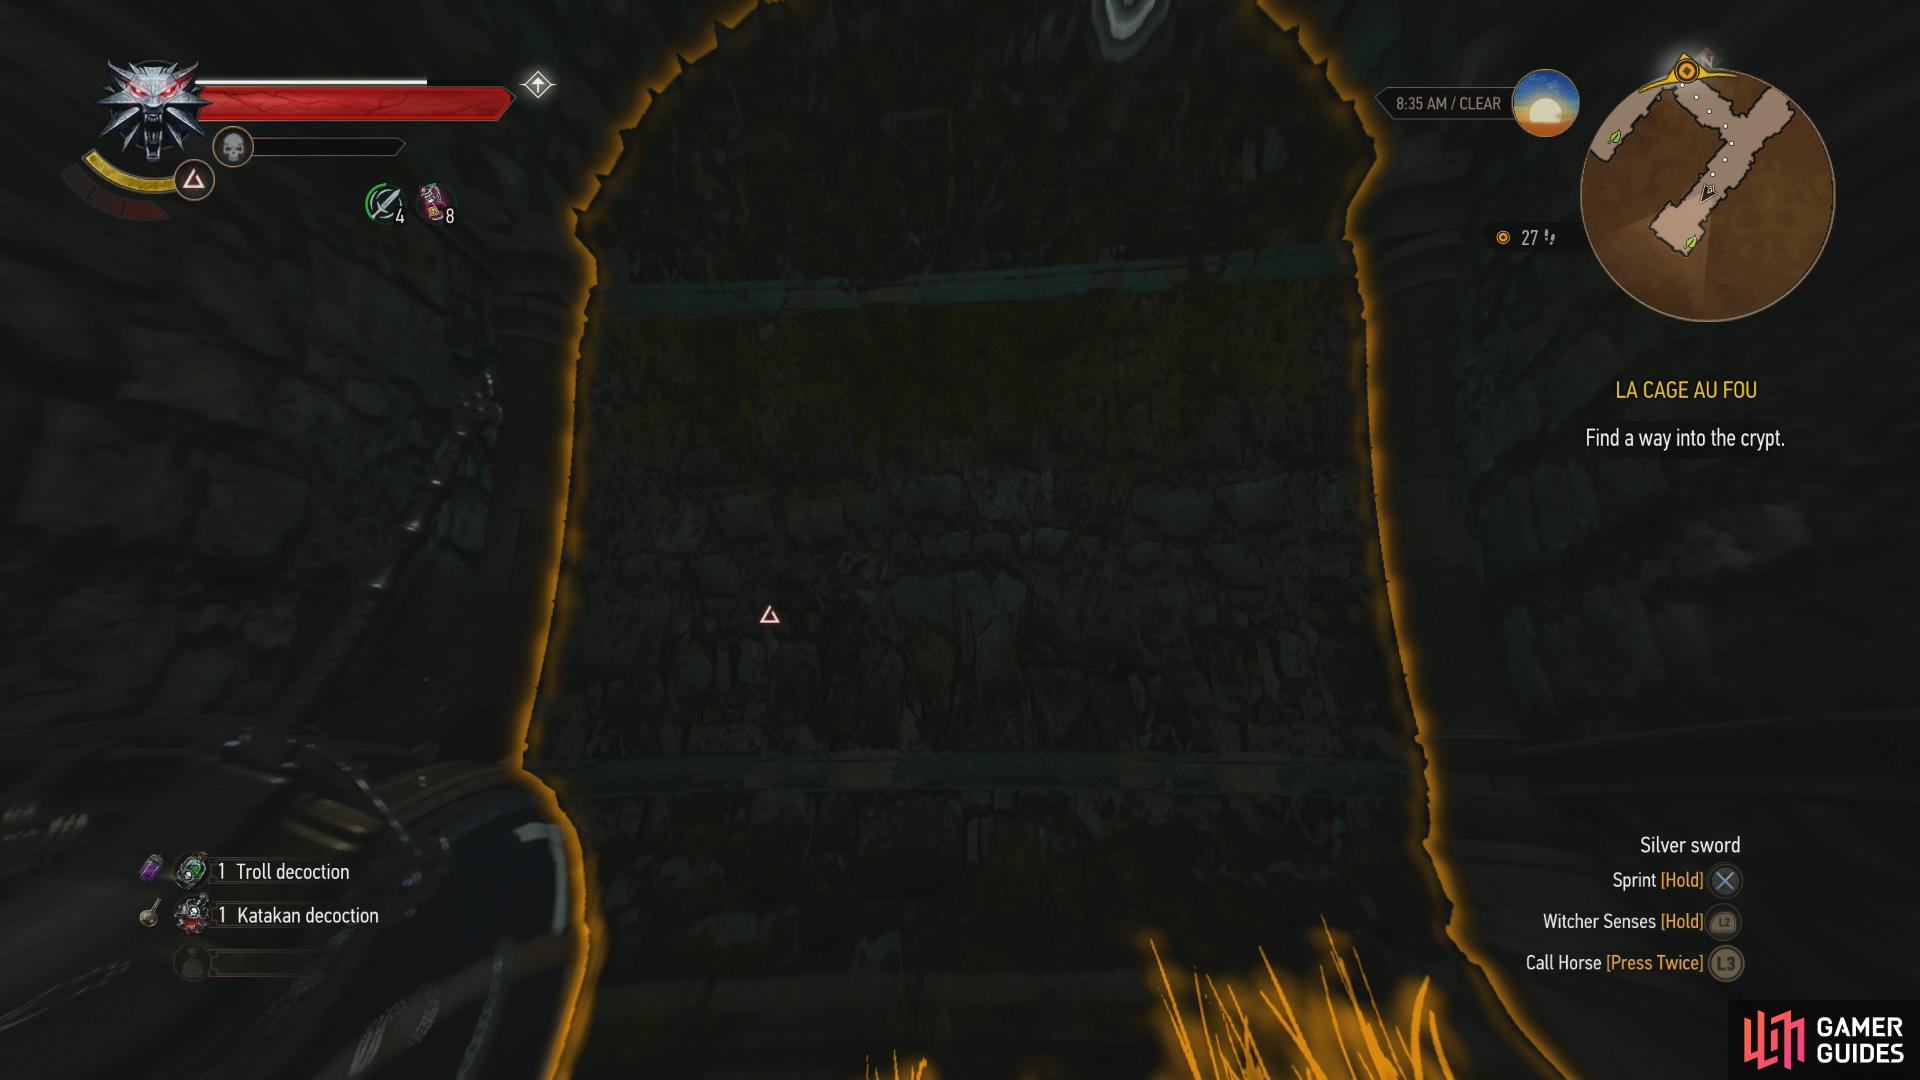

(1 of 2) Dispel an illusory wall,
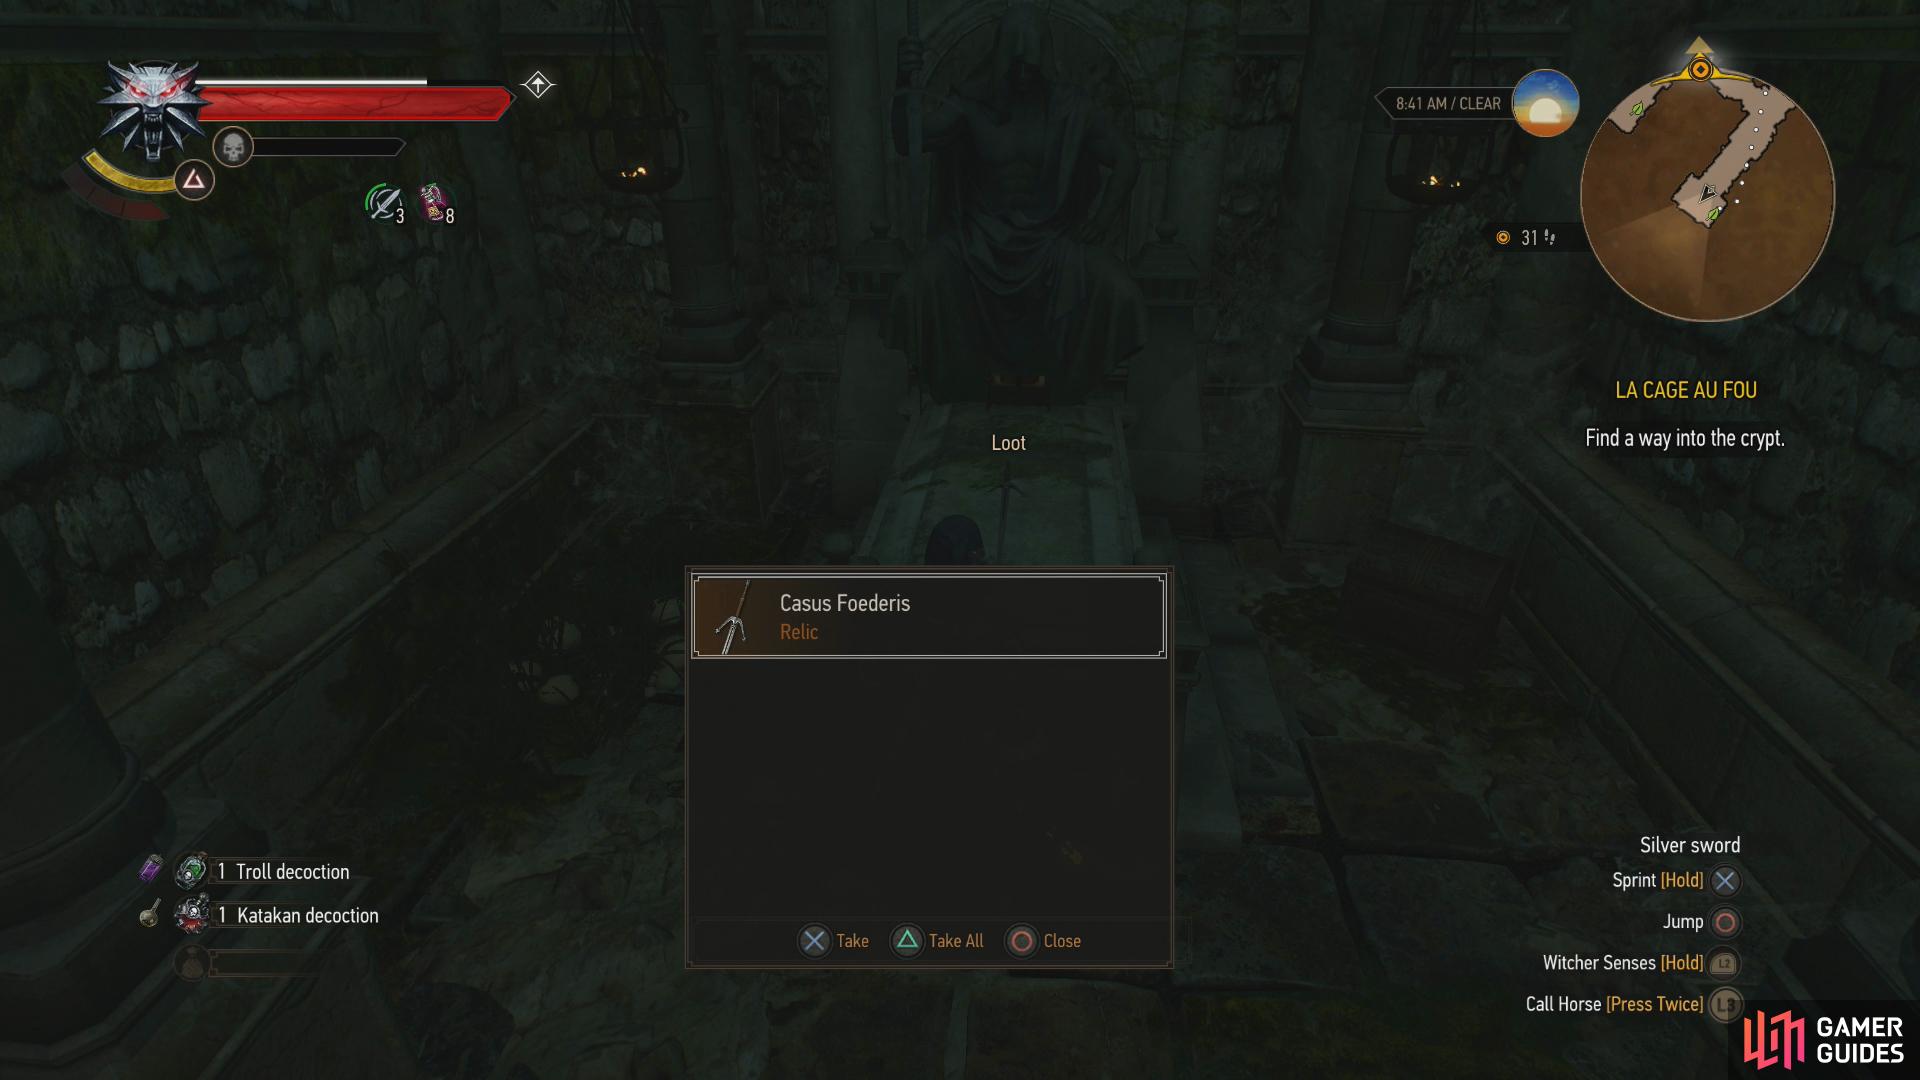
Dispel an illusory wall, (left), and plunder a sarcophagus for the silver sword “Casus Foederis”. (right)
Casus Foederis
There are two ways to get where you’re going, and some extra loot to be scored besides that. Head south and climb up a ledge to reach some ruins, at which the path forks. You can head west and use Aard to blast a way forward, but it’s more lucrative to continue heading south. At a second forth continue south (or rather, southwest) again to reach an apparent dead-end. Your Witcher Sense will show this for the illusion it is, so dispel it with The Eye of Nehaleni to reveal the crypt beyond.
Loot a sarcophagus to find A Knight’s Oath, a letter naming the corpse interred here, and its last wishes that the sword that served this knight so well in life be left here “through the ages”. Well, certainly SOME ages have passed since this knight was laid to rest, right? Whatever the case, disappoint his last wishes and grab the sword Casus Foederis, which is actually a pretty damn good silver sword, possessing the armor piercing property, boosts to Aard and Quen sign intensity, critical hit damage and chance bonuses, and three empty rune slots. Hard to beat that.
Reunion With Regis and the Resonance Request
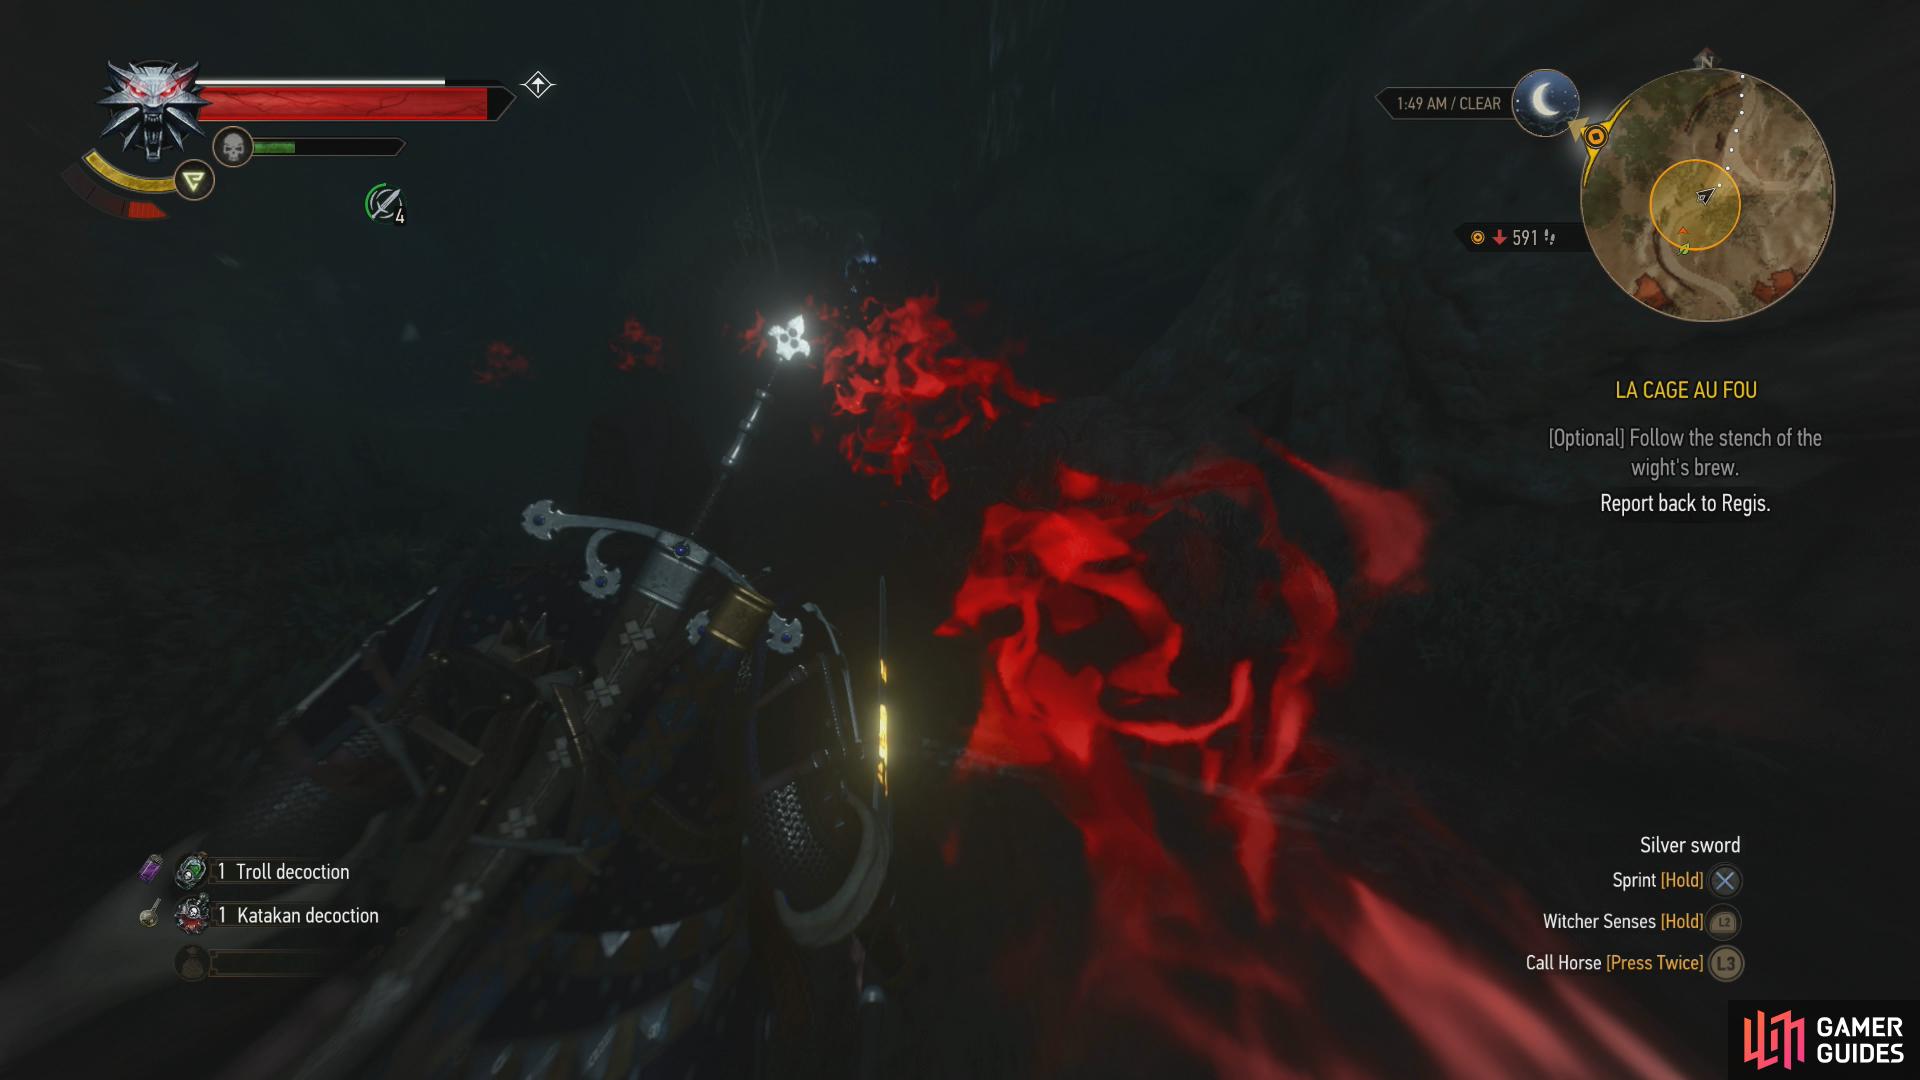
Backtrack northeast to the previous fork and head down a hallway to the northwest to reach a large chamber where you’ll finally meet the object of your search. Watch the scenes that follow and pick whatever dialogue options you will and after much talking - and perhaps some drinking - Geralt will get an objective and a target. To find Dettlaf you’ll need to make some “Resonance” concoction, and to do that you’ll need the saliva - or salivary glands - from a Spotted Wight, one of which just happens to be found nearby…
| Objective | Reward |
|---|---|
| For meeting up with Regis | XP |
To reach the abode of this Spotted Wight - a cursed manor along the southeastern edge of Toussaint - you’ll need to head southeast from the Mere-Lachaiselongue Cemetary, or south down to Francollarts, and east, southeast from there. You’ll know you’re getting close when you start running into Foglets (level forty), and later on, Barghests (level thirty-seven). Of course, the spoons hanging from trees is also a clear indicator that you’re close. Be sure to discover the Trastamara Hunting Cottage signpost before you get into anything too questy - you’ll find it southwest of the search area.
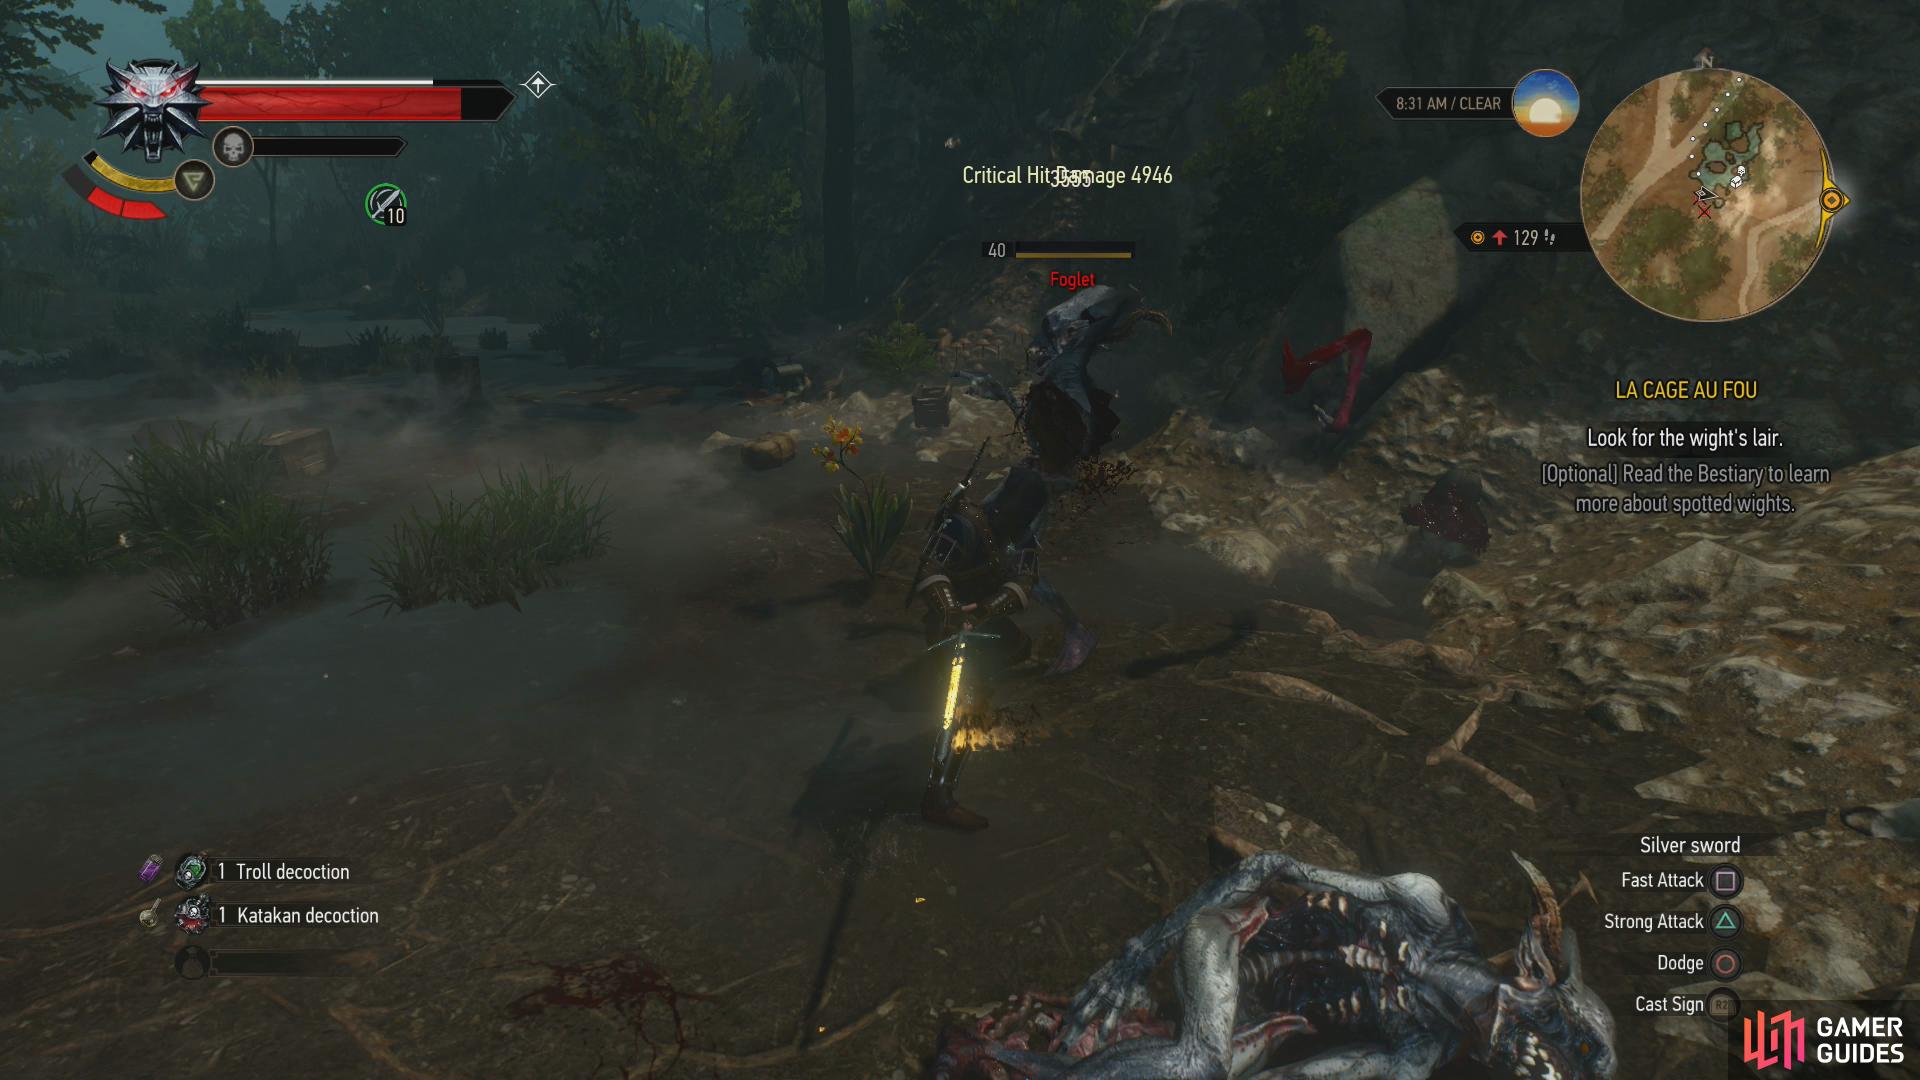

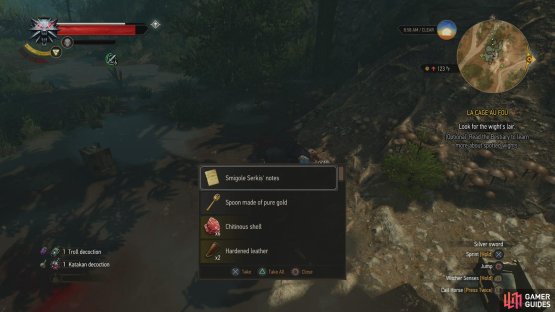
(1 of 2) Kill the Foglets,

Kill the Foglets, (left), then loot a small chest to obtain “Smigole Serkis’ notes”. (right)
Guarded Treasure (level forty)
While you’re nearby, you might as well cross off a bit of exploration - there’s no other reason to come out this way, after all, and it actually ties in with the main quest nearby. West of the search area and northwest of the Trastamara Hunting Cottage signpost you’ll find a Guarded Treasure event. Disperse the Foglets (level forty) prowling around, loot the contents of the wagon they attacked, especially a small chest that contains a trove of treasure, including Smigole Serkis’ note.
Combing for Clues to a Curse in the Cottage
After clearing the Guarded Treasure event, make your way up to the hunting cottage to trigger a scene near the entrance. Definitely a curse. Head around to the northern end of the manor to find a Soiled Note on a bench. Read it to learn the identity of a “mindless, bloodthirsty creature” that forced the residents of estate to flee and confirm - as if it needed confirmation - that a curse is at play. You probably won’t be haggling with a “bloodthirsty creature”, but perhaps you can lift this curse?
Head inside the house to witness the extent of the wight’s spoon collection. You can examine a number of spoons lying around if you spot them with your Witcher Senses, but more interesting is the oven, which you can search to find a Stained Diary which details Marlene’s transformation. Seems a bit extreme for chasing off a beggar.
Enter the room to the north to find a mirror on the wall you can examine, the condition of which confirms another part of the curse. Loot some containers in here, then explore the southern end of the estate. In the southeastern corner of the room you’ll find a Spoon Key, which comes with the Spoon-Key Note confirming this as the key belonging to one “Smigole Serkis”, a name you’ll recognize if you completed the Guarded Treasure even earlier. This starts the quest Spoontaneous Profits!, which we’ll deal with later.
La Cage au Fau Cauldron Location
For now search the western end of this room to find a dining table you can examine… surrounded by skeletons. Another sign of the curse. Pick up a Decaying Letter in the southwestern corner of the room to learn even more about the curse. A merchant of mirrors? Nah… it can’t be… Head down some stairs to the north to reach the cellar, then enter a room to the east to find the wight’s cauldron. Examine a some plates on a table to update the quest, then read the bestiary entry on Spotted Wights to update it again.
| Objective | Reward |
|---|---|
| For confirming the presence of a Spotted Wight | XP |
| Objective | Reward |
|---|---|
| For reading the bestiary entry about Spotted Wights | XP |

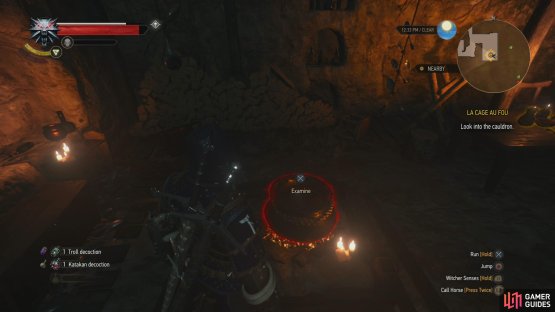

(1 of 2) Examine the cauldron,
Examine the cauldron, (left), then hide, where you’ll be able to decide between attacking the wight, or trying to lift the curse. (right)
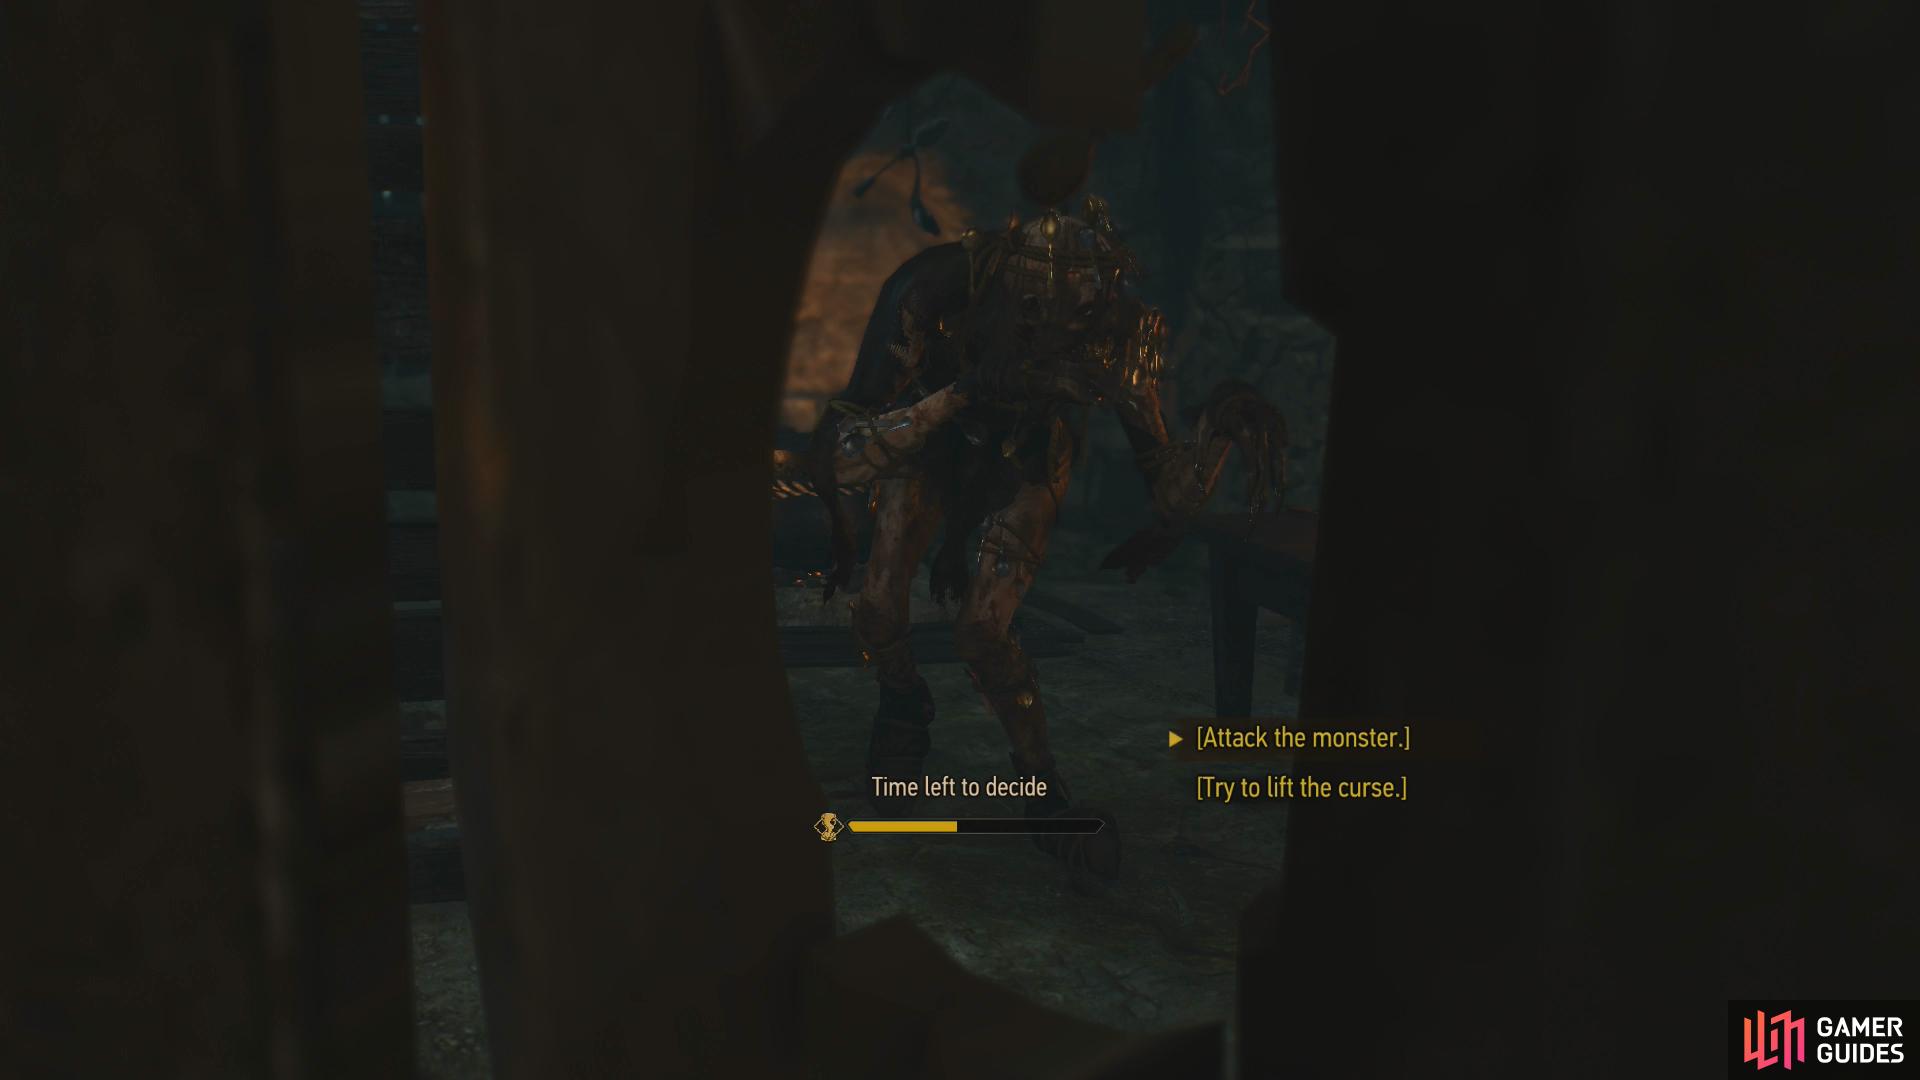
When you’re ready, examine the cauldron nearby. No luck in finding any secretions here, so Geralt resolves to wait for the wight to return. Interact with a cabinet on the northern end of the room and the wight will begin brewing. After a scene you’ll be given a time choice: pick Attack the monster. if you wish to resolve things with violence or Try to lift the curse. if you want to be a proper witcher and resolve things less bloodily. Peruse the header that matches the choice you made for more details, below:
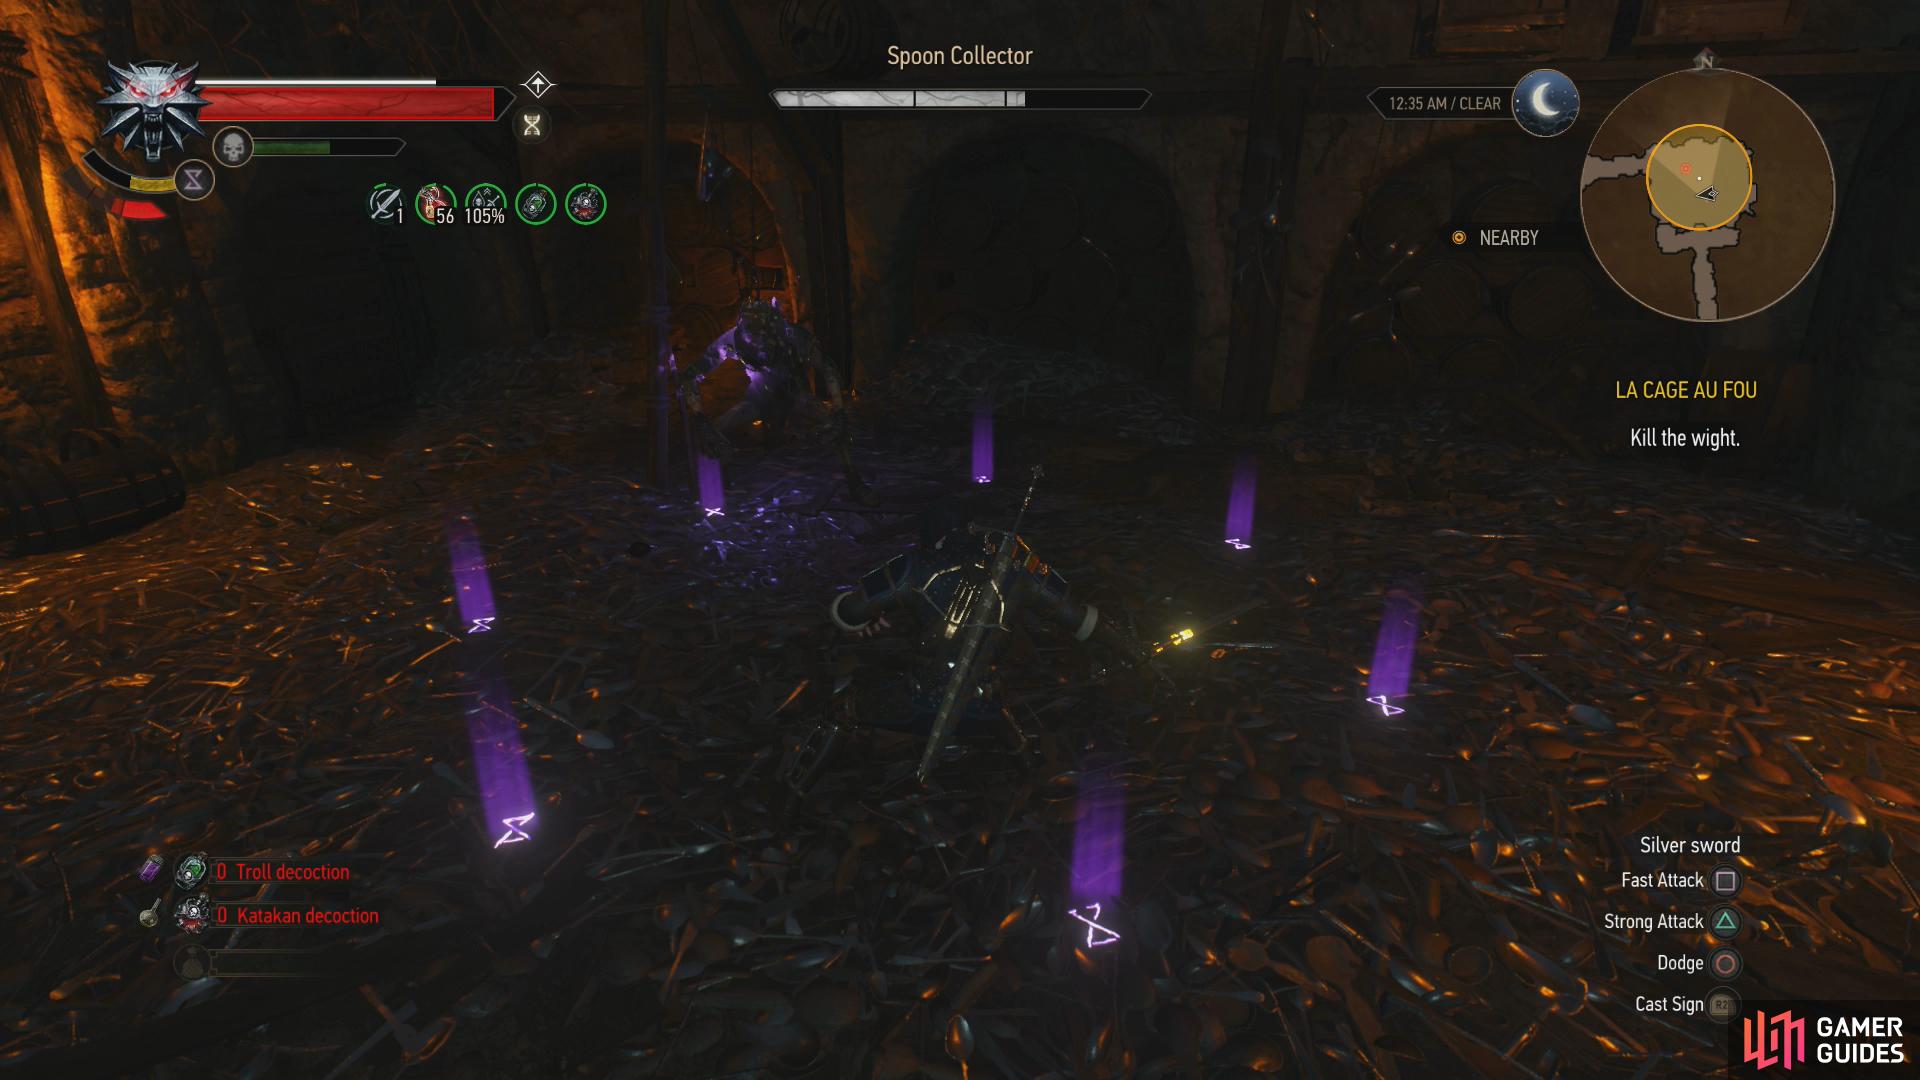


(1 of 3) Use Yrden to limit the wight’s movements,
La Cage au Fau: Spotted Wight Fight
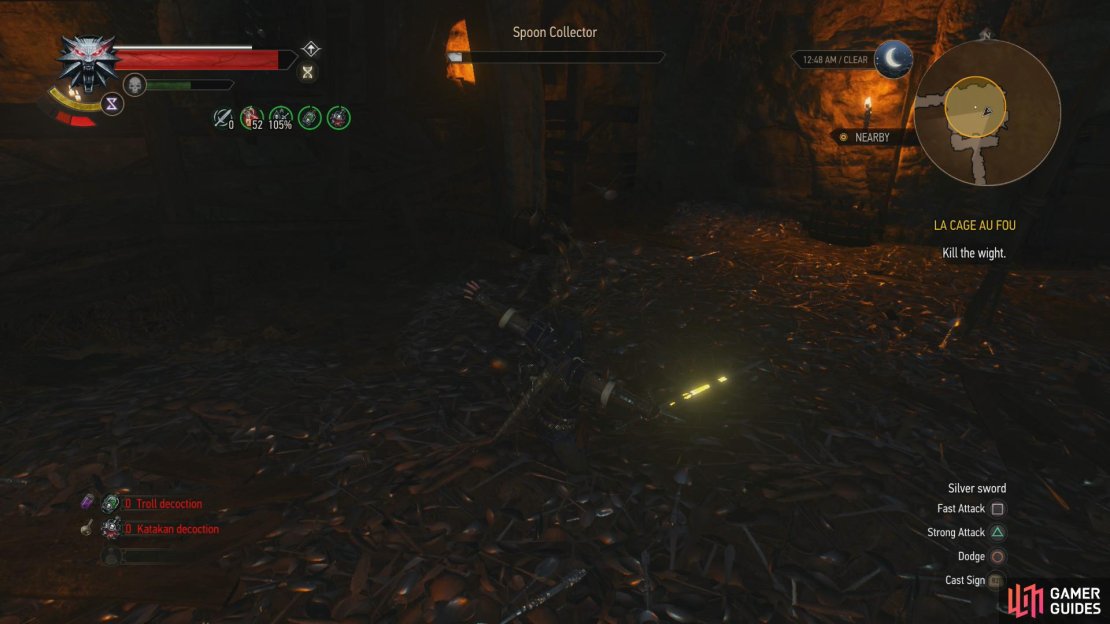
If you attacked the Spotted Wight it’ll run off, forcing you to chase it north to a chamber where it stores the greater part of its haul of spoons. Turns out everything you’ve seen up until now was just the tip of the iceberg… it’s a surprise all of Toussaint has any spoons left in it.
Here you’ll fight the Spotted Wight - the Spoon Collector - and its horde of spoons actually comes into play. The Spoon Collector fights much like a Water Hag, save it’ll descend into the mountain of spoons and resurface elsewhere. When it does this it can also pull Geralt down into the spoons, trapping him momentarily - enough time to give it the opportunity to land some hits in. To prevent this use the Yrden sign and stay within its confines, as the Spoon Collector can’t surface in its effect, nor can it pull you under. Other than that, the Spoon Collector has the usual assortment of claw swipes and can spit acid - apply Necrophage Oil to your blade to make this go faster and sneak in the odd Igni if you can, as the beast is rather susceptible to fire. Once it dies, loot it for a Wight Saliva Gland, among other monster bits.
| Objective | Reward |
|---|---|
| For defeating the Spoon Collector | XP |

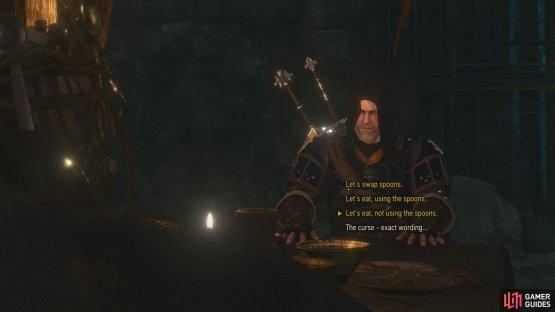

(1 of 2) Pick the correct dialogue choice - dinner with no spoons - to break the curse,
Pick the correct dialogue choice - dinner with no spoons - to break the curse, (left), then follow the wight’s trail to find Marlene. (right)
La Cage au Fou: Lifting the Curse
If you opted to try and lift the curse, Geralt will try to reason with the Spotted Wight, and after a scene you’ll find yourself seated at a table. Pick the dialogue option Let’s eat, not using the spoons. to lift the curse, otherwise the wight will run off to its lair (see the Attacking the Monster header above). You don’t have to fight it in case you botched it - merely trying to reason with it scored you a Wight Brew, but it would be… irresponsible of you to leave such a creature on the loose.
| Objective | Reward |
|---|---|
| For having a nice meal with the Spoon Collector | XP |
Assuming you lifted the curse, however, follow a scent trail upstairs, outside and finally off the manor grounds, killing any Barghests (level thirty-seven) you may encounter along the way to find Marlene. The curse may be reversed, but the time lost to it… there’s no getting that back. Geralt will take her to Corvo Bianco automatically, where some chatter will ensue between Geralt and his majordomo.
| Objective | Reward |
|---|---|
| For rescuing Marlene | XP |
Another one wondering if the walkthrough for B&W will ever be completed. I think a lot of new players will be looing for this soon due to the release of the Next Gen edition.
Hi, I was wondering why the guide of Blood and Wine is incomplete. I bought the e-book and it seems like the guide just stops in the middle of the La cage et fou.. I bought the book to complete the game and DLC 100%, but I kind of feel lost without it now.