
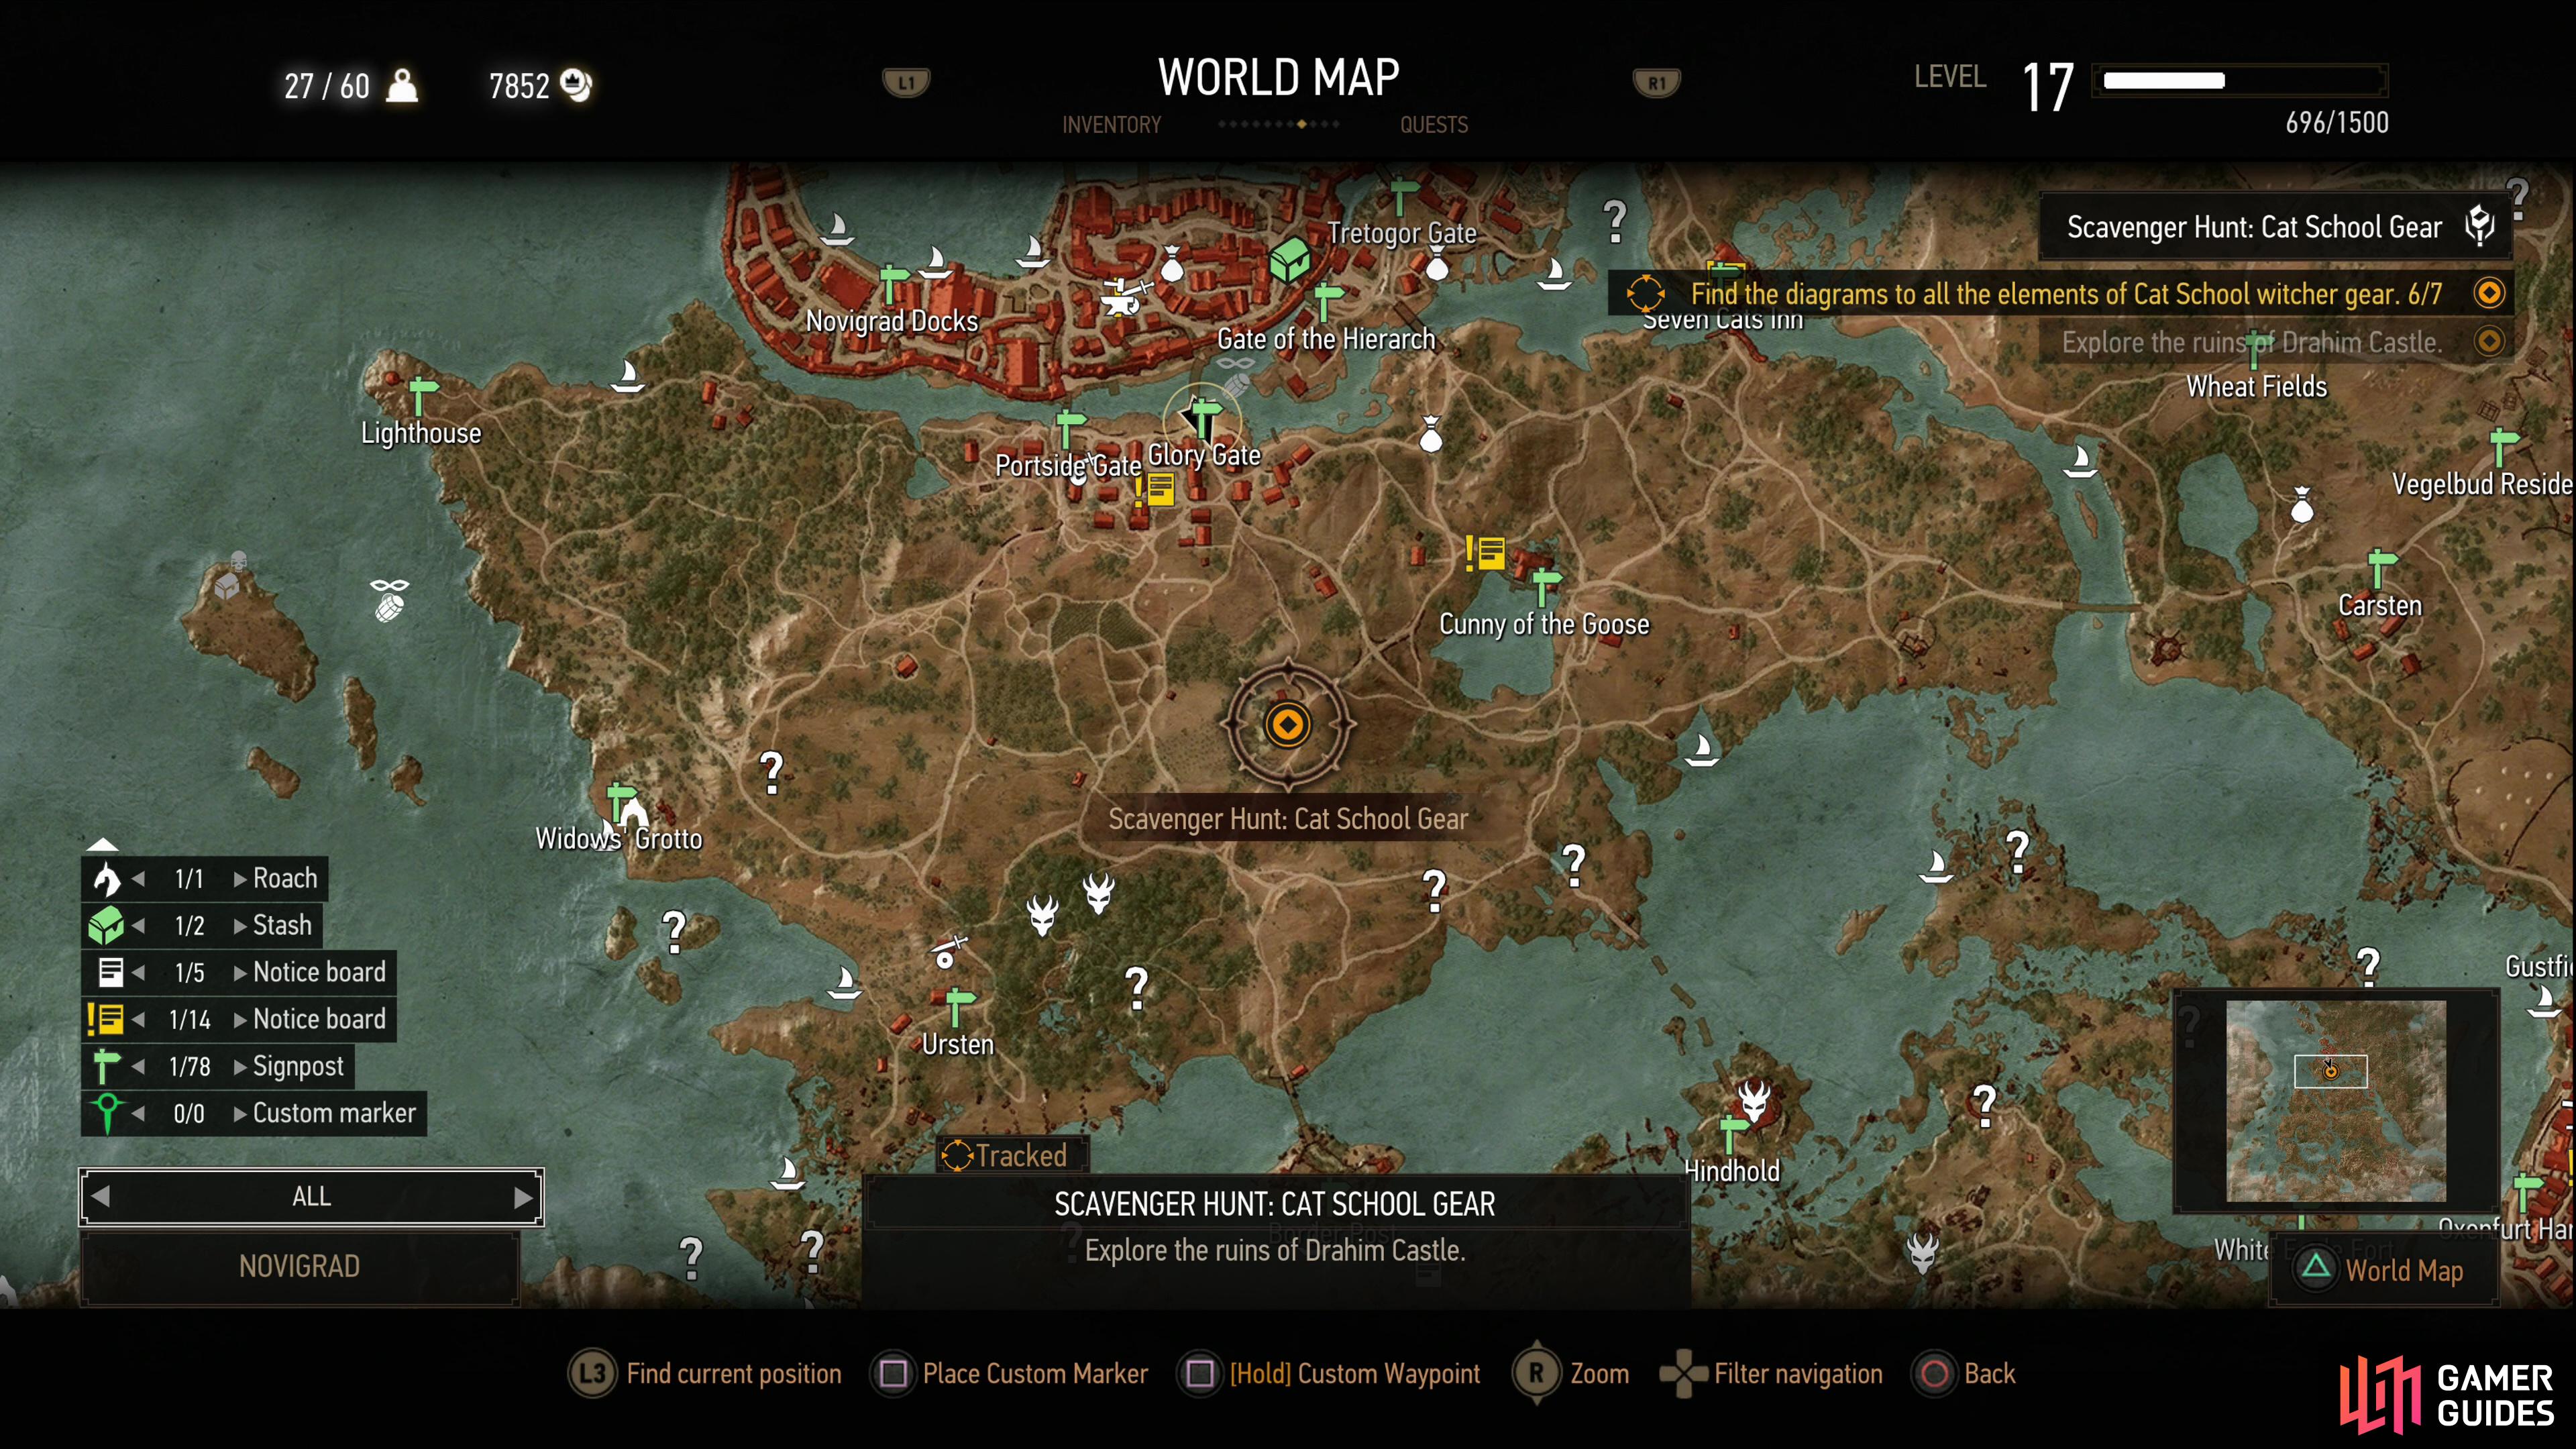
At some point you might find it worthwhile to nitpick the stats on your gear, and the Witcher Sets help serve as the backbone for various first-playthrough builds… but at lower levels all that really matters is the damage output on the swords. Nothing will help you more, and this should be keenly illustrated when you get the Griffin School Gear at level eleven. By the time your level hits the upper teens, however, another upgrade is needed, and the ![]() Cat School Gear at level seventeen answers this need well enough. This page will provide a walkthrough for the treasure hut
Cat School Gear at level seventeen answers this need well enough. This page will provide a walkthrough for the treasure hut ![]() Scavenger Hunt: Cat School Gear in The Witcher 3.
Scavenger Hunt: Cat School Gear in The Witcher 3.
Quest Objectives
Starting Scavenger Hunt: Cat School Gear
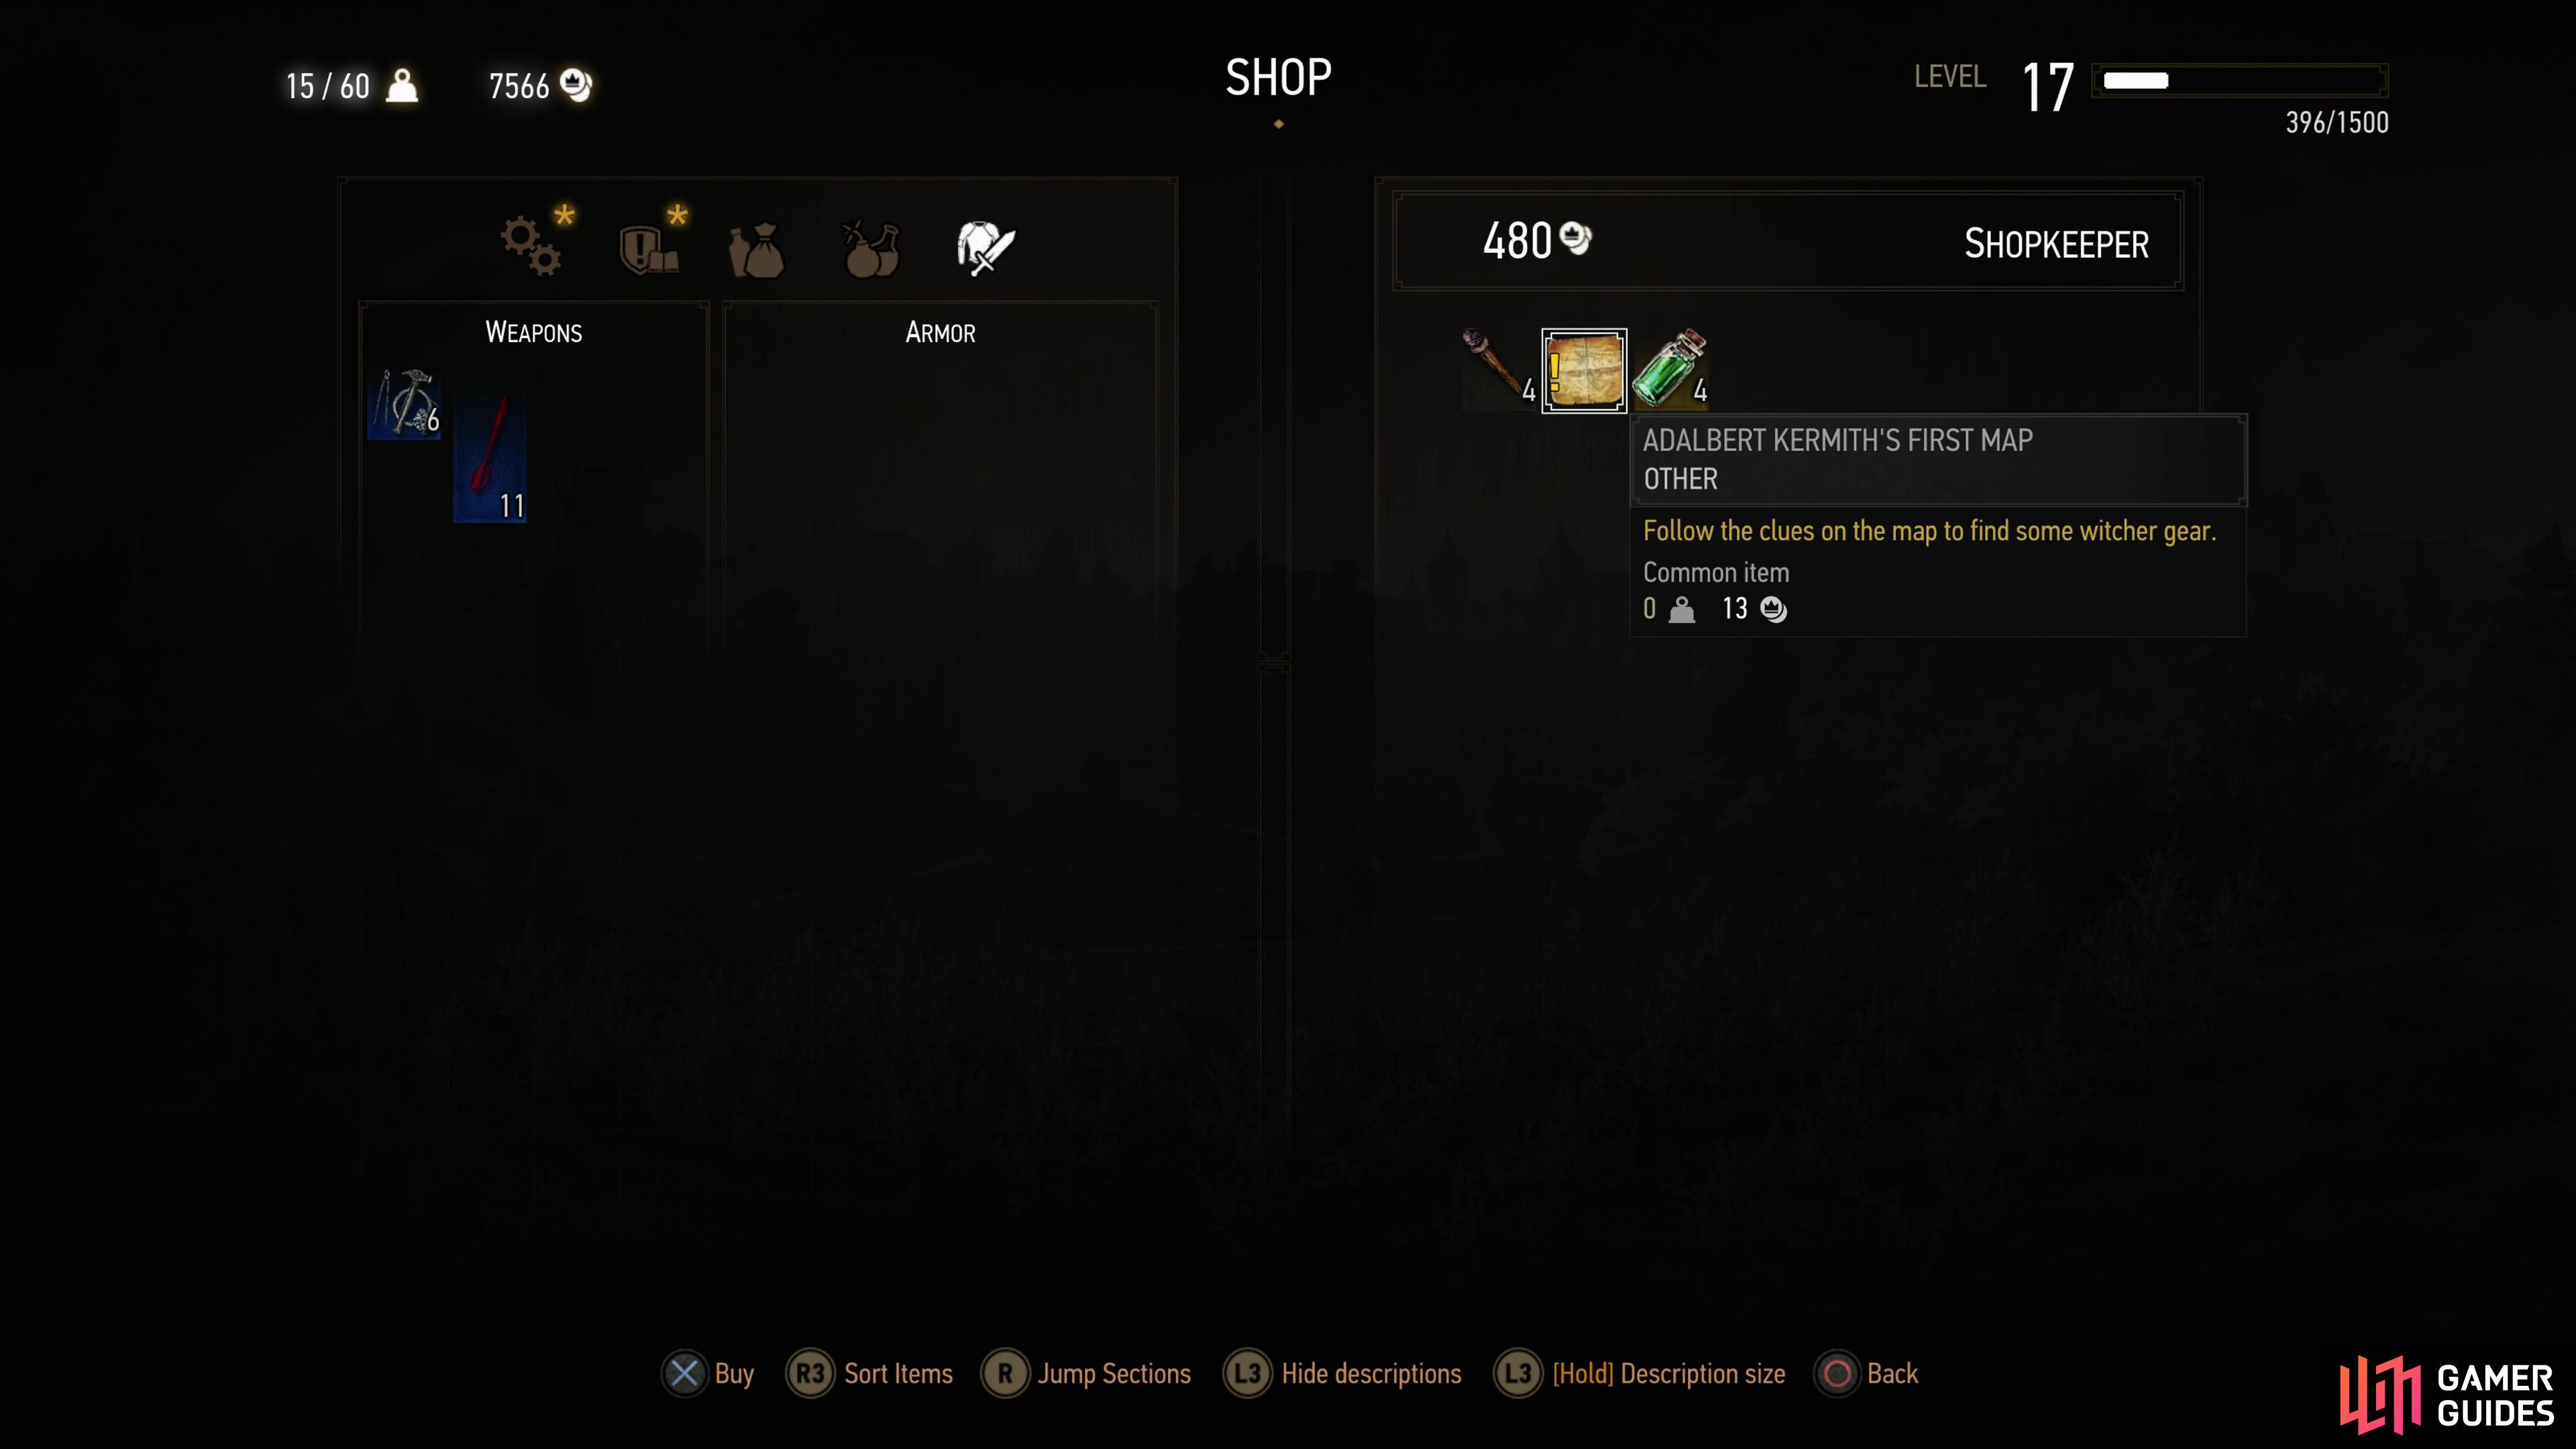
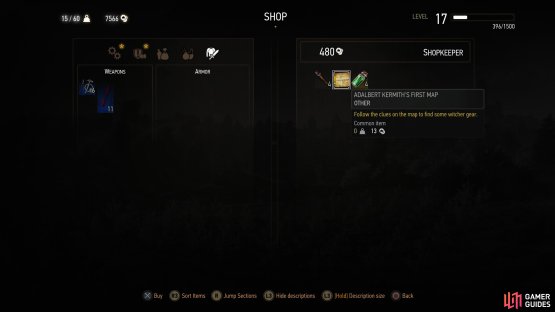
You can start this quest by buying Adalbert Kermith’s First Map from the Merchant in ![]() Blackbough for a measly 13
Blackbough for a measly 13 ![]() Crowns. Read it and this quest will start. You can also just stumble across one of the diagrams blindly to start the quest. Once you have this map you’ll be directed to “Explore the passages under Temple Isle.”, which is the northernmost island of Novigrad.
Crowns. Read it and this quest will start. You can also just stumble across one of the diagrams blindly to start the quest. Once you have this map you’ll be directed to “Explore the passages under Temple Isle.”, which is the northernmost island of Novigrad.
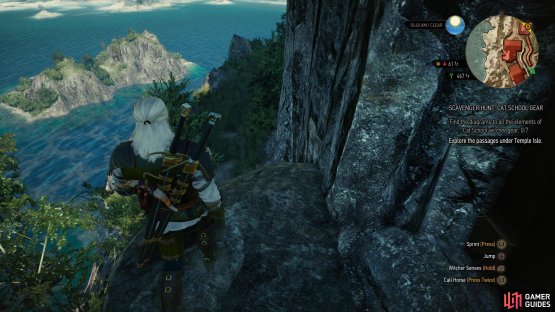
Explore the Passages Under Temple Isle
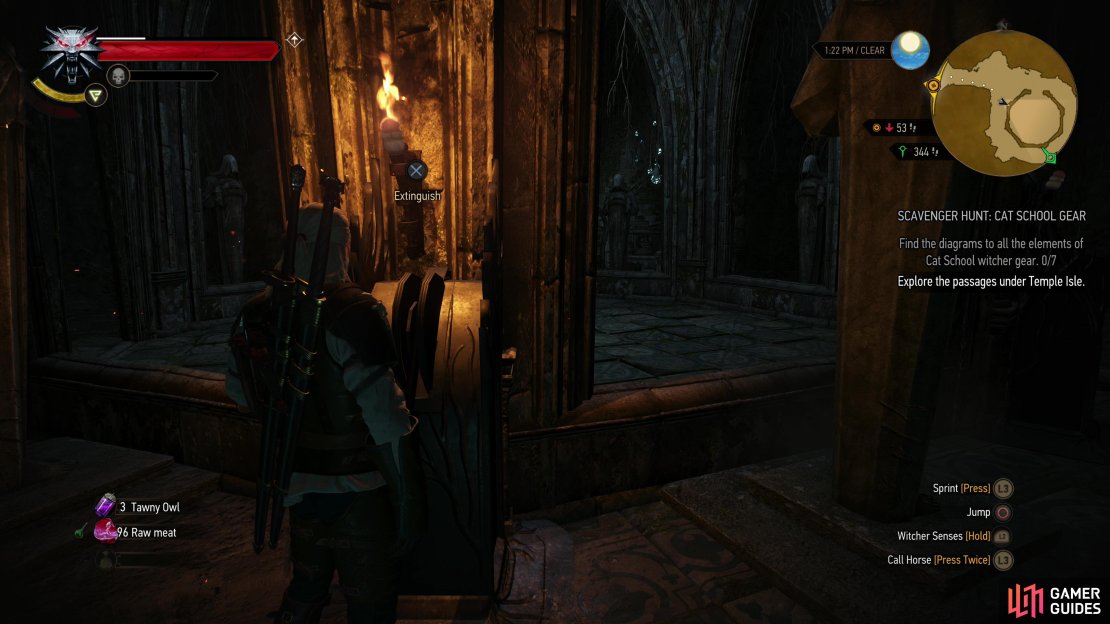
Travel to and cross ![]() St. Gregory’s Bridge and make your way to the western end of the island, just west of the westernmost house. From here head north and you’ll find a grassy path - drop down onto it and follow it to find a cave and use the
St. Gregory’s Bridge and make your way to the western end of the island, just west of the westernmost house. From here head north and you’ll find a grassy path - drop down onto it and follow it to find a cave and use the ![]() Eye of Nehaleni to dispel an illusory obstruction.
Eye of Nehaleni to dispel an illusory obstruction.
(1 of 2) Buy “Adalbert Kermith’s First Map” from a merchant in Blackbough,
Buy “Adalbert Kermith’s First Map” from a merchant in Blackbough, (left), then head to the western edge of the Temple Isle in Novigrad to find a path leading to a cave. (right)
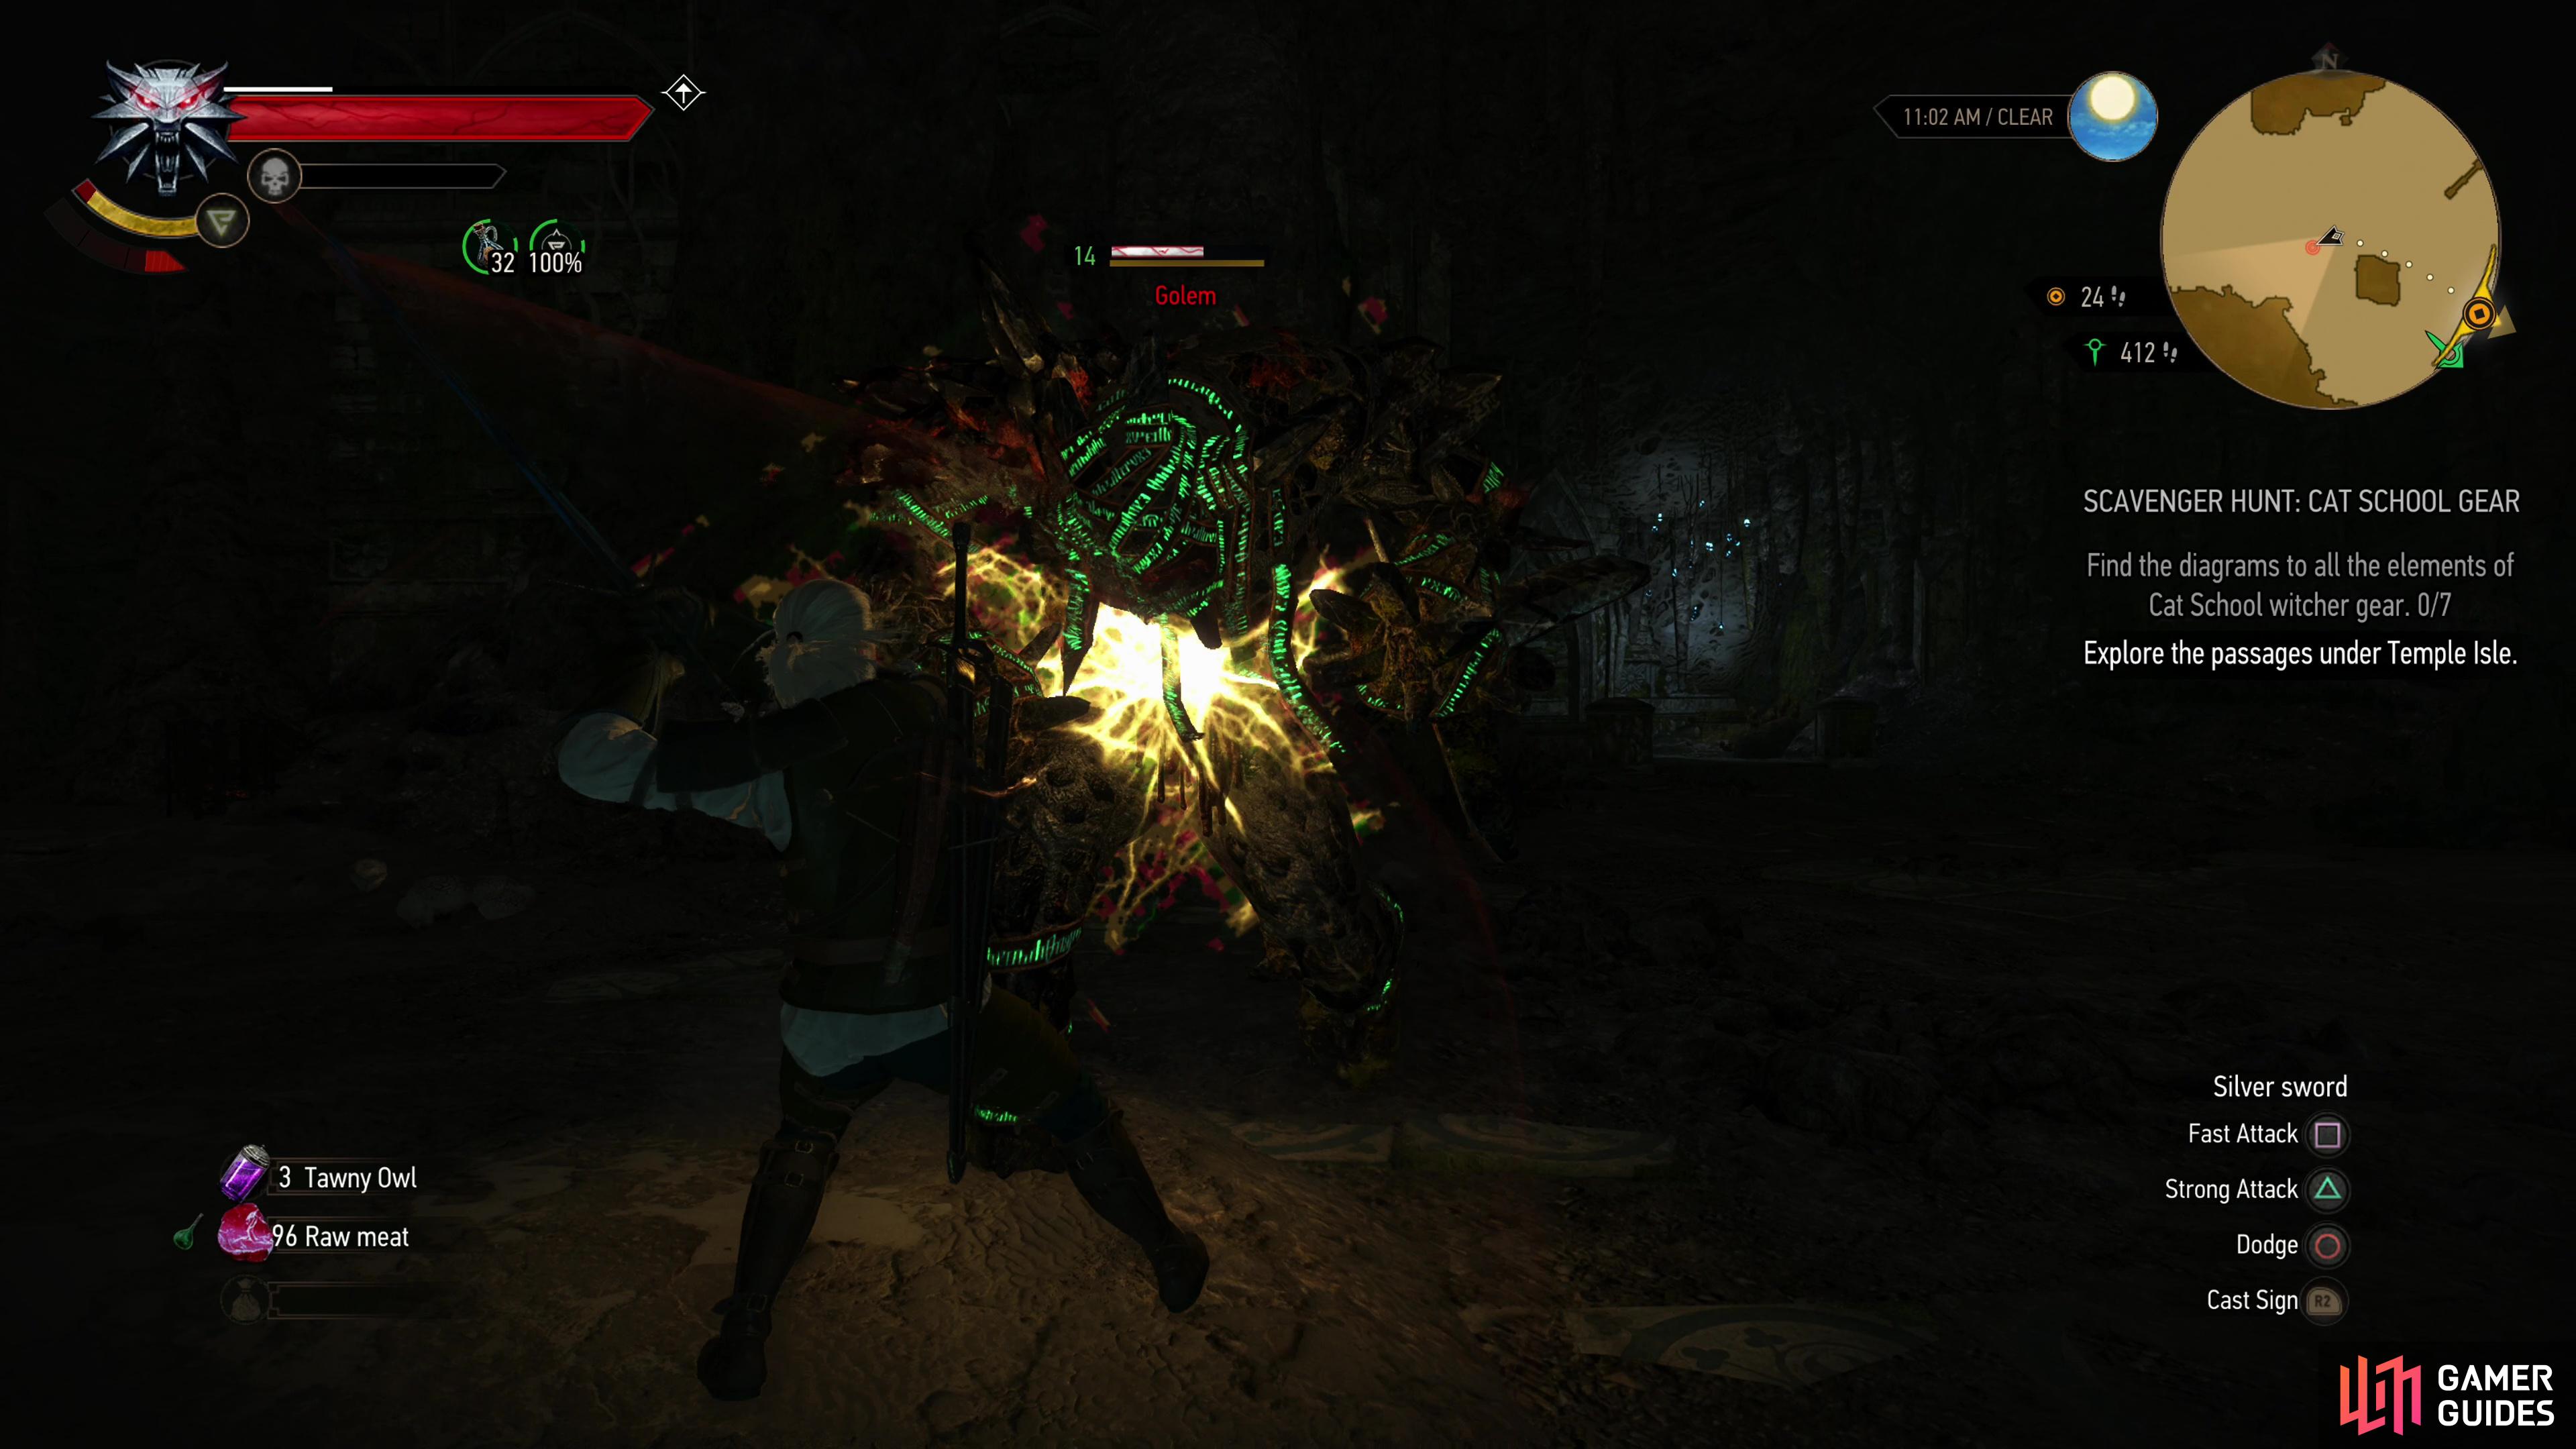
Defeat the Golem
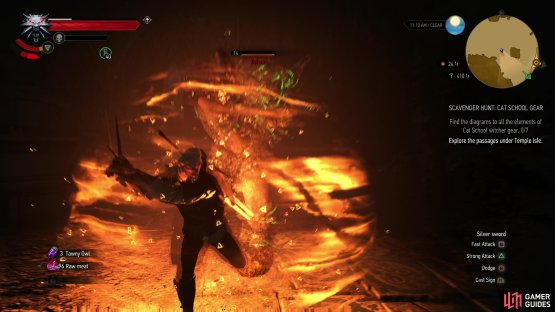
Follow the passage and it’ll eventually open up into a large cavern, wherein you’ll find a Golem (Lv14) stomping about. In the very likely case that you fought one of these during Wandering in the Dark, you should know what to expect - ![]() Golems are melee brutes that attack with haymakers, AoE ground pounds and a charging flurry of short punches. Despite this, Golems aren’t nearly as dangerous as they seem - Golems only deal moderate damage and their attacks are fairly ponderous, so you shouldn’t have much trouble keeping
Golems are melee brutes that attack with haymakers, AoE ground pounds and a charging flurry of short punches. Despite this, Golems aren’t nearly as dangerous as they seem - Golems only deal moderate damage and their attacks are fairly ponderous, so you shouldn’t have much trouble keeping ![]() Quen up. Just dodge spam when they start their charge attack, use Quen to protect yourself whenever you have enough Stamina, and fall back on the ol’ strong attack + dodge combo to whittle the Golem’s health down.
Quen up. Just dodge spam when they start their charge attack, use Quen to protect yourself whenever you have enough Stamina, and fall back on the ol’ strong attack + dodge combo to whittle the Golem’s health down.
Defeat the Golem and you’ll have three places to explore in this area: northeast, southwest (just south of the passage you entered from) and southeast. Southeast will take you to some locked ruins, so there’s no point in going there yet, while if you go southwest you’ll find two chests - one submerged, and another at the end of a cavern beyond (south of) the water. Loot the chests, pick up an Invoice for a Golem book on the ground, then defeat an angry Wraith (Lv7) that spawns to protest your presence.
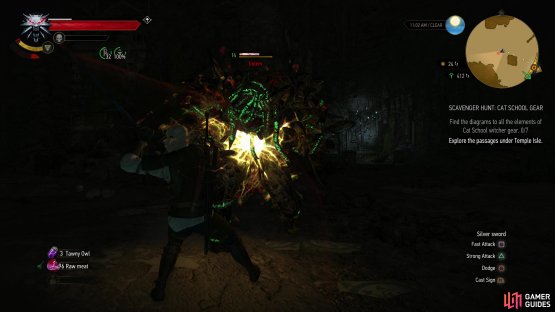
(1 of 2) Use strong attack + dodge to whittle down a Golem,

Use strong attack + dodge to whittle down a Golem, (left), using Quen to absorb the odd bit of damage. (right)
Find the Key to the Ruins - Solve the Statue Puzzle
Ultimately the southwestern passage is just extra loot and lore, so backtrack to where you fought the Golem and head down the northeastern passage, instead. Follow them as they veer south, climb some ledges, then turn east to reach some ruins, where you’ll find the words “Look to the depths to be lifted up” scrawled on a rock. Oh goodie, a puzzle.
In the chamber ahead you’ll find an octagonal structure with statues on each side. Ignore them for now and pick up the Research ![]() Notes on the ground, investigate a (blood?) stain on the ground near the ruins, wander about until you provoke the odd Wraith (Lv7), then pick up the note Mysterious Recipe in the southeastern corner of the chamber.
Notes on the ground, investigate a (blood?) stain on the ground near the ruins, wander about until you provoke the odd Wraith (Lv7), then pick up the note Mysterious Recipe in the southeastern corner of the chamber.
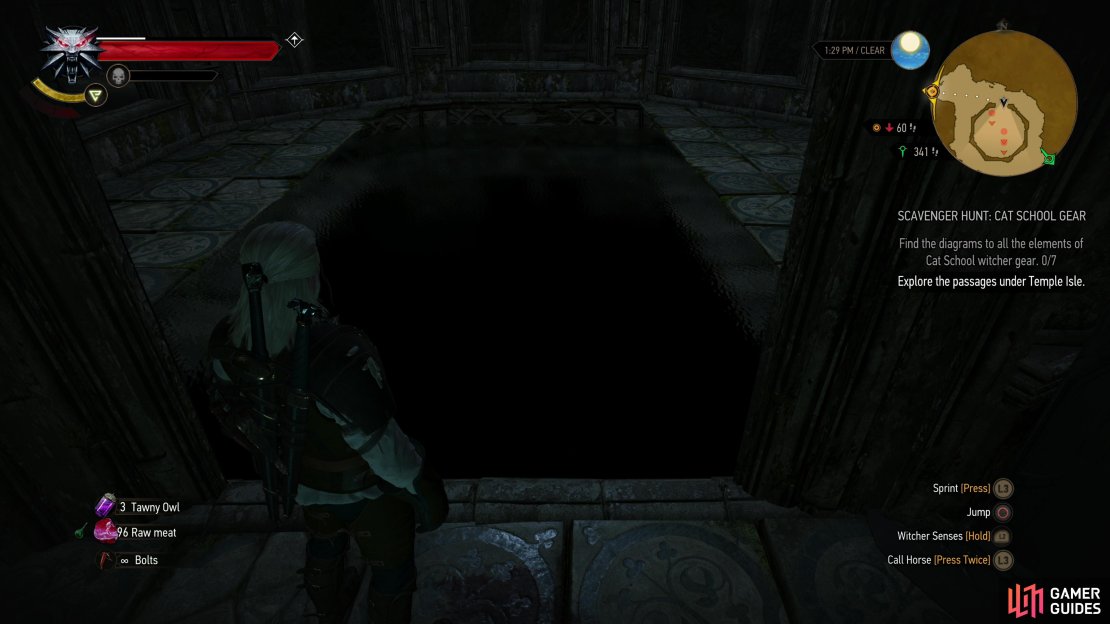
With the area properly searched it’s time to solve this puzzle. There are numerous statues surrounding the octagonal ruins, and near each statue is a lever you can pull which will rotate its attendant statue by 90 degrees. Your goal is to rotate each statue until the statue is facing into the interior of the octagonal ruins. Burn a few precious minutes of your life turning these statues to face the interior of the ruins and the floor will open up, revealing a dark, deep pit of water.
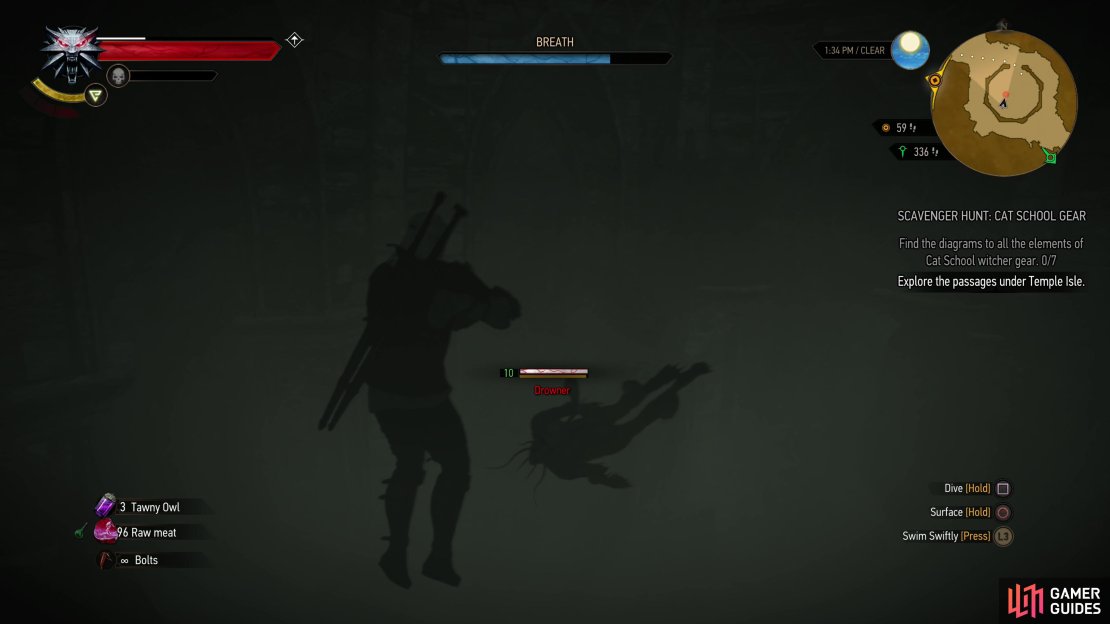
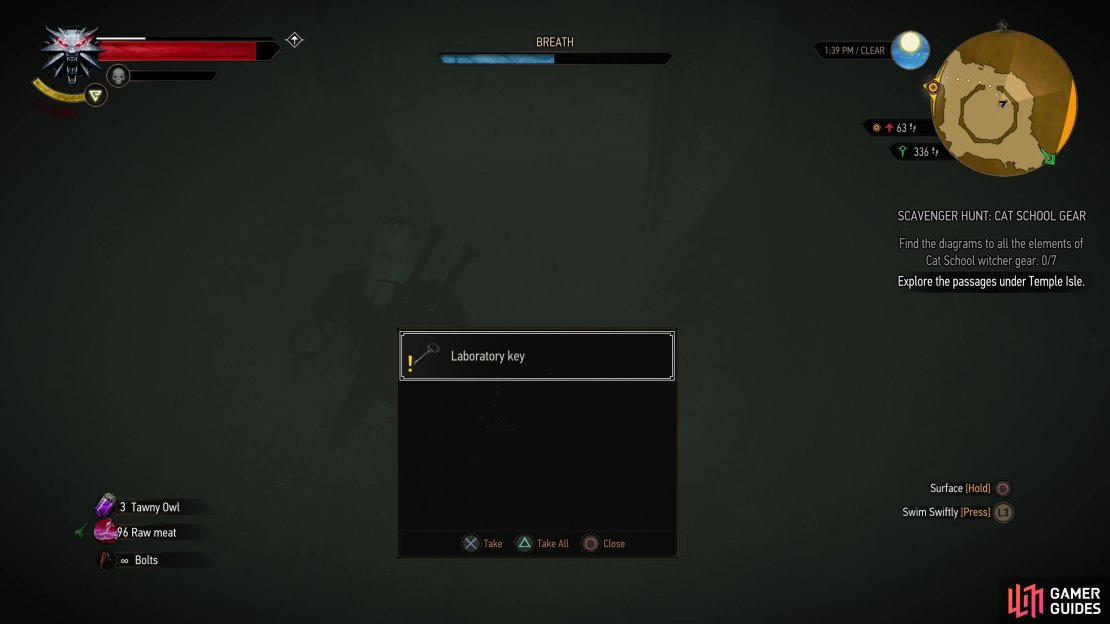
Cast Quen and dive into the water but descend carefully, as the depths are crawling with ![]() Drowners (Lv10). Pick them off with your crossbow, surface to reapply Quen or recover your breath, and when the Drowners are all dead dive to the bottom of the pool to find a Laboratory
Drowners (Lv10). Pick them off with your crossbow, surface to reapply Quen or recover your breath, and when the Drowners are all dead dive to the bottom of the pool to find a Laboratory ![]() Key.
Key.
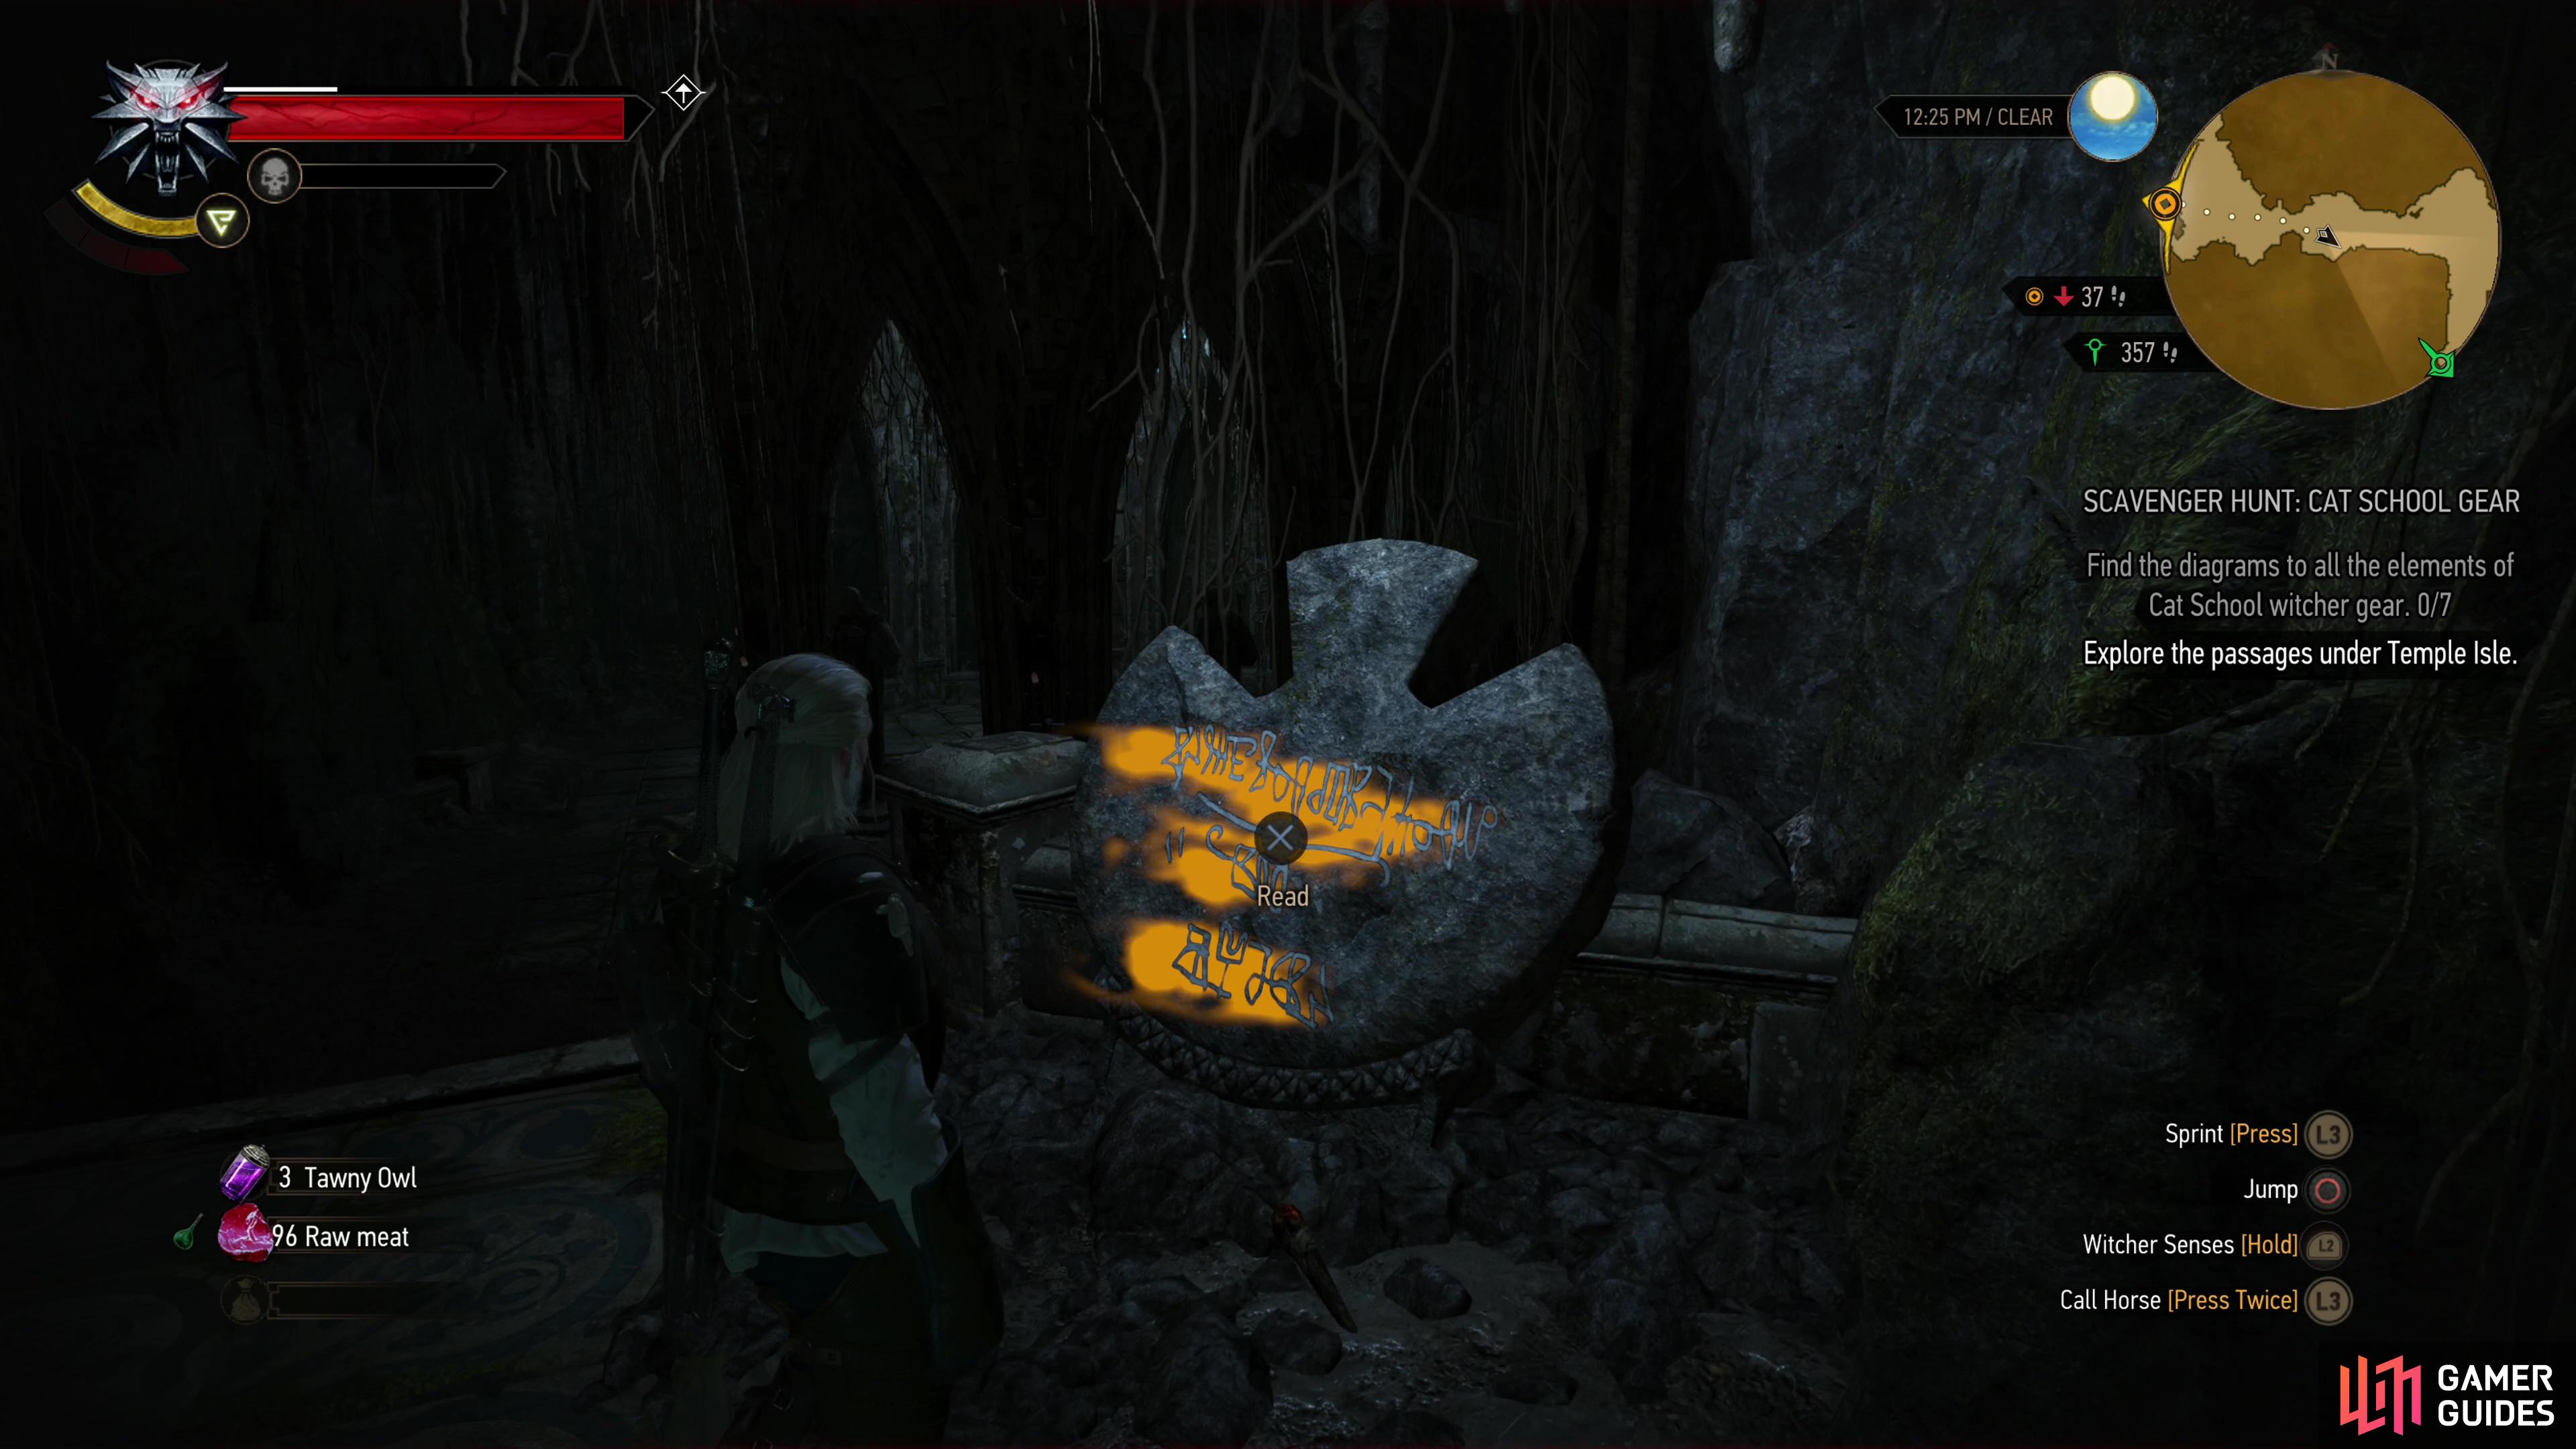

(1 of 5) Find some writing in the depths of the ruins and you’ll be told to “Look to the depths to be lifted up”.
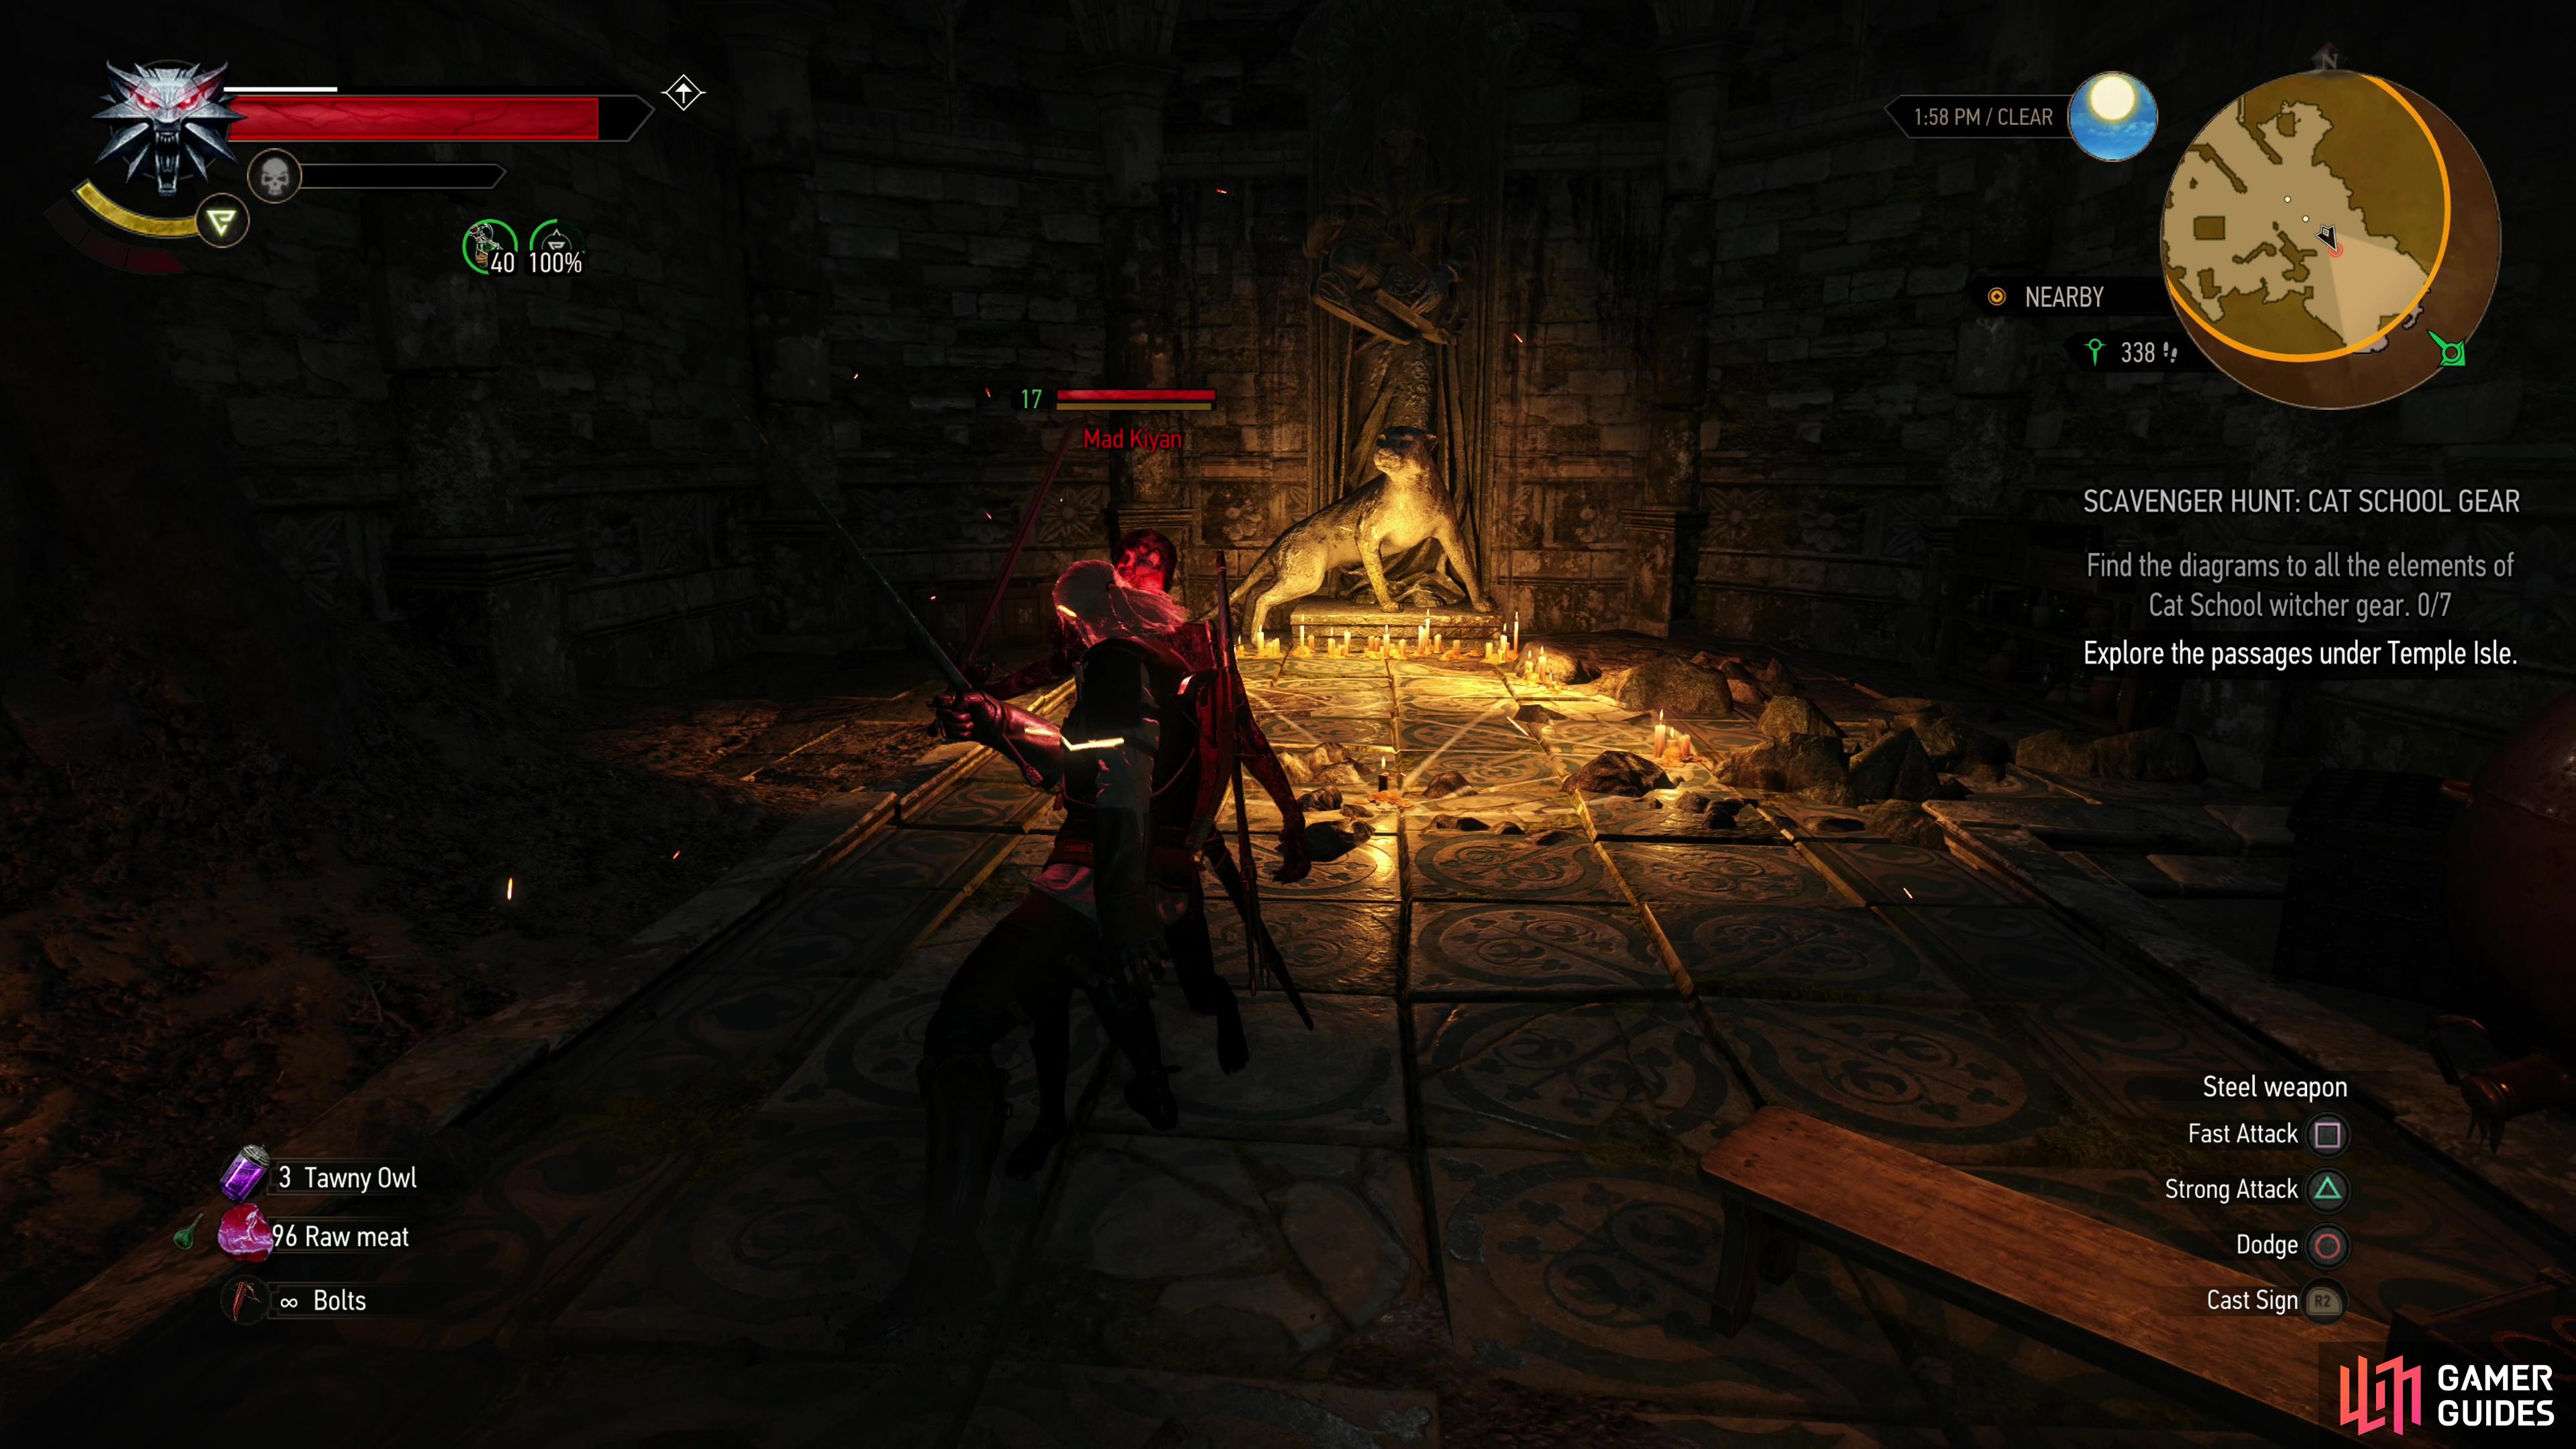
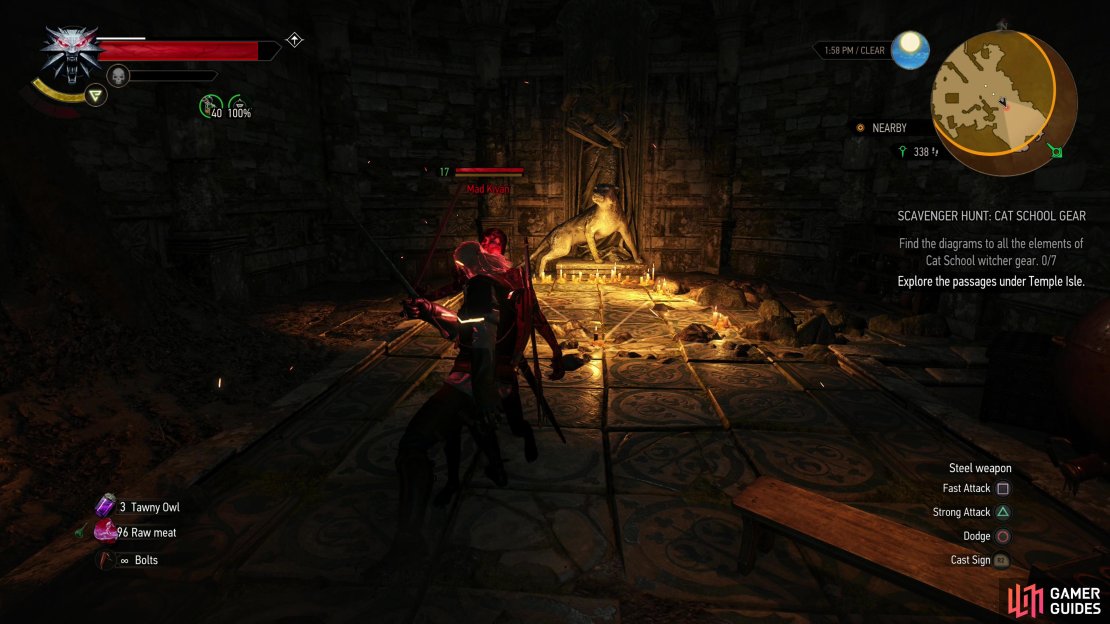
Defeat Mad Kiyan - Find the Feline Armor Diagrams
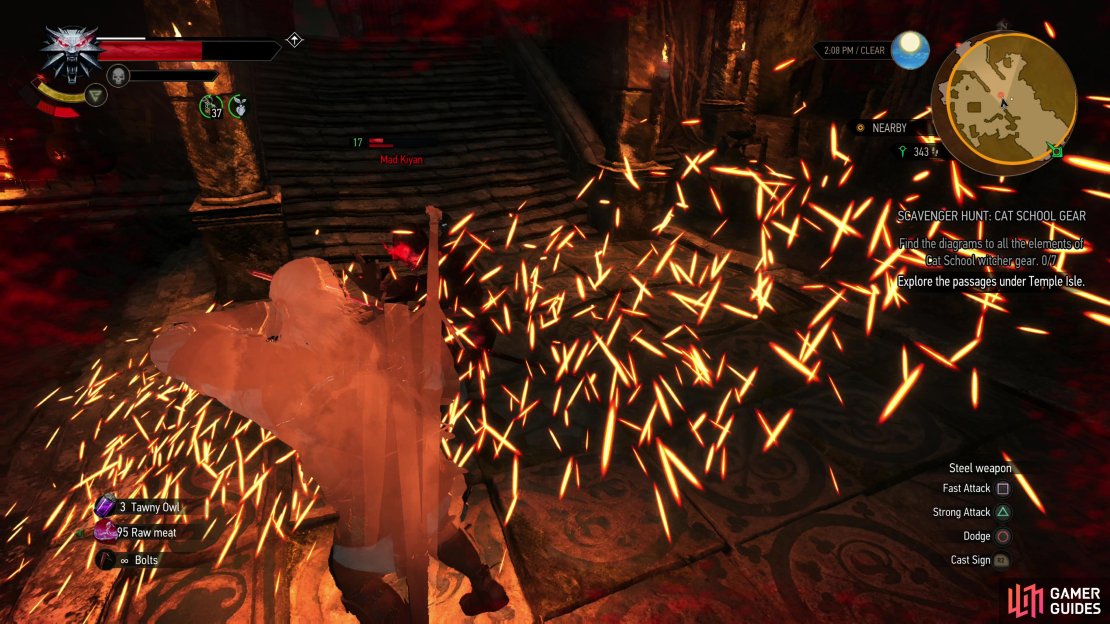
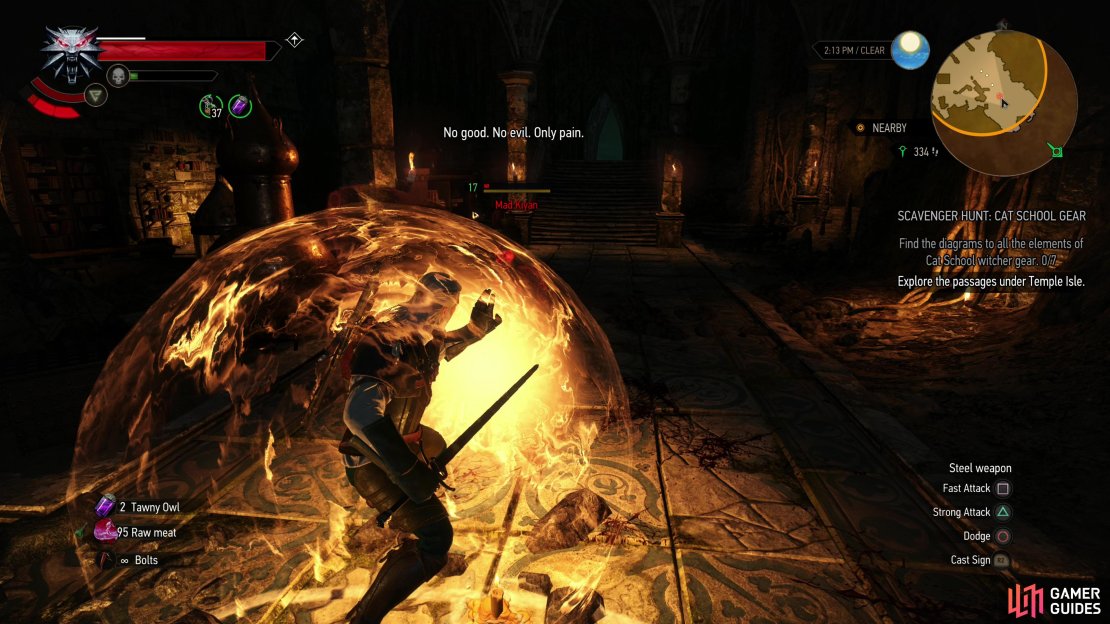
With the key retrieved, backtrack to the chamber where you fought the Golem and make your way southeast to the locked door, which you can now open. Beyond this door you’ll find Mad Kiyan, the deranged husk of what was once presumably a Witcher. He fights with a longsword like Geralt, being an elite combatant who hits like an absolute truck, and he can make use of the Active Quen and ![]() Igni signs, using the former whenever you get greedy and try to chain too many fast attacks together and the latter when you decide to turtle up and block too much.
Igni signs, using the former whenever you get greedy and try to chain too many fast attacks together and the latter when you decide to turtle up and block too much.
Mad Kiyan has ways to punish poor play, but the strong attack + dodge combo can still prove effective, as can countering Mad Kiyan’s sword attacks, although his attack patterns are somewhat unusual compared to the standard humanoid enemies you’ve fought thus far, so it may not be instantly intuitive. The easiest way to deal with Mad Kiyan is to just block with Active Quen, let him attack the barrier, then instantly respond with a few fast attacks when he’s staggered by said barrier.
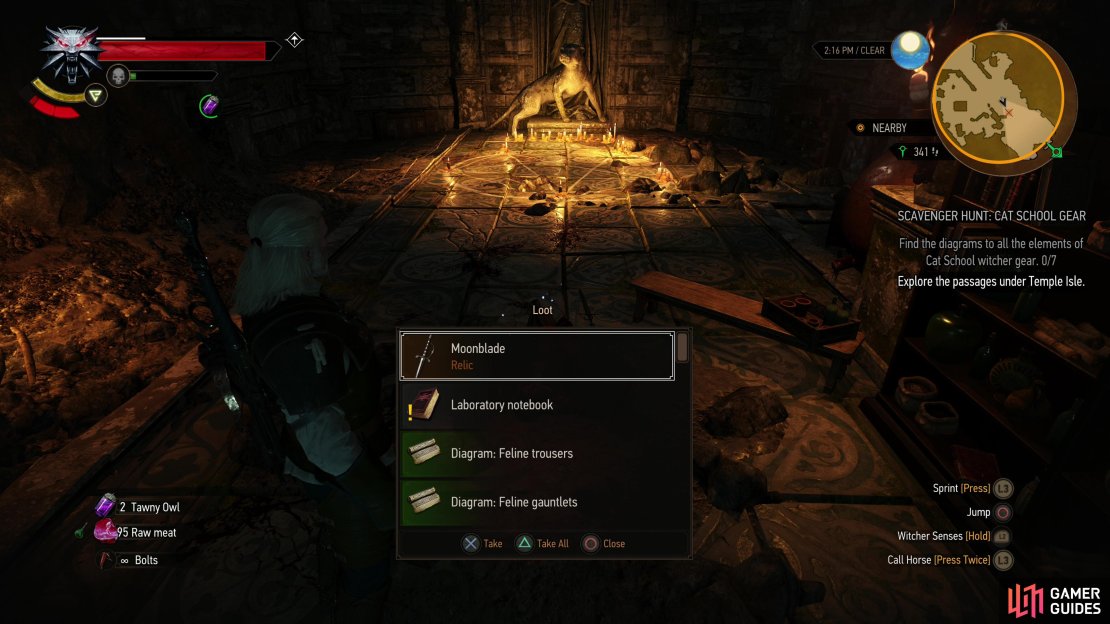
Defeat the mad mutant and loot him to find a ![]() Moonblade, a Laboratory Notebook, the
Moonblade, a Laboratory Notebook, the ![]() Diagram: Feline Trousers, Diagram: Feline Gauntlets, Diagram: Feline Boots and
Diagram: Feline Trousers, Diagram: Feline Gauntlets, Diagram: Feline Boots and ![]() Diagram: Feline armor. Reading the Laboratory Notebook will point you to the wreck of the “Flying Stag”, where you’ll find the next Feline gear diagram. Loot the lab to find a chest that potentially contains some diagrams, formula, manuscript pages, among other loot, then leave the dungeon.
Diagram: Feline armor. Reading the Laboratory Notebook will point you to the wreck of the “Flying Stag”, where you’ll find the next Feline gear diagram. Loot the lab to find a chest that potentially contains some diagrams, formula, manuscript pages, among other loot, then leave the dungeon.

(1 of 5) If you’ve got the skills, you can parry and counter Mad Kiyan’s attacks,
Find the Feline Crossbow Diagram
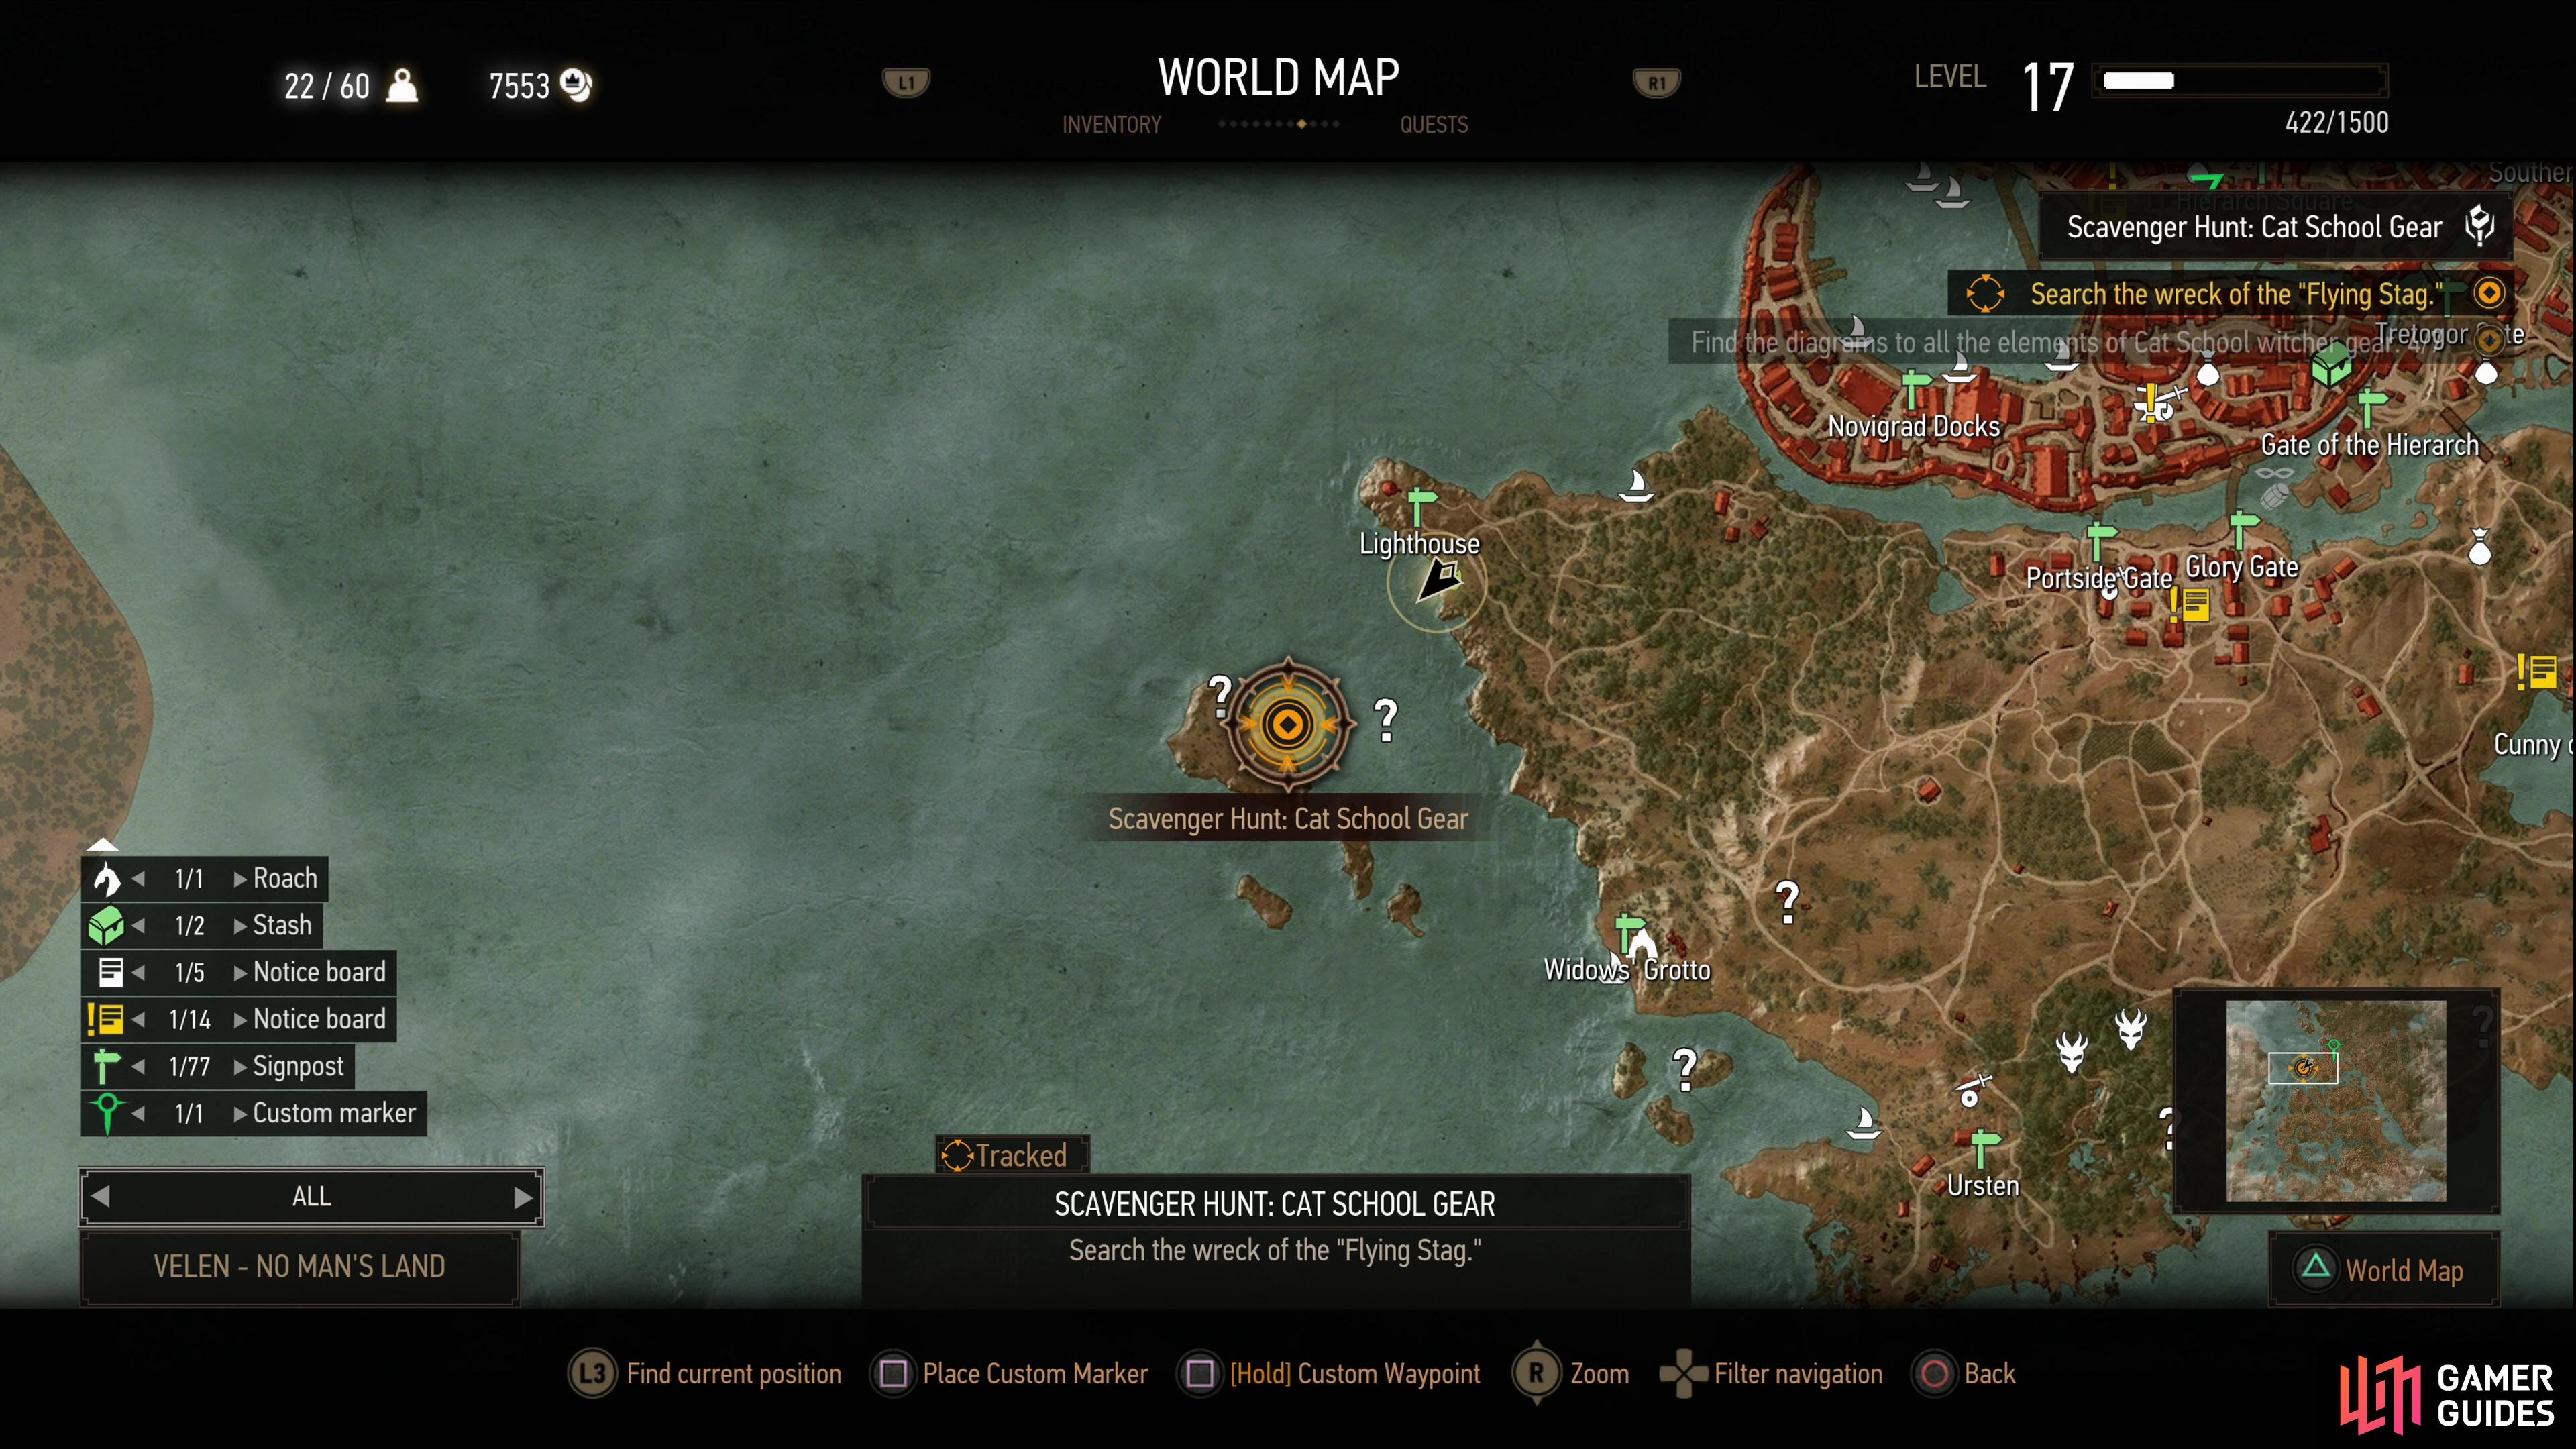
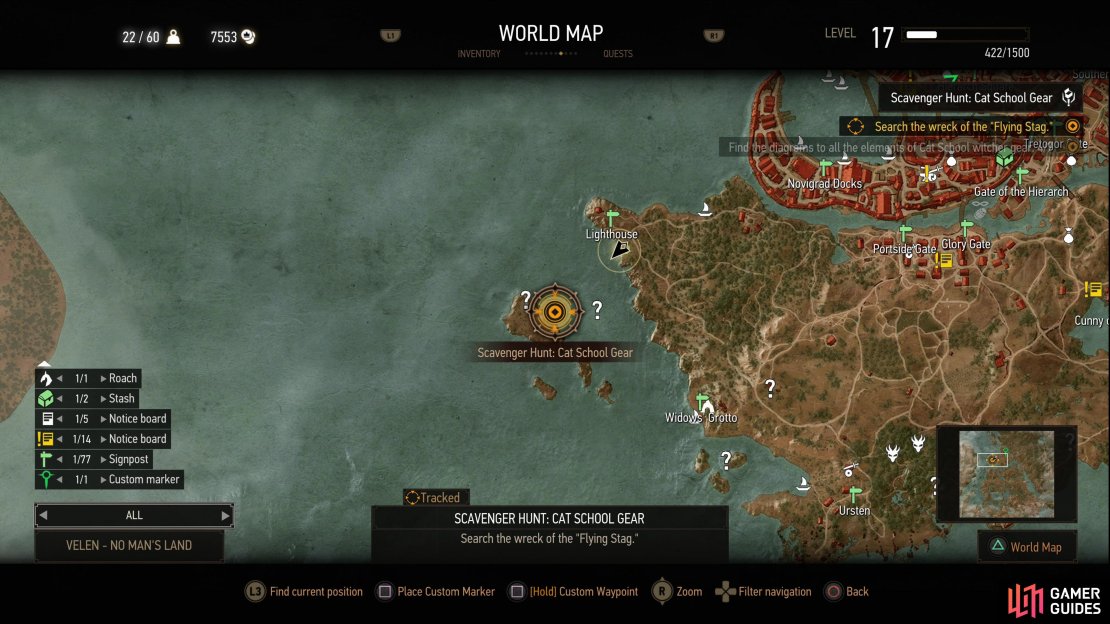
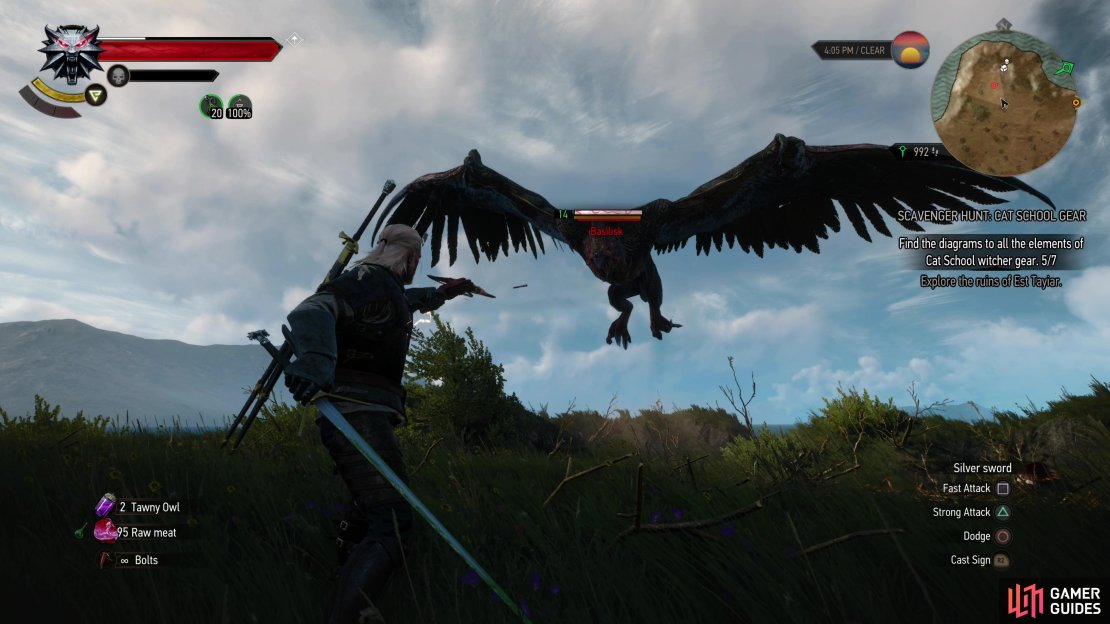
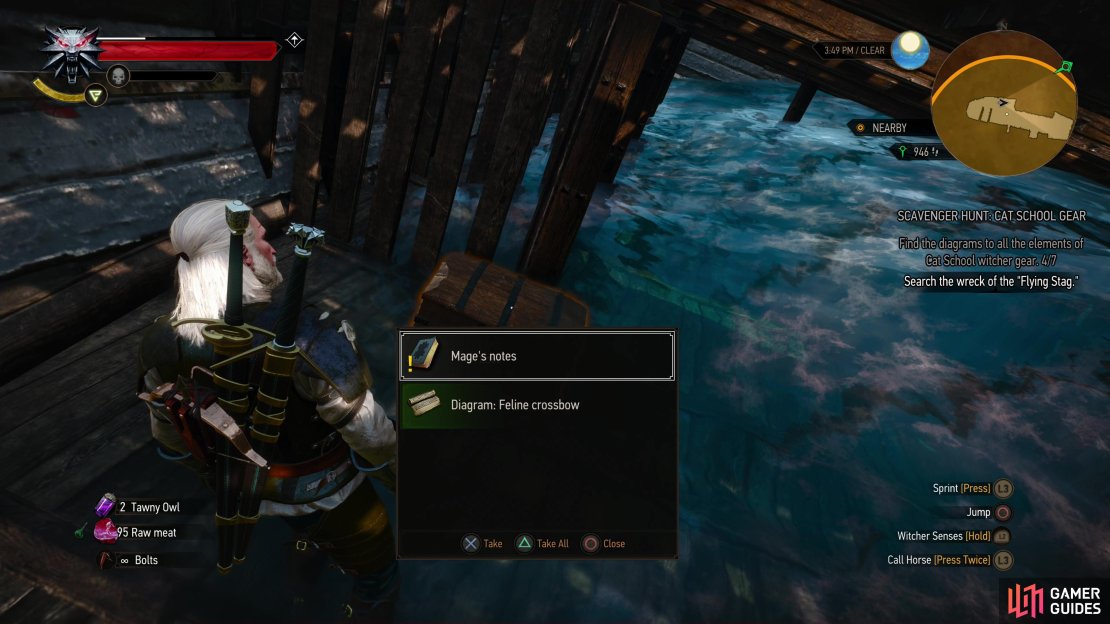
The wreck of the “Flying Stag” is on an island southwest of Novigrad, just southwest of the ![]() Lighthouse signpost - it’s the largest and northernmost of several islands scattered off the coast near said Lighthouse, and you’ll have to swim over there to find it. En route you can complete a Smuggler’s Cache event if you want extra loot, while on the northern end of the island is a Guarded Treasure event featuring a Basilisk (Lv14). You don’t have to fight this critter, just stick to the boat and there’s a chance it won’t detect you, but if it picks a fight you might as well kill it and loot its nest, wherein you’ll find a corpse possessing the goods you need to loot to complete the event. As for the wreck of the ship, board it and descend the northernmost stairs into the hold to find a partially submerged chest, which contains some Mage’s
Lighthouse signpost - it’s the largest and northernmost of several islands scattered off the coast near said Lighthouse, and you’ll have to swim over there to find it. En route you can complete a Smuggler’s Cache event if you want extra loot, while on the northern end of the island is a Guarded Treasure event featuring a Basilisk (Lv14). You don’t have to fight this critter, just stick to the boat and there’s a chance it won’t detect you, but if it picks a fight you might as well kill it and loot its nest, wherein you’ll find a corpse possessing the goods you need to loot to complete the event. As for the wreck of the ship, board it and descend the northernmost stairs into the hold to find a partially submerged chest, which contains some Mage’s ![]() Notes and the Diagram: Feline
Notes and the Diagram: Feline ![]() Crossbow. The former, when read, will direct you to the ruins of
Crossbow. The former, when read, will direct you to the ruins of ![]() Est Tayiar and the next piece of the Cat School gear.
Est Tayiar and the next piece of the Cat School gear.

(1 of 4) The wreck of the Flying Stag can be found on an island southwest of Novigrad.
Find the Feline Silver Sword Diagram
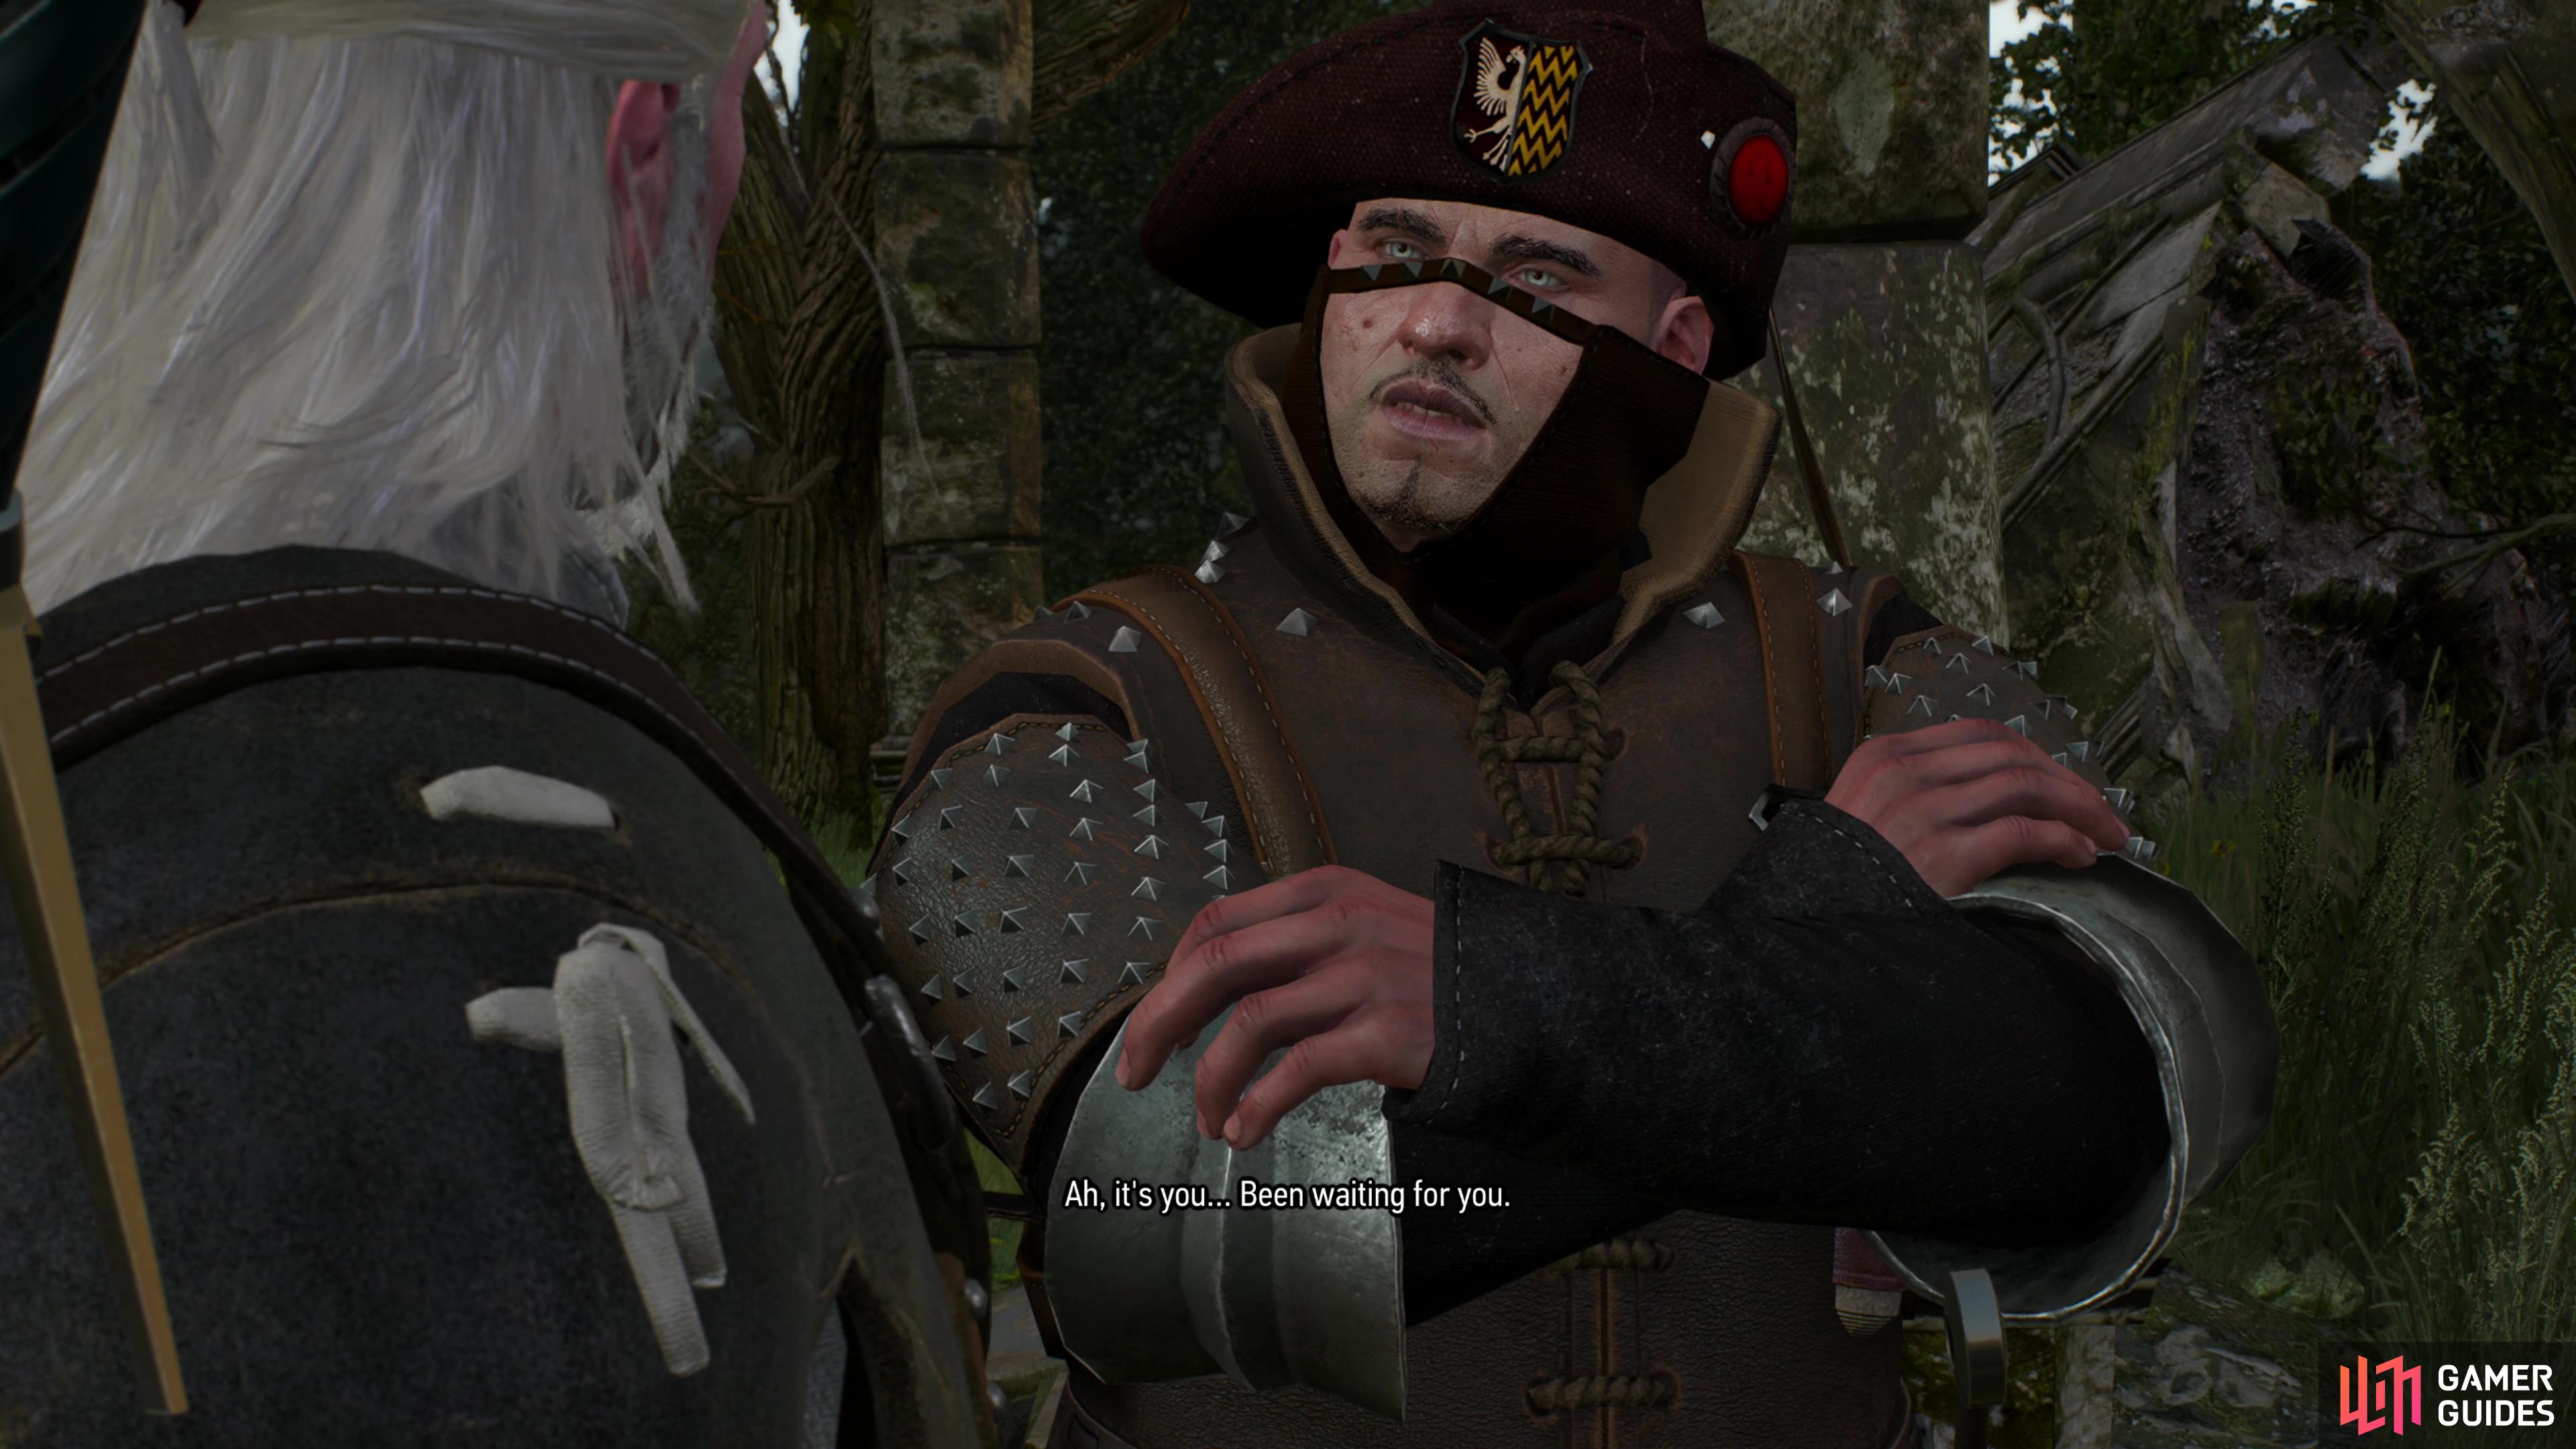
The ruins of Est Tayiar can be found northeast of Oxenfurt, a good ways past the ![]() Herbalist’s Hut signpost. If you have the secondary quest Redania’s Most Wanted started, it directs you to the ruins of Est Tayiar, and these two objectives will overlap somewhat inasmuch as you’ll need to talk to some Witch Hunters gathered around the ruins in order to delve into their depths.
Herbalist’s Hut signpost. If you have the secondary quest Redania’s Most Wanted started, it directs you to the ruins of Est Tayiar, and these two objectives will overlap somewhat inasmuch as you’ll need to talk to some Witch Hunters gathered around the ruins in order to delve into their depths.
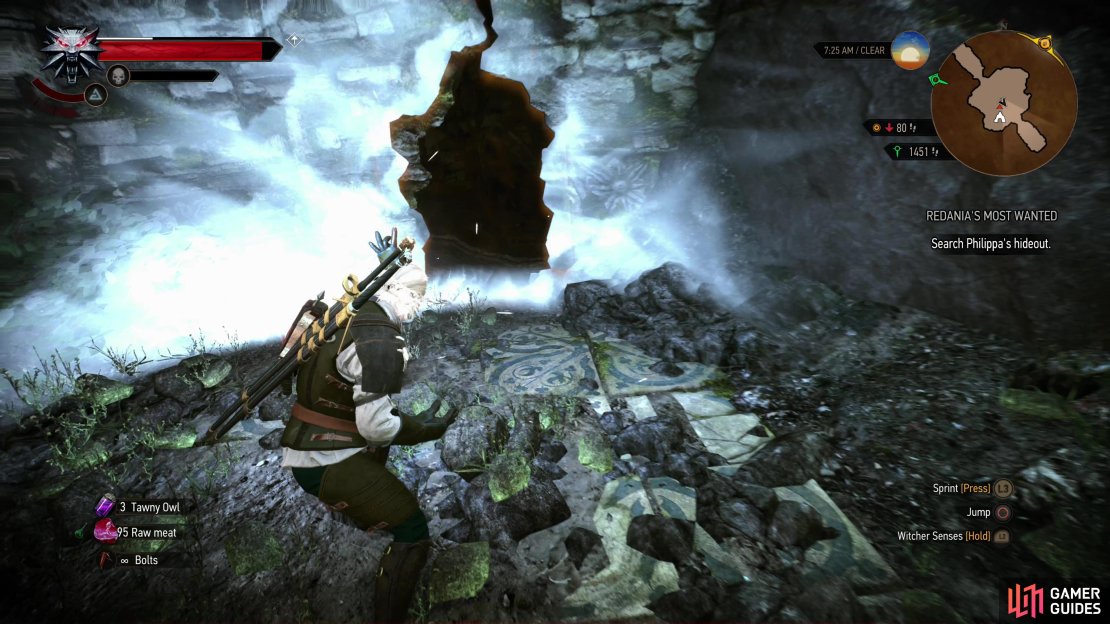
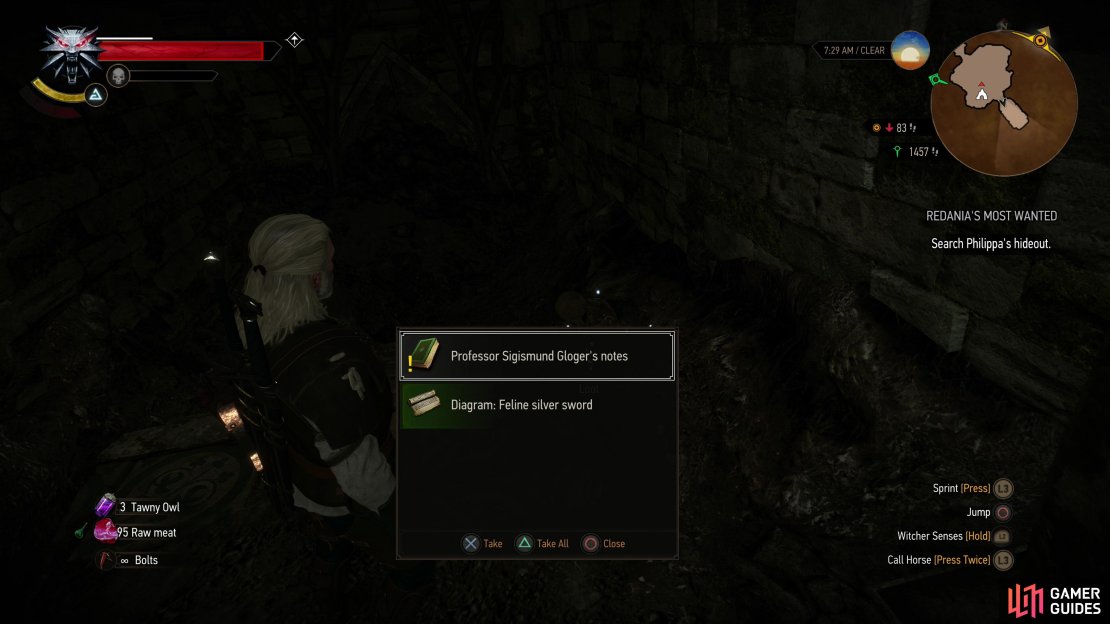
Drop down into the ruins and if you go northwest you’ll find some stairs leading down to a magic barrier, an obstacle you can overcome via the assistance of the Witch Hunters. Fortunately you don’t need to get into the depths of this ruin to get the diagram you’re after, instead search the southeastern wall with your Witcher senses to find a weak section you can topple with ![]() Aard. Once done, enter the small chamber you opened up to find a chest containing Professor Sigismund Gloger’s Notes and the Diagram: Feline
Aard. Once done, enter the small chamber you opened up to find a chest containing Professor Sigismund Gloger’s Notes and the Diagram: Feline ![]() Silver Sword. Read the notes and you’ll discover the location of the final diagram for the base Cat School Gear.
Silver Sword. Read the notes and you’ll discover the location of the final diagram for the base Cat School Gear.
(1 of 3) If the quest “Redania’s Most Wanted” is active you’ll need to talk to some Witch Hunters at Est Tayiar.
Find the Feline Steel Sword Diagram
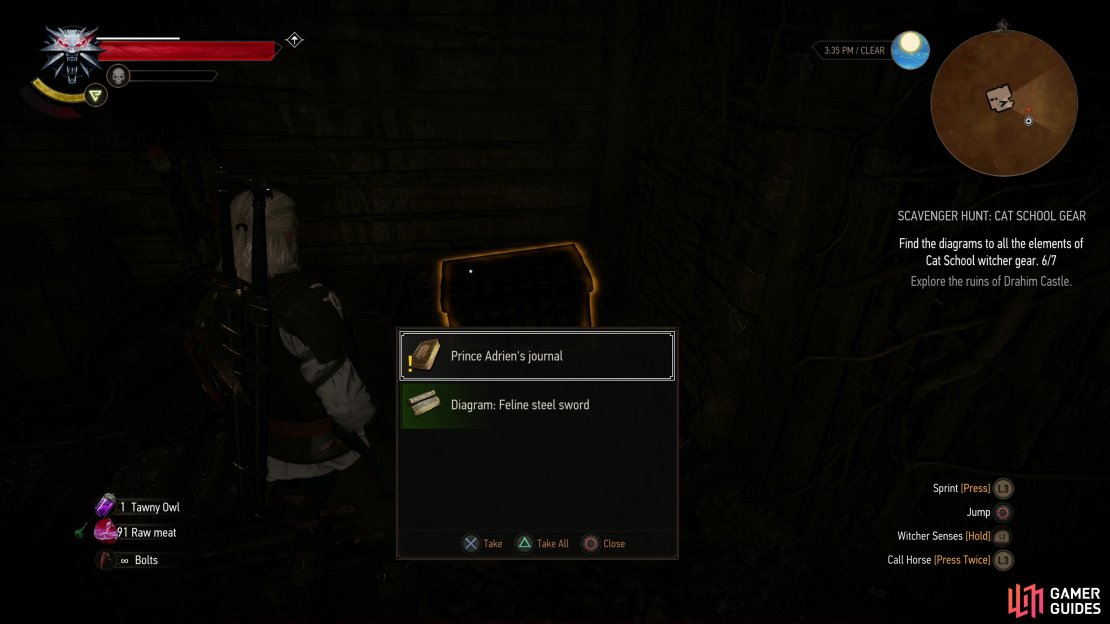
The final piece of the Feline set can be found in the ruins of Drahim Castle, south of Novigrad. While chronologically the last this quest points your towards, they’re also the most likely for players to stumble upon blindly due to their location and because the Contract: The White Lady has an objective here.
Assuming you didn’t already stumble across this prize, head there and kill the mounted Bandits (Lv7) wandering the road outside to get some peace and quiet, then search the ruins to find a sealed door you can knock down with Aard. Do so and enter the ruins, drop down two floors, then loot a chest in the southeastern corner of the small dark room you find yourself in to score Prince Adrien’s ![]() Journal and the Diagram: Feline Steel Sword. It’s also worth looting the rest of this tower, as it’s absolutely full of containers that can yield formula, diagrams and manuscript pages.
Journal and the Diagram: Feline Steel Sword. It’s also worth looting the rest of this tower, as it’s absolutely full of containers that can yield formula, diagrams and manuscript pages.

(1 of 3) Head to the ruins of Drahim Castle south of Novigrad,
"Witcher 3: Cat School Gear Scavenger Hunt Part 1"
At first you give exact location, and in the next part you give a guide to all this places and sub-quests involved.
And second part already done, if you follow the guide.
"south-west of the ruins"
south-east of the ruins
"and kill a Wraith (level seven) that arrives to challenge you"
in my case Wraith apeear after loot, not before, or you must trigger some right spot in this cave.