War might be bad for the peasantry, but if we’re being brutally honest, it’s good for Witchers. Fields littered with corpses naturally draw necrophages, and while armies don’t have much to fear from monsters (enough dullards with pointy sticks can kill most monsters) smaller units - scouts, raiders, patrols, garrisons, etc. - can often find themselves inadvertently wandering into the lairs and hunting grounds of monsters. This page will provide a walkthrough for the Witcher contract ![]() Contract: Patrol Gone Missing in The Witcher 3.
Contract: Patrol Gone Missing in The Witcher 3.
Quest Objectives
| Quick Search |
|---|
| Starting Contract: Patrol Gone Missing |
| Search for the Missing Patrol |
| Kill the Wyvern |
| Find the Ghoul’s Den |
| Choice: Take the Reward or Refuse |
Starting Contract: Patrol Gone Missing
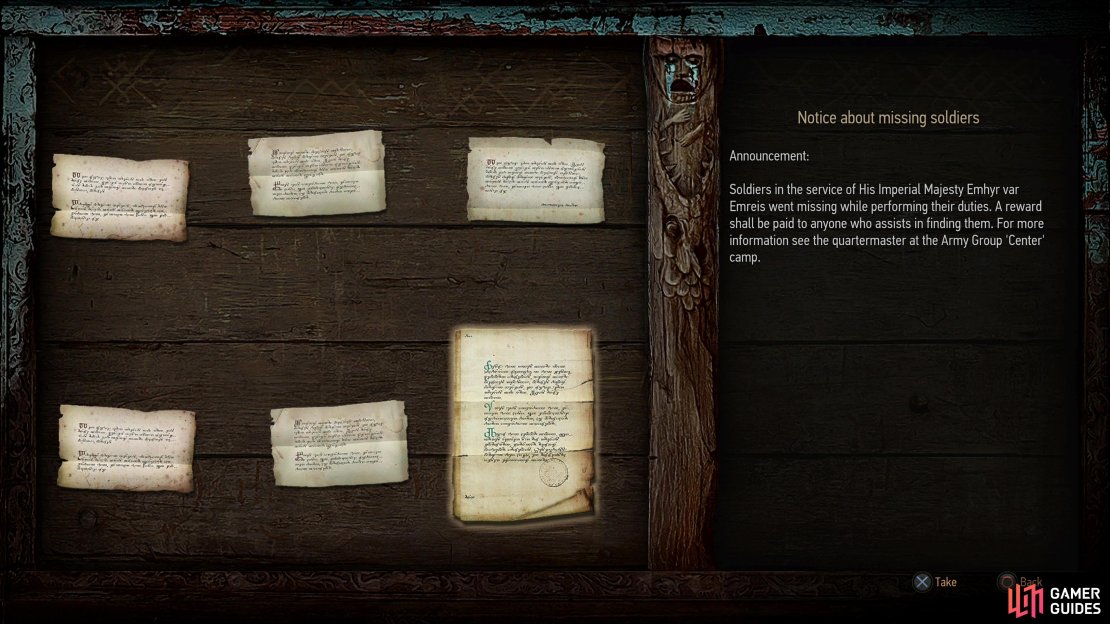
Like most contracts, you can start this quest by perusing notice boards - the notice board in the Nilfgaardian Army Group ‘Center’ Camp area (southwest of the signpost) features the Notice about missing soldiers. Read it to start this quest. Of course, you can also skip this step by talking to Quartermaster Eggebracht in his tent nearby, and since you need to do this to advance the quest, there’s no real good reason to bother with the notice. In any event, talk to Quartermaster Eggebracht with or without the aforementioned notice and ask for work to get the details on this contract. Some scouts went missing across the lake (read: swamp) to the northwest, and Quartermaster Eggebracht reckons a Witcher should be sufficient to sniff out some missing scouts. Unlike most contracts, there’s no haggling with this one.
(1 of 2) Grab the “Notice about missing soldiers” off the notice board and read it to start the quest,
Search for the Missing Patrol
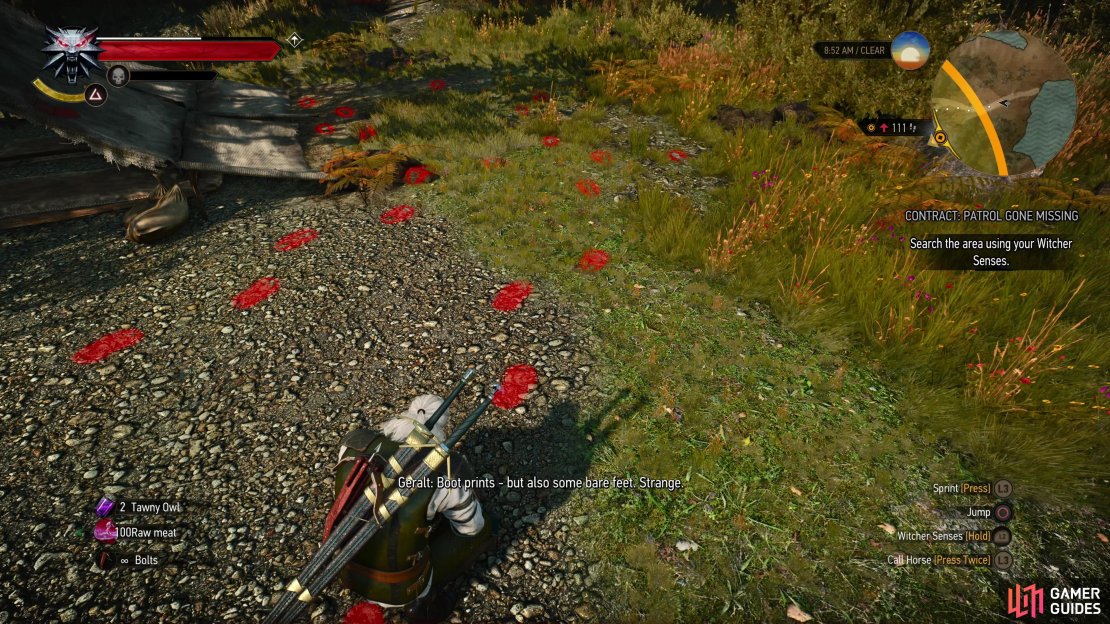
First step in this quest is to find the scout’s camp across the “lake” to the northwest. This is marked on your map, and while it’s a bit of a slog, it shouldn’t be hard to find, just avoid the ever present ![]() Drowners and other critters along the way. When you reach the camp, search a campfire, then some tracks - both booted and barefooted - which lead out of the camp along a road to the west. Of course, don’t be shy about looting the containers here either. Consider it a bonus.
Drowners and other critters along the way. When you reach the camp, search a campfire, then some tracks - both booted and barefooted - which lead out of the camp along a road to the west. Of course, don’t be shy about looting the containers here either. Consider it a bonus.
Follow the tracks along the road to the west, then south and Geralt should complain about a stench. You can follow it if you wish, but this is something of a red herring - the scent trail leads throughout the forest, to various piles of draconid musk, perhaps marking some creature’s territory? In any event, these scent trails mark out a crude perimeter, but don’t actually lead to anything interesting, so spare yourself a bunch of fruitless stomping around the forest and follow the tracks of the scouts. You’re looking for them, not some draconid, and if the two remain separate, all the better.
The tracks will continue south for a good distance before reaching a crossroads, near which you’ll find a corpse. Investigate it, then continue dogging the scouts down the eastern fork until you reach a ![]() Wyvern’s hunting grounds.
Wyvern’s hunting grounds.
(1 of 3) Find the Nilfgaardian camp and use your Witcher senses to pick up some tracks.
Kill the Wyvern
The most defining feature of this Wyvern, oddly enough, is its mundanity. It’s surprisingly fragile - with the ![]() Griffin
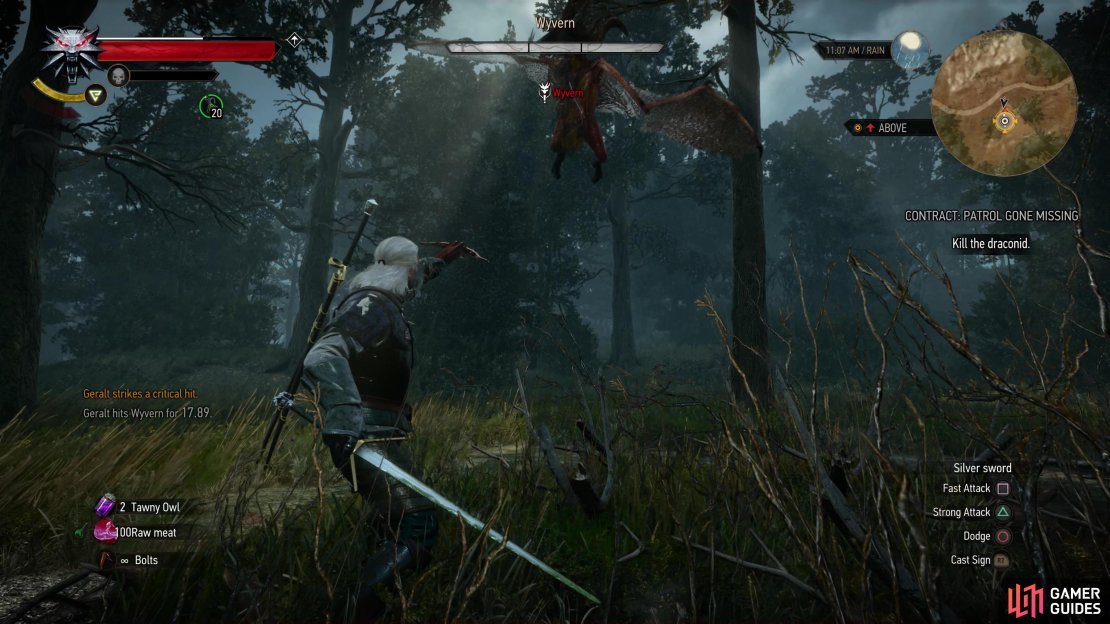
Griffin ![]() Silver Sword it should only be able to weather a few strong attacks or fast attack combos, especially if you’re using oils. If you’re going for the Even Odds achievement this will take longer, but compared to pretty much any other contract in the game, this Wyvern is startlingly weak.
Silver Sword it should only be able to weather a few strong attacks or fast attack combos, especially if you’re using oils. If you’re going for the Even Odds achievement this will take longer, but compared to pretty much any other contract in the game, this Wyvern is startlingly weak.
Offensively it doesn’t fare much better - it’ll bite if you’re too close, but this will likely only hit you if you whiff an attack and end up close to the creature. In addition it can perform a leaping rake with its claws and a stomping swipe when it lands after indulging itself in a fly around. Like most flying foes, you can shoot it out of the air with your crossbow if you want to get fancy, but simply dodge spamming should keep you safe from anything the creature throws at you, or flailing that, ![]() Quen. Standard policy against draconids is the good old strong attack and dodge combo, but honestly against this foe you can afford to play recklessly. Kill it, claim the Wyvern Trophy from its corpse, but before you ride back to Quartermaster Eggebracht, it’s worth having a look around…
Quen. Standard policy against draconids is the good old strong attack and dodge combo, but honestly against this foe you can afford to play recklessly. Kill it, claim the Wyvern Trophy from its corpse, but before you ride back to Quartermaster Eggebracht, it’s worth having a look around…
Find the Ghoul’s Den
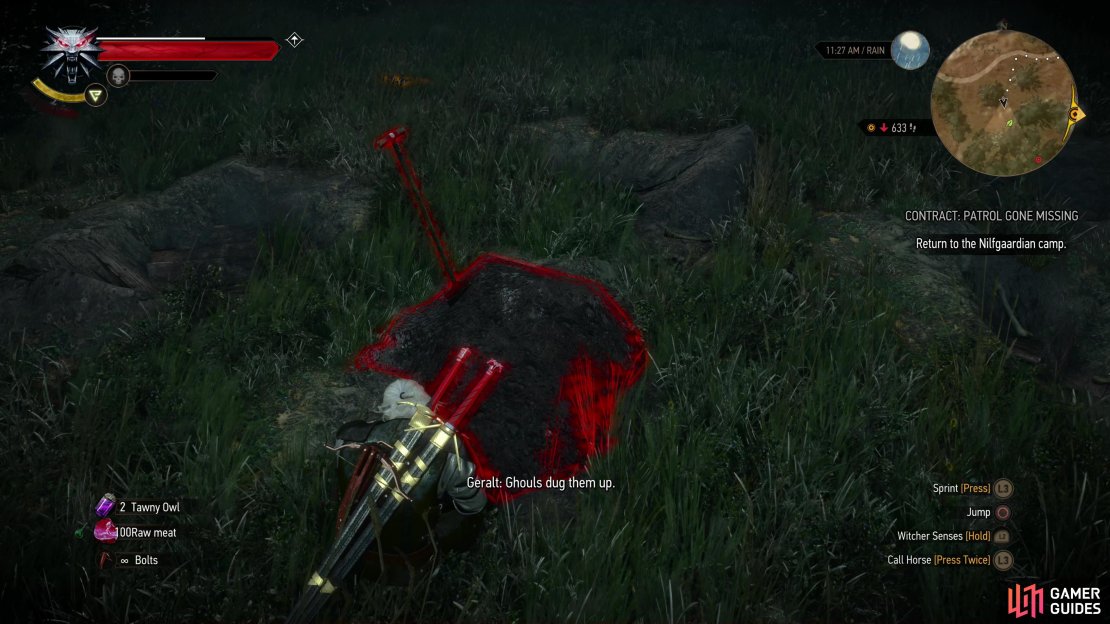
Activate your Witcher senses and search around the Wyvern’s hunting ground to find some exhumed graves, which Geralt attributes to necrophages. Odd that a Nilfgaardian scout squad was out in the woods digging graves, however. Barefooted at that. Not the sort of behavior you’d expect from scouts. Or ![]() Wyverns and
Wyverns and ![]() Ghouls, for that matter. Search near the road to find another corpse, and beyond it some marks that indicates something heavy was dragged along the road. Follow the trail along the road and down a lead to find a cave, which happens to have a Witcher sign scrawled on the rock outside. Interesting.
Ghouls, for that matter. Search near the road to find another corpse, and beyond it some marks that indicates something heavy was dragged along the road. Follow the trail along the road and down a lead to find a cave, which happens to have a Witcher sign scrawled on the rock outside. Interesting.
Enter the cave and Geralt will proclaim it a ![]() Ghoul’s nest, but you won’t find a single necrophage inside. Instead you’ll find some bodies, presumably they were responsible for the barefooted tracks we followed along with the Nilfgaardian’s, butchered by said Nilfgaardians who were in turn slain by the Wyvern. The activity of necrophages was secondary to all this, serving only to expose the Nilfgaardian’s crimes to a wary Witcher. Something to keep in mind when we return to Quartermaster Eggebracht. Loot the cave, being especially keen to loot a chest in the southwestern corner of the cave’s terminus to find a partially buried chest that contains the
Ghoul’s nest, but you won’t find a single necrophage inside. Instead you’ll find some bodies, presumably they were responsible for the barefooted tracks we followed along with the Nilfgaardian’s, butchered by said Nilfgaardians who were in turn slain by the Wyvern. The activity of necrophages was secondary to all this, serving only to expose the Nilfgaardian’s crimes to a wary Witcher. Something to keep in mind when we return to Quartermaster Eggebracht. Loot the cave, being especially keen to loot a chest in the southwestern corner of the cave’s terminus to find a partially buried chest that contains the ![]() Diagram: Griffin Silver Sword - Enhanced - a fine upgrade once you hit level eighteen.
Diagram: Griffin Silver Sword - Enhanced - a fine upgrade once you hit level eighteen.
(1 of 3) Before you return to Quartermaster Eggebracht, however, search the Wyvern’s feeding grounds to find some graves,
Choice: Take the Reward or Refuse
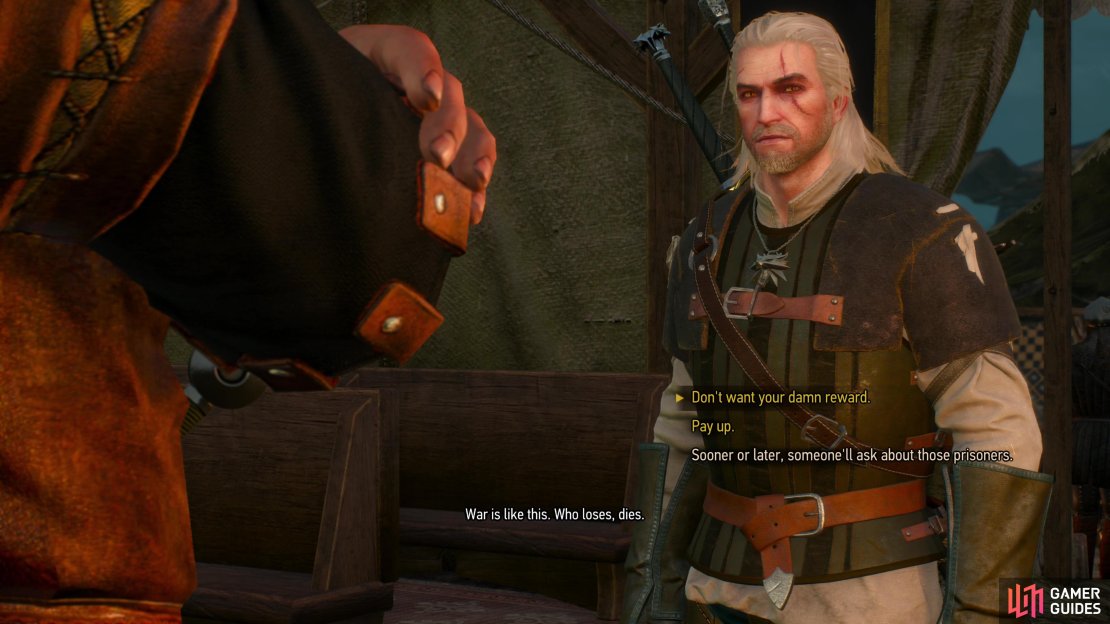
Return to Quartermaster Eggebracht and if you didn’t do the extra snooping to find the Ghoul cave and the dead men within, you’ll cordially tell the Nilfgaardian what happened to his scouts and he’ll reward you; you’ll earn 10 EXP and 50 ![]() Crowns and the quest will end, nice, clean and uncontentious. If you did the aforementioned extra snooping, however, Geralt will be understandably accusatory, and Quartermaster Eggebracht, despite making some weak excuses, isn’t the least bit repentant. In light of this you can pick the option ”Don’t want your damn reward.” to turn down the prize you’re due. Just like with the [Nilfgaardian Captain in White Orchard}(https://www.gamerguides.com/the-witcher-3-wild-hunt/guide/walkthrough/white-orchard/lilac-and-gooseberries#content-talk-to-the-nilfgaardian-captain-at-the-garrison), you’ll get more EXP if you decline a reward, in this case 30 EXP. Either way, this quest will end.
Crowns and the quest will end, nice, clean and uncontentious. If you did the aforementioned extra snooping, however, Geralt will be understandably accusatory, and Quartermaster Eggebracht, despite making some weak excuses, isn’t the least bit repentant. In light of this you can pick the option ”Don’t want your damn reward.” to turn down the prize you’re due. Just like with the [Nilfgaardian Captain in White Orchard}(https://www.gamerguides.com/the-witcher-3-wild-hunt/guide/walkthrough/white-orchard/lilac-and-gooseberries#content-talk-to-the-nilfgaardian-captain-at-the-garrison), you’ll get more EXP if you decline a reward, in this case 30 EXP. Either way, this quest will end.
If you found the corpses in the Ghoul’s den, you can turn down Eggebracht’s tainted money to earn more EXP.













No Comments