The Phantom of Eldberg is a quest players pick up in Skellige, which takes Geralt on the onto more spooky ghosts in the area. There’s also a mysterious tale for the Lighthosue keeper the ghost haunt, and other twists in the tale to come. Here’s a walkthrough guiding you through the Phantom of Eldberg, featuring the choices on the Lighthouse keeper too.
| Important Items in this Area |
|---|
| Thaler Card |
| Crone: Whispess Card |
| Fiend Card |
| Arachas Card |
| Letter to the Lighthouse Keeper |
| Ashrune |
| Wraith Trophy |
| Gwent Players in this Area |
|---|
| Blacksmith - Random Card |
| Innkeep - Random Card |
How to start Phantom of Eldeberg
Here you’ll find a notice board that has the notice “Contract: The Phantom of Eldeberg” on it, which starts a quest by the same name. Also in this town you’ll find the Blacksmith - Sigurd - who is a big fan of Dandelion, and hence has an over-inflated opinion of both Geralt and the bard. He also plays Gwent, so it’s worth putting up with his silliness.
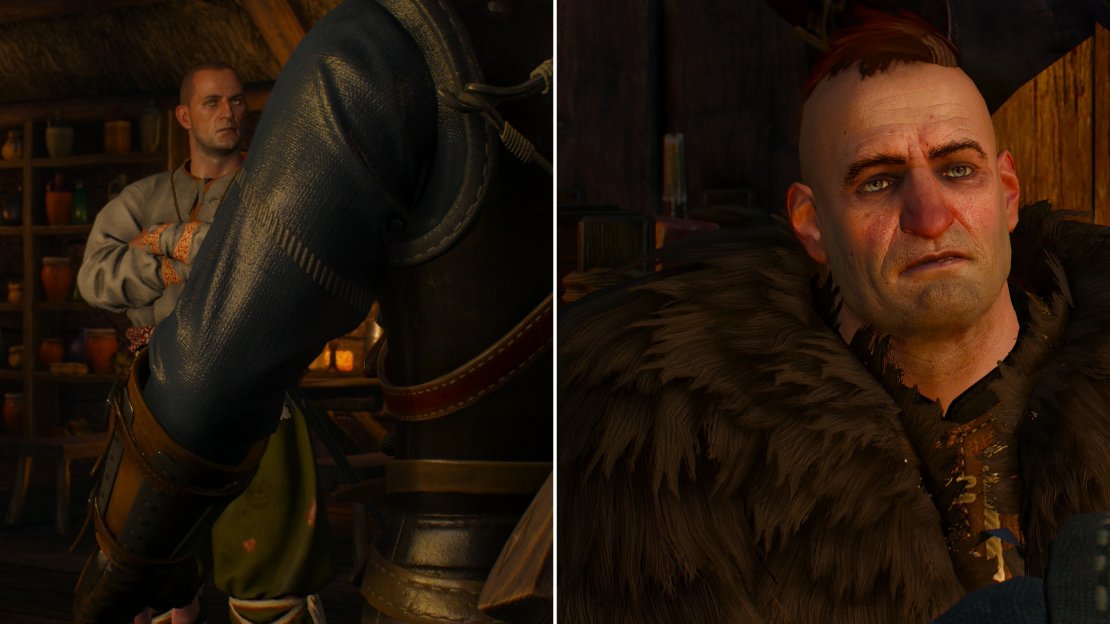
Not all Skelligers are friendly… well, most aren’t, really, but some are even more unfriendly than others (left). A voice of reason in the form of a Skelliger named Jorund can be found, however (right).
The Phantom of Eldberg (Level 17)
Head into the tavern near the notice board, where you’ll be accosted by some uppity Skelligers with a low opinion of “continentals’. Another Skelliger named Jorund will defuse the situation, then offer to talk about the contract. Indulge him and he’ll tell you about their troubles. Mysterious fog, a lighthouse, wraiths… typical stuff for a Witcher. Haggle for more money (or not) then accept the quest.
Wraiths infest Eldberg, a clear sign that something wicked is afoot (left). Check up on the lighthouse keeper, Mikka (right).
Phantom of Eldberg Walkthrough
Return north and either sail to the northernmost of the three islands north of Arinbjorn, or do your best to make your way across broken bridges that used to connect the islands. If you went by boat, dock the boat on a jetty along the southern end of the island, then head north along a road… otherwise you should be following the roads up the islands already. Geralt will shortly reach the fog and comment on its obviously supernatural nature. Head into the fog and fight off some Wraiths (level fifteen) when they appear, continuing north as you do so. There are two bodies you can investigate on the road, but they reveal little. Make your way north until you find a house east of the road and knock on the door. Mikkjal, the lightkeeper will open the door and tell you what little he knows before giving you a key to the lighthouse.
| Objective | Reward |
|---|---|
| For checking in on Mikkjal | 25 XP |
:::note:
If you want to grind Wraiths, this is a good place to do it. They’ll respawn around Mikkjal’s house - two to the south and two to the north - each time you rest. Wraiths often drop Infused Dust, Specter Dust, Amethyst Dust, and Emerald Dust. Much of this dust sells well, and Infused Dust can be used to create Glyphs. You’ll want the money later, and you can get a good stock of components to sell off with even just an hour of grinding.
:::
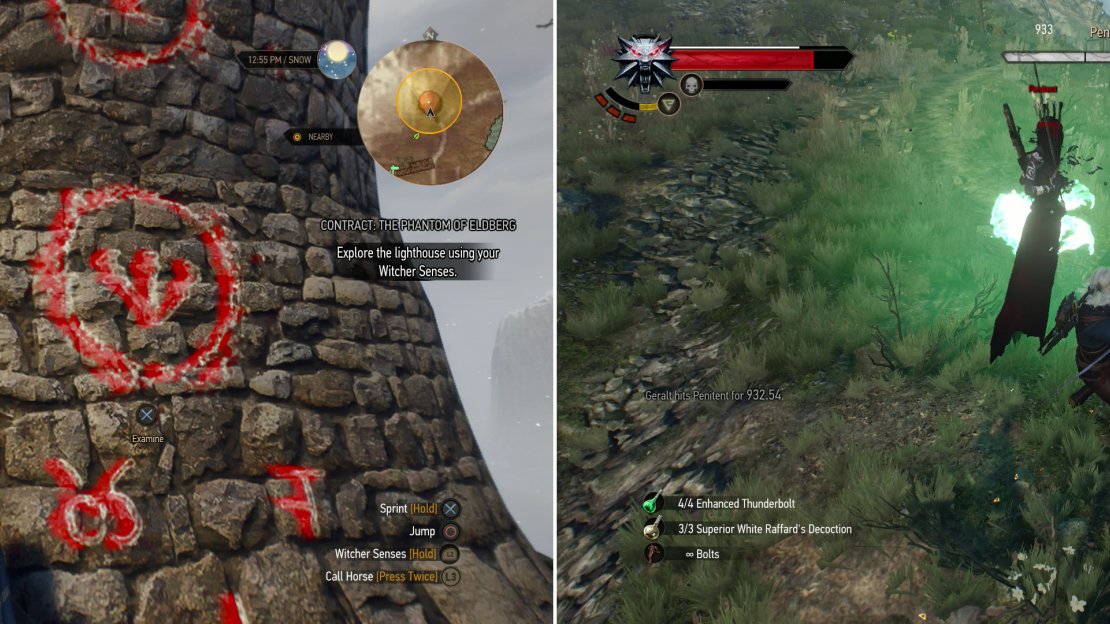
Continue north along the road and deeper into the fog, where you’ll have to fend off another pair of Wraiths (level fifteen). A short distance alter you’ll find the “Eldberg Lighthouse” signpost a short distance away from the actual structure. Head across a wooden bridge and up some wooden stairs to enter the lighthouse. Loot the first level, then climb a ladder to the second. Search some furniture to the north to find a “Letter to the Lighthouse Keeper” . Read it to find out about Mikkjal’s dark secret, then leave the lighthouse and search the exterior along the stairs to identify what haunts this place, and why. Seems like you’re going to have to have another chat with Mikkjal.
| Objective | Reward |
|---|---|
| For discovering the nature of the Phantom of Eldberg | 25 XP |
Be sure to have Specter Oil applied to your blade, then return to Mikkjal’s house and talk to the dishonest lighthouse operator. He’ll make up an award-winningly lame excuse for his actions, then try to cower out of doing the right thing. Geralt convinces him to go, and, as Mikkjal predicted the Penitent shows up and attacks. Geralt decides to hold the wraith’s attention while Mikkjal goes to light the lighthouse, giving him some good incentive, in the process.
Investigate the lighthouse to find out why Eldberg is haunted (left) then engage the Penitent while Mikka plays his part (right).
The Penitent fights just like any normal Wraith; it’ll vanish after you land a few hits and manifest elsewhere, usually nearby, unleashing a vicious sword combo in the process. Specter Oil works well, as does simply using the Active Shield alternate mode for Quen to absorb damage, mixed with Exploding Shield to subsequently knock the creature off guard. It’s a combo the Penitent can’t really do anything to bypass… at least not on its own.
Unfortunately the Penitent can split into several normal Wraiths, which are trickier to deal with than the lone Penitent, but nothing you haven’t faced before. The same tactics detailed above work just as well, you just will have to spend a bit of time dodging until you’re in a position to attack without suffering undue reprisals. On the plus side, dispatching the Wraiths the Penitent summons deals damage to the Penitent itself - all the more so when Mikkjal completes his task, leaving the Penitent more vulnerable.
Phantom of Eldberg Lighouse Keeper Choice and Reward
Once it’s banished, loot it for the sword “Ashrune” and the Wraith Trophy . After you claim your trophy, Mikkjal will come check on the situation. Decide whether to let him stay around, or force him to leave the island. Note there’s isn’t really a specific reward for those choice, more of a roleplay morality check for our Geralt.
Once done, there’s only one thing left to do on the island. Head to the Eldberg Lighthouse and from there head west to the coast to find the mast and prow of a ship sticking out of the water. Dive and search around to find three chests and two parcels underwater. Score the quick loot, then return to shore.
Make your way back to the Eldberg Lighthouse signpost and use it to fast-travel back to the Arinbjorn, then head into the tavern and talk to Jorund and proclaim a job well done. Jorund grants you your coin, and all is well. As you go to leave, however, the two rude Skelligers from before will return and try to pick a fight. Whatever you say, a fight ensues, with Jorund supporting you. As you and Jorund gain the upper hand, however, the two miscreants will resort to steel. Respond in kind, then check on Jorund. When you’re done talking to Jorund you’ll find yourself embroiled in the quest “Stranger in a Strange Land” .
| Objective | Reward |
|---|---|
| For slaying the Penitent | 260 XP / 184+ Crowns |
The Skelligers who confronted you earlier are back-and when they lose at fisticuffs, they’ll turn to steel (left). Although they can’t compete with a Witcher’s wrath, Jorund comes out of the fight considerably worse for wear as well (right).
Leave the tavern and you’ll be confronted by some angry Skelligers, including the father of the two thugs you slew. After threatening to take Geralt down through sheer weight of numbers (and presumably not being willing to test that, bluff or not) Geralt submits to be incarcerated and awaiting the judgment of “Madman Lugos”.
| Objective | Reward |
|---|---|
| For submitting to the citizens of Arinbjorn | 50 |


"Head across a wooden bridge and up some wooden stairs to enter the lighthouse."
Before enter you can examine some ruins on the wall of the lighthouse, that pushes the quest forward.