Following the Nilfgaardian invasion, Velen has become a battlefield. ![]() Corpses pile up in the wake of the armies fighting for control of the north, and where there are corpses, there are necrophages. Help a priest dispatch the necrophages prowling the fields and dispose of the bodies they feast upon in the quest
Corpses pile up in the wake of the armies fighting for control of the north, and where there are corpses, there are necrophages. Help a priest dispatch the necrophages prowling the fields and dispose of the bodies they feast upon in the quest ![]() Funeral Pyres in The Witcher 3: Wild Hunt. This page will provide a walkthrough for the aforementioned quest, including the outcomes of accepting or refusing the priest’s offer.
Funeral Pyres in The Witcher 3: Wild Hunt. This page will provide a walkthrough for the aforementioned quest, including the outcomes of accepting or refusing the priest’s offer.
Quest Objectives
Starting Funeral Pyres
To start this secondary quest, head to Mulbrydale, which is located just southwest of the Hanged Man’s Tree signpost. From the western edge of town, follow a road west, then southwest until you find a Priest of the Eternal Fire standing near the road, along with two guards. Talk to the priest (who is slightly less rude than his guards) and he’ll tell you the good news - you get to serve the Cult of the Eternal Fire by burning some bodies, hence depriving some necrophages of a meal. He even promises to pay you. Seems like fairly standard Witcher’s work, so take the job and he’ll give you some holy oils to assist in your corpse disposal efforts.
Talk to a priest southwest of Mulbrydale to start the quest “Funeral Pyres”.
Burn the Bodies
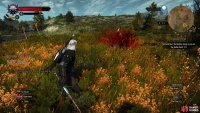
There are three piles of bodies you have to burn, one of which is north of where you first met the priest. Backtrack along the road to Mulbydale and follow the road northwest from there until you spot the necrophages the priest warned you of feasting on some corpses left of the road. Dismount, apply Necrophage ![]() Oil to your silver sword, then head to the site of the feast - the debris suggests a skirmish of some sort - and kill a quartet of
Oil to your silver sword, then head to the site of the feast - the debris suggests a skirmish of some sort - and kill a quartet of ![]() Ghouls. Once done, locate the pile of bodies in a shallow depression, douse them with oil and give the oily mess a shot of
Ghouls. Once done, locate the pile of bodies in a shallow depression, douse them with oil and give the oily mess a shot of ![]() Igni.
Igni.
(1 of 3) At the northern pile of bodies, defeat the Ghouls,
Another pile of bodies can be found southwest of where you met the priest, and this pile is the only one not guarded by ![]() Ghouls. Instead you’ll find a Rotfiend (Lv6) here, and perhaps some Wild
Ghouls. Instead you’ll find a Rotfiend (Lv6) here, and perhaps some Wild ![]() Dogs (Lv1), although with any luck the former will take care of the latter. Speaking of,
Dogs (Lv1), although with any luck the former will take care of the latter. Speaking of, ![]() Rotfiends are quick, nasty necrophages which prefer leaping attacks and fight very similarly to
Rotfiends are quick, nasty necrophages which prefer leaping attacks and fight very similarly to ![]() Drowners. Individually they’re not much of a problem, just dodge when they attack and counter with a strong attack when they leave themselves open, repeat until victorious. The only thing to be wary of is the fact that they like to go out in spectacular fashion, suffering apparent death-throes when low on health before violently exploding. Be sure you’re far away when they pop. Anyways, dispose of baddies, apply the oil, and ignite the corpses with Igni.
Drowners. Individually they’re not much of a problem, just dodge when they attack and counter with a strong attack when they leave themselves open, repeat until victorious. The only thing to be wary of is the fact that they like to go out in spectacular fashion, suffering apparent death-throes when low on health before violently exploding. Be sure you’re far away when they pop. Anyways, dispose of baddies, apply the oil, and ignite the corpses with Igni.
(1 of 2) Deal enough damage to a Rotfiend and it’ll begin its death throes.
Deal enough damage to a Rotfiend and it’ll begin its death throes. (left), Get some distance, as the injured Rotfiend will then explode, dealing massive damage. (right)
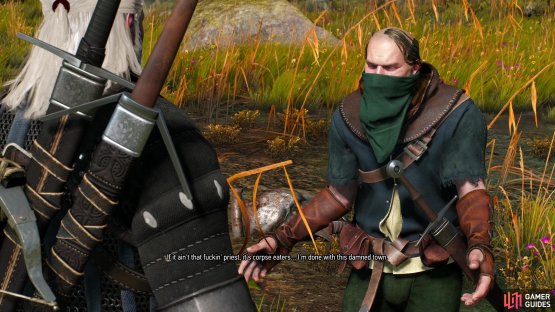
Two down, one to go. The third pile of bodies is southwest of ![]() Mulbrydale. When you get near you’ll find a man named Titus Gielas under assault from a pack of Ghouls. Fight off the Necrophages and save Titus, who will tell you how he came to be in this predicament, how the priest was involved, and consequently what the priest was actually paying you to do. Looks like we’re going to be having a more interesting end-of-job chat with the priest than it originally seemed. Finish burning the third pile of corpses, then head back north. It’s time to pay this priest a visit.
Mulbrydale. When you get near you’ll find a man named Titus Gielas under assault from a pack of Ghouls. Fight off the Necrophages and save Titus, who will tell you how he came to be in this predicament, how the priest was involved, and consequently what the priest was actually paying you to do. Looks like we’re going to be having a more interesting end-of-job chat with the priest than it originally seemed. Finish burning the third pile of corpses, then head back north. It’s time to pay this priest a visit.
(1 of 2) At the third pile of bodies, assist a man being attacked by Ghouls,
At the third pile of bodies, assist a man being attacked by Ghouls, (left), and he’ll tell you the truth behind the priest’s scheme. (right)
Take or Refuse the Priest’s Bribe
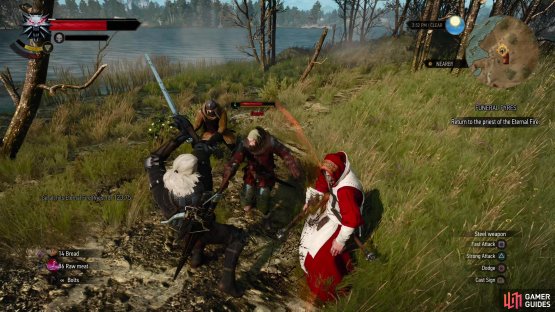
As the priest said at the end of his conversation with Geralt, he can be found near the river to the north, near the Border Post. Make your way over there and talk to him, pick the dialog option ”Took care of the graves.”, after which you’ll get two choices. If you pick ”Agreed.” you’ll take the bribe and complete the quest, gaining some EXP and 60 ![]() Crowns for your silence. On the other hand if you respond with ”I don’t take bribes.” you’ll refuse the hush money and the priest will decide to silence you with steel, since gold won’t do the trick. Despite their confidence in numbers, they’re pushovers, fighting identically to garden-variety bandits. Cut them down and you’ll complete the quest, earning the same EXP you’d have gained if you took the bribe, but you can loot the priest for 200 Crowns.
Crowns for your silence. On the other hand if you respond with ”I don’t take bribes.” you’ll refuse the hush money and the priest will decide to silence you with steel, since gold won’t do the trick. Despite their confidence in numbers, they’re pushovers, fighting identically to garden-variety bandits. Cut them down and you’ll complete the quest, earning the same EXP you’d have gained if you took the bribe, but you can loot the priest for 200 Crowns.
(1 of 2) Confront the priest near the river to the north and either accept the bribe,
Confront the priest near the river to the north and either accept the bribe, (left), or decline and fight the priest and his two guards. (right)














No Comments