
Geralt has had many encounters with the Church of the Eternal Fire, almost exclusively antagonistic. A cult that fetishizes the perceived purifying qualities of fire naturally doesn’t look kindly upon mutants like Geralt, and its practitioners seem only too keen to indulge their bigotry by unleashing bloody pogroms at the slightest provocation. Case in point, the current persecutions of mages and magical beings in Novigrad. Pair this with the habitual and hypocritical corruption of its priests and Geralt is rightfully dubious when a young deacon of the Eternal Fire beseeches Geralt to assist him in preventing the spread of a dire pestilence. This page will provide a walkthrough for the secondary quest ![]() In the Eternal Fire’s Shadow in The Witcher 3, including strategies for defeating the
In the Eternal Fire’s Shadow in The Witcher 3, including strategies for defeating the ![]() Red Miasmal.
Red Miasmal.
Quest Objectives
Starting In the Eternal Fire’s Shadow
In order to start this quest you must have the the game patched up to version 4.0 or higher, as this quest was added to all versions of The Witcher 3 with the rollout of the PlayStation 5 and Xbox Series upgrades. If your game is properly updated, you’ll find an Eternal Fire Priest standing outside of Devil’s Pit in central Velen. Talk to him and, at length, he’ll beg for your assistance. ![]() Devil’s Pit has been used to sequester the afflicted over the years, but like many things in Velen, the outbreak of war has made things worse. Now some Bandits threaten to open up the mine and potentially unleash a pestilence known as the scarlet fog. Bad enough, but there’s also some supernatural being rumored to be haunting a salt cavern deep in the mines, and exorcising this creature sounds very much like proper Witcher’s work.
Devil’s Pit has been used to sequester the afflicted over the years, but like many things in Velen, the outbreak of war has made things worse. Now some Bandits threaten to open up the mine and potentially unleash a pestilence known as the scarlet fog. Bad enough, but there’s also some supernatural being rumored to be haunting a salt cavern deep in the mines, and exorcising this creature sounds very much like proper Witcher’s work.
Accept the quest, haggle for more coins if you wish, then enter Devil’s Pit.
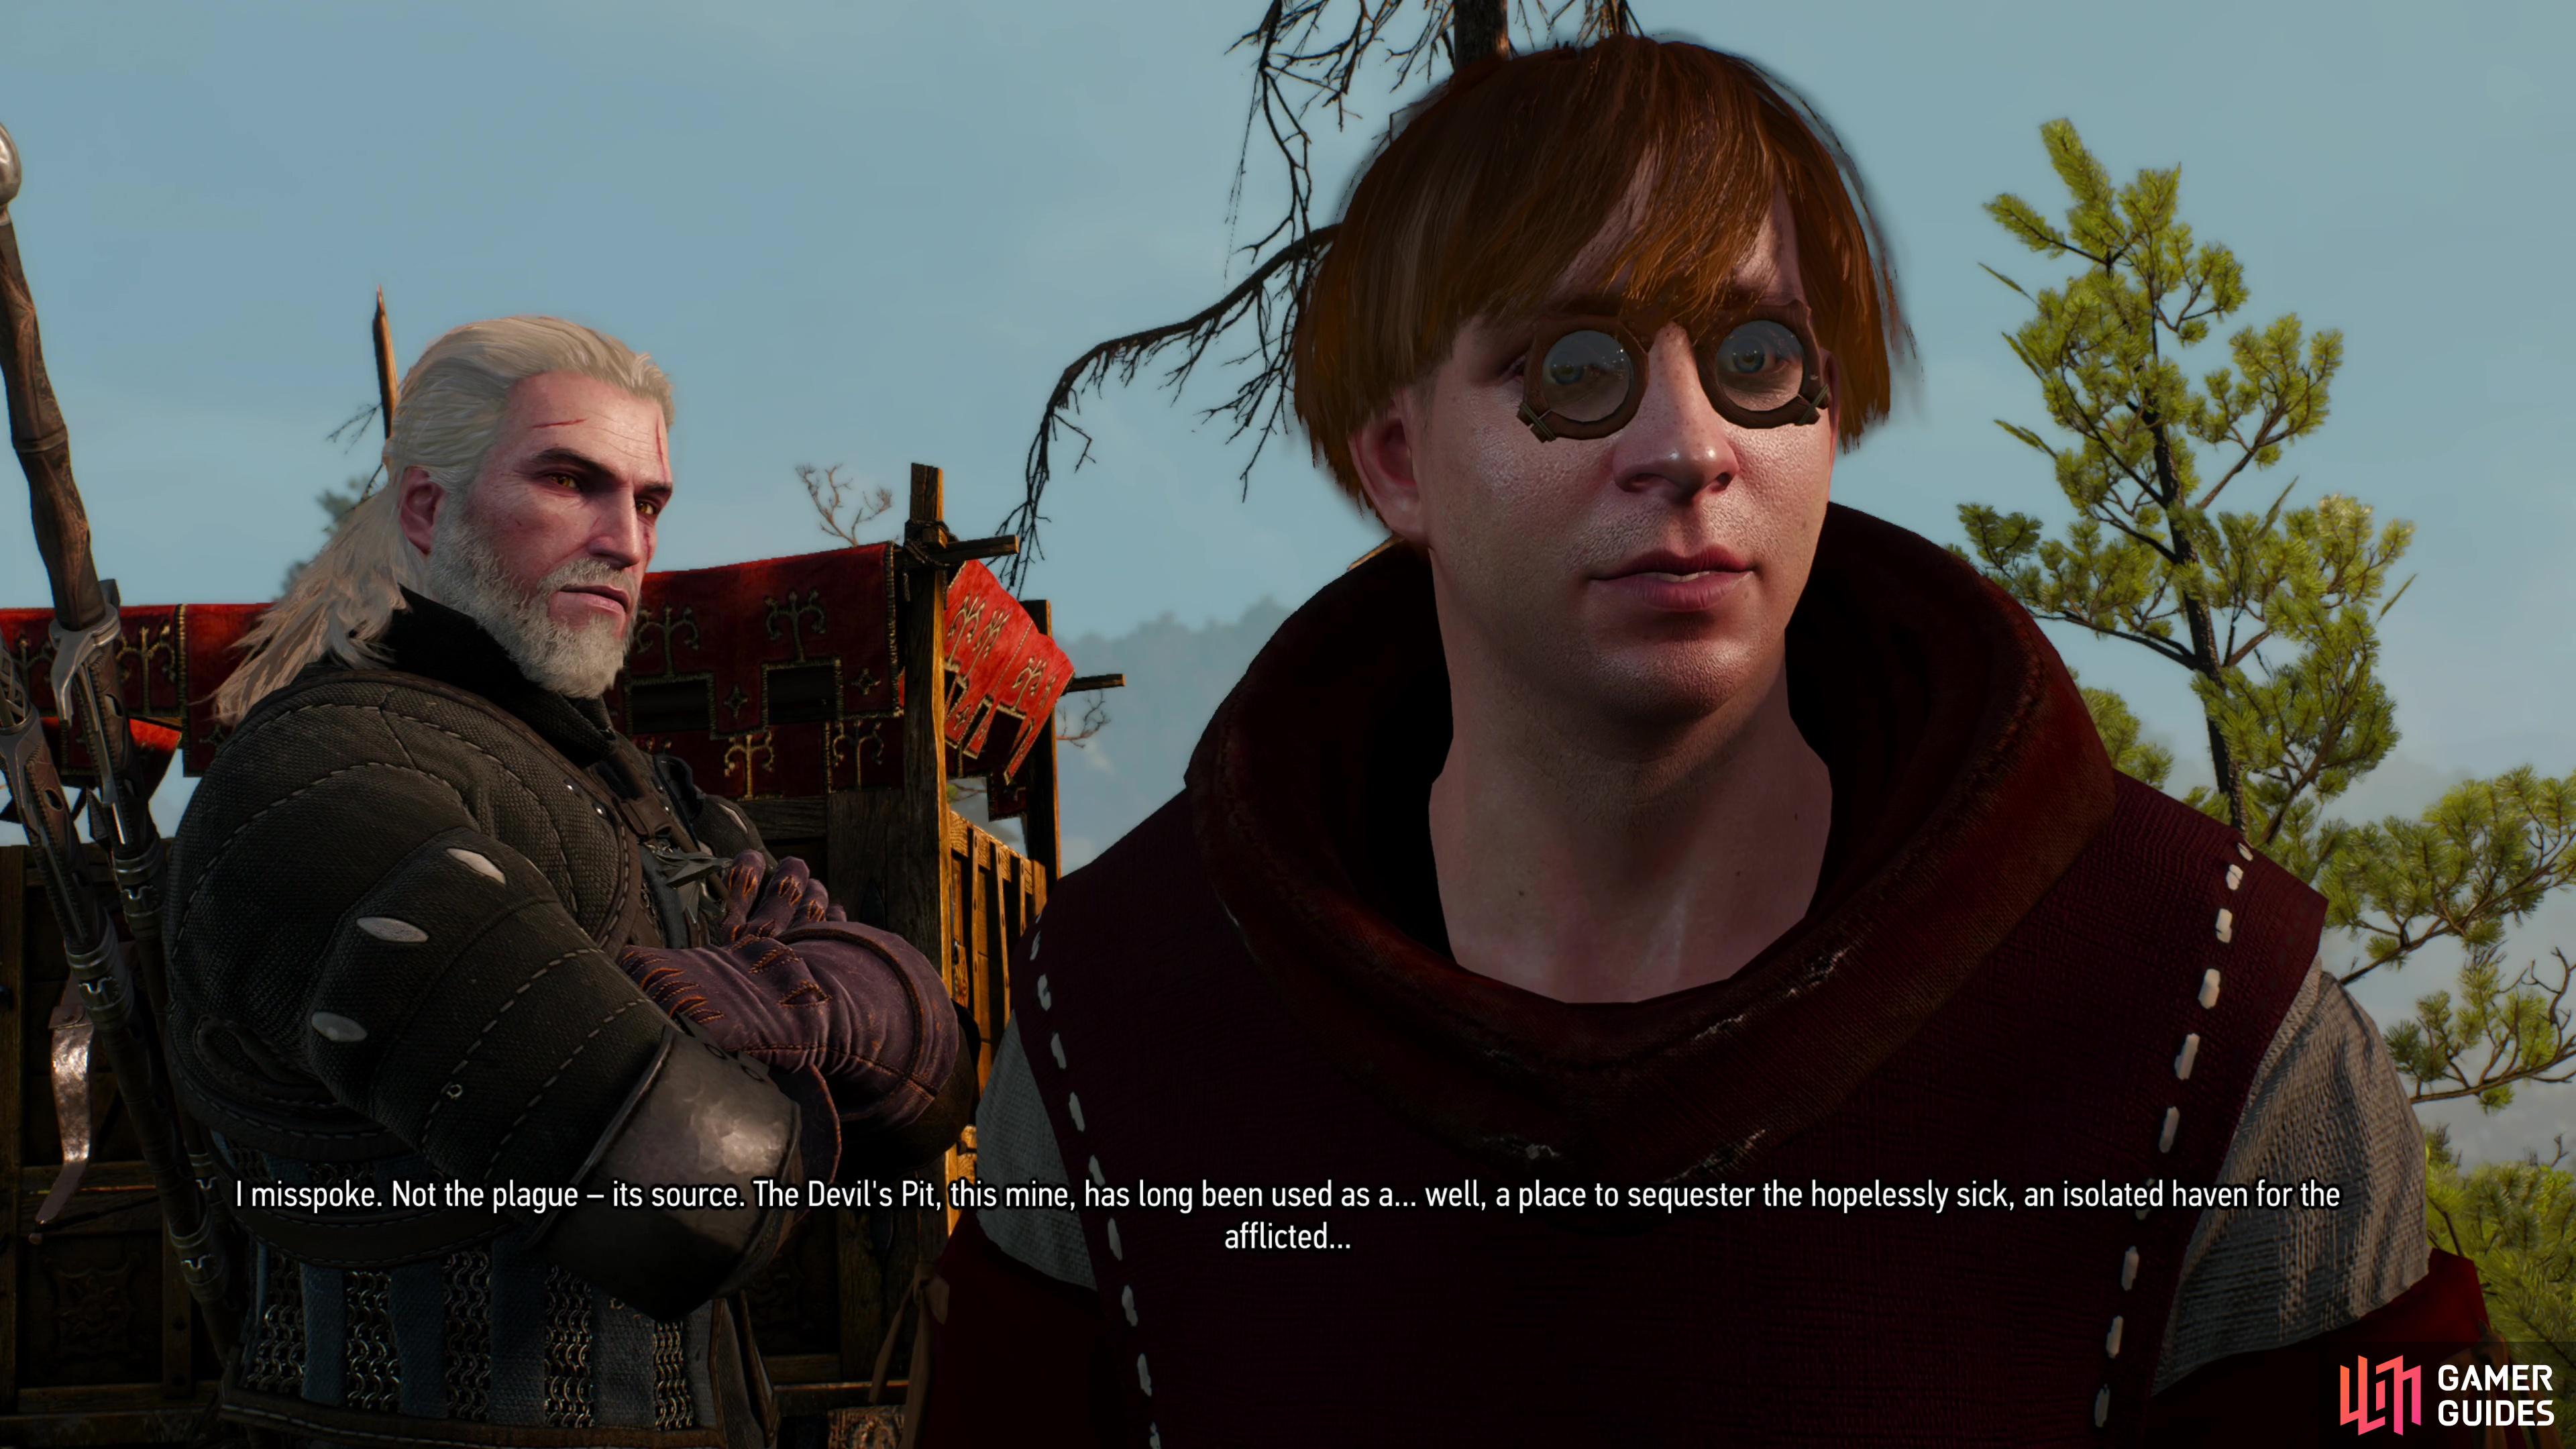

(1 of 3) Talk to an idealistic young deacon of the Church of the Eternal Fire and he’ll ask you to prevent a pestilential wraith from being unleashed.
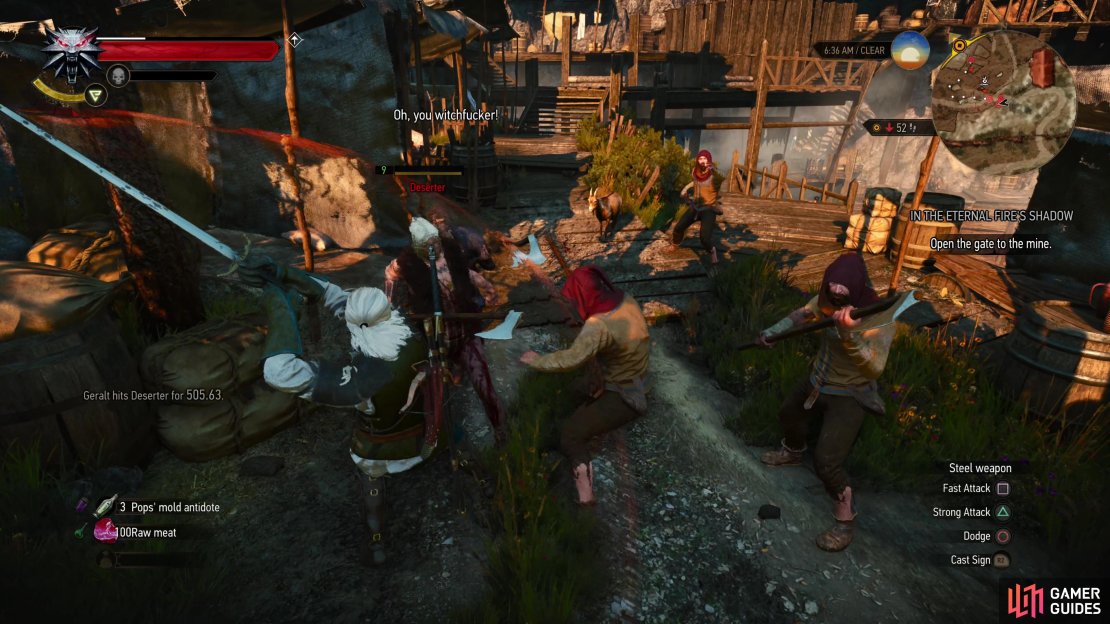
Kill the Bandits in Devil’s Pit
After talking to the priest, it’s time to clear out Devil’s Pit. This is a large Bandit Camp where you’ll find numerous ![]() Deserters (Lv9), most armed with one-handed weapons, but there are a few who wield two-handed axes. Engage them shortly past the second gate and you should have little trouble culling them with the evergreen strong attack and dodge combo. Once you’ve exterminated the half-dozen or so Deserters who will engage you near the gate, work your way around the various wooden platforms surrounding the pit and kill any stragglers, then work your way to the bottom. Be sure to loot everything that’s not nailed down, but be warned - there’s a ton of loot in this area. Mostly you’ll find crafting components and alchemical ingredients, along with the odd bit of alcohol used to restock your bombs and potions, but there’s also a more generous chest at the bottom of the pit that may yield diagrams/formula. Plundering this chest will complete the
Deserters (Lv9), most armed with one-handed weapons, but there are a few who wield two-handed axes. Engage them shortly past the second gate and you should have little trouble culling them with the evergreen strong attack and dodge combo. Once you’ve exterminated the half-dozen or so Deserters who will engage you near the gate, work your way around the various wooden platforms surrounding the pit and kill any stragglers, then work your way to the bottom. Be sure to loot everything that’s not nailed down, but be warned - there’s a ton of loot in this area. Mostly you’ll find crafting components and alchemical ingredients, along with the odd bit of alcohol used to restock your bombs and potions, but there’s also a more generous chest at the bottom of the pit that may yield diagrams/formula. Plundering this chest will complete the ![]() Bandit Camp event.
Bandit Camp event.
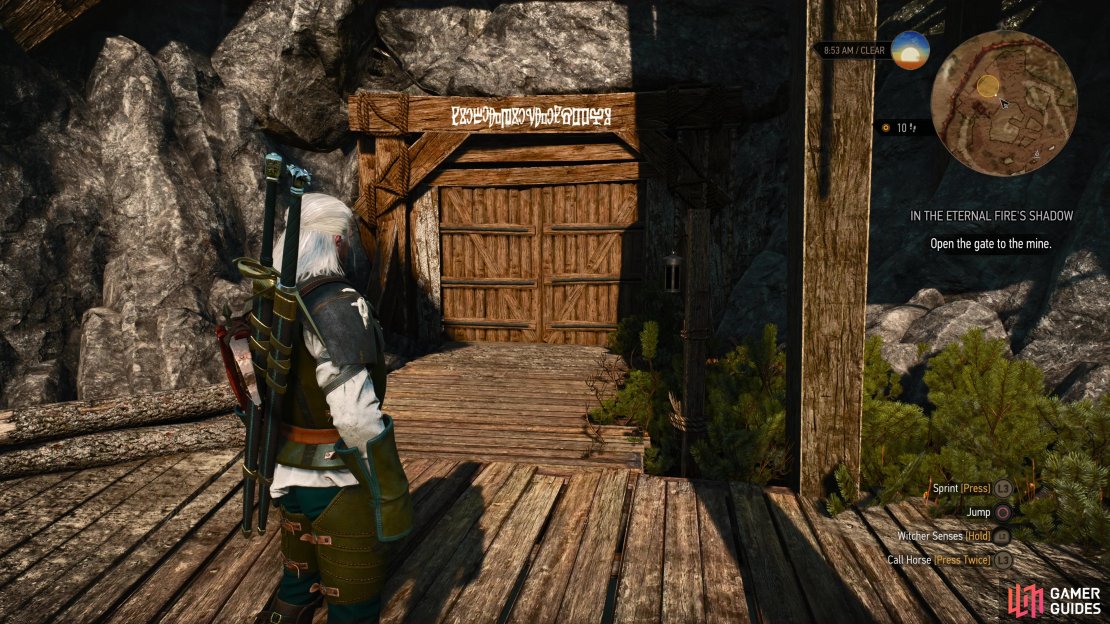
With that preliminary task done, head to the northwestern end of the pit to find some sealed gates with bold, white text over them. Sell off and stash all the loot you picked up clearing Devil’s Pit and when you’re ready, head into the mine.
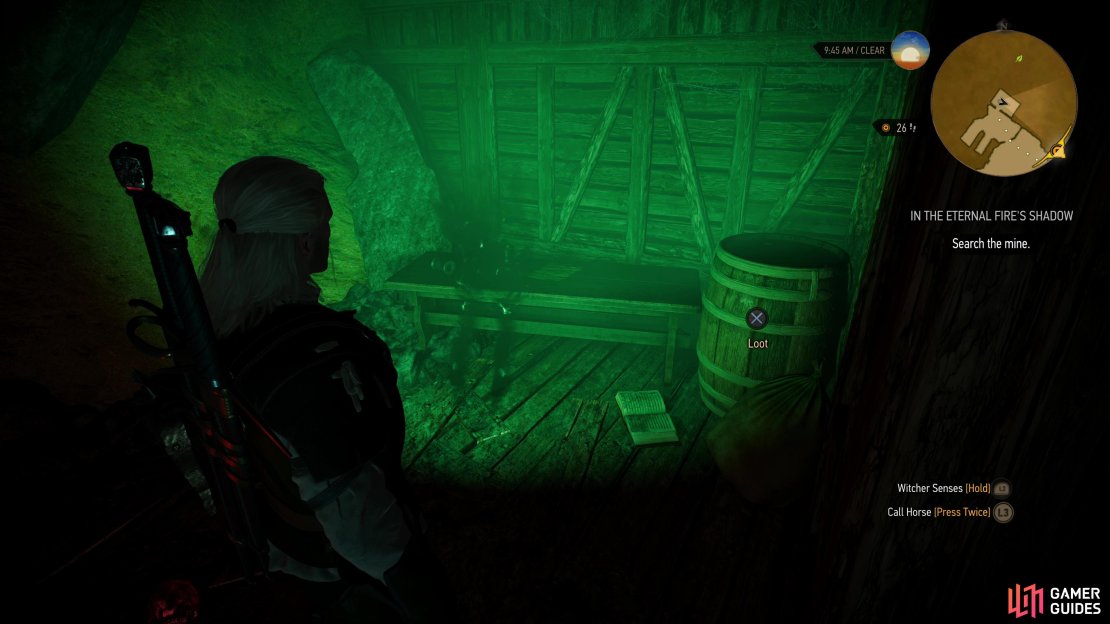
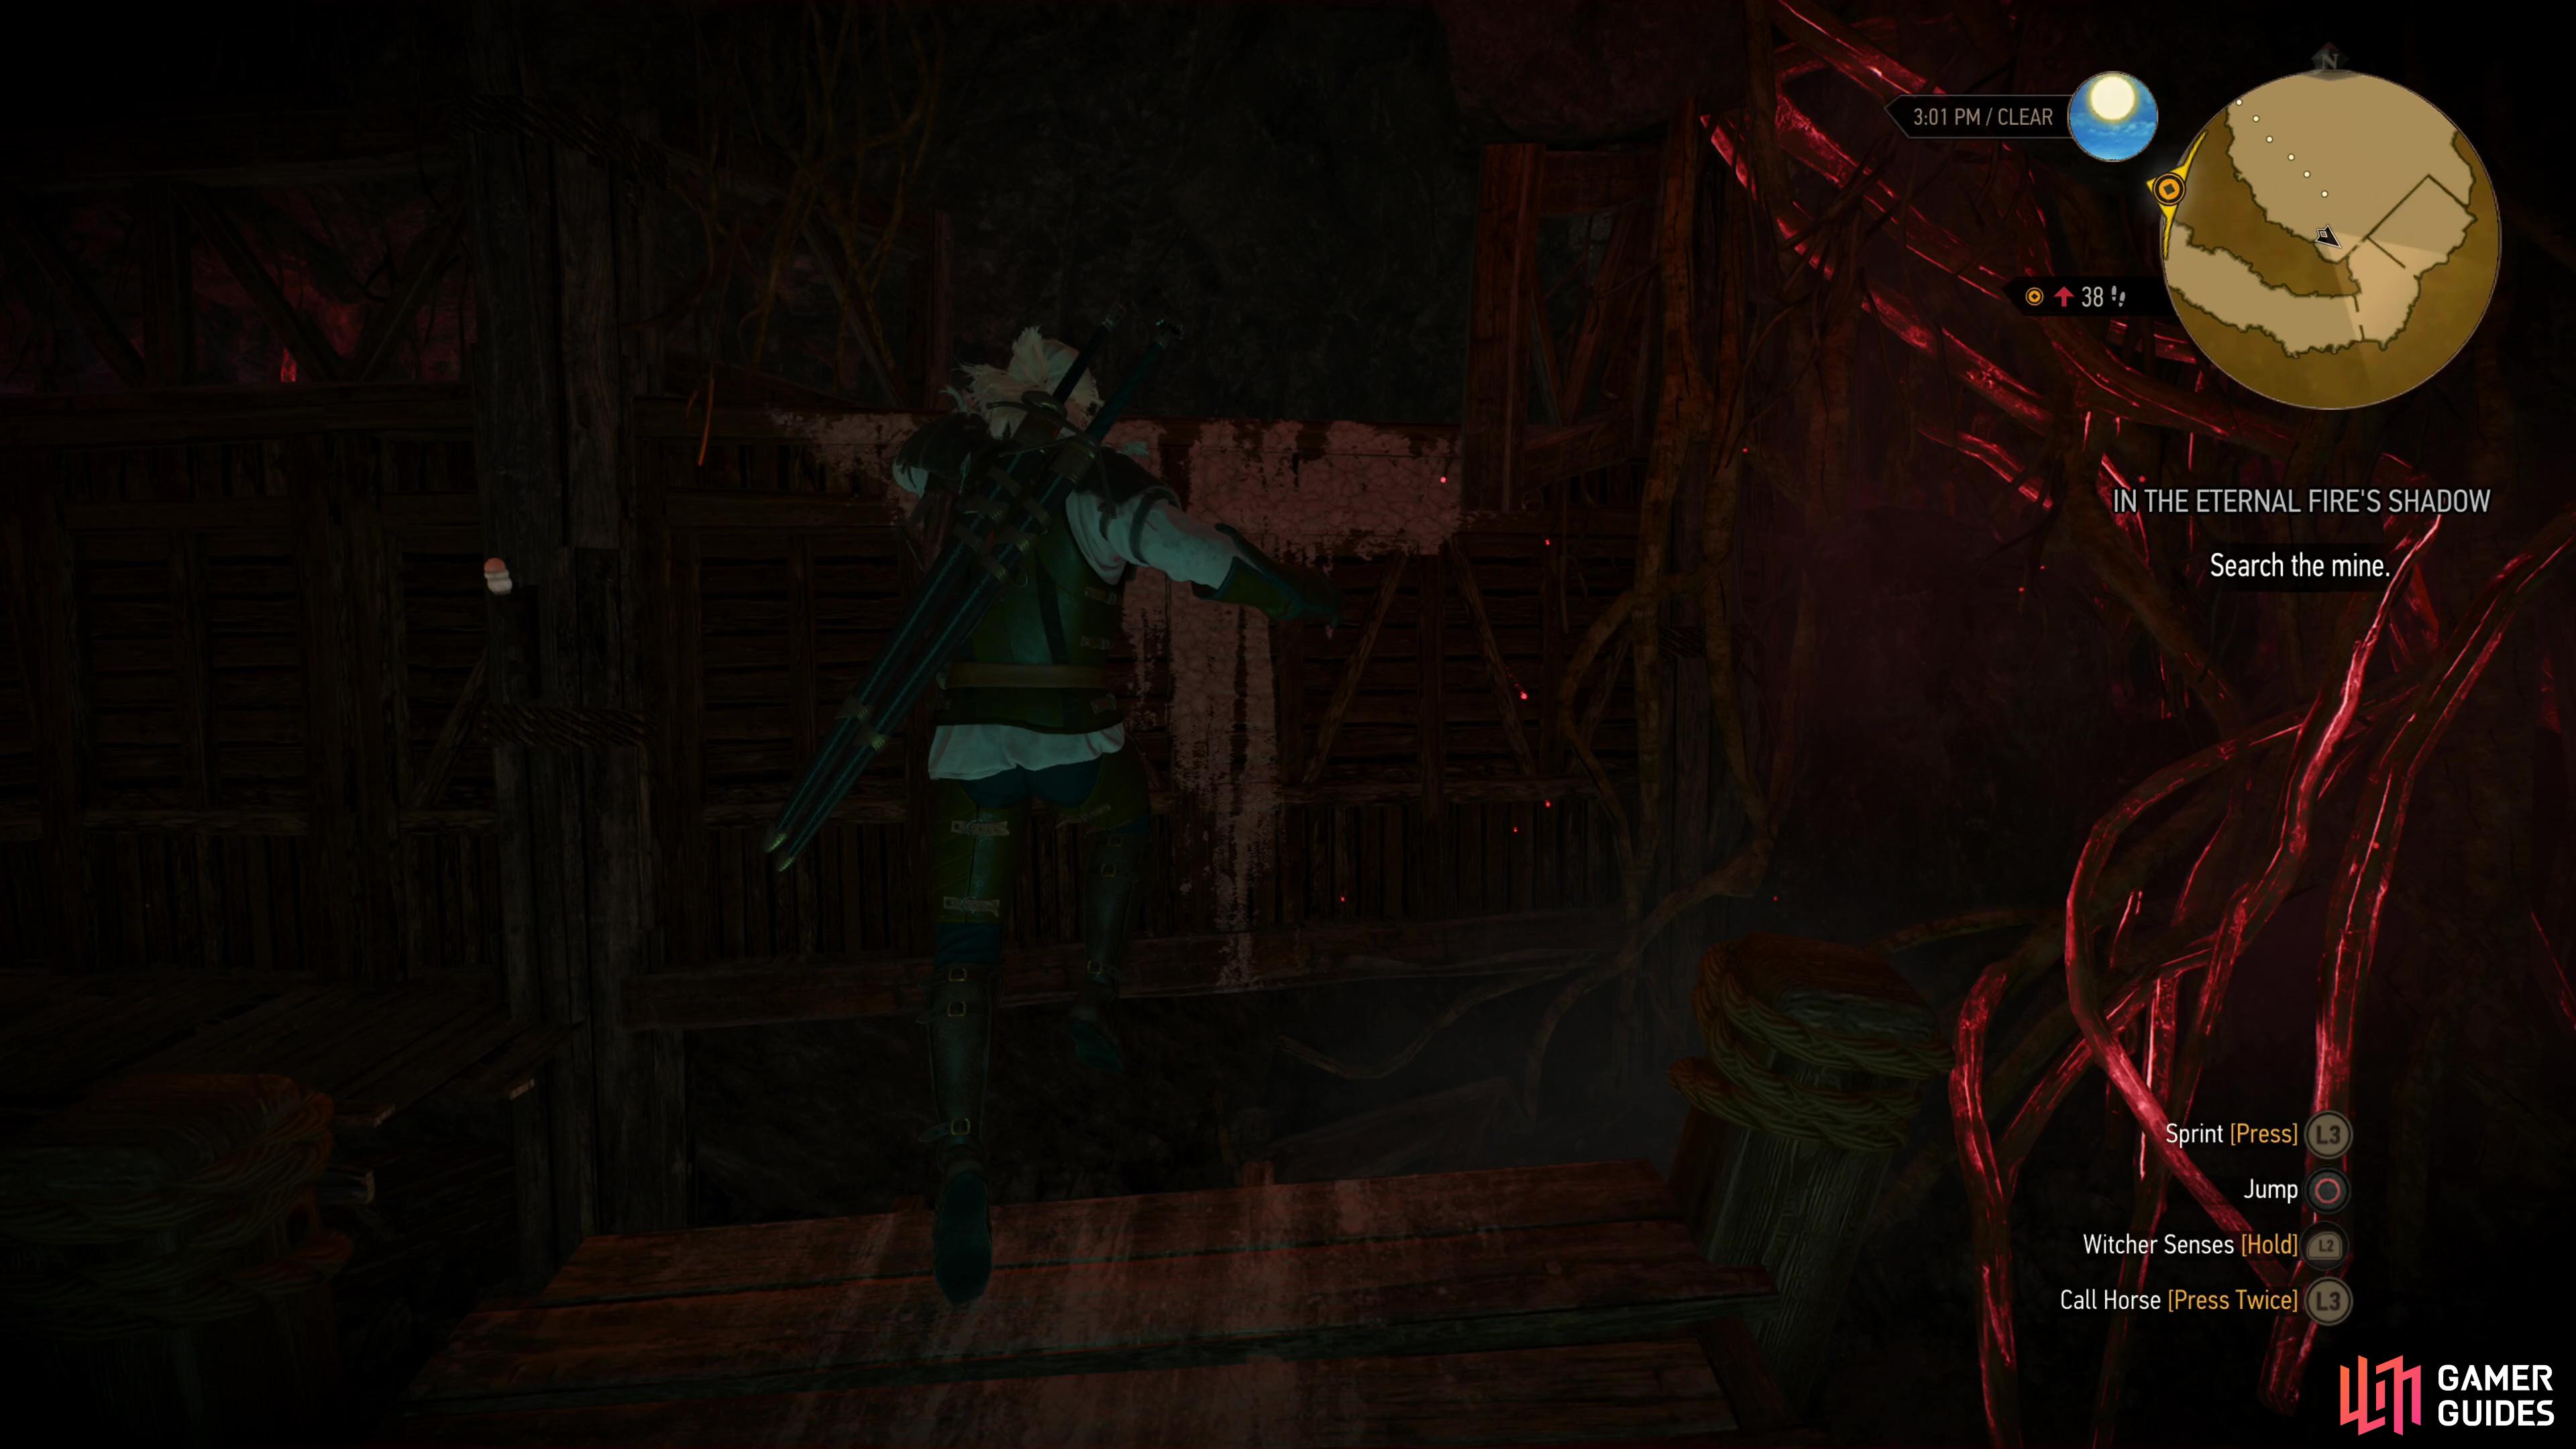
Search the Mine
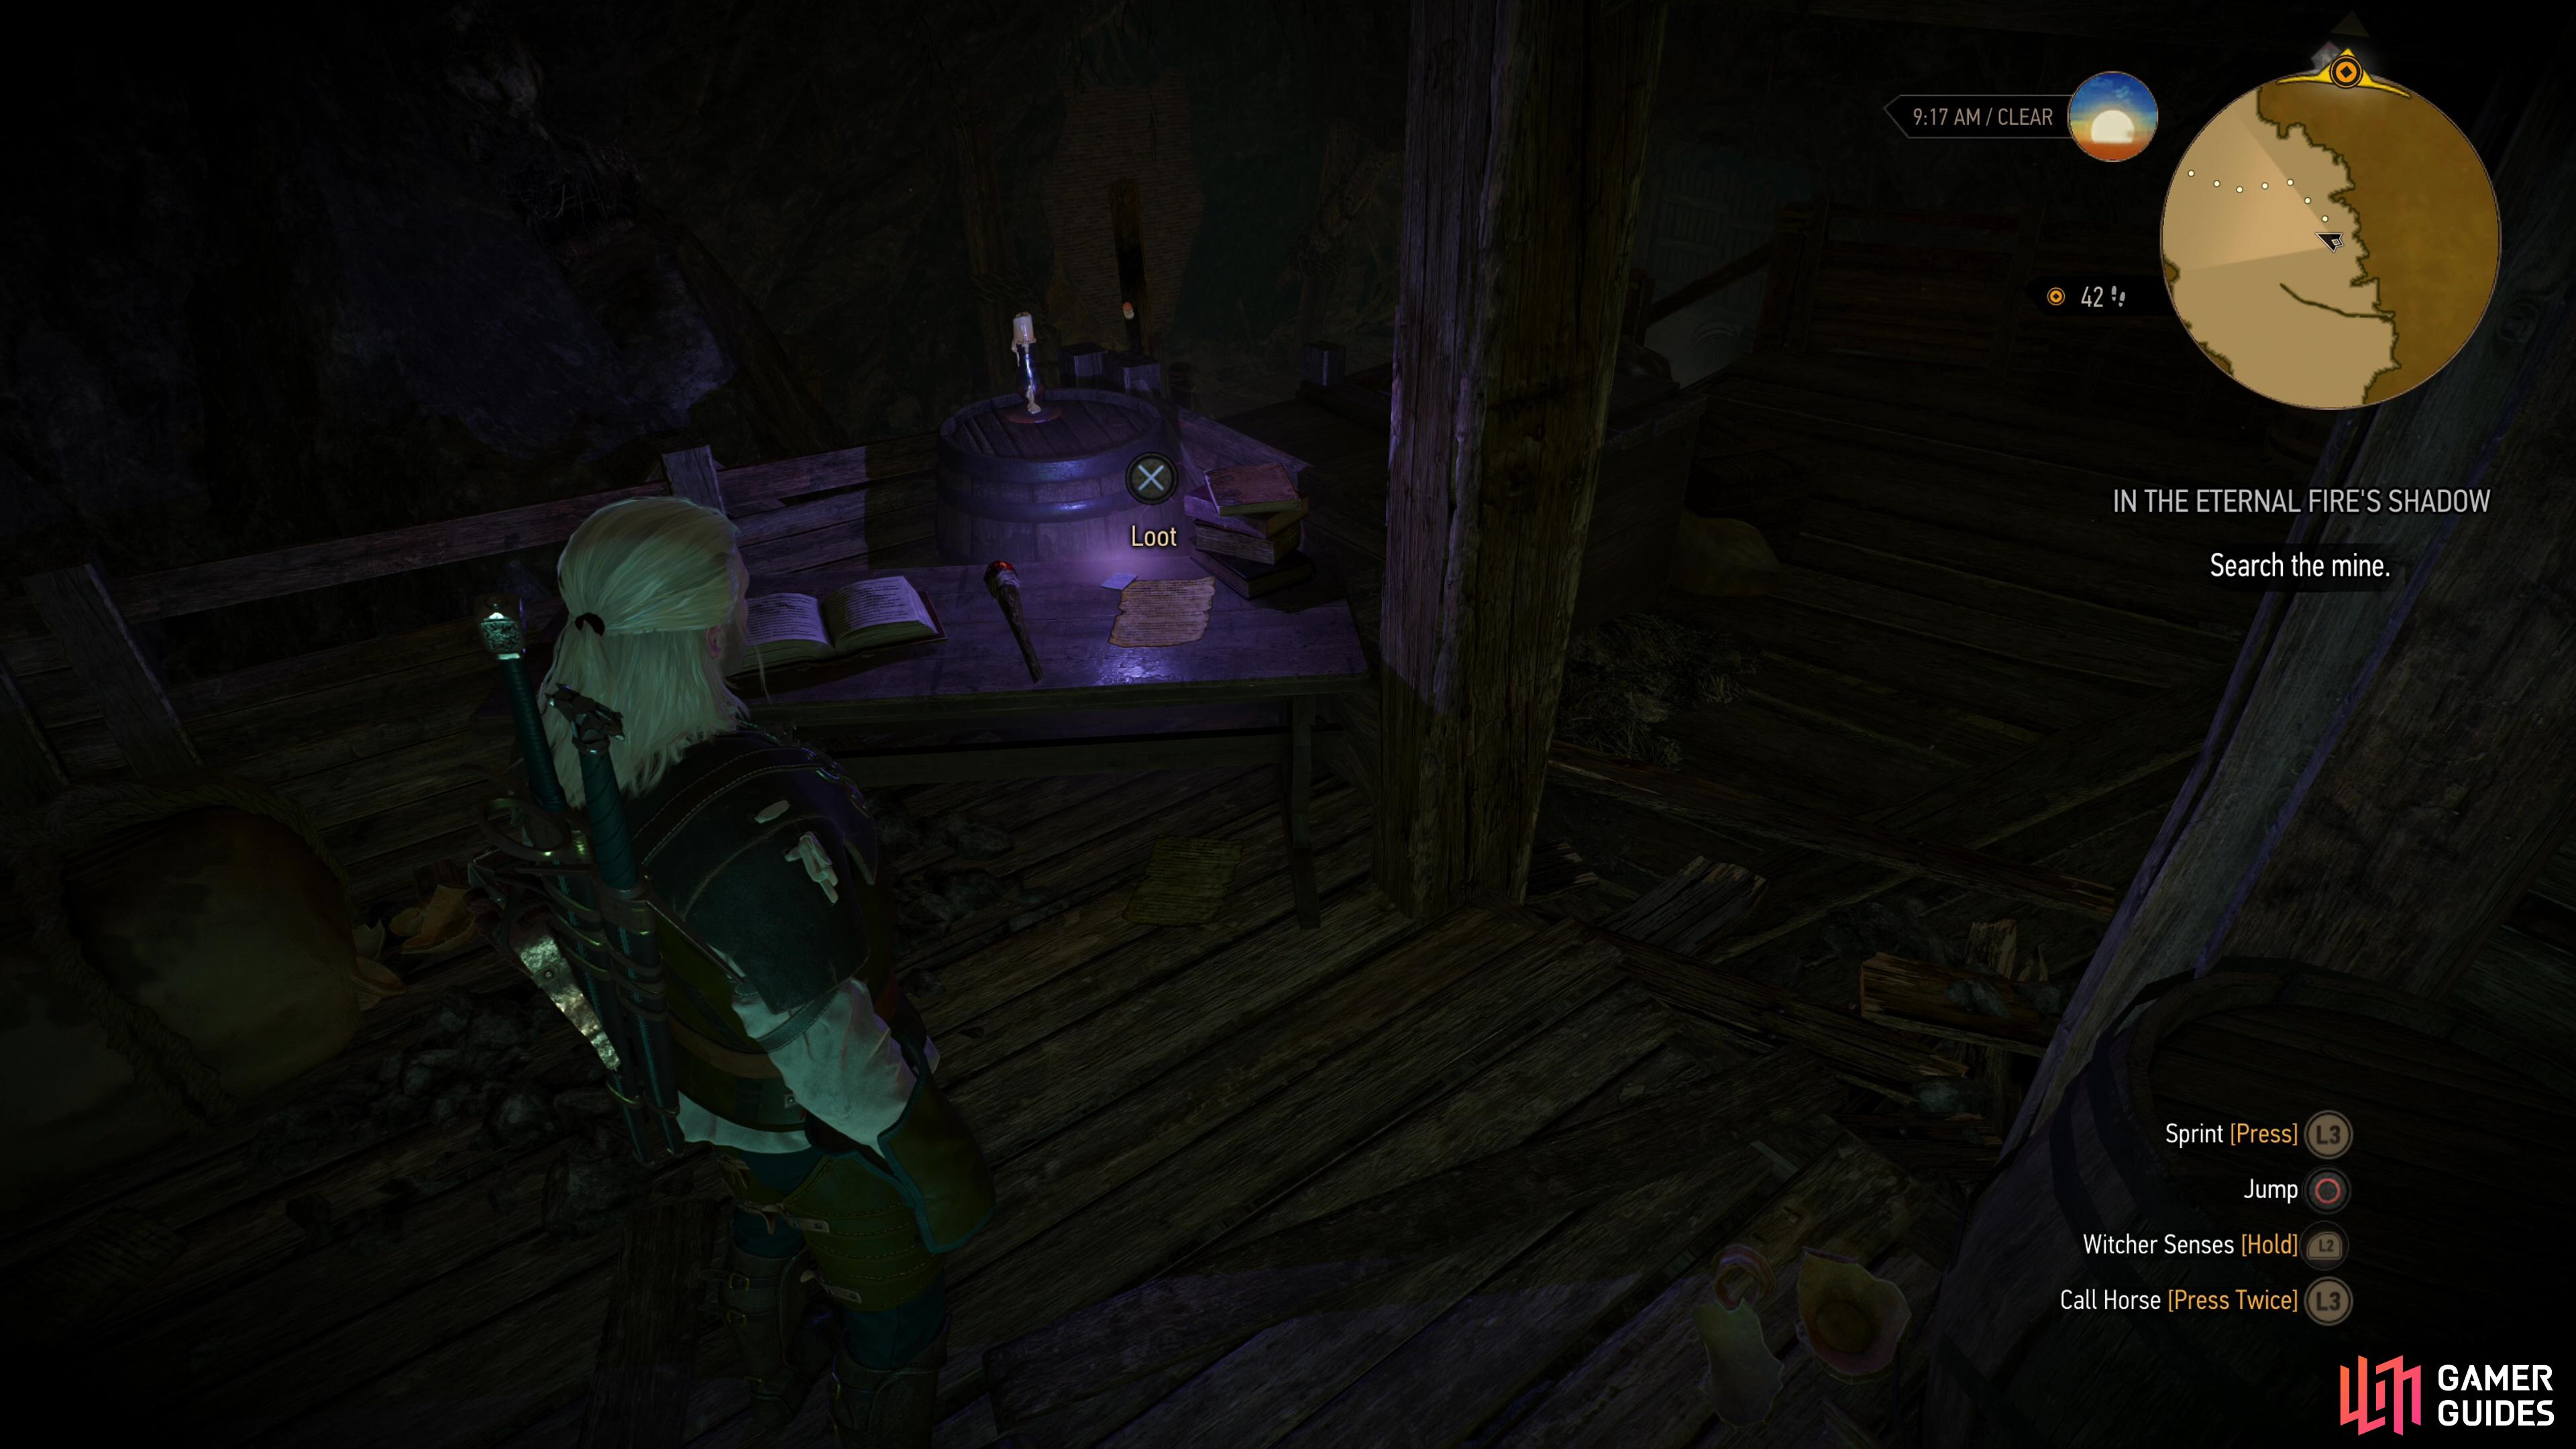
The mines are fairly long and convoluted, with lots of optional nooks and crannies to explore. If you care about lore, make sure you have your ![]() Magic Lamp equipped (obtained during the start of the quest A Towerful of Mice), as you’ll be able to use it for a view scenes. From the entrance head northwest until you reach a chamber, at which point climb a ledge to the right (east) and pick up
Magic Lamp equipped (obtained during the start of the quest A Towerful of Mice), as you’ll be able to use it for a view scenes. From the entrance head northwest until you reach a chamber, at which point climb a ledge to the right (east) and pick up ![]() Reinald’s
Reinald’s ![]() Note on a table along with a
Note on a table along with a ![]() Greater Glyph of Yrden glowing nearby. Drop down, then continue northwest to find some more gates, on which you’ll find the note First Letter from Reinald. This note mentions a potion recipe which will help with a fight deeper in the mine, and aside from random containers you can plunder it’s the primary incentive for you to explore the mine fully.
Greater Glyph of Yrden glowing nearby. Drop down, then continue northwest to find some more gates, on which you’ll find the note First Letter from Reinald. This note mentions a potion recipe which will help with a fight deeper in the mine, and aside from random containers you can plunder it’s the primary incentive for you to explore the mine fully.
Open the gate that had the aforementioned note on it and after some spookiness continue north. Follow the walkway and keep your Witcher senses active to spot a wolf sign on the wooden wall to the left and some dried blood on the ground beyond it. Go through the doorway to the left and you’ll spot some green miasma indicating you can use your Magic Lamp to spot some ghostly figures, but unlike the ones on ![]() Fyke Isle they won’t speak, so you’ll instead have to make sense of their actions. Spy on the ghosts, then examine some remains in a room to the northeast if you wish, then exit the rooms and continue down some stairs to the east.
Fyke Isle they won’t speak, so you’ll instead have to make sense of their actions. Spy on the ghosts, then examine some remains in a room to the northeast if you wish, then exit the rooms and continue down some stairs to the east.
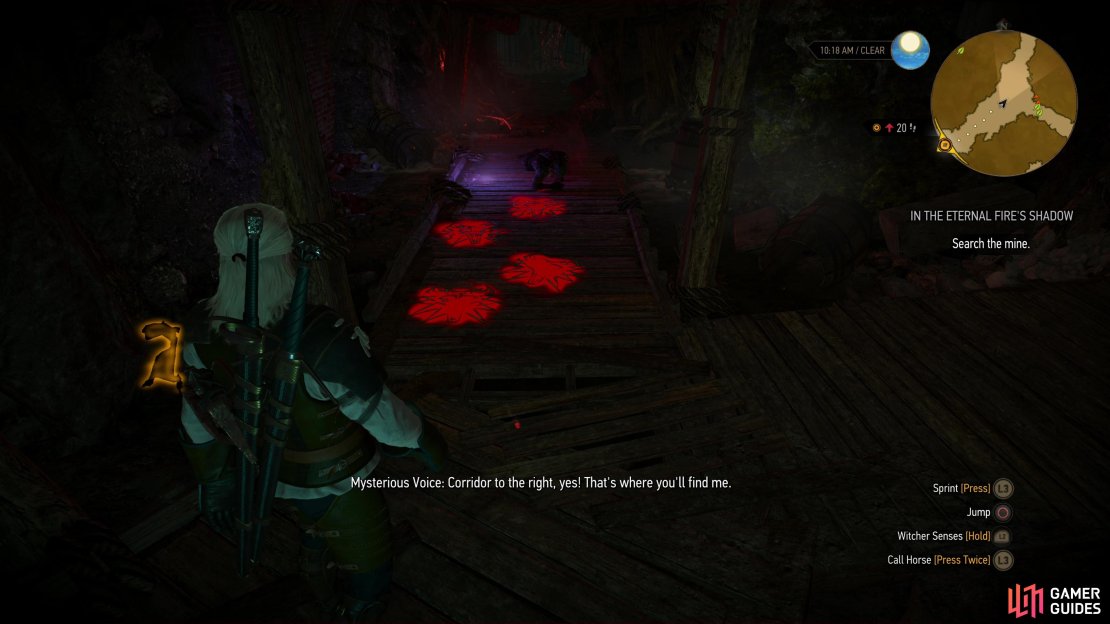
At the bottom of the stairs you’ll find some support timbers with a small chest on top. Geralt’s just capable of climbing up there if you position yourself right, but it’ll likely just contain some boots, so don’t worry if you can’t reach it. Continue northeast and you’ll reach a fork, where the spirit will encourage you to travel to the right. This is the quick way to resolve the quest, albeit while forfeiting the concoction Reinald mentioned in the letter pinned to the gate. If you want to fully explore this cave, witness the lore and get your hands on Reinarts potion, continue reading under the header Find the Recipe for Feinald’s Philter, otherwise skip ahead to Reach the Salt Cavern.

(1 of 3) Search a table to find Reinald’s Note - these writings will guide you through the mine.
Find the Recipe for Reinald’s Philter
At the fork where the disembodied voice told you to go right, take a left instead, following the passage north past numerous wolf school symbols carved on the floor along with another Greater ![]() Glyph of Yrden. Follow the passage as it turns northwest past a gated-off area to the right and you’ll reach a chamber with two paths forward. Ignore the lowground and cross a bridge, noting a cliff to the left you can jump over to - do so and you’ll find a chest which may contain rare materials or even a manuscript page, formula or diagram. Finish crossing the bridge and you’ll find the Third Letter from Reinald on a stone ledge along with yet another Greater Glyph of
Glyph of Yrden. Follow the passage as it turns northwest past a gated-off area to the right and you’ll reach a chamber with two paths forward. Ignore the lowground and cross a bridge, noting a cliff to the left you can jump over to - do so and you’ll find a chest which may contain rare materials or even a manuscript page, formula or diagram. Finish crossing the bridge and you’ll find the Third Letter from Reinald on a stone ledge along with yet another Greater Glyph of ![]() Yrden. Seems being a Witcher isn’t proof against whatever malaise lingers down here. Lovely.
Yrden. Seems being a Witcher isn’t proof against whatever malaise lingers down here. Lovely.
Past the letter you’ll find another ghost scene you can witness via the Magic Lamp, and past that is a wall you can smash down with ![]() Aard, beyond which awaits a grisly discovery along with some scratches on the stone wall. Head southeast from the wall you just Aarded open, go down some stairs, then turn left to spot another wall you can Aard down, but nothing of note lies behind it. Continue south from the stairs, up a ledge, and through another doorway marked by an old wolf symbol. Ahead you’ll find one of the afflicted Reinald mentioned, but this wretch isn’t any threat - if you touch him, he’ll disintegrate, and he’ll vanish later if you ignore him. Examine some dried blood, then turn right (south) into a small room where you can find another ghost scene, then leave and continue following the passage east, then northeast to reach another chamber, this one lined with doors.
Aard, beyond which awaits a grisly discovery along with some scratches on the stone wall. Head southeast from the wall you just Aarded open, go down some stairs, then turn left to spot another wall you can Aard down, but nothing of note lies behind it. Continue south from the stairs, up a ledge, and through another doorway marked by an old wolf symbol. Ahead you’ll find one of the afflicted Reinald mentioned, but this wretch isn’t any threat - if you touch him, he’ll disintegrate, and he’ll vanish later if you ignore him. Examine some dried blood, then turn right (south) into a small room where you can find another ghost scene, then leave and continue following the passage east, then northeast to reach another chamber, this one lined with doors.
Well… three doors, anyways. Go through the doors to the north and south and you’ll find some cells along with new ghost scenes, while the door to the east leads deeper into the mine. Continue east, turn north and climb a ledge, grab yet another Greater Glyph of Yrden from off a crate, then continue northwest, jumping a gap to reach a surprisingly cozy little room. Use the Magic Lamp to see another ghost scene, then pick up the Forgotten Priest’s Testament off the table which proves that not every priest of the Eternal Fire is evil, but the ones who aren’t are decidedly a rare aberration. Note that you can turn back southeast and drop down the gap you jumped over to reach the cozy room where you found the last note and Aard a door to the southeast, beyond which is a small room full of containers you can loot. When you’re ready to advance, however, exit the cozy room via a doorway to the southwest to find yourself back in the three-door chamber, albeit higher up. Jump a gap to the southeast and continue through a gate marked by the sign of the wolf.


(1 of 2) Deeper in the mine you’ll find a Forgotten Priest’s Testament, which reveals that not all members of the Eternal Fire are monsters… just most of them.
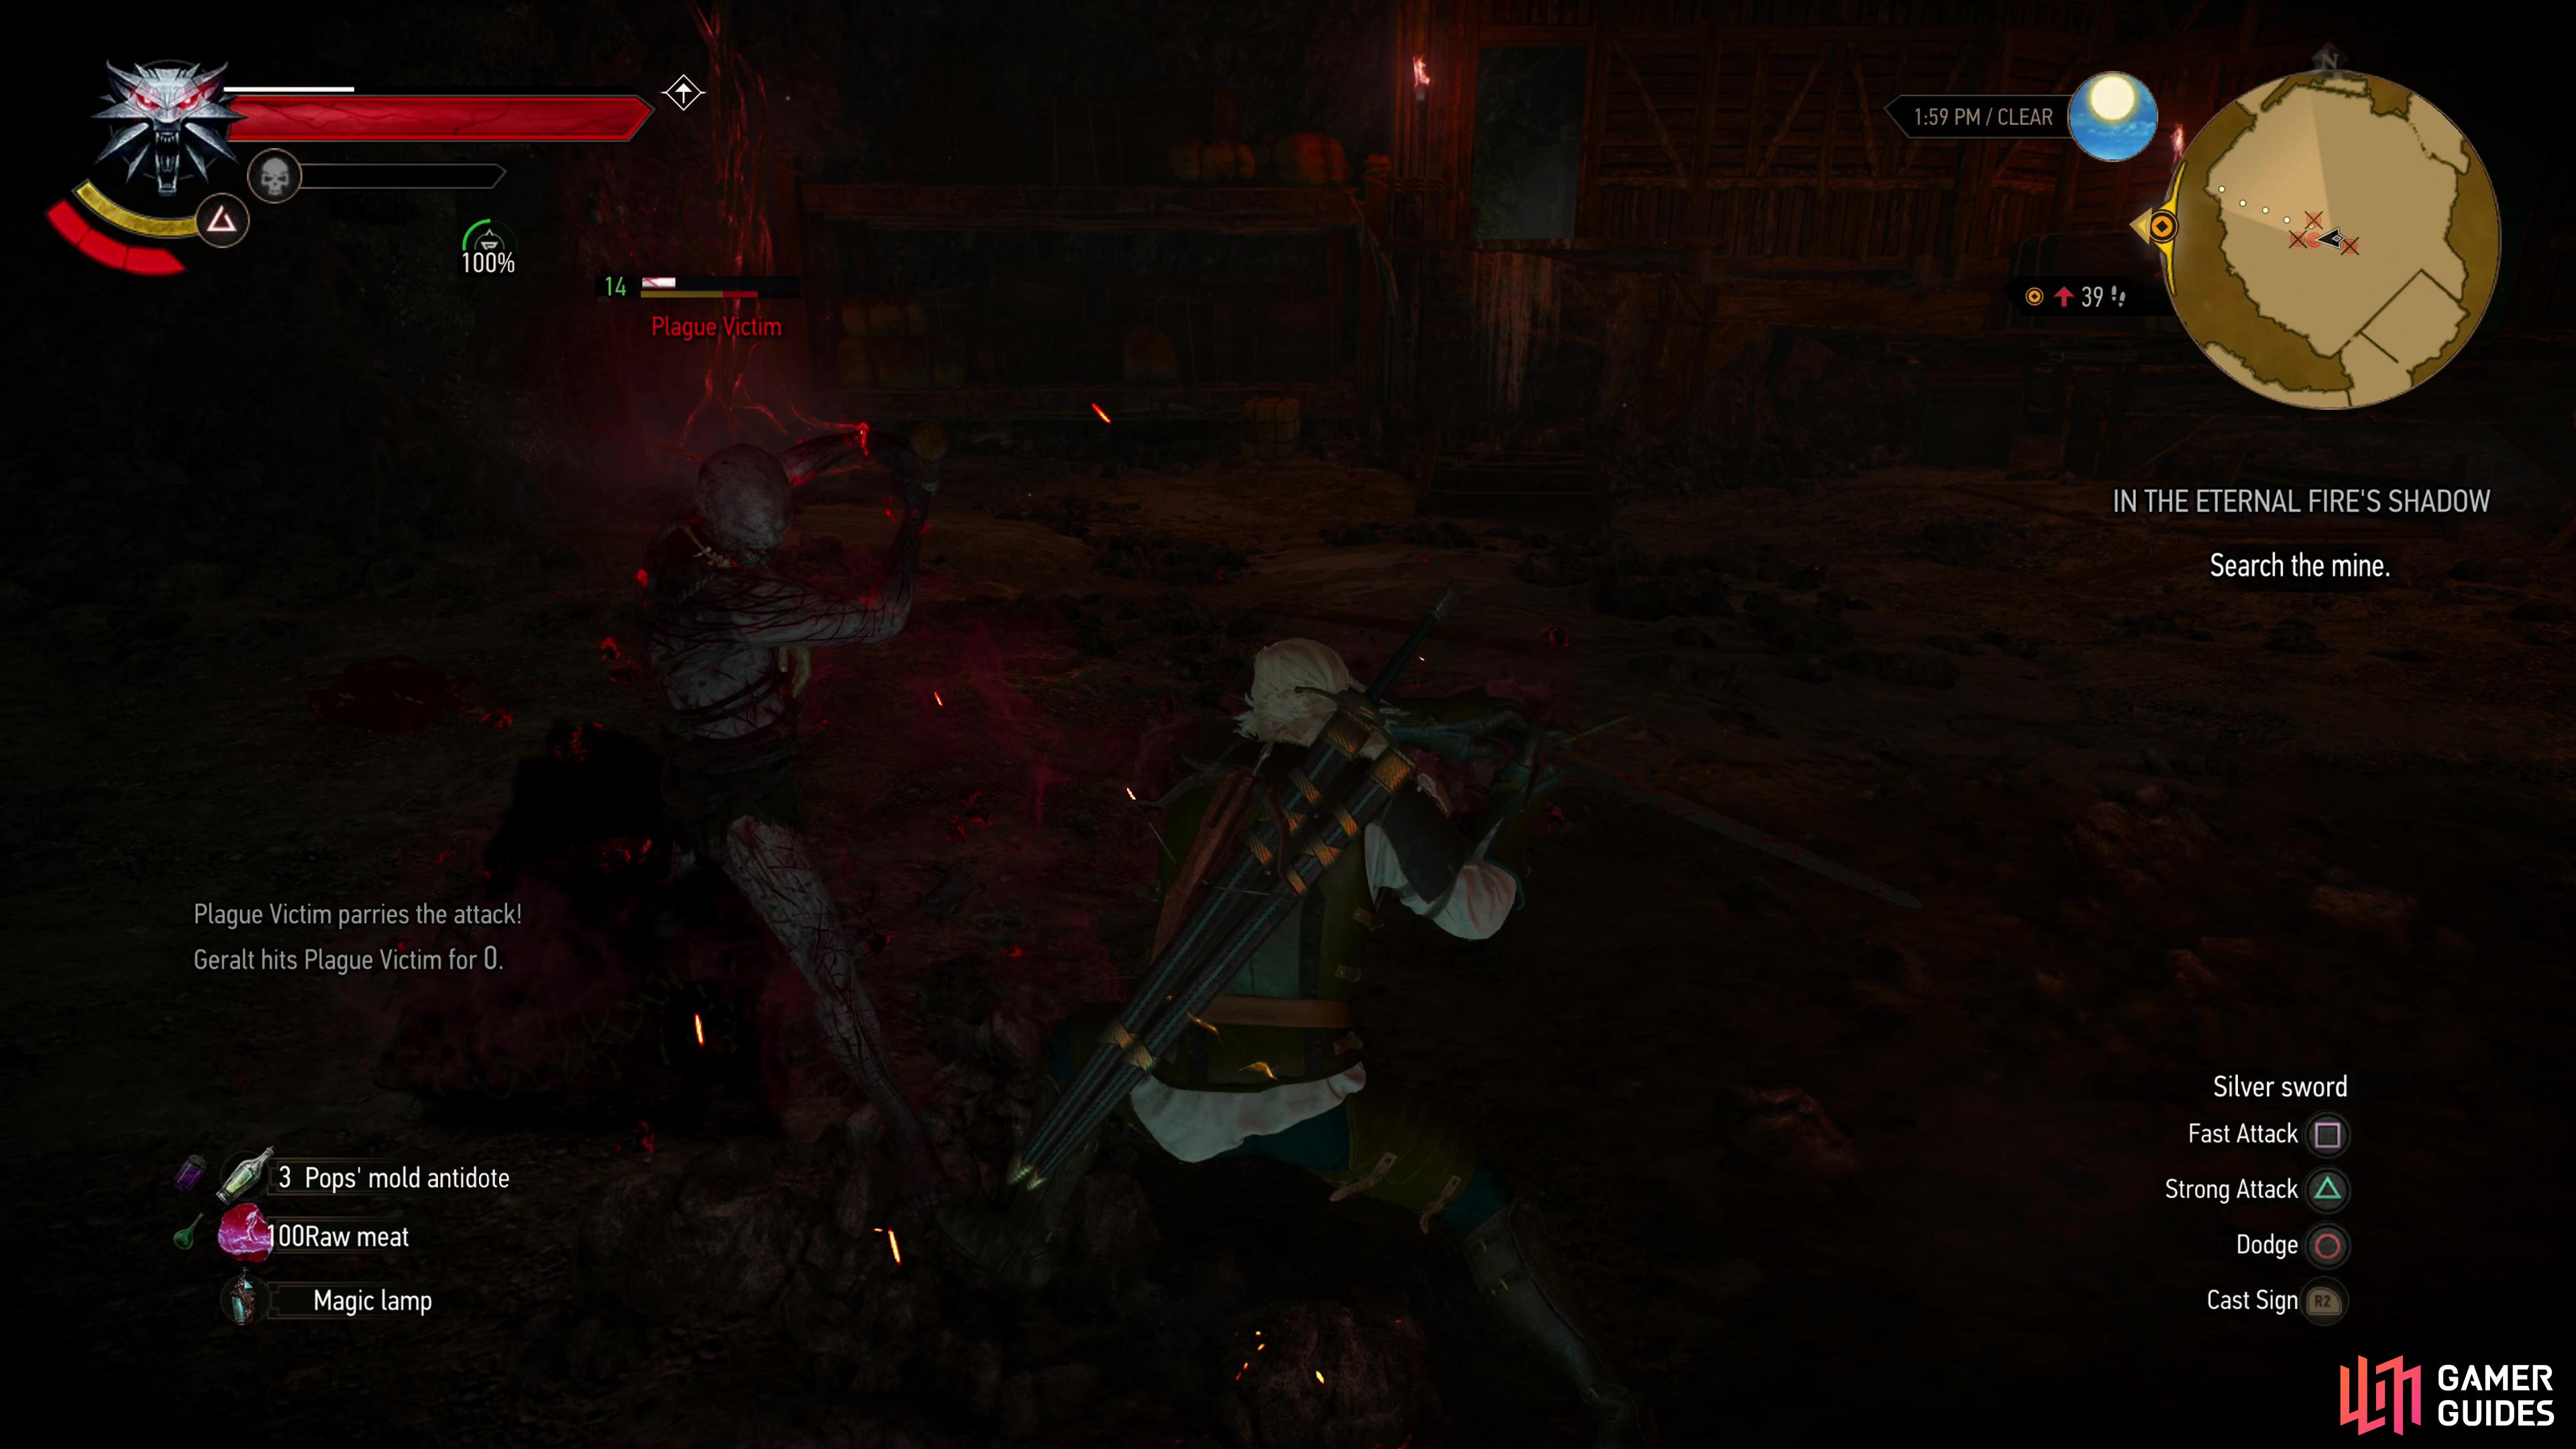
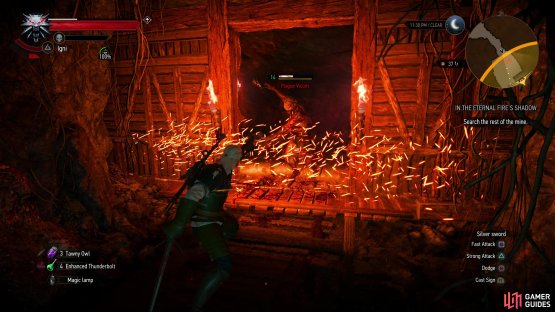
Deeper in the mine you’ll find a Forgotten Priest’s Testament, which reveals that not all members of the Eternal Fire are monsters… just most of them. (left), Shortly afterwards you’ll encounter some Plague Victims, who, despite their durability and appearance, fight like normal humans. (right)
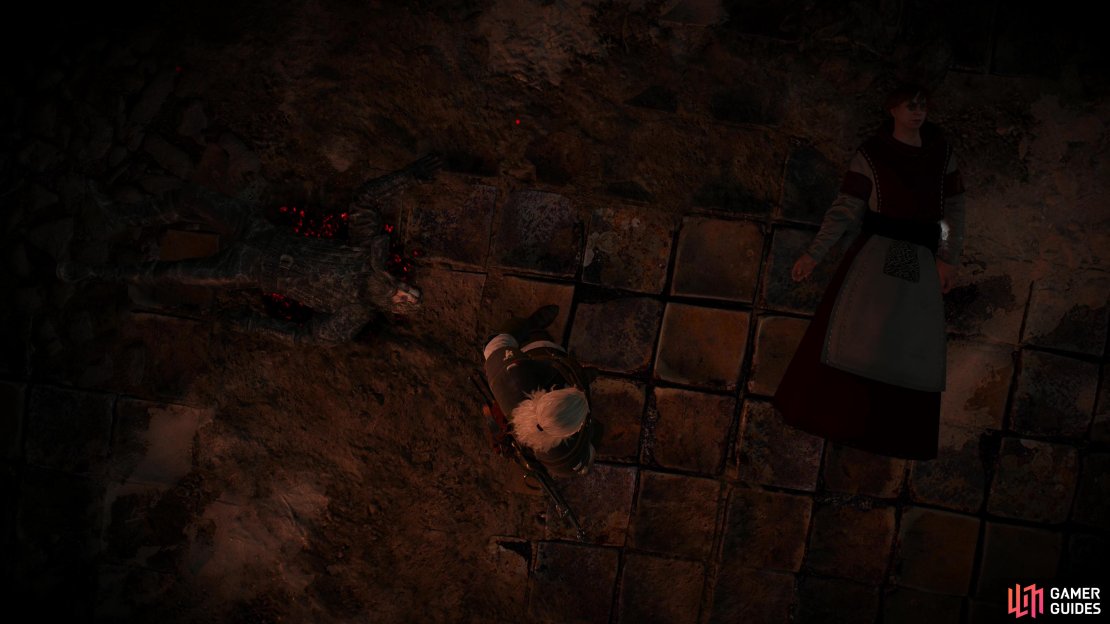
Follow the linear passage ahead, stopping to loot some containers near some cages downstairs to the northwest, if you wish, and eventually you’ll reach a fork. Head south first to find the Fourth Letter from Reinald and yet another Greater Glyph of Yrden before returning to the fork and heading upstairs to the west. Before you you’ll find a large chamber down a ledge - suspiciously large… Sure enough, drop down and you’ll be attacked by a quartet of Plague Victims (Lv14). Despite their appearance and durability, they fight exactly like common bandits; they can be blocked and parried and they all fight with one-handed weapons, which they employ with little skill. Use ![]() Quen to absorb the odd mistake and you should be fine.
Quen to absorb the odd mistake and you should be fine.
You entered this cavern via the northeast, and since there are plenty of things to do here, let’s explore counter-clockwise to ensure we hit everything. At the northern end of the chamber (roughly 12 o’clock) you’ll find a building you can jump up into. Use your magic lamp to witness another ghost scene, then investigate a chair and pick up the ![]() Note from Father Edgar from a table nearby to find out that the Eternal Fire didn’t just quarantine the sick in this mine. Climb some stairs to the north, go through a door to the left, loot the room you find yourself in and exit to the southeast and drop into the chamber where you fought the Plague Victims.
Note from Father Edgar from a table nearby to find out that the Eternal Fire didn’t just quarantine the sick in this mine. Climb some stairs to the north, go through a door to the left, loot the room you find yourself in and exit to the southeast and drop into the chamber where you fought the Plague Victims.
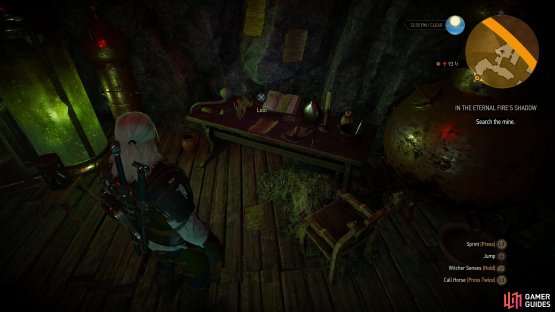
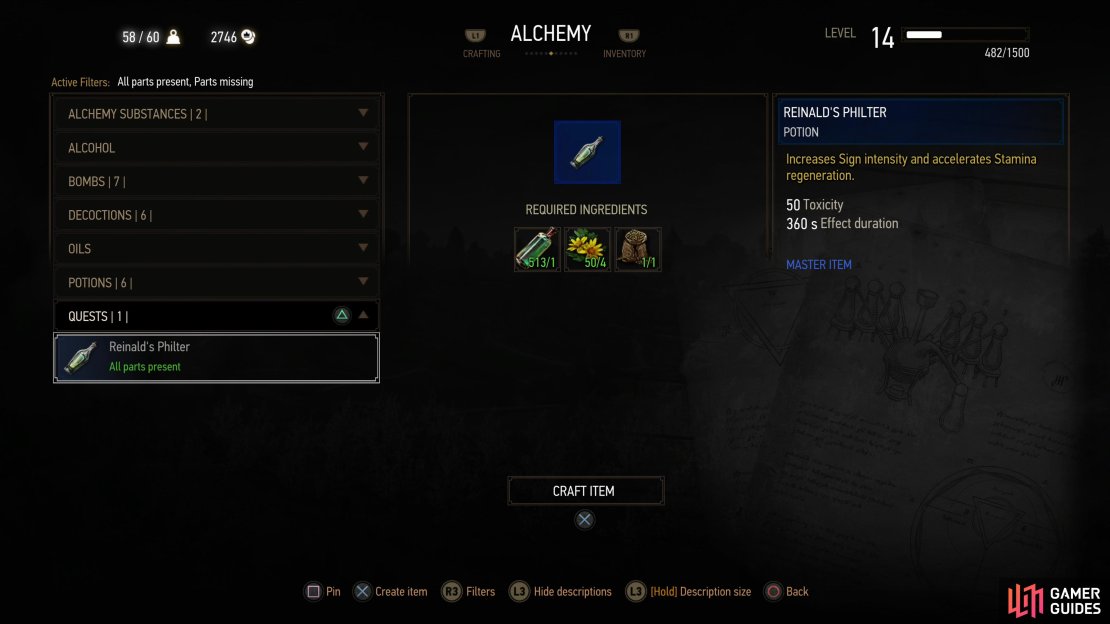
Continue around the edge of the chamber until you’re along the southwestern end, where you’ll find a ramp. Use the ramp to jump up and over a wall (as usual, the white paint indicates where you need to go), loot the room you find yourself in, then Aard down a door to the northeast to find a small room. Loot a desk along the northern edge of the room to find the Second Letter from Reinald, which will prompt Geralt to also plunder the contents of a small chest nearby, filled with everything you need to craft ![]() Reinald’s Philter save for some
Reinald’s Philter save for some ![]() Celandine. If you for some reason don’t have the four required units of Celandine, you can always leave the mine to get some. Otherwise you should have found Dwarven Spirit and
Celandine. If you for some reason don’t have the four required units of Celandine, you can always leave the mine to get some. Otherwise you should have found Dwarven Spirit and ![]() Reinald’s Secret Ingredient in the nearby chest, allowing you to craft Reinald’s Philter. This functions like a mix of
Reinald’s Secret Ingredient in the nearby chest, allowing you to craft Reinald’s Philter. This functions like a mix of ![]() Petri’s Philter and
Petri’s Philter and ![]() Tawny Owl, albeit with a much, much longer duration. Craft it via the “Alchemy / Quests” tab of the menu and it’ll be automatically equipped - don’t worry about it, you’ll consume it via dialog later on. Once you’ve crafted Reinald’s Philter, chest out the Red Miasmal entry in your bestiary, grab yet another Greater Glyph of Yrden from off the table, then leave the room.
Tawny Owl, albeit with a much, much longer duration. Craft it via the “Alchemy / Quests” tab of the menu and it’ll be automatically equipped - don’t worry about it, you’ll consume it via dialog later on. Once you’ve crafted Reinald’s Philter, chest out the Red Miasmal entry in your bestiary, grab yet another Greater Glyph of Yrden from off the table, then leave the room.


(1 of 3) Use a ramp to jump over a wall,
Exit through a door to the southwest and follow the linear path beyond, looting everything you spot along the way. Eventually you’ll have no choice but to drop down into a chamber below, where another Plague Victim (Lv14) awaits. Put him out of his misery then take the tunnel to the east until you reach a fork. At this fork if you go northwest you’ll be at the second chamber you entered in the mine, where you first heard a voice calling out to you. Once again, you’ll want to go right (southeast) to reach your destination, but since you took the long way around you earned a good bit of loot, learned what happened in this mine, and obtained a tool to help you deal with the Red Miasmal that lurks ahead.
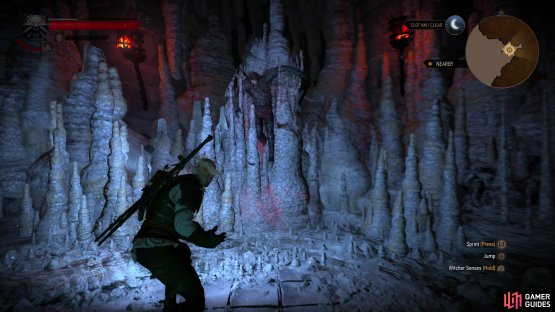
Reach the Salt Cavern
If you decided to listen to the voice and turn right (southeast) at the fork instead of exploring the mine thoroughly you’ll soon find yourself at another fork. The tunnel to the west is where you’ll end up if you did decide to explore the entirety of the mine, hence this second fork is where the two paths meet up. Either way, continue southeast to reach a building where three Plague Victims (Lv14) dwell. Cut them down, exit southeast, and stay on the high ground - there’s nothing of interest on the lowground worth wasting time on. Use a ramp to jump a gap to the east and go through some double doors, in the process nabbing the Fifth Letter from Reinald.
Beyond this door lies the salt cavern where Reinald kept the Red Misasmal captive, and you’re not at the point of no return yet. Once you use Aard on the salt stalagmites holding Reinald at bay, however, you’re not leaving until you deal with the Red Miasmal, so make whatever preparations you need to.

(1 of 2) Fight your way through a group of Plague Victims to reach the salt cavern.
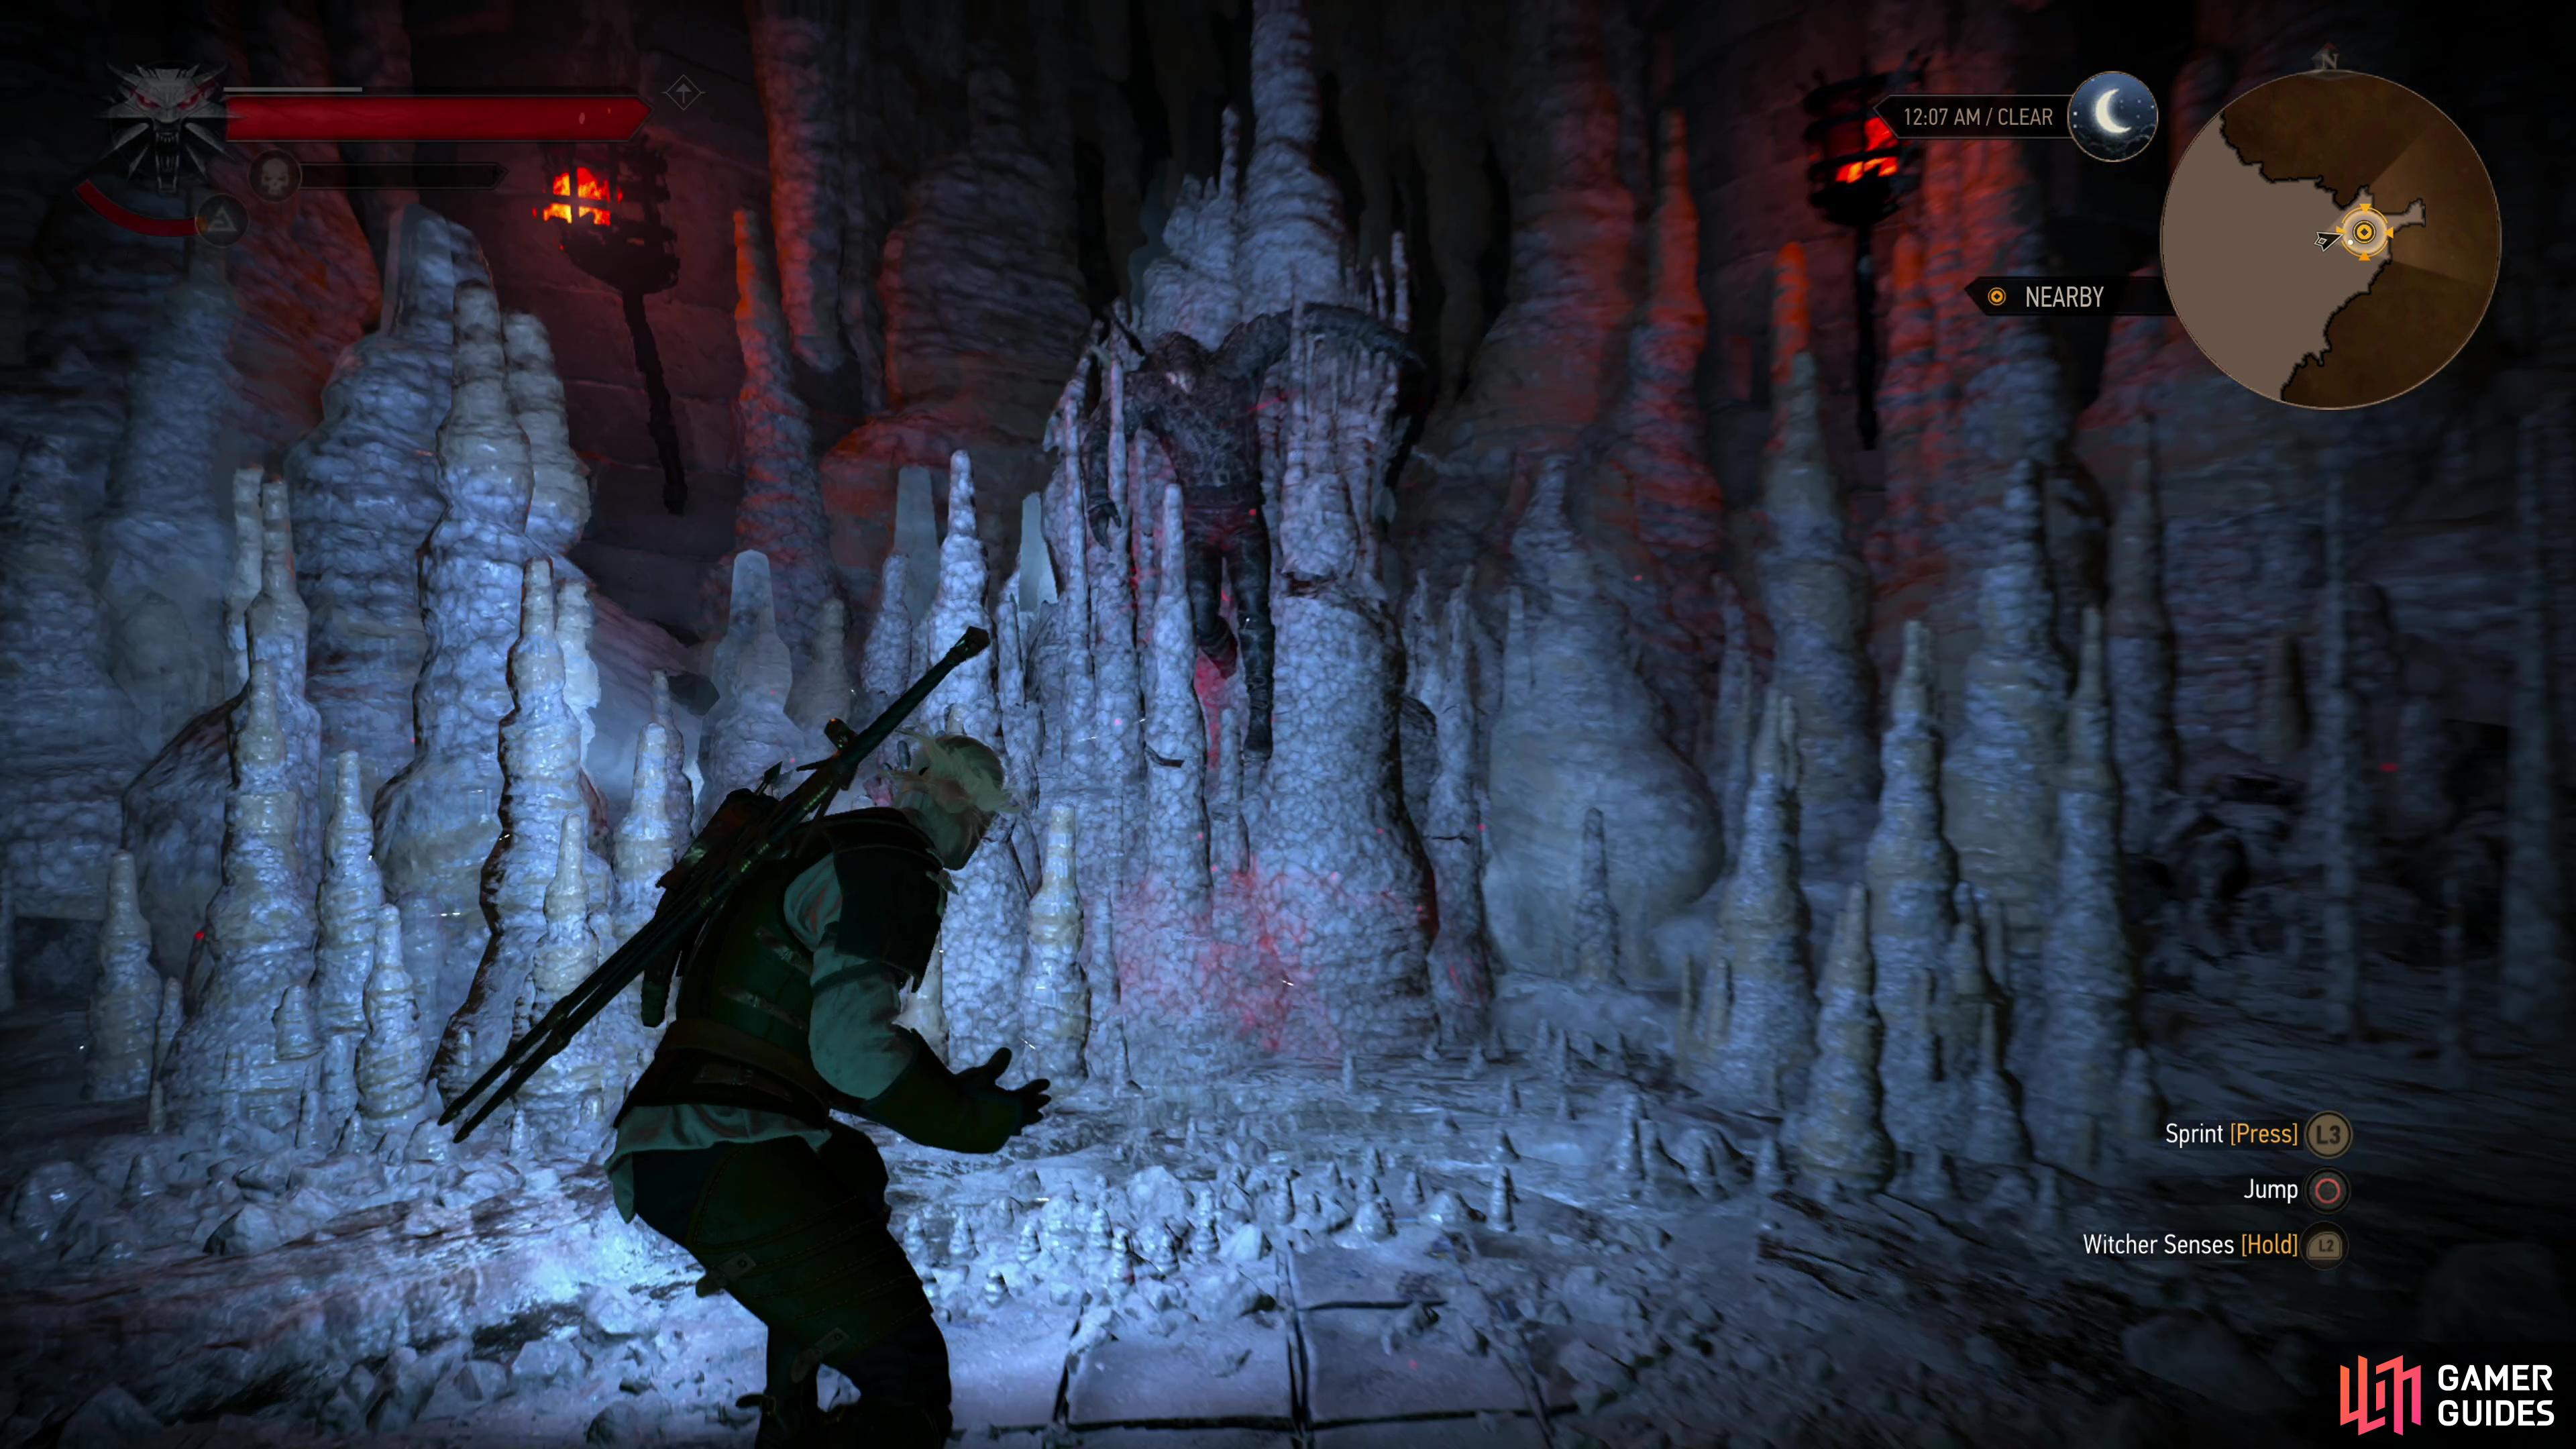
Fight your way through a group of Plague Victims to reach the salt cavern. (left), When you’re prepared, free Reinald using Aard. (right)
Choice: Give Reinald the Potion or Refuse
When you’re ready, Aard Reinald free and if you did not create Reinald’s Philter you’ll find yourself in a fight almost immediately, while if you created the potion the Red Mistral will make an attempt at deception, first. In this case Reinald will ask for his potion to he can expel the Red Mistral, and just in case you’re not certain you can pick the dialog option [Test Reinald] “Found your letters to… ![]() Lambert.” to expose the fraud. In any event, if you give the Red Mistral Reinald’s Philter (pick the option ”Fine. Drink this.”) Reinald will wrest control away from the Red Mistral long enough to discard the potion, while if you pick the option ”Not giving you the potion.” Reinald’s interference will give you time to drink the potion yourself.
Lambert.” to expose the fraud. In any event, if you give the Red Mistral Reinald’s Philter (pick the option ”Fine. Drink this.”) Reinald will wrest control away from the Red Mistral long enough to discard the potion, while if you pick the option ”Not giving you the potion.” Reinald’s interference will give you time to drink the potion yourself.
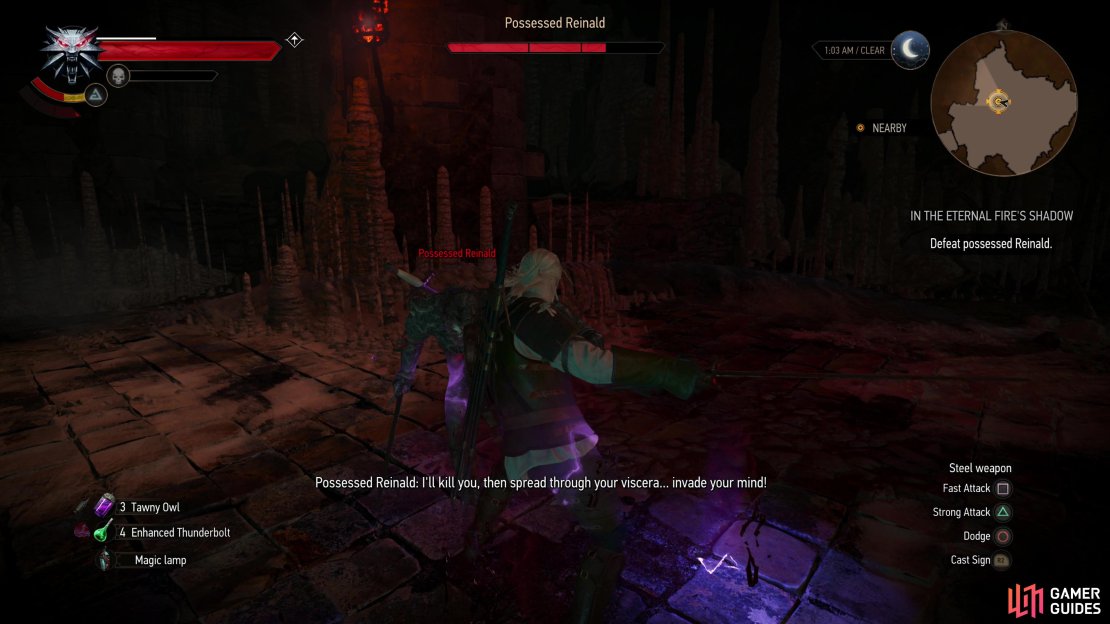
Defeat Possessed Reinald
Witcher on Witcher fights are rare, but not unheard of - every Witcher game to date has featured one (or at least, the option for such an encounter to play out), but alas, the fight with Reinald is more gimmick than proper duel. Reinald’s three centuries or so of captivity haven’t diminished his skills and he’ll happily employ Aard and ![]() Igni along with powerful sword combos, while protecting himself with Quen. All that said, you can get the better of him the same way you can best most foes - use Active Quen to absorb an attack and Exploding Shield should stagger Reinald, allowing to score three fast attacks after he’s staggered by Quen. The “rule of three” is in full effect - get greedy and Reinald will protect himself with Quen, staggering you if you attack it. You can reduce Reinald around a third of his health using this strategy, but once his health is reduced to this point he’ll start regenerating, eventually returning to 50% of his maximum health. You’ll need more than brute force and signs to defeat the Red Miasmal possessing Reinald.
Igni along with powerful sword combos, while protecting himself with Quen. All that said, you can get the better of him the same way you can best most foes - use Active Quen to absorb an attack and Exploding Shield should stagger Reinald, allowing to score three fast attacks after he’s staggered by Quen. The “rule of three” is in full effect - get greedy and Reinald will protect himself with Quen, staggering you if you attack it. You can reduce Reinald around a third of his health using this strategy, but once his health is reduced to this point he’ll start regenerating, eventually returning to 50% of his maximum health. You’ll need more than brute force and signs to defeat the Red Miasmal possessing Reinald.
The way the game wants you to go about this fight - the aforementioned gimmick, if you will - is to cast Yrden, then hit Reinald with Aard while he’s within the Yrden ring. This will deal significant damage to Reinald and if you’re not terribly overleveled or underleveled, this should be sufficient to defeat Possessed Reinald in three Aard blasts (perhaps two if you drank Reinald’s Philter). Needless to say, Reinald’s Philter makes this fight much easier, as it’ll allow you to use Yrden and Aard more quickly.
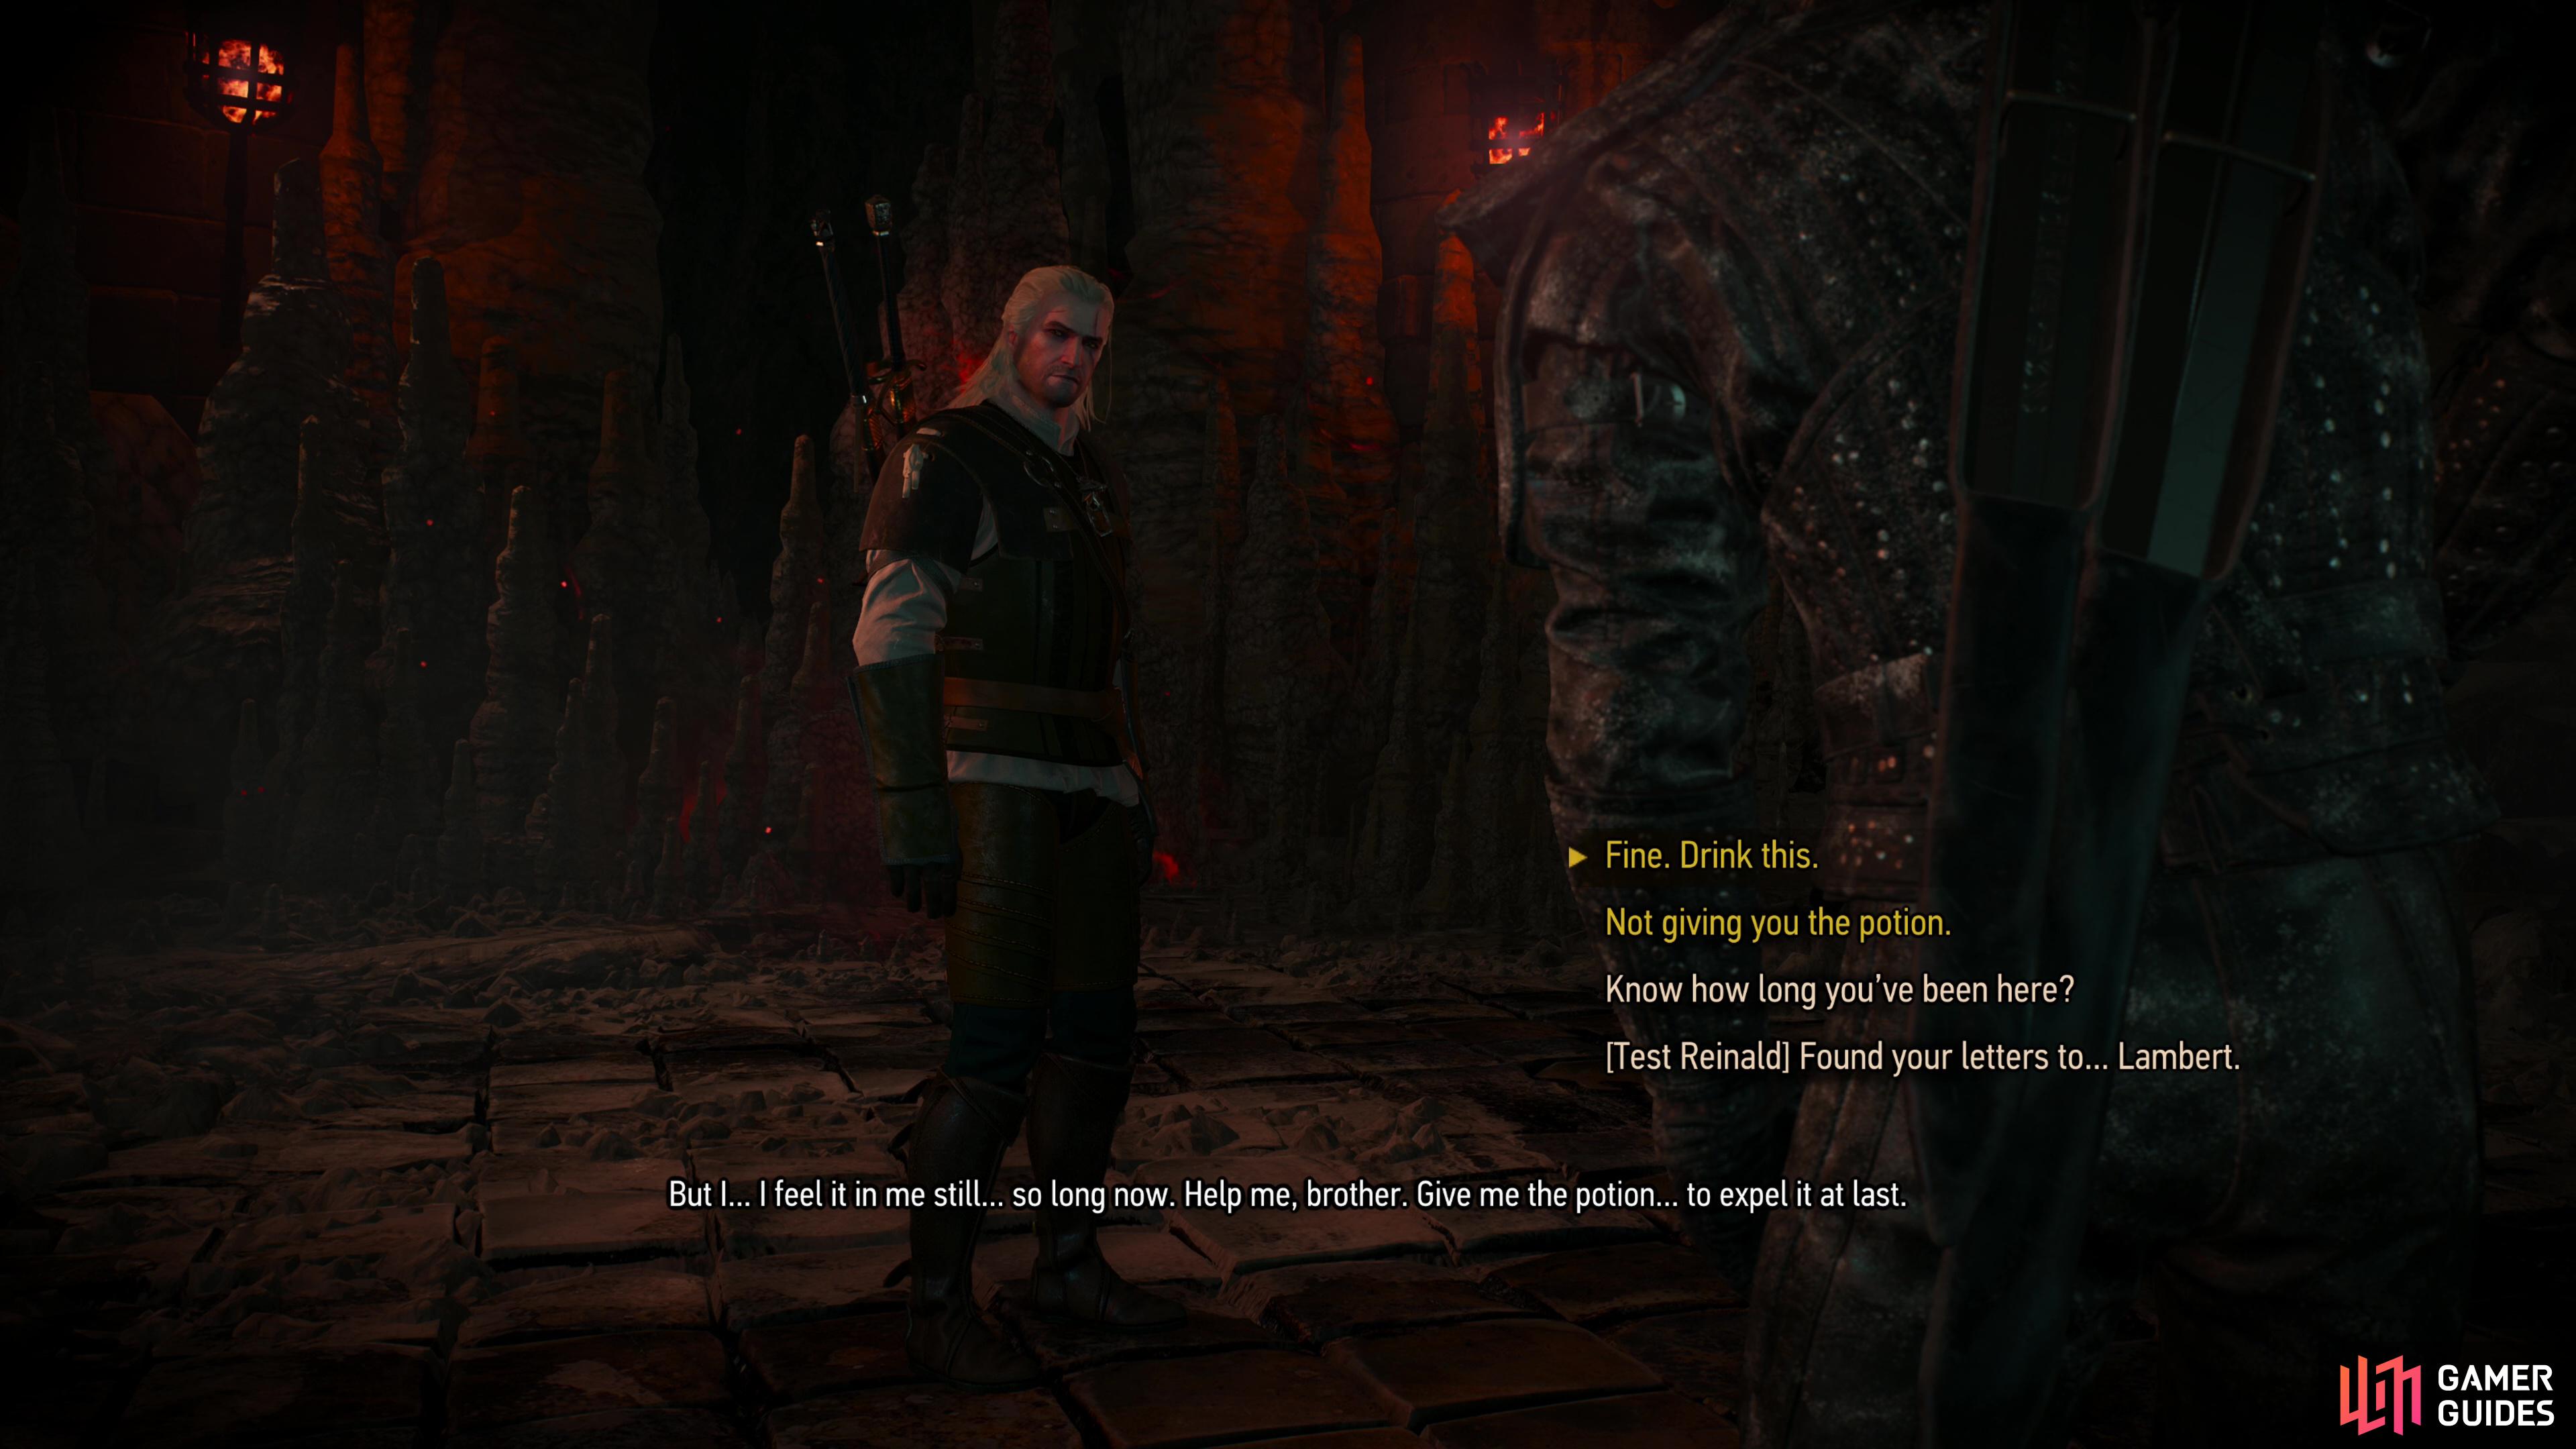
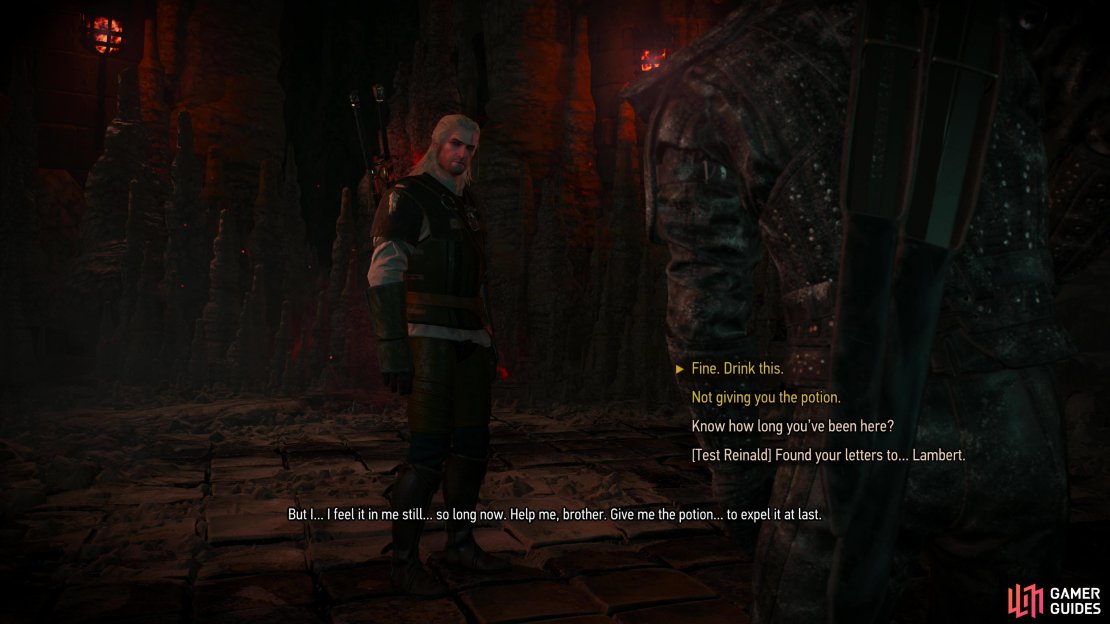
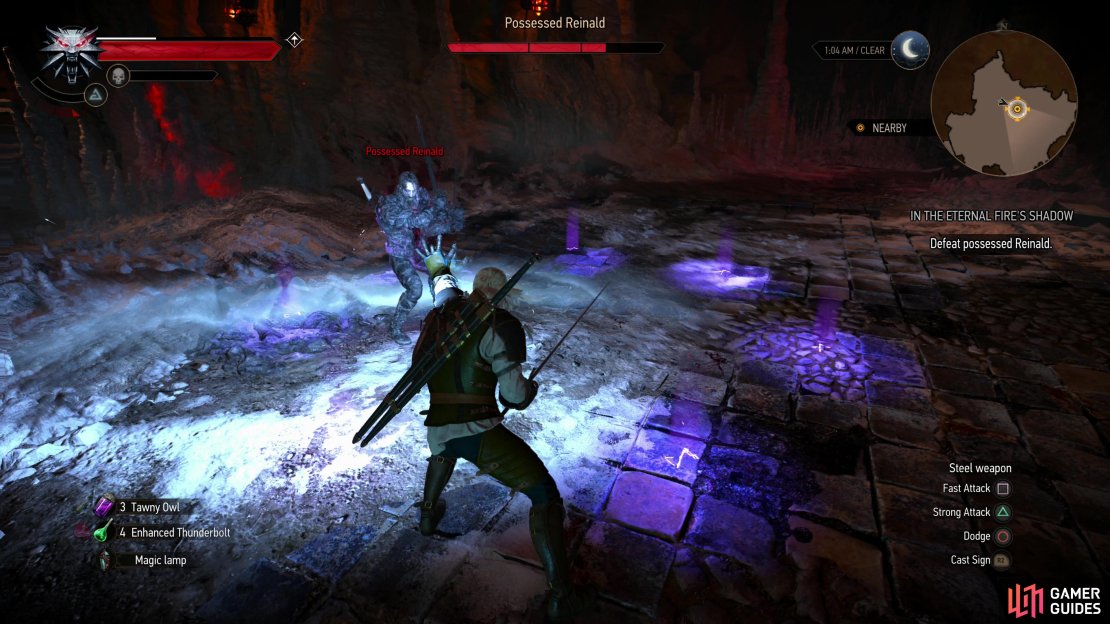
(1 of 3) Once freed, Reinard will ask for the philter you concocted - don’t give it to him, as it’ll deprive you of its use.
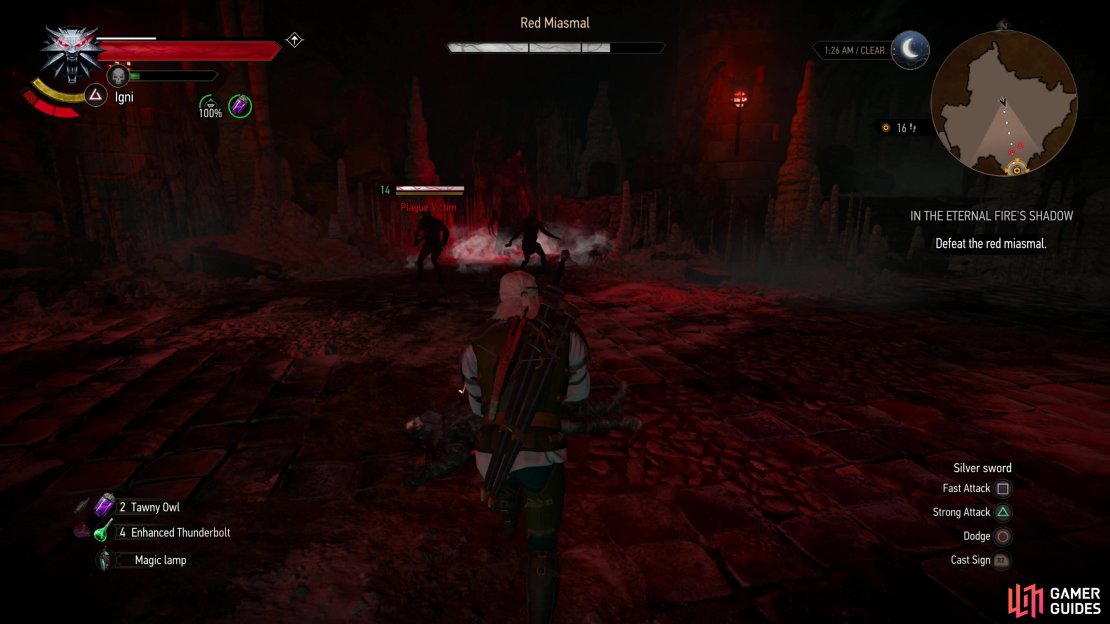
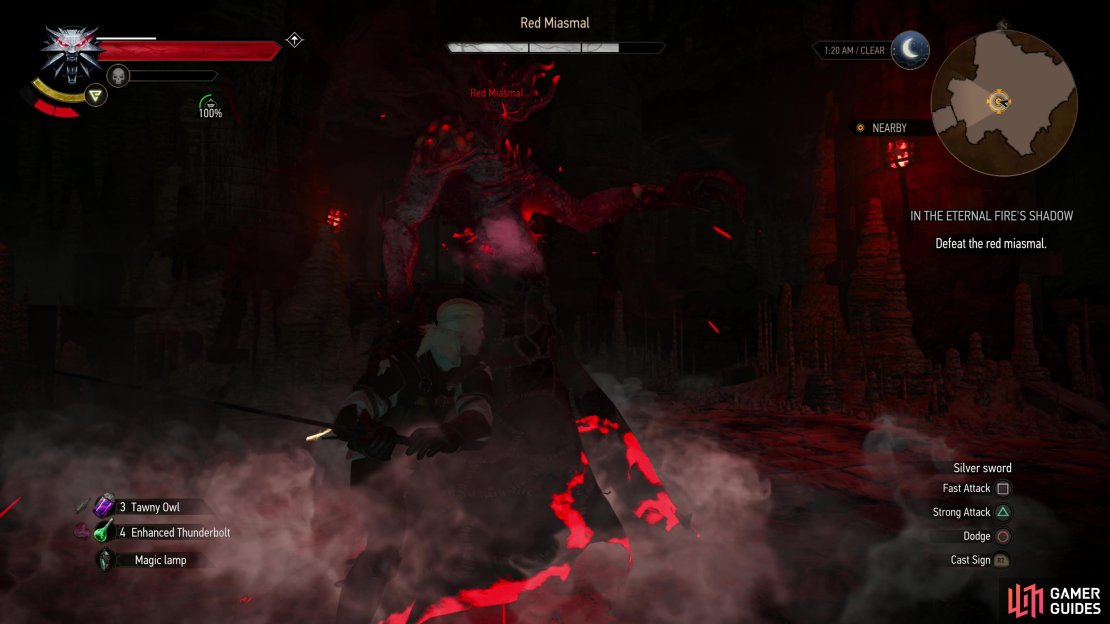
Defeat the Red Miasmal
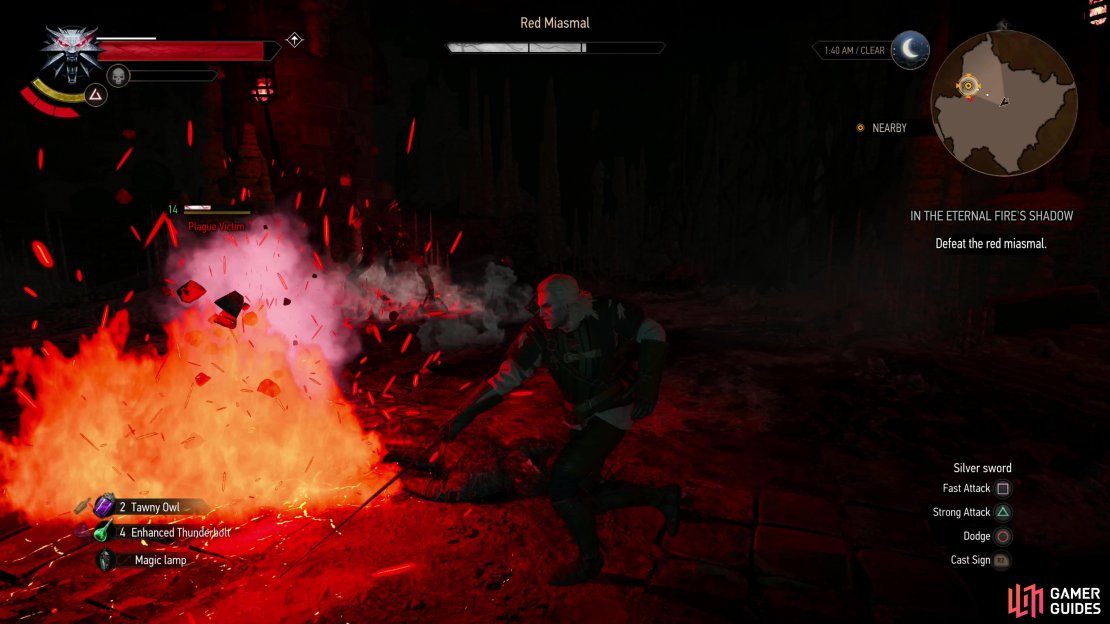
Vanquish Possessed Reinald and the Red Miasmal will drop its corporeal facade and attack you directly. Unlike the battle with Reinald, this fight is conventional and if we’re being honest, painfully easy. The Red Miasmal only has two attacks, swipes with its claws (sometimes after teleporting) and a gout of flame that travels underground and erupts under Geralt’s feet. The latter attack is arguably the more dangerous of the two, although it has limited range, you can see it coming, and dodge spam should suffice to avoid it. In fact, dodge spam should make it very hard for the Red Miasmal to deal any damage to you. It also gets staggered from all your attacks, meaning you should have no trouble landing the three standard fast attacks every time you go on offense, after which dodge away, and if the creature doesn’t go for another attack, hit it with another trio of fast attacks. If it teleports, just dodge until you avoid its inevitable teleport attack or flame geyser, and repeat.
The only variations in this routine are when the Red Miasmal’s health is reduced to around two-thirds and one-third, at which point it’ll summon two Plague Victims (Lv14) to assist it. These specimens seem largely passive, but they’ll usually rouse themselves to charge at you when you score a combo on the Red Miasmal, and they generally serve to slightly complicate an otherwise easy battle. Defeat them if you care to and note that the Red Miasmal’s flame geyser attack can deal damage to them if you can make it work, which is just about the only use for the attack.
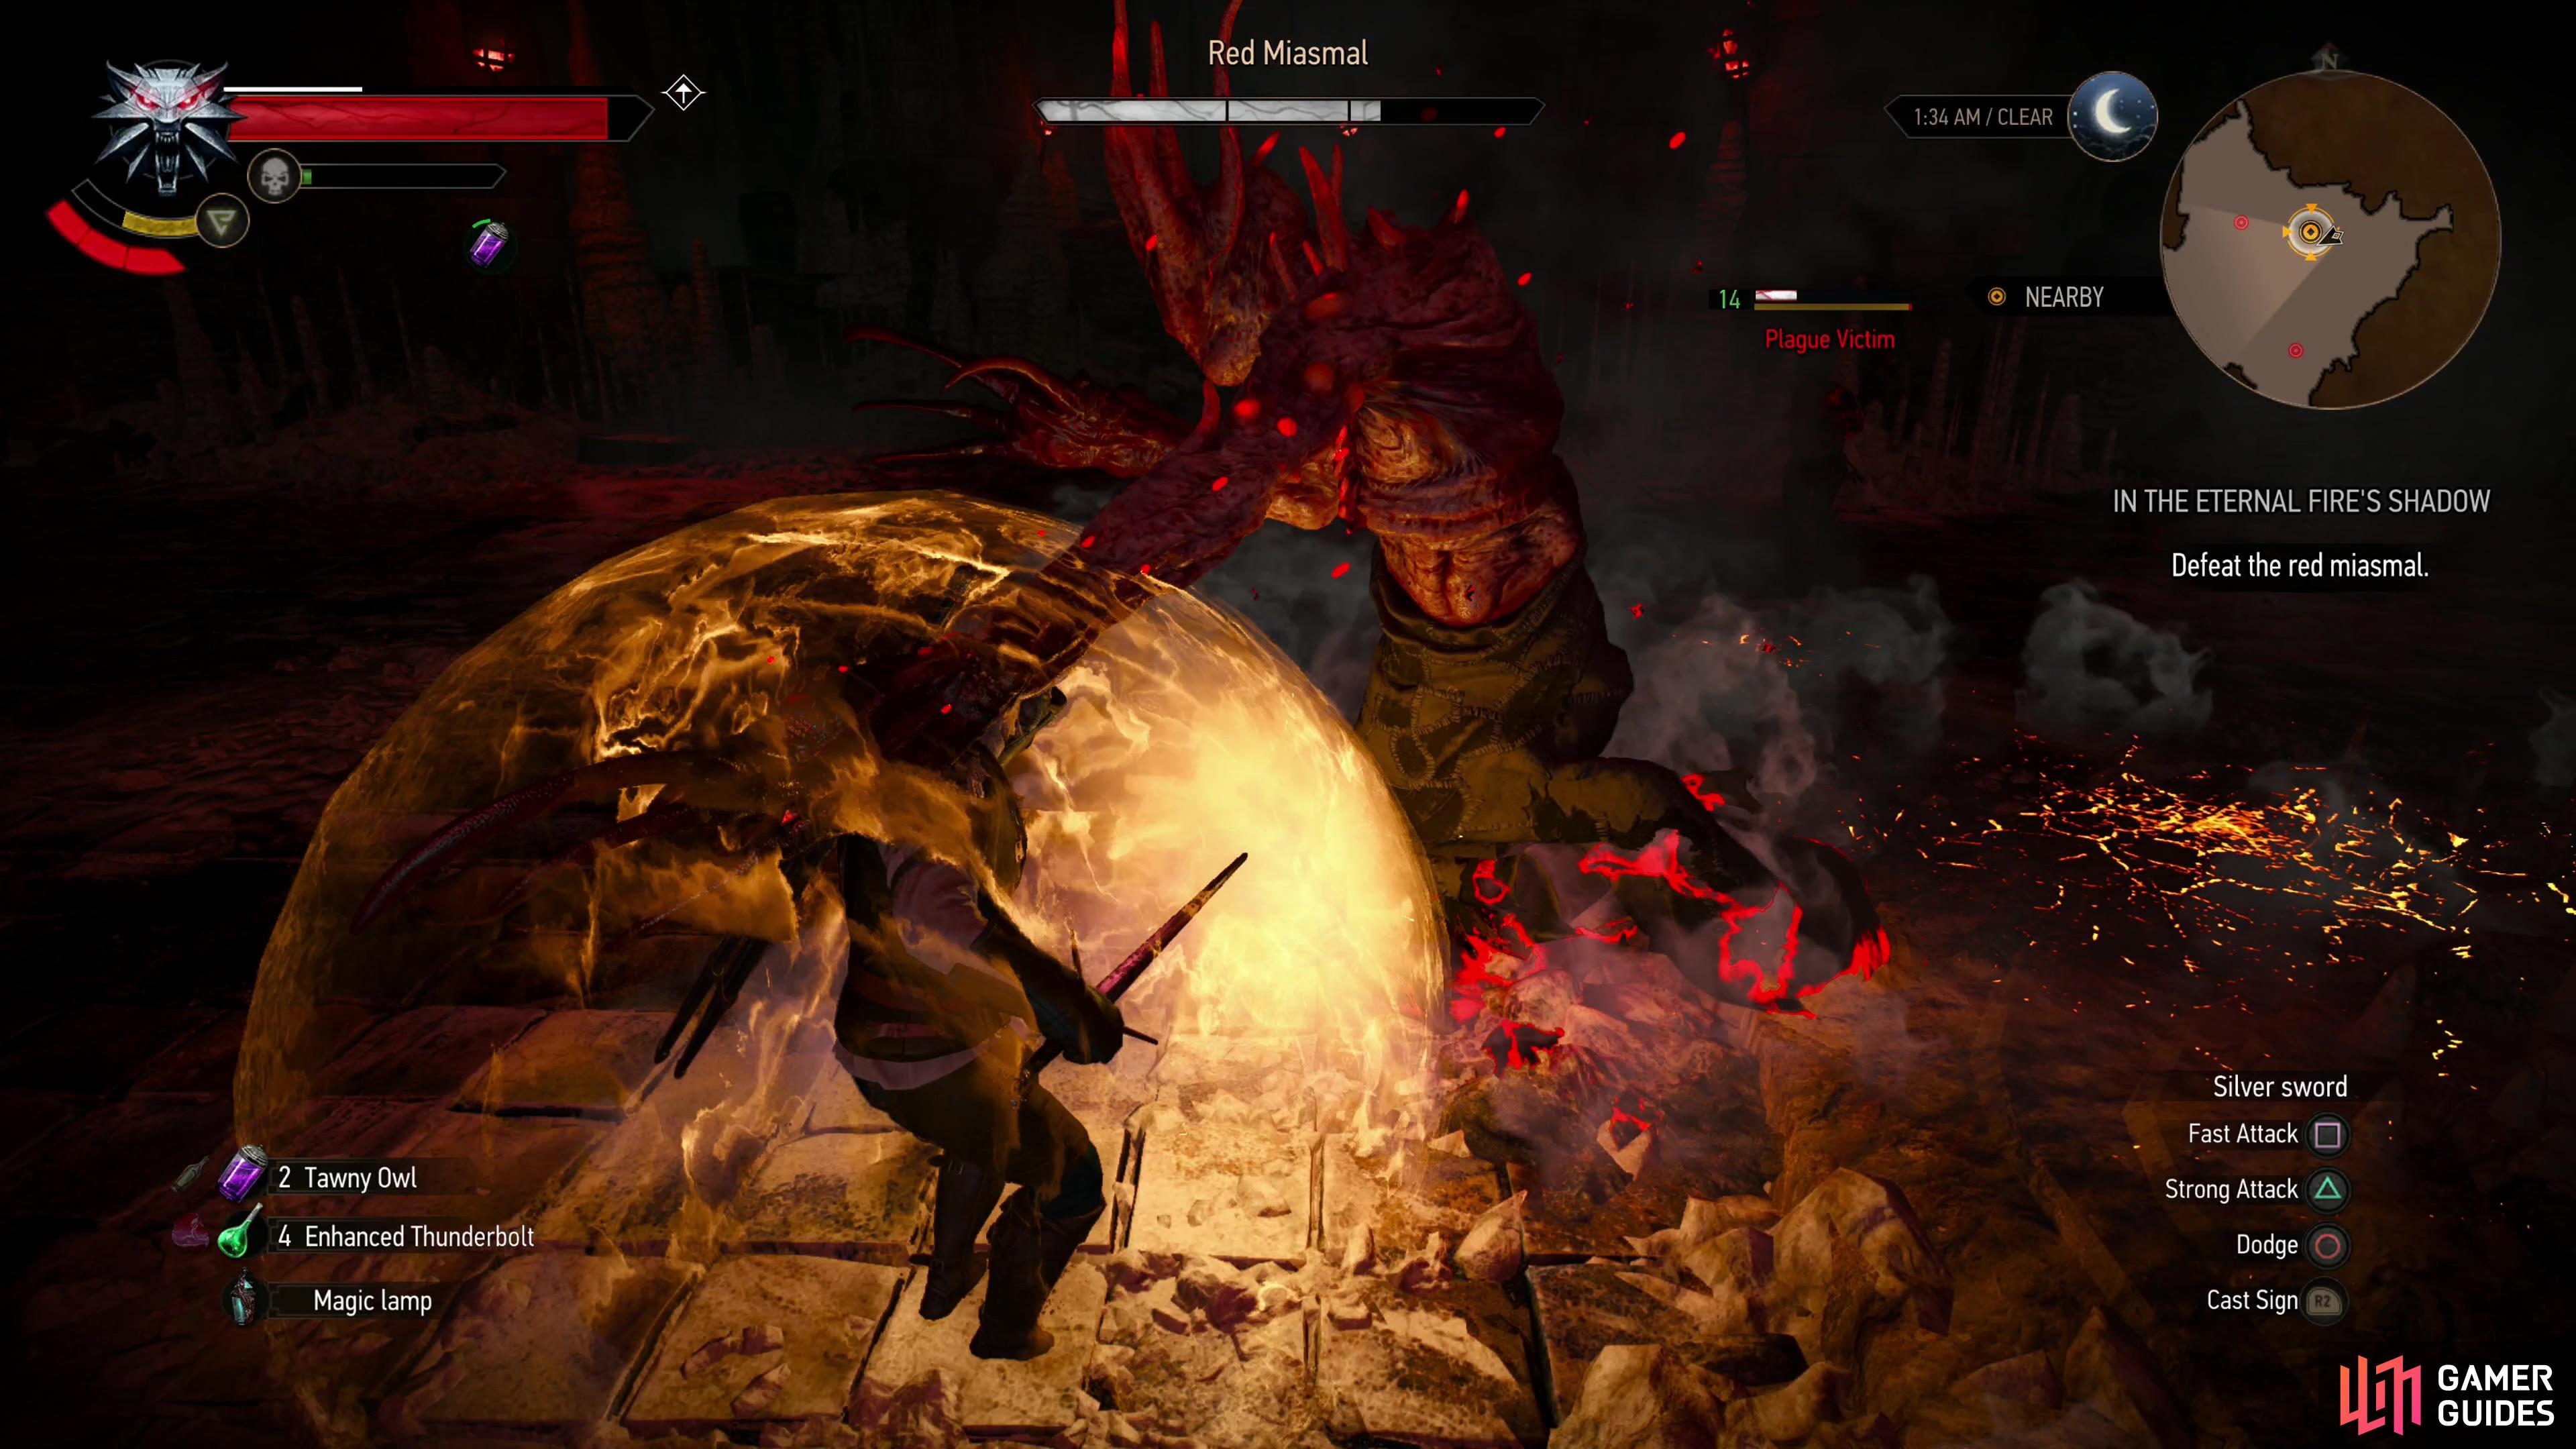
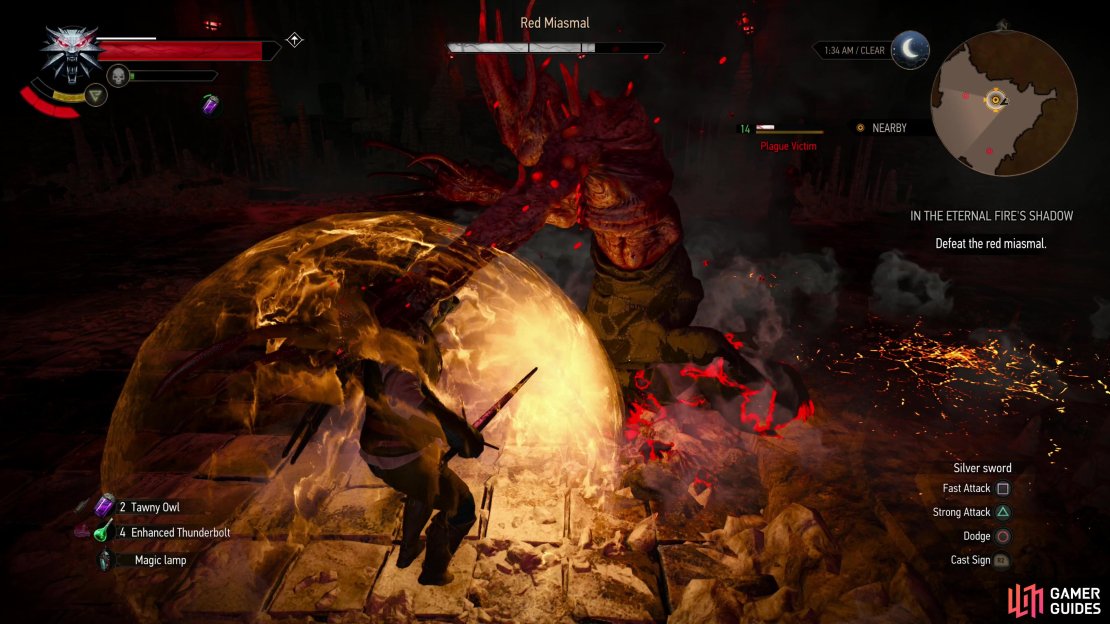
(1 of 4) The Red Miasma’s attacks largely consist of surprisingly weak claw swipes,
Choice: Help Reinald Get Revenge or Spare the Priest
Exorcise the Red Miasmal and Reinald’s spirit will finally be free, but the vengeful spirit still has unfinished business left. It bears a grudge against the Eternal Fire, and wants to vents its anger on the young deacon who tasked you with entering this mine in the first place. You’ve several choices for how things play out, but first pick the dialog option ”Can you prove you’re Reinald?” and you’ll get the diagrams for the Forgotten Wolven Witcher Set. Follow up with ”What now?” after which you’ll get the option to either bring the priest down here, or refuse.
-
Refuse to bring the priest down by selecting the option ”No. Not worth the Risk.” and Reinald, incapable of imposing his will on you, has no choice but to accept things as you burn his corpse. You can tell the young deacon about what happened in the mine, but he won’t entirely believe your claims, still preferring to cling to the delusion that the Church of the Eternal Fire is a force for good in the world. You’ll get paid and you’ll keep the Forgotten Wolven set diagrams.
-
Select the dialog option ”Fine. I’ll get the priest.” to bring him into the mine, then refuse to defend him (pick the dialog options ”Reinald’s right.’ followed by ”Crimes like these can’t be forgiven.”) and Reinald’s ghost will kill him. You won’t get your monetary reward from the priest, but you’ll still get the diagrams.
-
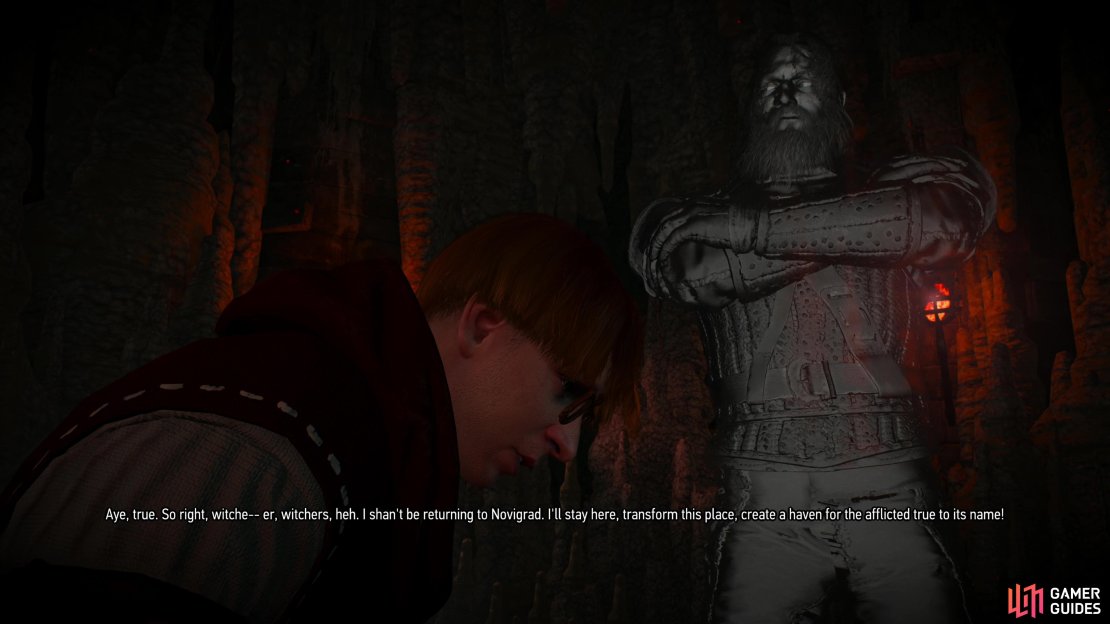
Bring the young deacon into the mine and defend him by picking ”Boy’s innocent.” followed by ”Don’t need a church to do good, priest.” and Reinald will recover his morality and depart this world peacefully. The priest, shaken by Reinald’s wraith, will disavow the church of the Eternal Fire and promise to dedicate his life to the cause of helping the ill. This is arguably the best outcome, story-wise, and you’ll get both the pay promised to you as well as the Forgotten Wolven set diagrams.
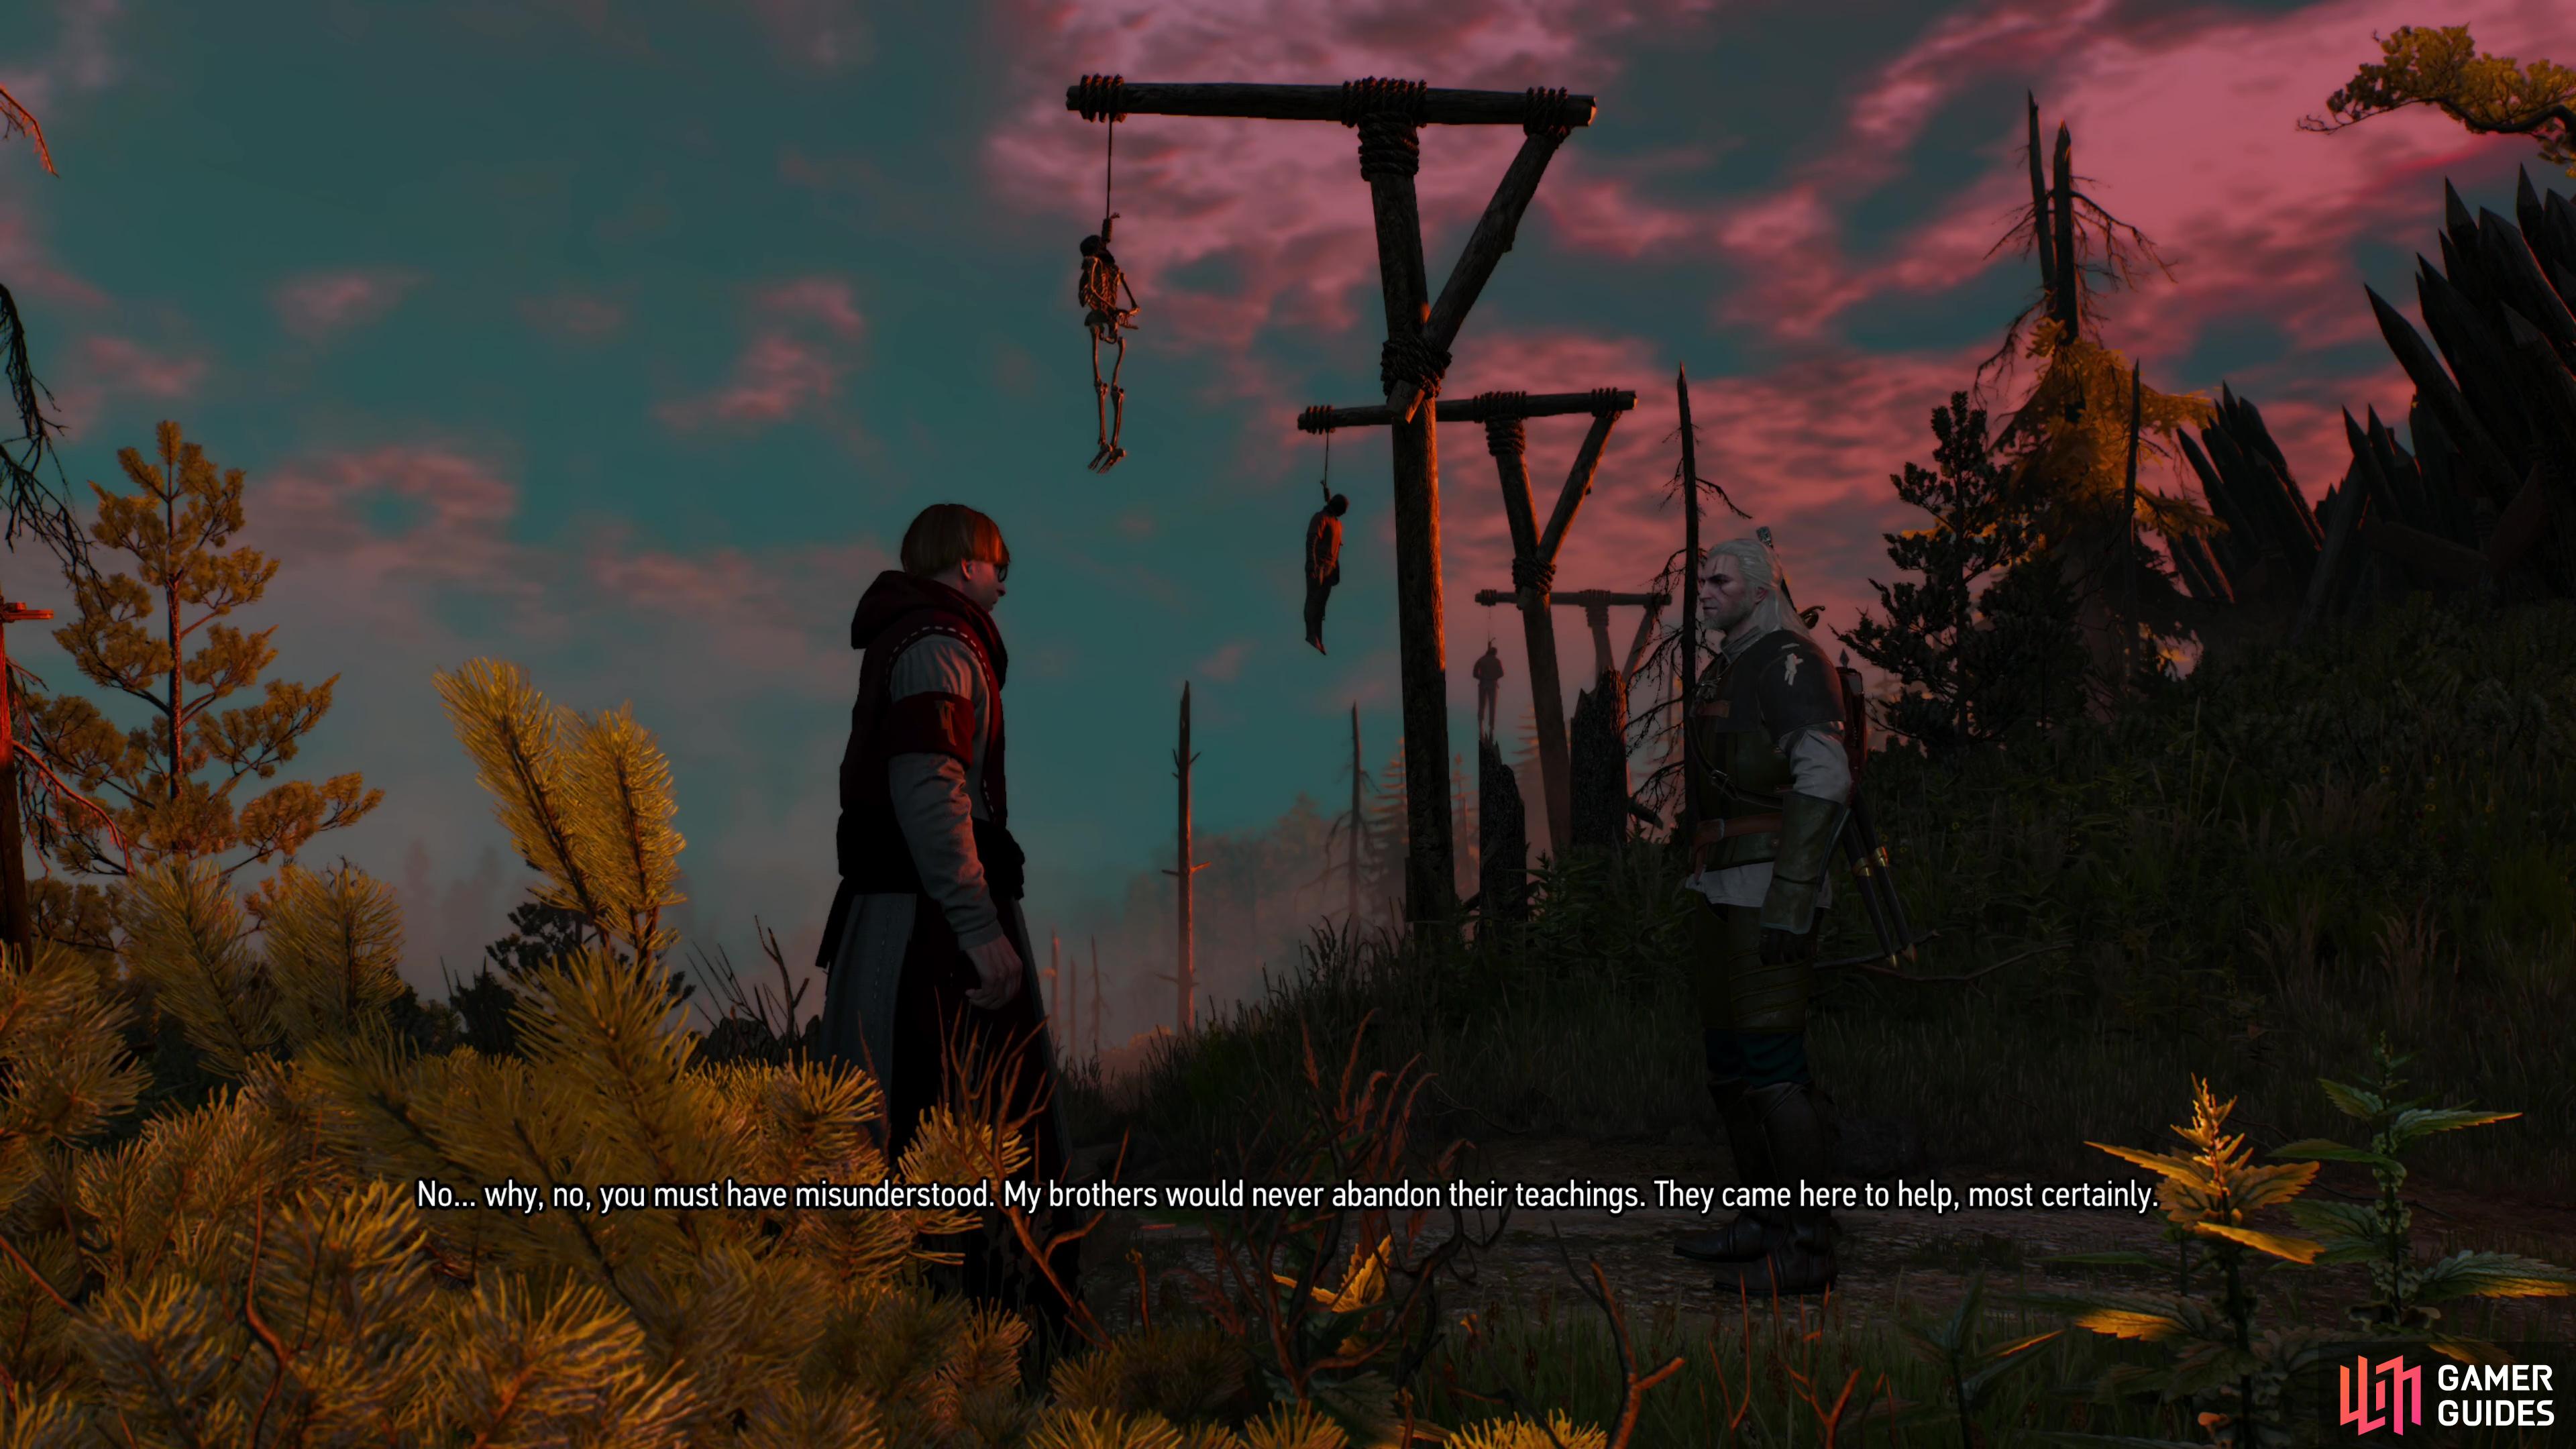

(1 of 3) Refuse to bring the priest to Reinald and the specter will have no power to thwart you - the priest pays what you’re owed, but refuses to believe you claims about the Eternal Fire’s atrocities.
Whatever choice you make, you should walk out of here with the diagrams for the Forgotten Wolven Witcher set, something of a mixed bag as far as stats go. You’ll need to reach level twenty before you can wear any of it, it’s still nice to have an upgrade on-hand. This set also has several upgrade tiers, and should you feel inclined to hunt any of them down the newly-started quest [Scavenger Hunt: Forgotten ![]() Wolf School Gear] will help you track the upgrade diagrams down.
Wolf School Gear] will help you track the upgrade diagrams down.
No Comments