
After picking up Yennefer’s trail in White Orchard and witnessing first hand the sorry state of Temeria under Nilfgaardian occupation, Geralt will find himself lured into the presence of Emperor Emhyr var Emrais, who commands the Witcher to hunt down Ciri. Thanks to the intel the Nilfgaardians have collected you’re not searching completely blind, but their leads are vague and much footwork needs to be done. One of the three locations you’ll need to search is in Velen, which is the lowest level of the areas and also where a Nilfgaardian agent who has more information resides, making it the ideal place to start both in terms of gameplay and lore. This page will guide you through the main and secondary quests in Velen in an ideal chronological order, hopefully ensuring that you don’t wander off into something you’re not prepared for while also minimizing the risk of you missing or failing quests.
Quest Objectives
The Velen-Novigrad Boundary
When you leave Vizima you’ll need to travel to the Hanged Man’s Tree signpost, which is roughly in the center of the Velen/Novigrad region. Velen and Novigrad share the same contiguous map, but for the sake of this guide we’ll draw the boundary between the two at the Pontar River, which is the waterway north and east of the island where the ![]() Hanged Man’s Tree is located. Due to the war, this is roughly the furthest extent of Redanian authority and to cross the Pontar - say to reach Novigrad or Oxenfurt to the north and east, respectively - you’ll need a pass. So there’s both a gameplay and a geographic justification for this divide.
Hanged Man’s Tree is located. Due to the war, this is roughly the furthest extent of Redanian authority and to cross the Pontar - say to reach Novigrad or Oxenfurt to the north and east, respectively - you’ll need a pass. So there’s both a gameplay and a geographic justification for this divide.
Secondary Quests Around Mulbrydale
Southwest of the Hanged Man’s Tree signpost is the village of Mulbrydale, and this is a good first place to start, as a road running west of ![]() Mulbrydale will take you towards the first destination in the main quest The Nilfgaardian Connection. You’ll want to do that before long, but first you should note a new development which will shape our recommendations somewhat - easily missable secondary and freeform quests. As you explore the open world of The Witcher 3 you may just stumble upon something interesting: an argument, a standoff, a cry for help, an NPC in distress, a scent that Geralt comments on… aside from these cues, the only thing marking these quests might just be a yellow exclamation point on your minimap, and if you wait too long or venture too far away, the quest might resolve itself in your absence. Not all secondary quests are like this, and most of the ones that are this fickle also aren’t terribly important or rewarding, but we’ll strive to point these out to you whenever we can.
Mulbrydale will take you towards the first destination in the main quest The Nilfgaardian Connection. You’ll want to do that before long, but first you should note a new development which will shape our recommendations somewhat - easily missable secondary and freeform quests. As you explore the open world of The Witcher 3 you may just stumble upon something interesting: an argument, a standoff, a cry for help, an NPC in distress, a scent that Geralt comments on… aside from these cues, the only thing marking these quests might just be a yellow exclamation point on your minimap, and if you wait too long or venture too far away, the quest might resolve itself in your absence. Not all secondary quests are like this, and most of the ones that are this fickle also aren’t terribly important or rewarding, but we’ll strive to point these out to you whenever we can.
It just so happens that the landmass you’re on features several such quests, although for the time being we’ll recommend staying clear of the environs around Oxenfurt - you need a pass to cross the Pontar and some enemies might be too much for you to handle right now. That said, there are a few secondary quests you might want to seek out before advancing the main questline, including:
You can find many secondary quests and freeform quests just by wandering around Velen, and if you’re not careful, they’re easy to miss.
Get a Transit Pass
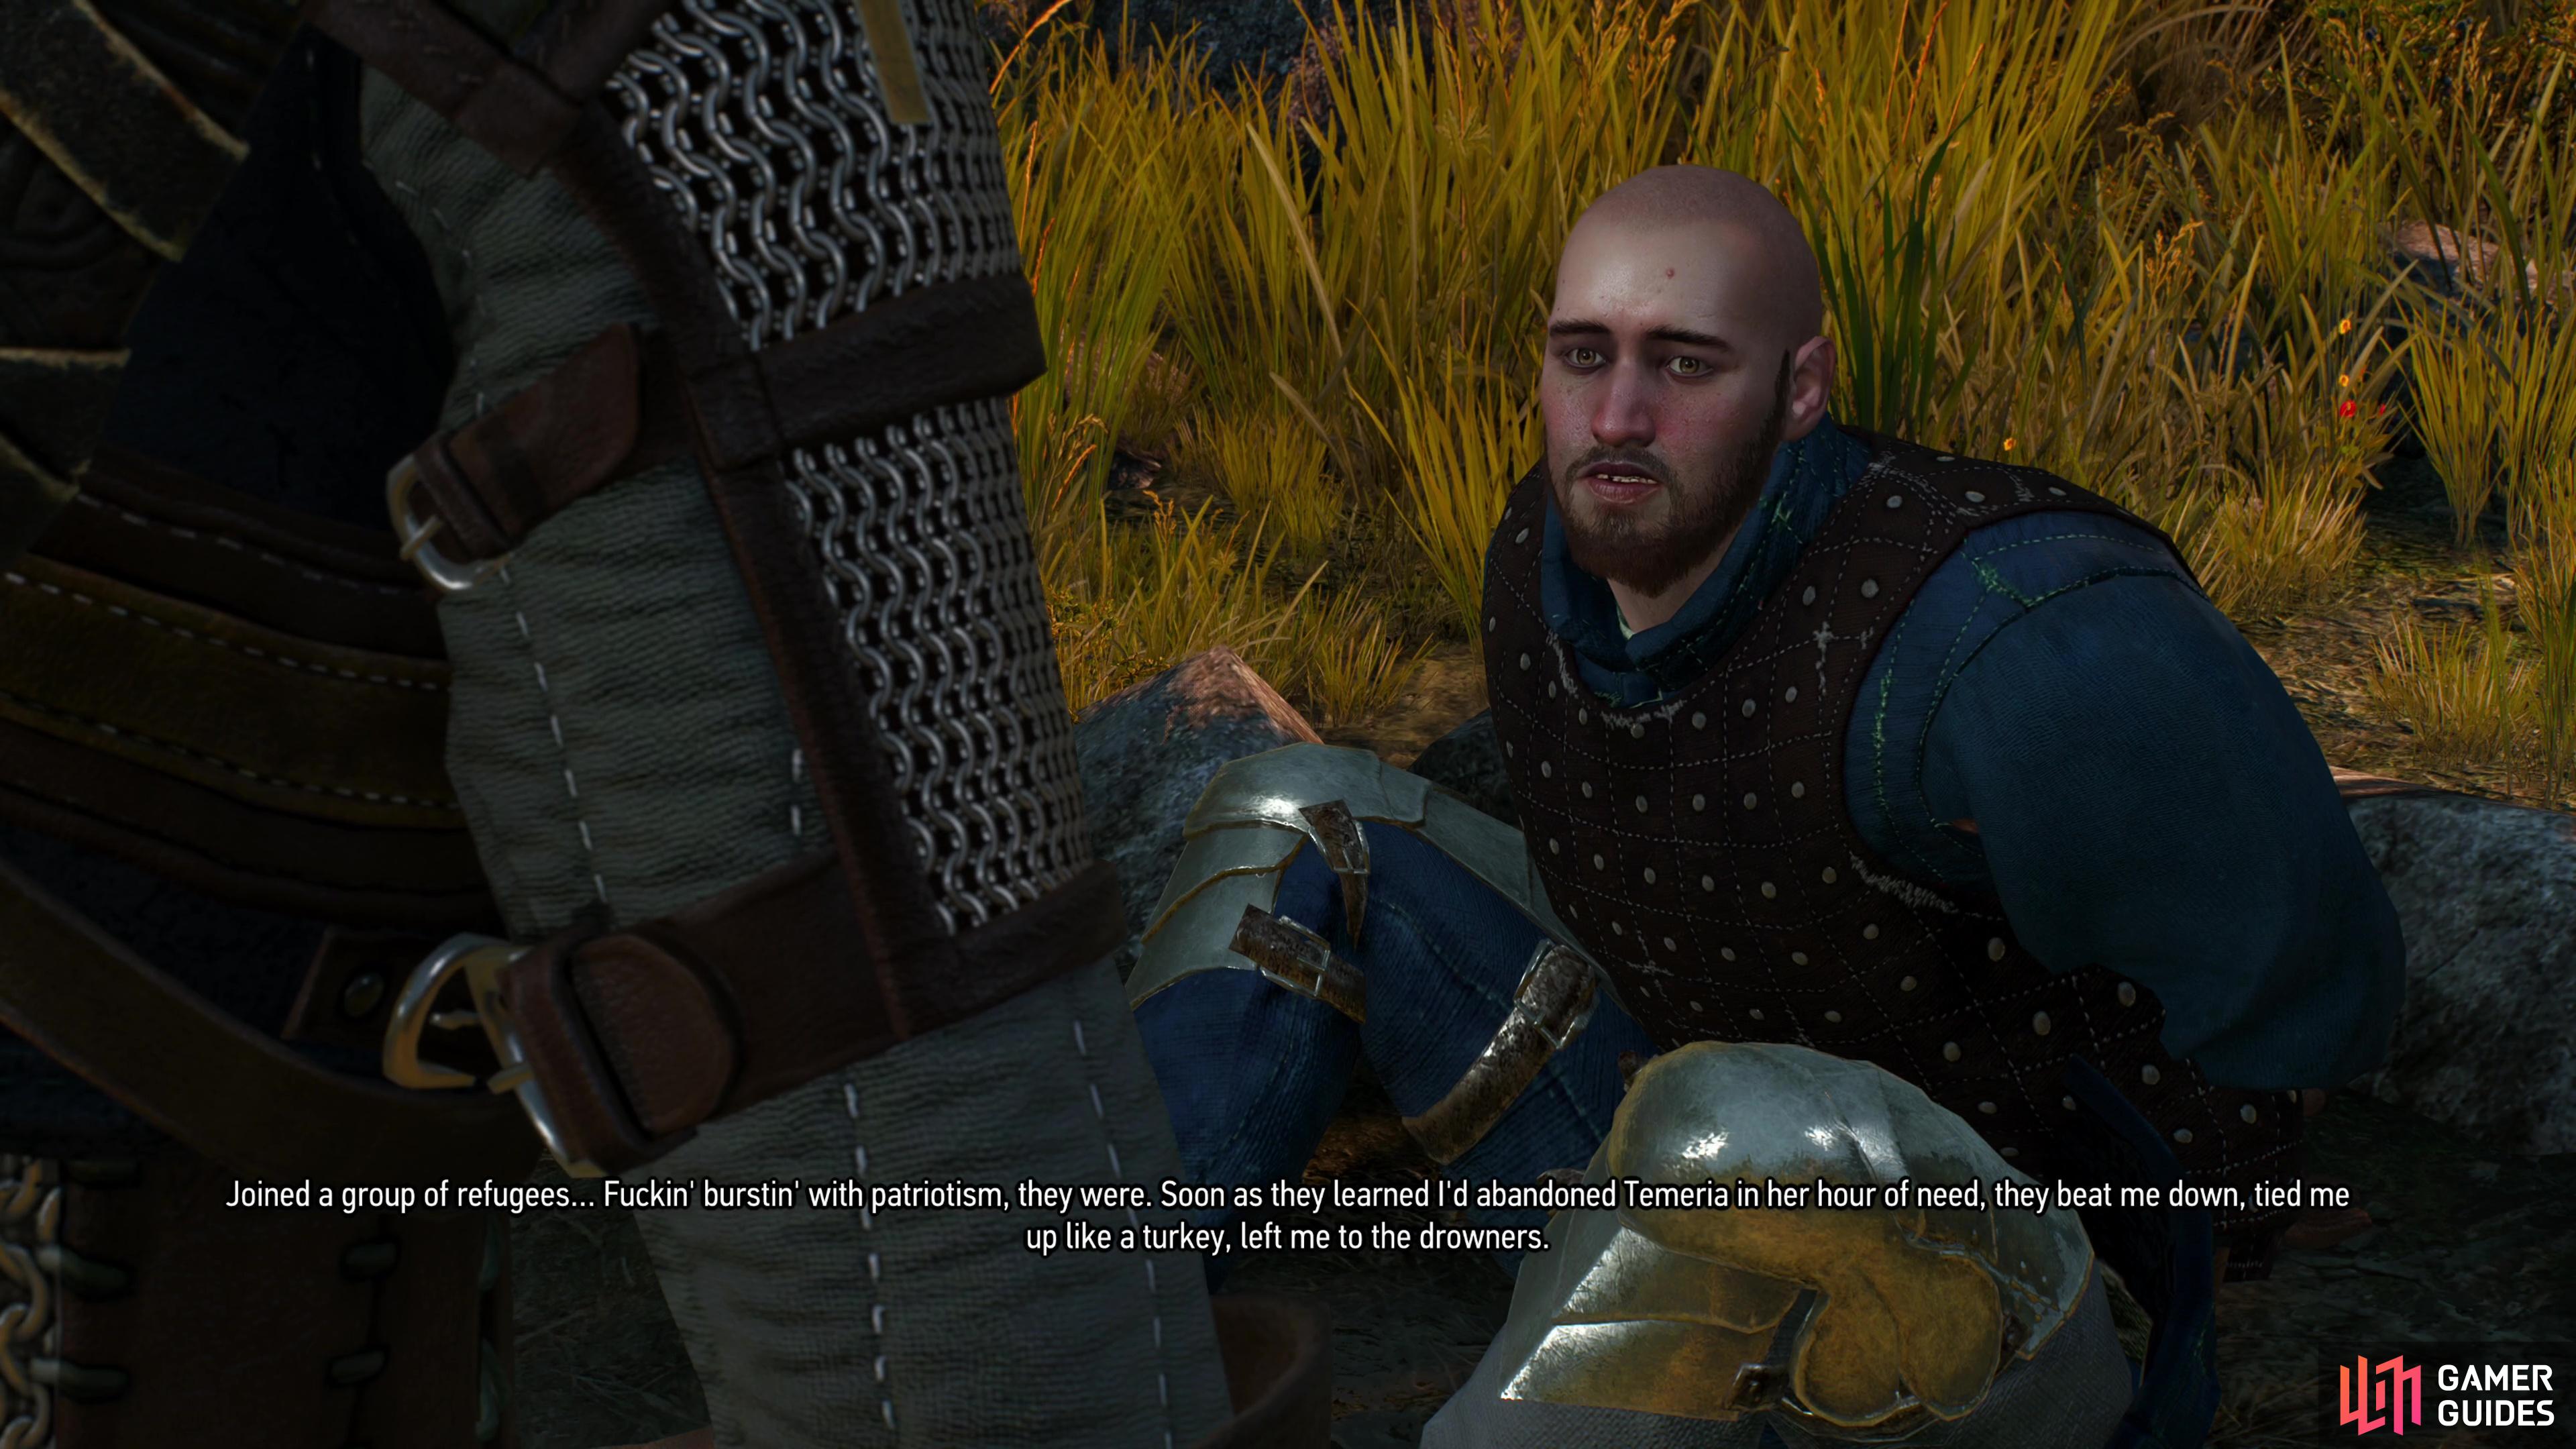
You can start At the Mercy of Strangers here, if you wish, but you can’t finish it until you cross the Pontar. While we’re mostly focused on the lands south of the Pontar for now, if you want to cross you have options. First you can just swim across the river. Just stay away from Redanian forts - if somebody shouts a warning at you, swim away. As long as you stay out of arrow-shot of any Redanian border posts, you’re fine. Second, you can complete the quests Thou Shall Not Pass, Fake Papers and/or Bitter Harvest to get a pass. We recommend passing on ![]() Bitter Harvest for now, as it’s actually quite difficult to complete without failing some of the objectives until you’re higher level, and when it comes to getting a Transit Pass completing Bitter Harvest just gets you a discount - something
Bitter Harvest for now, as it’s actually quite difficult to complete without failing some of the objectives until you’re higher level, and when it comes to getting a Transit Pass completing Bitter Harvest just gets you a discount - something ![]() Axii can achieve just fine. You can also complete Contract: Woodland Beast to get a Transit Pass, if you wish.
Axii can achieve just fine. You can also complete Contract: Woodland Beast to get a Transit Pass, if you wish.
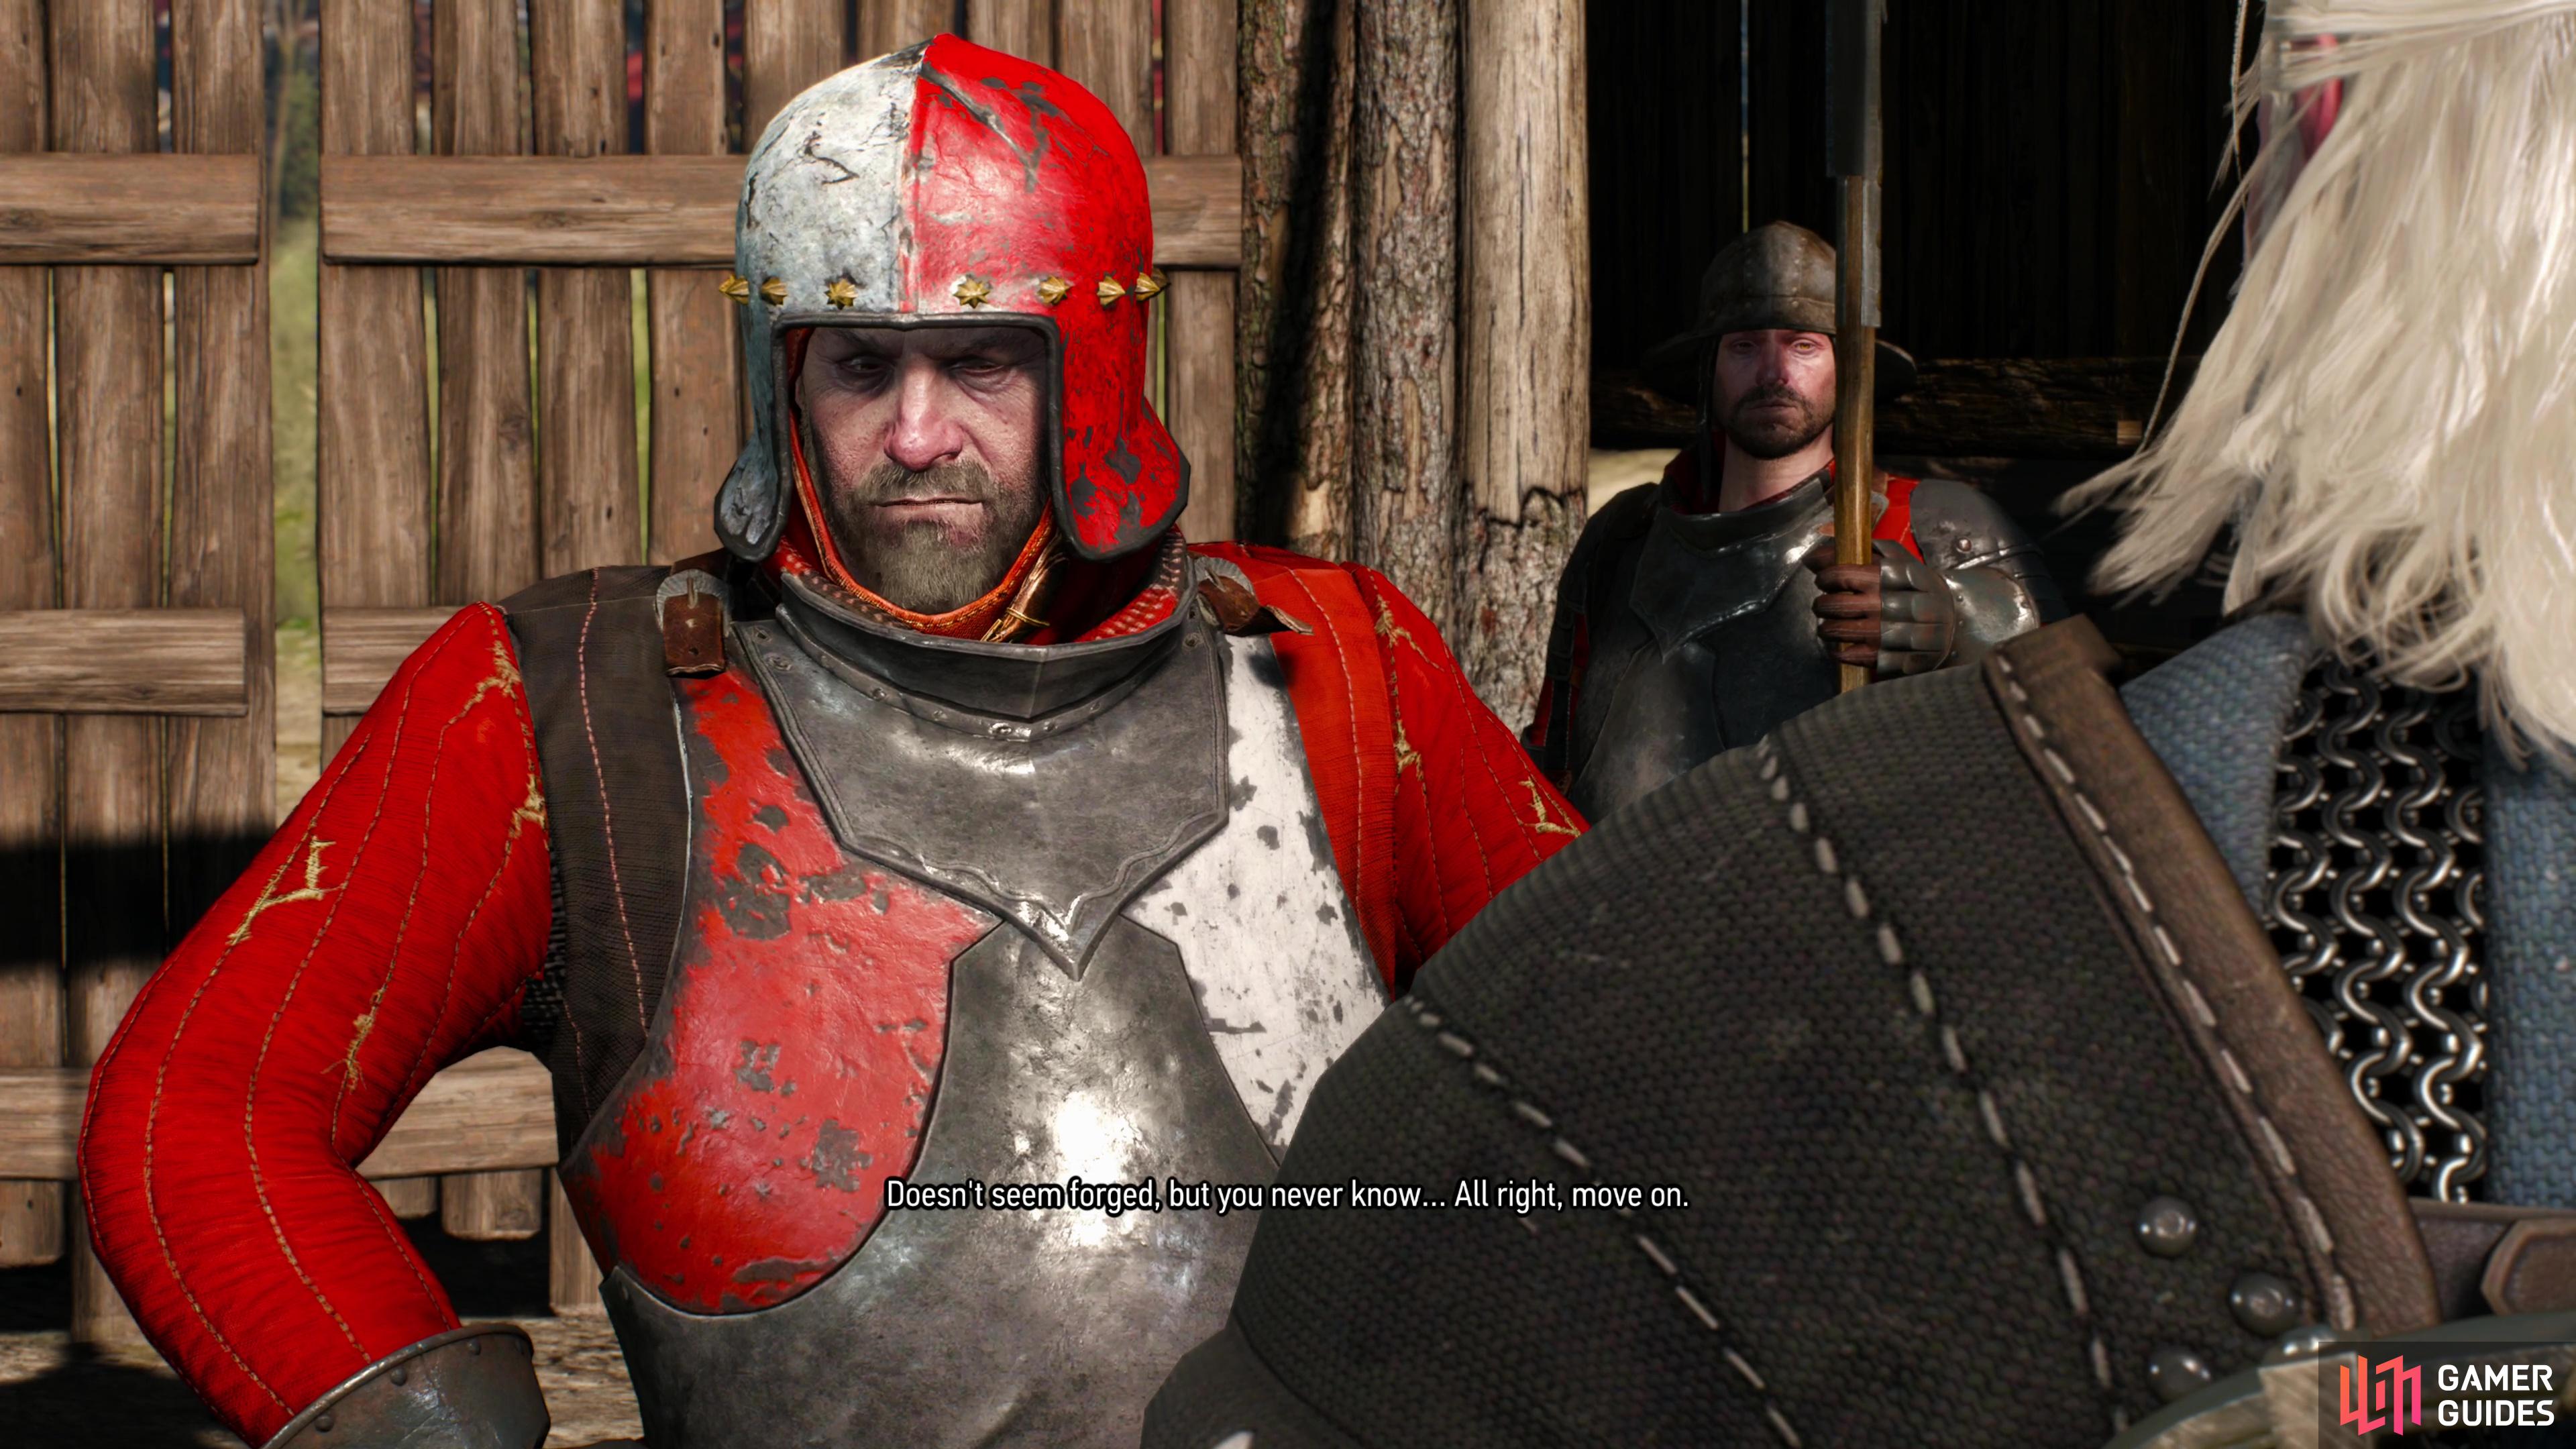

(1 of 1) Visit the Border Post admist the Pontar and you can get a Transit Pass early in the game.
Meet the Bloody Baron
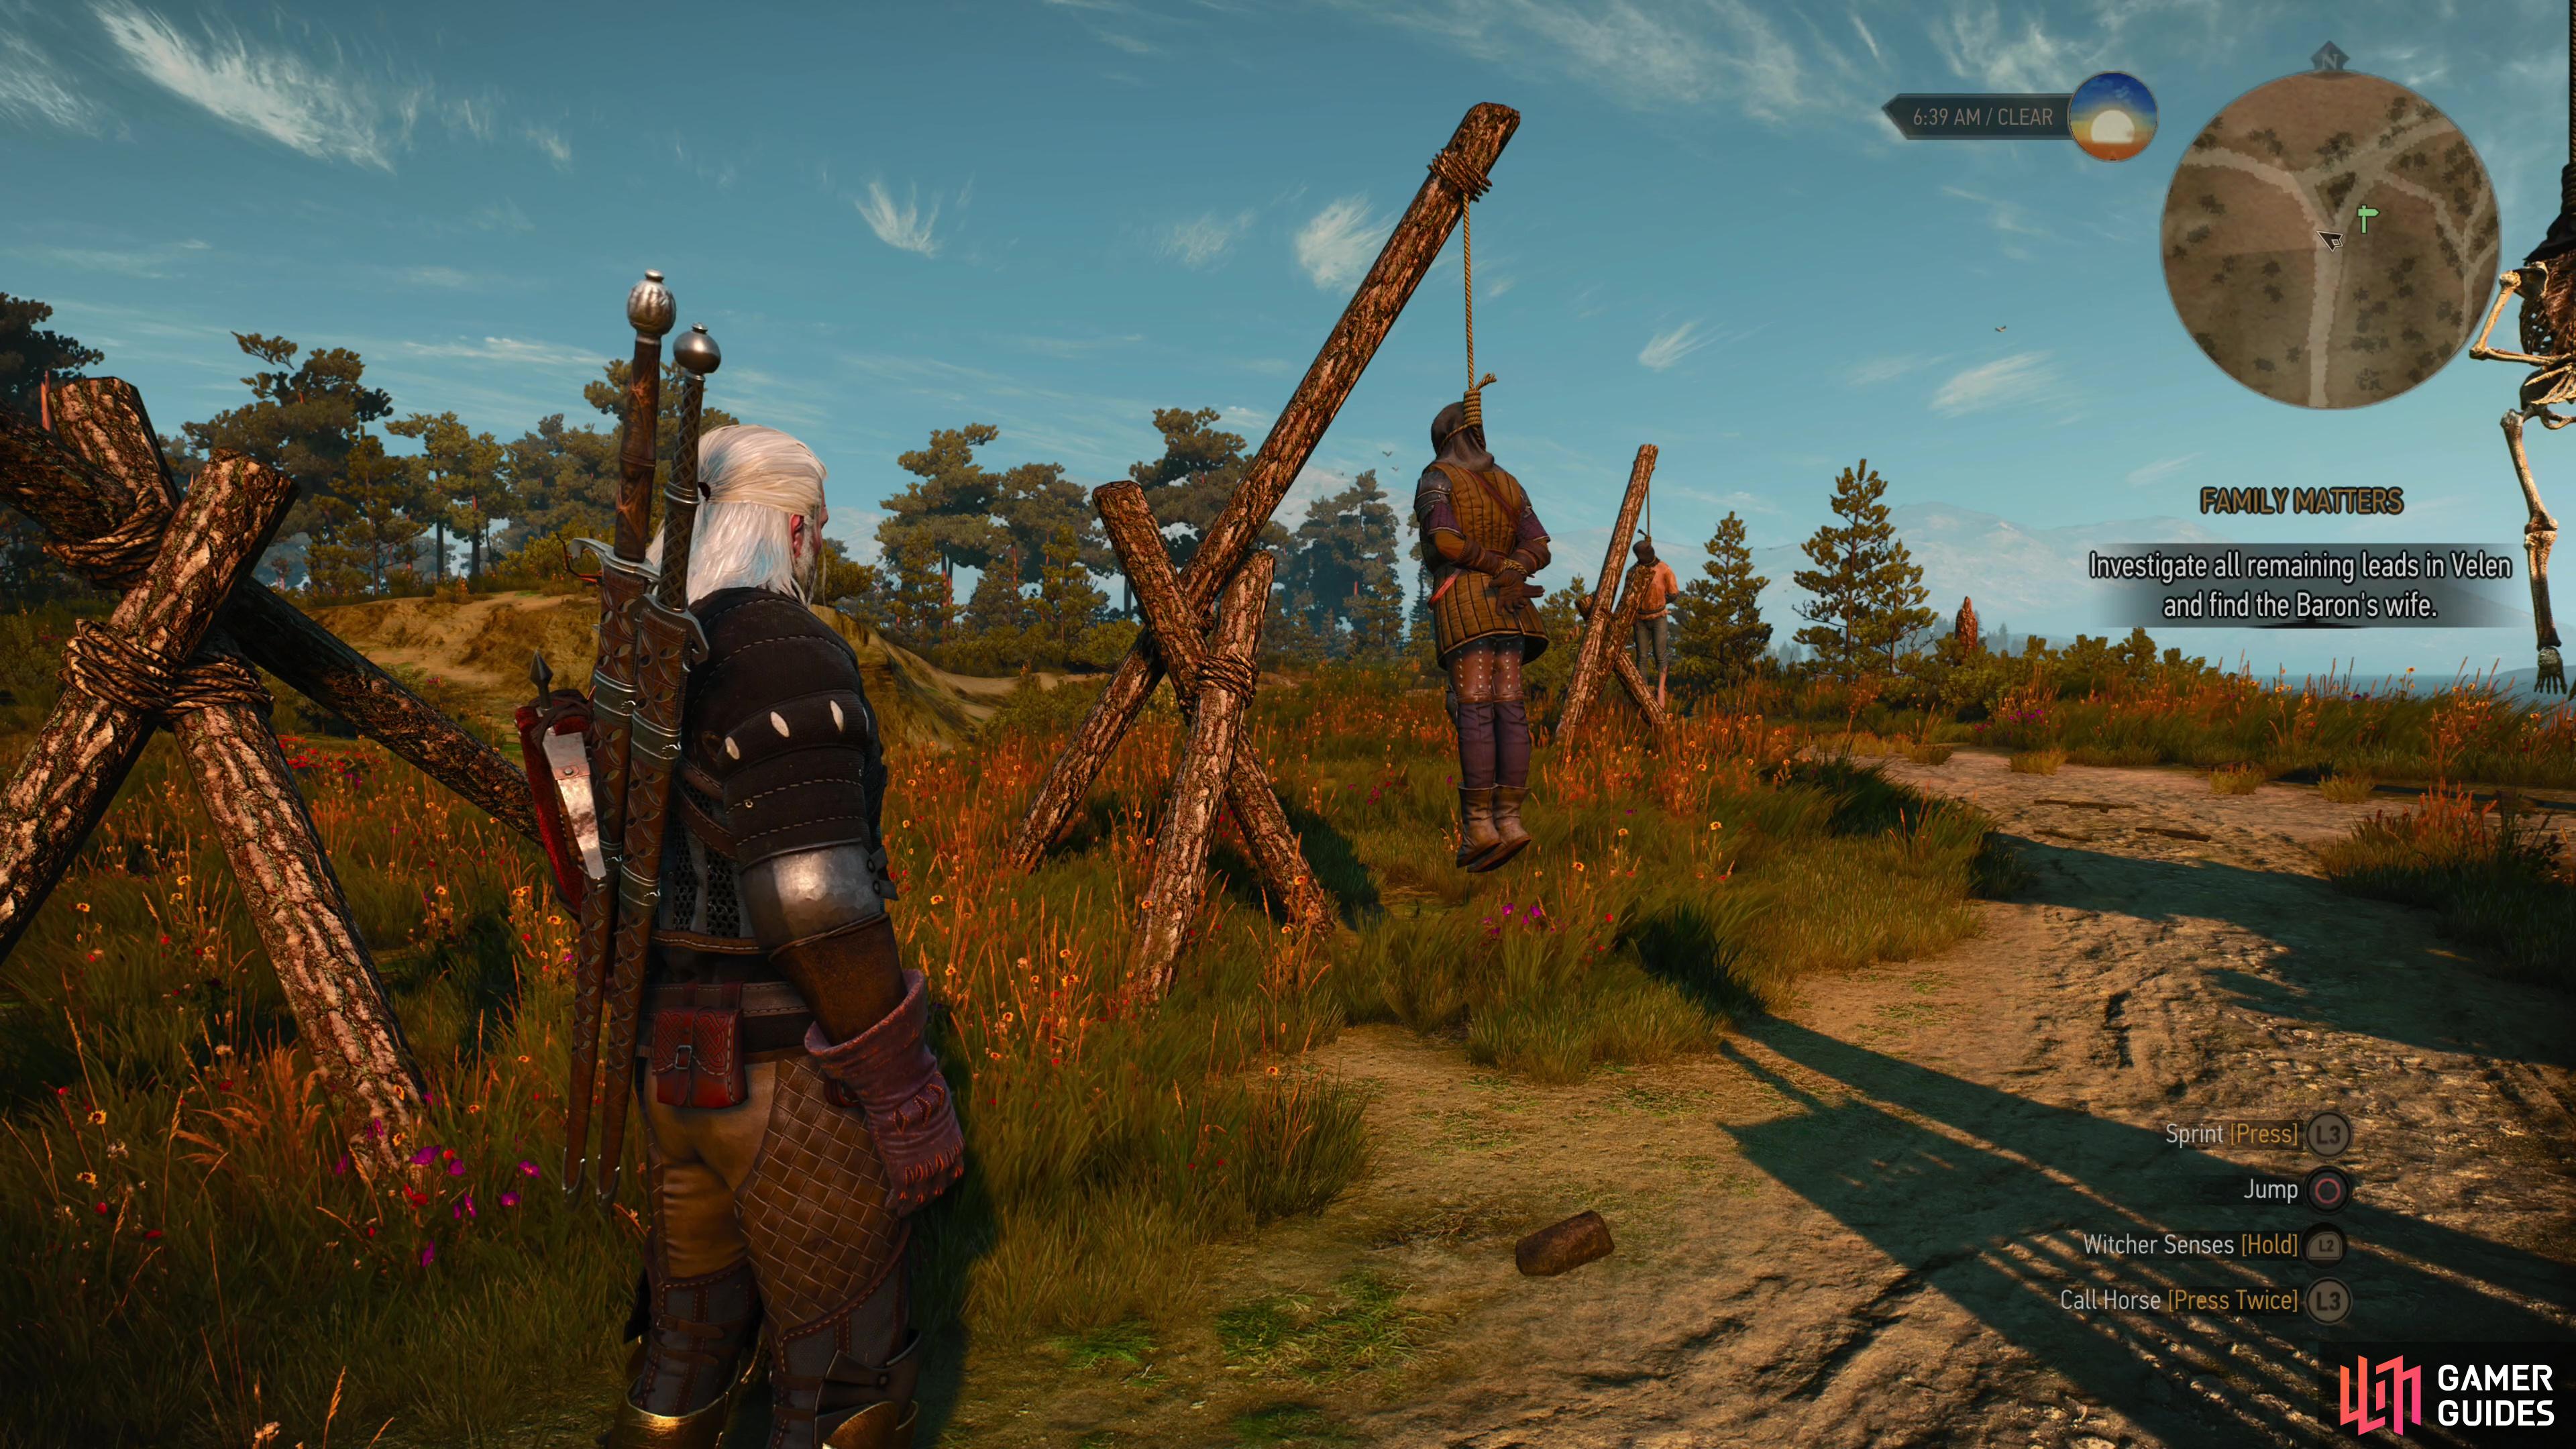
Complete the secondary quests mentioned above, then push the main story. You’ll want to complete The Nilfgaardian Connection, Bloody Baron and Ciri’s Story: The King of the Wolves, then start Family Matters, the last of which is a superquest which will span most of the rest of your time in Velen. You can still advance ![]() Family Matters now, but to complete it you’ll need to pursue a lead left by Emhyr’s ill-fated spy hiding out at
Family Matters now, but to complete it you’ll need to pursue a lead left by Emhyr’s ill-fated spy hiding out at ![]() Heatherton and investigate some witch that Ciri quarreled with. After you meet the
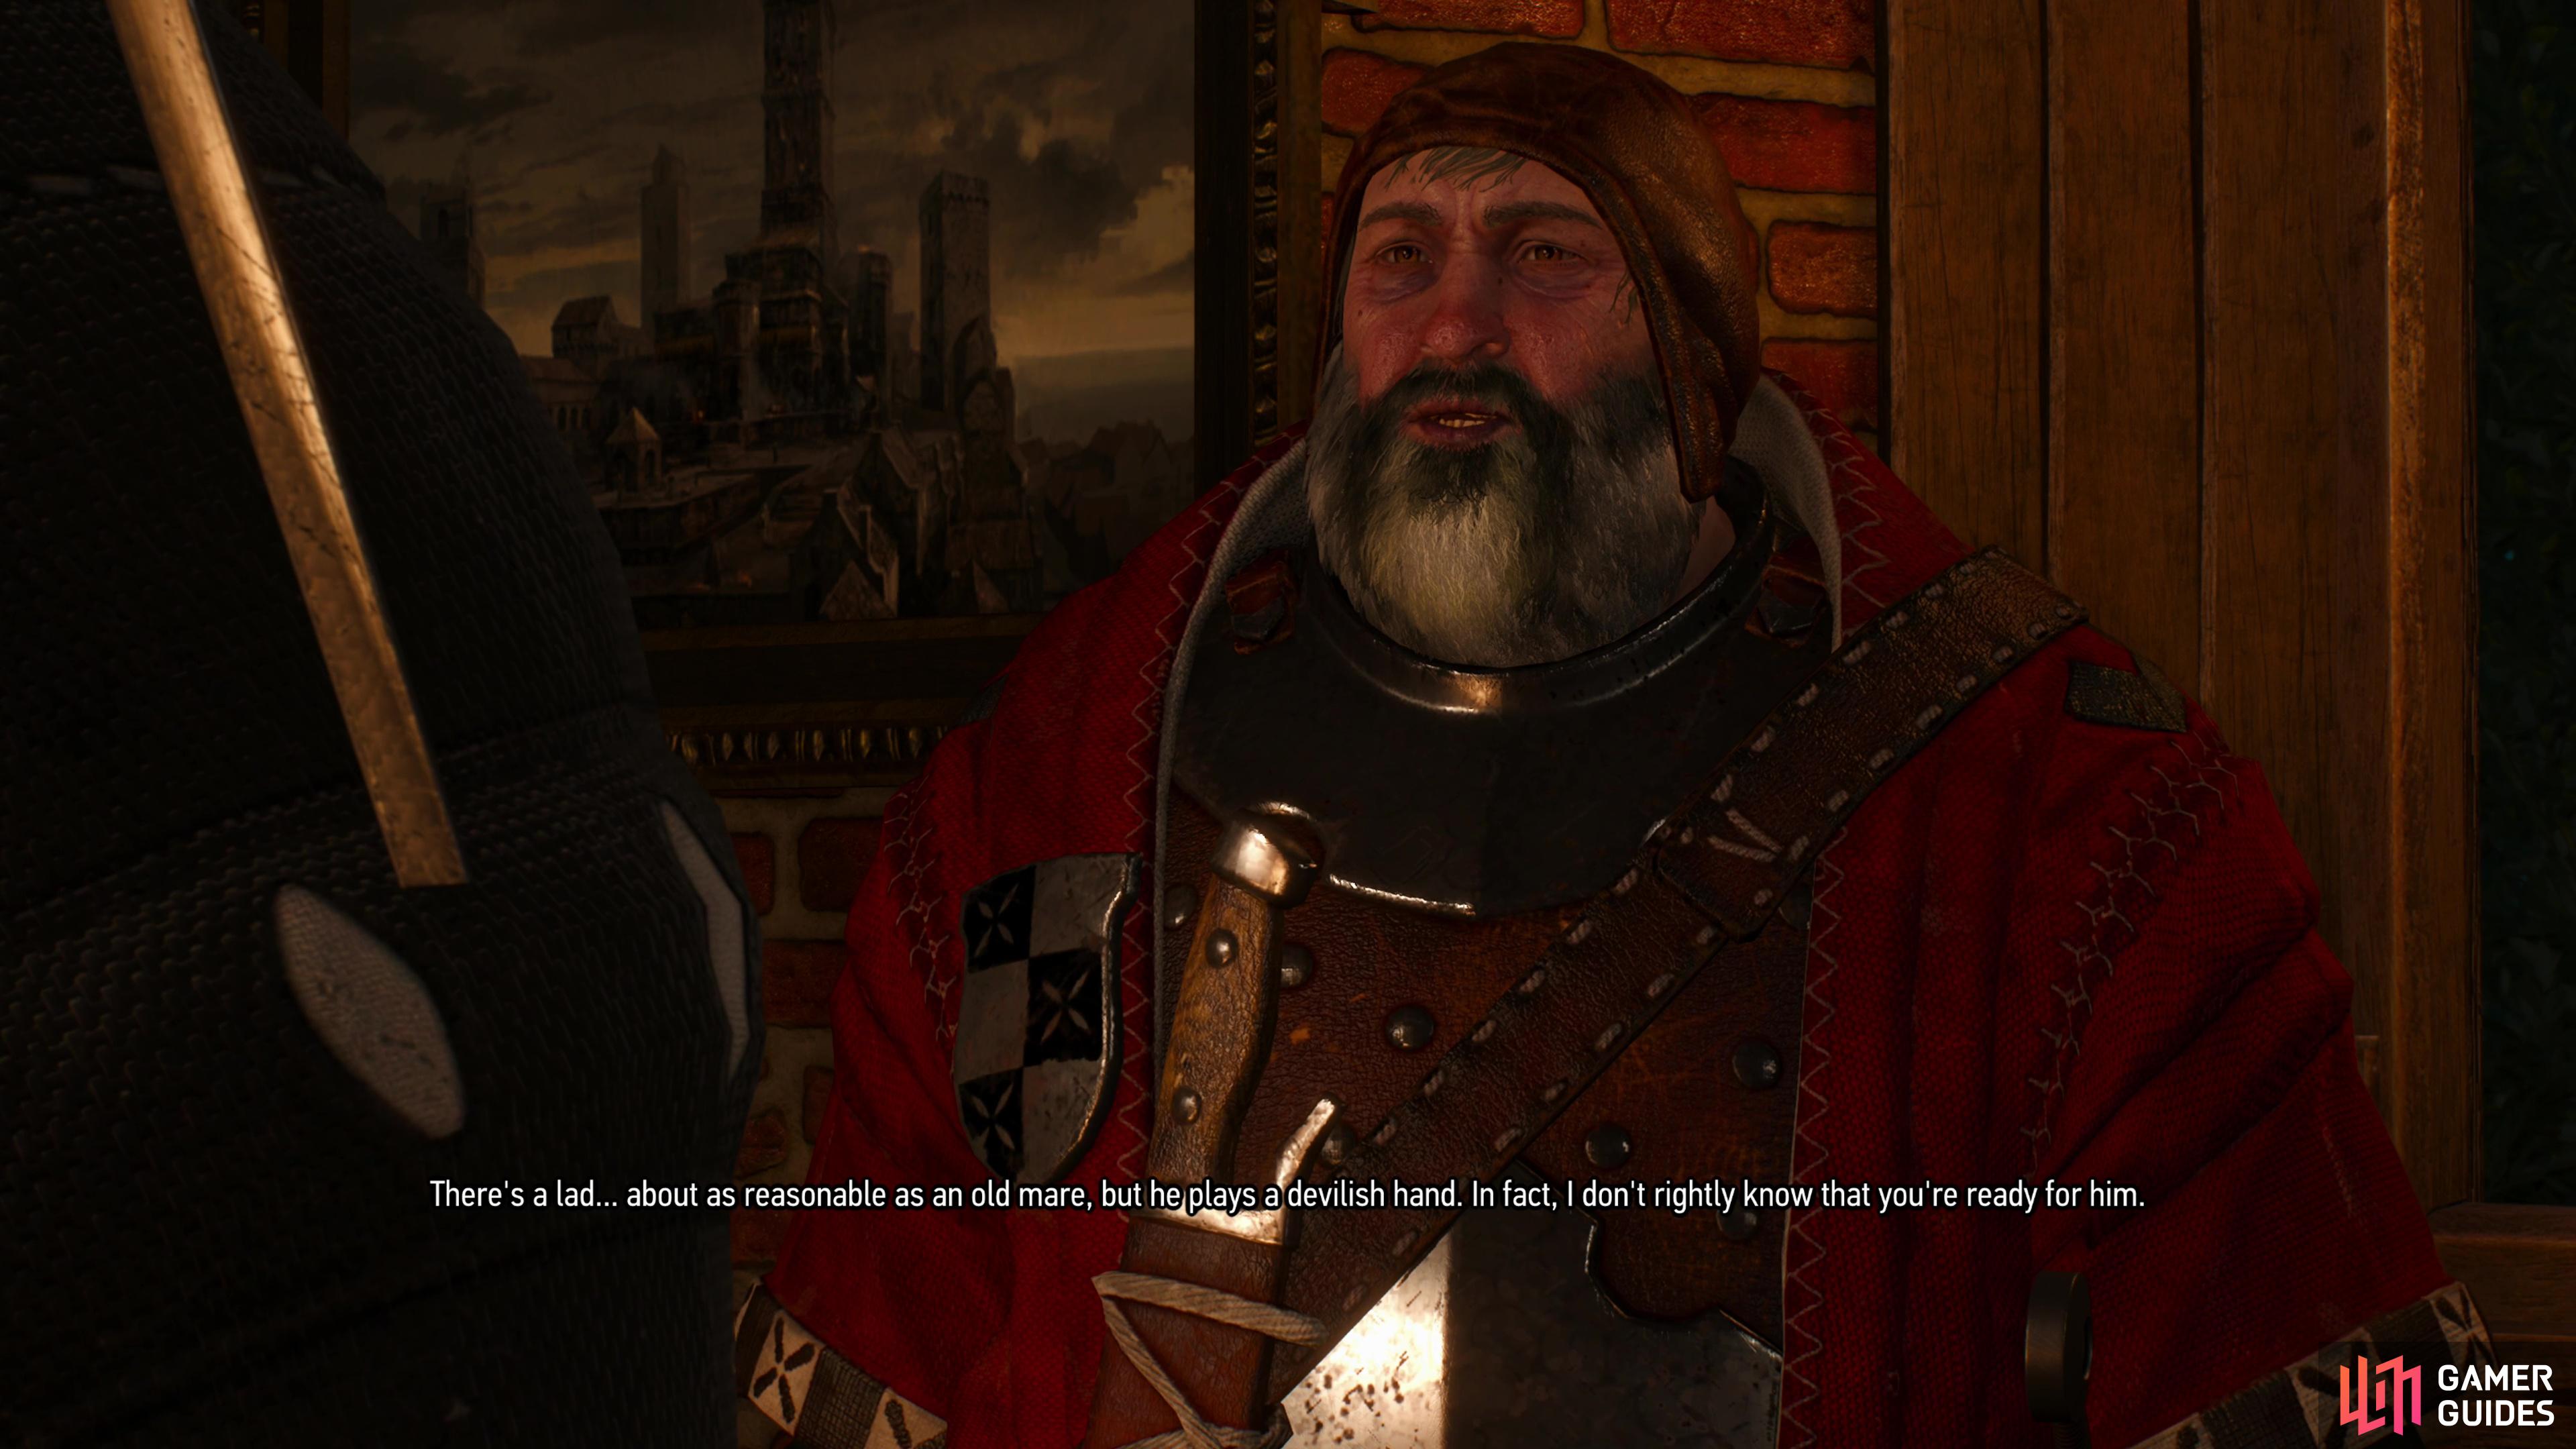
Heatherton and investigate some witch that Ciri quarreled with. After you meet the ![]() Bloody Baron and he recounts
Bloody Baron and he recounts ![]() Ciri’s Story: The King of the Wolves for you, you’ll be able to play a game of Gwent with the Bloody Baron, starting Gwent: Velen Players - winning the
Ciri’s Story: The King of the Wolves for you, you’ll be able to play a game of Gwent with the Bloody Baron, starting Gwent: Velen Players - winning the ![]() Sigismund Dijkstra card from him is a good idea, but there’s no need to run off on a major Gwent diversion in Velen just yet… despite the link we provided which will help you do exactly that. Patience. We’ll get there. Complete the secondary quest Ciri’s Room, then depart
Sigismund Dijkstra card from him is a good idea, but there’s no need to run off on a major Gwent diversion in Velen just yet… despite the link we provided which will help you do exactly that. Patience. We’ll get there. Complete the secondary quest Ciri’s Room, then depart ![]() Crow’s Perch.
Crow’s Perch.
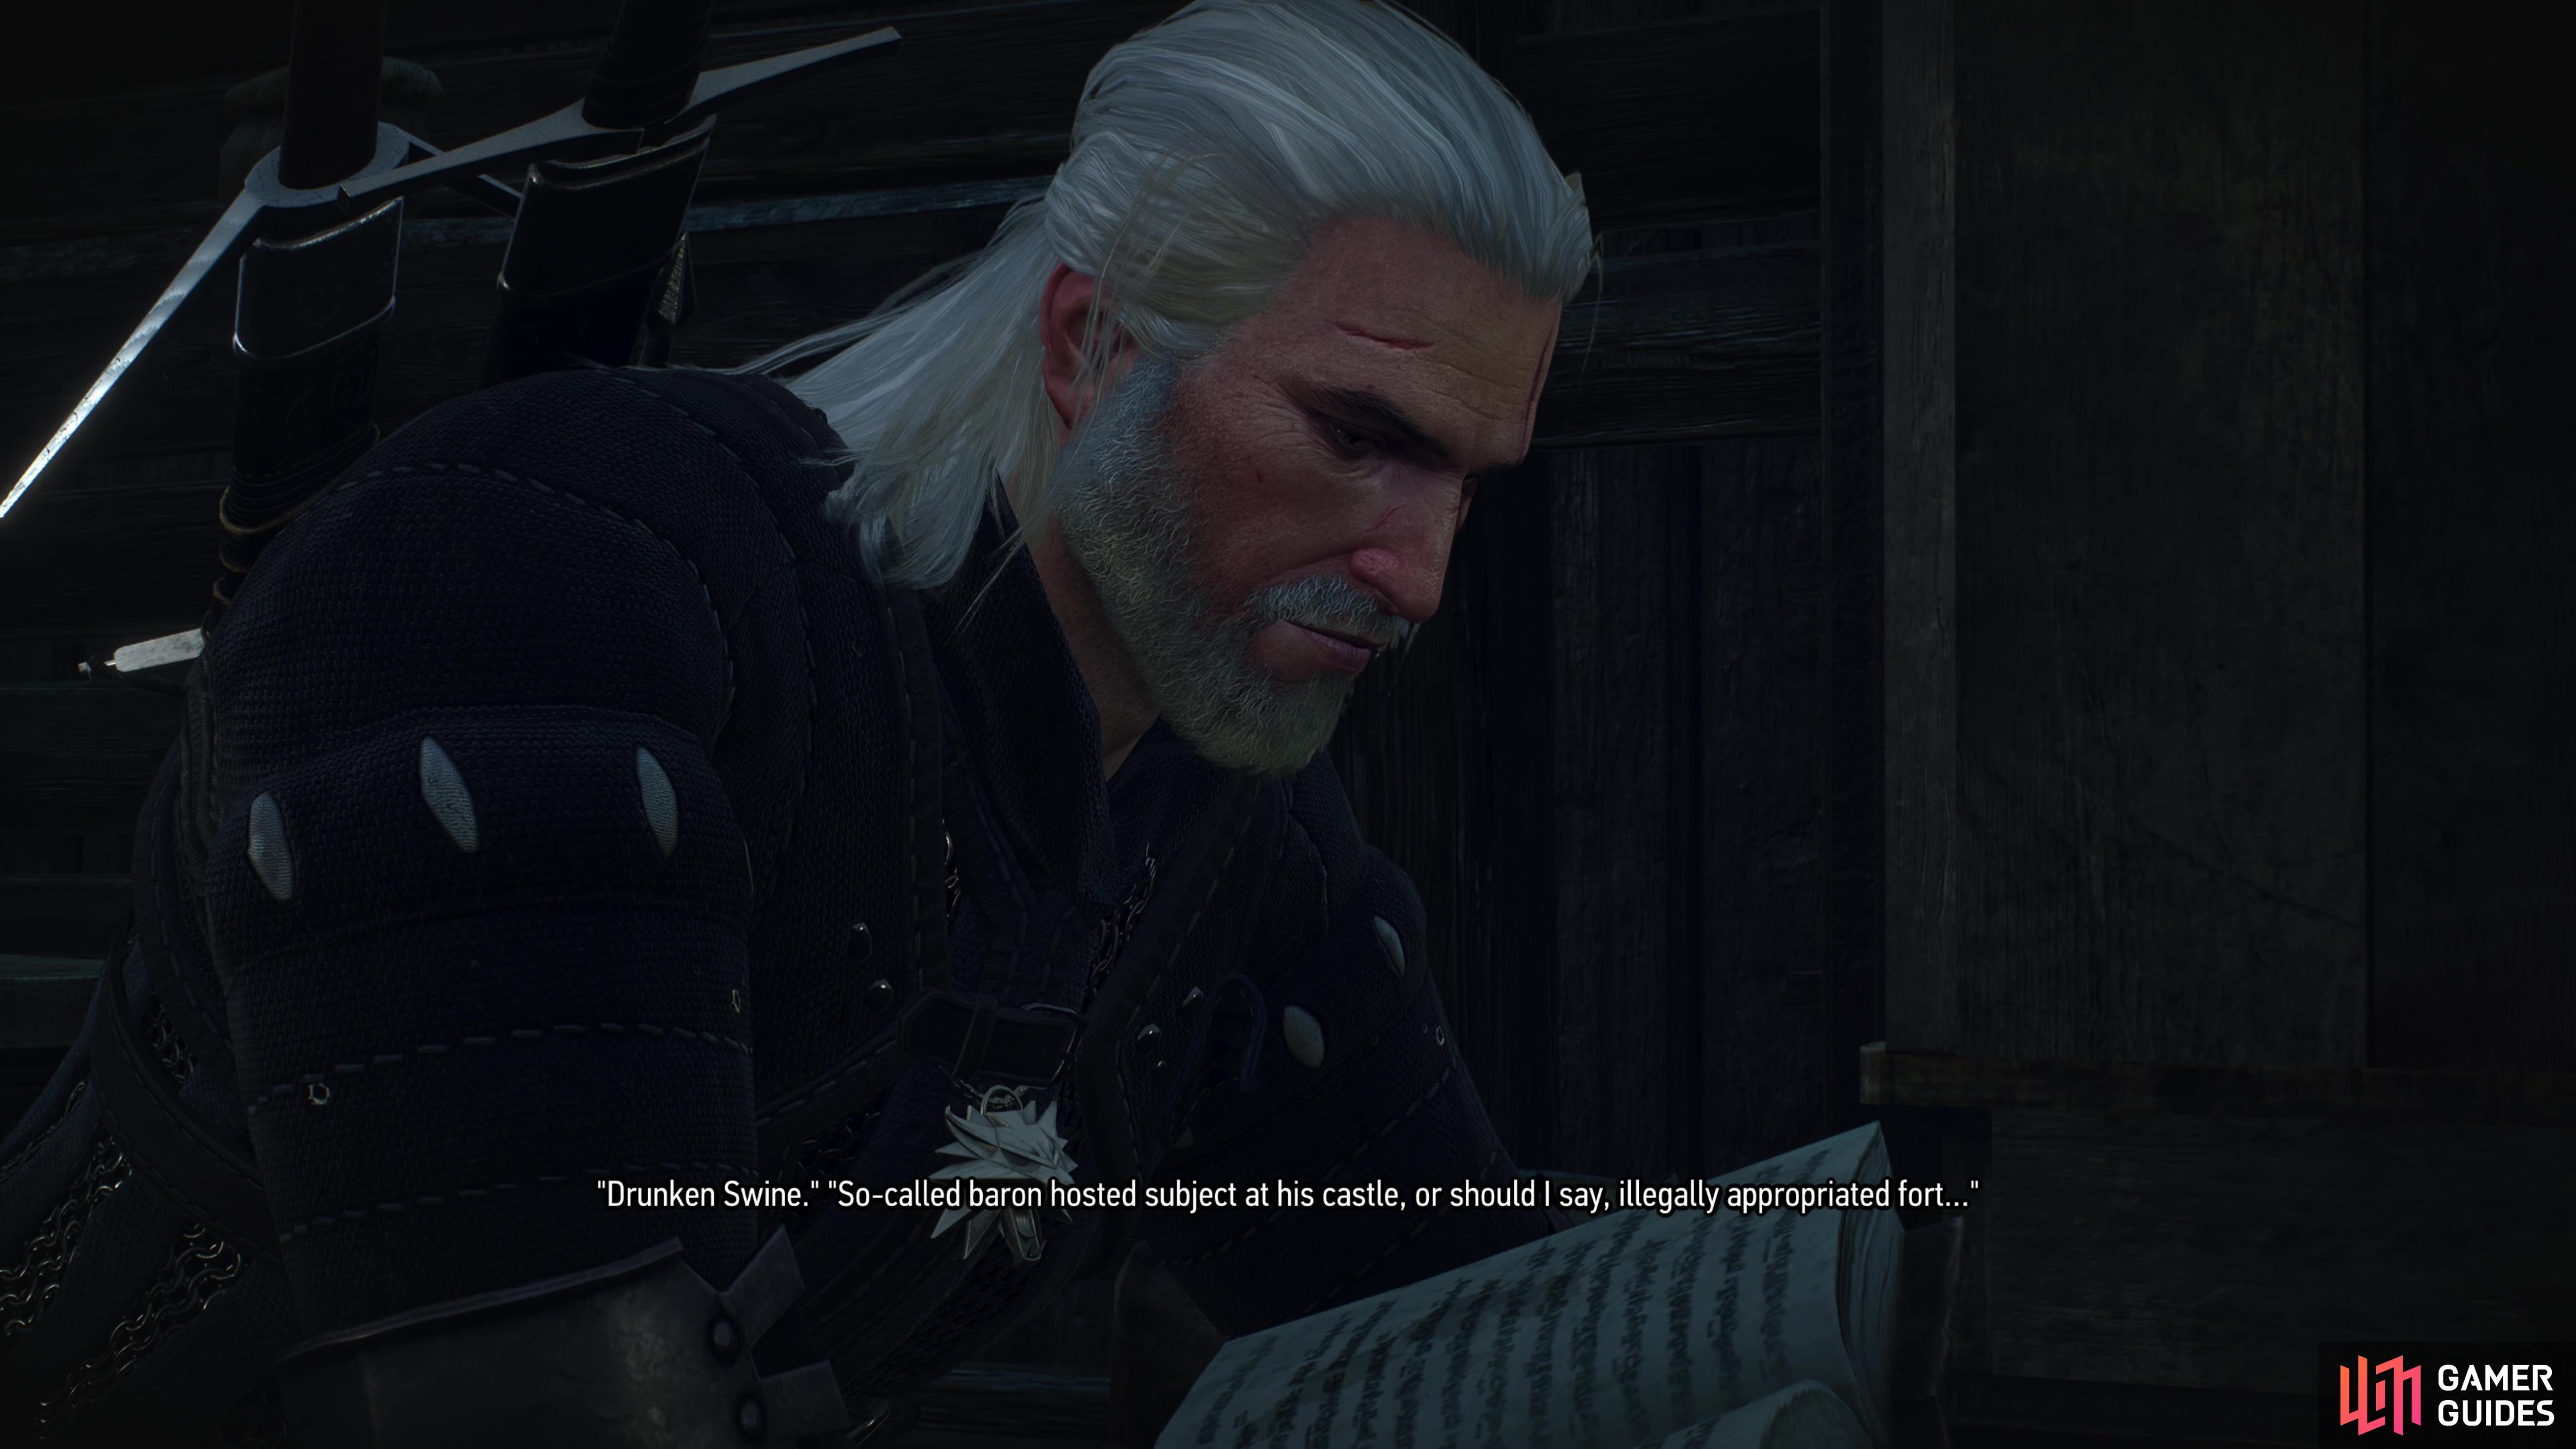

(1 of 2) Find Hendrik’s Notes at Heatherton,
Find Hendrik’s Notes at Heatherton, (left), then meet with the Bloody Baron. (right)
Complete Quests Around Blackbough and Midcopse
Now that you’ve started Family Matters, advance it a bit by heading over to Blackbough where you can complete the quest A Princess in Distress. You’ll need to do this quest as part of the greater Family Matters superquest, but note that if you do this you’ll have to deal with a story event when you return to Crow’s Perch, which leads to another Ciri’s Story quest, Ciri’s Story: The Race. This can be somewhat disruptive if you just want to, say, shop, or stash items (the Baron’s manor houses the only stash in the Velen region), but afterwards you can (and arguably should) just decline to deal with the ![]() Botchling and come back to it when you’re ready. If that all sounds like too much bother, skip
Botchling and come back to it when you’re ready. If that all sounds like too much bother, skip ![]() A Princess in Distress for now, but as long as you decline to move forwards with the Botchling (or just stay out of Crow’s Perch for now) it doesn’t really matter.
A Princess in Distress for now, but as long as you decline to move forwards with the Botchling (or just stay out of Crow’s Perch for now) it doesn’t really matter.
You’ll ultimately want to go to ![]() Blackbough, then south to Midcopose, which is where the main quest Hunting a Witch takes place. You’ll need to complete
Blackbough, then south to Midcopose, which is where the main quest Hunting a Witch takes place. You’ll need to complete ![]() Hunting a Witch and its followup quest Wandering in the Dark to start Kiera Metz’s questline as well as to advance Family Matters, but note there are several secondary quests along the western part of Velen that you should be aware of:
Hunting a Witch and its followup quest Wandering in the Dark to start Kiera Metz’s questline as well as to advance Family Matters, but note there are several secondary quests along the western part of Velen that you should be aware of:
- Harassing a Troll
- Face Me if You Dare
- Defender of the Faith
- Wild at Heart
- Last Rites
- Lynch Mob
- Contract: Jenny o’ the Woods
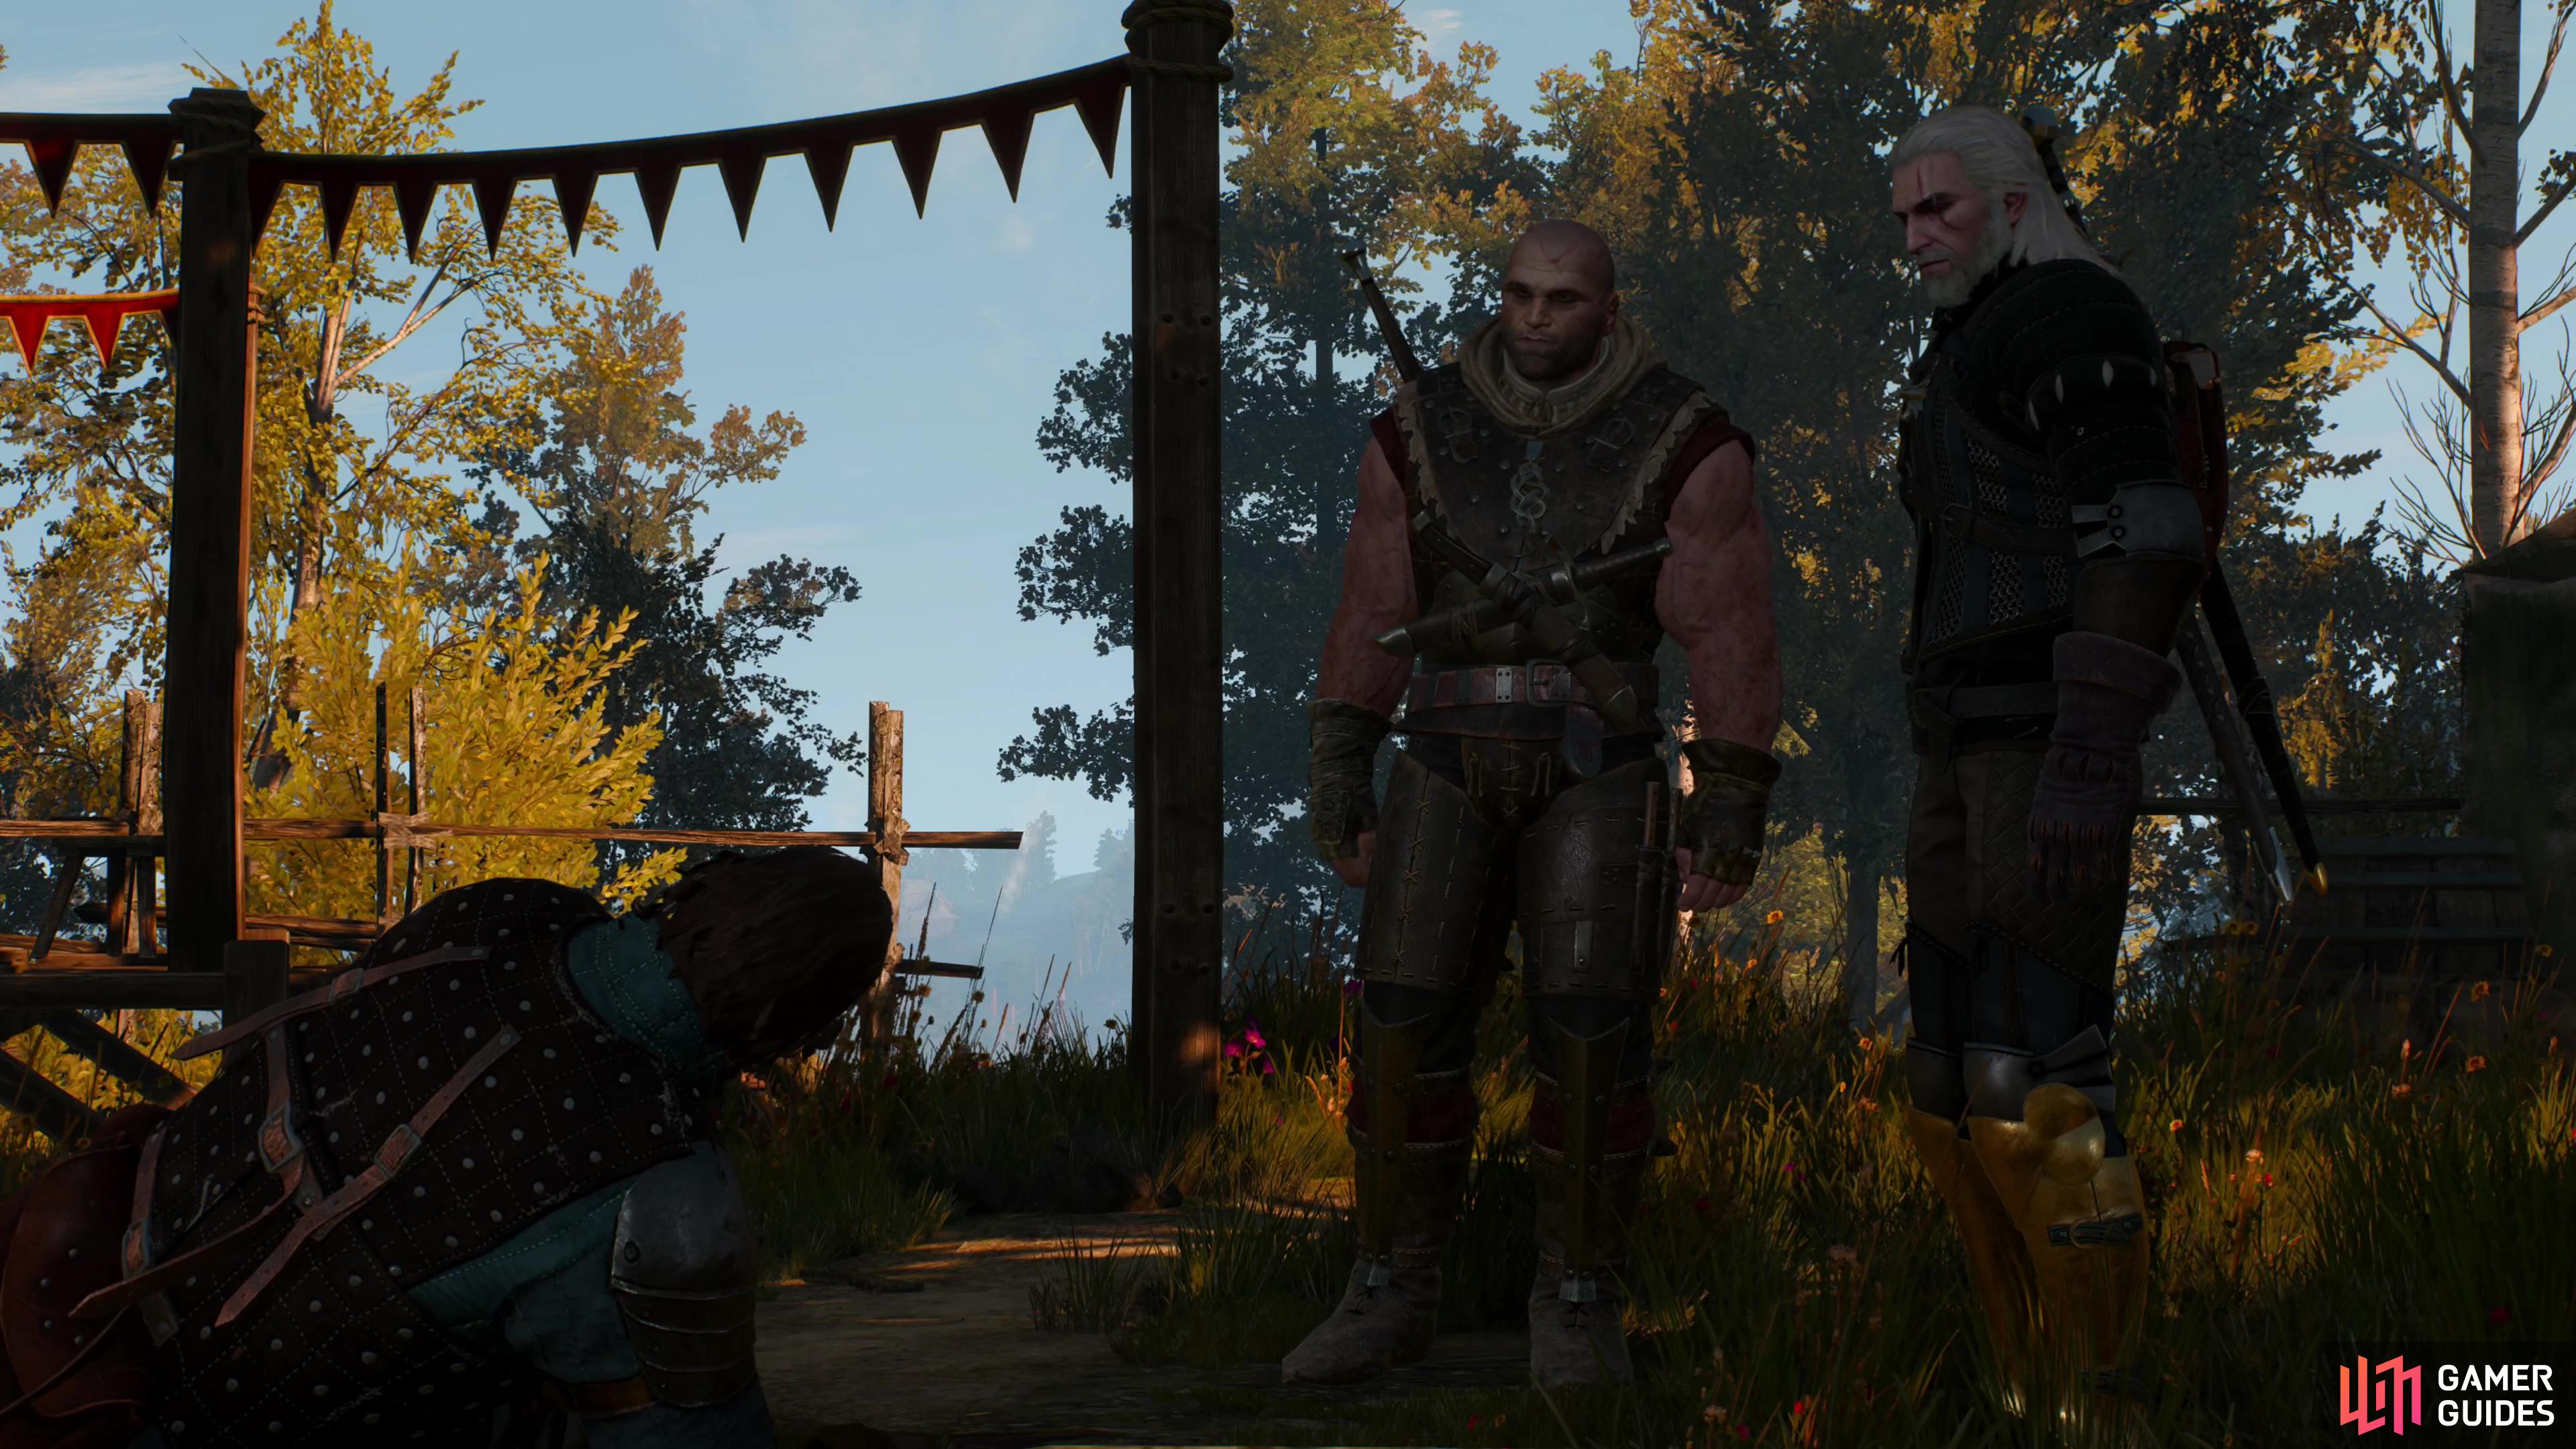
You shouldn’t have any trouble with Harassing a Troll or Contact: ![]() Jenny o’ the Woods, but the rest all have some caveats. Face Me if you Dare can be started in Velen, but you need to head to Novigrad to complete it. Beat up Ronvid outside of Crow’s Nest and forget about this quest for the foreseeable future.
Jenny o’ the Woods, but the rest all have some caveats. Face Me if you Dare can be started in Velen, but you need to head to Novigrad to complete it. Beat up Ronvid outside of Crow’s Nest and forget about this quest for the foreseeable future. ![]() Defender of the Faith takes you far to the south, forcing you to avoid a high level
Defender of the Faith takes you far to the south, forcing you to avoid a high level ![]() Griffin among other foes to get to your destination… if you go by land. Taking a boat will make this far easier, and you’ll be tasked with using such a device during Kiera Metz’s questline, so you might want to save this secondary quest until you’re sailing around
Griffin among other foes to get to your destination… if you go by land. Taking a boat will make this far easier, and you’ll be tasked with using such a device during Kiera Metz’s questline, so you might want to save this secondary quest until you’re sailing around ![]() Fyke Isle later.
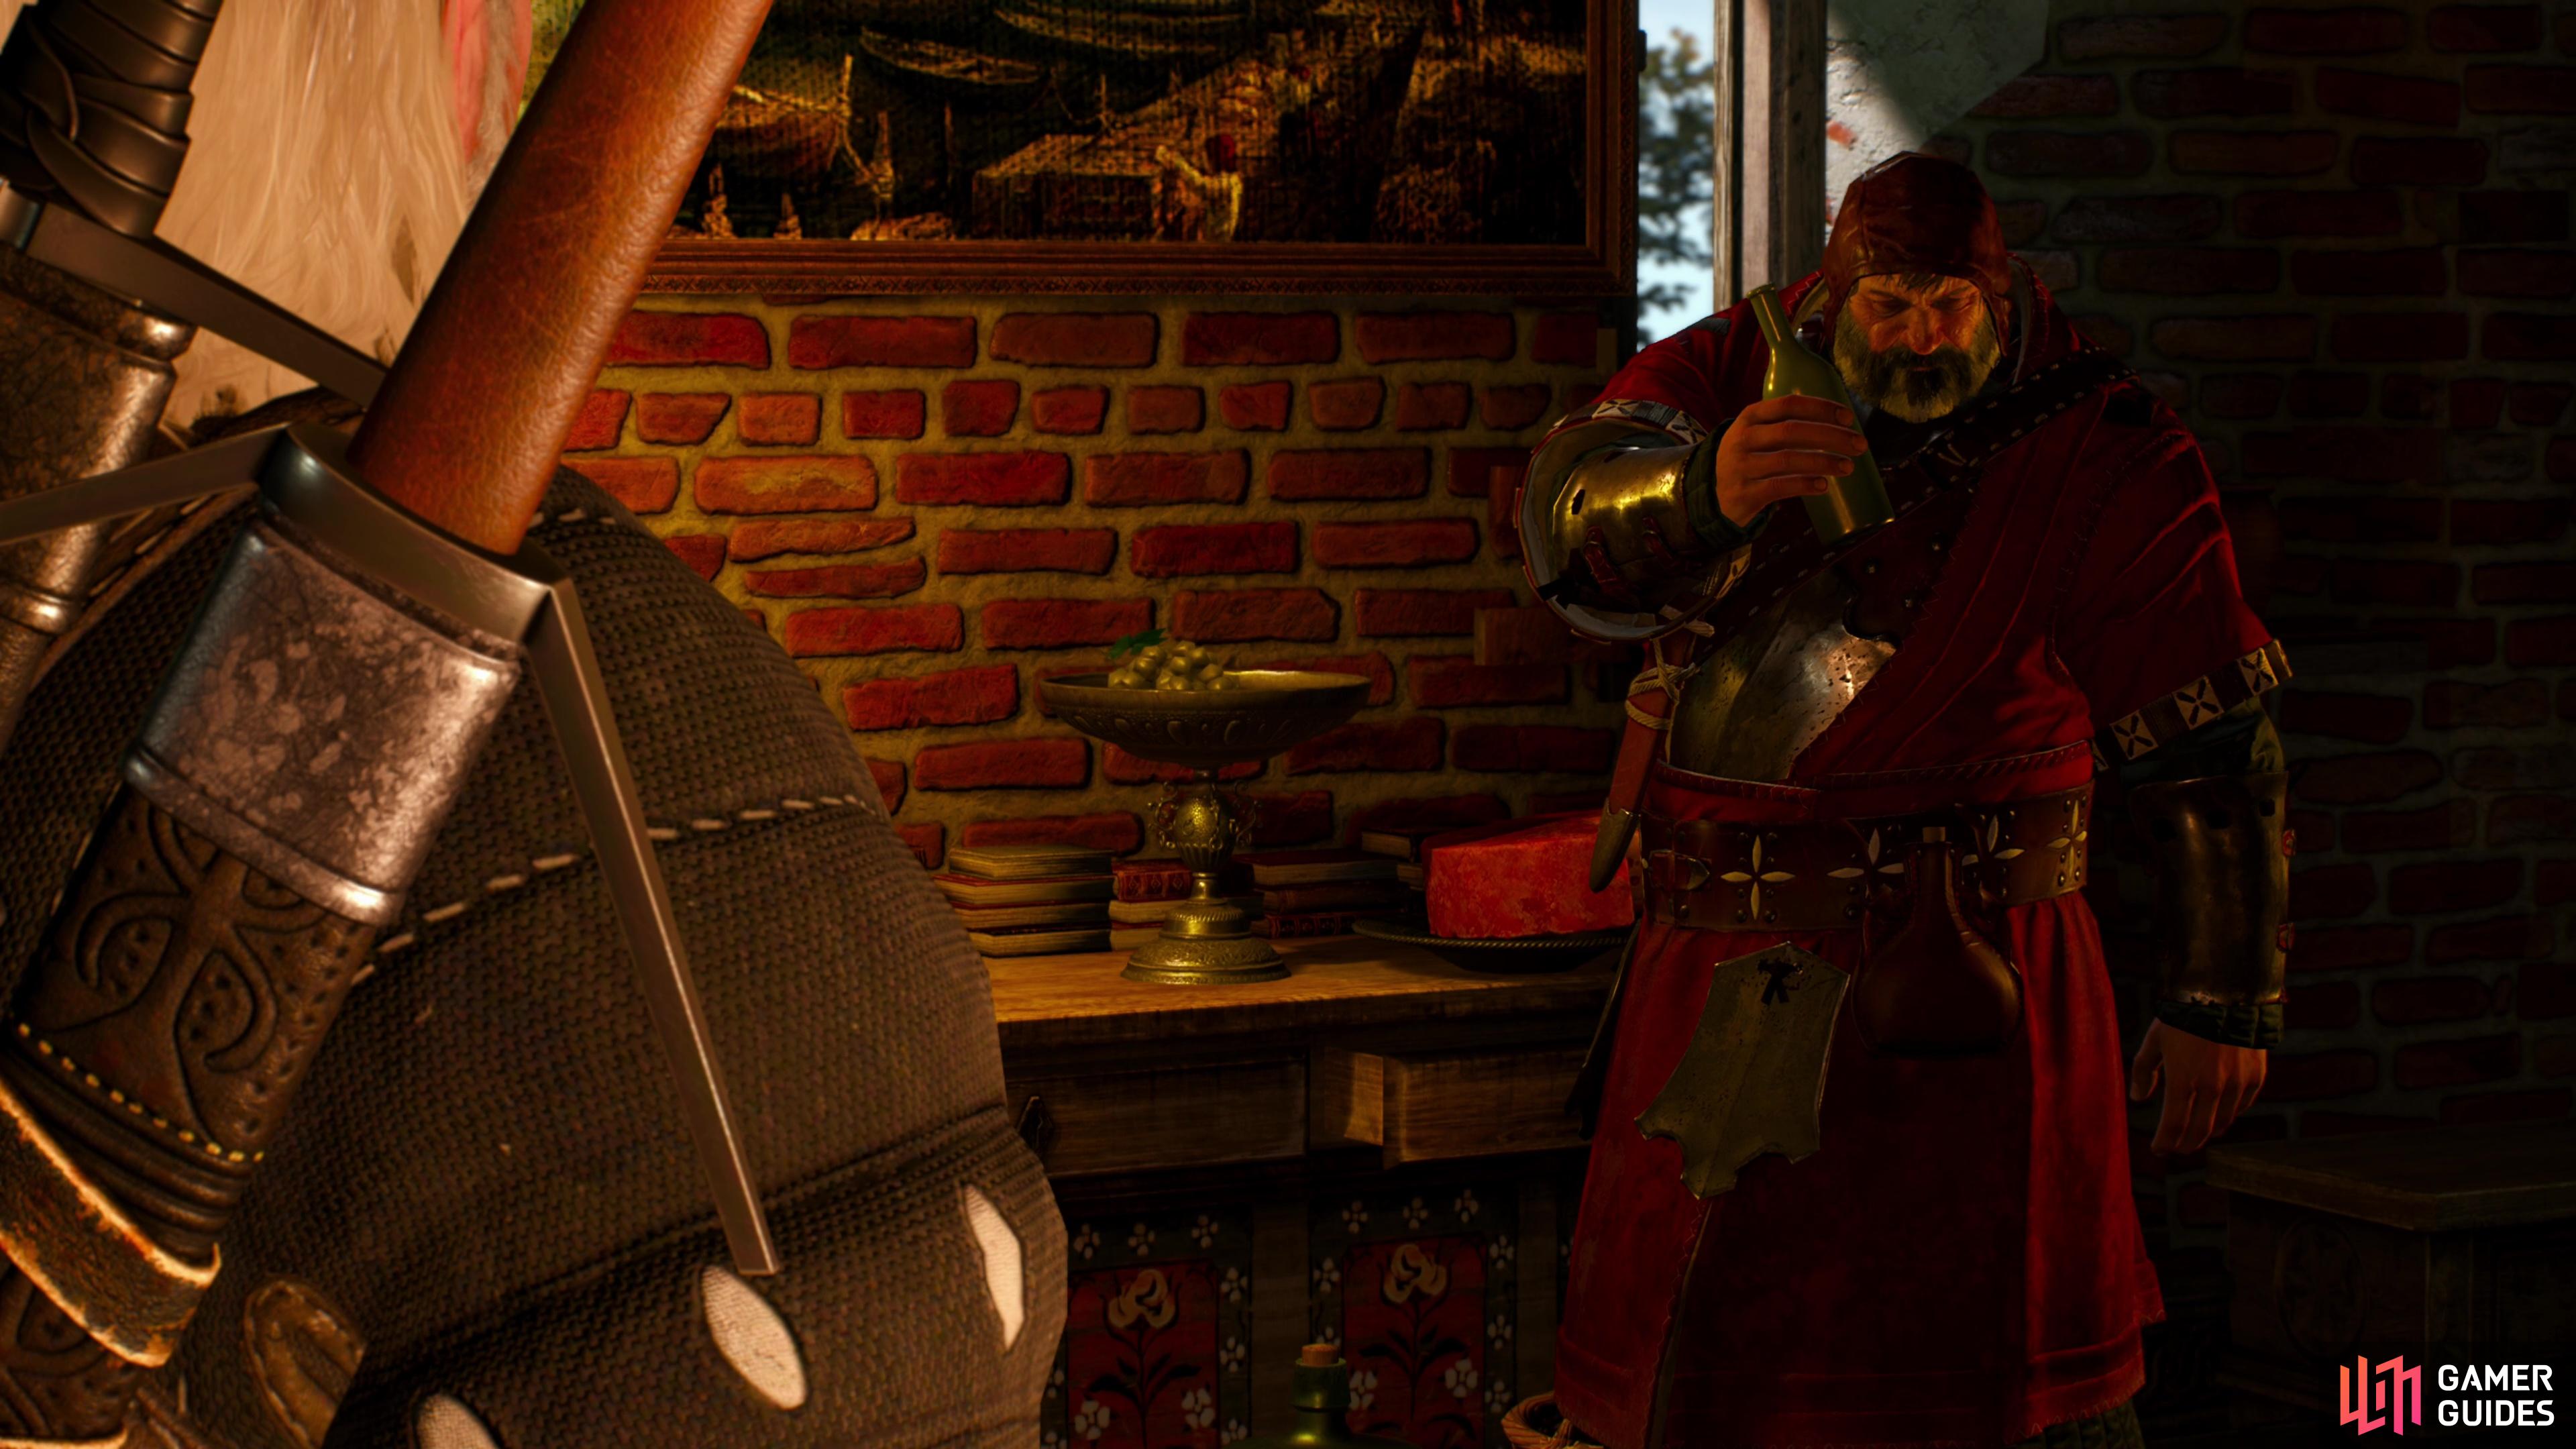
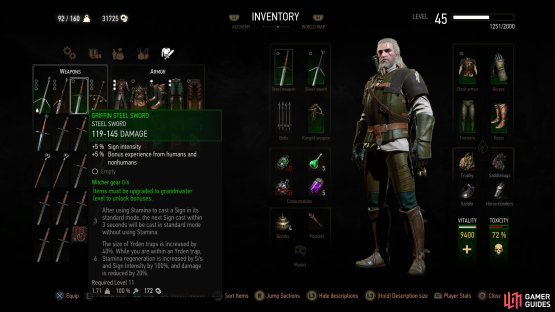
Fyke Isle later. ![]() Wild at Heart is a rare quest where its suggested level might not prepare you for the quest’s difficulty, as you’ll have to fight a foe with significant health regeneration. Unless you can out-damage this enemy’s regeneration, you may find this quest hard to complete, and that brings up a goal looming over the entirety of your time in Velen - getting better weapons. You may be able to get your hands on some DLC weapons that you can equip at level seven, but generally the goal is to get the Griffin Set at level eleven - more on that later. Ignore Wild at Heart until you have the Griffin
Wild at Heart is a rare quest where its suggested level might not prepare you for the quest’s difficulty, as you’ll have to fight a foe with significant health regeneration. Unless you can out-damage this enemy’s regeneration, you may find this quest hard to complete, and that brings up a goal looming over the entirety of your time in Velen - getting better weapons. You may be able to get your hands on some DLC weapons that you can equip at level seven, but generally the goal is to get the Griffin Set at level eleven - more on that later. Ignore Wild at Heart until you have the Griffin ![]() Silver Sword and your life will be much easier - don’t worry, the quest isn’t going anywhere.
Silver Sword and your life will be much easier - don’t worry, the quest isn’t going anywhere.
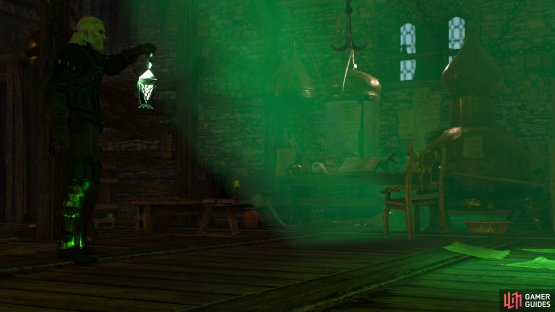
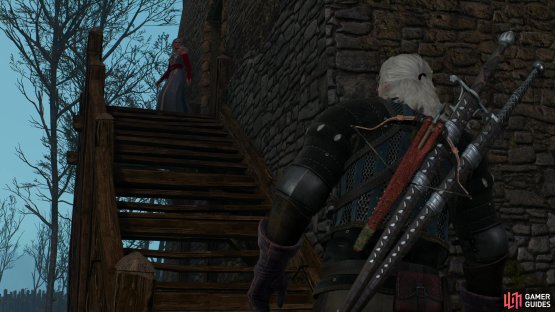
![]() Last Rites is a quest you can start by approaching Blackbough at night, but you’re better off waiting until you’ve completed
Last Rites is a quest you can start by approaching Blackbough at night, but you’re better off waiting until you’ve completed ![]() Wandering in the Dark and The Magic Lamp, as you’ll get a better reward for it. That least only
Wandering in the Dark and The Magic Lamp, as you’ll get a better reward for it. That least only ![]() Lynch Mob, which isn’t hard to complete but is highly missable. Head to the Hangman’s Alley signpost north of
Lynch Mob, which isn’t hard to complete but is highly missable. Head to the Hangman’s Alley signpost north of ![]() Midcopse to start it, and try to not wander around the area too much - beeline this quest after you leave Blackbough and get it done before you start A Favor for a Friend, as we strongly suspect this quest auto-resolved at that point. In any event, complete it before you hit Midcopse to ensure you won’t miss it.
Midcopse to start it, and try to not wander around the area too much - beeline this quest after you leave Blackbough and get it done before you start A Favor for a Friend, as we strongly suspect this quest auto-resolved at that point. In any event, complete it before you hit Midcopse to ensure you won’t miss it.
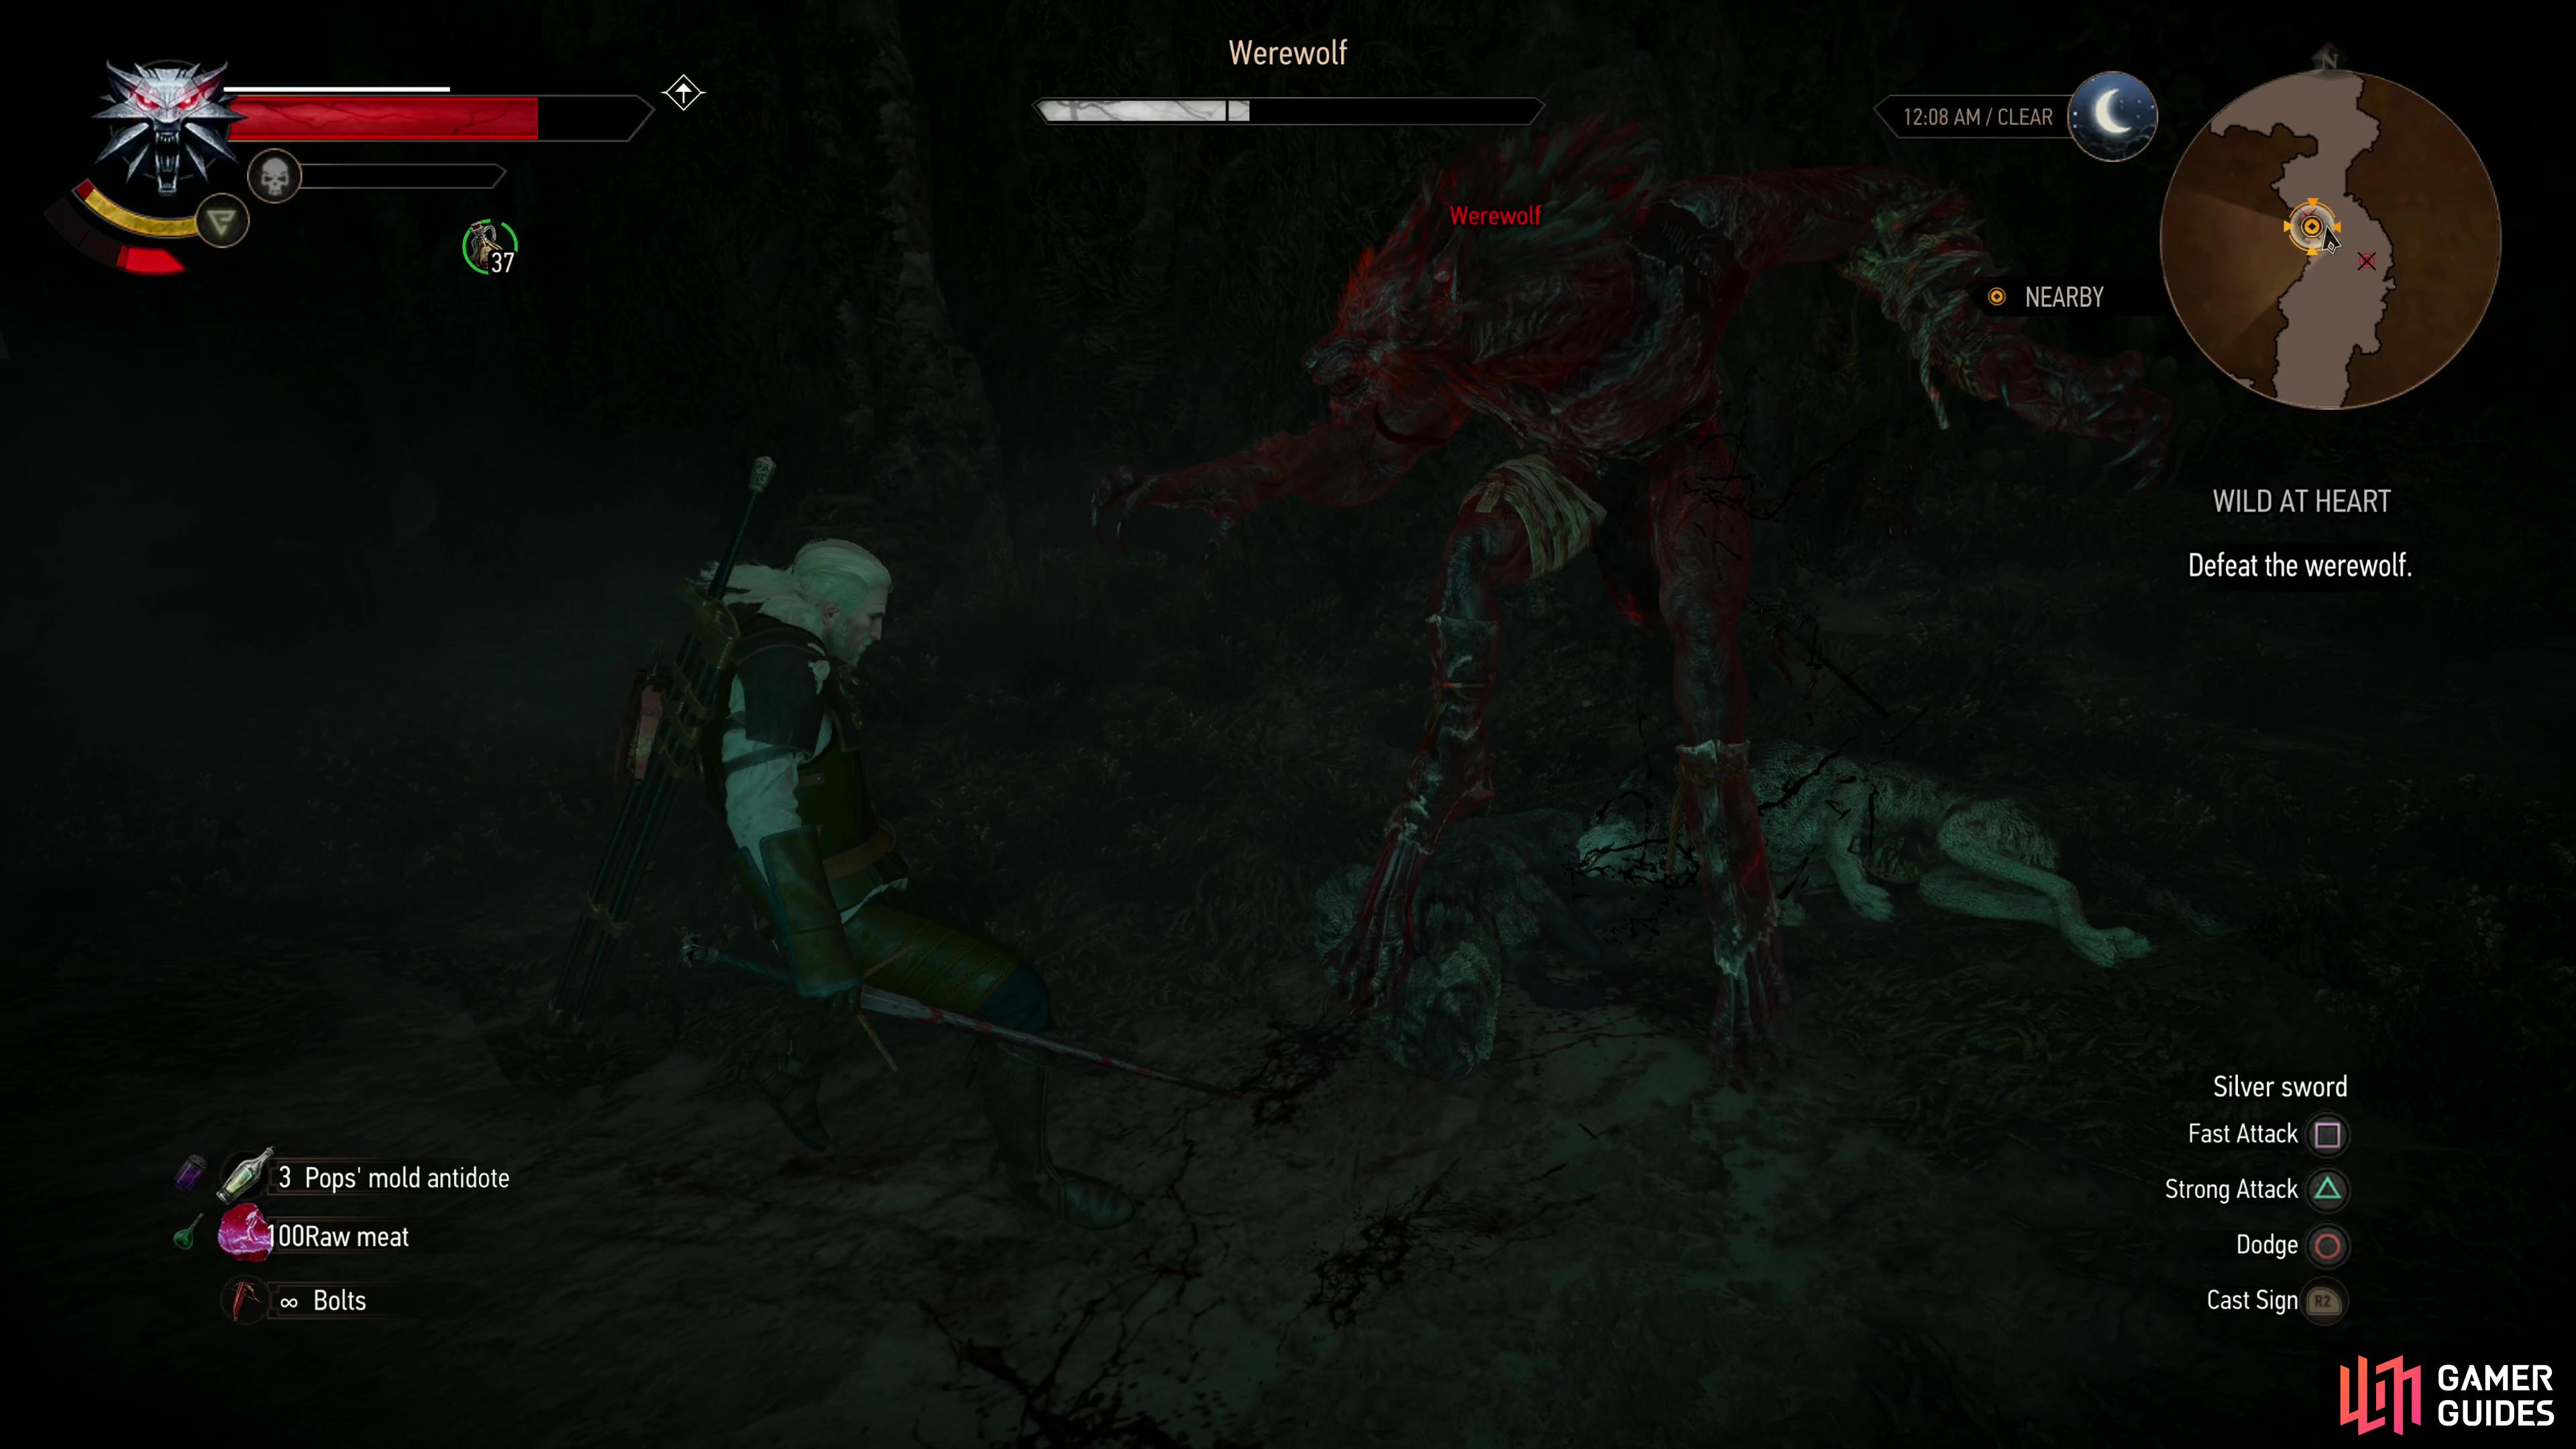

(1 of 2) Despite its deceptive suggested level, Wild at Heart pits you against a foe that might heal faster than you can deal damage!
Despite its deceptive suggested level, Wild at Heart pits you against a foe that might heal faster than you can deal damage! (left), Lynch Mob isn’t hard to complete, but it is easy to miss. (right)
Complete Kiera Metz’s Questline
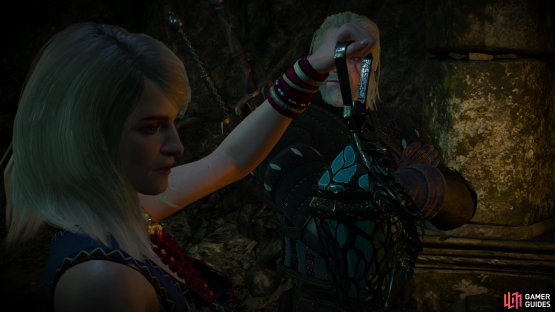
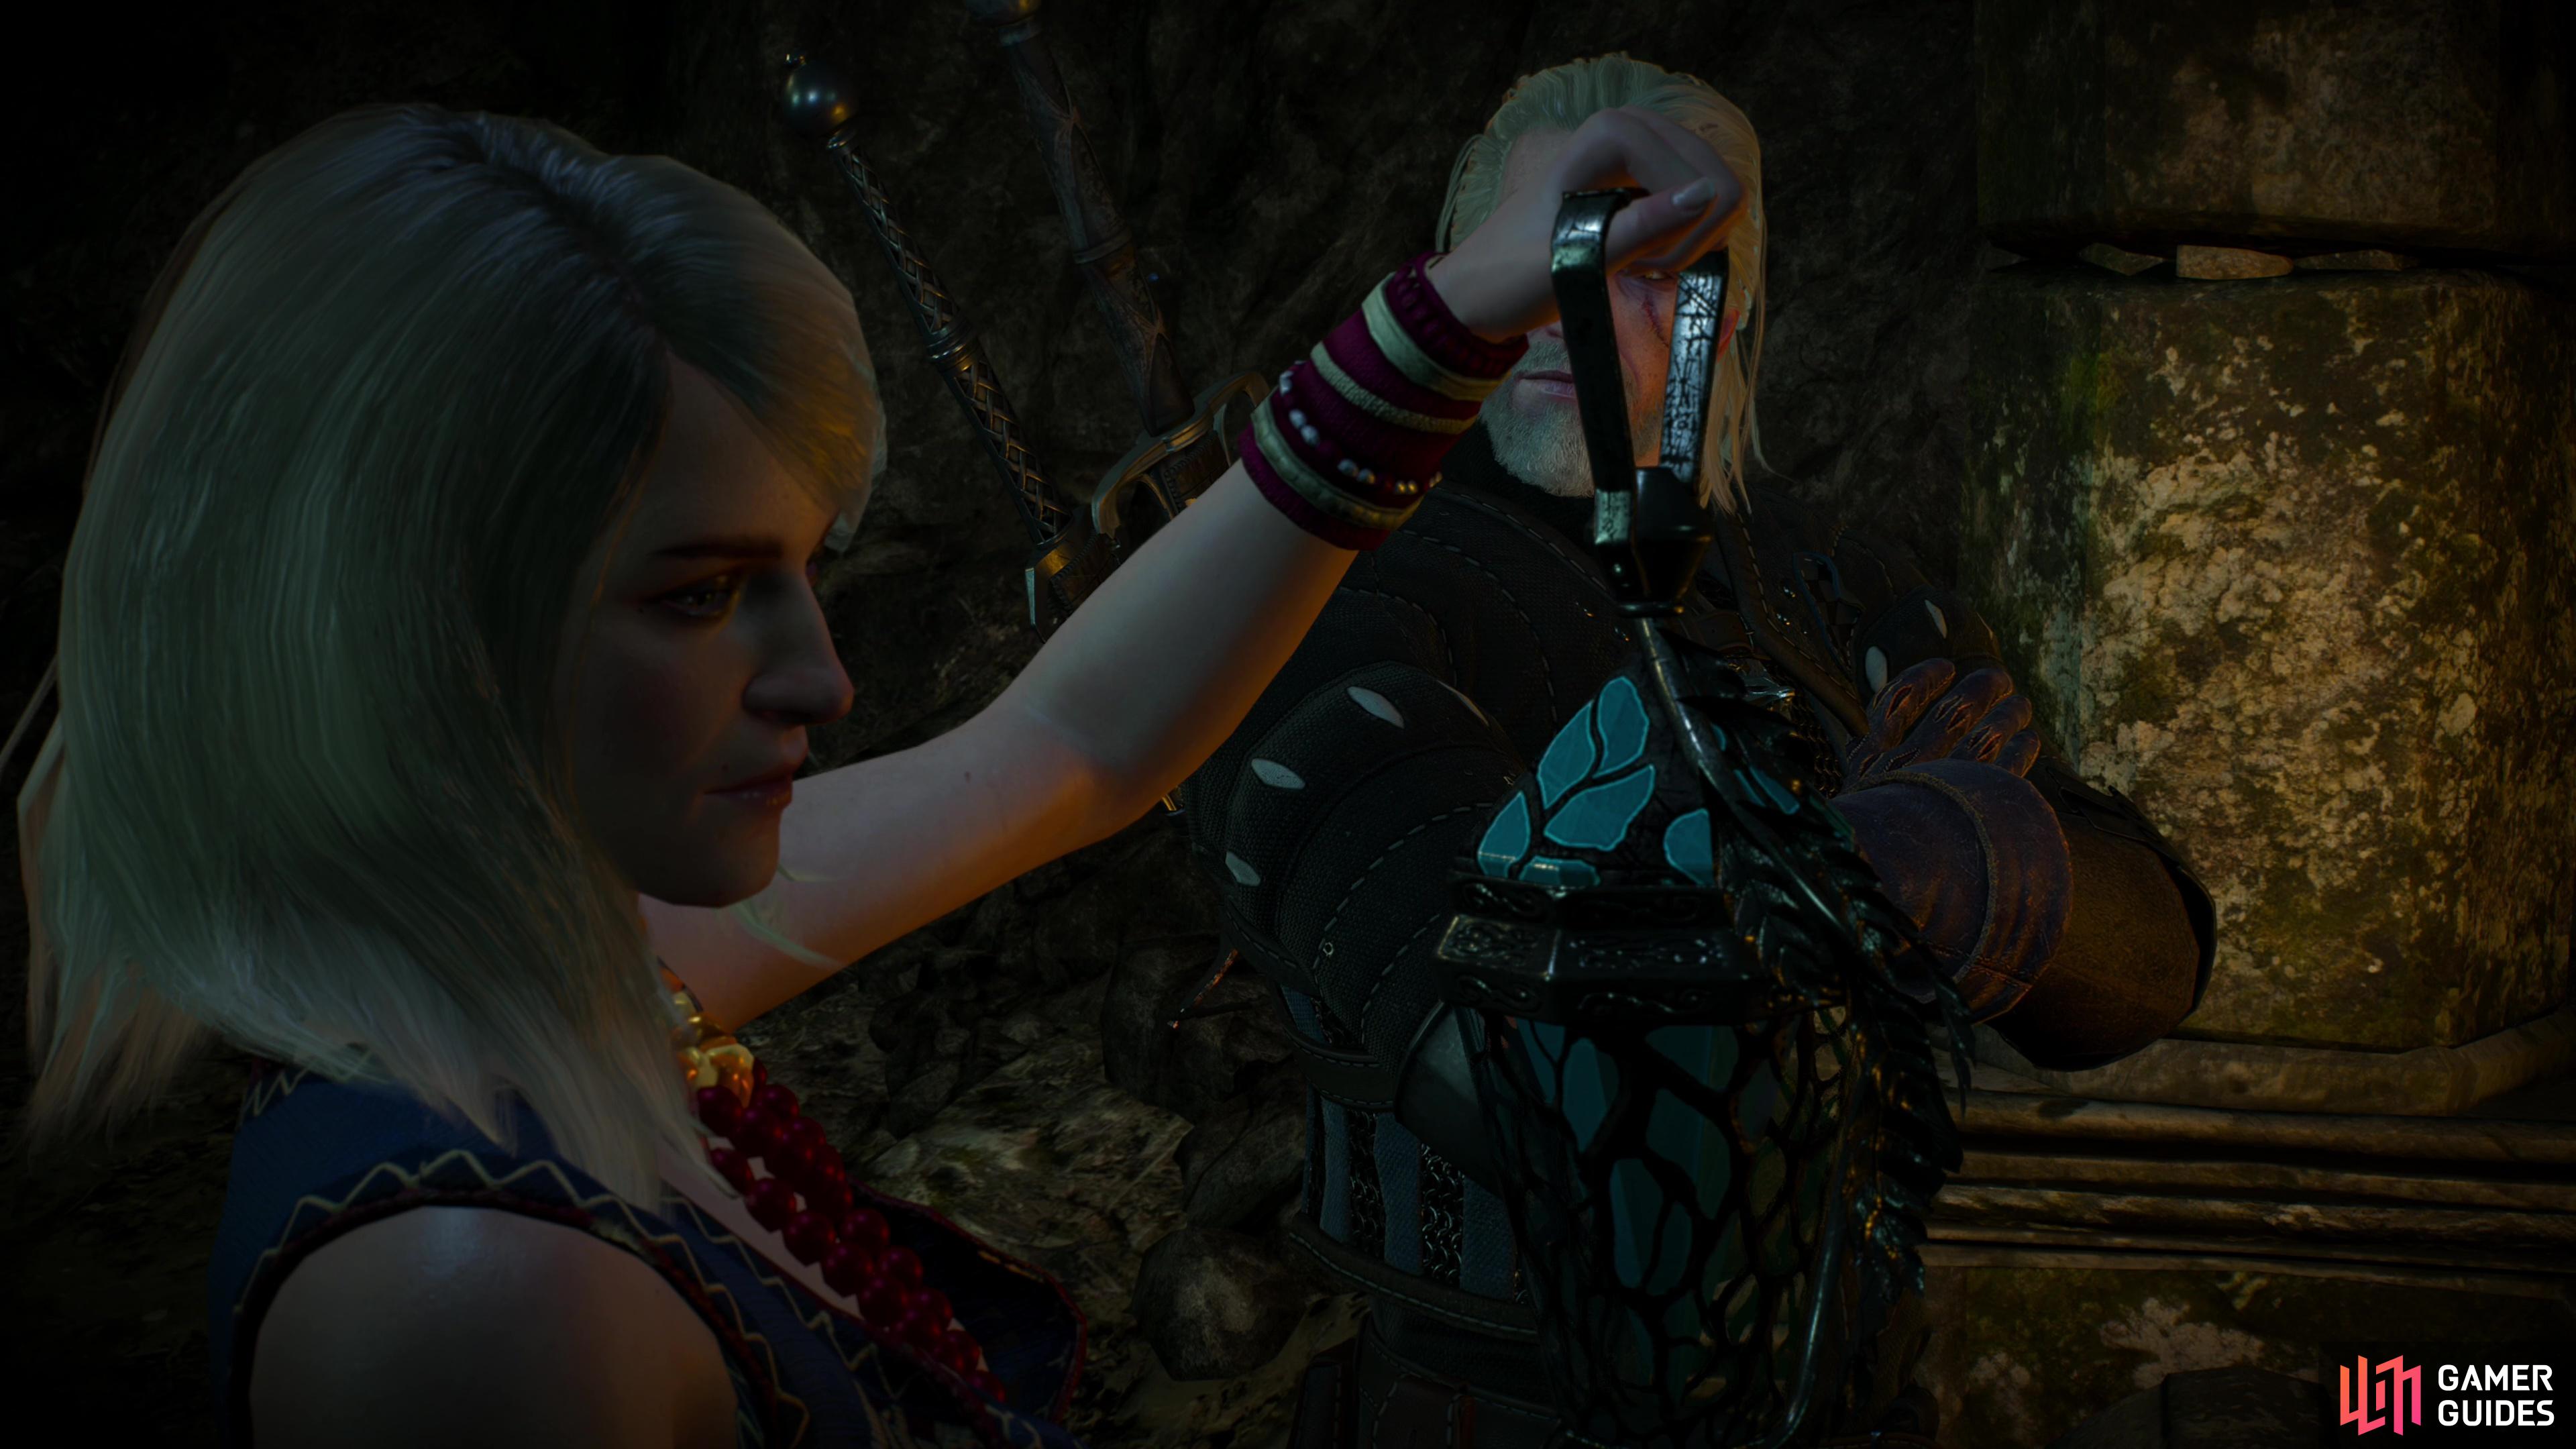
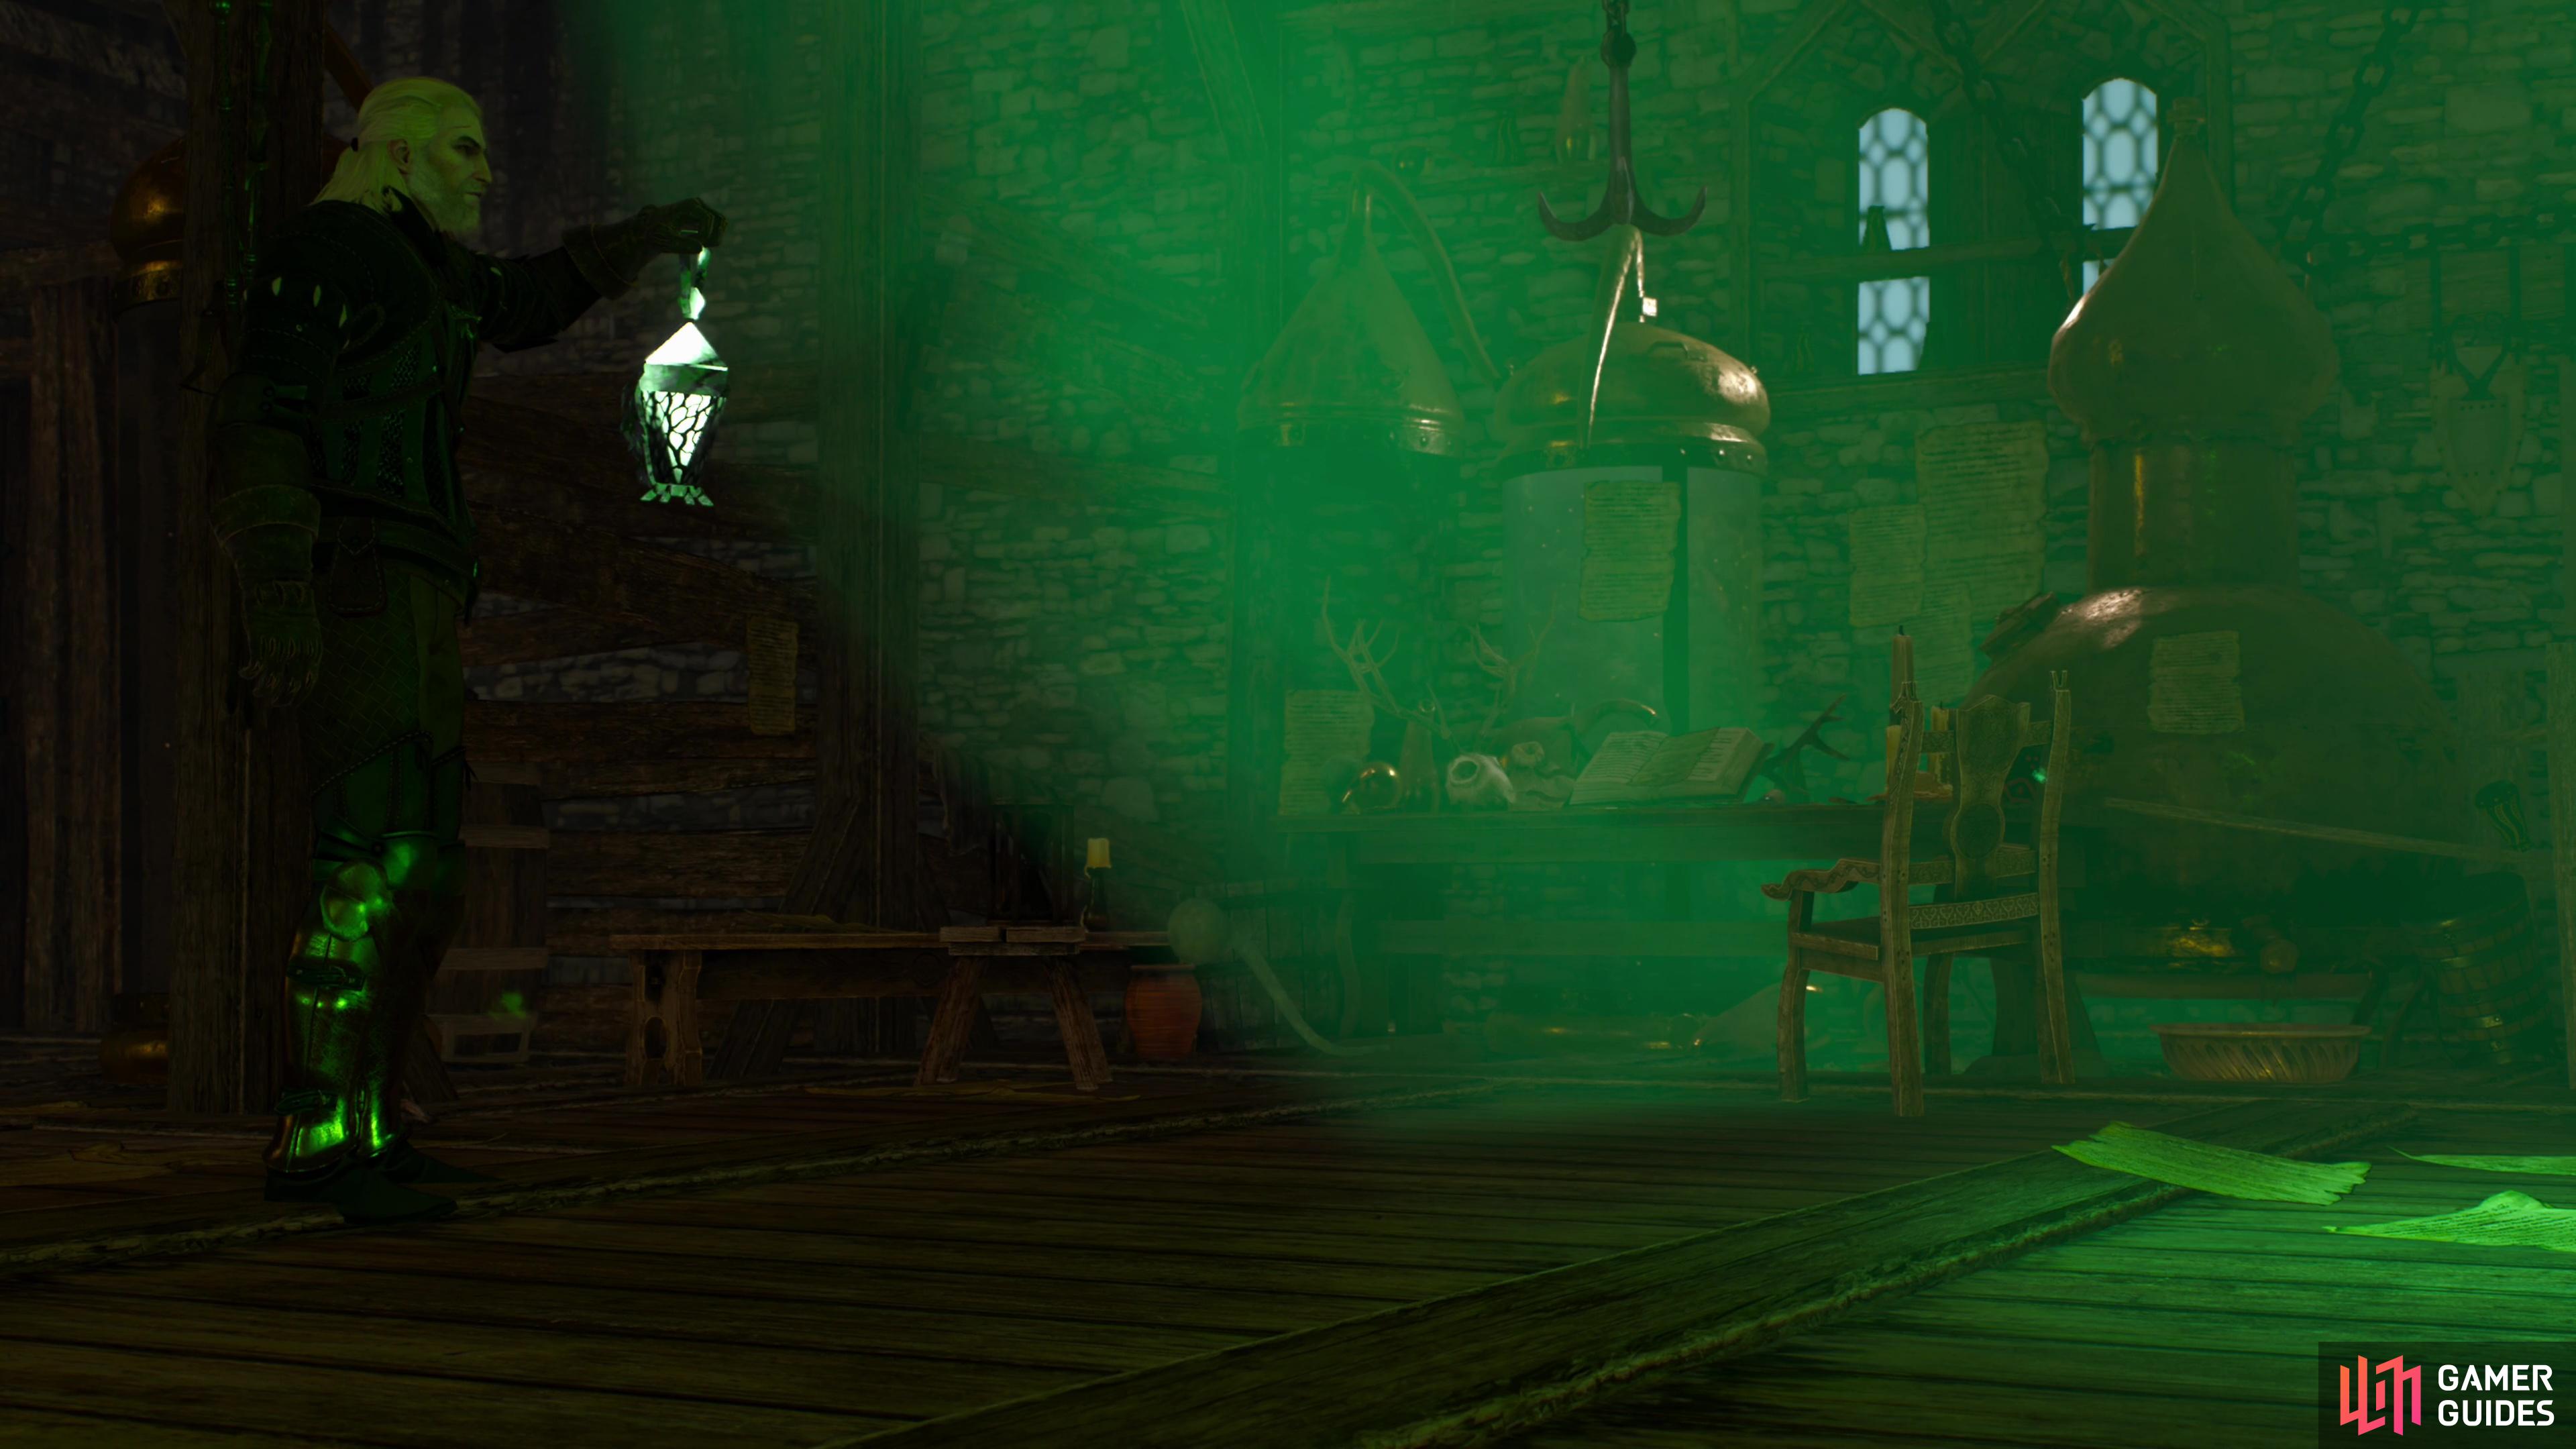
Complete the aforementioned quests Harassing a Troll and Lynch Mob (you can start Defender of the Faith, too - it won’t expire on you) then head to Midcopse and complete Hunting a Witch followed by Wandering in the Dark, which will take you a good ways south to some elven ruins. If you opt to travel there with Kiera Metz you’ll save yourself a lot of bother, otherwise you’ll have to avoid the aforementioned high-level Griffin that prowls south of Duen Hen. Wandering in the Dark is a lengthy, involved, yet rewarding quest that’ll give you some much needed EXP and treasure, getting you closer to the level where you need to start thinking about searching for a stronger gear. Immediately after Wandering in the Dark - before you leave the ruins, in fact - Kiera will ask you to help her find a magic lamp, starting the aptly named quest Magic Lamp. We strongly recommend you complete this quest, as it’ll get you even more EXP without a whole lot of bother. The main quest Ladies of the Wood will also start at this time, but we recommend ignoring it for a while.
Whether you complete ![]() Magic Lamp or not, completing Wandering in the Dark allows you to advance Family Matters, if you wish, and also starts Kiera Metz’s optional questline, starting with An Invitation from Kiera Metz. This quest really just serves to get you back to Kiera’s hut northeast of Midcopse, where she’ll ask you to undertake a much lengthier and more rewarding quest A Towerful of Mice. She’ll also give you the Magic Lamp she recovered from the elven ruins you explored during Wandering in the Dark, and if you wanted to, say, take a detour north to Blackbough to complete Last Rites, now’s not a bad time to do it - the Magic Lamp ensures you get the most EXP out of this quest.
Magic Lamp or not, completing Wandering in the Dark allows you to advance Family Matters, if you wish, and also starts Kiera Metz’s optional questline, starting with An Invitation from Kiera Metz. This quest really just serves to get you back to Kiera’s hut northeast of Midcopse, where she’ll ask you to undertake a much lengthier and more rewarding quest A Towerful of Mice. She’ll also give you the Magic Lamp she recovered from the elven ruins you explored during Wandering in the Dark, and if you wanted to, say, take a detour north to Blackbough to complete Last Rites, now’s not a bad time to do it - the Magic Lamp ensures you get the most EXP out of this quest.

(1 of 2) Head to Midcopse to find a witch,
Head to Midcopse to find a witch, (left), then help Kiera Metz explore some elven ruins. (right)
Complete the Fyke Isle Quests
Travel to Fyke Isle by boat to complete ![]() A Towerful of Mice, after which the next quest in the Kiera Metz questline, A Favor for a Friend will begin. Fall for Kiera’s charms or not - she’s not a proper romance, just a stakes-free dalliance - and the quest For the Advancement of Learning will begin, ending Kiera’s questline. If you want to get the Full Crew achievement you must convince Kiera Metz to abandon her plans and head to
A Towerful of Mice, after which the next quest in the Kiera Metz questline, A Favor for a Friend will begin. Fall for Kiera’s charms or not - she’s not a proper romance, just a stakes-free dalliance - and the quest For the Advancement of Learning will begin, ending Kiera’s questline. If you want to get the Full Crew achievement you must convince Kiera Metz to abandon her plans and head to ![]() Kaer Morhen, instead. If you end up fighting her, you will not get the aforementioned achievement this playthrough.
Kaer Morhen, instead. If you end up fighting her, you will not get the aforementioned achievement this playthrough.
While Keira’s questline may be complete, there are more quests you can busy yourself with. During ![]() A Favor for a Friend the Pellar should have bothered you (assuming you completed A Princess in Distress earlier), starting the quest Forefather’s Eve. Go complete this quest now and note that it requires you to sail to the swamps along the eastern edge of Velen - a fine transition as we largely turn our own attentions from the west to the east at this point.
A Favor for a Friend the Pellar should have bothered you (assuming you completed A Princess in Distress earlier), starting the quest Forefather’s Eve. Go complete this quest now and note that it requires you to sail to the swamps along the eastern edge of Velen - a fine transition as we largely turn our own attentions from the west to the east at this point.
(1 of 2) Investigate Fyke Isle for Kiera,

Investigate Fyke Isle for Kiera, (left), then confront her at the tower on the island later - be sure to convince her to flee to Kaer Morhen. (right)
Complete Secondary Quests Around Oreton and Claywich
Strengthened by your ordeals with Kiera Metz, it’s time to complete secondary quests throughout Velen, generally working our way east. Finish up Defenders of the Faith - you should be more than comfortable sailing around now to do so, just avoid any high level enemies you see and you’ll be fine. Once that’s done, turn your attention to the following secondary and freeform quests in south-central Velen:
All of these quests are fairly straight-forward and simple, but it’s worth noting you need the ![]() Eye of Nehaleni - an item you obtained at the end of Wandering in the Dark to complete
Eye of Nehaleni - an item you obtained at the end of Wandering in the Dark to complete ![]() A Greedy God.
A Greedy God.
Complete Secondary Quests and Witcher Contracts Around Lindenvale
Keep moving decidedly east of Crow’s Perch to find Lindenvale, a town mostly notable for housing the quest The Fall of House Reardon, and depending on your choices during Imperial Audience, the quest Ghosts of the Past may also start during The Fall of House Reardon. In addition you can find the quests Deadly Crossing: Sword Sellers north of ![]() Lindenvale and Looters South of Lindenvale… well, to the south. Further east you’ll find Fool’s Gold and Hazardous Goods which can be started, but not finished at this point in time. Finally, if you complete Contract: The Merry Widow the secondary quest Witcher Wannabe will become available later in Velen, although you may have to burn some time before it’ll appear. Good thing we’ve got more things to do in Velen!
Lindenvale and Looters South of Lindenvale… well, to the south. Further east you’ll find Fool’s Gold and Hazardous Goods which can be started, but not finished at this point in time. Finally, if you complete Contract: The Merry Widow the secondary quest Witcher Wannabe will become available later in Velen, although you may have to burn some time before it’ll appear. Good thing we’ve got more things to do in Velen!

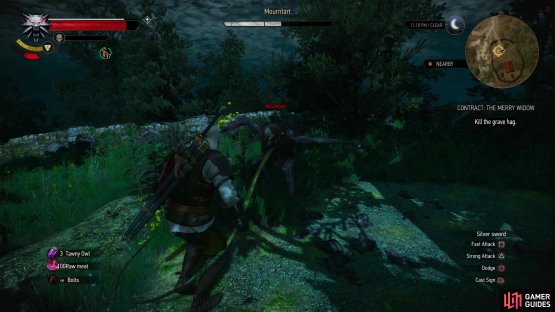
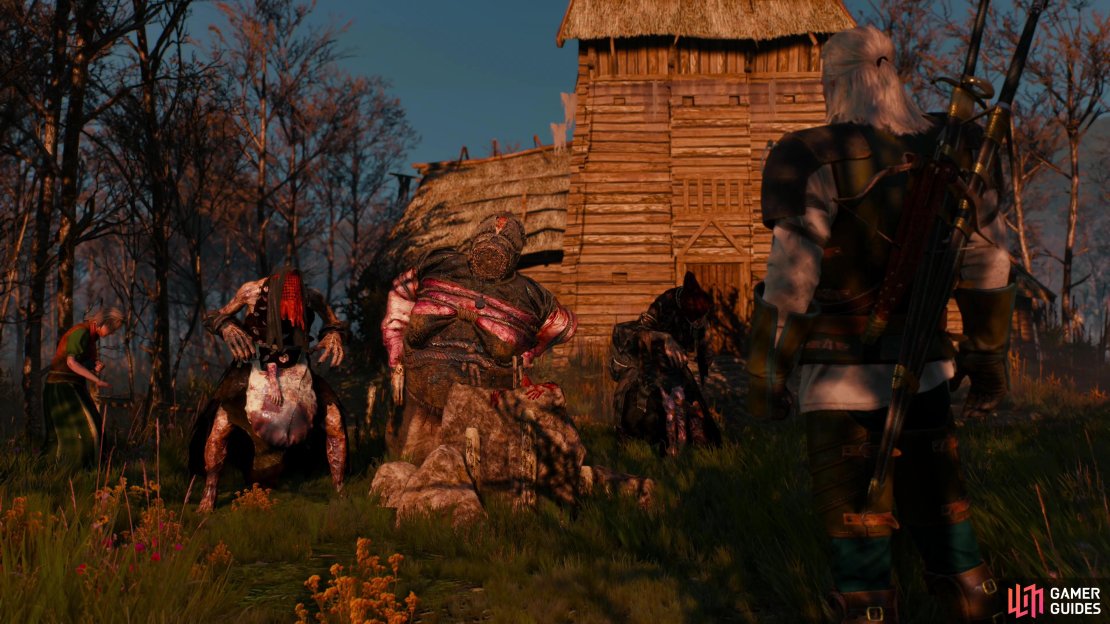
(1 of 2) Lindenvale is surprisingly eventful - help and old adversary settle the score with some fickle accomplices,
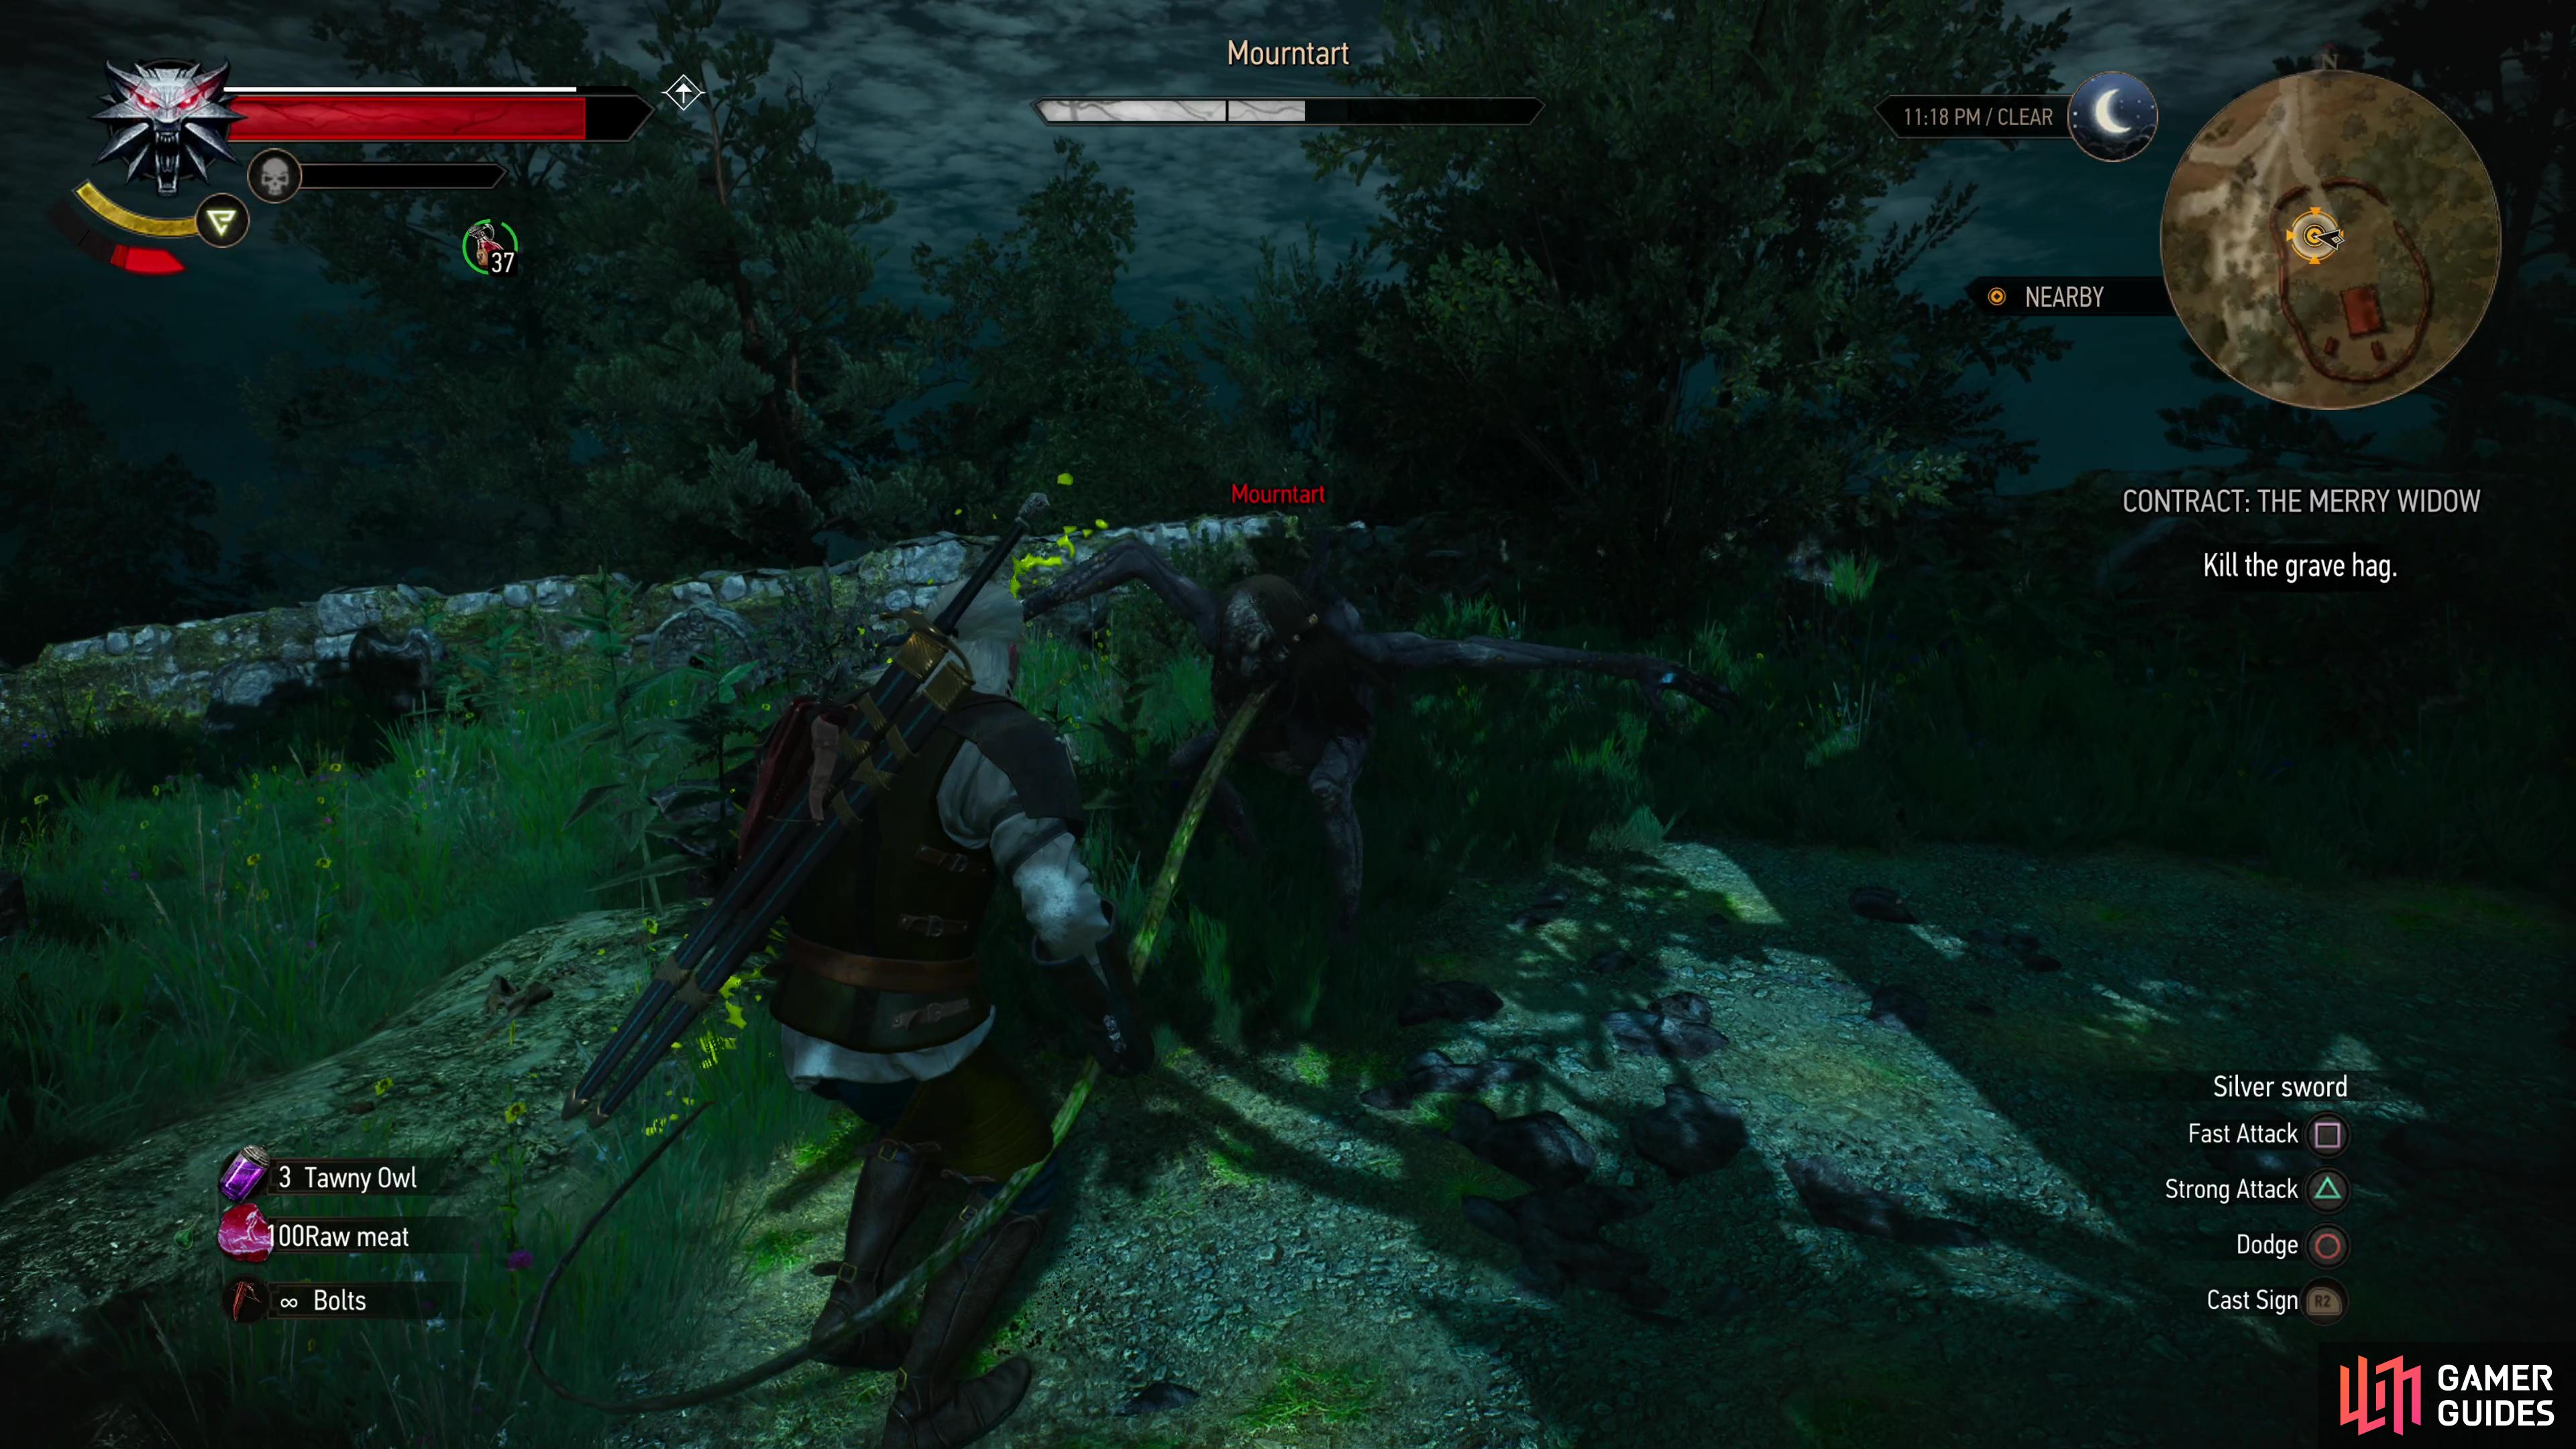
Lindenvale is surprisingly eventful - help and old adversary settle the score with some fickle accomplices, (left), and exterminate an especially bold Grave Hag. (right)
Secondary Quests and Witcher Contracts Around the Nilfgaardian Army Camp
Now to finish the eastern push. Aside from Downwarren far to the south and east of Lindenvale, there’s only two real bastions of civilization in southern Velen - Benek and the Nilfgaardian Army Group ‘Center’ Camp. At the sacked town of Toderas you can complete the quest Looters at Toderas. If enough time has passed since the first phase of the quest you may be able to finish Hazardous Goods west of ![]() Benek. You can also complete the quest The Truth is in the Stars at Benek before heading to the southeastern corner of the map to the Nilfgaardian Camp, where you can busy yourself with Blood Ties and Contract: Patrol Gone Missing.
Benek. You can also complete the quest The Truth is in the Stars at Benek before heading to the southeastern corner of the map to the Nilfgaardian Camp, where you can busy yourself with Blood Ties and Contract: Patrol Gone Missing.
Gwent in Velen and Gwent: Velen Players
Now that you’ve explored most of Velen, it’s a good time to get your Gwent on. If you already beat the Bloody Baron and started ![]() Gwent: Velen Players, great, if not, head over there and do so. If you haven’t returned to Crow’s Perch since completing A Princess in Distress you may need to deal with some drama with the Bloody Baron first, just don’t start the Botchling phase of the quest and you’re fine.
Gwent: Velen Players, great, if not, head over there and do so. If you haven’t returned to Crow’s Perch since completing A Princess in Distress you may need to deal with some drama with the Bloody Baron first, just don’t start the Botchling phase of the quest and you’re fine.
Your goal during this phase is to defeat all the Gwent players in Velen, and these fall into two categories: pretty much every merchant in Velen (you can also buy Gwent cards from several of them), and the distinguished players you’re tasked with beating during Gwent: Velen Players, including:
 The Bloody Baron (Crow’s Perch)
- The Boatwright in
 Oreton
 - The Soothsayer in Benek (he gives you the quest The Truth is in the Stars
- Haddy, in Midcopse
Now that you’ve traveled around, it shouldn’t be much bother to just fast travel from town to town playing the aforementioned distinguished players and any merchant (including blacksmiths and innkeeps) you find, including the Quartermaster at Crow’s Perch and Quartermaster Eggebracht in the Nilfgaardian Army Group ‘Center’ Camp. The only tricky player to find in Velen is a merchant from ![]() Claywich, who must be freed from a Person(s) in Distress event to the east before he’ll make his way back to Claywich and play and sell you cards.
Claywich, who must be freed from a Person(s) in Distress event to the east before he’ll make his way back to Claywich and play and sell you cards.
We highly recommended perusing the pages Gwent: Velen Players and Gwent in Velen for full details on these players.


(1 of 2) Defeat the Bloody Baron and other distinquished Gwent players in Velen,
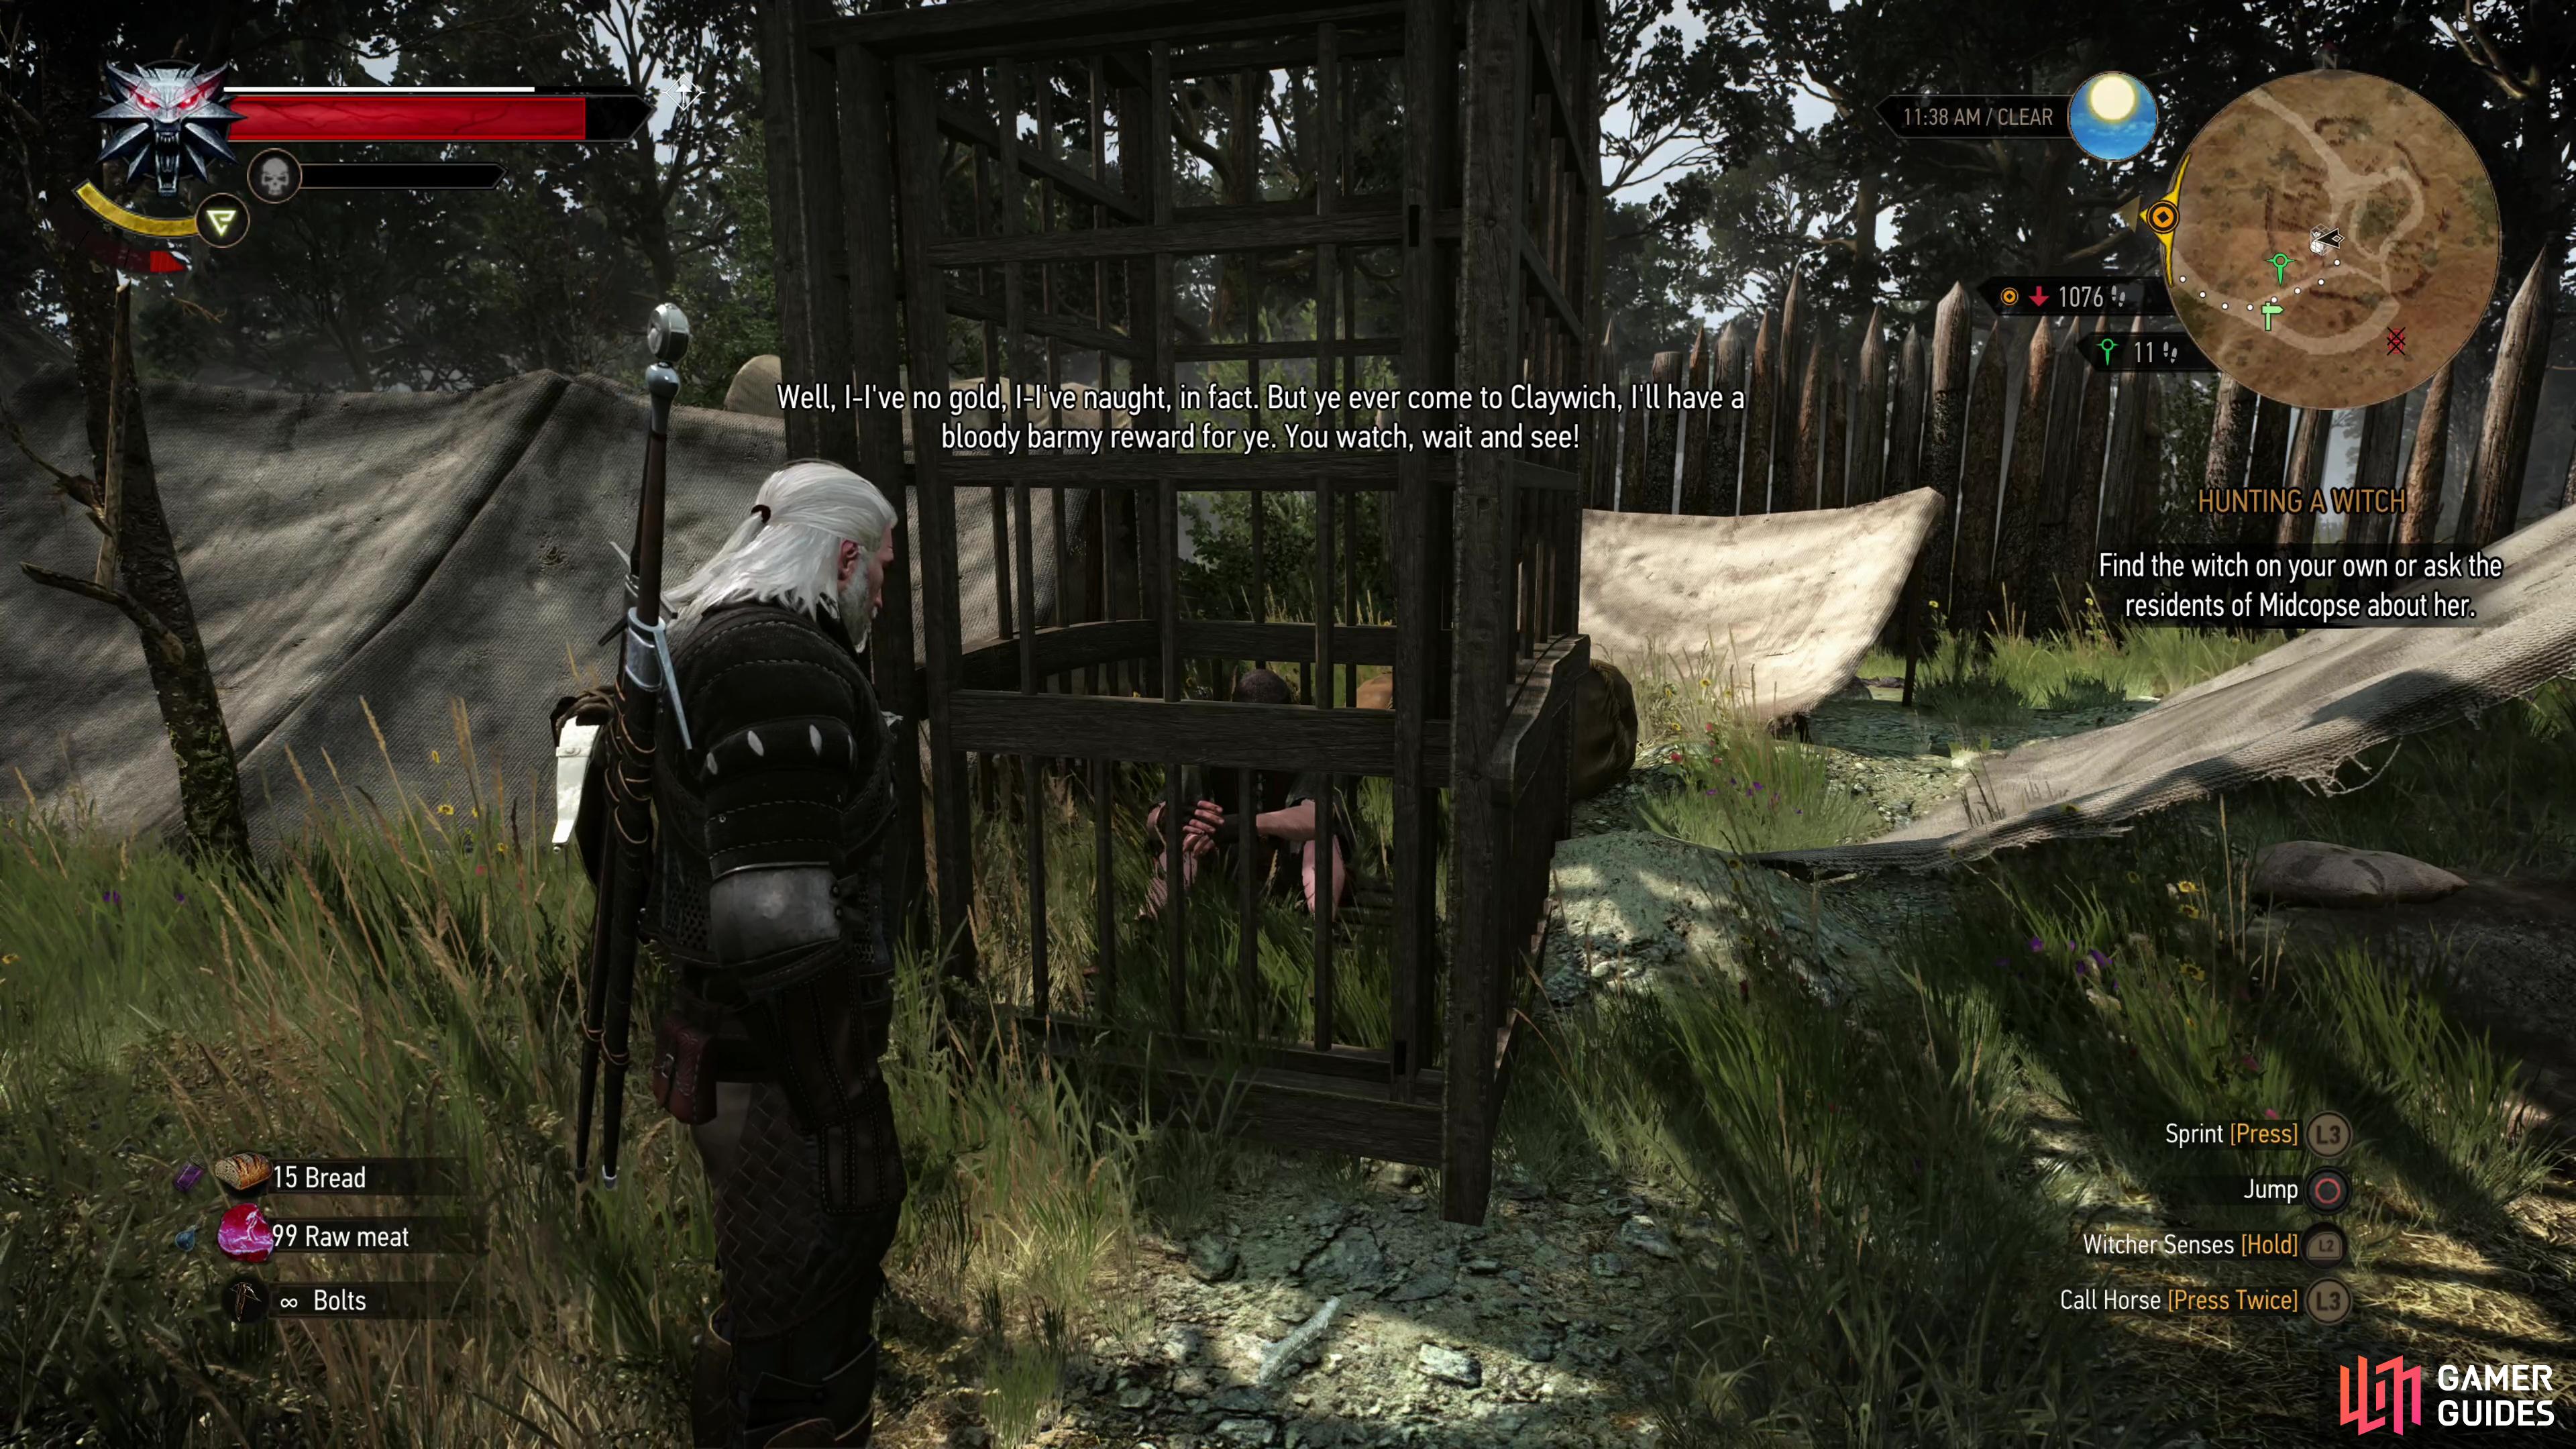
Defeat the Bloody Baron and other distinquished Gwent players in Velen, (left), and be sure to free a captive merchant from some Bandits - he’ll sell you Gwent cards when he’s back home in Claywich! (right)
Get Griffin School Witcher Gear
After all you’ve done up to this point, you’re probably at or near level eleven. If so, you’ll want to get better gear before finishing Velen - gear which will carry you into Novigrad, lasting up until level seventeen or eighteen or so. If you’re not high enough level - say level ten - delay this and continue with the suggested quests below until you are.
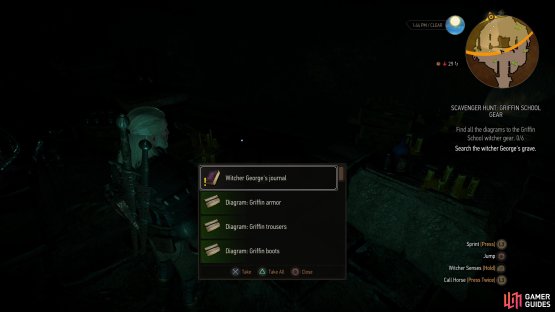
In any event, buy Edwin Greloff’s First Map from the Armorer at Midcopse to start the quest Scavenger Hunt: Griffin School Gear, which will send you to Dragonslayer’s Grotto for the armor pieces of the set, Hindhold for the Griffin Steel Sword diagram and to Lornruk for the Griffin Silver Sword diagram. You do not have to complete these in order, nor do you even really need to have started the quest to find them, all the quest really does is provide you with objective markers. If you want to prioritize, get the Griffin Silver Sword, first, as it’ll help you kill monsters, which makes almost everything else you do so much easier… including getting the other parts of the Griffin set.
It can’t be overstated how much more powerful you’ll be after you get the Griffin school gear - it’s the point where Death March! goes from being somewhat hard to…well, much less difficult. Might even be worth grinding some [![]() Monster Nests] or [
Monster Nests] or [![]() Abandoned Sites] if you’re level ten and within striking distance, but main quest progression gives a ton of EXP, too.
Abandoned Sites] if you’re level ten and within striking distance, but main quest progression gives a ton of EXP, too.
![]() Note that once you get the diagrams, you’ll need to have them crafted by an armorer/blacksmith of some skill. For these pieces of gear, the craftsmen in Oxenfurt will suffice, but you’ll need a transit pass to get into the city. Either complete the quests presented under the head Get a Transit Pass or advance the Bloody Baron questline and you’ll eventually be given a Transit Pass… or rather a Letter of Safe Conduct. They do the same thing.
Note that once you get the diagrams, you’ll need to have them crafted by an armorer/blacksmith of some skill. For these pieces of gear, the craftsmen in Oxenfurt will suffice, but you’ll need a transit pass to get into the city. Either complete the quests presented under the head Get a Transit Pass or advance the Bloody Baron questline and you’ll eventually be given a Transit Pass… or rather a Letter of Safe Conduct. They do the same thing.
Finally, if you want to knock out another side quest and get a little ahead of the curve, clear an Abandoned Site west, southwest of Midcpse and once it has been settled again you’ll be able to complete the quest Love’s Cruel Snares. This quest can be pretty missable, but since it can’t spawn until you clear the aforementioned Abandoned Site, it’s not as easy to botch as, say, Lynch Mob was. On a peninsula west of this Abandoned Site you’ll find a Bandit Camp in some ruins, and you can also find the Griffin Steel Sword - Enhanced diagram in the same ruins. You’ll need to be level eighteen to craft it, however, so don’t get too excited - another upgrade’s still a ways off.
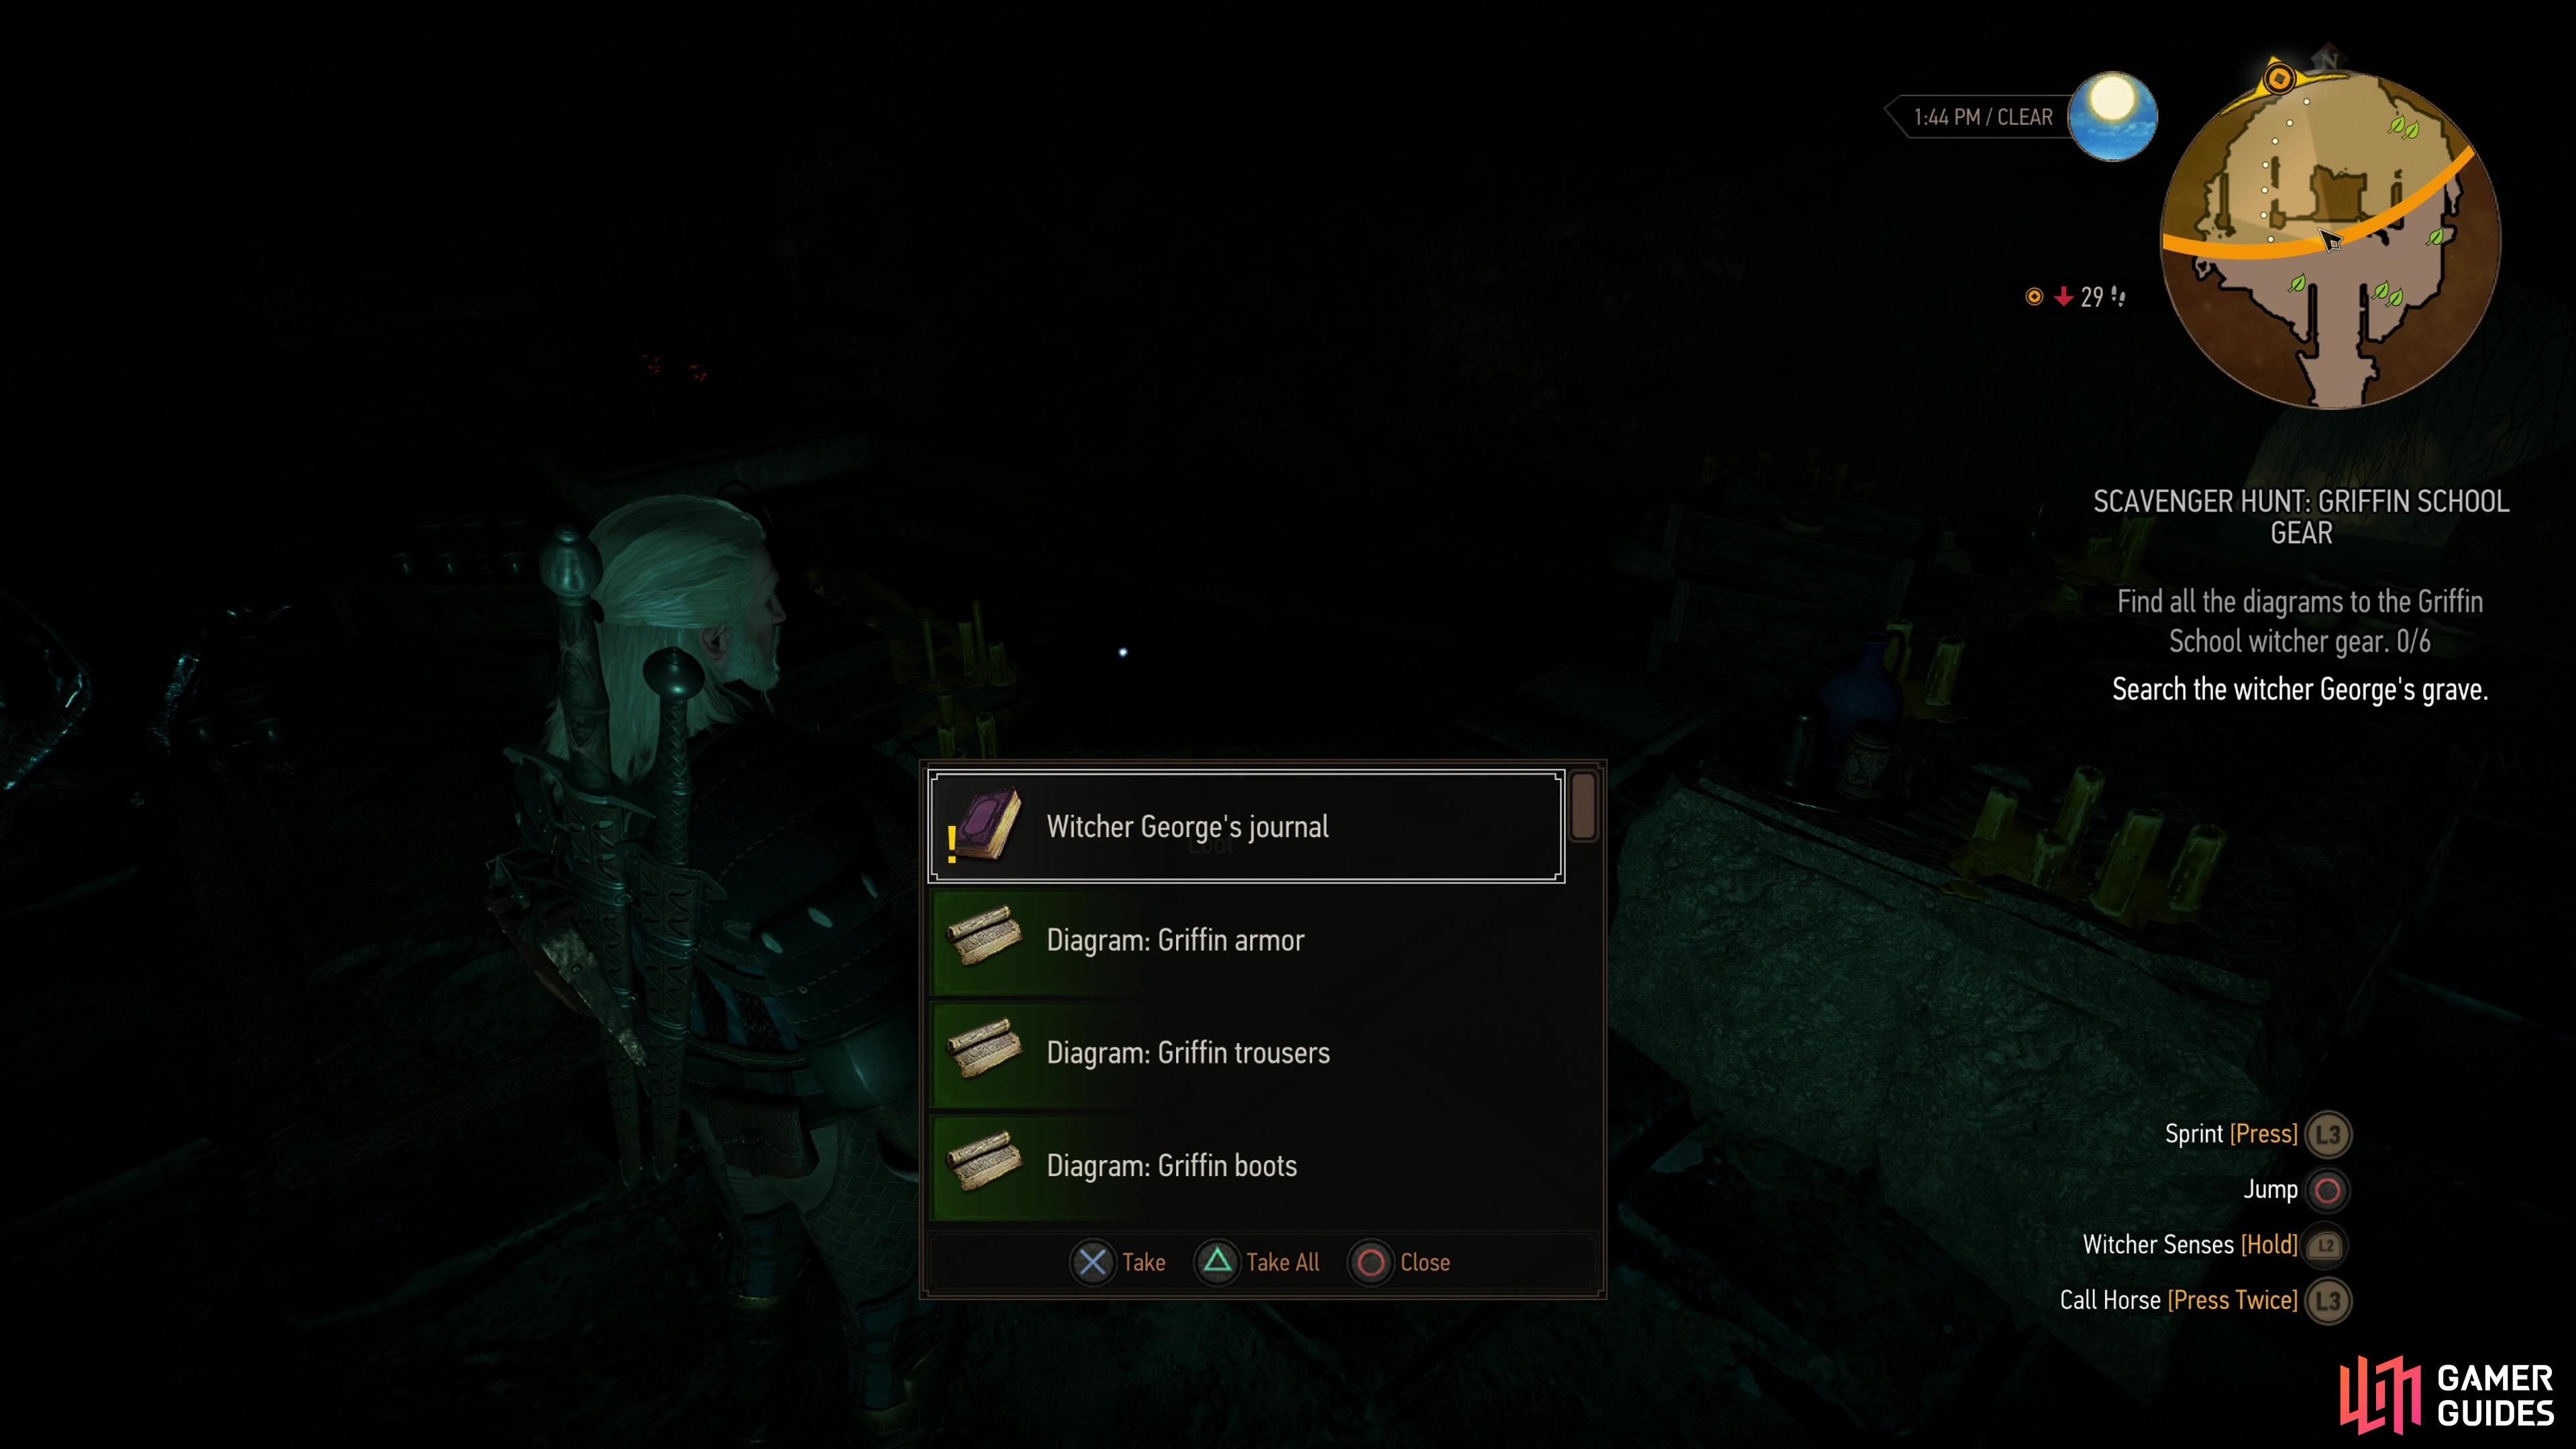
(1 of 2) Find the diagrams for the Griffin set,

Find the diagrams for the Griffin set, (left), then get some craftsman to create the Griffin set armor and swords for you - it’s a massive ugprade! (right)
Finish the Bloody Baron Questline
After you’ve done everything listed above there’s little else to do besides complete the Bloody Baron’s questline. If you haven’t returned to Crow’s Perch since completing A Princess in Distress you’ll need to knock some sense into the Bloody Baron when you return and optionally rescue a stablehand from a burning stable. Following a good beating the Bloody Baron will tell you Ciri’s Story: The Race and you’ll need to decide how you want to deal with the Botchling. Either route works fine, but there’s a bit of a step up in difficulty here, albeit a temporary one. Deal with the Botchling and learn where the Bloody Baron’s daughter went, then tell him about it to get a Letter of Safe Conduct, allowing you to cross the Pontar. Find Tamara in Oxenfurt if you wish, but to advance the story further you’ll need to put Family Matters on hold again, this time in favor of the quest Ladies of the Wood.
Advance Ladies of the Wood and you’ll find yourself at The Orphans of Crookback Bog for a spell before you’re ultimately sent off to ![]() Downwarren on an errand, which leads to the quest The Whispering Hillock. The main questline for Velen is starting to resemble Matryoshka
Downwarren on an errand, which leads to the quest The Whispering Hillock. The main questline for Velen is starting to resemble Matryoshka ![]() Dolls - complete
Dolls - complete ![]() The Whispering Hillock to advance
The Whispering Hillock to advance ![]() Ladies of the Wood, complete Ladies of the Wood to advance Family Matters. It’s worth noting that The Whispering Hillock is actually a secondary quest, and you could have completed it earlier just by stumbling across it blindly, but you’d have less choices that way.
Ladies of the Wood, complete Ladies of the Wood to advance Family Matters. It’s worth noting that The Whispering Hillock is actually a secondary quest, and you could have completed it earlier just by stumbling across it blindly, but you’d have less choices that way.
Finish The Whispering Hillock, then Ladies of the Wood to start Ciri’s Story: Fleeing the Bog. After that, report to the Bloody Baron for another Ciri’s Story, Ciri’s Story: Out of the Shadows. At this point Family Matters will finally end and the final main quest in Velen will begin: Return to Crookback Bog. Compared to the other recent main quests, this one is refreshingly self-contained, and it will allow you to determine the fate of the Bloody Baron and his family. Once you’re done with this quest you’re mostly done with Velen.
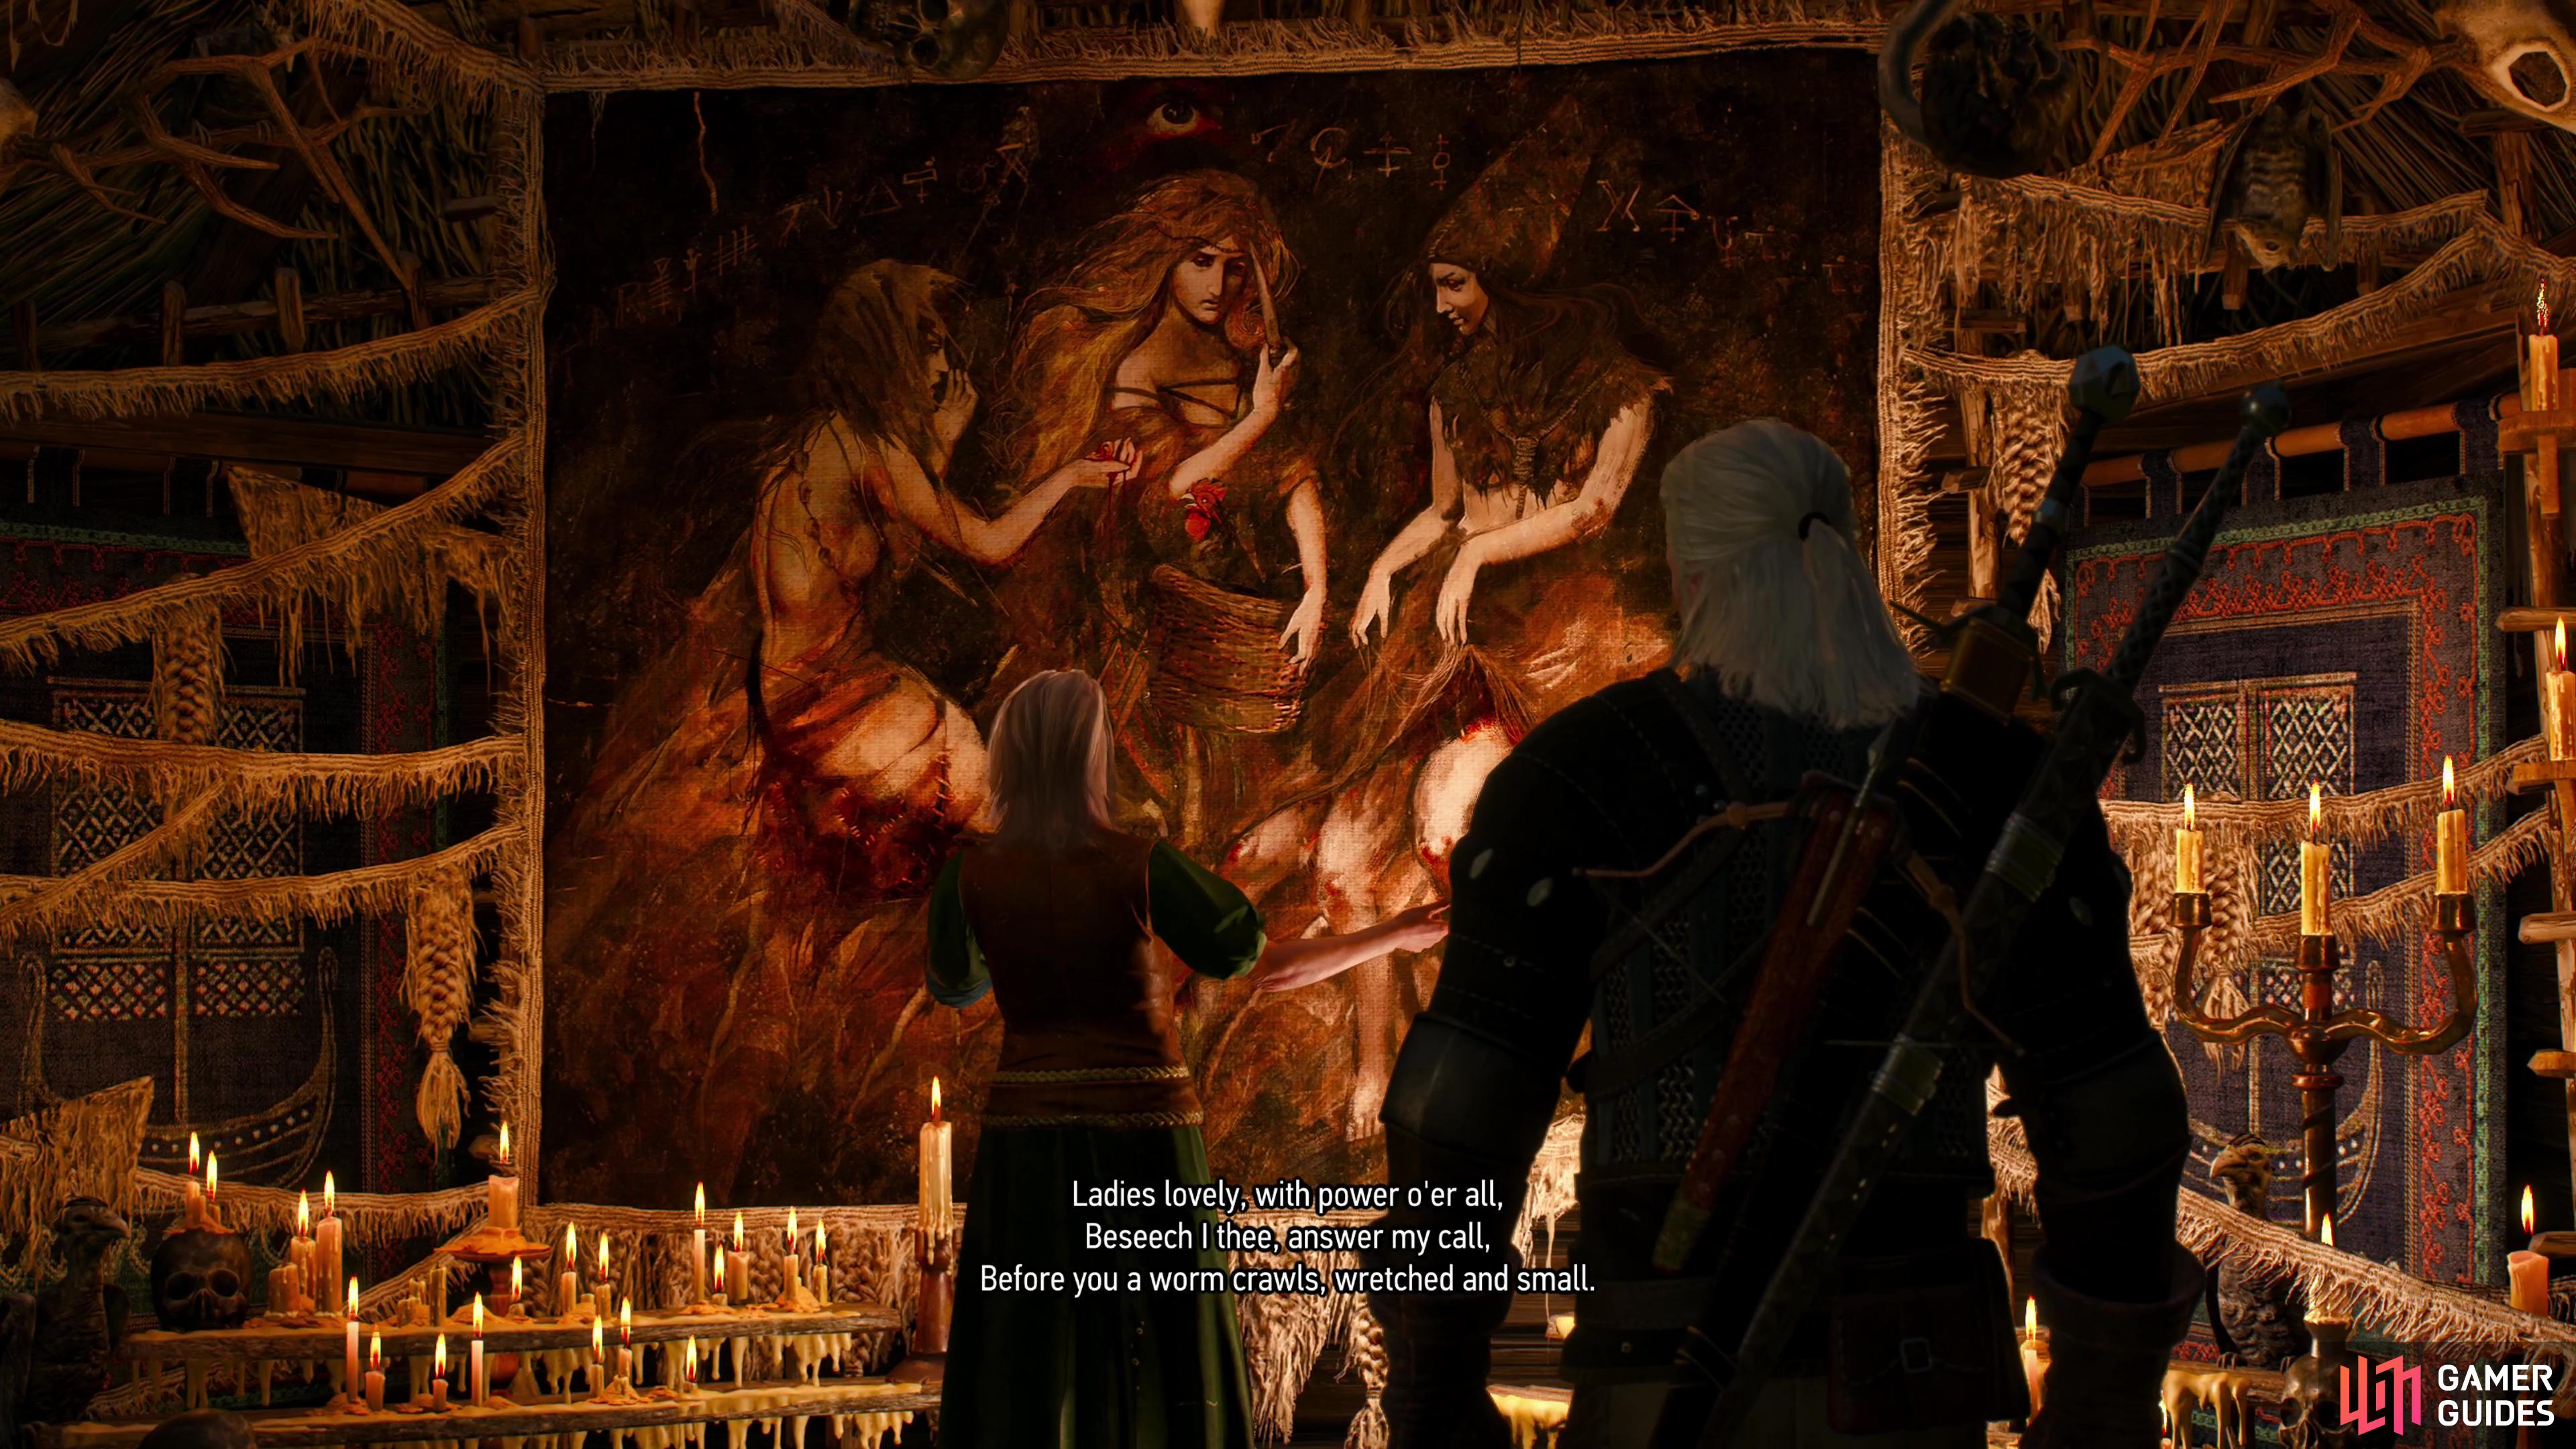
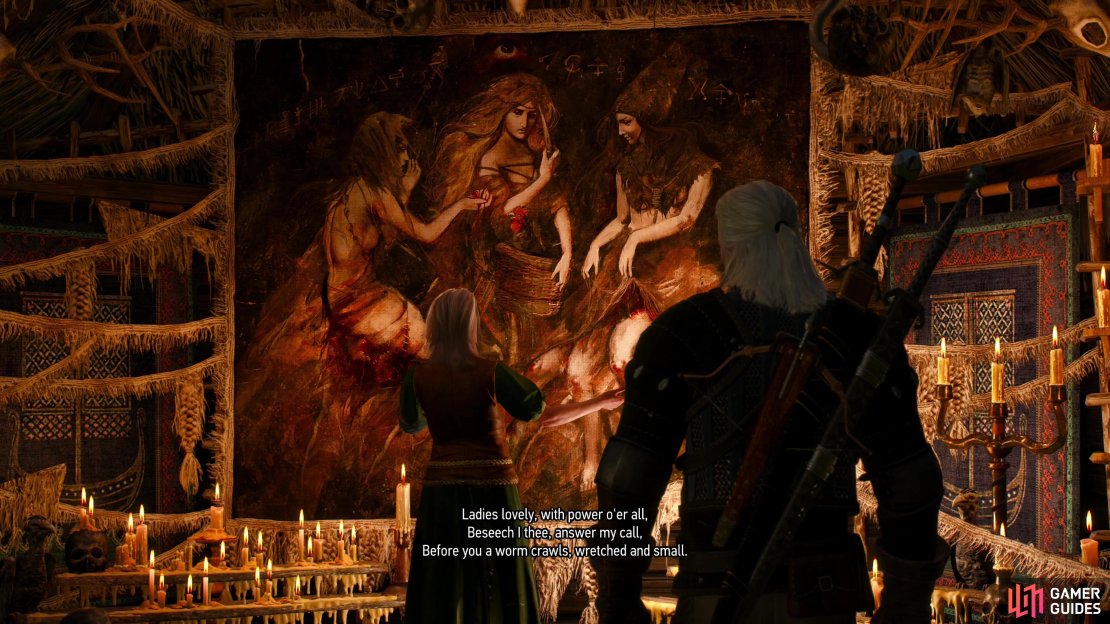
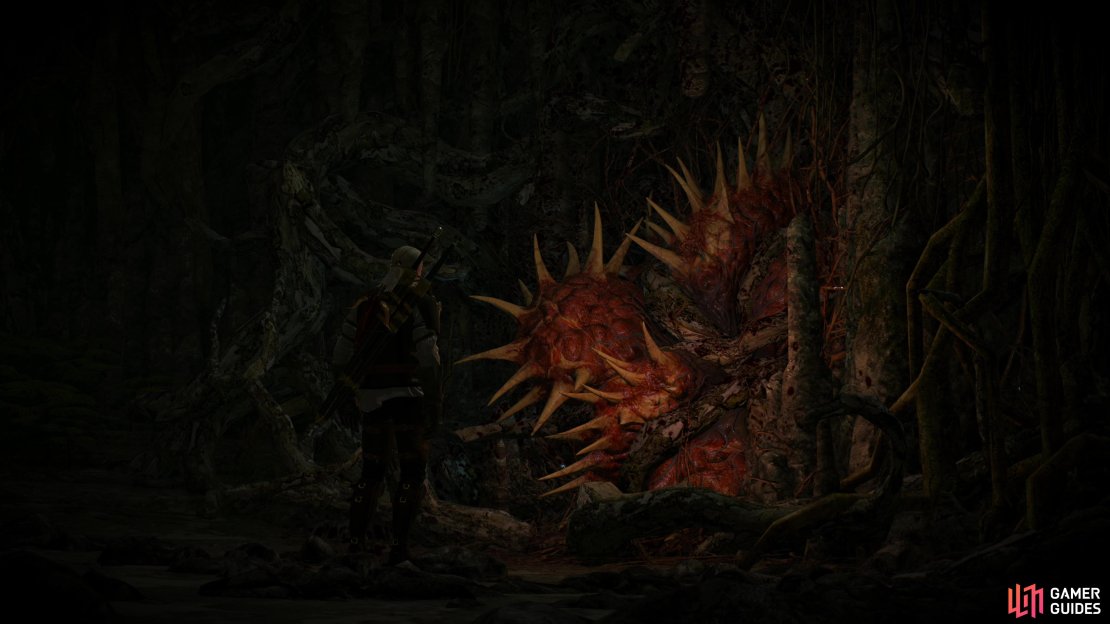

(1 of 4) Explore the swamp to get in contact with the Ladies of the Wood,
Finish the Remaining Quests in Velen
By the time you complete everything listed above you should be level eleven or higher, and ideally armed with the Griffin school gear. If so, you’re in a good position to clean up some quests we’ve avoided up until now:
- Looters in Codger’s Quarry
- In the Eternal Fire’s Shadow
- Contract: Shrieker
- [
 Contract: Swamp Thing]
 - [
 Contract: Mysterious Tracks]
 - [
 Contract: The Mystery of the Byways Murders]
 - [
 Contract: Phantom of the Trade Route]
 - [
 Contract: The Beast of Honorton]
 - [
 Contract: Missing Brother]
Most of these quests were avoided because of their difficulty, but now that you have the Griffin Silver Sword some of them should be easier to complete. - Wild at Heart shouldn’t be too much bother now, and once that’s done you should give Looters in Codgers Quarry, ![]() In the Eternal Fire’s Shadow,
In the Eternal Fire’s Shadow, ![]() Contract: Shrieker and Contract: Swamp Thing a try. The other quests mentioned on this last, however, have suggested levels between Lv22 and Lv33. Simply put, you shouldn’t bother with them until you’re closer to their level, which functionally means you’ll need to bid Velen adieu for now, returning to clean up the aforementioned quests when you’re strong enough.
Contract: Shrieker and Contract: Swamp Thing a try. The other quests mentioned on this last, however, have suggested levels between Lv22 and Lv33. Simply put, you shouldn’t bother with them until you’re closer to their level, which functionally means you’ll need to bid Velen adieu for now, returning to clean up the aforementioned quests when you’re strong enough.
No Comments