
Despite ![]() Priscilla’s rather optimistic appraisal of
Priscilla’s rather optimistic appraisal of ![]() Dandelion, he does in fact need adult supervision - usually in the form of Geralt and/or Zoltan - to stay out of trouble. While undeniably a burden, Dandelion wouldn’t hesitate to help his friends in return, and when tragedy befalls just before Dandelion’s brothel-turned-cabaret opens, Geralt doesn’t hesitate to pledge his swords and Witcher senses at Dandelion’s disposal… even if that might mean bending the definition of what a “monster” is. This page will provide a walkthrough for the secondary quest
Dandelion, he does in fact need adult supervision - usually in the form of Geralt and/or Zoltan - to stay out of trouble. While undeniably a burden, Dandelion wouldn’t hesitate to help his friends in return, and when tragedy befalls just before Dandelion’s brothel-turned-cabaret opens, Geralt doesn’t hesitate to pledge his swords and Witcher senses at Dandelion’s disposal… even if that might mean bending the definition of what a “monster” is. This page will provide a walkthrough for the secondary quest ![]() Carnal Sins in The Witcher 3.
Carnal Sins in The Witcher 3.
Quest Objectives
Starting Carnal Sins
This quest starts seamlessly following the end of Cabaret - at the end of the former quest you’ll be chatting idly in the Rosemary and Thyme and after you get word of Priscilla’s attack you’ll head to the hospital, where Carnal Sins begins. Get through the conversation with the oddly competent doctor overseeing Priscilla, who will suggest examining the corpse of a previous victim, even offering to assist Geralt in the endeavor.
Autopsy the Previous Victim
Agree to join the doctor - named ![]() Joachim von Gratz - and you’ll head to an entrance to the sewers north of The Kingfisher (not the same route you took during Now or Never, by the way), or you can just rendezvous with him there later, if you prefer. Either way, once you’re in the sewers escort the doctor through some linear passages, fending off a pair of
Joachim von Gratz - and you’ll head to an entrance to the sewers north of The Kingfisher (not the same route you took during Now or Never, by the way), or you can just rendezvous with him there later, if you prefer. Either way, once you’re in the sewers escort the doctor through some linear passages, fending off a pair of ![]() Drowners (Lv16), a
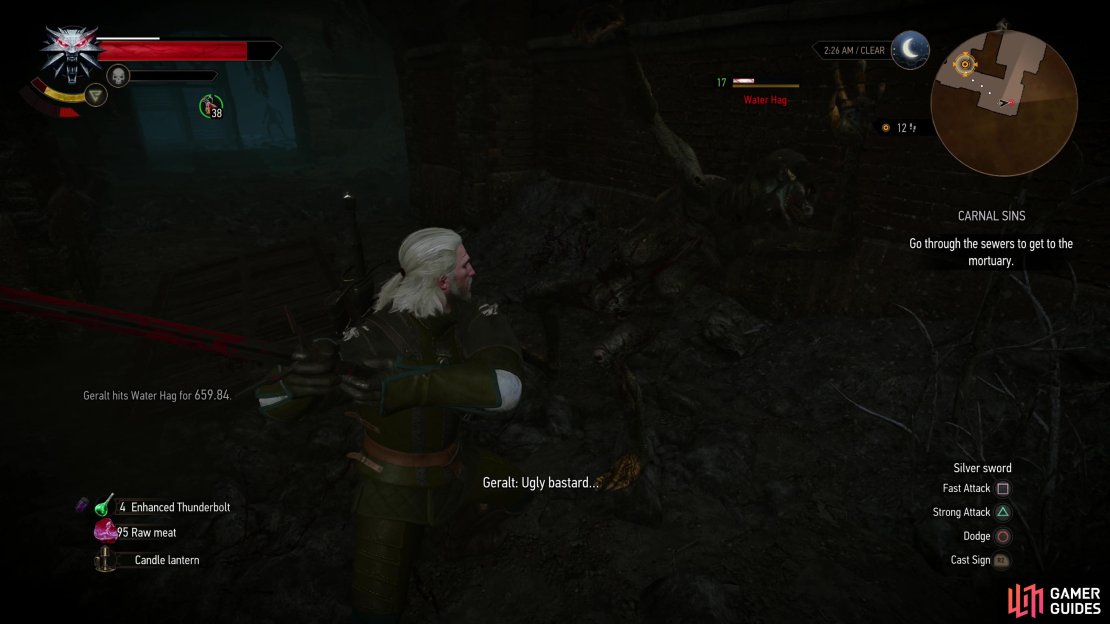
Drowners (Lv16), a ![]() Water Hag (Lv17) and another pair of Drowners (Lv16) until you reach some stairs. The doctor and the Witcher will banter, and in combat Joachim contributes from afar with a crossbow - don’t expect too much out of him, but on the other hand you don’t have to babysit him, either.
Water Hag (Lv17) and another pair of Drowners (Lv16) until you reach some stairs. The doctor and the Witcher will banter, and in combat Joachim contributes from afar with a crossbow - don’t expect too much out of him, but on the other hand you don’t have to babysit him, either.
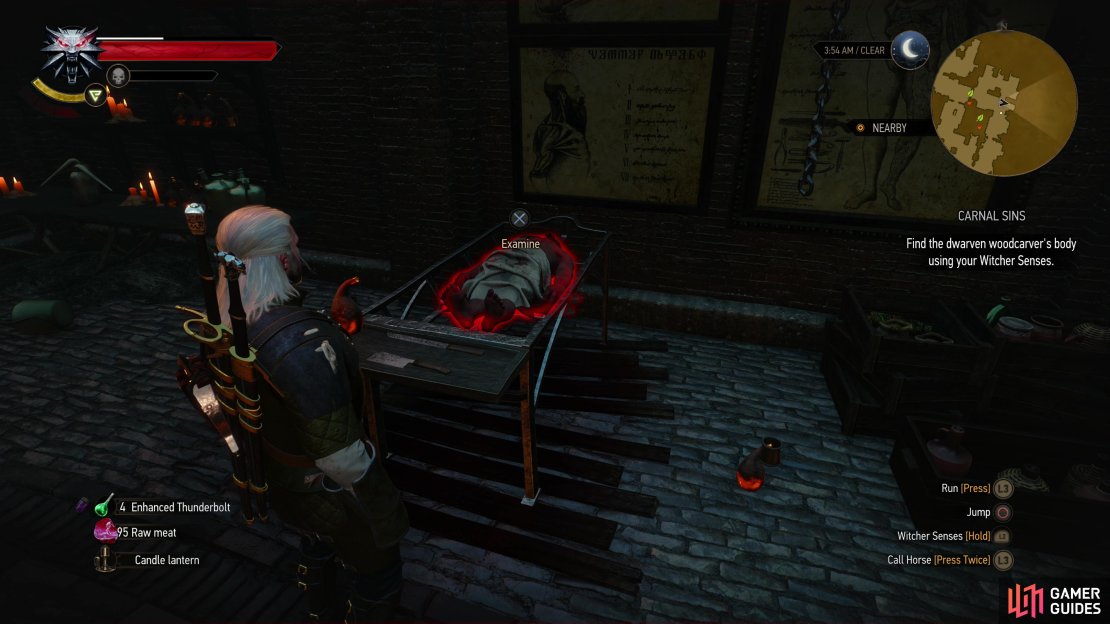
After ascending the stairs you’ll reach the morgue, where you’re tasked with finding the body of the serial killer’s last victim - a dwarven male. Go through the doorway to the northeast and you’ll find the dwarf along the body you’re seeking along the eastern wall, but don’t examine it yet - there’s plenty of containers to loot in here, and unlike the ones in the sewers, these containers might yield some valuable components. When you’re ready, examine the corpse and exhaust the dialog options to confirm that this murder and the attack on Priscilla were related and that the violence wasn’t gratuitous or base - the killer was trying to send a message. You’ll be interrupted by two unsavory characters, ![]() Hubert Rejk and Reverend Nathaniel, and neither one of them is keen to have Joachim and Geralt snooping around.
Hubert Rejk and Reverend Nathaniel, and neither one of them is keen to have Joachim and Geralt snooping around.

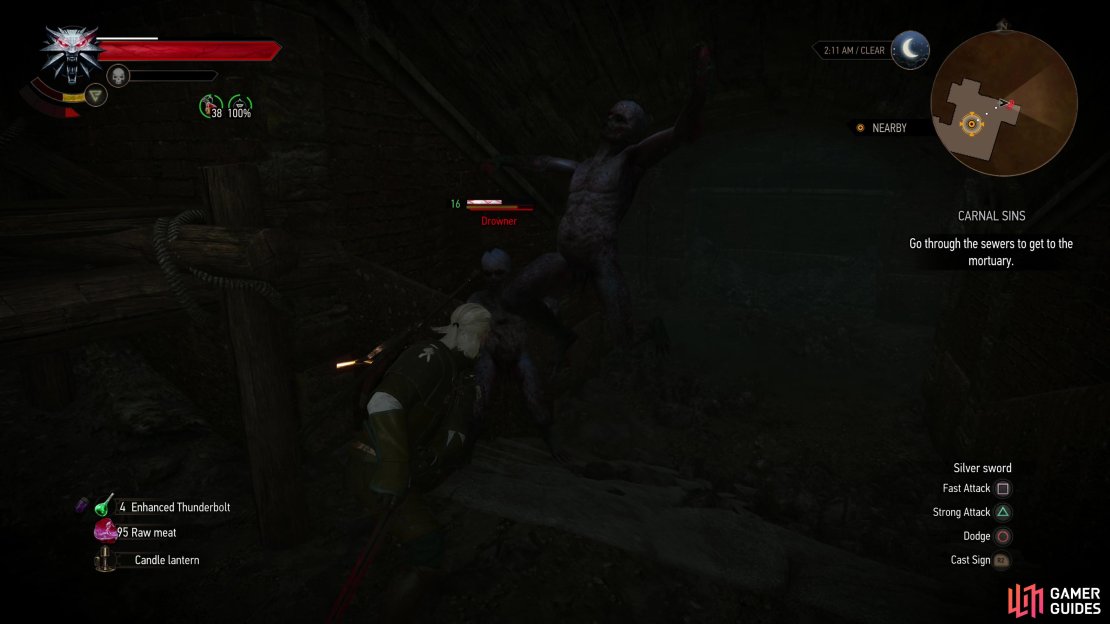
(1 of 3) Escort Joachim through the sewers, fending off two pairs of Drowners,
You’ll be escorted out of the morgue and after exchanging a bit more banter with Joachim you’ll be left to your own devices. At this point you’ll need to investigate three leads - talk to Eustace, the corpse collector, examine the site of Priscilla’s attack, and investigate the scene of the dwarven woodcarver’s murder.
Find Eustace the Corpse Collector
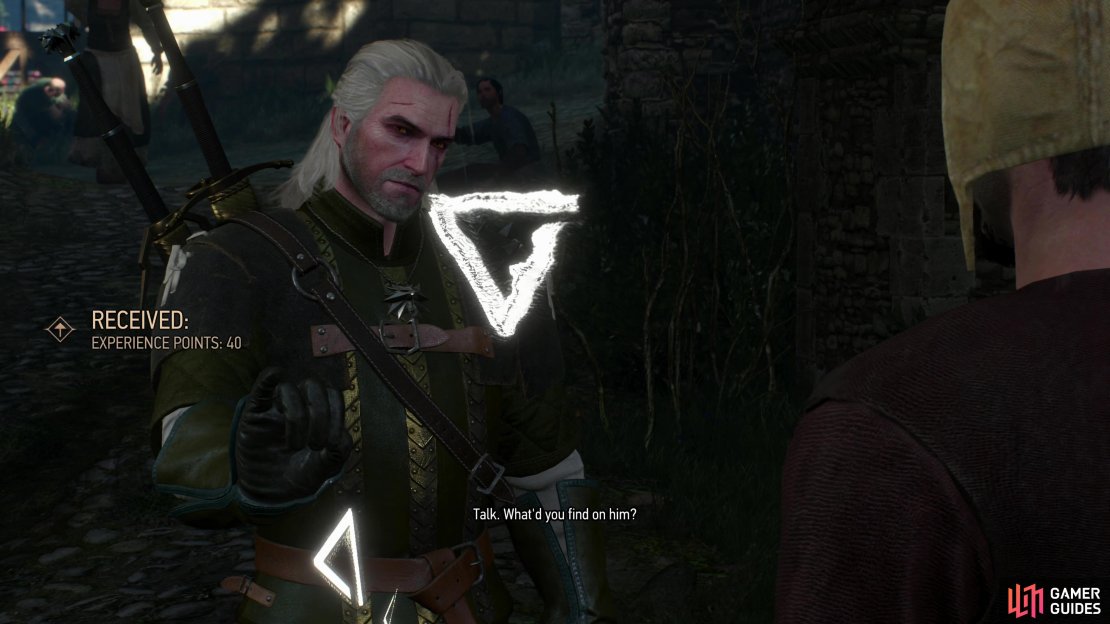
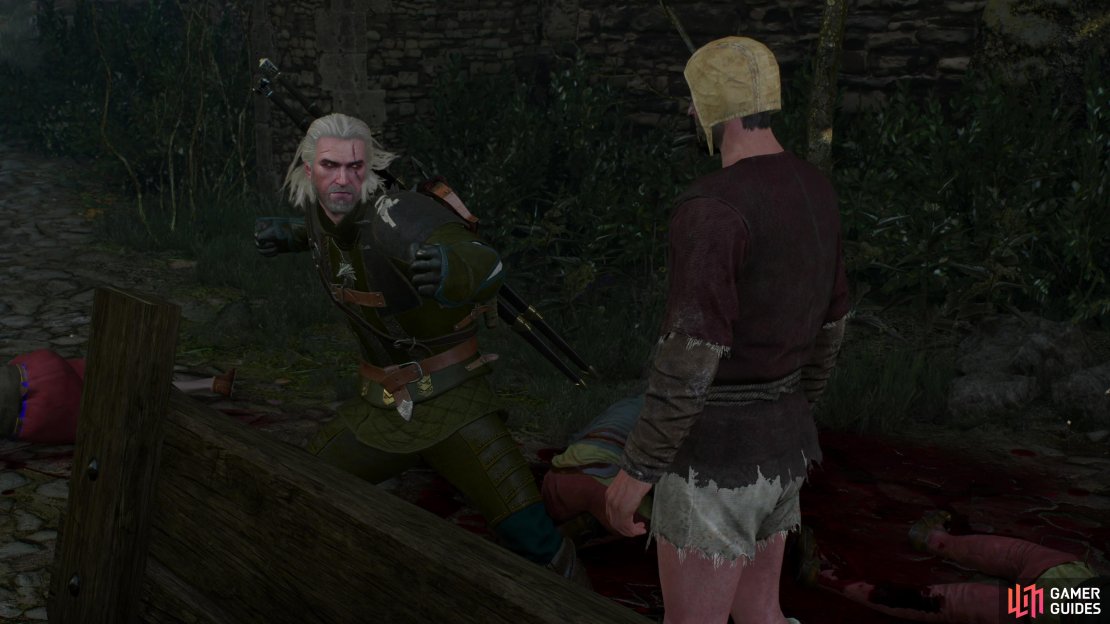
Of the three objectives, Eustace is the closest to the morgue. You’ll find him a short distance to the east, busy at work collecting numerous corpses from off the street. Talk to him and advance through his dialog options until he gets unfriendly, after which you’ll have three options: use ![]() Axii to get him talking, pay him 200
Axii to get him talking, pay him 200 ![]() Crowns (earning 20 EXP in the process) or threaten him. The latter is ineffective and paying him is inordinately expensive, so use Axii to walk away with the info you need and some bonus EXP, to boot. Afterwards you’ll be able to choose to give Eustace a much-needed punch or leave him be - the choice doesn’t matter either way.
Crowns (earning 20 EXP in the process) or threaten him. The latter is ineffective and paying him is inordinately expensive, so use Axii to walk away with the info you need and some bonus EXP, to boot. Afterwards you’ll be able to choose to give Eustace a much-needed punch or leave him be - the choice doesn’t matter either way.

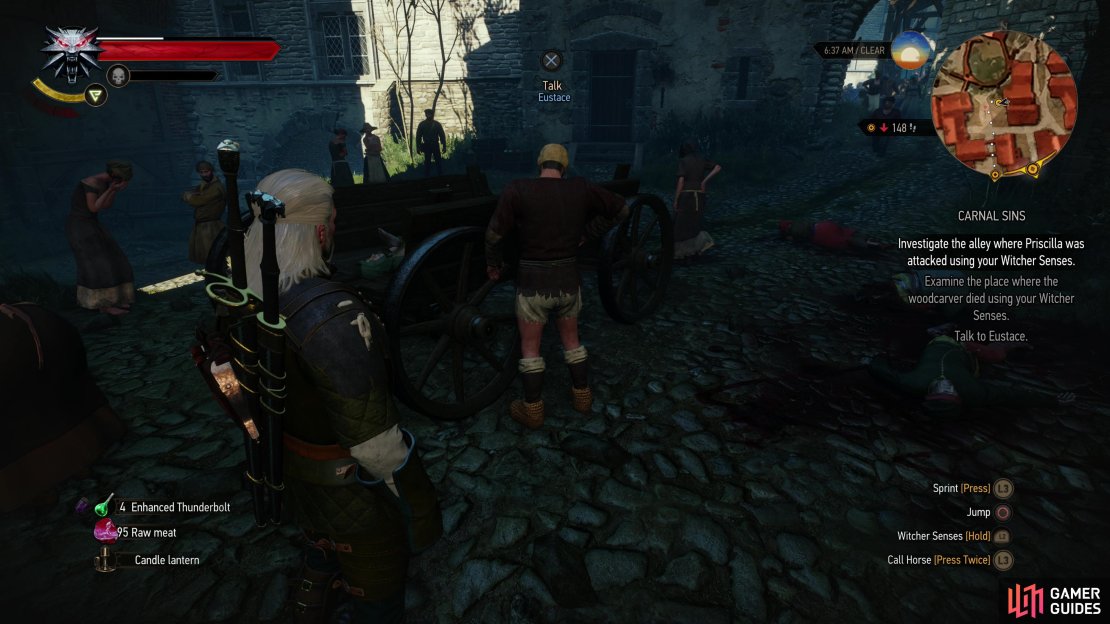
(1 of 3) Find Eustace the corpse collector a short distance to the east of the morgue,
Investigate the Alley Where Priscilla Was Attacked
The alley where Priscilla was attacked is along the southeastern edge of Novigrad’s middle island, north of Tretogor Gate. If Priscilla was still staying at The Kingfisher, then this seems a little out of the way of the route between the aforementioned tavern and the Rosemary and Thyme. In any event, approach the quest objective and you’ll find a prostitute named Whistling Wendy standing near the town wall. After calling out to you she’ll walk past to the north before siccing three Poor Townsmen (Lv16) on you.
This can be a tricky fistfight - you’ve plenty of space, but you’re facing off against three opponents at once, and in these situations your foes won’t wait calmly for their turn to attack. They’ll attack in sequence, or simultaneously, and will otherwise make it difficult to parry-and-counter, the preferred method for winning such fights. Like with the Bandits you beat up during Cabaret, you may want to rely on dodging an opponent’s attack and immediately striking back to score what hits you can. These roughs have more health and are better fighters than the Bandits were, so they won’t leave themselves open as long and they’ll take more hits to defeat, but the general strategy is the same. If you can focus on one enemy at a time and pick them off, so much the better, and when you’re down to one foe you can switch back to the tried and true parry-and-counter strategy to finish things up.
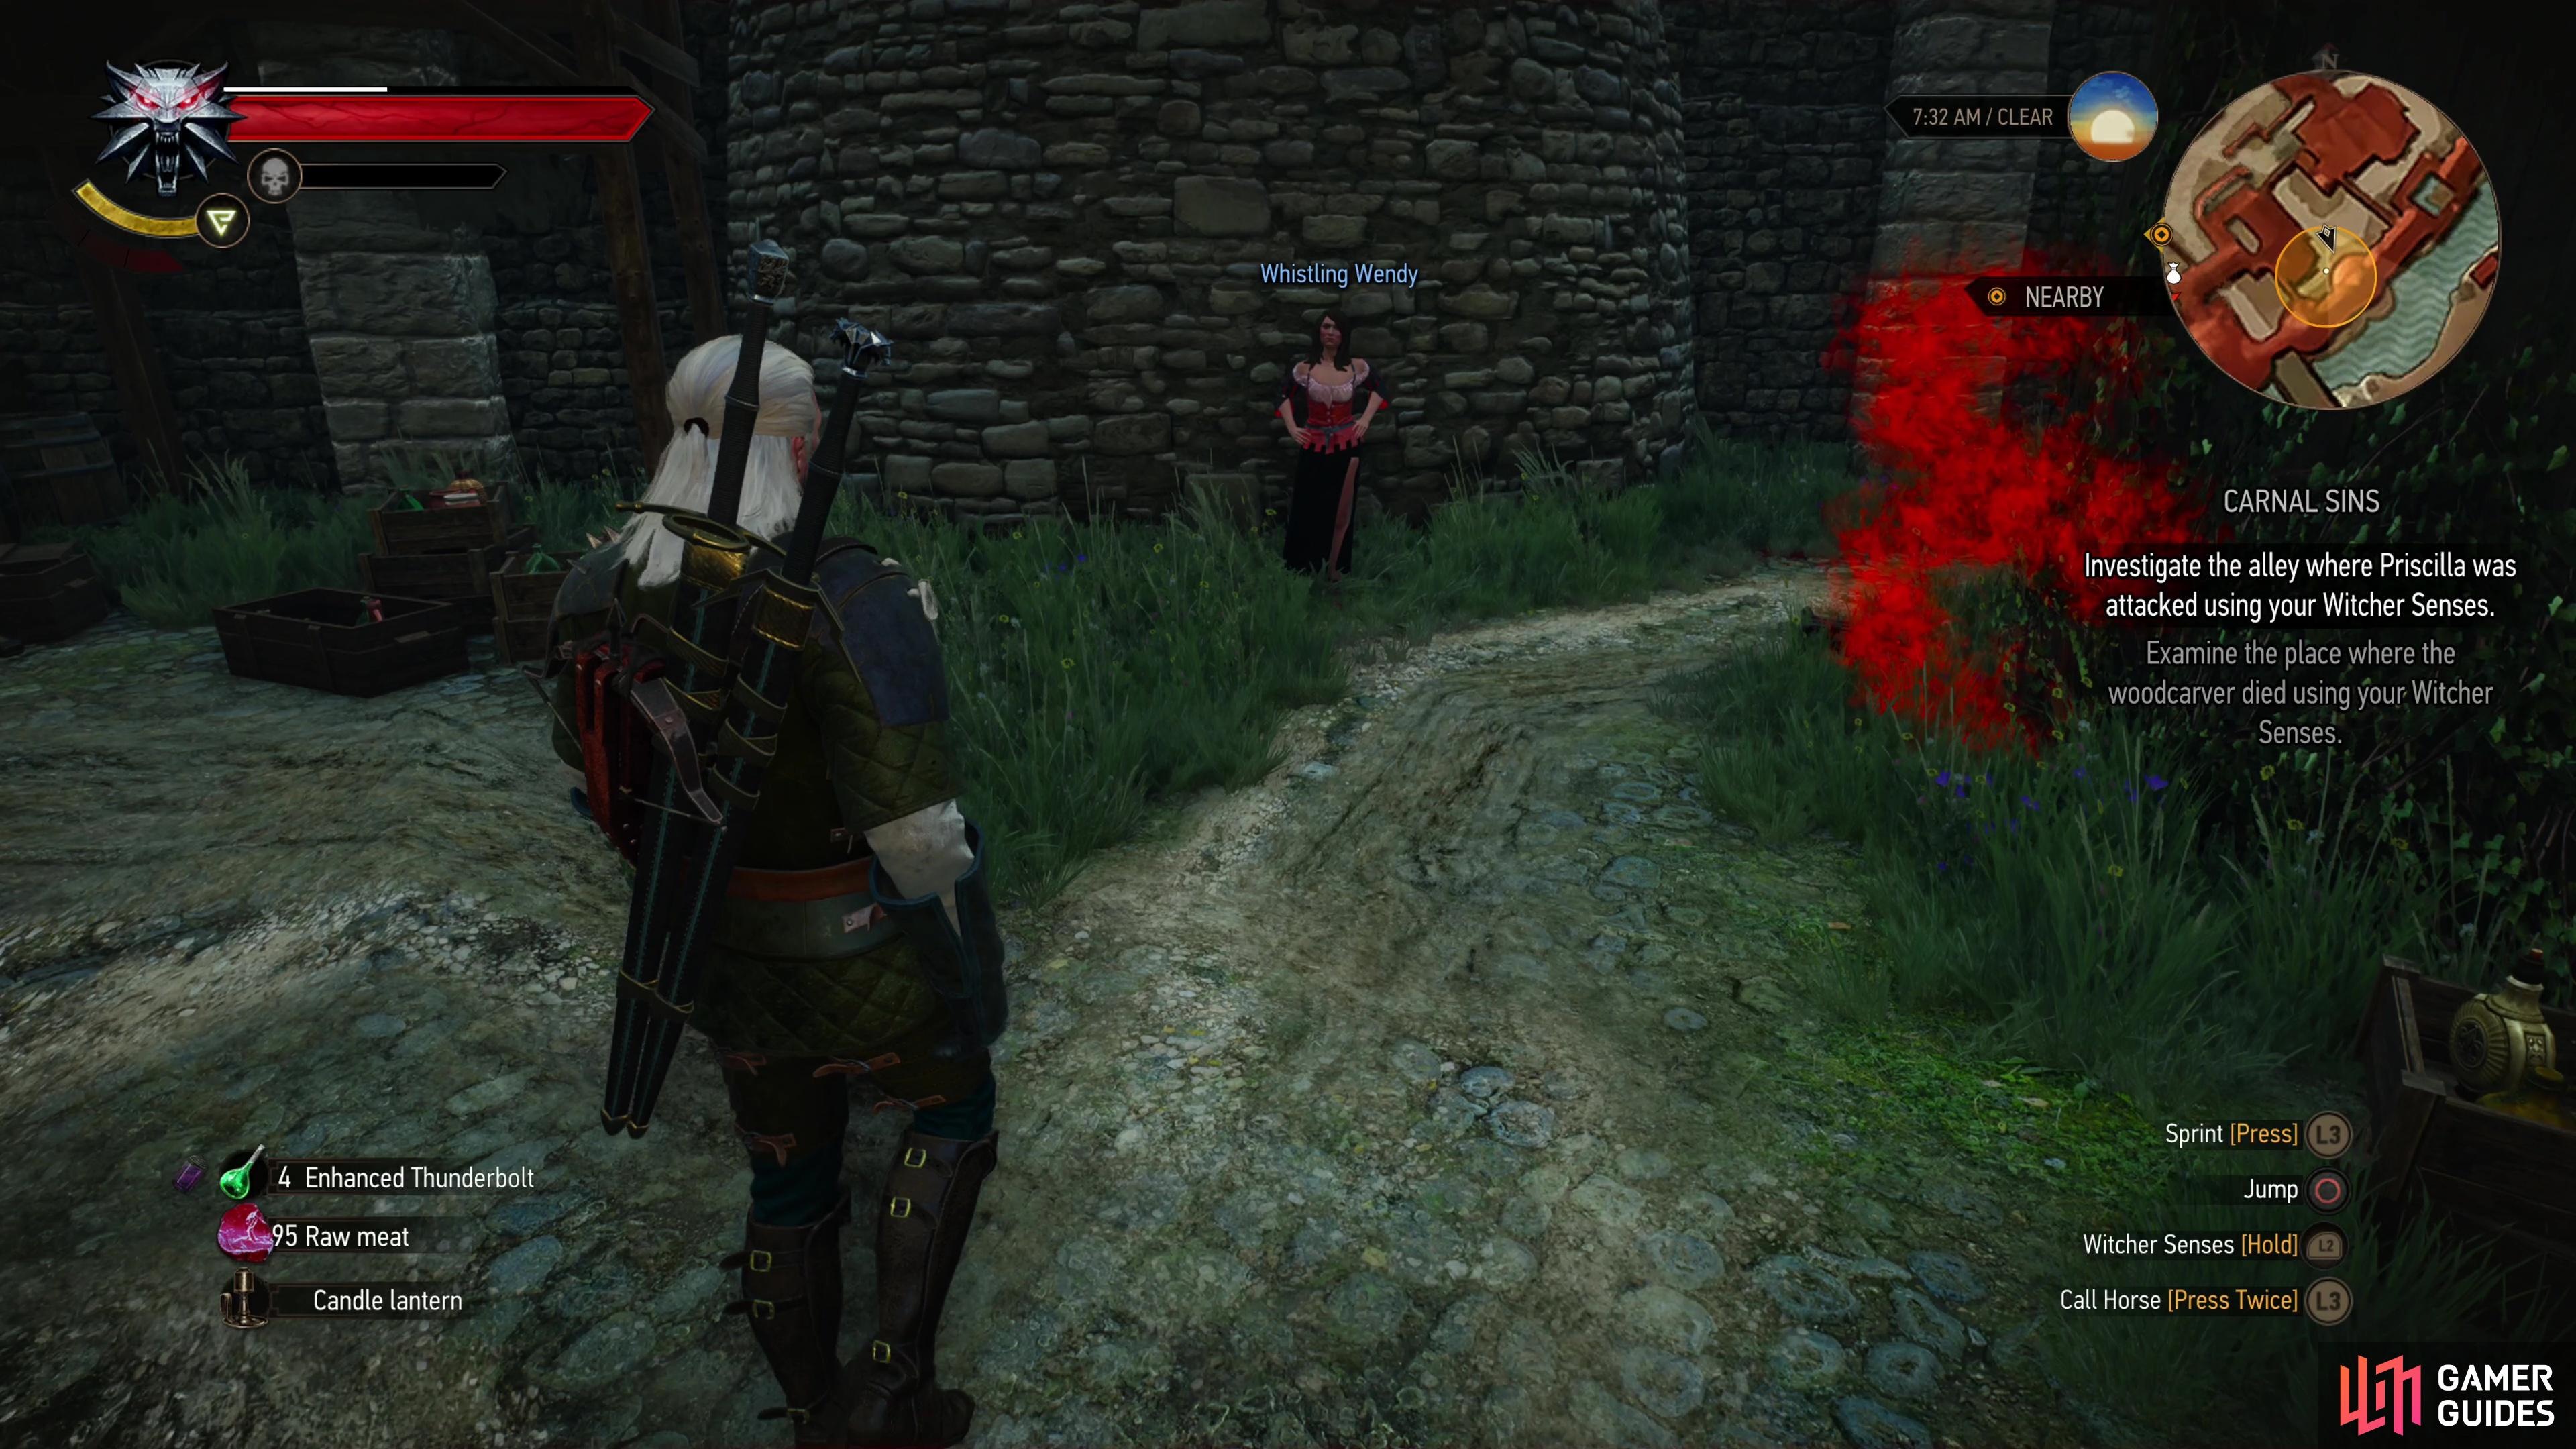


(1 of 2) Head to the alley where Priscilla was attacked to find a prostitute named Whistling Wendy standing nearby.
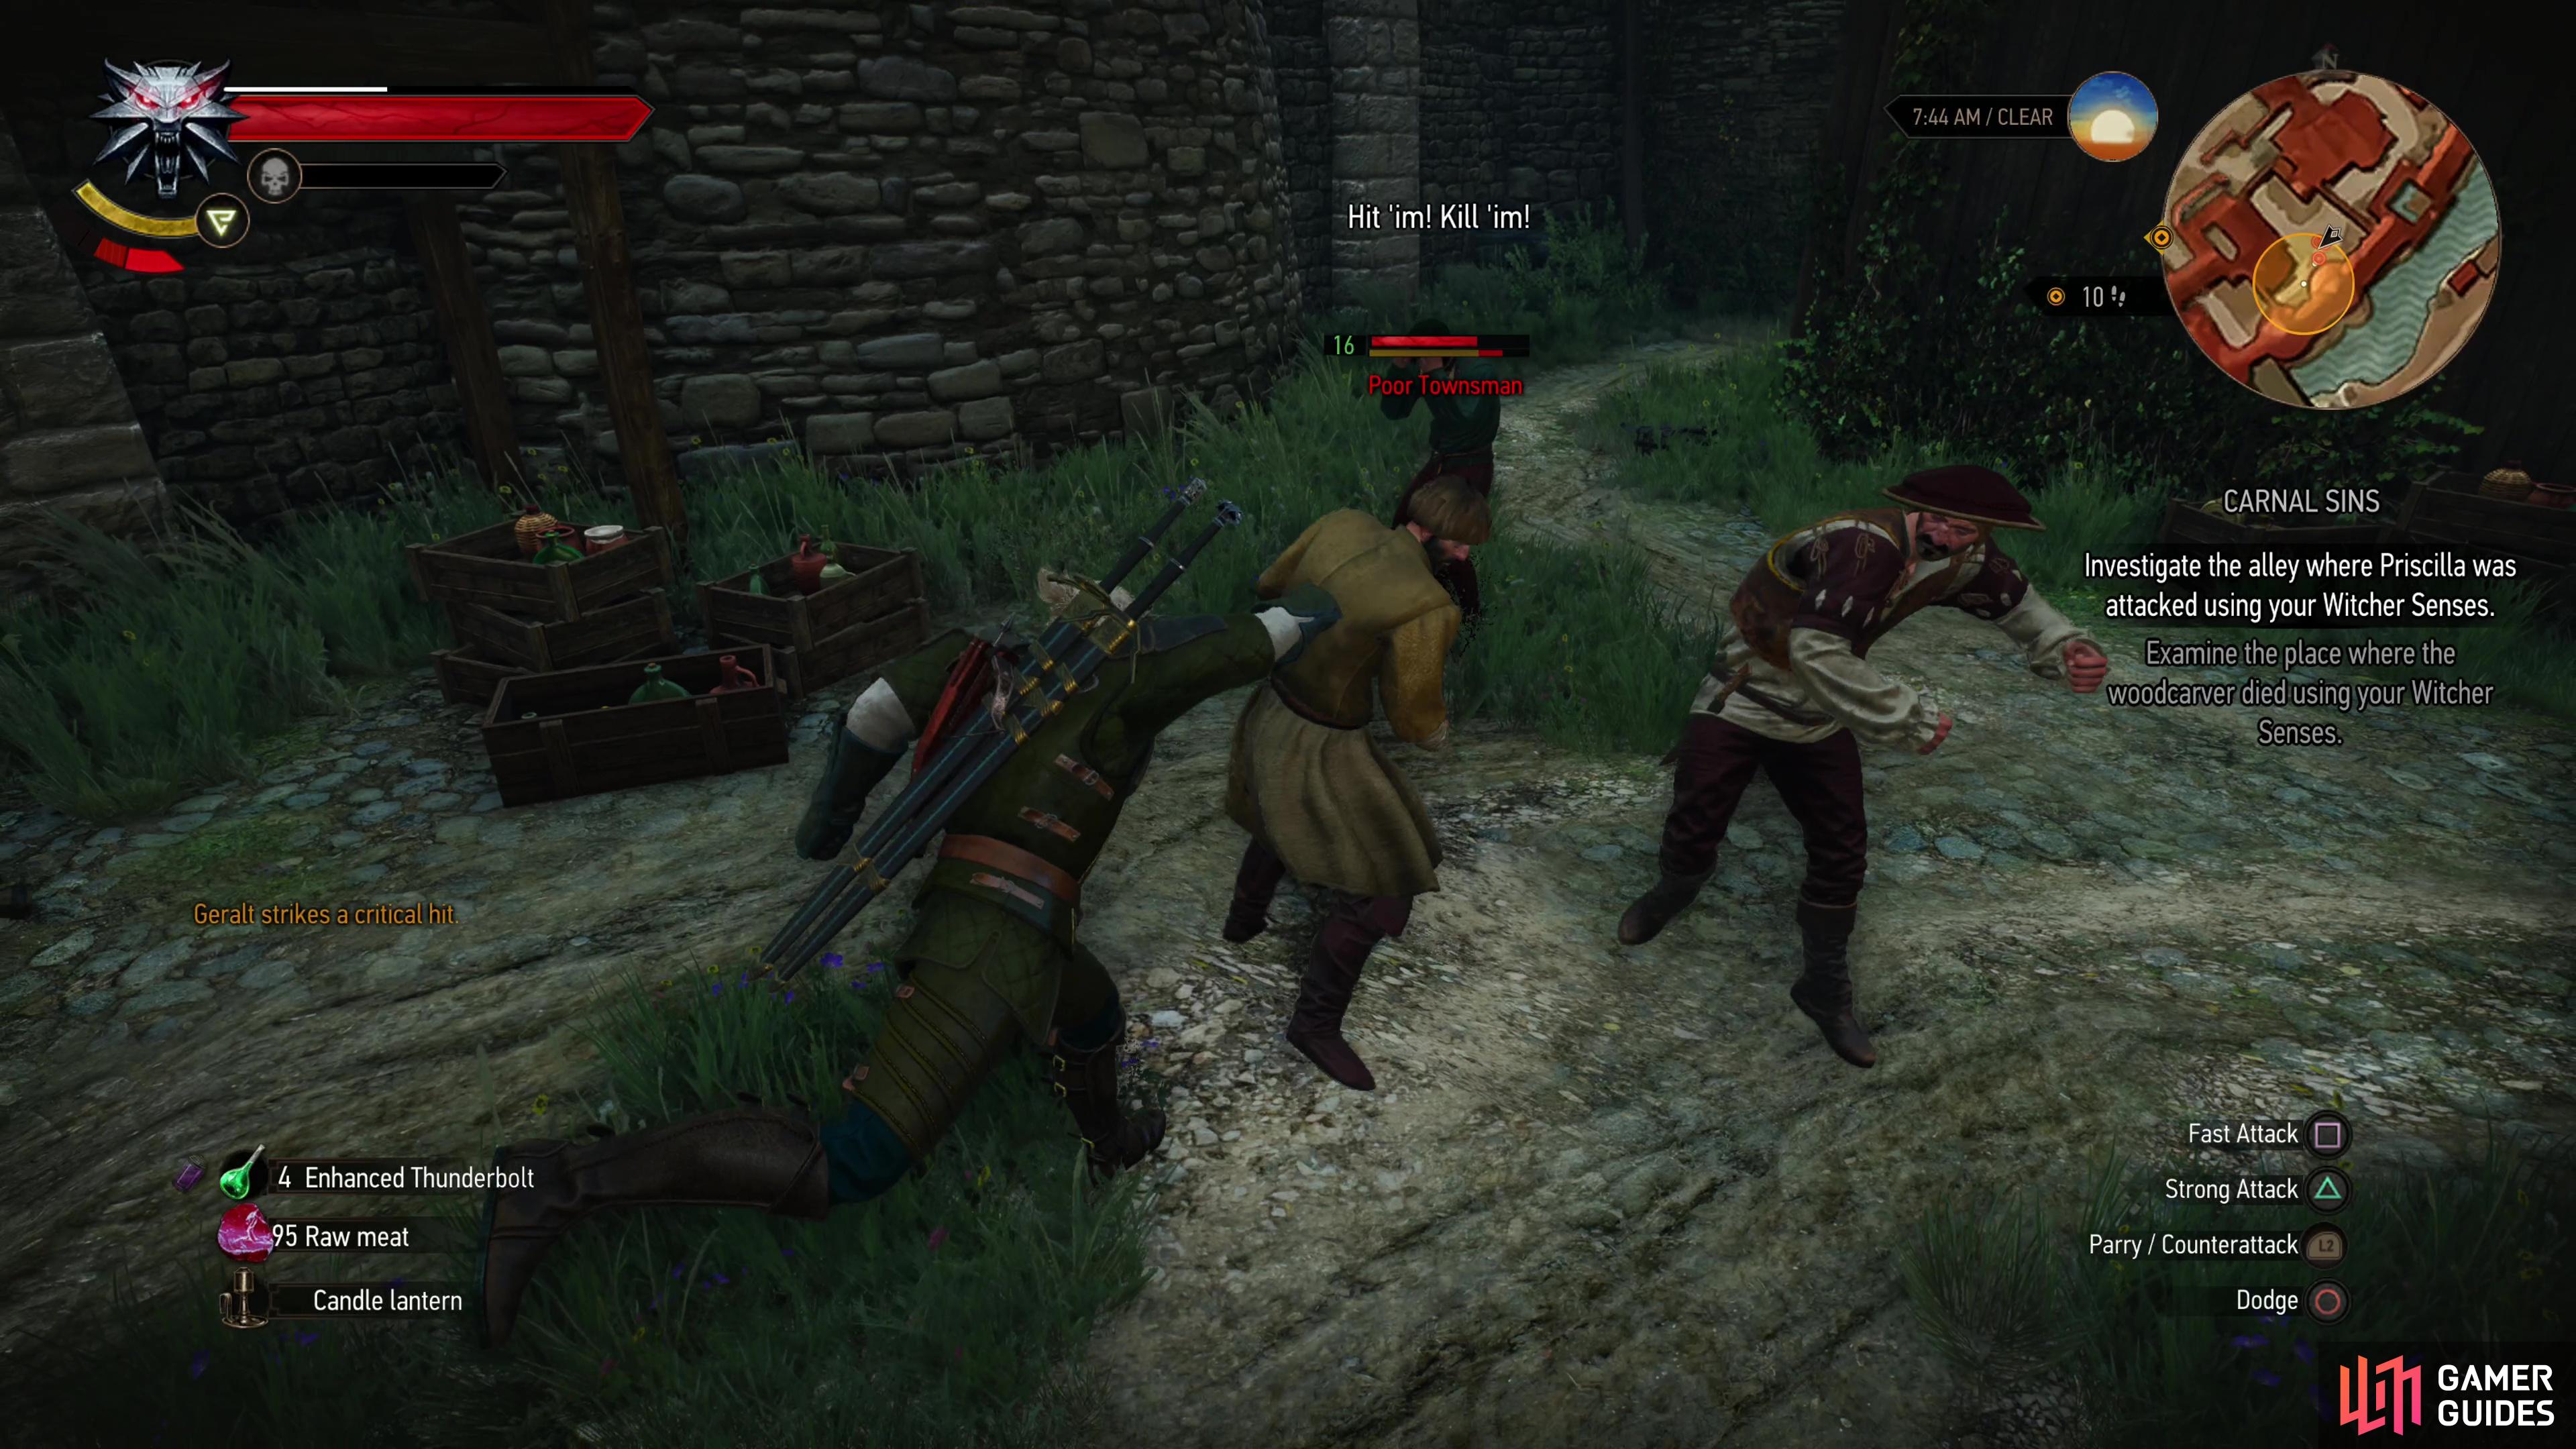
Head to the alley where Priscilla was attacked to find a prostitute named Whistling Wendy standing nearby. (left), Defeat the men she sics on you, then clear up the misunderstanding. (right)
After the fight you’ll immediately end up chatting with Whistling Wendy and clearing up the misunderstanding. With that done you can search the alley; examine the following:
- Search near a scent trail to detect formaldehyde.
- Examine some blood on the ground.
- Examine a foot print.
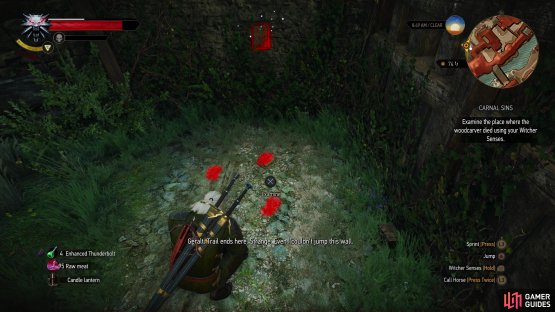
- Examine two more sets of footprints to the southwest to determine the attacker escaped by jumping a wall - an impossible feat for a human.
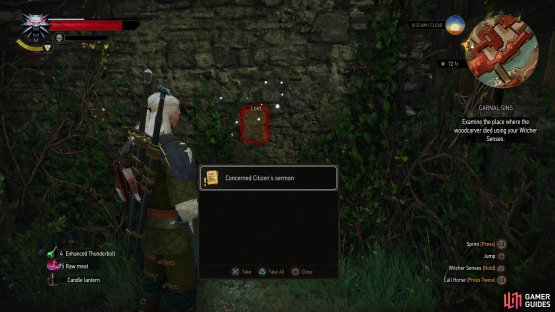
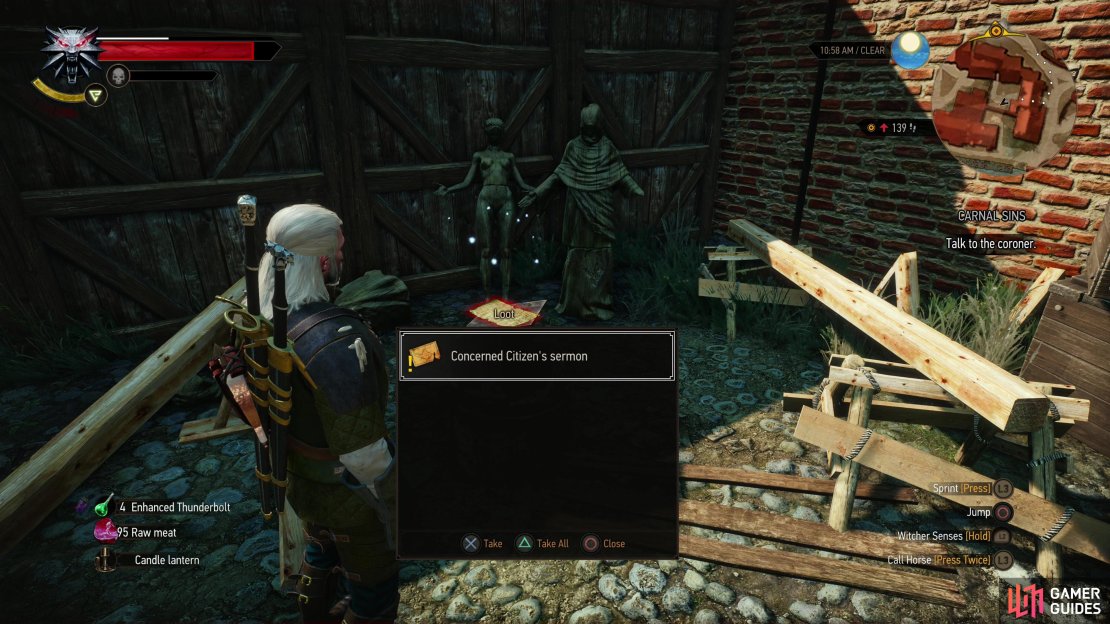
- Find the Concerned Citizen’s Sermons pinned to the wall.
Once all that’s done, talk to Wendy again and tell her what you found. That should be two tasks complete, one to go. Leave the alley through a wooden gate and head west to find the dwarven woodcarver’s shop.

(1 of 2) When you’re free to investigate, examine some tracks,

When you’re free to investigate, examine some tracks, (left), Then find a “Concerned Citizen’s Sermon” stuck to the wall. (right)
Examine the Place Where the Woodcarver Died
Outside the gates leading to the woodcarver’s workshop you’ll be stopped by a guard, who tells you of another victim, and that the coroner is waiting for you to perform the autopsy. Oddly generous of Hubert, but he did say he’d help us. That can wait, however. Knock on the gate to the woodcarver’s workshop and after some chatter you’ll be let in. Exhaust the dialog of the dead dwarf’s brother, Gus, then get to searching:
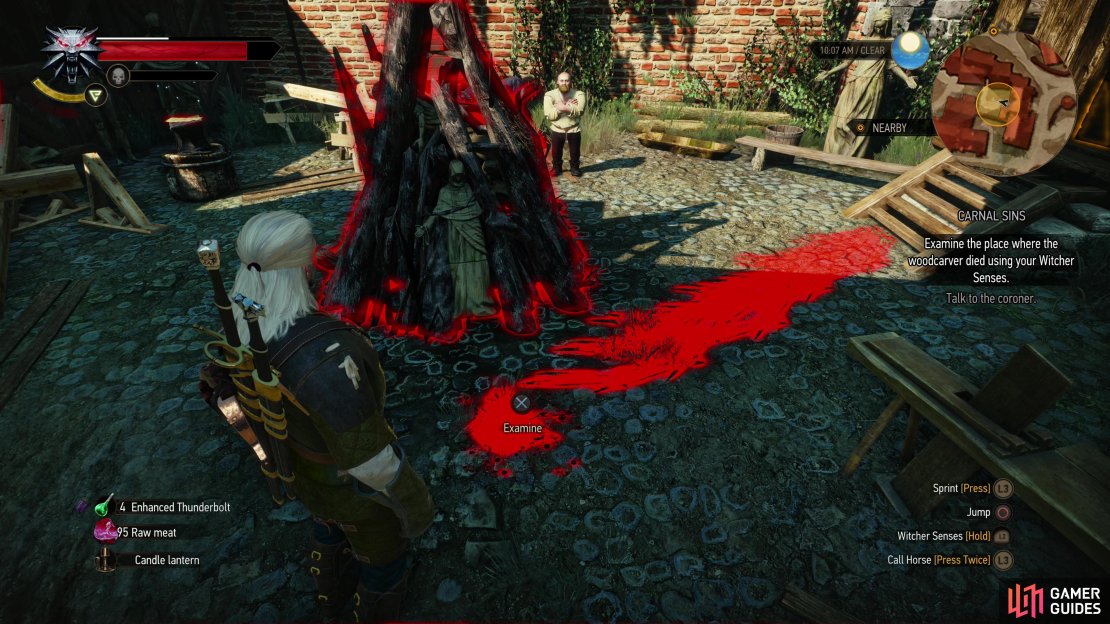
- Examine a blood stain near a pyre.
- Examine the pyre.
- Examine some drag marks on the ground near the blood stain.
What you’ll glean from this and your early conversation with Gus is that the dead dwarf was quite fond of the female figure, something he wasted no small amount of coin on and let slip into his work. While not explicitly stated, the killer must have been awfully strong and fit to drag the dwarf and all the assorted statues and timber to the pyre. In any event, you’ll need to examine the workshop next, so interact with the door and Gus will let you in, where you can continue your search… after you loot the place, of course:
- Find some rotten eyeballs on the counter to the west.
- Examine a knocked-over chair near a table.
- Detect the scent of more formaldehyde in the southeastern corner.
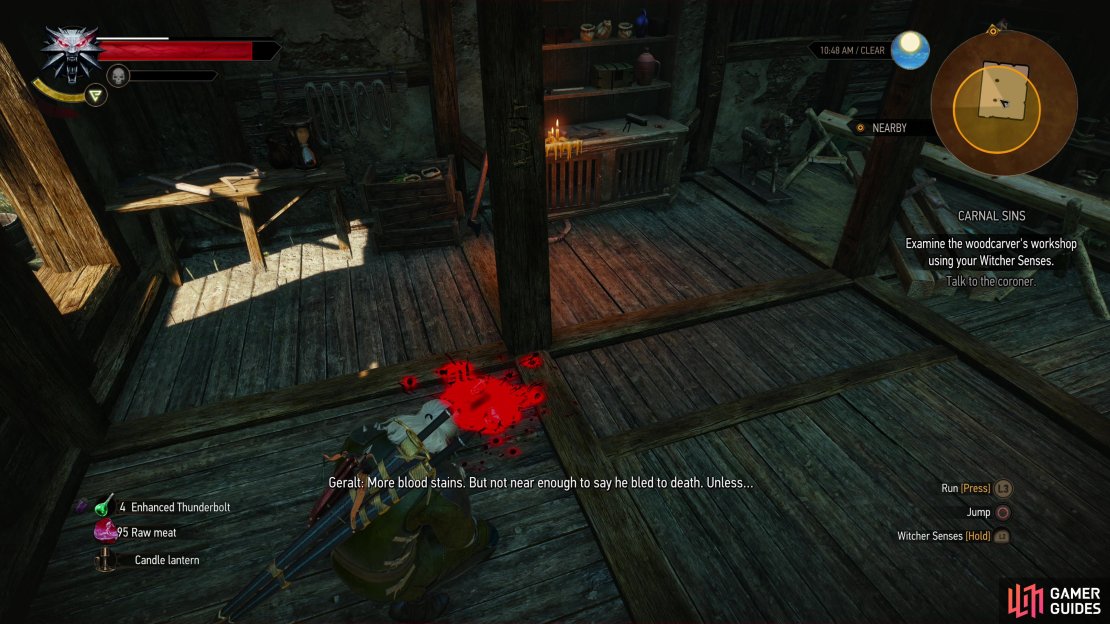
- Examine a bloodstain on the floor near a wooden post.
With that done you’re finished with this examination. Head back outside and grab another Concerned Citizen’s Sermon off an anvil near the pyre, then leave.


(1 of 4) After examining two scenes, a guard will find you and tell you that there’s been a third victim, and Hubert awaits your presence before performing an autopsy.
Return to the Coroner
With all three leads investigated, it’s time to return to the coroner and autopsy this new victim. Do so and chat with Hubert to learn of his past with Joachim and note his bogus explanation for his unnatural youth. Once that’s done, turn to the victim and Hubert will clearly point out the dead man’s heresy - it seems all the victims offended the Eternal Fire in some way. Priscilla’s plays mocked Hierarch Hemmelfart, the woodcarver’s statues sexualized the divine and the most recent victim’s teaching presumably questioned the cult itself, given the nature of his demise.
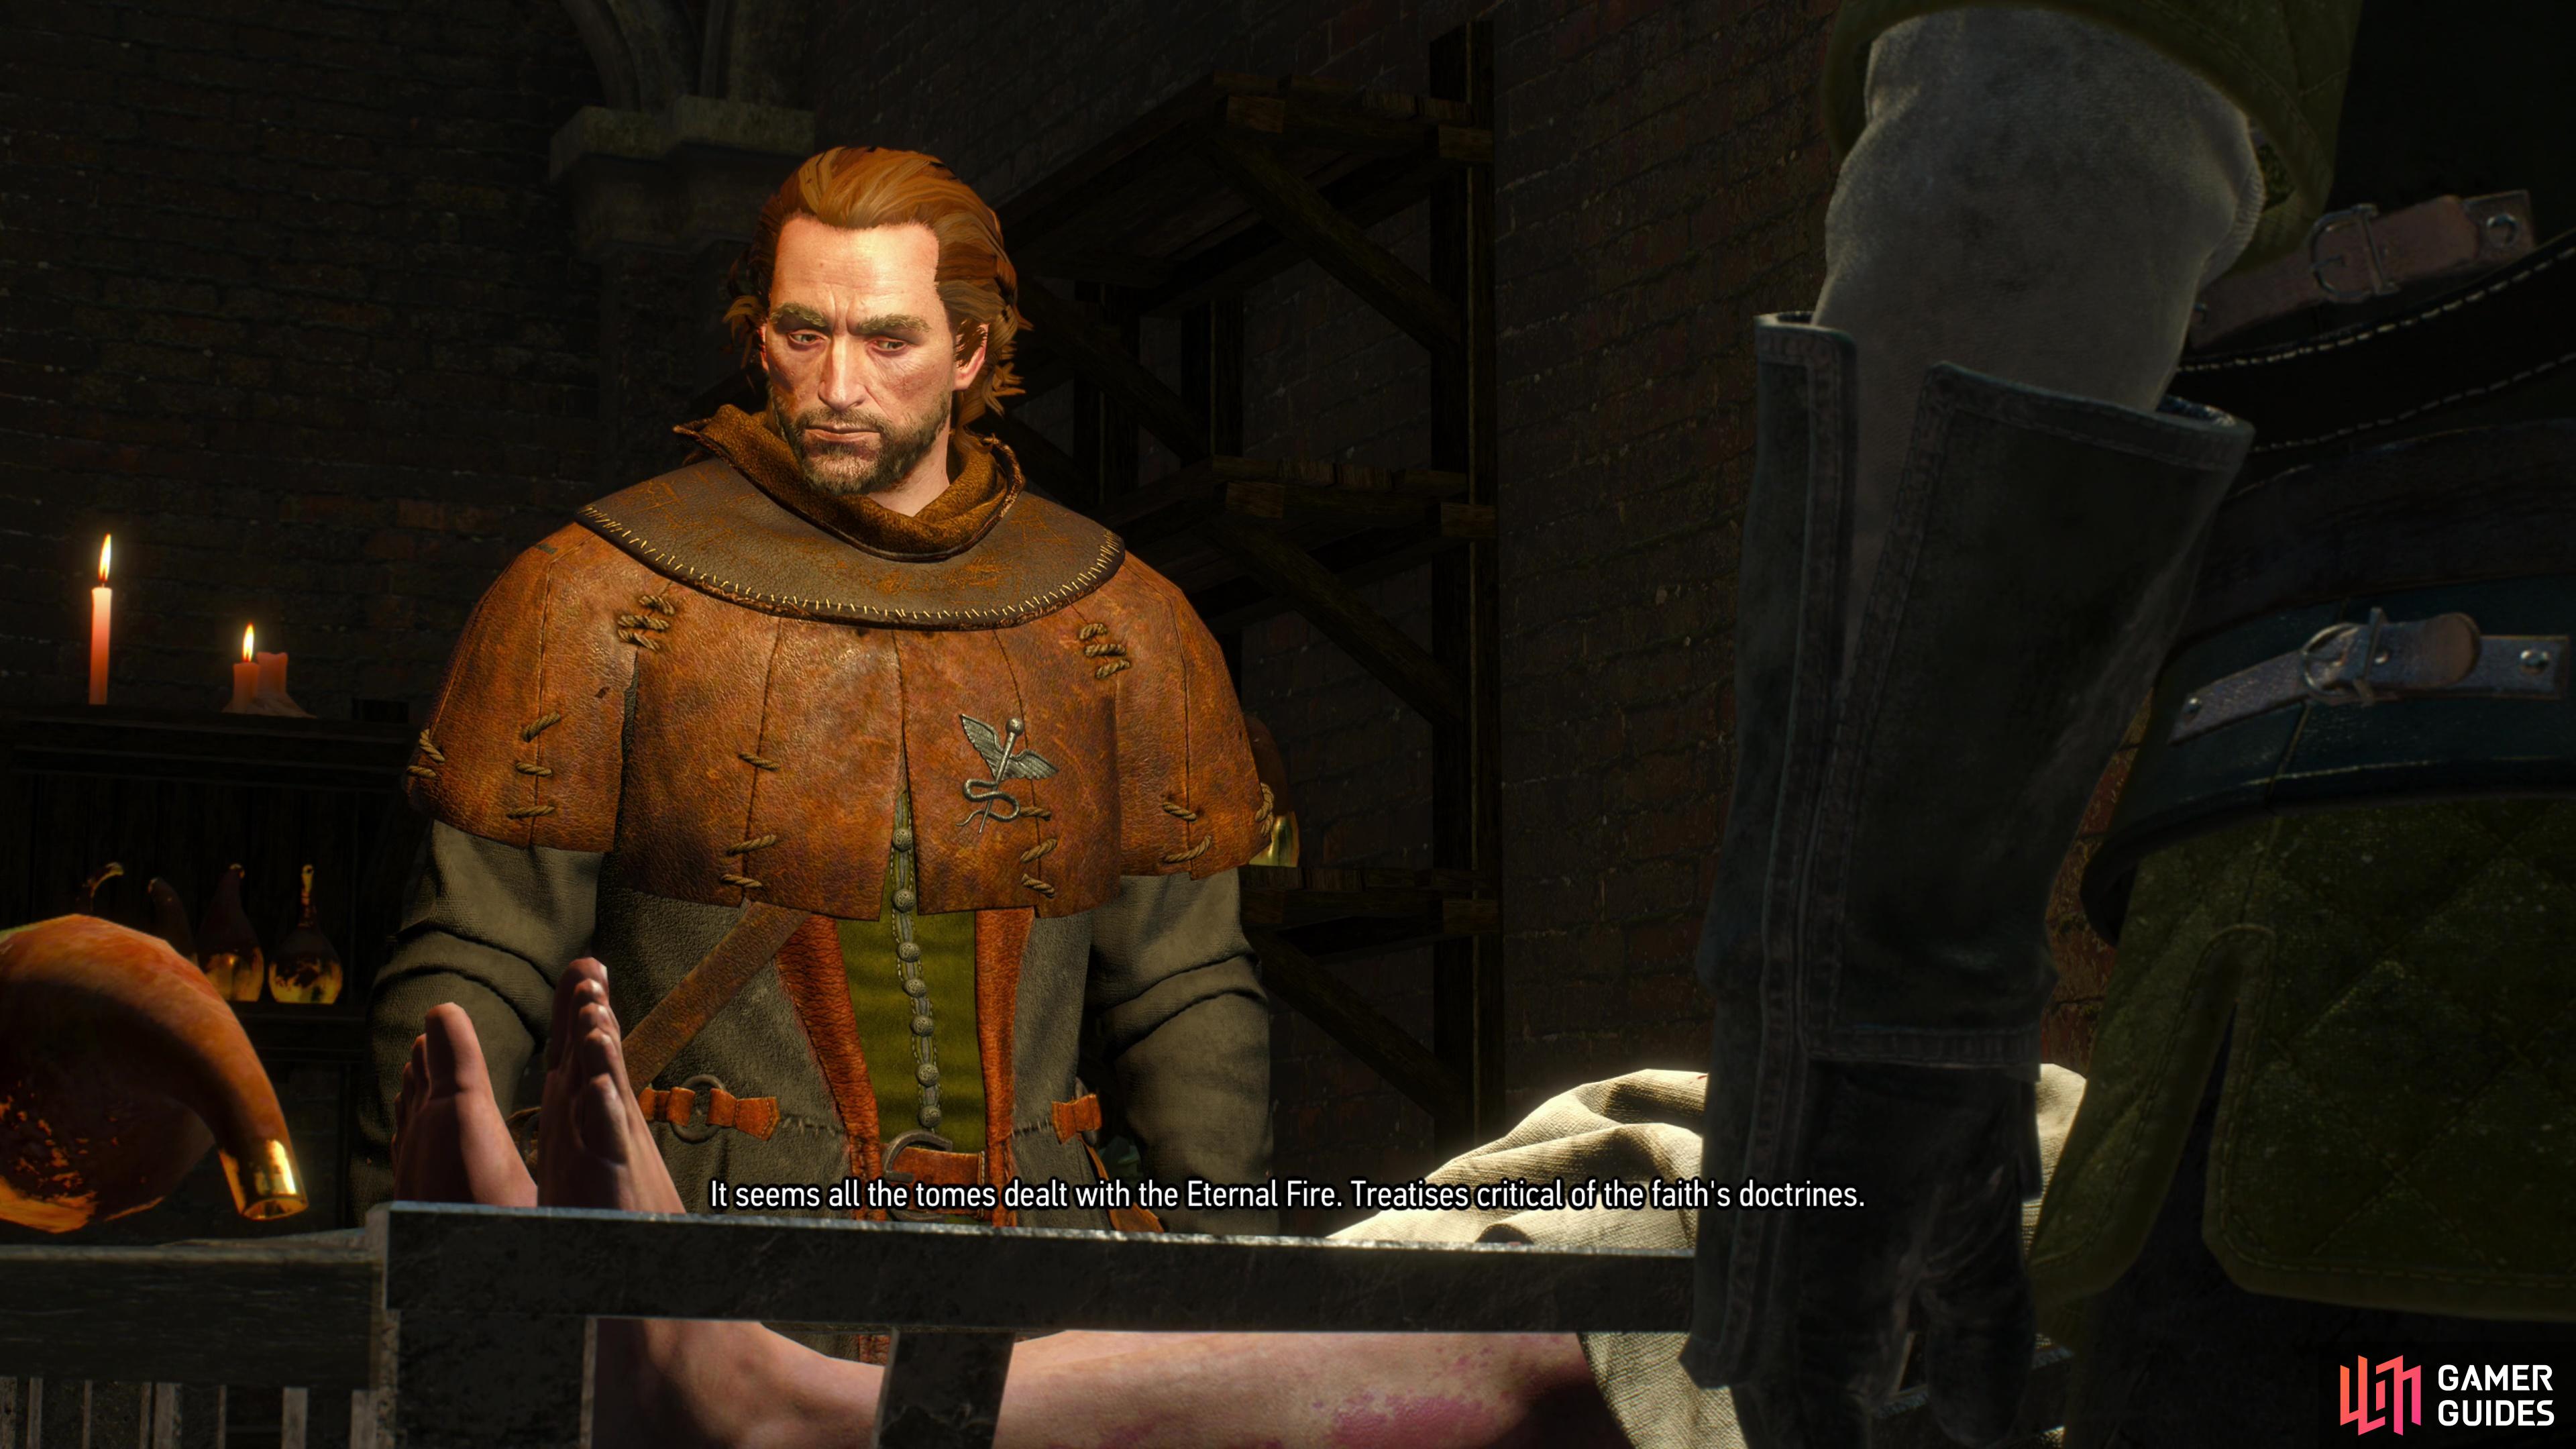
Perform an autopsy with Hubert to learn the next victim’s identify.
Rescue Patrica Vegelbud
Fast travel to the Vegelbud Residence, a location you’ve certainly been to before by now, and head up to the front gate and talk to a guard. Reluctantly he’ll let you in and on the grounds you’ll encounter Ingrid Vegelbud, who arranged for the rescue of her son Albert during the quest A Matter of Life and Death. After some initial skepticism she’ll relent and allow Geralt to check on Patricia, who is having a crisis of faith, as evidenced by the bonfire out in front of the manor. Enter the mansion and head upstairs, and after a scene you’ll find that you’re too late.
Chase the Murderer
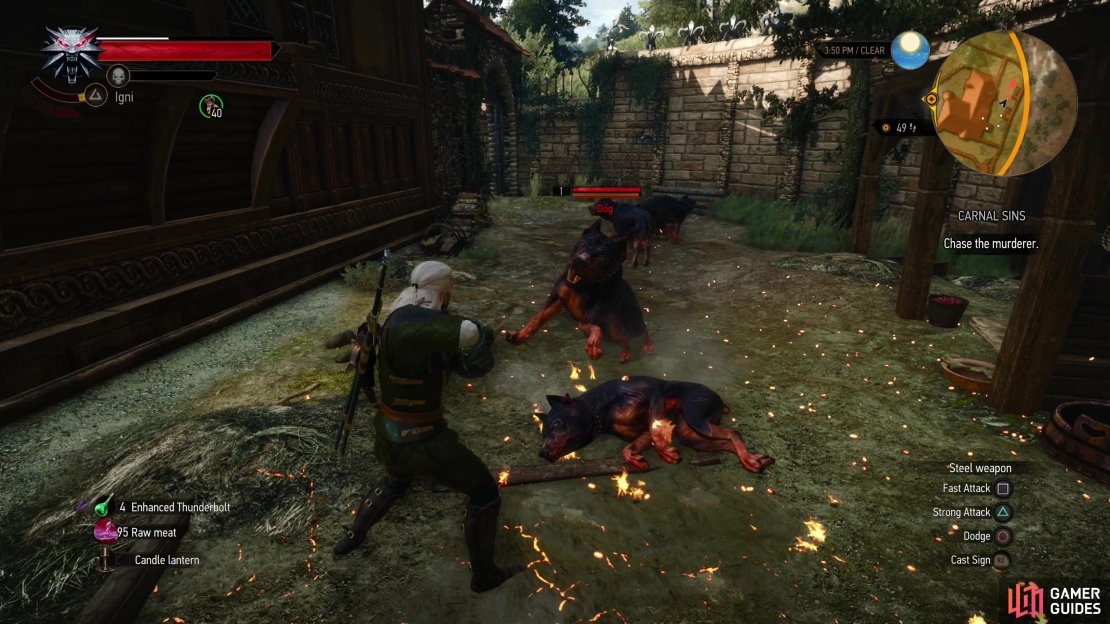
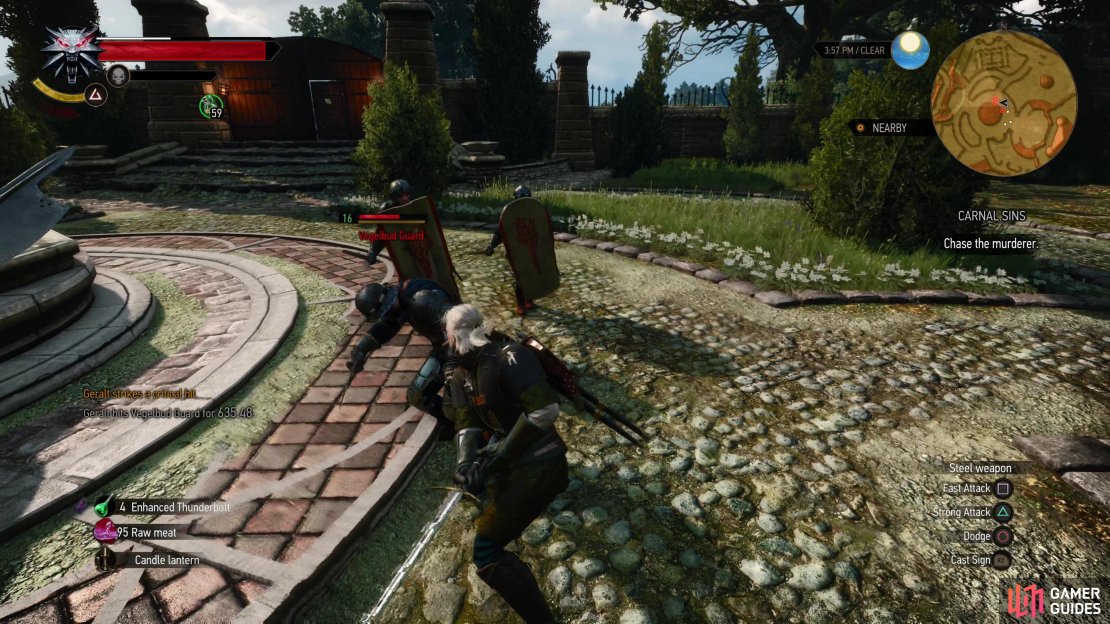
No sense crying over spilt Vegelbud, when you’re back in control you’ll find yourself outside Patricia’s room. Head downstairs then go through a door to the left to find yourself outside. Dispatch half a dozen ![]() Dogs (Lv1) and continue north, then west around the sides of the manor to reach the front of the estate, where your pursuit will be frustrated by a host of Vegelbud Guards (Lv16). Attack them until one is nearly defeated at which Ingrid will show up and put a stop to the fight, ultimately granting you permission to examine the murder site. This will be done entirely via cutscene - Geralt has already established the killer’s modus operandi, and feels no need to waste time going over the same details again. He gets the name of the killer’s next victim, after which you’re free to give the scene a cursory investigation. When you’re done, exit the Vegelbud estate and fast travel back to Novigrad
Dogs (Lv1) and continue north, then west around the sides of the manor to reach the front of the estate, where your pursuit will be frustrated by a host of Vegelbud Guards (Lv16). Attack them until one is nearly defeated at which Ingrid will show up and put a stop to the fight, ultimately granting you permission to examine the murder site. This will be done entirely via cutscene - Geralt has already established the killer’s modus operandi, and feels no need to waste time going over the same details again. He gets the name of the killer’s next victim, after which you’re free to give the scene a cursory investigation. When you’re done, exit the Vegelbud estate and fast travel back to Novigrad

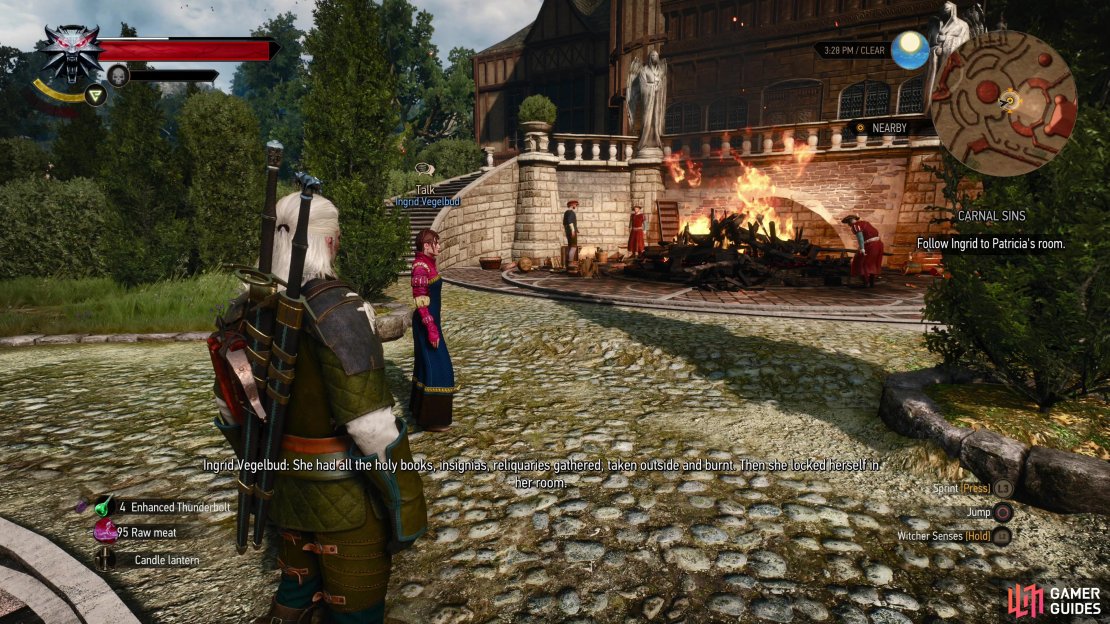
(1 of 4) Talk your way into the Vegelbud Estate and Ingrid Vegelbud will tell you of her mother’s loss of faith.
Find the Killer at Crippled Kate’s
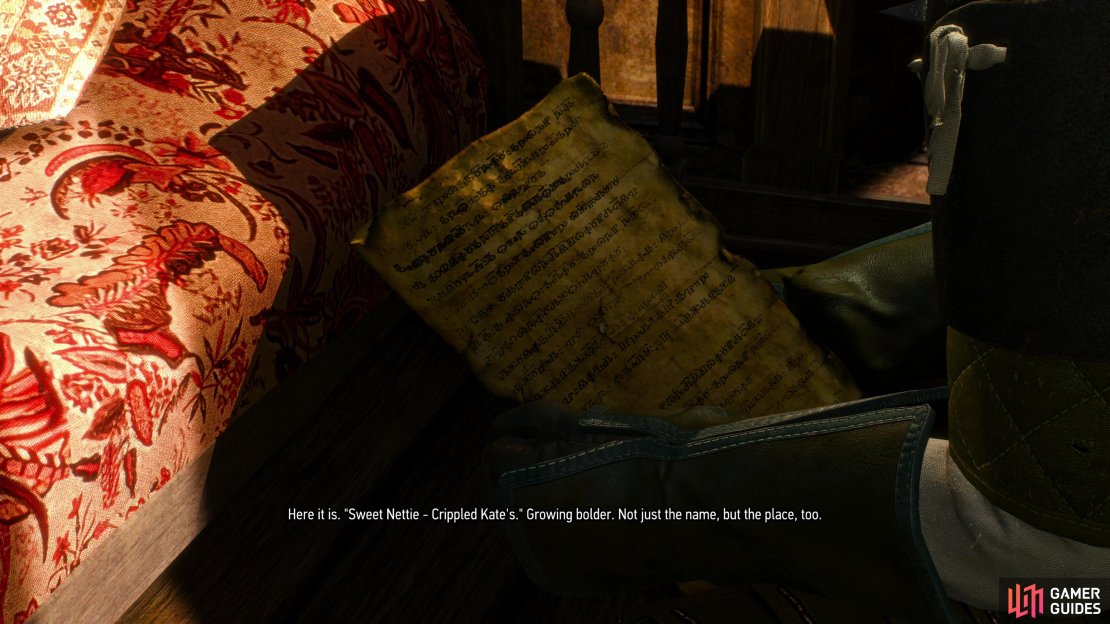
Your next destination is Crippled Kate’s, an unmarked brothel along the northwestern edge of the harbor district - Novigrad’s southernmost island. This brothel is just south of the district’s westernmost bridge, which leads to The Golden Sturgeon. Head inside and a man will waste your time telling you that the target - Sweet Nettie - is upstairs with a VIP. Ignore the man and head up two flights of stairs to reach the third floor to find Sweet Nettie entertaining a customer - a customer with a grisly fetish.
Choice: Interrogate, Kill or Spare Nathaniel
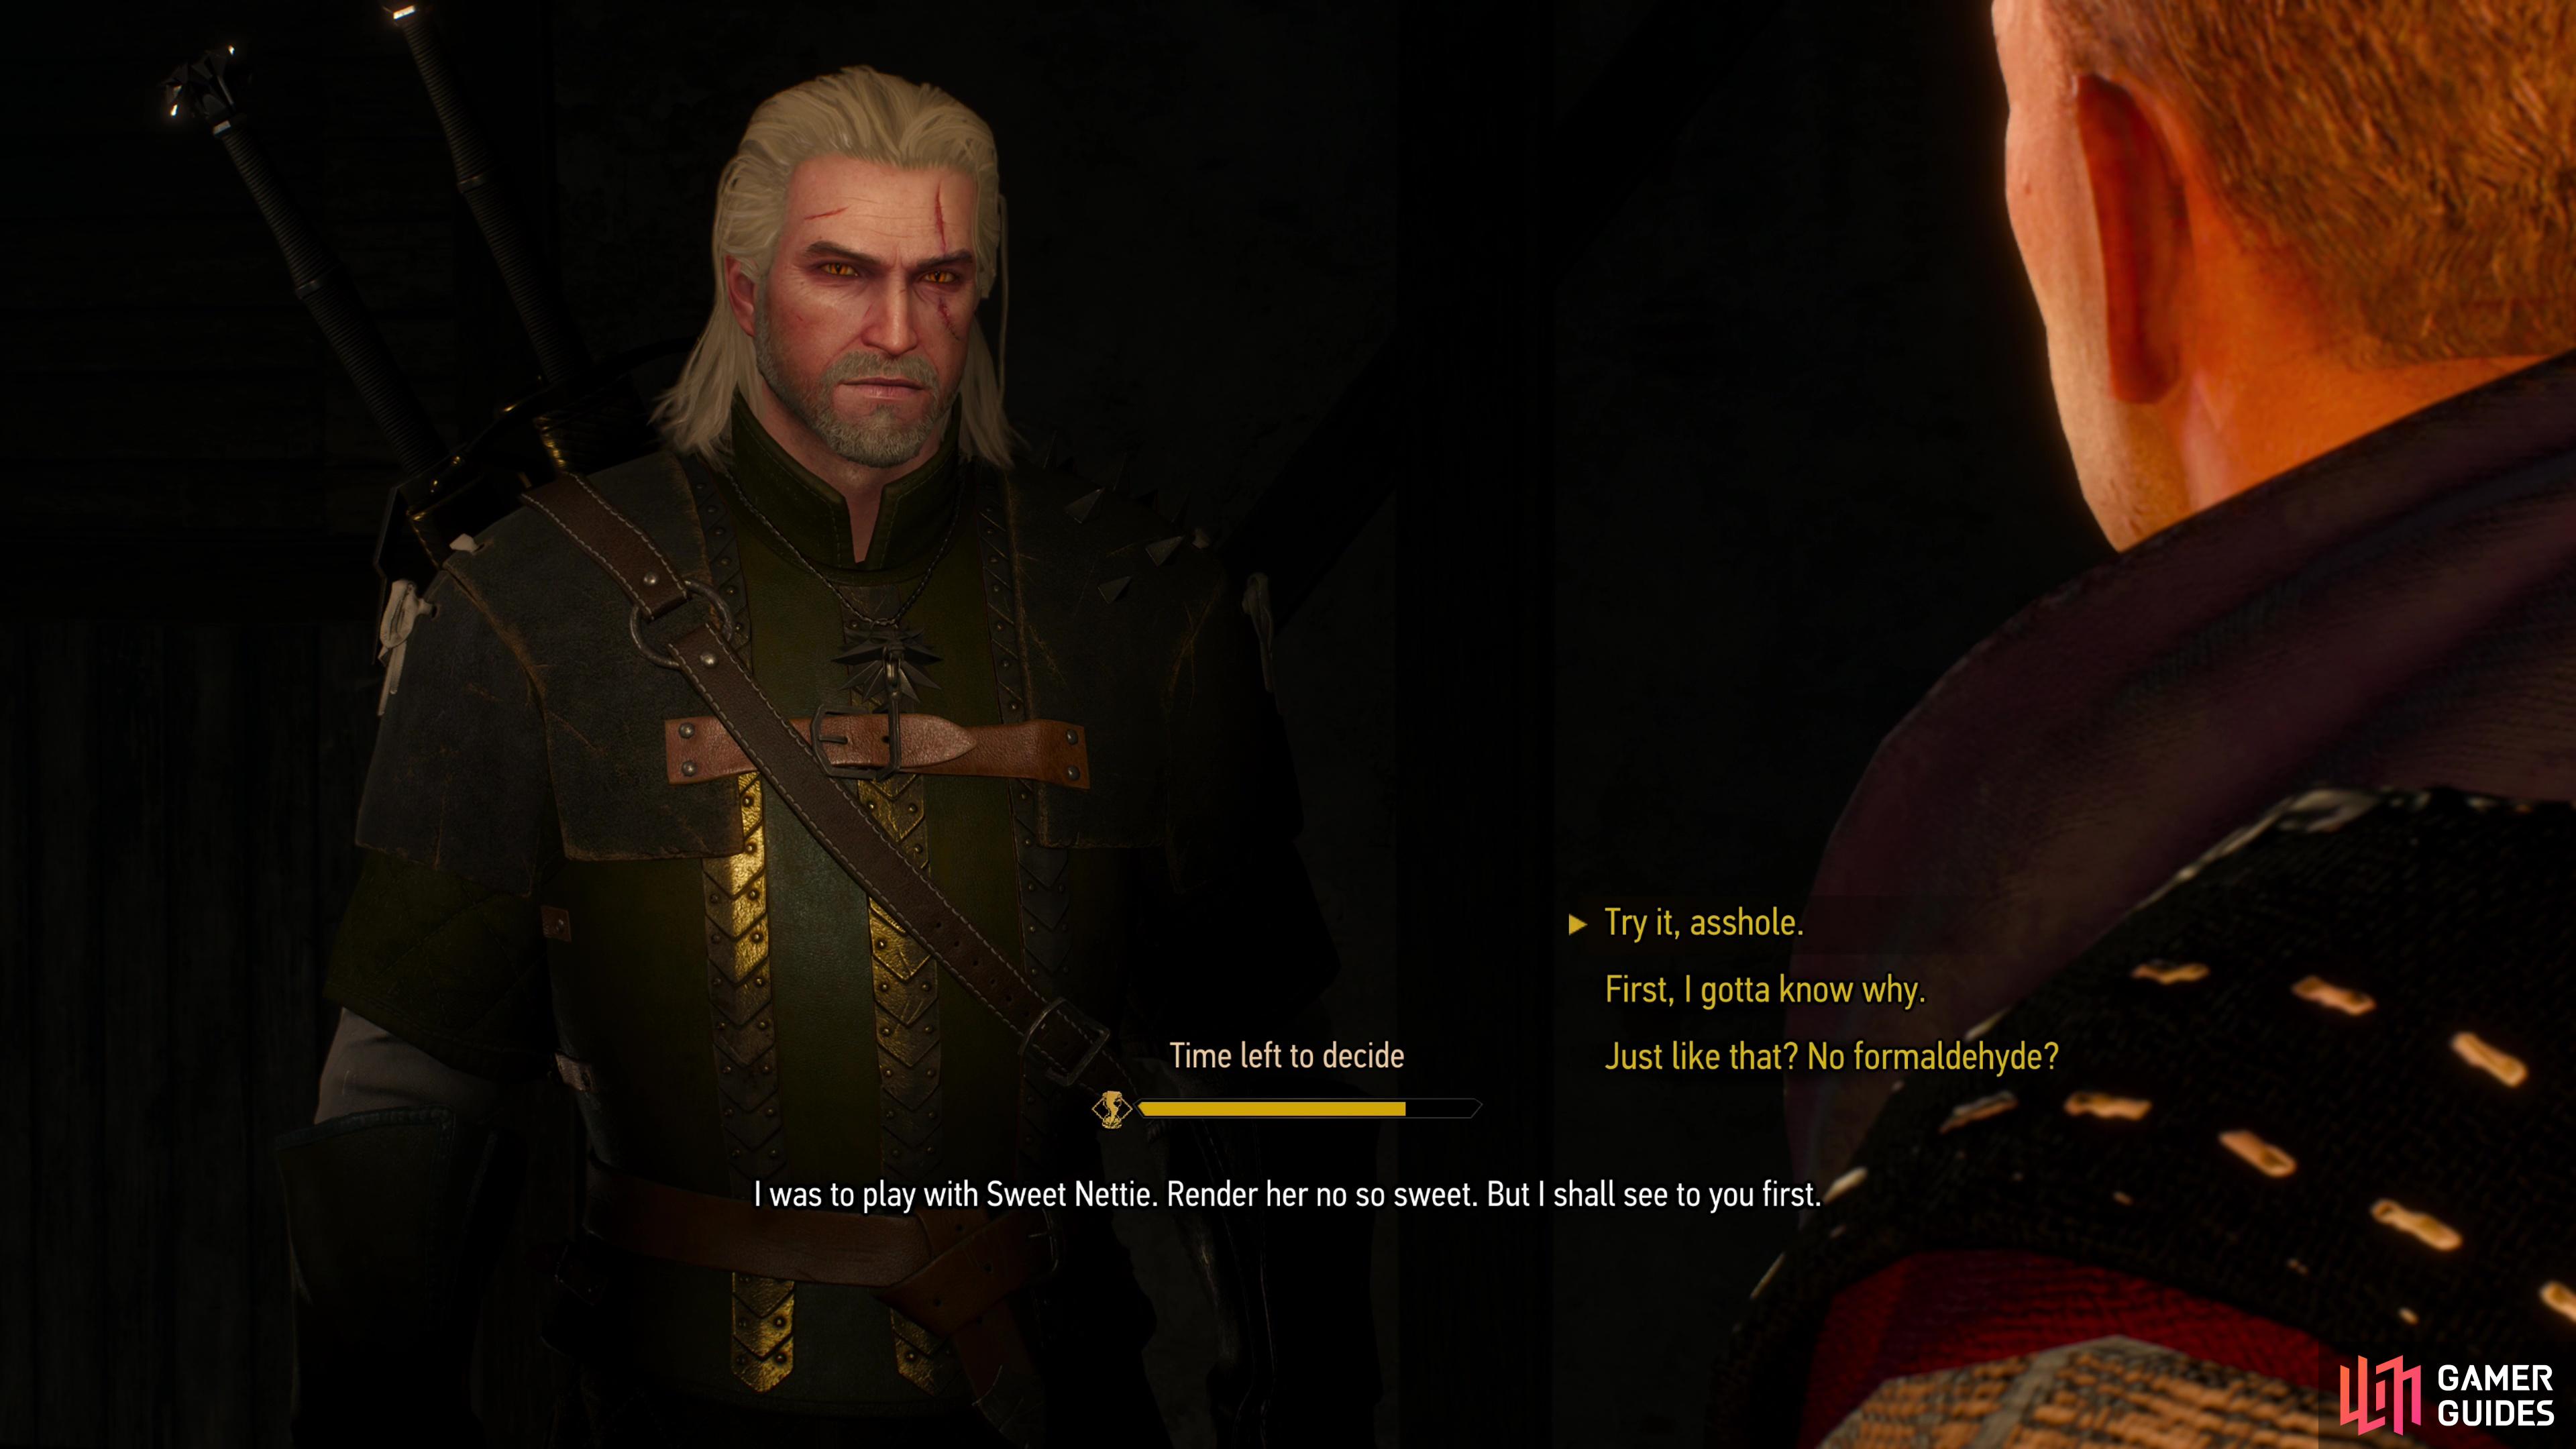
When you barge on Nathaniel and Sweet Nettie, you’ll; find the priest engaged in the sort of behavior that justifies Joachim’s (and Geralt’s) poor opinion of the cult. At the start of the encounter you’ll get a timed dialog option, and your choices here will determine how this quest plays out and whether you end up fighting Nathaniel or not.
Despite Nathaniel’s vicious sadism, if you pick the dialog options ”Just like that? No formaldehyde?” followed by ”So who left the letter on Patricia’s body?”, Geralt will realize that while Nathaniel is a monster, he’s not the monster who attacked Priscilla. There are other dialog options that will lead you to this discovery, but pick the wrong option(s) and you’ll prematurely provoke a fight with Nathaniel, and if you kill him without ruling him out as the killer, you’ll effectively botch the quest. At the end of your confrontation with Nathaniel you want to see the objective Go to the warehouse near the port., if you instead get Talk to Dandelion about Priscilla’s condition., you’ve been led astray.
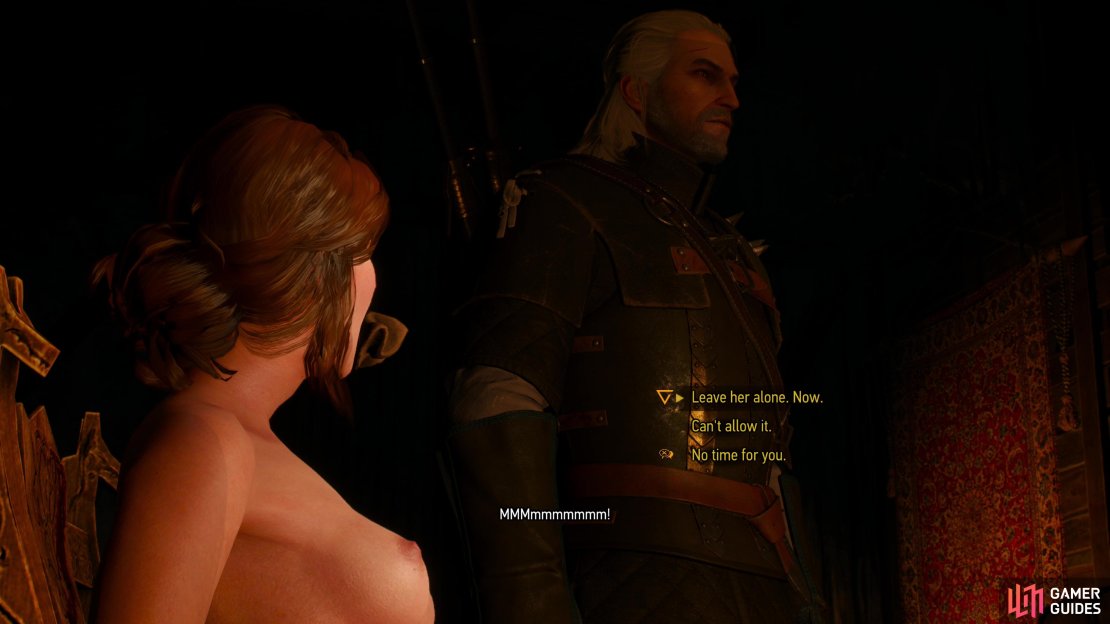
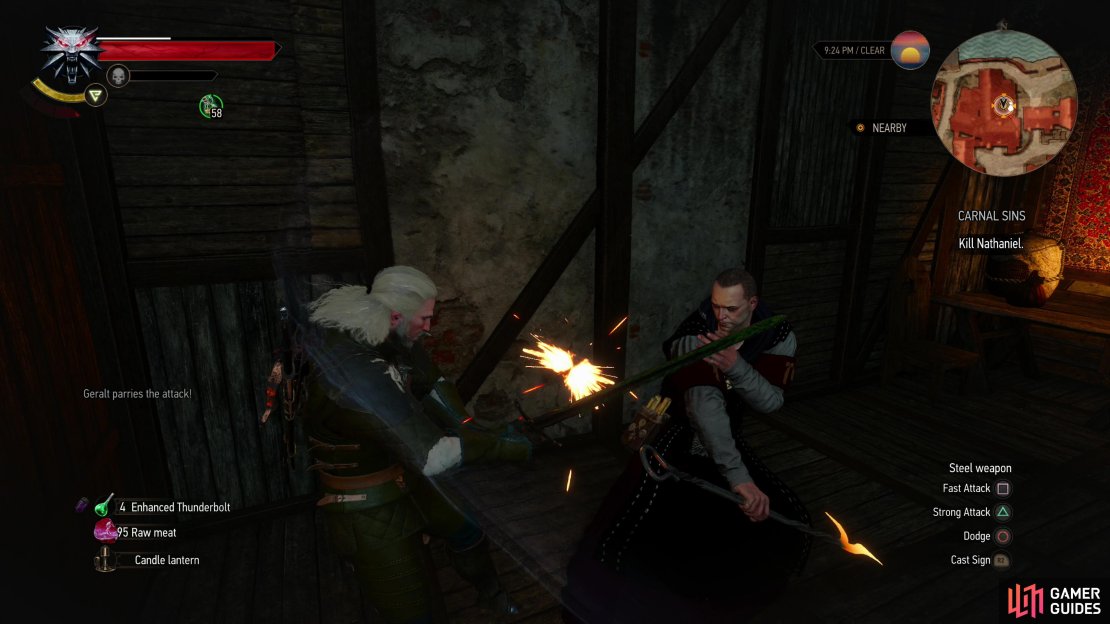
Pick the aforementioned dialog options and you’ll restrain Geralt’s righteous fury and learn that Nathaniel is not the serial killer you seek. At this point you’ll get three options, you can use Axii to convince Nathaniel to leave Sweet Nettie alone, you can pick ”No time for you.” to leave Nettie to Nathaniel’s sadistic tastes, or you can pick ”Can’t allow it.’ to stand up for Sweet Nettie and pick a fight with Nathaniel. For once, Axii isn’t the best answer, as you’ll get a better reward for killing Nathaniel, and you can do so with no penalty whatsoever. Seems like you can have your cake and kill it, too! Kill Nathaniel (Lv13) and loot him for the ![]() Poker he was using to torture Sweet Nettie with - a unique but not very useful item.
Poker he was using to torture Sweet Nettie with - a unique but not very useful item.
If you kill Nathaniel - whether you ruled him out as the killer or not - you’ll earn 100 EXP, Tracker’s Trousers and ![]() Diagram: Ard Skellig Aketon. Free Sweet Nettie before you leave Crippled Kate’s, and if you learned Nathaniel wasn’t the killer you’ll need to Confront the Killer at the Warehouse, otherwise you’ll need to Return to Dandelion at the clinic, effectively ending the quest.
Diagram: Ard Skellig Aketon. Free Sweet Nettie before you leave Crippled Kate’s, and if you learned Nathaniel wasn’t the killer you’ll need to Confront the Killer at the Warehouse, otherwise you’ll need to Return to Dandelion at the clinic, effectively ending the quest.

(1 of 3) Head to Crippled’ Kate’s brothel and confront Nathaniel. Keep the peace and you’ll learn he’s a monster - but not your monster.
Confront the Killer at the Warehouse
The warehouse you seek is just west of the Novigrad Docks signpost. Enter the building and you’ll find the killer, who will monologue at you a bit, wanting to make it very clear you know his supposedly righteous reasons for torturing and murdering people. Seems the Church of the Eternal Fire’s teachings are toxic enough that they can warp the minds of monsters, as well as men. Say what you wish, Geralt’s faith is lacking, a crime the killer cannot forgive, nor is the killer deterred by Geralt’s skill with a blade.
You’ll fight yourself squaring off against a Vampire (Lv16), but before you get worried, this creature fights exactly like a garden variety Katakan. It may even drop a ![]() Katakan mutagen when defeated! You can fight two other such vampires in Novigrad, one during [
Katakan mutagen when defeated! You can fight two other such vampires in Novigrad, one during [![]() A Tome Entombed] and another during Now or Never, and while this is arguably the most durable of the three, it’s not the most difficult, as this one lacks the regeneration the Katakan in
A Tome Entombed] and another during Now or Never, and while this is arguably the most durable of the three, it’s not the most difficult, as this one lacks the regeneration the Katakan in ![]() Now or Never possesses. In fact, despite being hardy, this Katakan’s low damage output and simple attack style means he shouldn’t be a serious threat to you. He’ll run around, turn invisible, and sometimes deign to attack you. Use Active
Now or Never possesses. In fact, despite being hardy, this Katakan’s low damage output and simple attack style means he shouldn’t be a serious threat to you. He’ll run around, turn invisible, and sometimes deign to attack you. Use Active ![]() Quen to absorb his attack and drop the shield when the vampire attacks to stagger it, lining it up for free hits. Repeat until it’s defeated. On death it should drop a Katakan Mutagen, the relic-quality silver sword
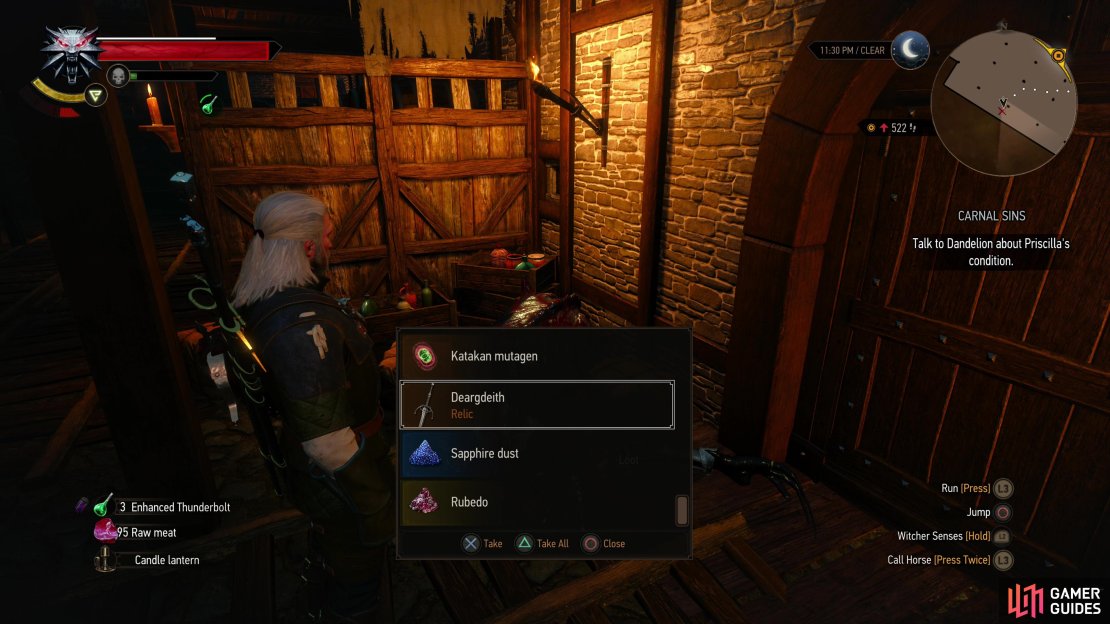
Quen to absorb his attack and drop the shield when the vampire attacks to stagger it, lining it up for free hits. Repeat until it’s defeated. On death it should drop a Katakan Mutagen, the relic-quality silver sword ![]() Deargdeith and various valuable components and monster bits. You’ll also earn a whopping 500 EXP for solving the mystery and defeating the real serial killer.
Deargdeith and various valuable components and monster bits. You’ll also earn a whopping 500 EXP for solving the mystery and defeating the real serial killer.
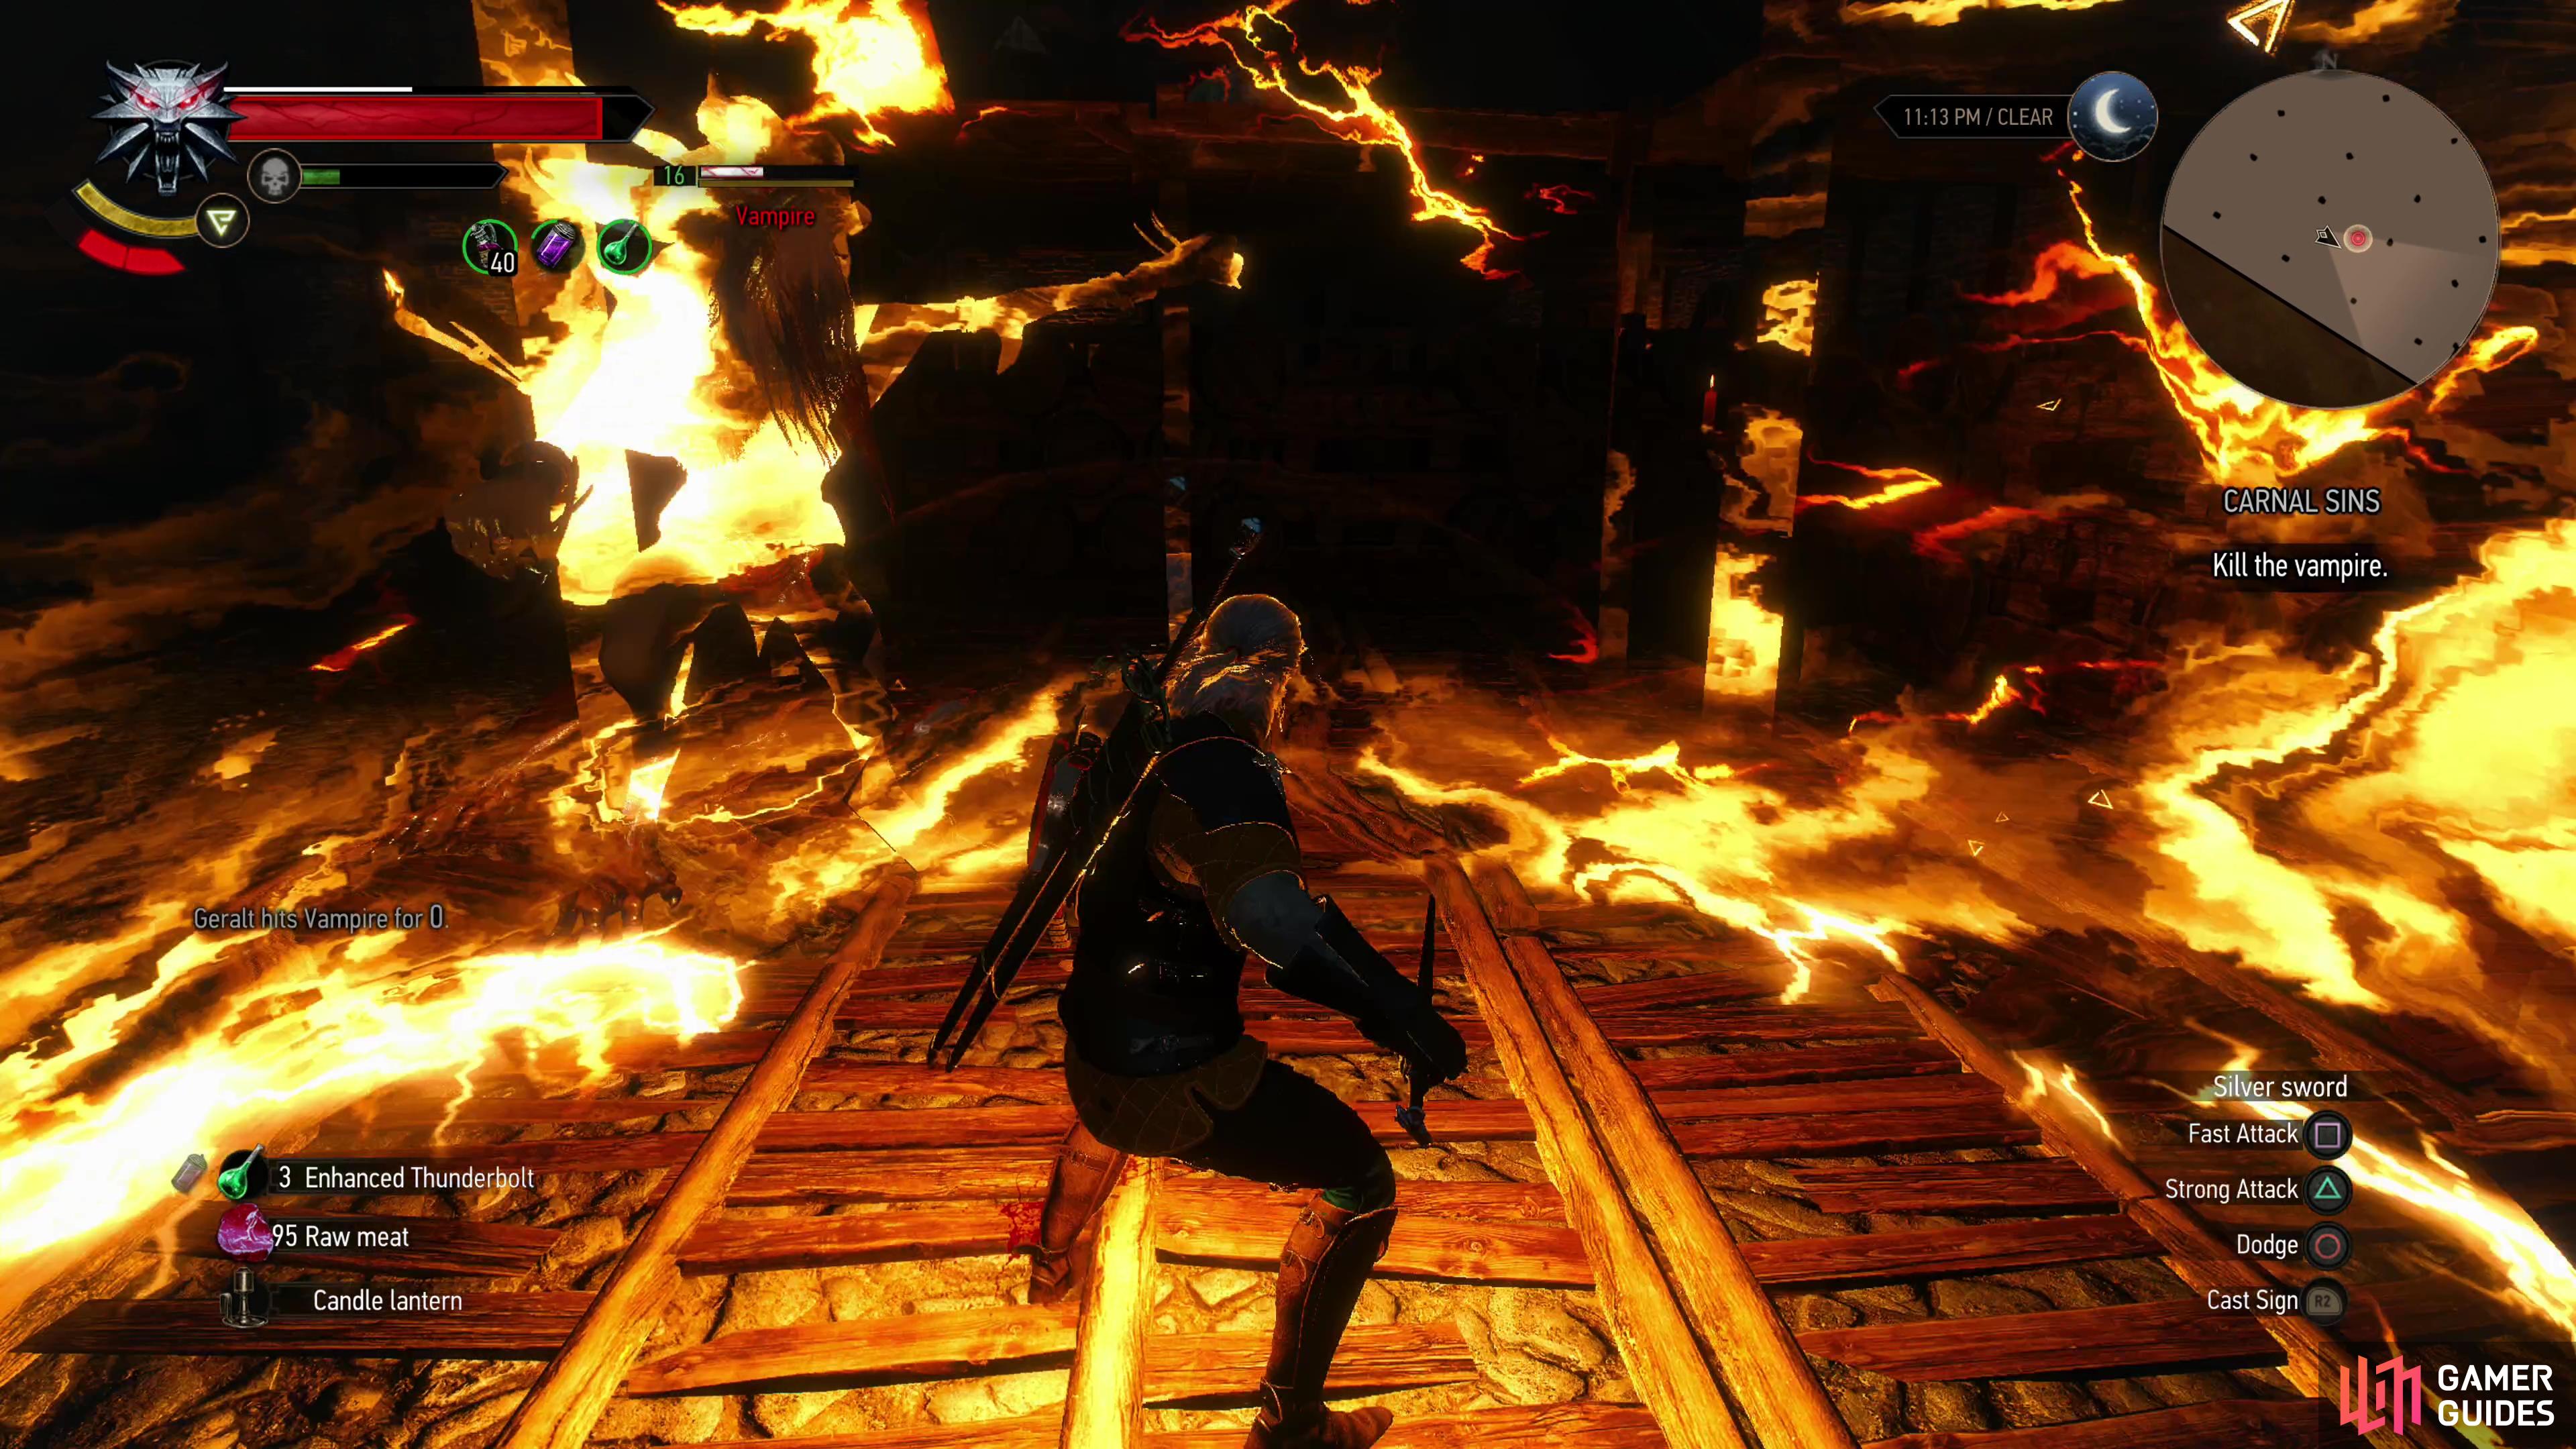
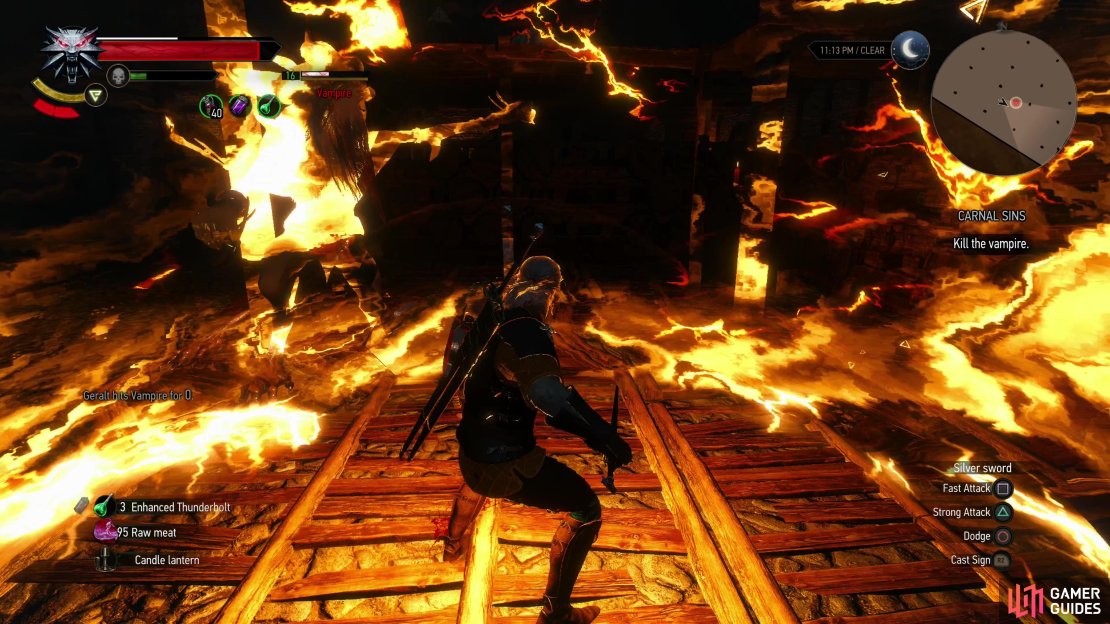
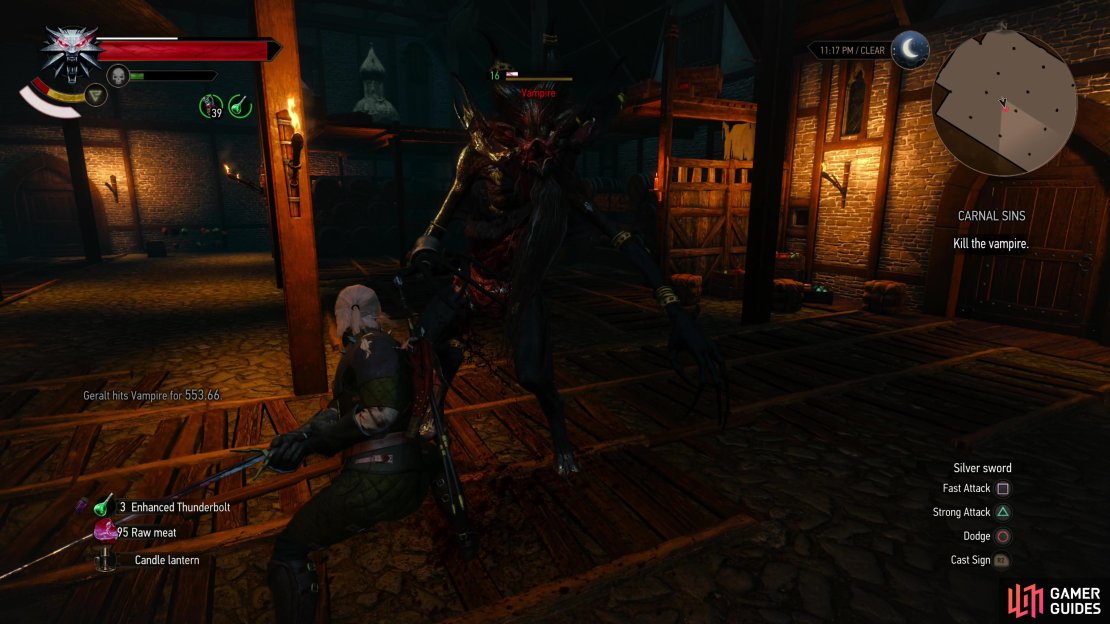
(1 of 3) The vampire might be fast and elusive, but he doesn’t deal a ton of damage and none of its attacks are good counters to Quen - use the shield to block its attacks and stagger the monster,
Loot the warehouse - there’s tons of containers lying about, then report back to Dandelion.
Return to Dandelion
Whether you found and dispatched the real killer or not you’ll need to return to Dandelion at the clinic, where you’ll get an update on Priscilla’s recovery and the quest will end. There’s no extra EXP reward here - that came from killing the monster.
No Comments