With the Wine Wars quest started, you have the choice to investigate the occurrences to the Vineyards operated by the Coronata family. Like with Vermentino, you have several objectives to look at, along with the investigate and search for proof optional objective. This walkthrough
| Important Items in this Area |
|---|
| List marked with the seal of Liam Coronata |
| Unfinished Report |
| Key to a Travel Chest |
| Journal from a journey around the world |
| Letter to Cosmo Cyrille |
| Key to Lockbox |
| Orders on elegant stationery |
| Dirtied Letter |
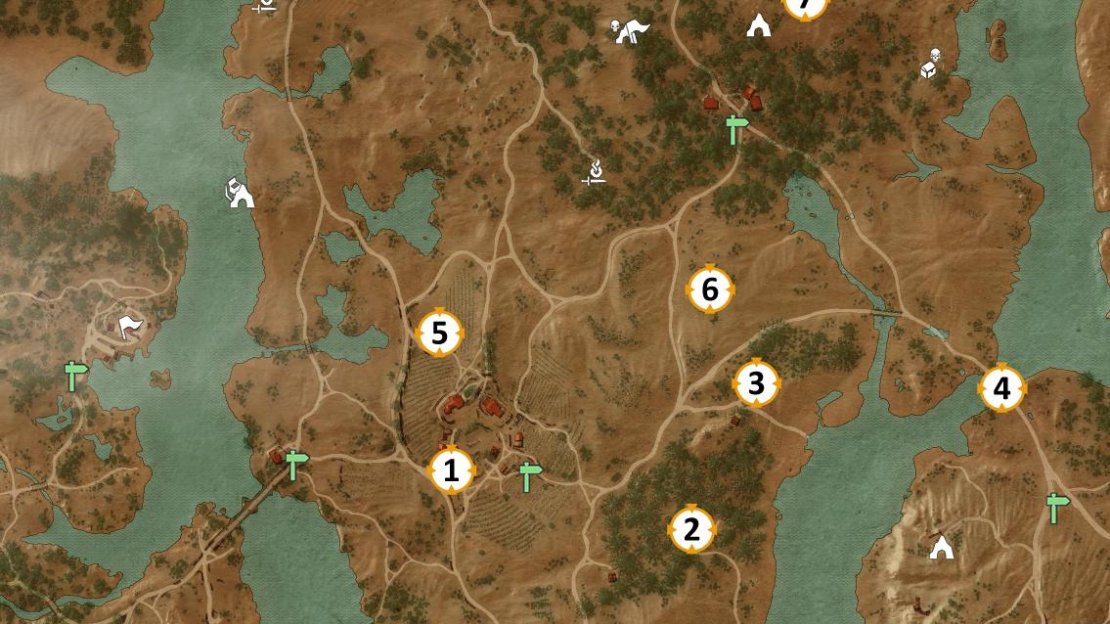
Wine Wars Coronata Map
The areas you need to clear to complete Wine Wars: Coronata can be found to the east and northeast of the Plegmund’s Bridge signpost, and compared to the areas you need to clear for Wine Wars: Vermentino, they’re less spread out. Start out your trip by heading due east from the Plegmund’s Bridge signpost to reach the Coronata Estate (#1 on the map above), which has its own signpost for you to discover along the southeastern end of the estate.
Coronata Site: Abandoned Site
From the Coronata Vineyard signpost head east, southeast into some woods to find your first event, an Abandoned Site (#2 on the map above). This trivial diversion requires you to put down one Archespore (level thirty-eight). After this mundane feat of witchering, Geralt will meditate, and the area will repopulate itself. Loot the site for some meager goodies, and search a corpse on the back of a wagon to find a “List marked with the seal of Liam Coronata”. Aside from the fact that Liam put his worker’s lives at risk to secure spices for his wine, he seems like an alright dude… At least he used the carrot instead of the stick?
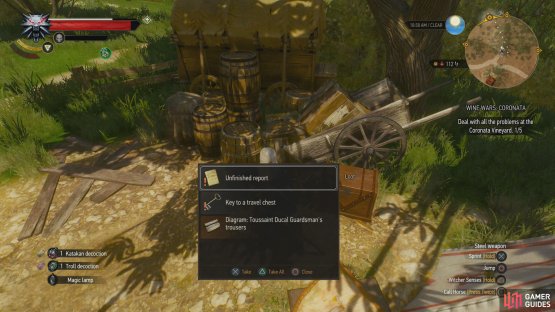
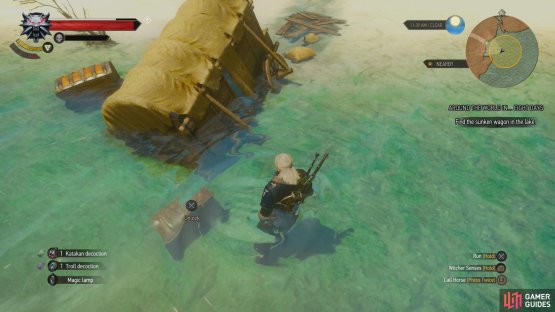
(1 of 2) Kill the bandits and loot a chest to find the “Key to Travel Chest”,
Kill the bandits and loot a chest to find the “Key to Travel Chest”, (left), then dispatch another pair of bandits and loot a submerged chest. (right)
Around the World in… Eight Days
The next area (#3 on the map above) on the agenda isn’t related to the greater task at hand, but… when else are you going to have an excuse to clear this map marker? Besides, it’s on the way, so don’t fuss. Make your way north, northeast to find a Hidden Treasure marker, where you’ll find four Bandits (level forty-four). Put them down, then loot a chest near a tent to find an “Unfinished Report” and a Key to a Travel Chest. Take both to start the quest Around the World in… Eight Days.
Follow a trail marked on your minimap to the southeast and loot a body near the camp, on which you’ll find a “Journal from a journey around the world”. Poor naive fool. Follow some wheel ruts downhill to find a wagon partially submerged on a beach, where two more Bandits (level forty-four) await. Kill them, then loot a parcel and a chest south of the wagon before swimming to the east to find another chest underwater. Looting this submerged, lucrative chest will end this quest.
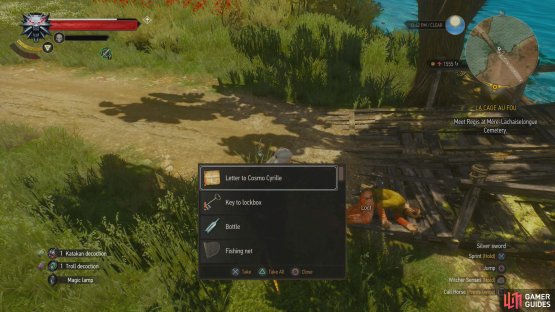
(1 of 2) Kill some trolls and loot a corpse to find a “Key to Lockbox”,
Kill some trolls and loot a corpse to find a “Key to Lockbox”, (left), then loot a small chest hidden in a pile of dung at the Coronata Vineyard. (right)
Coronata Site: Coin Doesn’t Stink
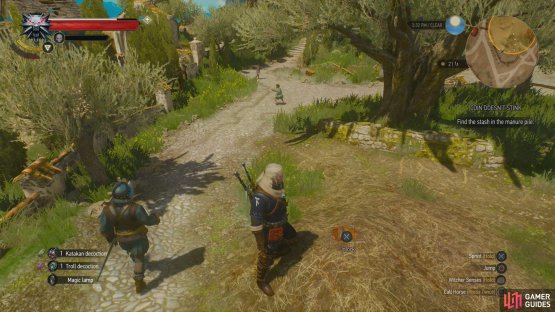
For the next task (#4 on the map above), follow the edge of the river northeast, then north until you hit an easily fordable section of water (marked on your map as a bridge, although no such structure exists). Cross it and follow the road beyond to the southeast to reach an actual bridge, at the far end of which you’ll find another Hidden Treasure event… and a pair of Rabid Rock Trolls (level thirty-seven). Kill them, then loot a corpse near the end of the bridge, upon which you’ll find a “Letter to Cosmo Cyrille” and a Key to Lockbox. Read the aforementioned letter to start the quest Coin Doesn’t Stink, which will draw you back to the Coronata Vineyard.
Don’t bother running back west, as there’s a convenient signpost to be found to the south. Just follow the road south, southeast until you reach a fork, at which take the eastern road to shortly discover the Dun Tyne Crossroads signpost. Use this device to fast-travel back to the Coronata Vineyard and make your way northwest to find a search area. At the southwestern end of the search area you’ll find a pile of dung covered in straw, where the application of your Witcher Senses should detect a chest sticking out. Loot the chest to complete this quest.
(1 of 2) Kill two Archespores,
Kill two Archespores, (left), then blow up their nest. (right)
Coronata Site: Vineyard Infestation
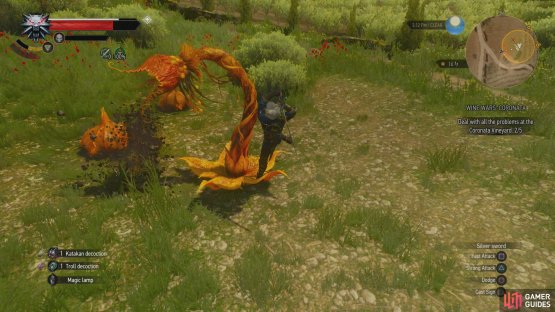
Two down, three to go, and being back at the Coronata Vineyard actually puts you closer to your next destination (#5 on the map above), which is northwest of the Coronata Vineyard signpost, in the fields within sight of the estate. Follow the quest marker (and the given directions) to discover a Vineyard Infestation site, which for all intents and purposes is a Monster Nest, given a fancy name for this quest. Kill two Archespores (level thirty-eight), then drop a bomb in their nest to eradicate them for good.
| Reward: For destroying the Archespore Nest |
|---|
| 100 XP |
(1 of 2) Kill two Archespores,
Kill two Archespores, (left), then loot a corpse to find another clue. (right)
Wine Wars: Coronata Investigate Location
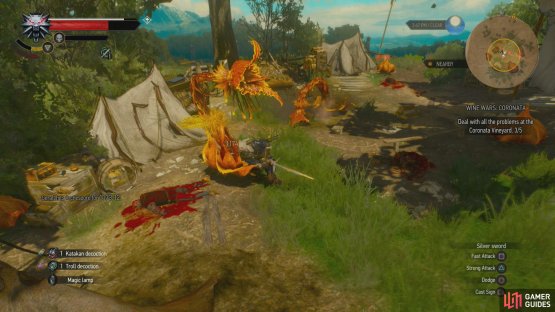
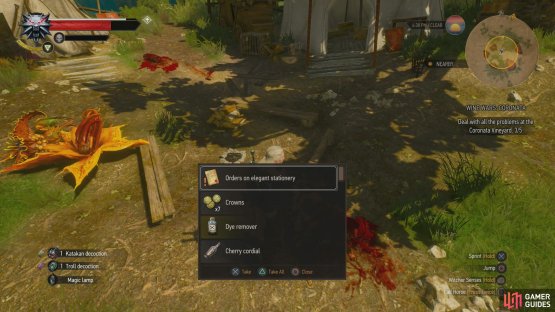
The next site (#6 on the map above) is to the east, northeast, or if you prefer, to the north, northeast of the Hidden Treasure event that led to the quest Around the World in… Eight Days. Approach your next destination - a Guarded Treasure site - and prune two Archespores (level thirty-eight), after which take the opportunity to loot the camp. Once done, loot a thoroughly bloodied corpse to find some “Orders on elegant stationery” detailing a conspiracy against the Coronata Vineyard. The letter is signed by “V”, but perhaps it would be better to keep looking for clues rather than jumping to conclusions?
Either way, you complete the optional objective of Wine Wars Coronata, and the search for proof against Verementino. If you have done both quests, and found both optional search for proof objectives, then you have enough evidecen to determine there is likely a third party involved with this, which helps to lead a more rewarding ending.
Coronata Site: Person(s) in Distress
From the Guarded Treasure event, make your way west to reach a road, then follow it north to a fork, at which turn northeast until you discover the Trading Post signpost. Ignore the carnage beyond, as it’s part of another quest you’re better off avoiding for now, and instead veer off the road to the northeast to find the final Coronata Site, a Person(s) in Distress event.
Work your way around to the northeast of the map marker, as the event itself is in a cave - or rather, a ravine - which you can safely access from that direction. Enter the cave and dispatch a trio of Bandits (level forty) to rescue their hysterical captive, an Herbalist from the Coronata Vineyard. Listen to her squeal, then when she asks for an escort back to the vineyard, turn her down. You’ve got some business to see to here, first. Loot one of the dead Bandits to obtain a “Dirtied Letter”, which provides further evidence of intentional sabotage at the Coronata Vineyard.
Now, you’re done with the Coronata Vineyard and have resolved its problems without actually hindering whatever conspiracy was behind said problems. You can return to the Coronata Vineyard anyways and, with his problems resolved, allow Liam to purchase the Belgaard Vineyard, which has problems of its own to resolve. Or, if you want to earn more rewards and actually get to the bottom of this conspiracy, you can put this quest on hold and deal with Wine Wars: Vermentino.
:::note:
If you return to the Coronata Vineyard after rescuing the Herbalist, you should find her there, ready to do business. She sells Potions of Clearance and Potions of Restoration, among other, less impressive goods.
:::
| Reward: For resolving the problems plaguing the Coronata Vineyard |
|---|
| XP / 525 Crowns |
:::note:
You’ll only get the aforementioned reward when you return to Liam Coronata at Plegmund’s Bridge, regardless of whether you’ve also completed the objectives for Wine Wars: Vermentino or not. If you complete one quest’s objective but not the other, you’ll get the reward from the appropriate vineyard owner, who then purchases the Belgaard Vineyard. If you complete both quest’s objectives, you’ll be rewarded by both vineyard owners, making this the suggested approach.
:::








No Comments