
The various regional maps in The Witcher 3: Wild Hunt are liberally endowed with map markers indicating all sorts of quests, events, and general open-world busywork that reward players keen on exploring. Few rewards are as meaningful as finding a Place of Power, however, as these mysterious edifices grant Geralt lingering bonuses to his signs and permanently bestow an ability point for him to spend however you please. Needless to say you should learn the lesson the developers are trying to teach you well and take advantage of their largesse by seeking out and claiming these Places of Power, and this page will provide all their locations and discuss the monsters and beasts that are commonly drawn to such places.
White Orchard is unusually dense with Places of Power, housing a total of six of the things - likely a way to teach players the benefits of exploration and boost your otherwise very fragile Geralt. Use the table below to quickly find the ones you’re missing:
White Orchard Places of Power
As mentioned above there are six Places of Power in White Orchard, and their locations can be found on the map below:
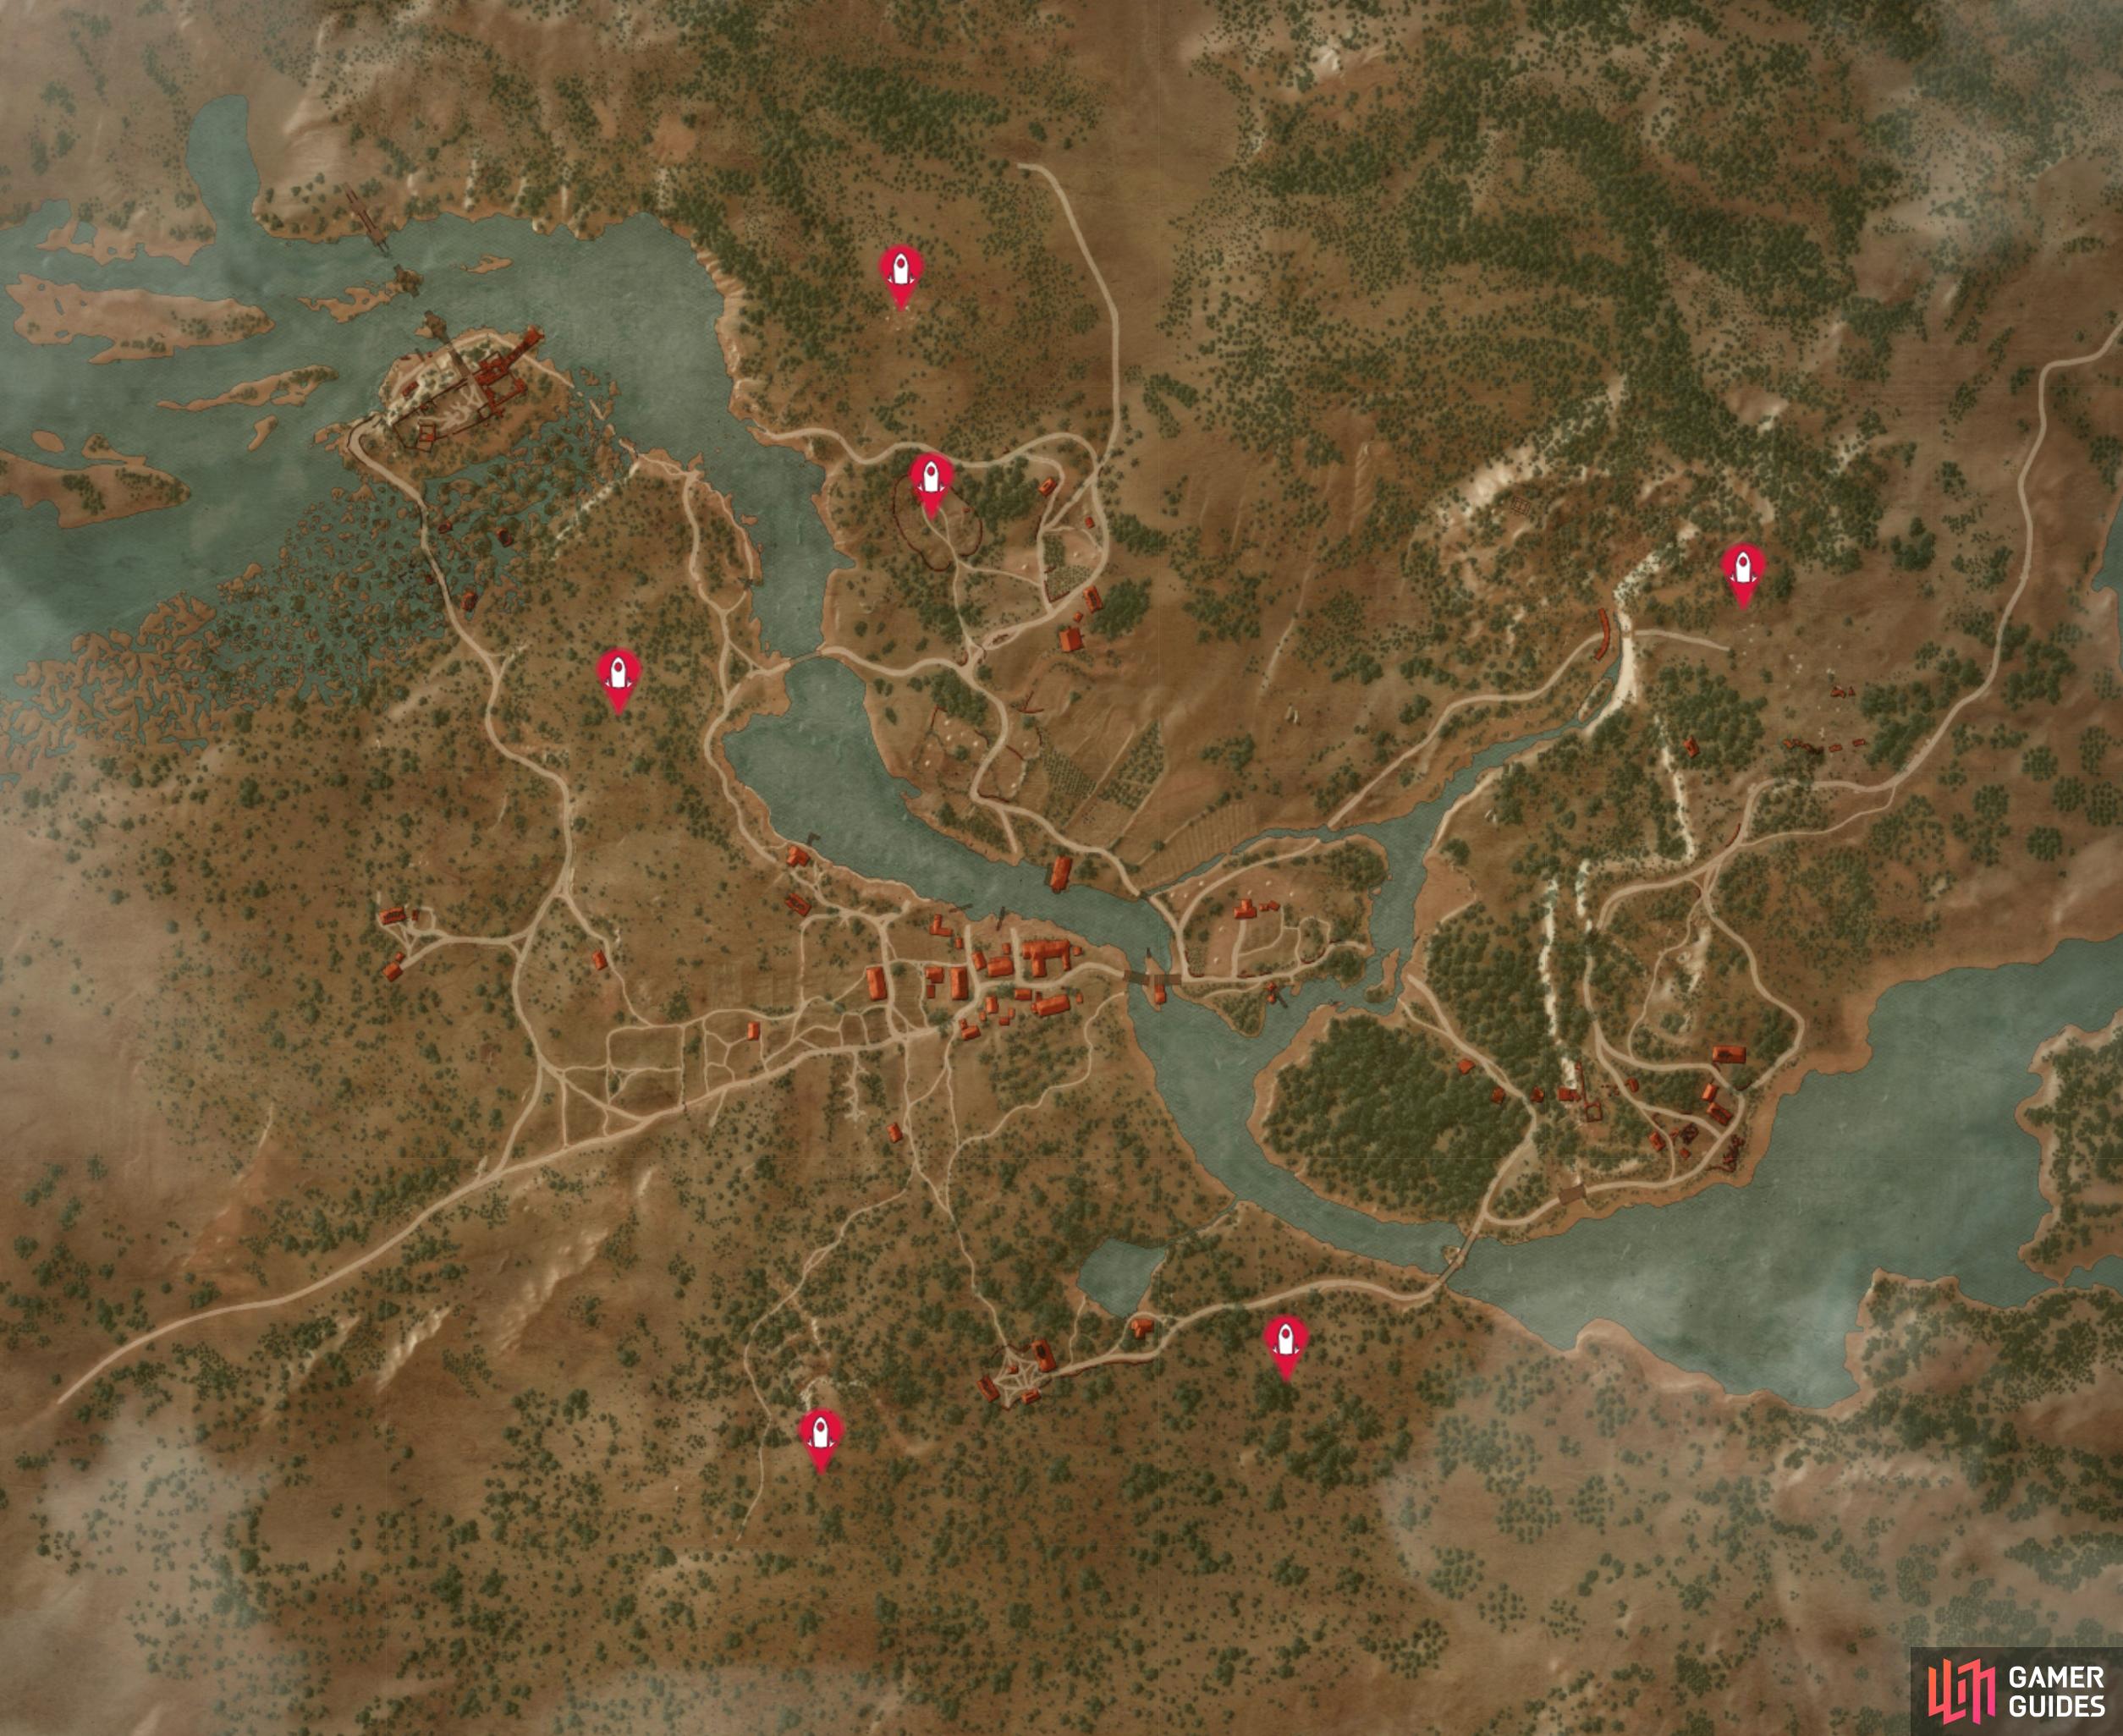
The locations of all the Places of Power in White Orchard.
In a perfect world all you need to do is find a Place of Power, walk up to it, and meditate near it to get both its temporary buff and permanent ability point. Of course, Witchers wouldn’t exist in a perfect world, and to drive that point home many Places of Power have monsters or beasts dwelling nearby. Killing them is functionally a requirement of claiming the Place of Power they dwell near, as you can’t meditate near a Place of Power while in mortal peril.
Cackler Village Place of Power
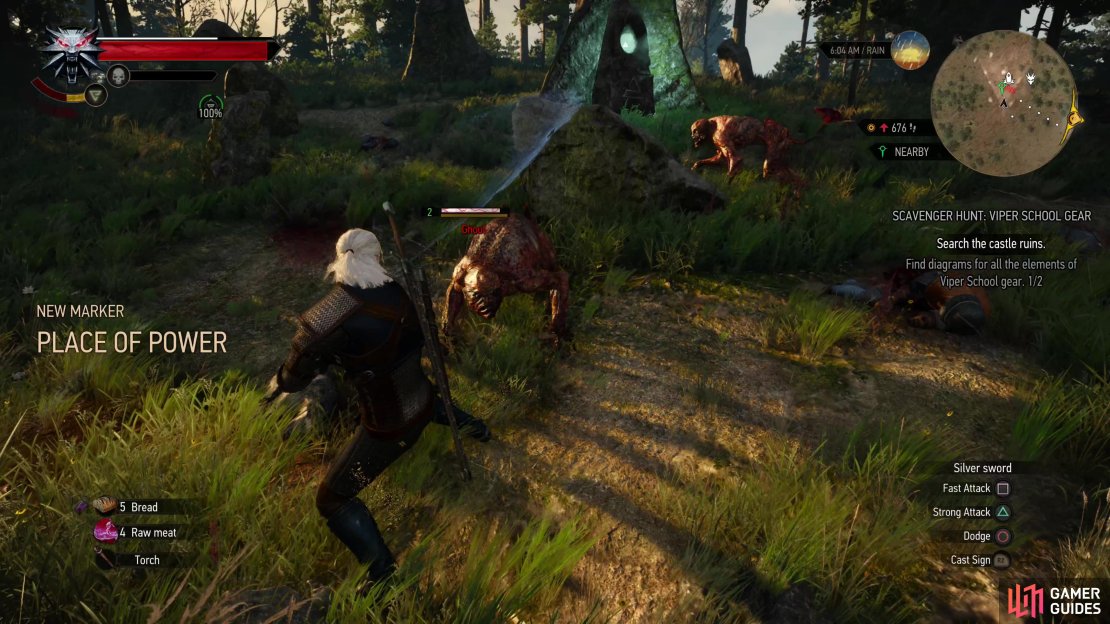
The easternmost Place of Power in White Orchard, you can reach it by heading across the battlefield north of the Ransacked Village, but if you cross Woesong Bridge near White Orchard and follow the road north, then northeast you’ll get behind and be able to unlock a gate, discovering the Cackler Bridge signpost - a much more convenient fast travel location. The Place of Power is just northeast of this signpost, and it just so happens to be near a Ghoul Nest. This of course, means ![]() Ghouls, and plenty of them - expect five of the critters to be milling about. They’re functionally no different than the ones you encountered with
Ghouls, and plenty of them - expect five of the critters to be milling about. They’re functionally no different than the ones you encountered with ![]() Vesemir earlier, just keep in mind that they regenerate HP, so a
Vesemir earlier, just keep in mind that they regenerate HP, so a ![]() Ghoul’s really only gone once it’s been dispatched. On the plus side, you can always retreat to near Cackler Bridge if you need to recover, so as long as you can put down a Ghoul each attempt you’ll be making progress. Defeat the Ghouls, then meditate at the Place of Power to gain an ability point.
Ghoul’s really only gone once it’s been dispatched. On the plus side, you can always retreat to near Cackler Bridge if you need to recover, so as long as you can put down a Ghoul each attempt you’ll be making progress. Defeat the Ghouls, then meditate at the Place of Power to gain an ability point.

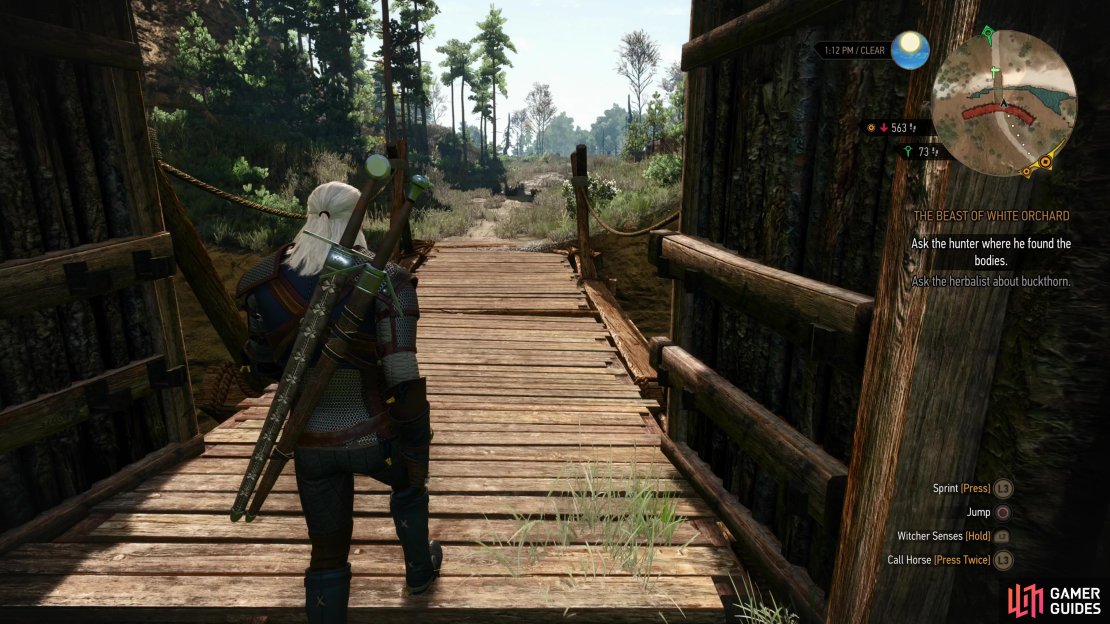

(1 of 3) Follow a road northeast from White Orchard to open the gate to Cackler Bridge.
Abandoned Village Place of Power
From the Ransacked Village signpost follow the road southwest until you find a bridge crossing the river to the southwest. Cross the bridge and follow the road beyond to the west towards the Abandoned Village. This Place of Power is just south of the road, roughly midway between the bridge and the Abandoned Village. It’s guarded by a single Bear (Lv6) which can be pretty dangerous at lower levels… if you forget how to dodge. If you dodge spam, the Bear simply can’t hit you, and you can easily dispatch it by dodging, then performing a single strong attack after it misses an attack, just be sure to start dodging again immediately. Instead of wasting stamina on ![]() Quen (a rare statement in this guide!) you can instead pepper the Bear with
Quen (a rare statement in this guide!) you can instead pepper the Bear with ![]() Igni. Your sign intensity is probably quite low, but if you’re lucky it’ll catch on fire, which is the preferred way to deal with these beasts. If it does catch on fire, just keep dodging and let it burn - attacking it can remove the damage-over-time. It may take a while (and a lot of dodging) but you should be able to wear the Bear down with minimal trouble, after which meditate at the Place of Power.
Igni. Your sign intensity is probably quite low, but if you’re lucky it’ll catch on fire, which is the preferred way to deal with these beasts. If it does catch on fire, just keep dodging and let it burn - attacking it can remove the damage-over-time. It may take a while (and a lot of dodging) but you should be able to wear the Bear down with minimal trouble, after which meditate at the Place of Power.
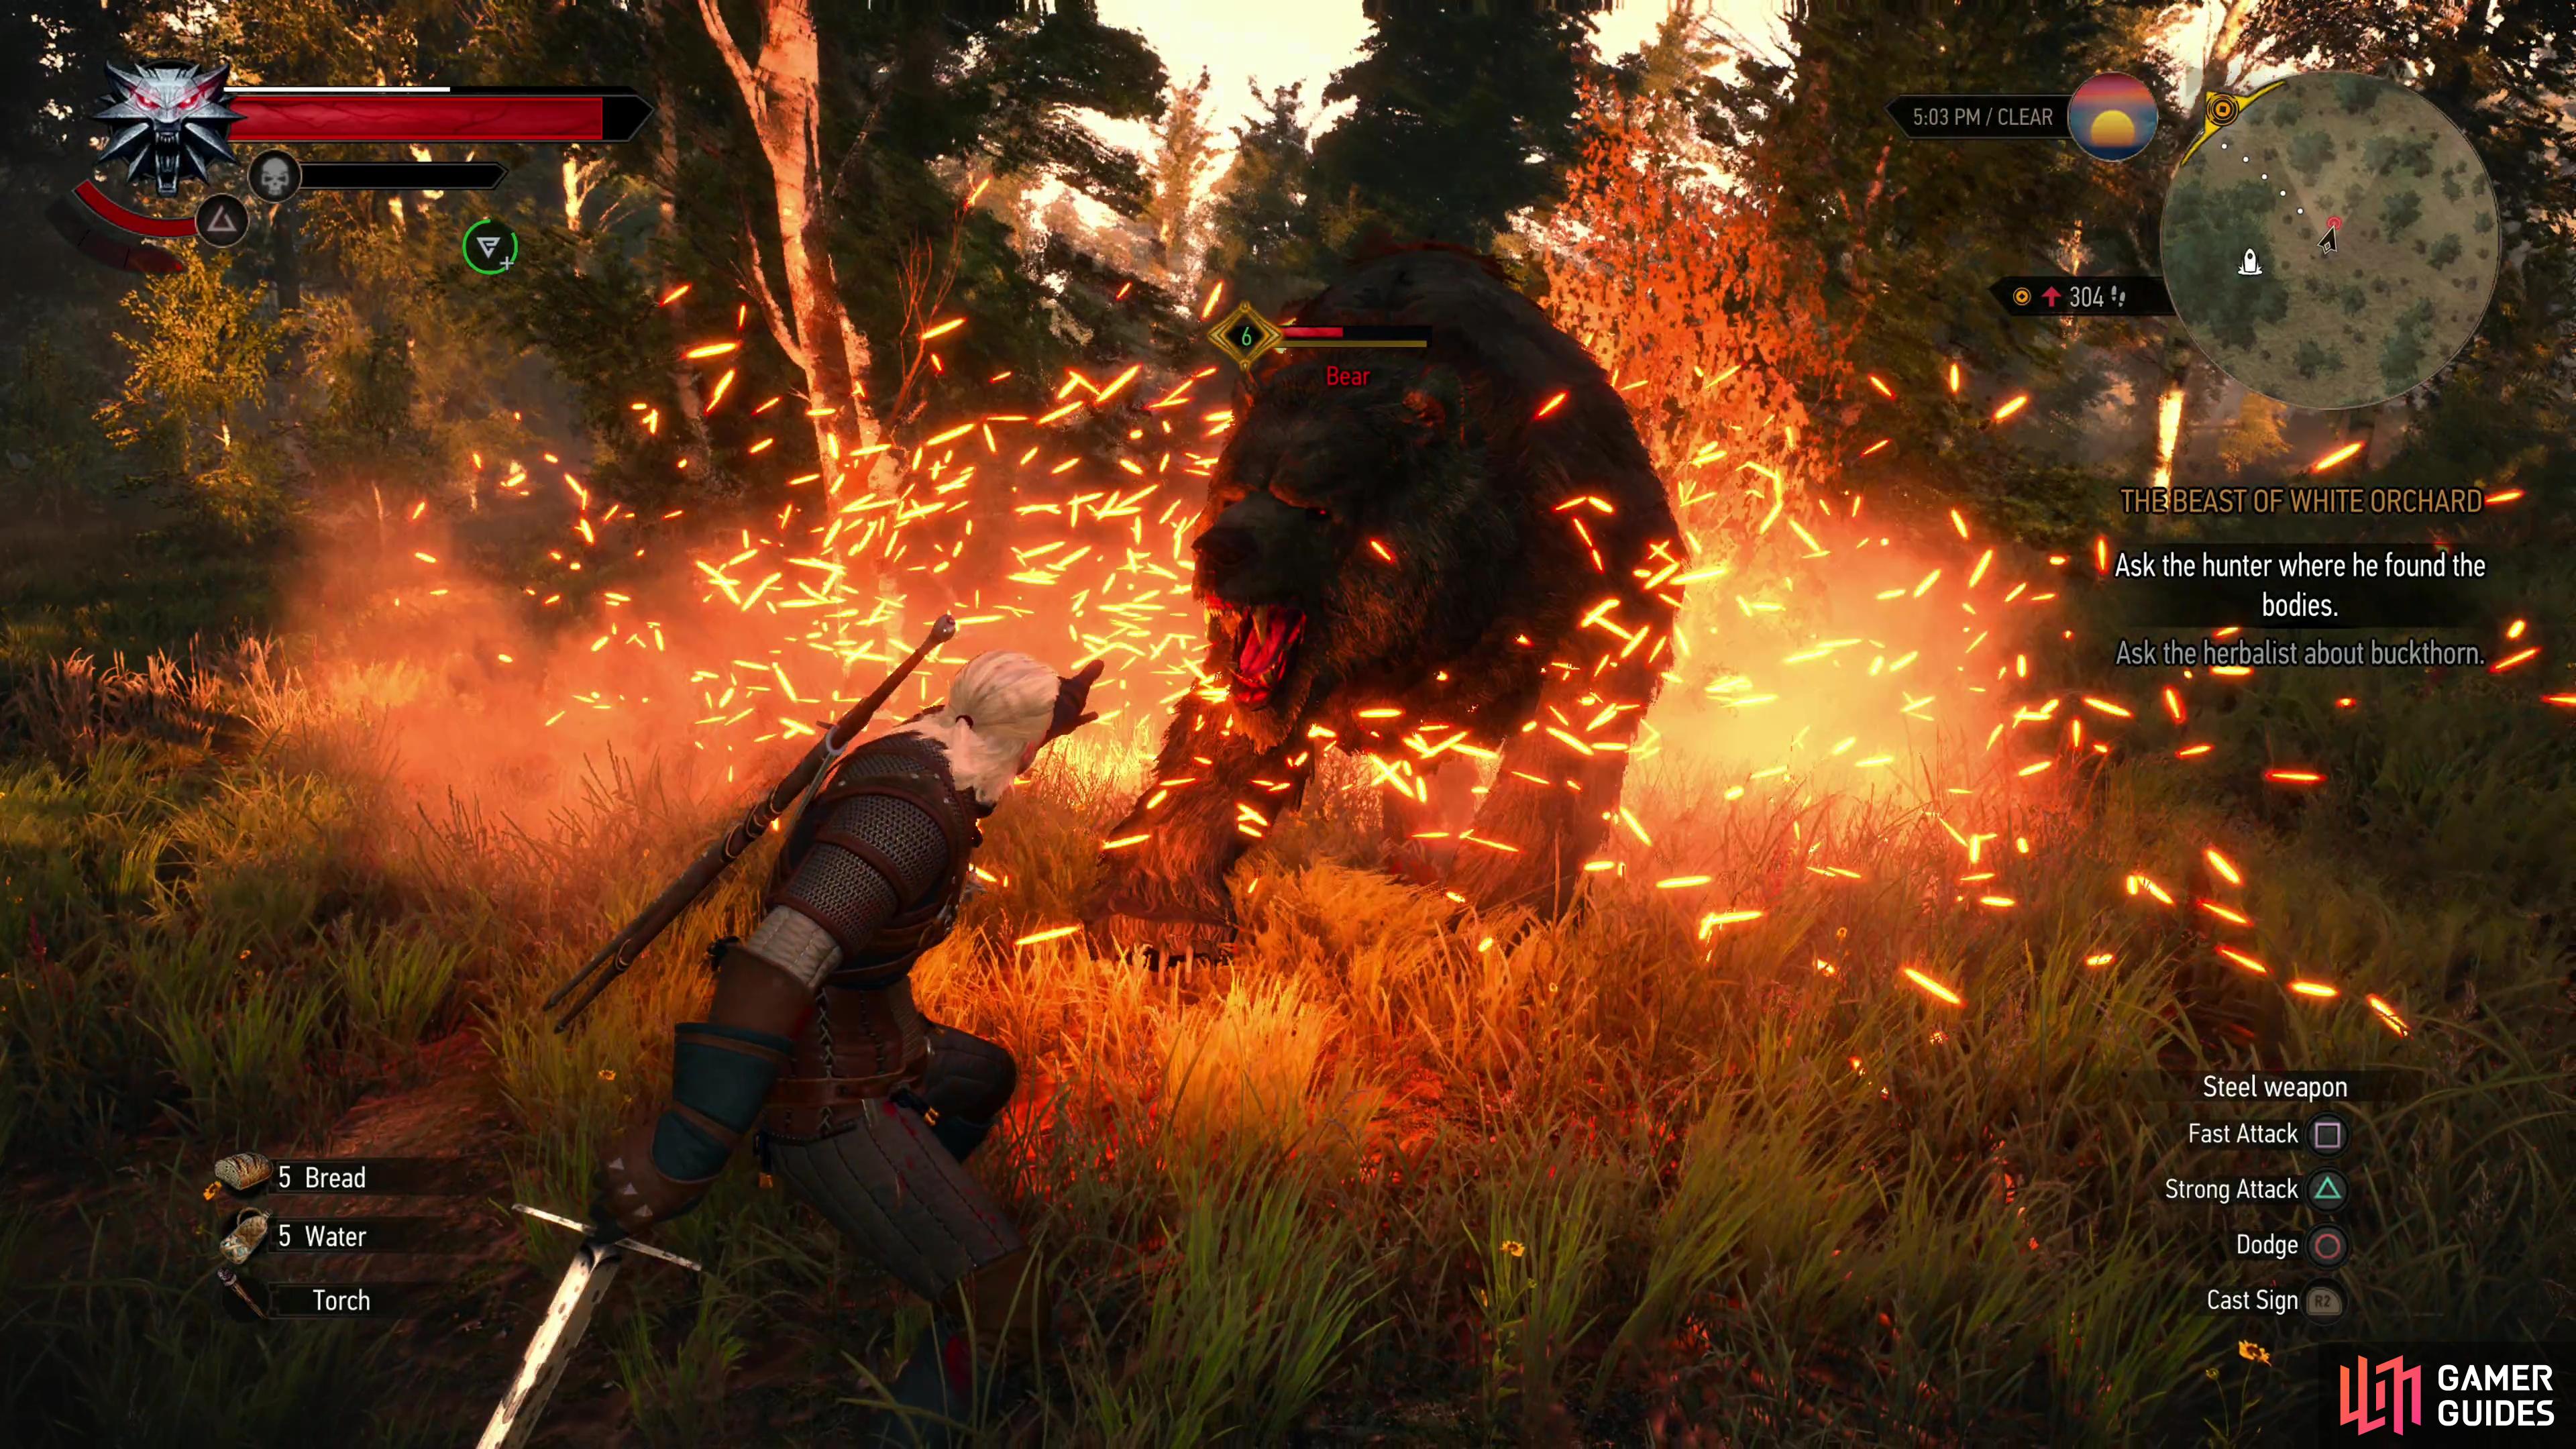


(1 of 2) A bear guards the Place of Power east of the Abandoned Village - Igni’s damage over time can drain its health bar significantly.
A bear guards the Place of Power east of the Abandoned Village - Igni’s damage over time can drain its health bar significantly. (left), Put the Bear down, then claim its Place of Power. (right)
Broken Bridge Place of Power
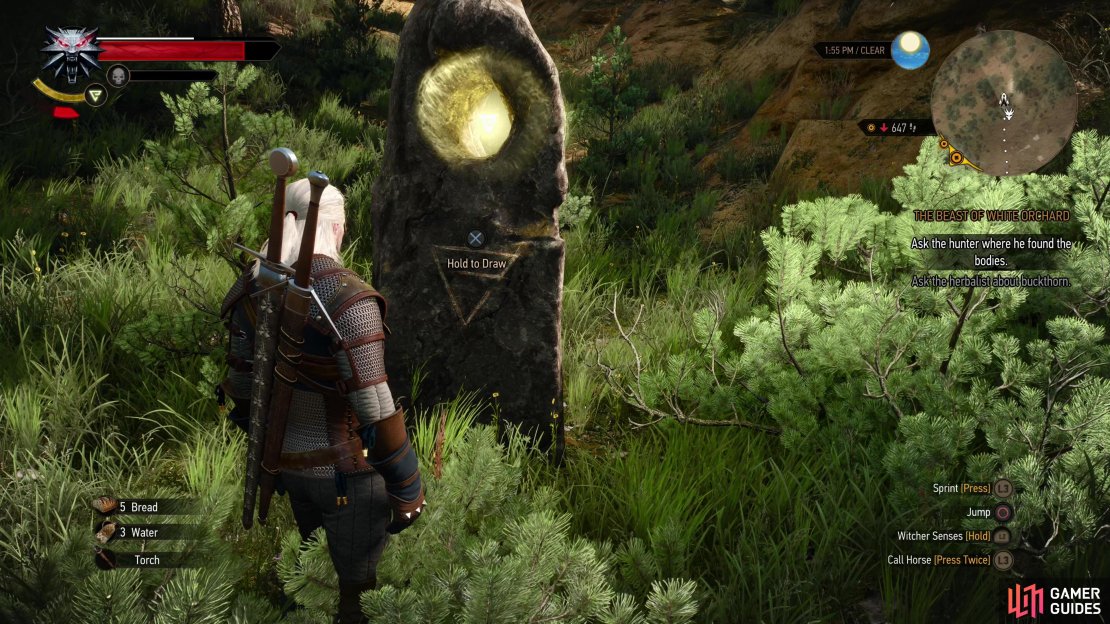
Southeast of White Orchard you’ll find the Broken Bridge signpost. Jump across the bridge near the signpost and follow the trail uphill to the southwest and south. This Place of Power is just off the road to the east, and best of all, it’s completely unguarded!


(1 of 2) Jump over the eponymous Broken Bridge,
Jump over the eponymous Broken Bridge, (left), and head uphill to find an unguarded Place of Power. (right)
Sawmill Place of Power
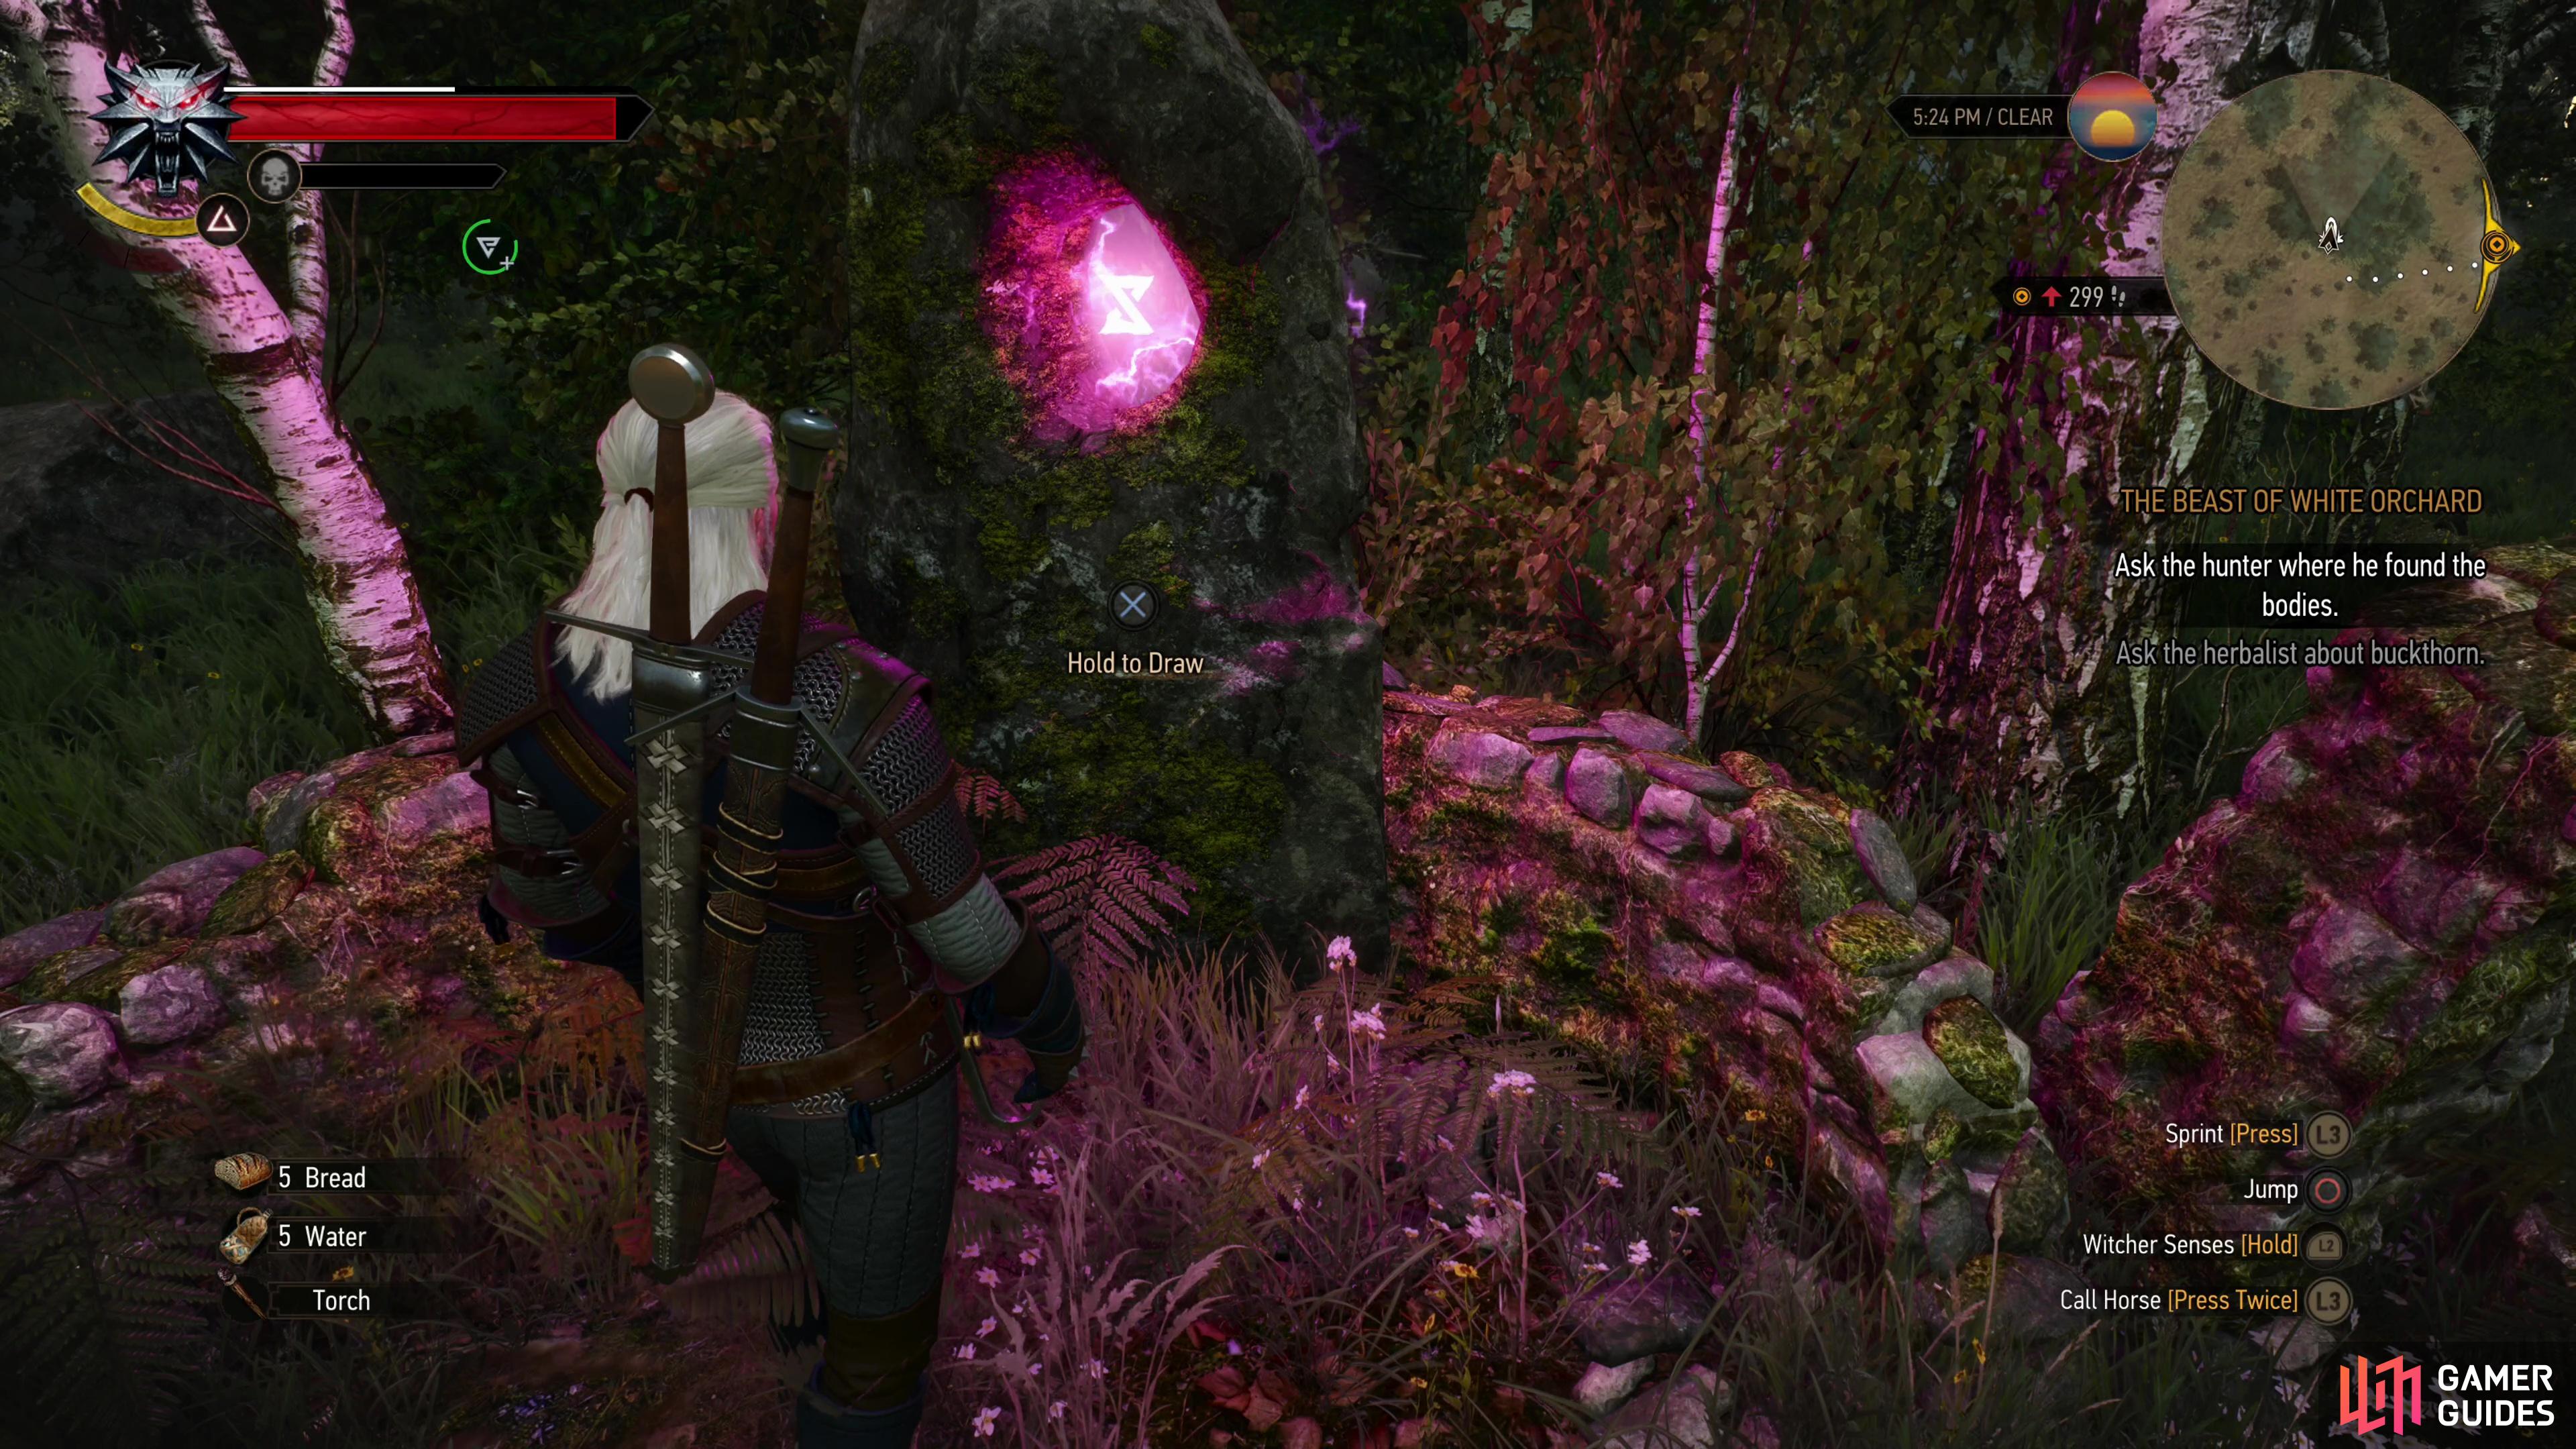
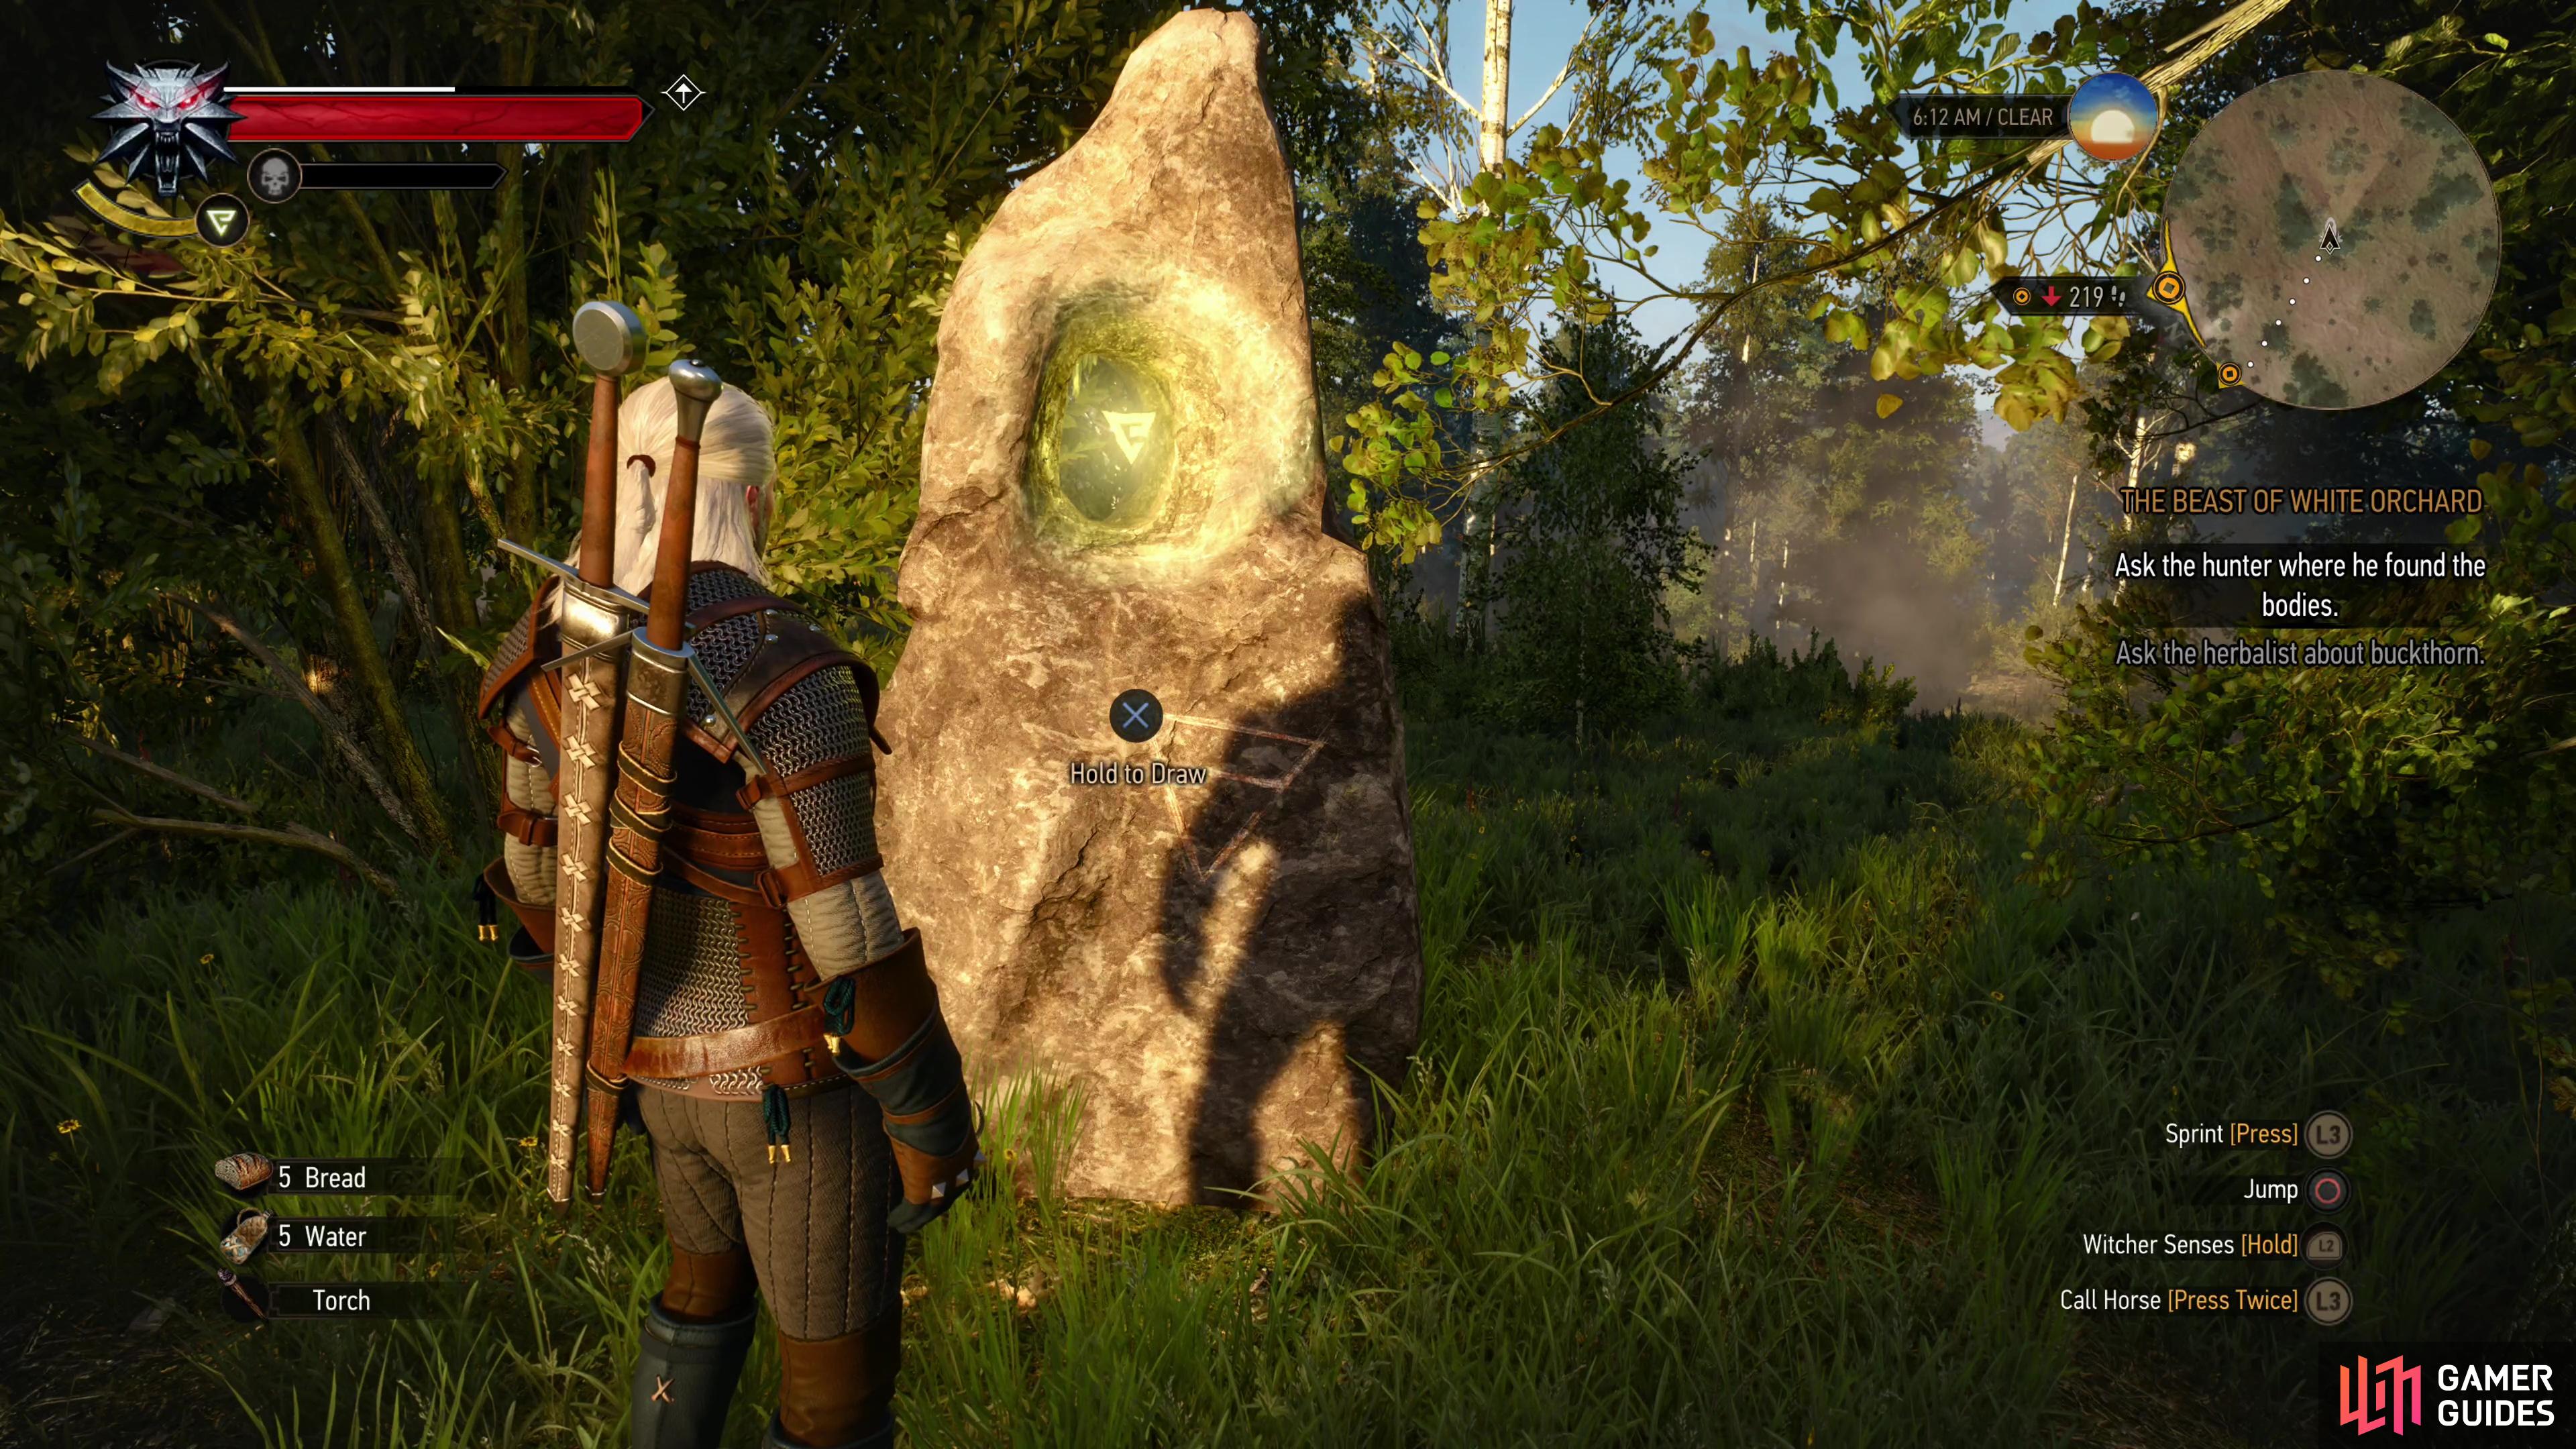
There are two roads leading up to the Nilfgaardian Garrison, and in between them is a wide, lightly forested field. In the middle of this field, northeast of the Sawmill signpost, you’ll find another Place of Power. This means you run afoul of packs or roving ![]() Wolves led by a Warg, but this particular Place of Power is guarded by a single Wraith (Lv6). This ghostly foe’s level might give you pause, it’s just a juiced-up trash mob that you’ll be defeating in droves shortly, and you shouldn’t let this one pretend otherwise. Keep an eye on it and wait for it to vanish, then dodge away from where you were standing, as the Wraith is keen to materialize near where you were and launch into a sword combo. Once it’s done, chop it a few times, then repeat. Quen will absorb any mistakes, and
Wolves led by a Warg, but this particular Place of Power is guarded by a single Wraith (Lv6). This ghostly foe’s level might give you pause, it’s just a juiced-up trash mob that you’ll be defeating in droves shortly, and you shouldn’t let this one pretend otherwise. Keep an eye on it and wait for it to vanish, then dodge away from where you were standing, as the Wraith is keen to materialize near where you were and launch into a sword combo. Once it’s done, chop it a few times, then repeat. Quen will absorb any mistakes, and ![]() Yrden can disrupt their ability to turn incorporeal, but in our experience has rarely been worth the stamina cost. Repeat the process until the Wraith is defeated, but note that you can afford to be more aggressive with this foe than most as they’ll rarely attack without dematerializing first. Later, when you have to deal with mobs of them, you should more strictly follow the rule-of-three, but the rule can bend against a sole Wraith. Defeat your foe, then draw from the Place of Power it guarded.
Yrden can disrupt their ability to turn incorporeal, but in our experience has rarely been worth the stamina cost. Repeat the process until the Wraith is defeated, but note that you can afford to be more aggressive with this foe than most as they’ll rarely attack without dematerializing first. Later, when you have to deal with mobs of them, you should more strictly follow the rule-of-three, but the rule can bend against a sole Wraith. Defeat your foe, then draw from the Place of Power it guarded.
Cemetery Place of Power
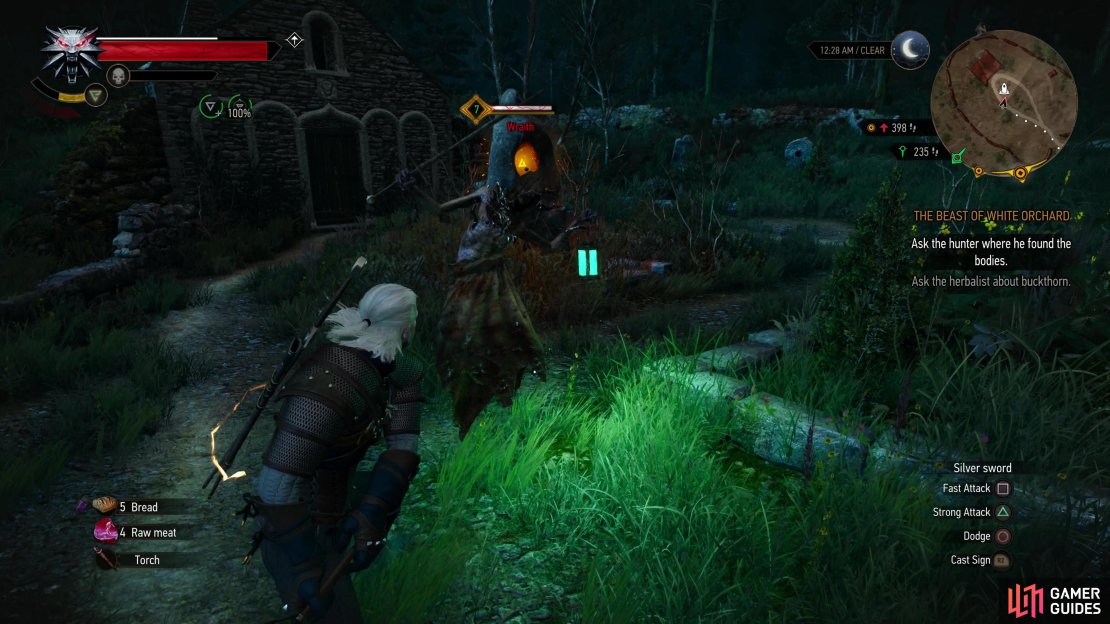
Across the river north of White Orchard you’ll find the Mill, and if you follow a road north of this signpost you’ll find an otherwise unmarked chapel and surrounding cemetery. Right in the middle of the cemetery grounds, in front of the chapel, is this Place of Power. A Wraith (Lv7) will appear to challenge you when you approach, but it fights exactly like the one near the Sawmill Place of Power, and it’ll only stay until half its health is depleted. Chase it off, then claim your Place of Power.
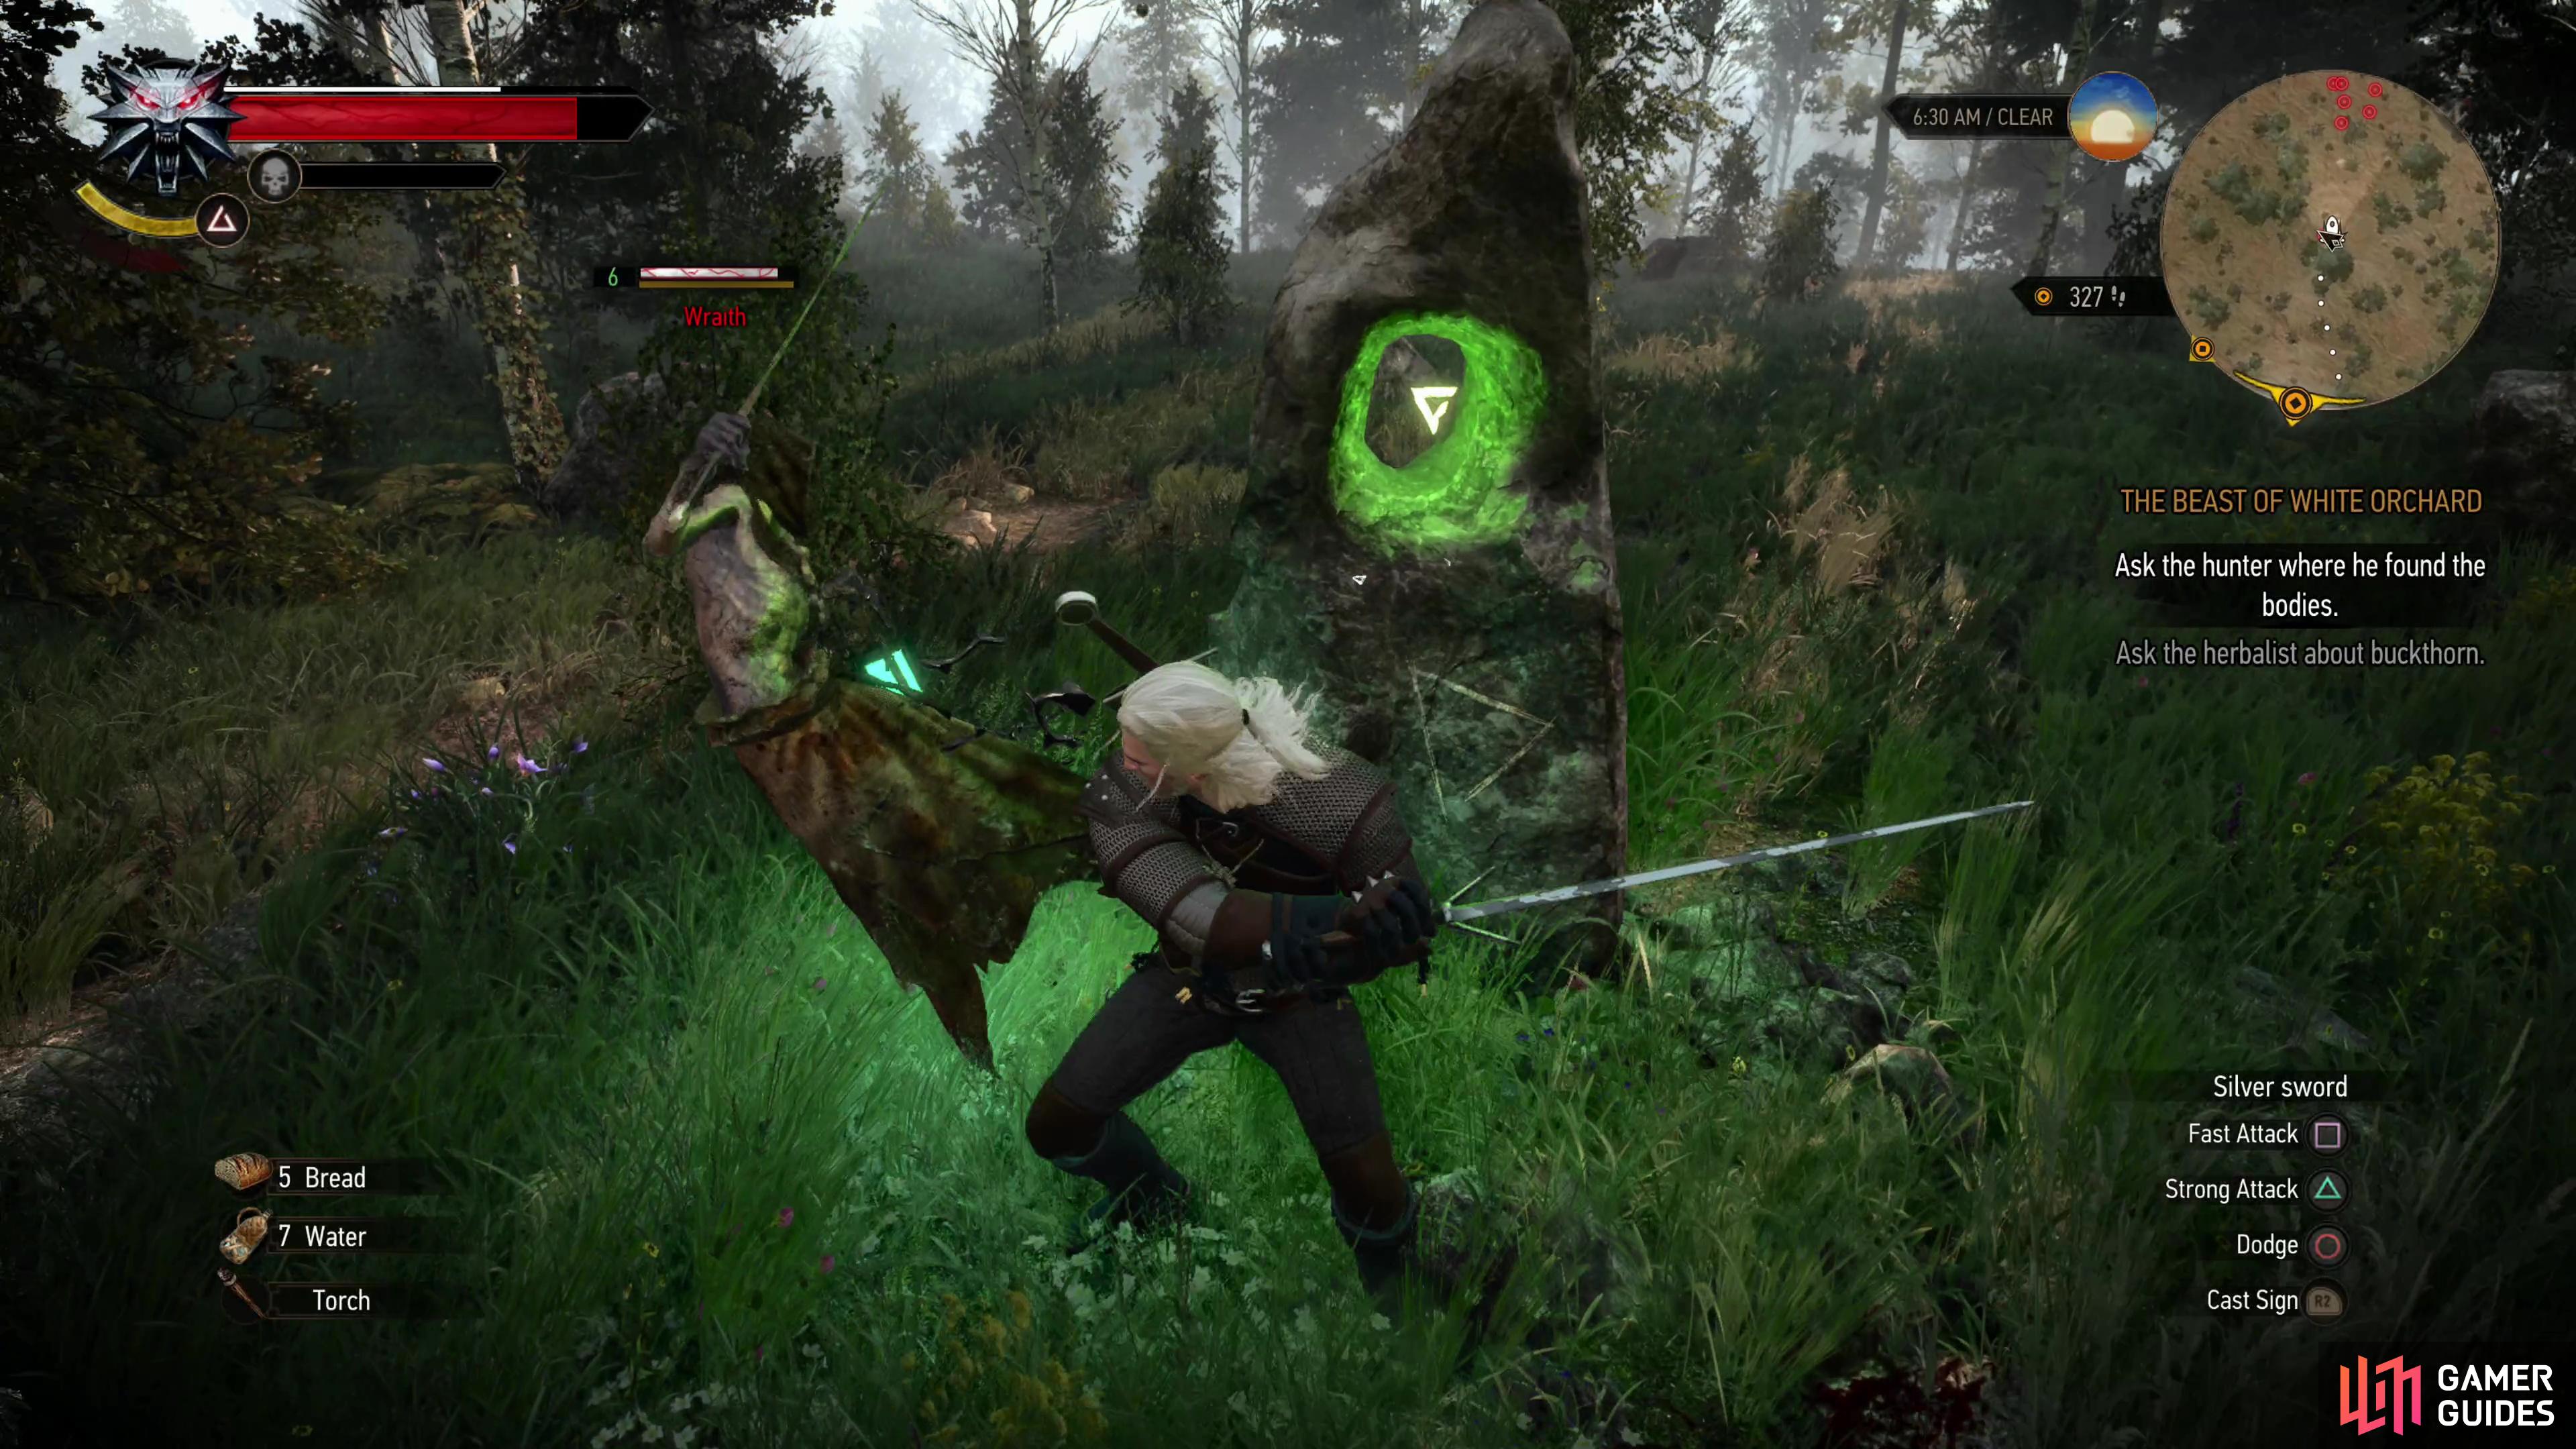

(1 of 3) The Place of Power northeast of the Sawmill is guarded by a Wraith,
Northern Place of Power
The final Place of Power is in the woods north of the chapel housing the previous one, and it’s a short walk from one to the other. Like the Cackler Bridge Place of Power, there’s also a Ghoul Nest nearby, which means you’re going to need to cut your way through several Ghouls before you claim this one.
Drawing from all six Places of Power in White Orchard will get you a tremendous number of ability points, getting you rather close to your goal of unlocking the “Active Shield” upgrade for the Quen sign. You can further boost your strength by hunting down the Viper Silver Sword and the Viper Steel Sword. Completing secondary quests to boost your level will also help, and you can find a list of such quests around White Orchard, below:
No Comments