
Upon reaching Vizima, Geralt will be tasked with finding Ciri, his long lost adopted daughter. One of several places where she was sighted was Novigrad, one of the largest cities in the north. Finding anybody in such a populated city was always bound to be like searching for a needle in a haystack, but between the war flooding the city with refugees, the Redanian occupation and the ongoing persecutions of mages and nonhumans, searching Novigrad promises to be especially difficult. This page will provide a walkthrough for the main quest ![]() Pyres of Novigrad in The Witcher 3.
Pyres of Novigrad in The Witcher 3.
Starting Pyres of Novigrad
This quest begins in Vizima, after you talk to Yennefer and are subsequently tasked with helping her find Ciri, alongside the other quests The Nilfgaardian Connection and [![]() Destination: Skellige]. You can actively pursue this quest the moment you set foot in Velen, although the suggested level on the main quests recommends you start with
Destination: Skellige]. You can actively pursue this quest the moment you set foot in Velen, although the suggested level on the main quests recommends you start with ![]() The Nilfgaardian Connection connection, first. Still, if you get your hands on a Letter of Safe Conduct or a Transit Pass (see Fake Papers for more information) or are just willing to swim north across the Pontar you can head to Novigrad any time you wish. For the sake of completionism we’ll assume you completed the main questline in Velen and are suitably leveled before heading to Novigrad - getting your hands on the Griffin Witcher Set won’t hurt, either.
The Nilfgaardian Connection connection, first. Still, if you get your hands on a Letter of Safe Conduct or a Transit Pass (see Fake Papers for more information) or are just willing to swim north across the Pontar you can head to Novigrad any time you wish. For the sake of completionism we’ll assume you completed the main questline in Velen and are suitably leveled before heading to Novigrad - getting your hands on the Griffin Witcher Set won’t hurt, either.
Quest Objectives
Visit Triss’ House
Your first step is to visit Triss, a sorceress, friend of Yennefer, and one of Geralt’s on-again-off-again lovers - she’s been living in Novigrad following Foltest’s death and while she’s no native, it only makes sense to check in with such a reliable and close confidant just in case she’s seen something. Your destination is Triss’ house, located south of Hierarch Square in the center of the city, and when you approach you’ll find a display of Radovid’s grisly persecution of mages, nonhumans and magical beings. Between this and the wanted posters of Triss you can find throughout the city, the odds of you having a simple meetup with Triss seems slim.
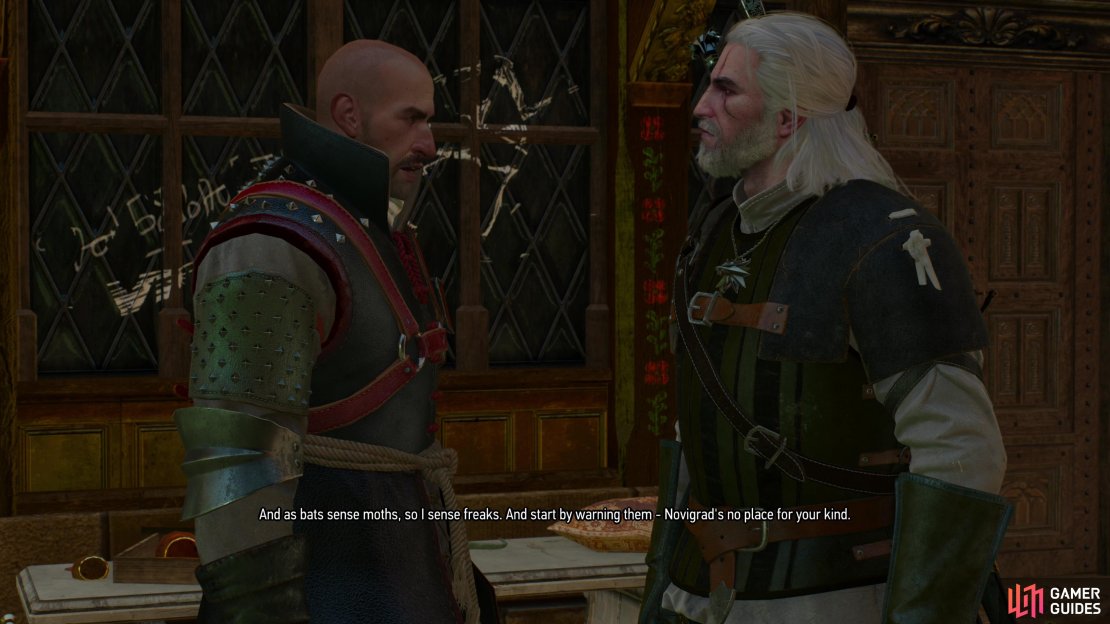
After the grisly display by the witch hunters, head through some double doors south of the market, then make your way up some stairs to spot a group of thugs rummaging through Triss’ belongings. Approach them and either question them by picking the option “Let’s talk.” or provoke a fist fight by picking the option “Get lost.”. They both lead to the same dialogue chain, except with the latter option you’ll have to beat the Thugs (Lv10-11) into submission first. Even if you’re properly leveled this is a surprisingly difficult fist fight, but you only have to lower the health of one of the Thugs and you can use signs like ![]() Quen if you need to. Either way, exhaust their dialog options to get the information you want out of the two Thugs, after which some members of the Eternal Fire shows up, led by one pleasant fellow named Menge. You’re deprived of the Thug’s company and Menge will make some threats before leaving you to your own devices.
Quen if you need to. Either way, exhaust their dialog options to get the information you want out of the two Thugs, after which some members of the Eternal Fire shows up, led by one pleasant fellow named Menge. You’re deprived of the Thug’s company and Menge will make some threats before leaving you to your own devices.
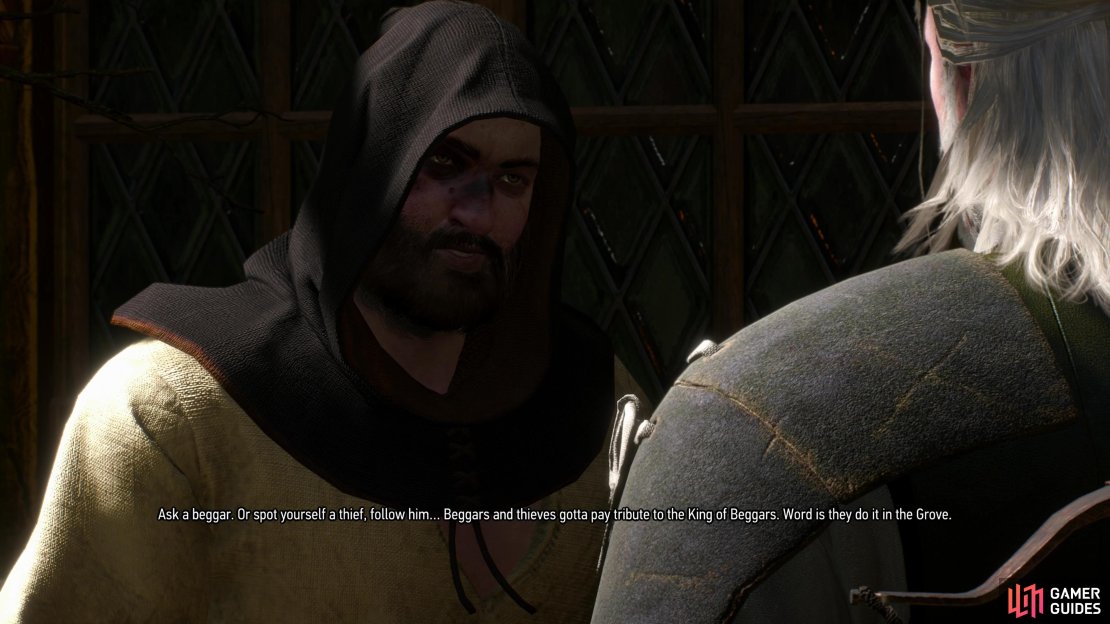
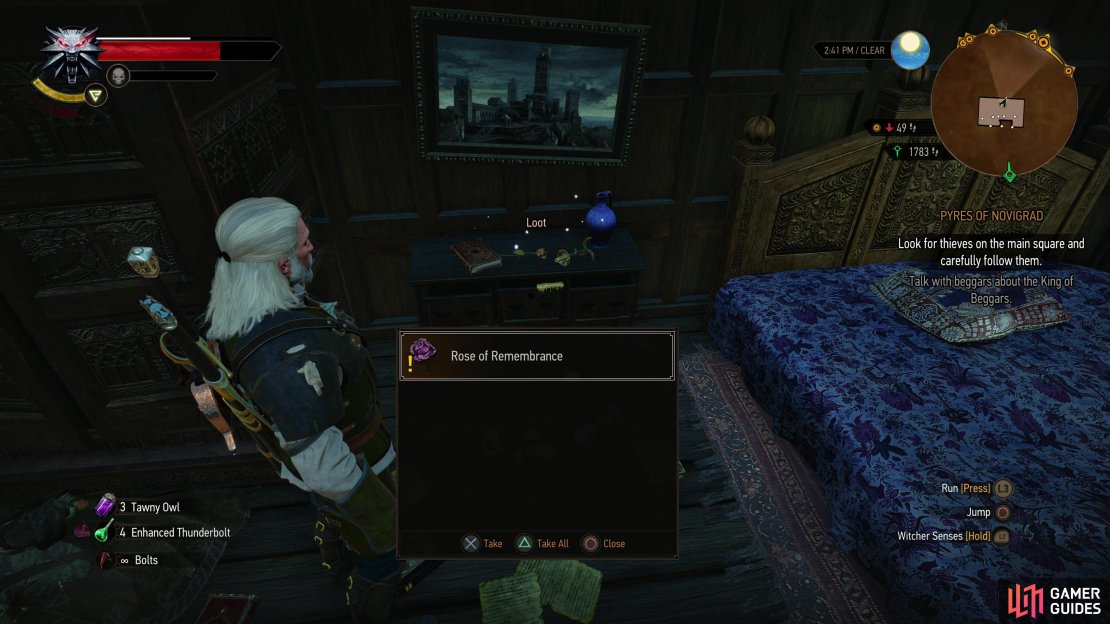
You need to look for the “Putrid Grove”, and to get there you’ll need to keep an eye out for thieves and beggars, who pay tribute to the King of Beggars - the ruler of this little court full of freaks and oddities. Before you go, however, you might as well search through Triss’ house to find what you can before the church or looters - birds of a feather - make off with her possessions. Start out by looting the vandalized containers outside Triss’ house, note the crude graffiti outside, then head inside and continue looting. On the first floor you can use your Witcher senses to investigate some healing herbs on the floor and a brush on a table, while on the second floor there’s an amulet on a counter you can examine. On the third floor examine some clothes on the ground, then search a bedside table to find the ![]() Rose of Remembrance.
Rose of Remembrance.
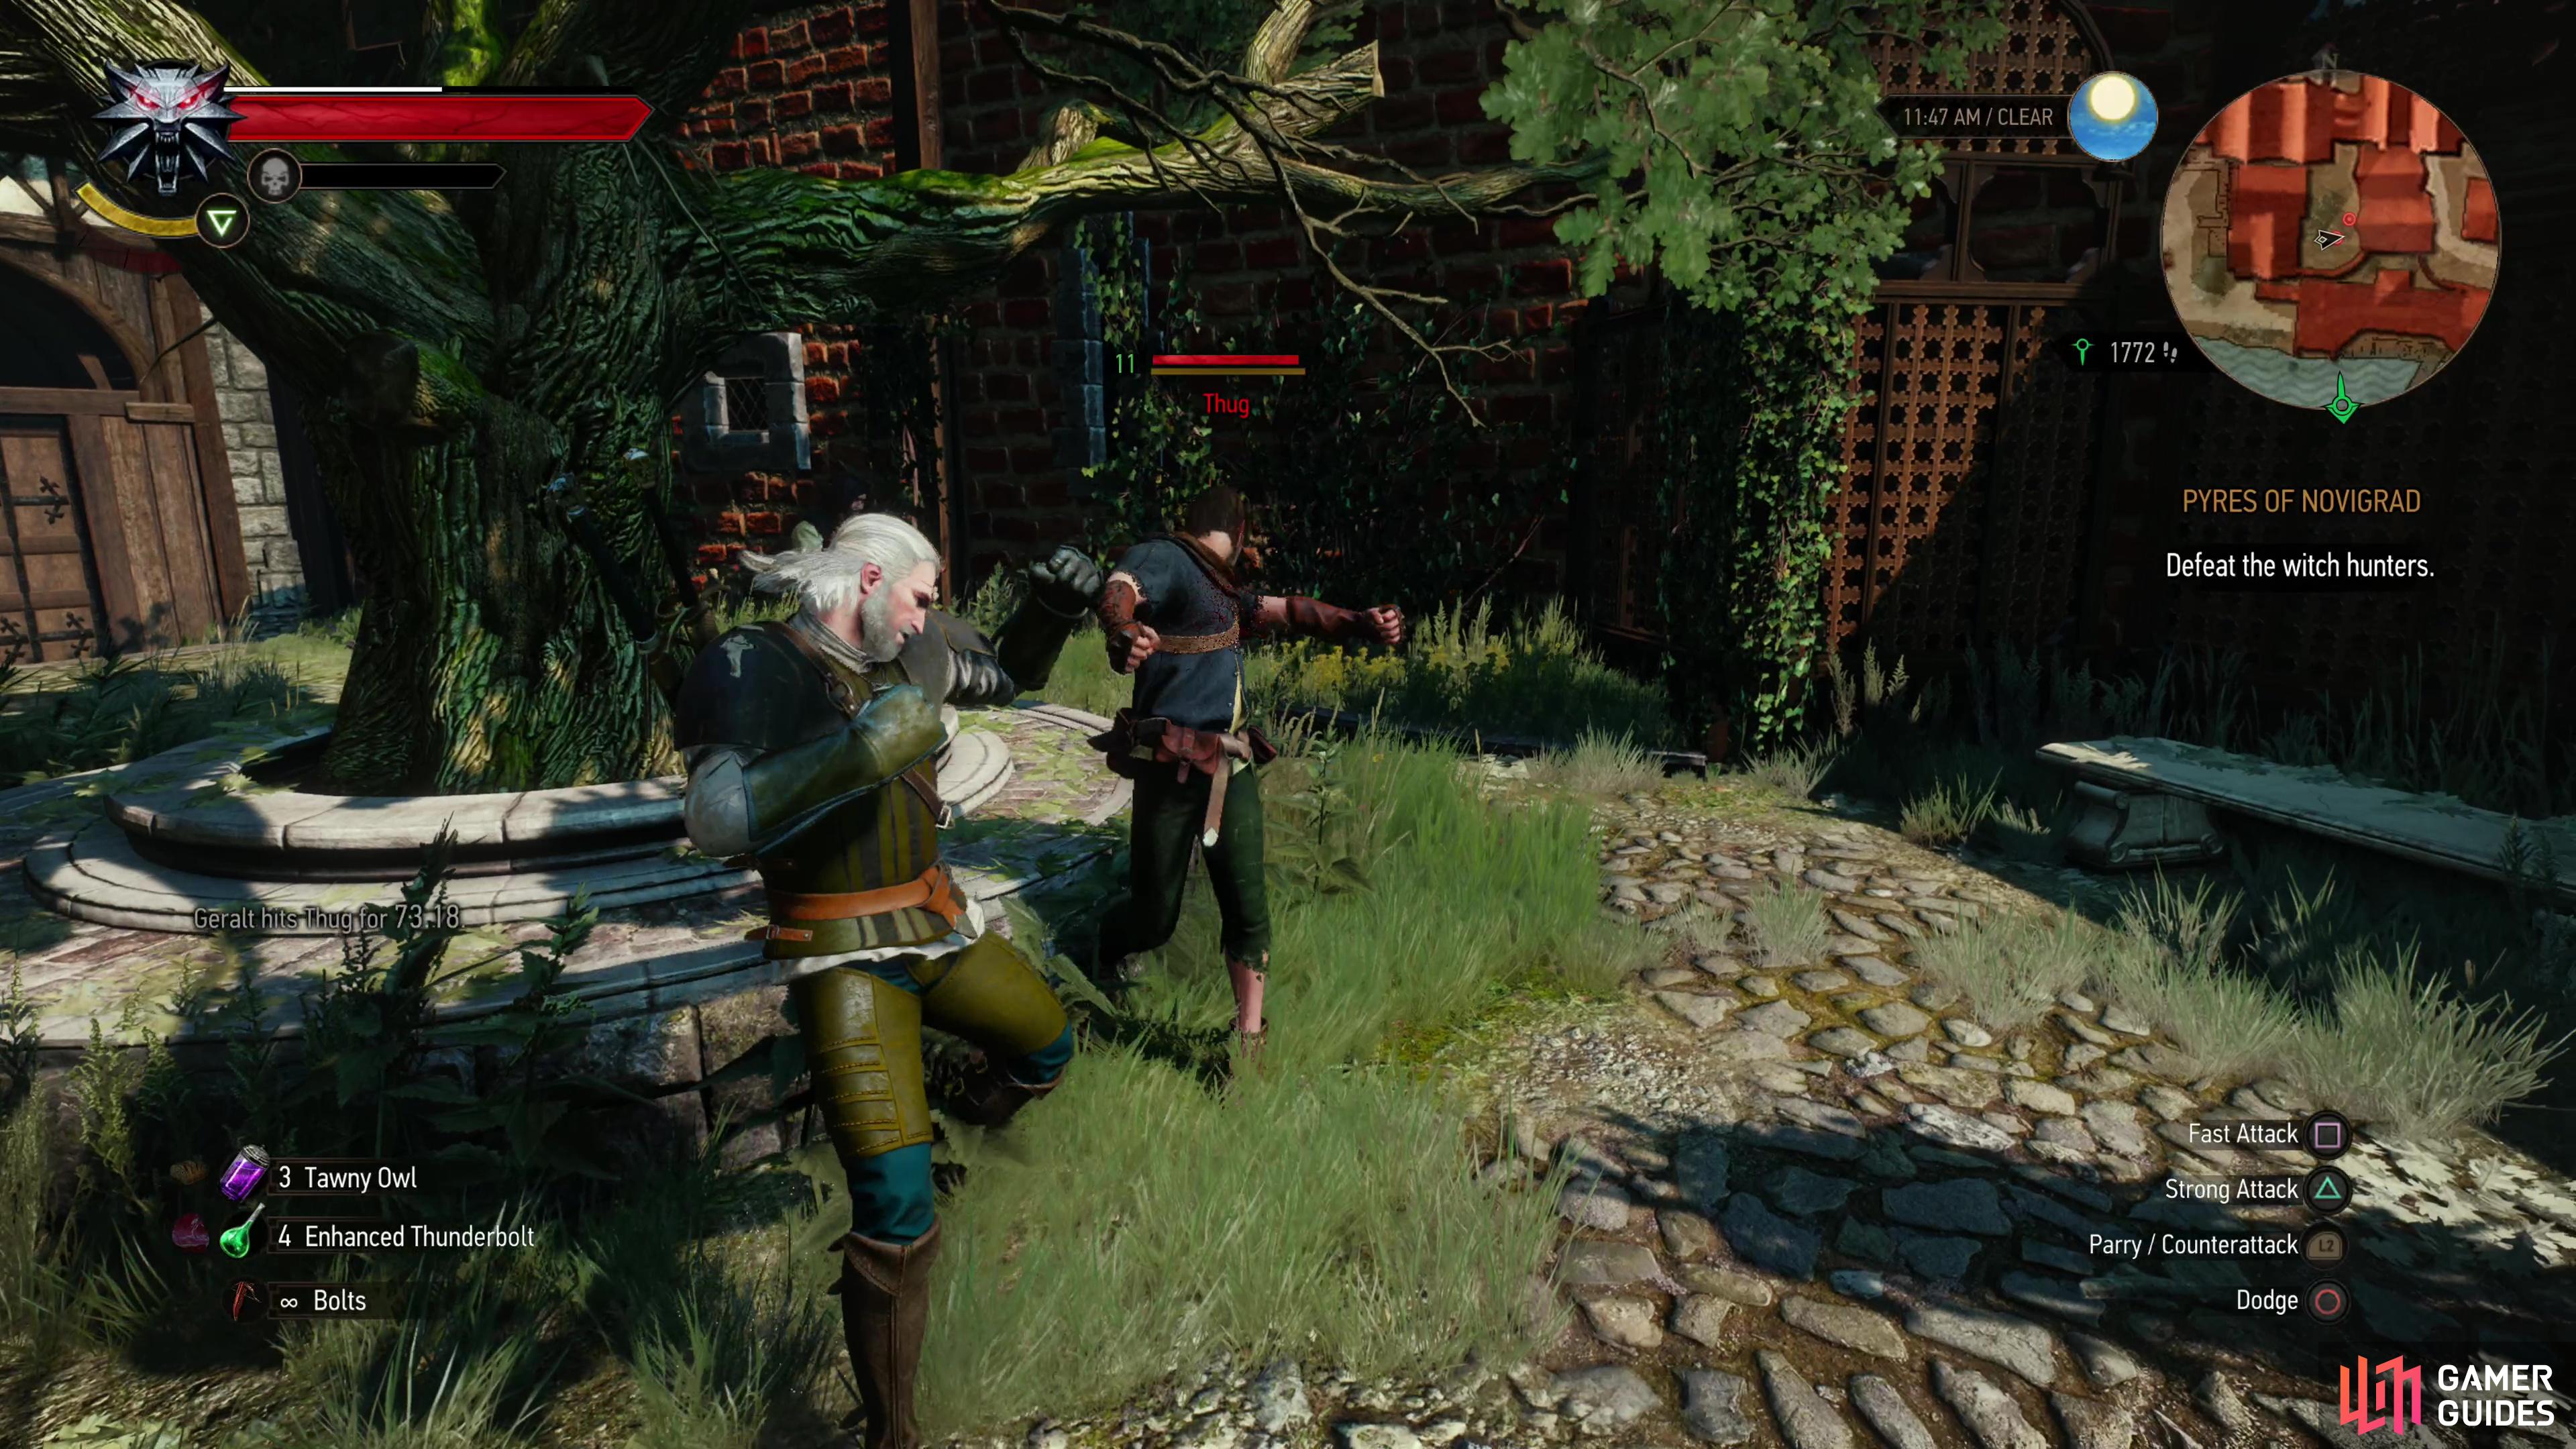

(1 of 4) Get uppity with the Thugs outside of Triss’ house and you’ll need to beat the defiance out of them,
Find the Putrid Grove
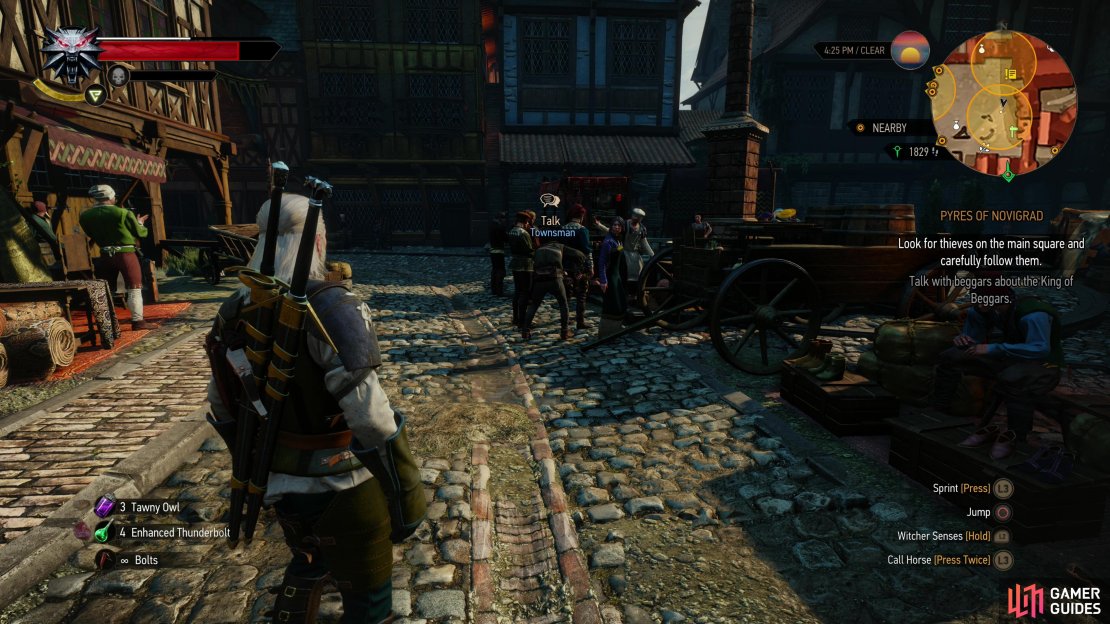
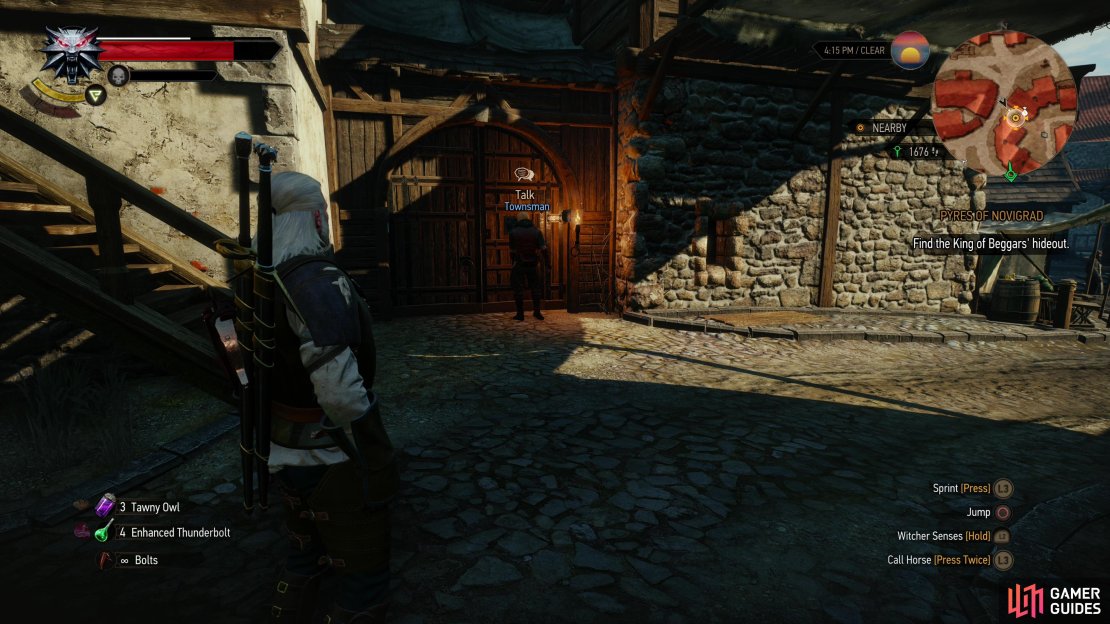
Now that you’re done ransacking Triss’ house, it’s time to find the Putrid Grove, and your two leads are the beggars and thieves in and around ![]() Hierarch Square. Not that there’s much difference, as the beggars will gladly take whatever coin they can get from you with little return on your investment. There are a lot of ways this can play out and it’s really a matter of preference as to which is best - some routes will see you fistfighting, trailing a thief at a safe distance, or simply talking to a beggar. On top of these differences, some routes will get you the password you need, and if you don’t know it you’ll need to spend some money or use
Hierarch Square. Not that there’s much difference, as the beggars will gladly take whatever coin they can get from you with little return on your investment. There are a lot of ways this can play out and it’s really a matter of preference as to which is best - some routes will see you fistfighting, trailing a thief at a safe distance, or simply talking to a beggar. On top of these differences, some routes will get you the password you need, and if you don’t know it you’ll need to spend some money or use ![]() Axii… meaning not knowing the password can provide you a way to earn EXP, if you prefer.
Axii… meaning not knowing the password can provide you a way to earn EXP, if you prefer.
Follow a Thief
When you exit back out into Hierarch Square you’ll find several search areas. These are the hunting grounds of thieves, and all you have to do here is wait for a thief to strike, then follow them. The route the thieves take is the same each time, so there’s no real reason to have a preference for one thief-hunting spot over another… yet we do. Head to the northeastern corner of Hierarch Square and you’ll find two overlapping search areas. Stand just south of where the two overlap (south of a ![]() Notice Board) and look south to find a crowd standing near a wagon.. Wait for a thief to pickpocket a member of the mob, then follow the thief at a safe distance - Geralt will warn you if you get too close, and you’ve got to stay nearby for a long time for the thief to catch you.
Notice Board) and look south to find a crowd standing near a wagon.. Wait for a thief to pickpocket a member of the mob, then follow the thief at a safe distance - Geralt will warn you if you get too close, and you’ve got to stay nearby for a long time for the thief to catch you.
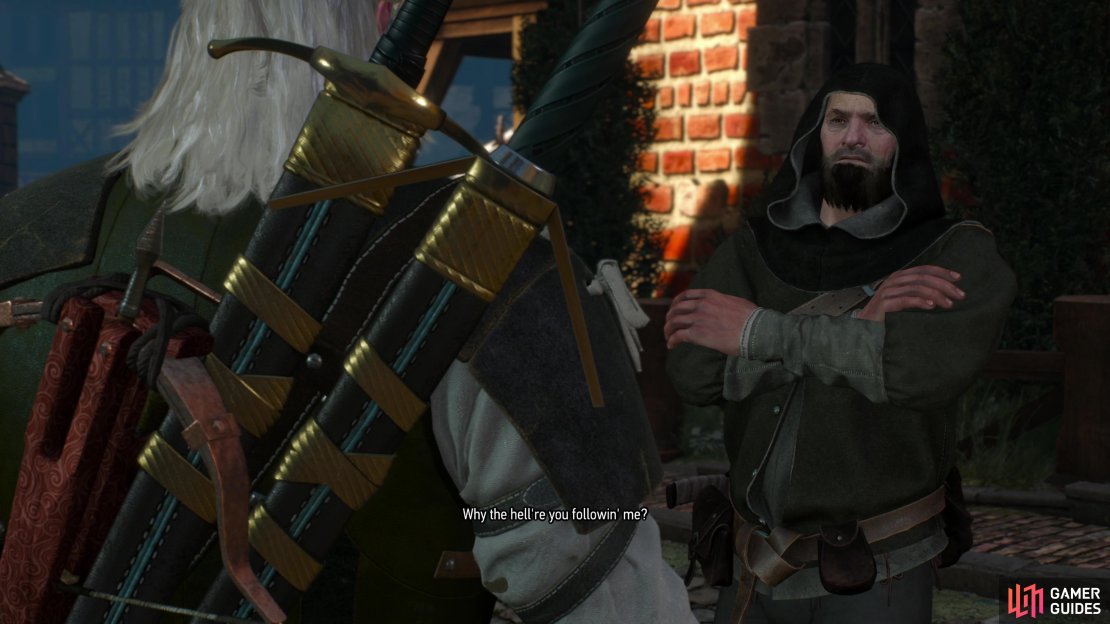
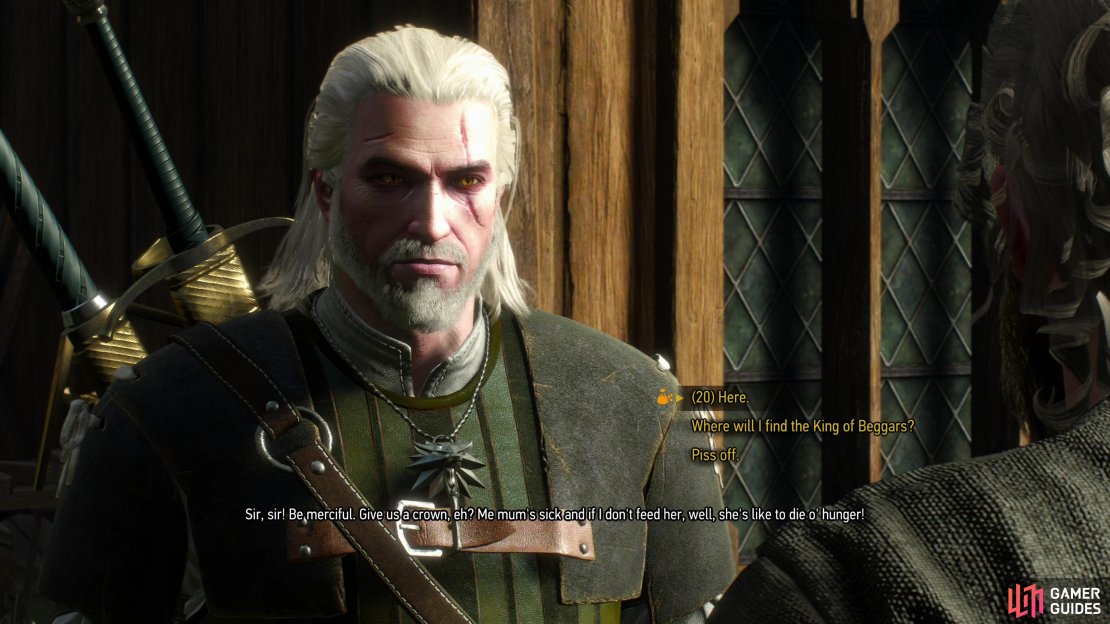
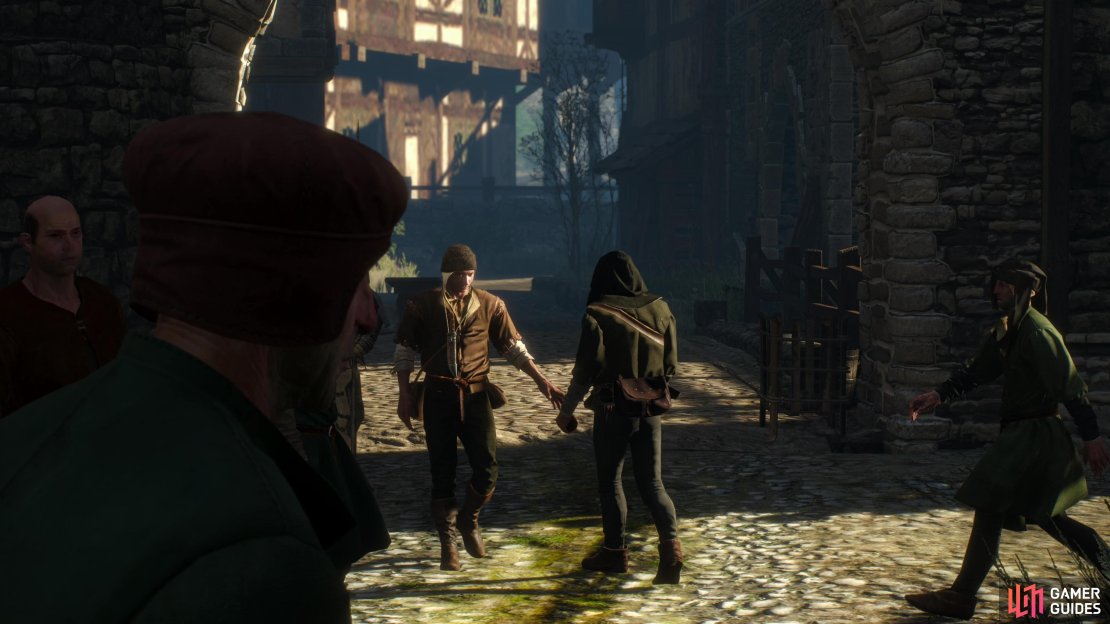
Maintain your distance and the thief will lead you out of Hierarch Square via the southeastern corner of the square before turning south through some doors, where you’ll be accosted by a beggar. This is a red herring, not an opportunity - don’t pay the beggar a crown, and asking about the Putrid Grove doesn’t yield any results, either, so feel free to tell him to ”Piss off.’ It doesn’t matter what you actually do or how long you take, the thief will appear in a set spot after the conversation. Drop off a ledge to the east, go through another door, turn south again and keep your distance as you and the thief approach a bridge. A hand off will occur and you’ll get two options - follow the original thief south or the new thief to the east.

If you choose the former the old thief will head into an enclosed area where you’ll be approached by some Thugs (Lv10) and they’re not here to make friends. This encounter results in a fist fight against four Thugs in an enclosed space - this is quite a difficult fight, especially on Death March! difficulty, and you’ll need to be at the top of your game, countering, dodging, picking your spots and using Quen to heal when necessary. Geralt will be downed in several hits while your foes will individually take much more abuse, but if you can fell all four you’ll get the location of the Putrid Grove and the password. It’s also worth noting that if you get caught tailing the thief he’ll talk to you, and whatever you say the thief will change course and head to this alley, resulting in the same fight with the same potential of learning where the Putrid Grove is by beating up the Thugs.
Alternatively, follow the new thief and he’ll lead you west down a canal before turning south and stopping at a gate - the entrance to the Putrid Grove. Talk to the gatekeeper and the location will be confirmed, but to get inside you’ll need to contribute to the common good by “donating” 50 ![]() Crowns, or use the Axii sign, which grants you a fair amount of EXP. If you got the password from beating up the thugs, you can also just use that to get in for free.
Crowns, or use the Axii sign, which grants you a fair amount of EXP. If you got the password from beating up the thugs, you can also just use that to get in for free.

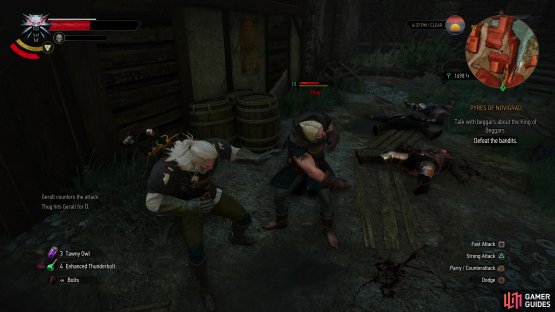
(1 of 2) Follow the old thief after the handoff or get caught tailing a thief and they’ll lead you to an out of the way place where you’ll be ambushed by some thugs.

Follow the old thief after the handoff or get caught tailing a thief and they’ll lead you to an out of the way place where you’ll be ambushed by some thugs. (left), Defeat them and you’ll learn the location of the Putrid Grove and the password to get in. (right)
Talk to Beggars
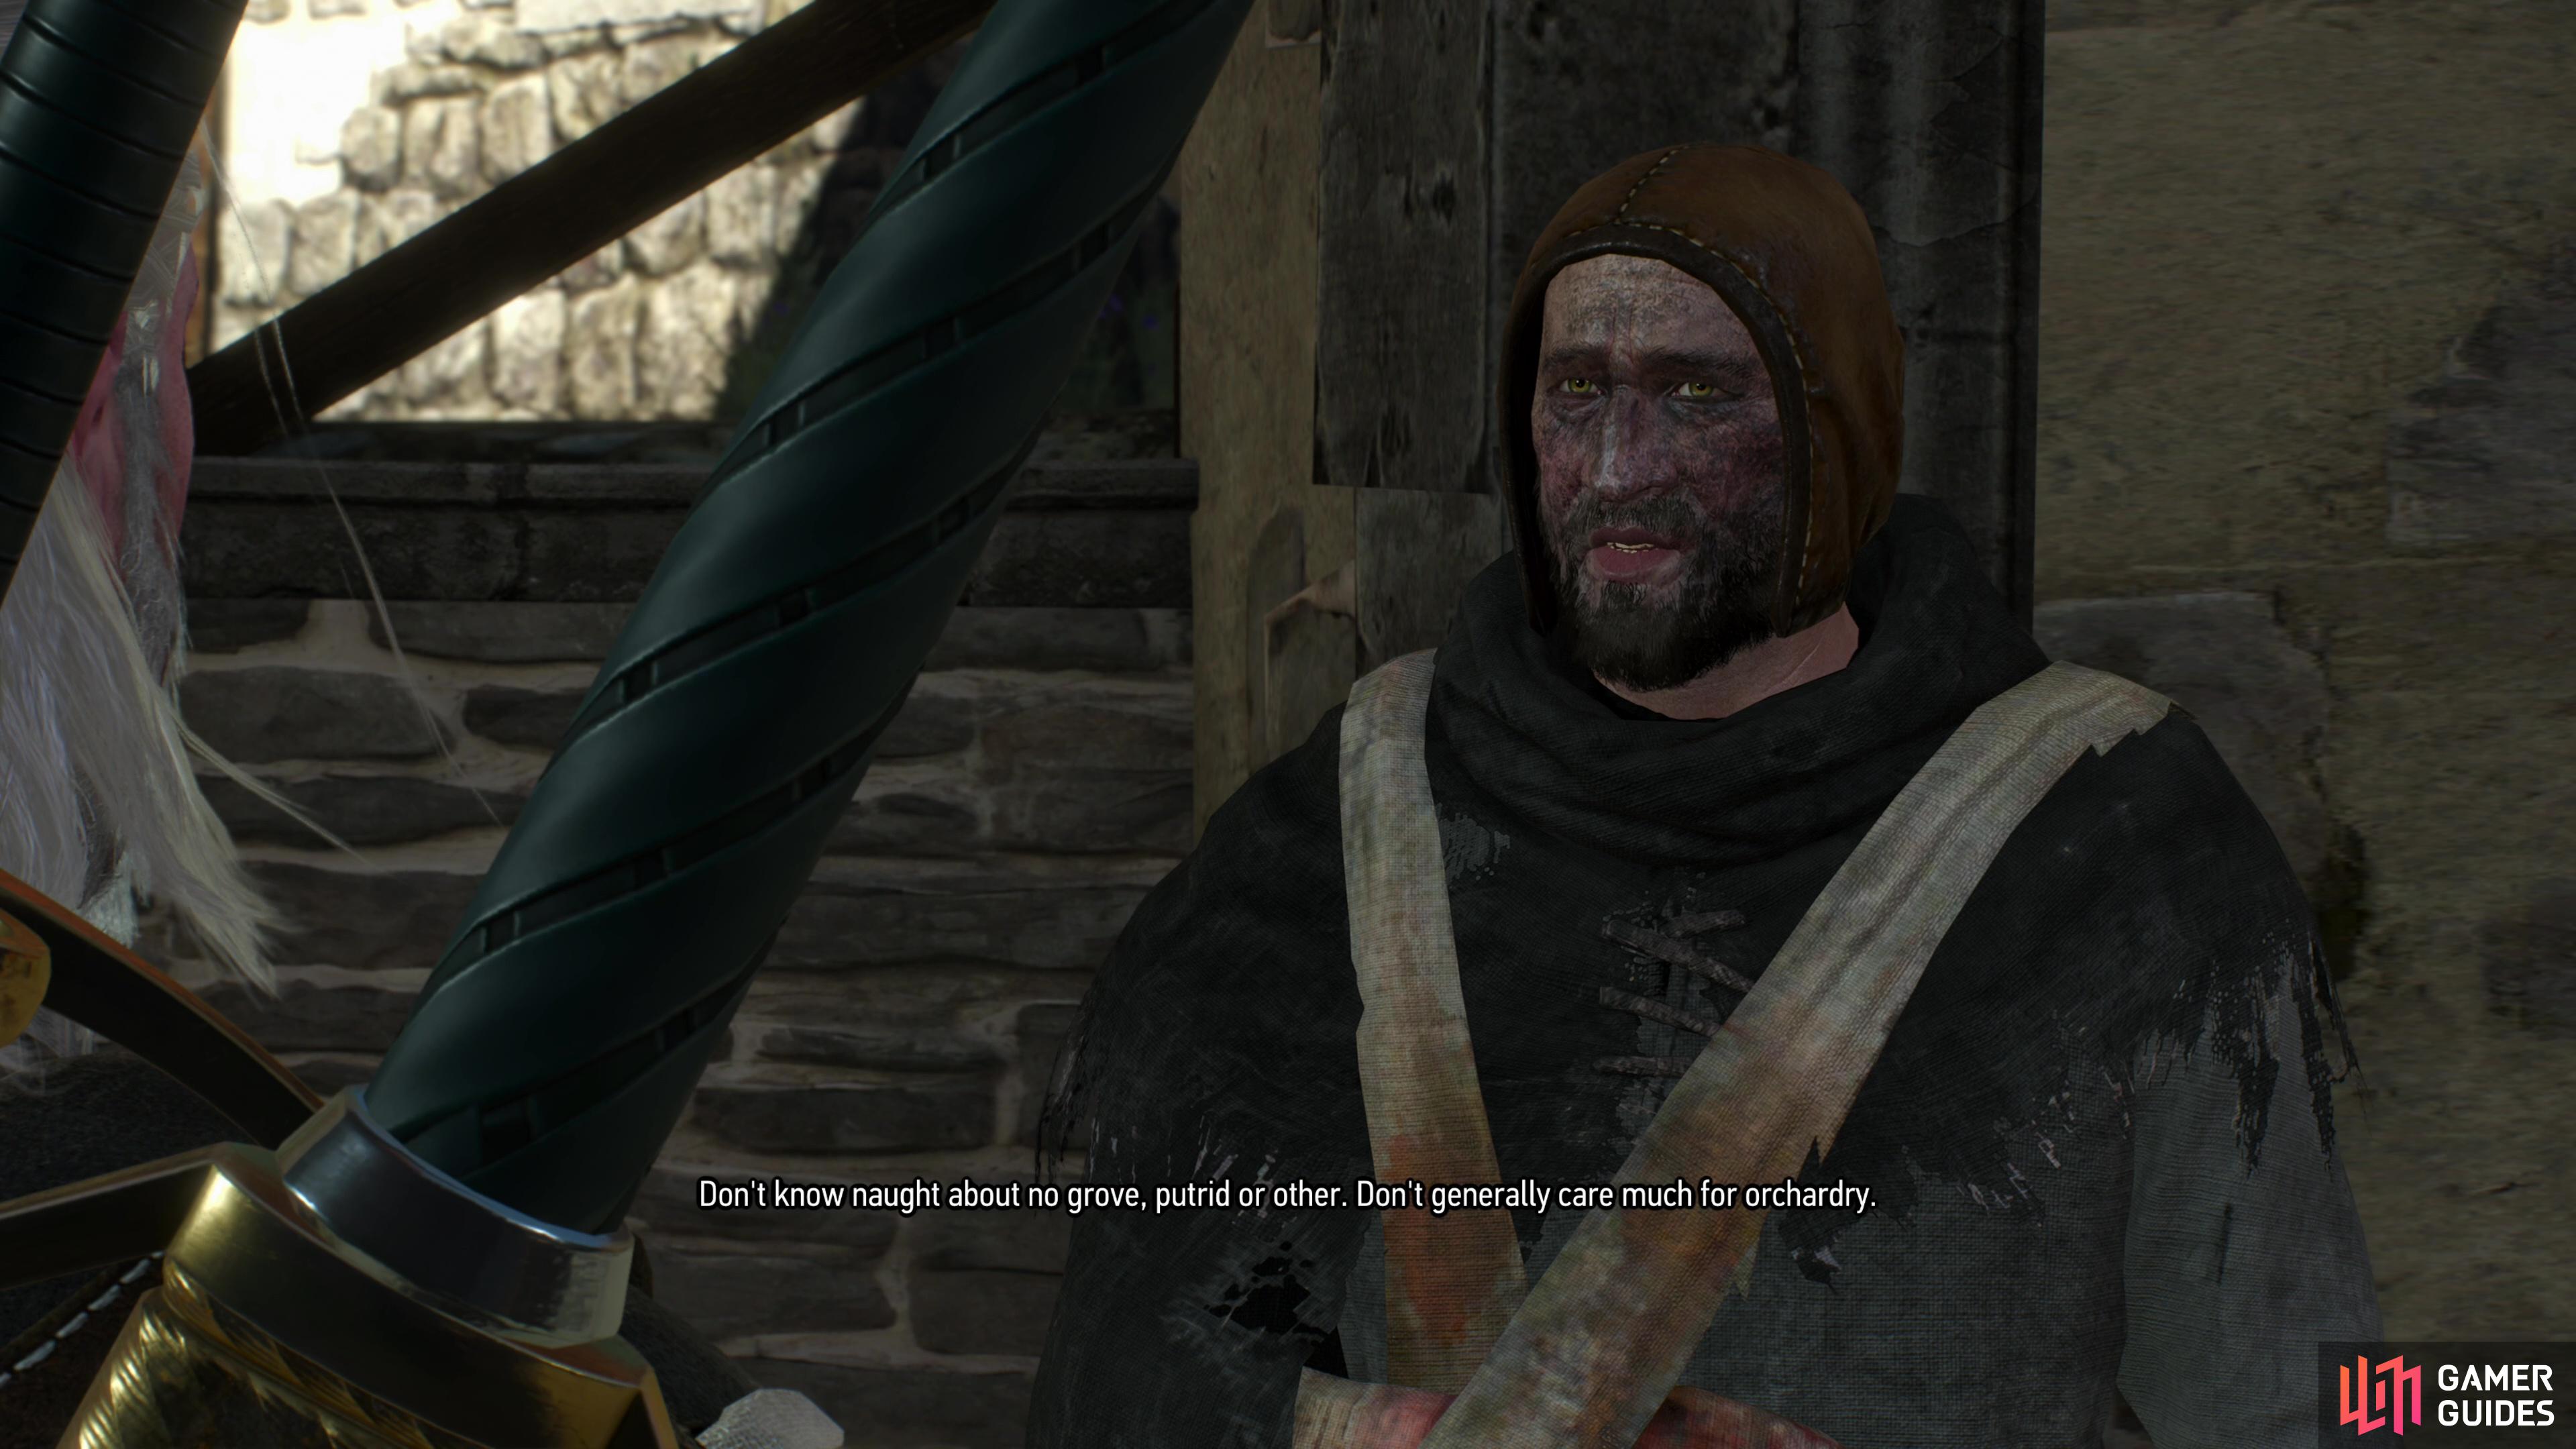
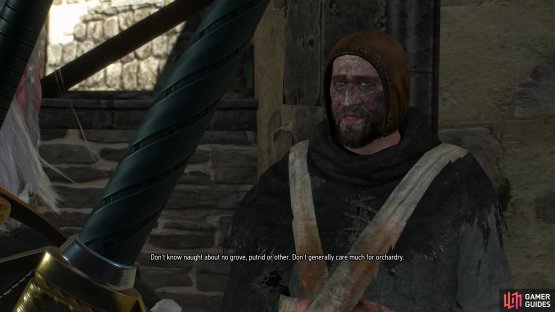
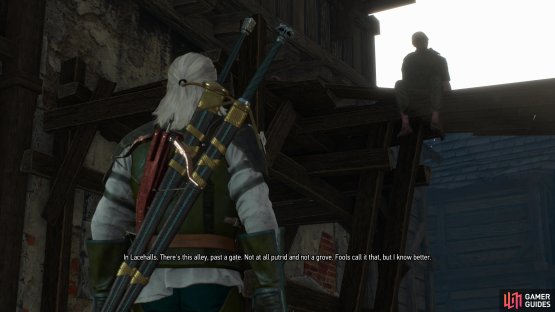
Getting the location of the Putrid Grove from the beggars in and around Hierarch Square is mechanically simpler, but there are still numerous pitfalls. Namely, most of the beggars either don’t have the information you seek or won’t tell you, even if you pay them. It’s a good way to piss away plenty of crowns if you don’t know where to go - but you’ve got a guide, lucky you. Head to the southwestern corner of Hierarch Square and you’ll find a beggar sitting on a scaffolding above you. Talk to him and pick the top option every time - do not just bluntly state that you’re ”Looking for the Putrid Grove.” and he’ll eventually tell you where to find the Putrid Grove and the password you need to get in. Much easier than dealing with thieves!
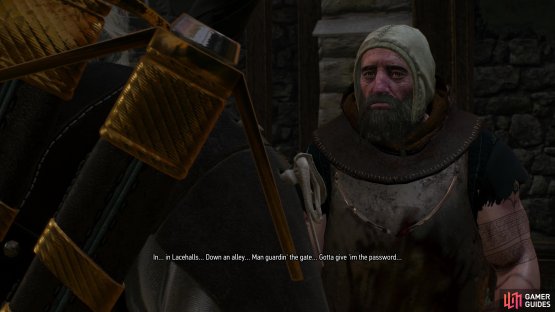
(1 of 2) Most beggars will at best waste your time, and at worst steal your coin.

Most beggars will at best waste your time, and at worst steal your coin. (left), One touched fellow on a scaffold in the southwestern corner of Hierarch Square will tell you what you need to know for free, however. (right)
Putrid Grove Gatekeeper Choices
However you get the information, and whatever information you get, your destination is a gate north of the Glory Gate signpost - there’s a merchant icon nearby, so it shouldn’t be that hard to spot. Talk to the gatekeeper and if you have the password, you’ll be prompted to recite it: ”Old sow’s farrowed piglets.”. If you didn’t learn the password you’ll have to pay 50 Crowns or use Axii on the guard, as you prefer. The latter isn’t just free, it earns you EXP, but whatever choice you make you’ll get 100 EXP for gaining entry into the Putrid Grove
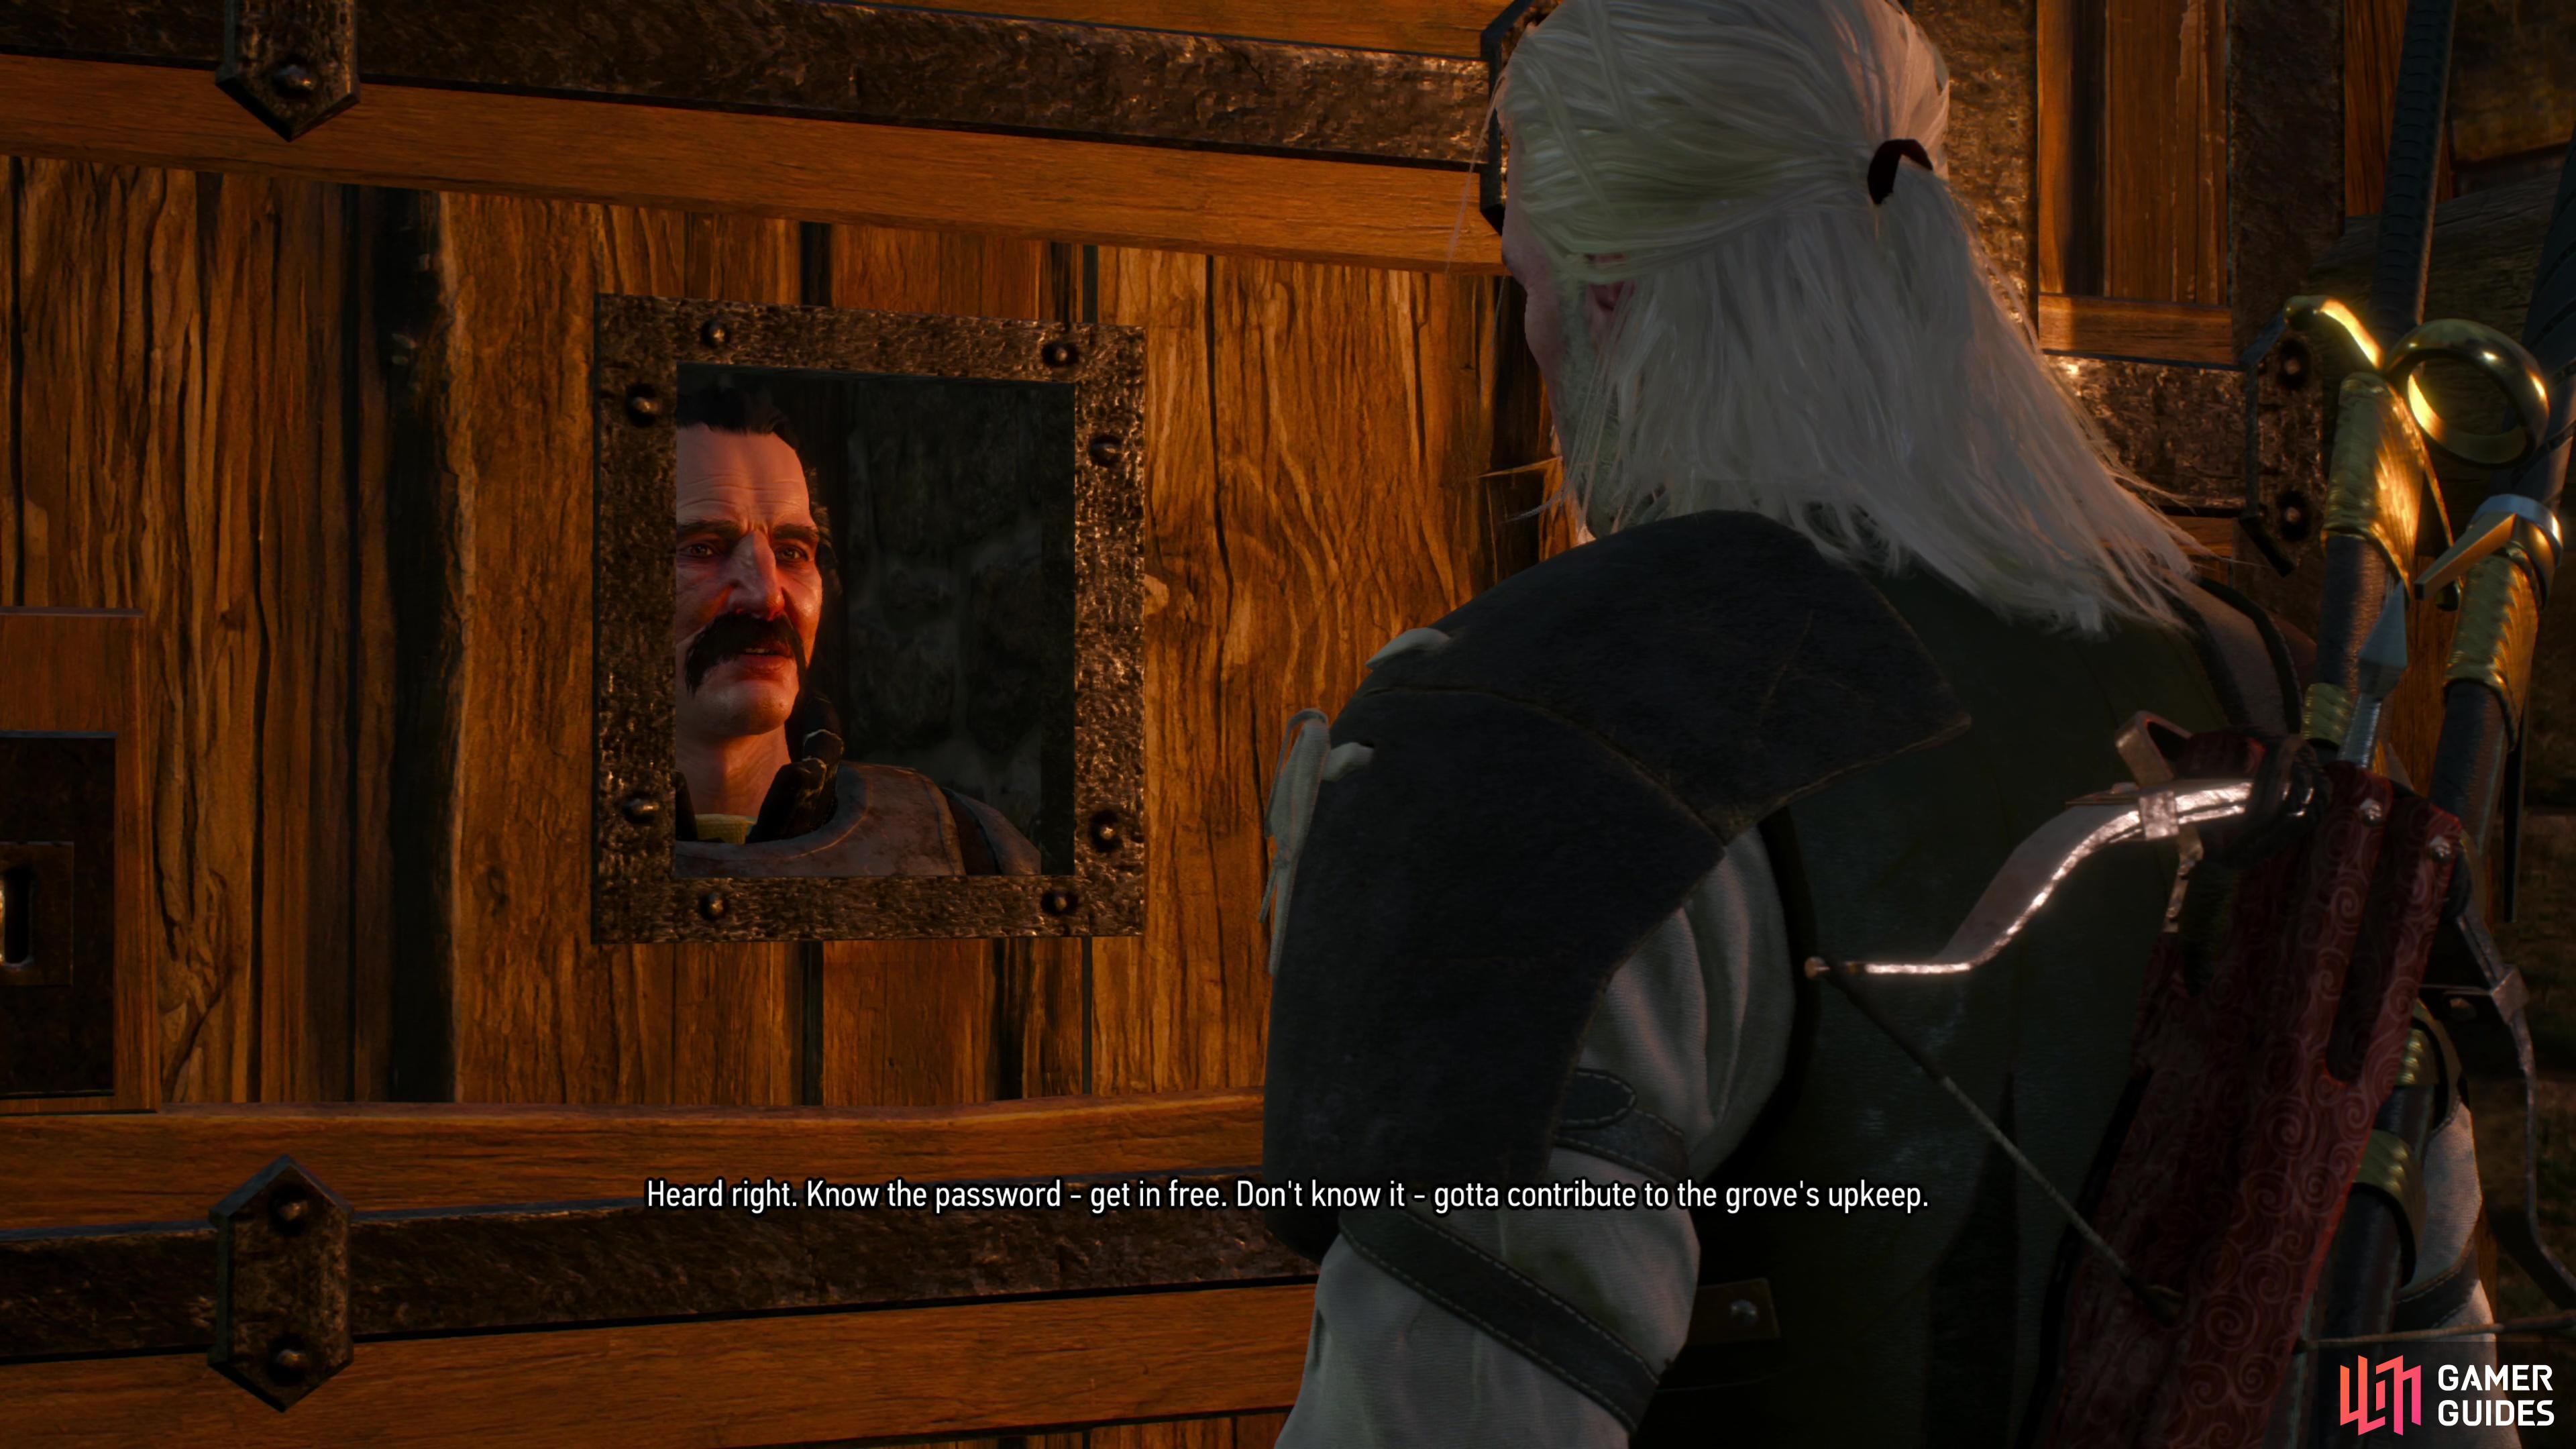
Find the gate to Putrid Grove and either bribe your way in, use Axii, or give the password.
Meet With the King of Beggars
Head east along the northern end of the Putrid Grove and enter a building where you’ll find the King of Beggars holding court with Triss. You’ll catch the trail end of the King of Beggars’ politicking before he turns his attention to Geralt, and he’ll make it very clear that he know who Geralt is and he’s got big plans for Novigrad. Plans that involve throwing off the shackles of the Eternal Fire and making Novigrad live up to its reputation as a free city. Laudable goals, but a bit far-fetched. Exhaust his dialog options and say what you will, after which Triss and Geralt will leave this grandiose beggar-king to his delusions. Follow Triss back to the gate and after chatting with the gatekeeper you’ll leave the Putrid Grove behind.
Find Triss’ Package
Triss has some errands to run, and Geralt volunteers to accompany her. After leaving the Putrid Grove behind follow Triss northeast to a shop near an herbalist’s store, where she’ll attempt to pick up a package from the proprietor. Instead of getting the parcel she seeks, however, she’ll instead get excuses - fearing the Witch Hunters, Triss’ parcel ended up in the canal, and somebody has to go swimming for it, and in scenarios like this it’s always the disease-immune monster slayer who gets wet.
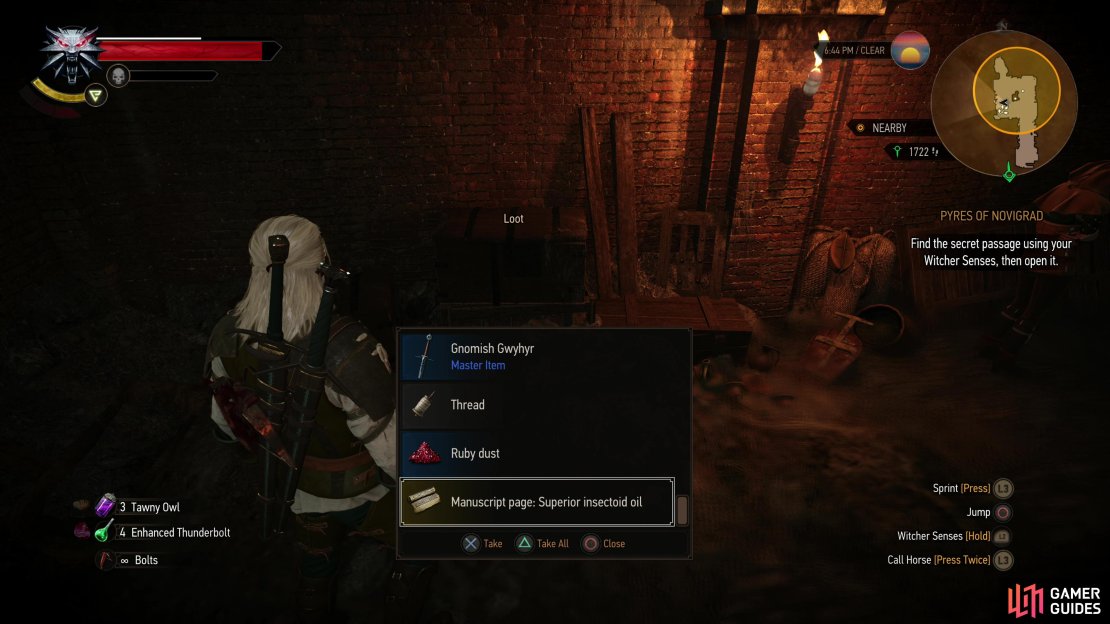
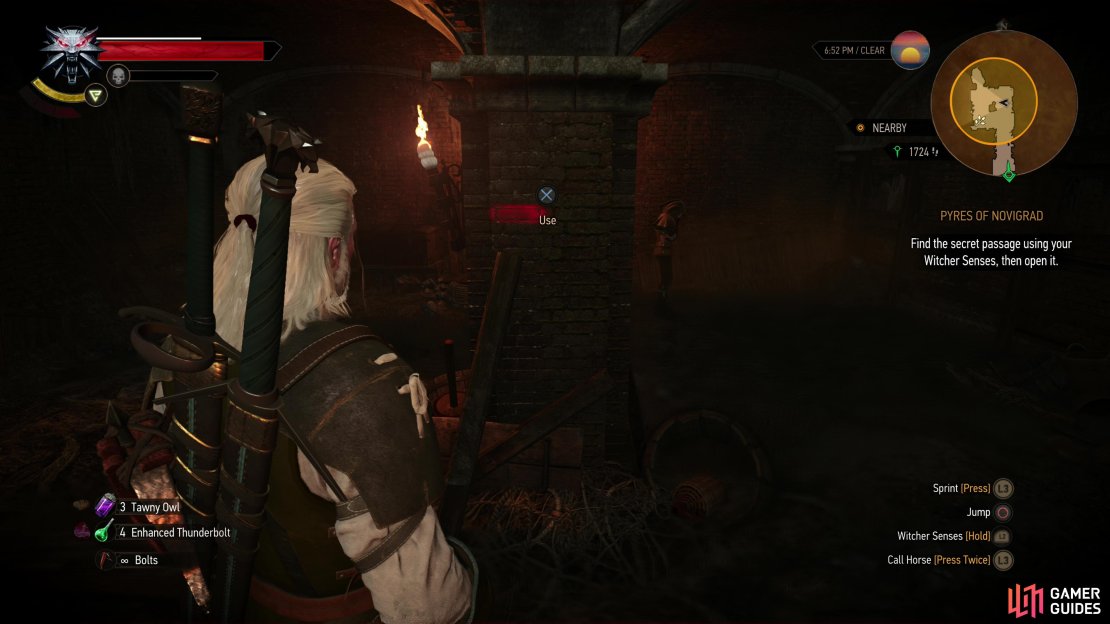
Witch hunters will cut your chatter short. Open a cellar door and climb a ladder to reach the sewers under Novigrad, which are about as hospitable as you’d expect. You’ll encounter a Drowner (Lv10) down here, which gives you a chance to witness Triss in action - it won’t be the last time she accompanies you in combat, and she’ll toss fire bolts and bewilder foes with a charm much like Axii. You shouldn’t need her help with such a foe, so cut down the Drowner, loot a chest behind the ladder and two more chests in the southwestern corner of a square chamber, then use your Witcher senses to find a brick you can examine on the eastern side of a pillar to open a secret passage leading to the canal outside.
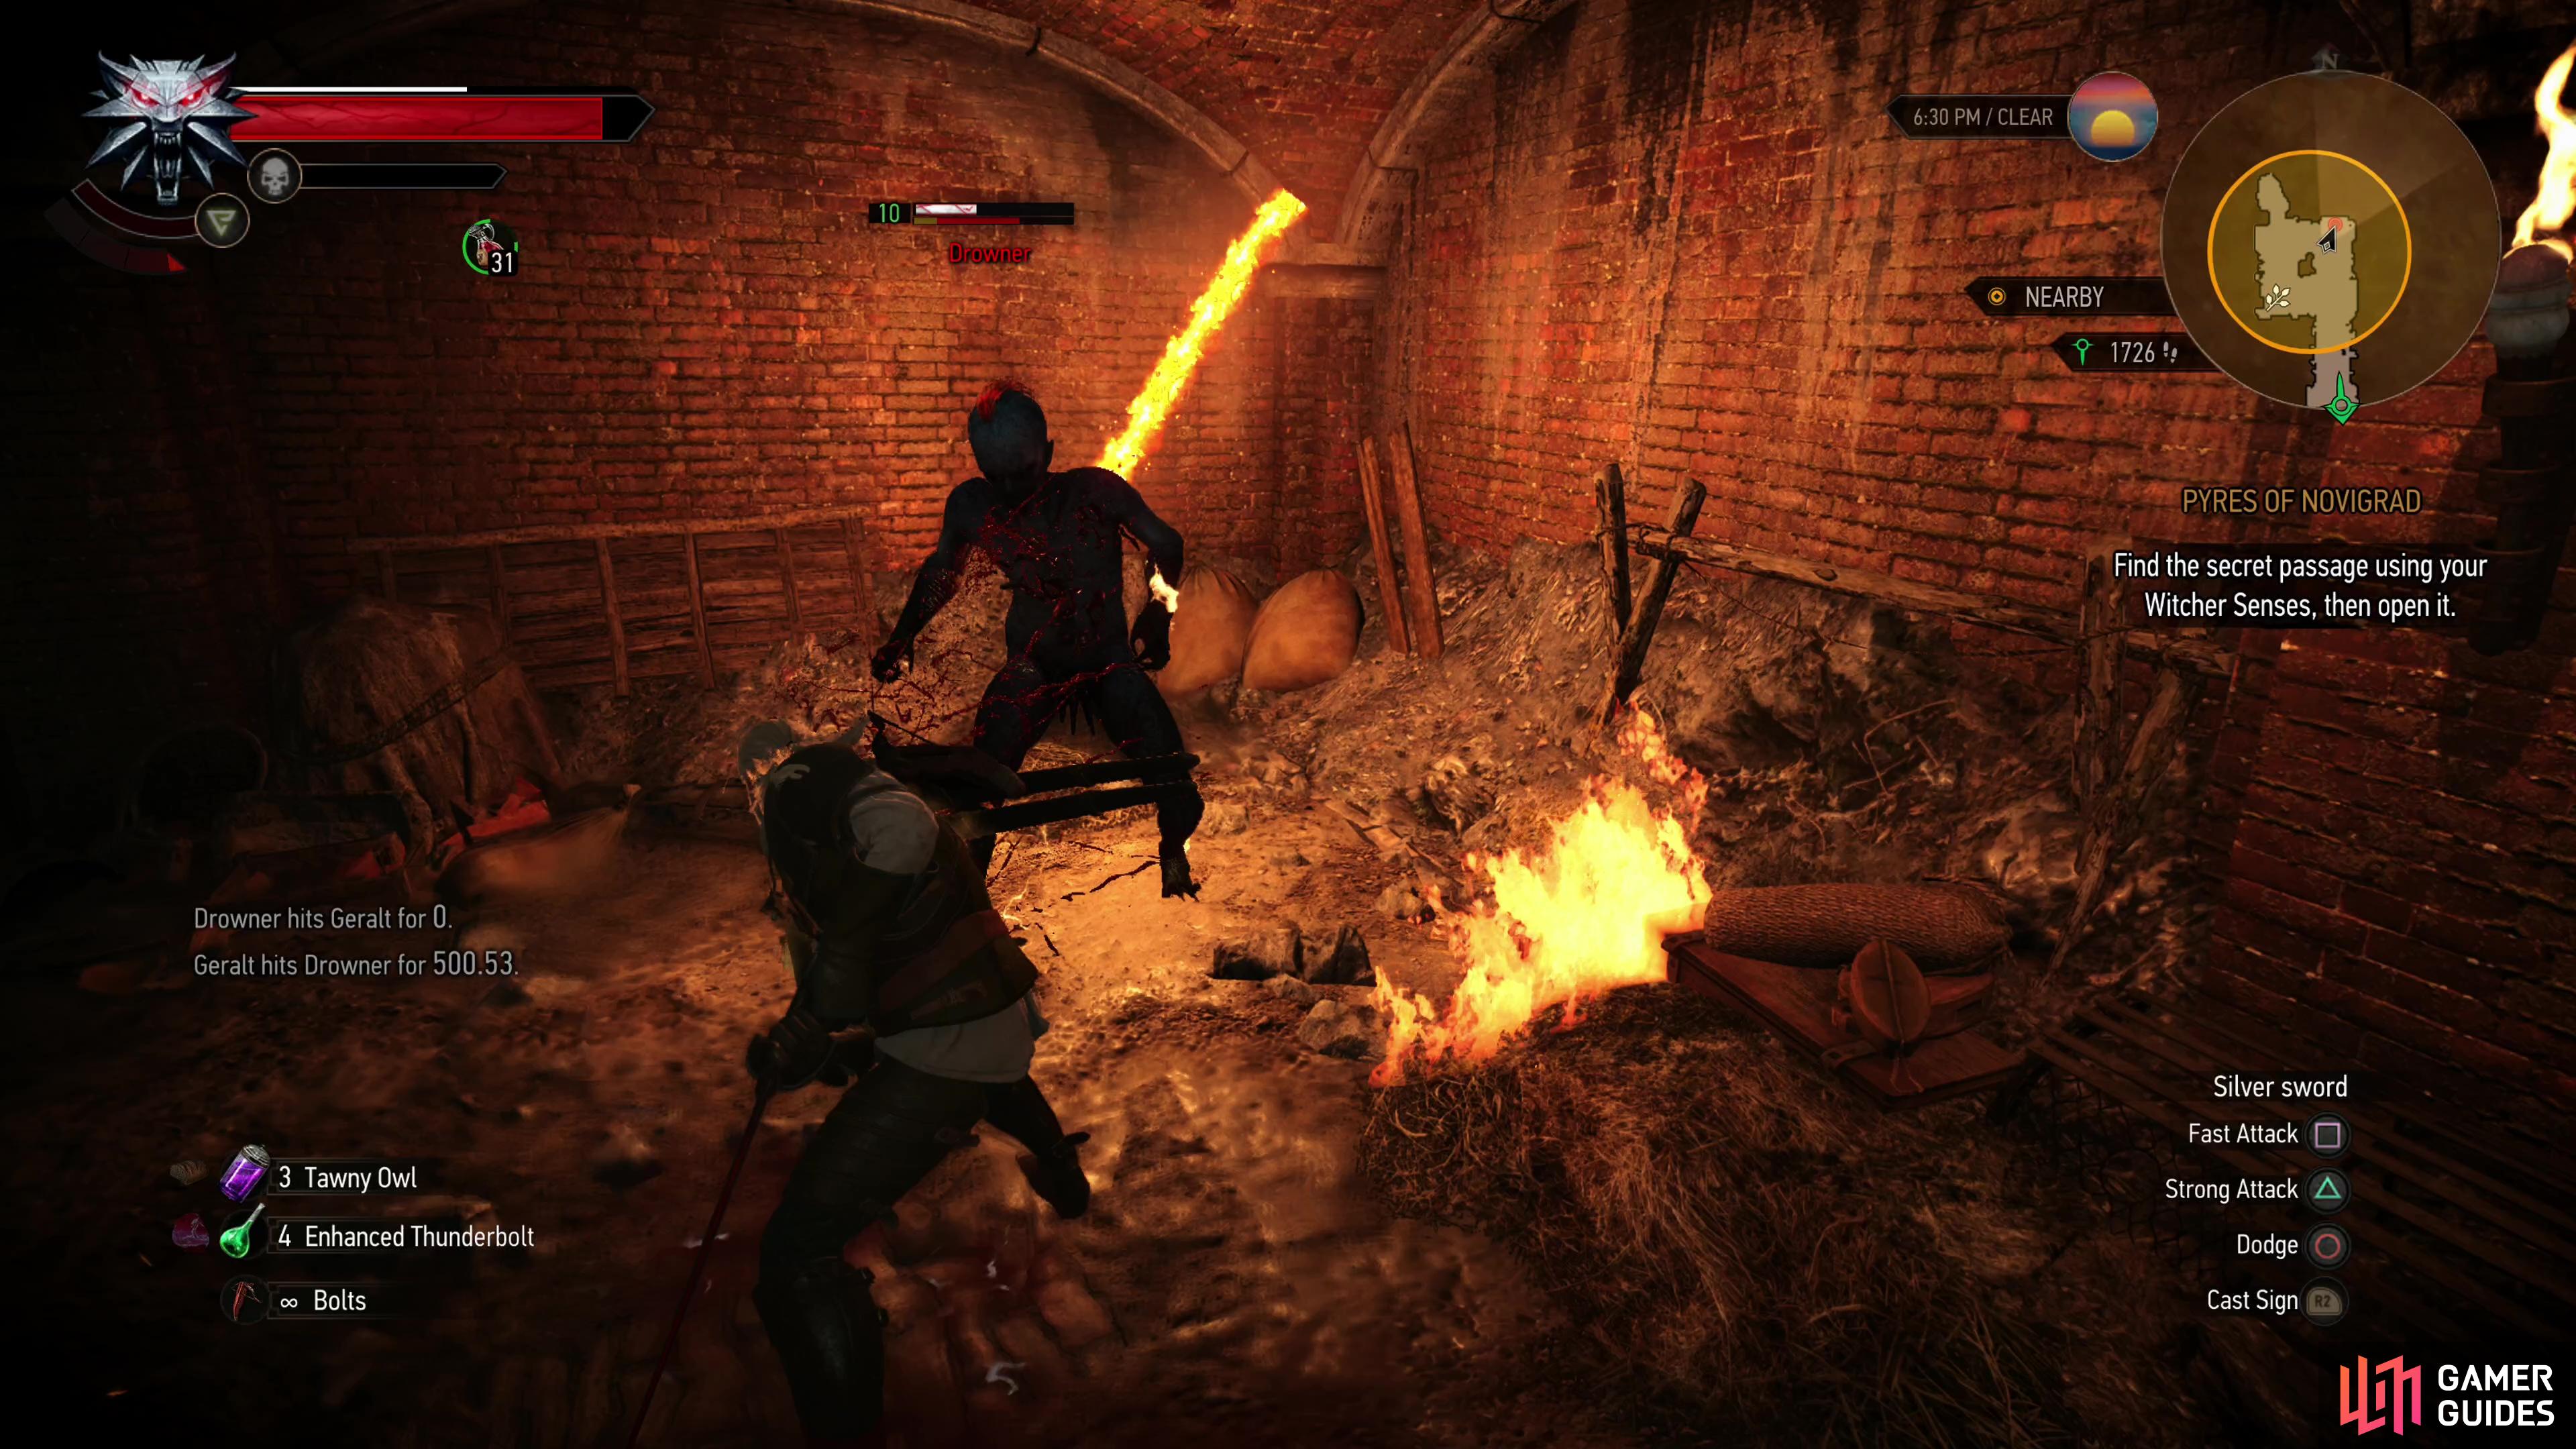

(1 of 3) Join forces with Triss to defeat a Drowner,
Follow Triss down the canal to the west until you pass under a bridge, then dive into the water and swim west towards another bridge. Use your Witcher senses to locate two chests as you swim west, then find Triss’ package, a Leather ![]() Sack, between a sunken boat and the bridge’s central support. Return to Triss and give her the package, then follow her west and up a ladder.
Sack, between a sunken boat and the bridge’s central support. Return to Triss and give her the package, then follow her west and up a ladder.


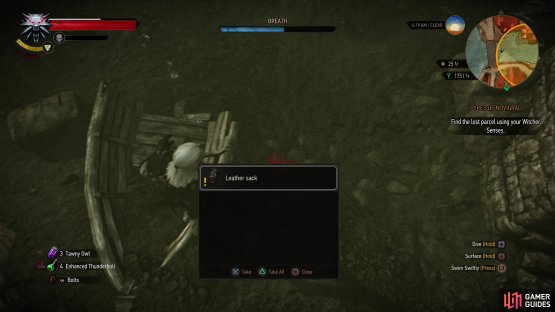
(1 of 2) Swim west down the canal towards a bridge, stopping to loot two chests,
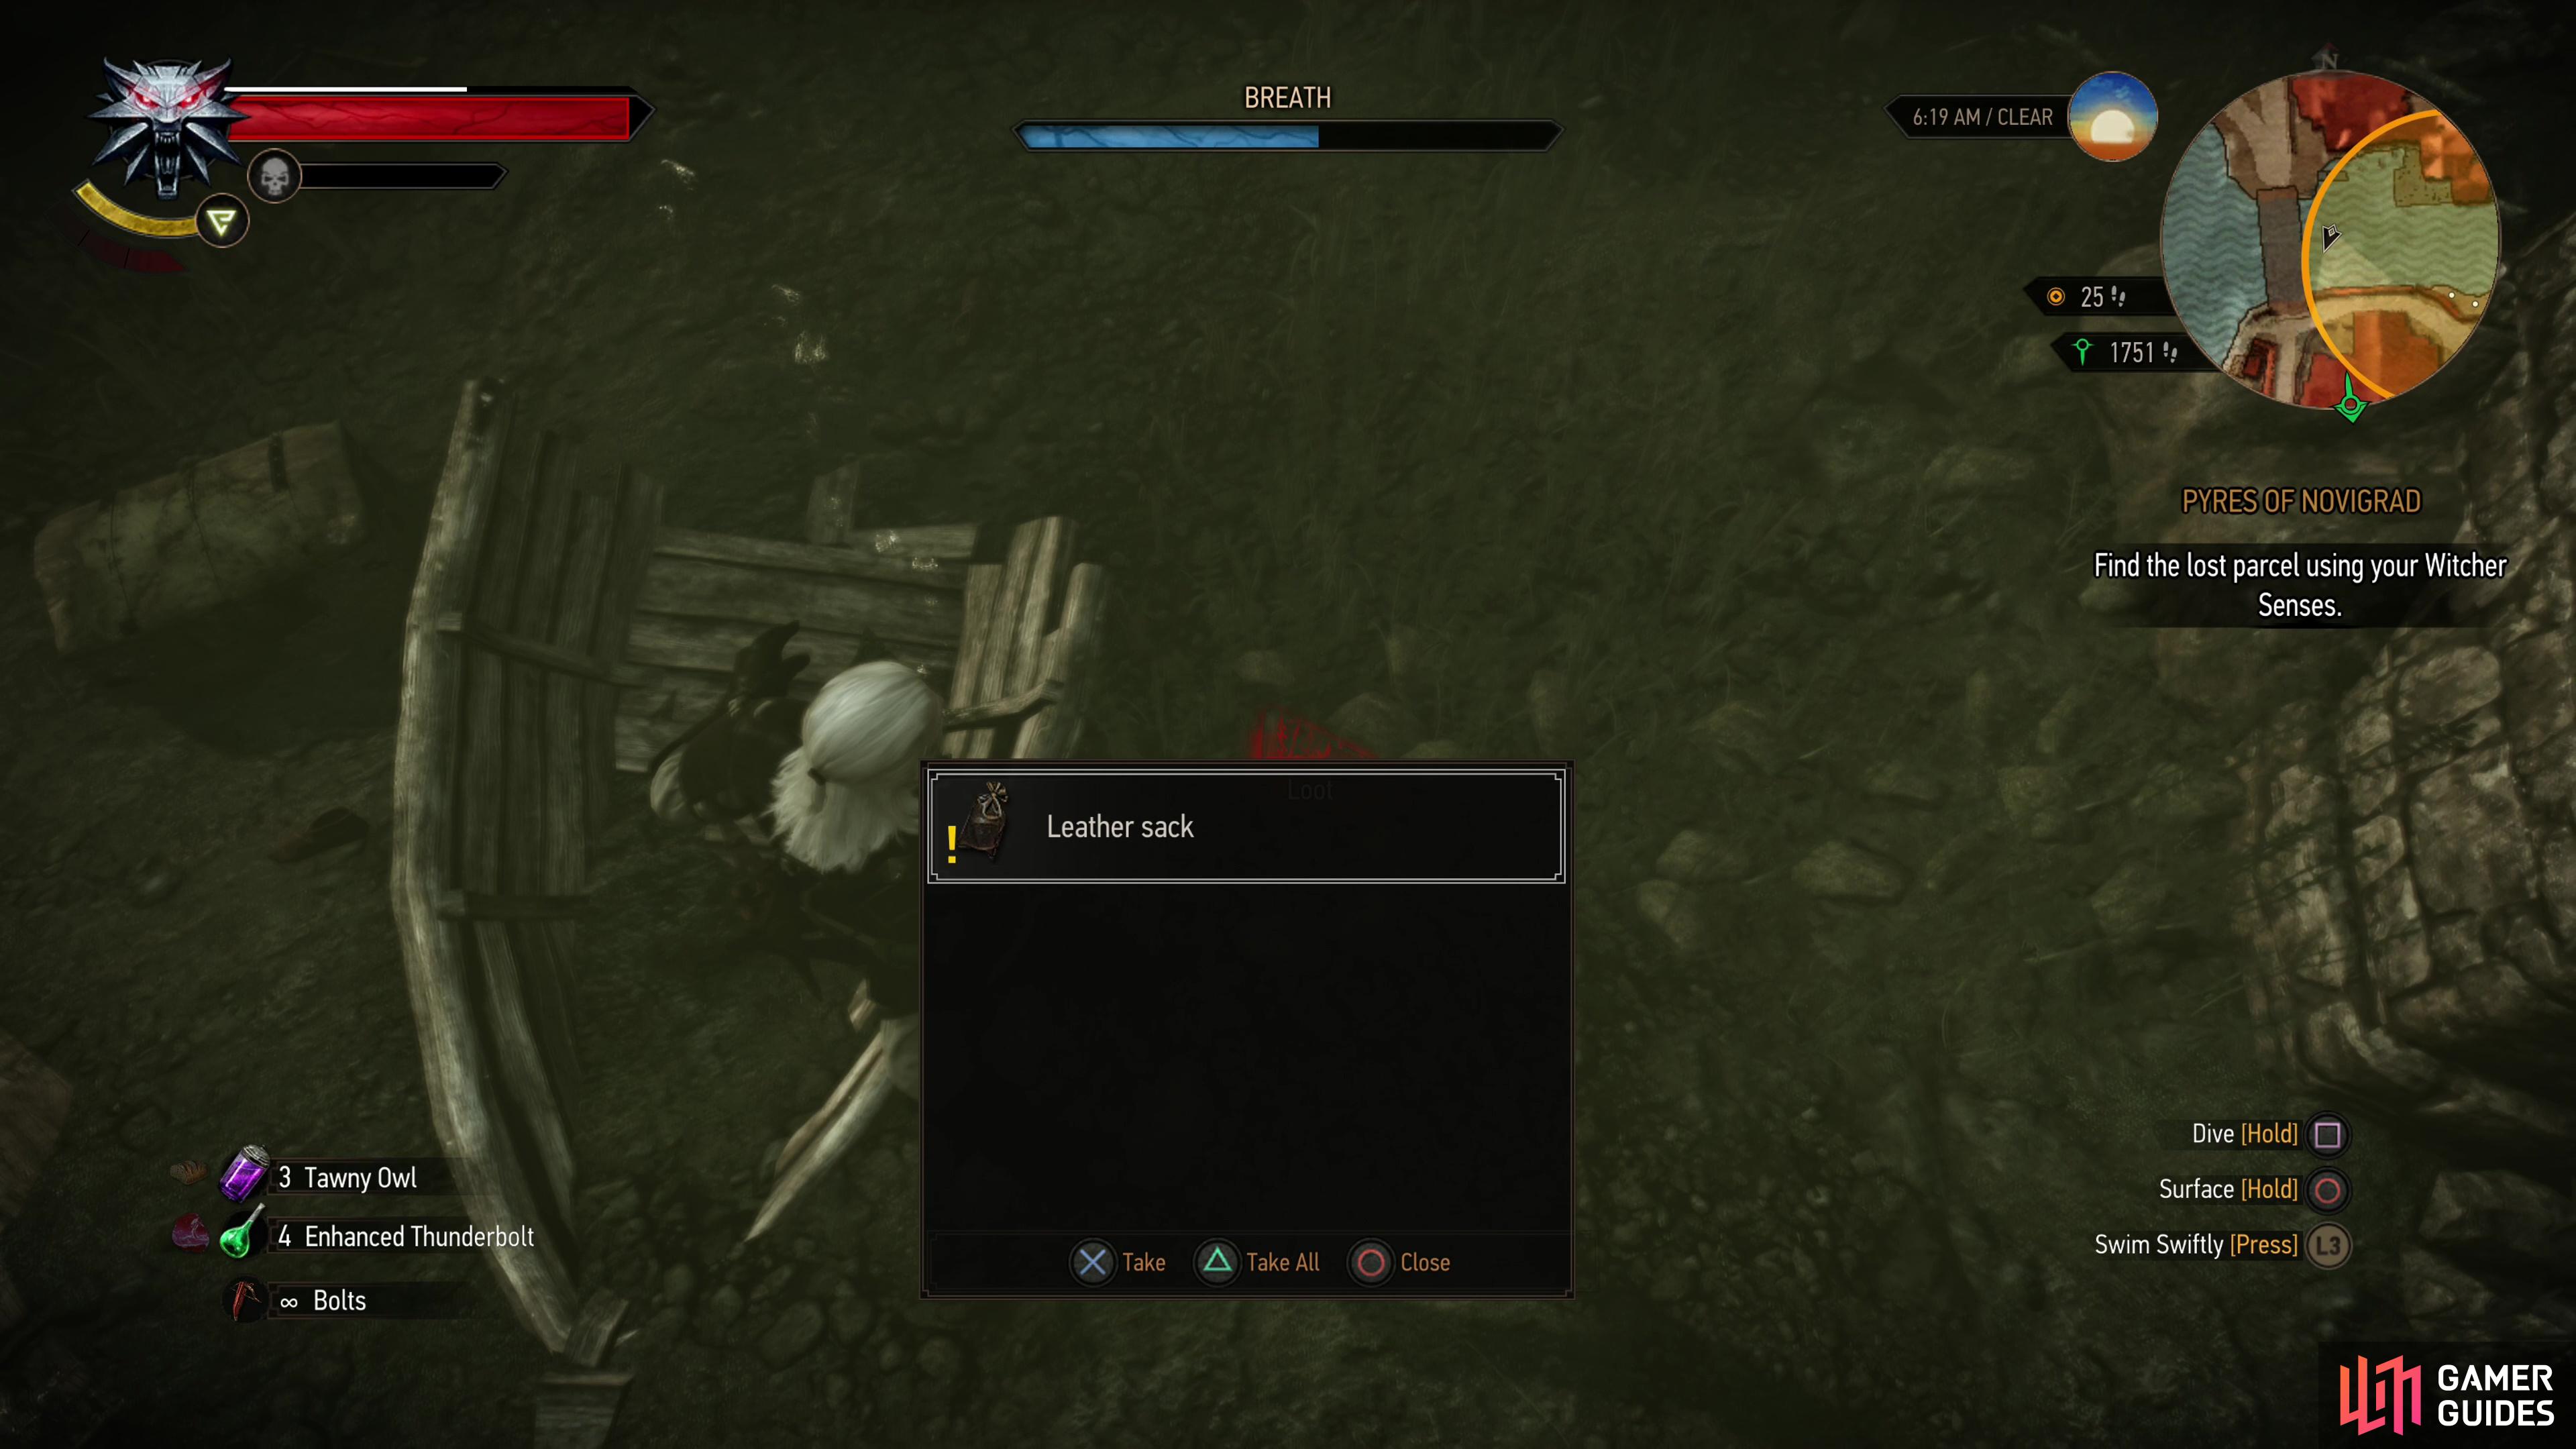
Swim west down the canal towards a bridge, stopping to loot two chests, (left), then dive to find the Leather Sack Triss is looking for. (right)
Help Triss Catch Rats
One more stop. Follow Triss east and north across a bridge, and east again, where she’ll meet with a merchant named Brandon, who happens to have a job for her. Say what you wish and you’ll find up what the sorceress is up to - from royal advisor to rat-catcher, and to even land this job Triss had to be less than discrete about her true profession.
Oh well, no putting the toothpaste back in the tube. Enter the warehouse and after some chatter activate your Witcher senses and make your way to the southeastern edge of the warehouse. You’re looking for rat droppings, which mark ideal locations to place Triss’ rat traps, and they’re all near drainage openings in the walls - you can follow a drainage channel west to the first one. Investigate the droppings to place the first trap, then head downstairs to the north and find more rat droppings near another draining hole in the northeastern corner of the warehouse. Finally, turn left and head up some stairs to the west and continue west to find some more rat droppings near another draining opening.
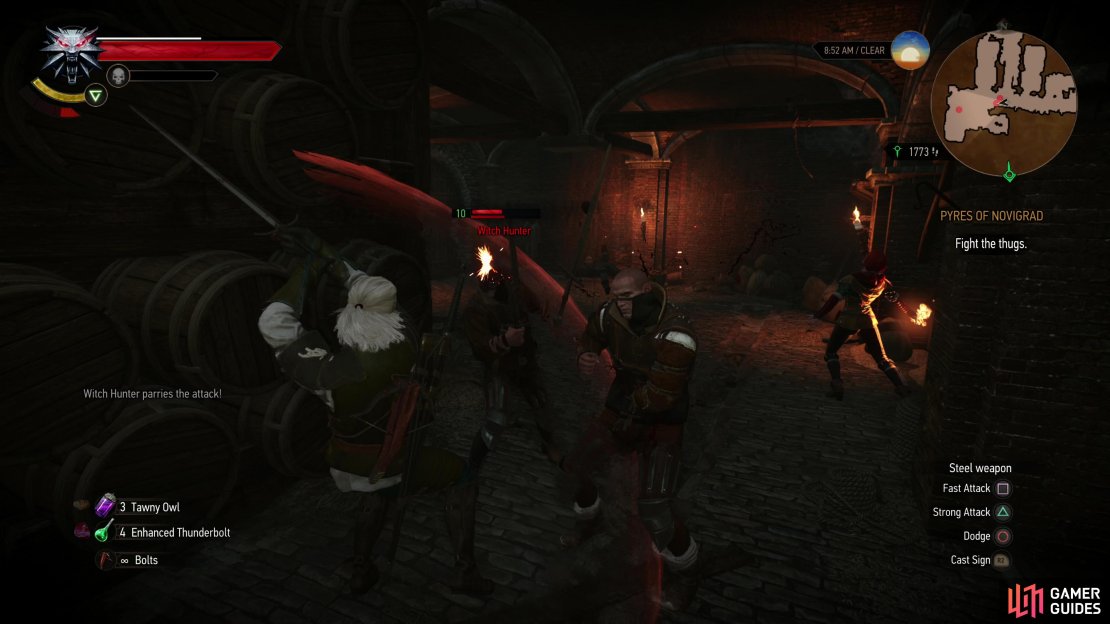
Once all three traps are placed, follow Triss south and you’ll indulge in more chatter. Say what you wish and the predictable plays out Assist Triss in killing three Witch Hunters (Lv10), she’ll use the same spells she did against the Drowner earlier, and considering that these Witch Hunters can, at times, prove more proficient than your average bandit, she may actually prove helpful by distracting them. They’ll parry if you wildly attack too much, so you should attempt to parry and counter to create openings. Failing that, use Axii to disable your foes and score cheap hits or, if you’re lucky, coup de graces, and Quen to absorb hits and heal. If you’re lucky Triss’ own version of Axii may leave enemies vulnerable, but her fire bolts can also rouse stricken foes.

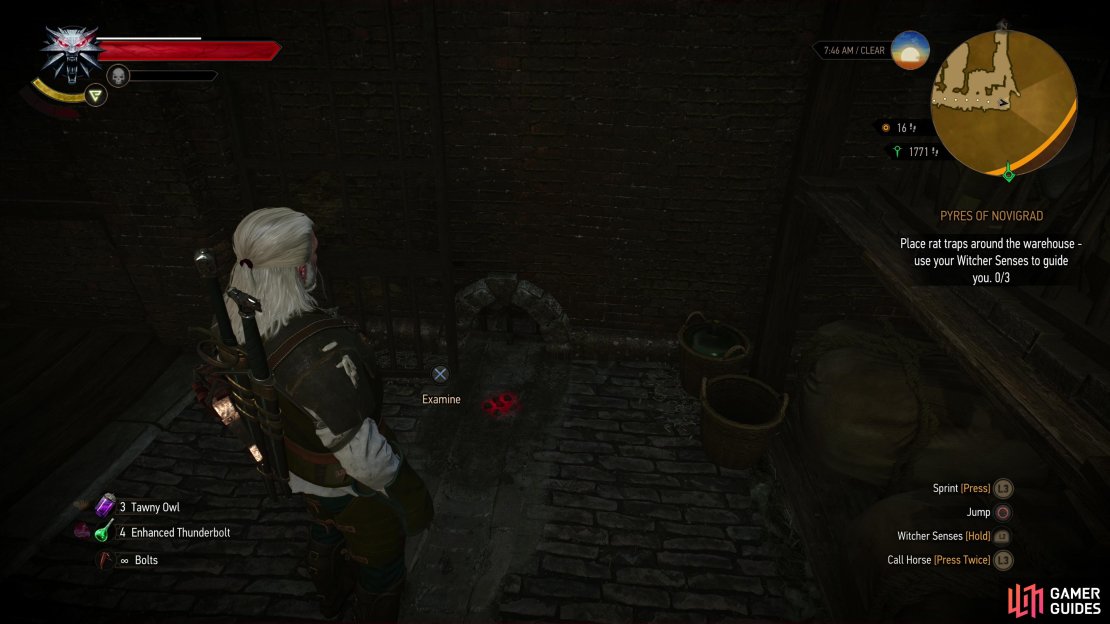
(1 of 3) Use your Witcher sense to find some rat droppings and place one of Triss’ traps near them,
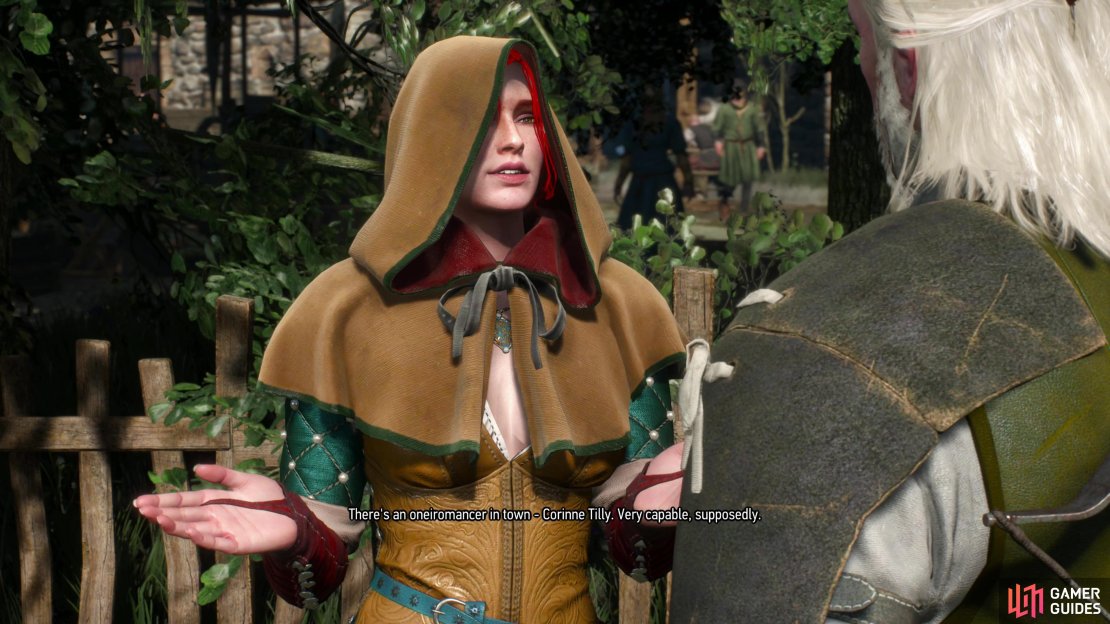
Kill the Witch Hunters, then exit the warehouse to confront the merchant, who now finds himself a poor victim of forces outside of his control. Geralt settles for extorting the merchant, rendering any choice you made about Triss’ payment earlier moot, and Triss suddenly remembers to recommend an oneiromancer you can consult about Ciri. This ends Pyres of Novigrad and begins the followup quest Novigrad Dreaming.
"spoReturn to Triss and hand her the package,"
Part of the text is duplicated.
"a scene showing the Eternal Flame’s fanaticism at its worst"
Moreover, the people who are burned at the stake may be familiar from the second part of The Witcher.