

While searching for the witch that Ciri quarreled with, Geralt will uncover ![]() Keira Metz hiding out in
Keira Metz hiding out in ![]() Midcopse. Far from being the antagonistic spellcaster Geralt seeks, Keira Metz is sympathetic to Geralt’s plight, offering to accompany him to some elven ruins during the quest Wandering in the Dark. Their goals, however, aren’t the same, and once Geralt’s interest in these ruins have been concluded Keira will ask for a favor in return. This page will provide a walkthrough for the quest
Midcopse. Far from being the antagonistic spellcaster Geralt seeks, Keira Metz is sympathetic to Geralt’s plight, offering to accompany him to some elven ruins during the quest Wandering in the Dark. Their goals, however, aren’t the same, and once Geralt’s interest in these ruins have been concluded Keira will ask for a favor in return. This page will provide a walkthrough for the quest ![]() Magic Lamp in The Witcher 3,
Magic Lamp in The Witcher 3,
Quest Objectives
| Quick Search |
|---|
| Starting Magic Lamp |
| Solve the Statue Puzzle |
| Complete the Place of Power and Hidden Treasure Events |
| Exit the Elven Ruins |
Starting Magic Lamp
This is a bit of an odd main quest in that it’s entirely missable, easy to fail and starts immediately after its preceding quest, Wandering in the Dark. As soon as you dispel the illusory door at the end of the aforementioned quest and advance beyond it, Keira Metz will ask you to help her look for a Magic Lamp, an item promised to her by the elven mage who previously lurked in these ruins. If you pick the option ”I’m going straight to the Bog.” you’ll refuse to help and this quest will never begin. If you pick ”Fine. I’ll help.” you’ll start the quest, but if you leave the ruins during the quest it’ll fail. So you have to see this through all in one go, without returning to town or getting distracted.
Despite the potential pitfalls, this is not a particularly long or harrowing quest, especially not compared to Wandering in the Dark. The greatest nuisance you’ll likely deal with is encumbrance, and if you make sure to return to town during the aforementioned ![]() Wandering in the Dark you can mitigate that problem.
Wandering in the Dark you can mitigate that problem.
Solve the Statue Puzzle
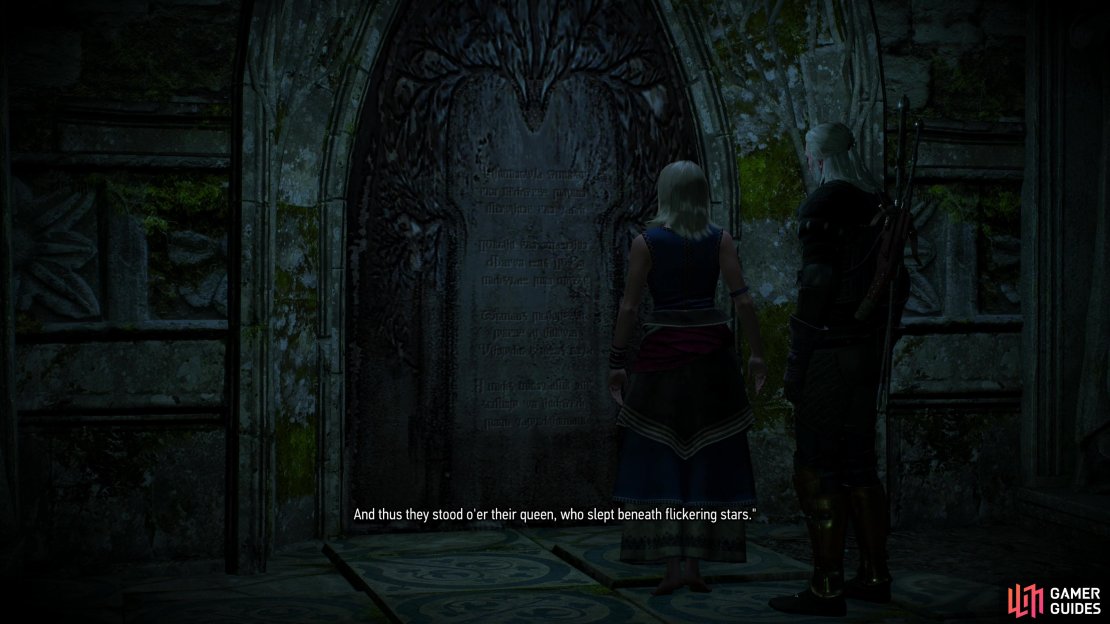
After agreeing to help Keira Metz, follow her through a doorway to the north and you’ll reach a room with a locked door to the north flanked by four statues. Interact with the door and Keira will decipher the inscription on it for you:
”Four guardians, four flames, standing proud in a line. The first to light his fire dared not march on the end. The second, by the First, played a woeful lament. The Third kept close to his faithful beast. The Fourth marched not beside the First, yet like the Second, played a tune. And thus they stood o’er their queen, who slept beneath flickering stars.”
Look at the statues and you’ll note that there are some variations between them. The westernmost one holds an instrument and is accompanied by a hound, the one to the left of the door just has an instrument, the one to the right of the door has neither hound nor instrument, and the easternmost one has only a hound. Correlating these statues with the riddle inscribed on the door we get this order:
- First: Statue with no instrument and no hound (to the right of the door).
- Second: Statue with only an instrument (to the left of the door).
- Third: Statue with only a hound (easternmost statue).
- Fourth: Statue with a hound and an instrument (westernmost statue).
(1 of 4) Accompany Keira deeper into the ruins and have her read some inscriptions on a door.
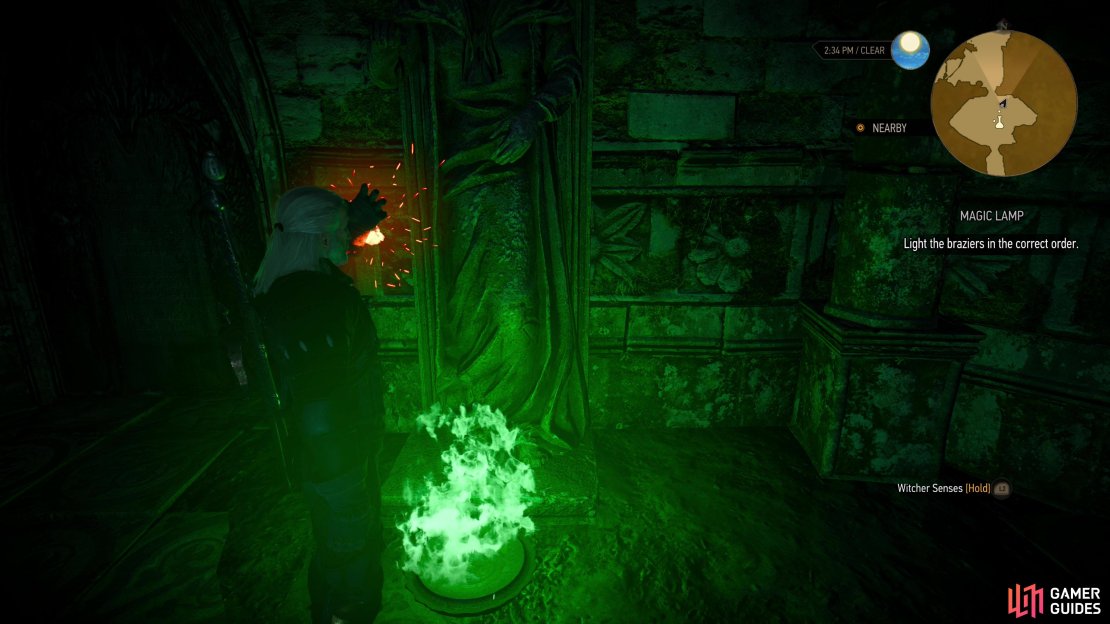
Head up to the statues in the order provided above and you’ll get a prompt to ignite a brazier in front of them - casting ![]() Igni manually will not suffice. Light each statue’s brazier in the correct order to solve the puzzle. Getting something wrong will cause a Wraith (Lv5) (or pair of
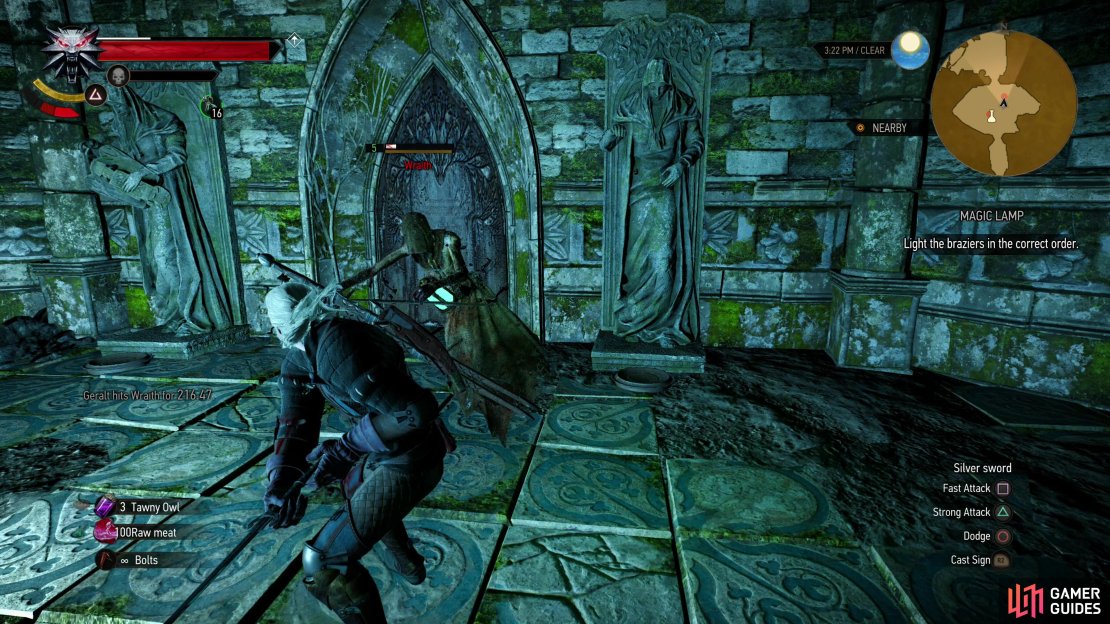
Igni manually will not suffice. Light each statue’s brazier in the correct order to solve the puzzle. Getting something wrong will cause a Wraith (Lv5) (or pair of ![]() Wraiths, if you’re persistently wrong) to appear and attack. These Wraiths give no EXP or drops, so there’s no point in farming them - they’re a penalty, not an opportunity. Solve the puzzles, then pass through the now-opened door to the north.
Wraiths, if you’re persistently wrong) to appear and attack. These Wraiths give no EXP or drops, so there’s no point in farming them - they’re a penalty, not an opportunity. Solve the puzzles, then pass through the now-opened door to the north.
Complete the Place of Power and Hidden Treasure Events
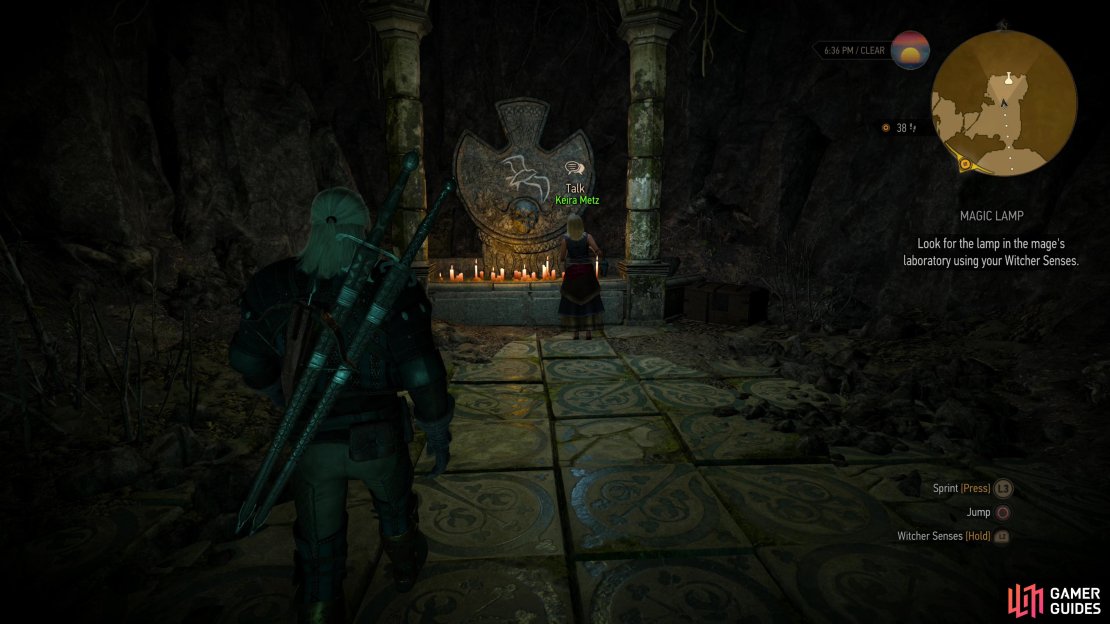
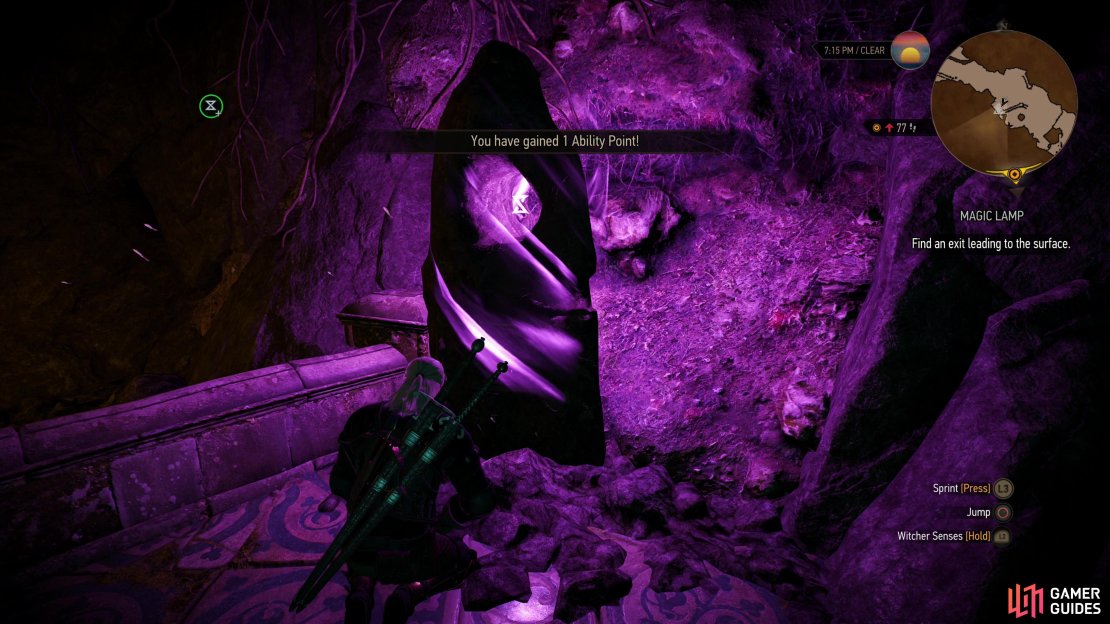
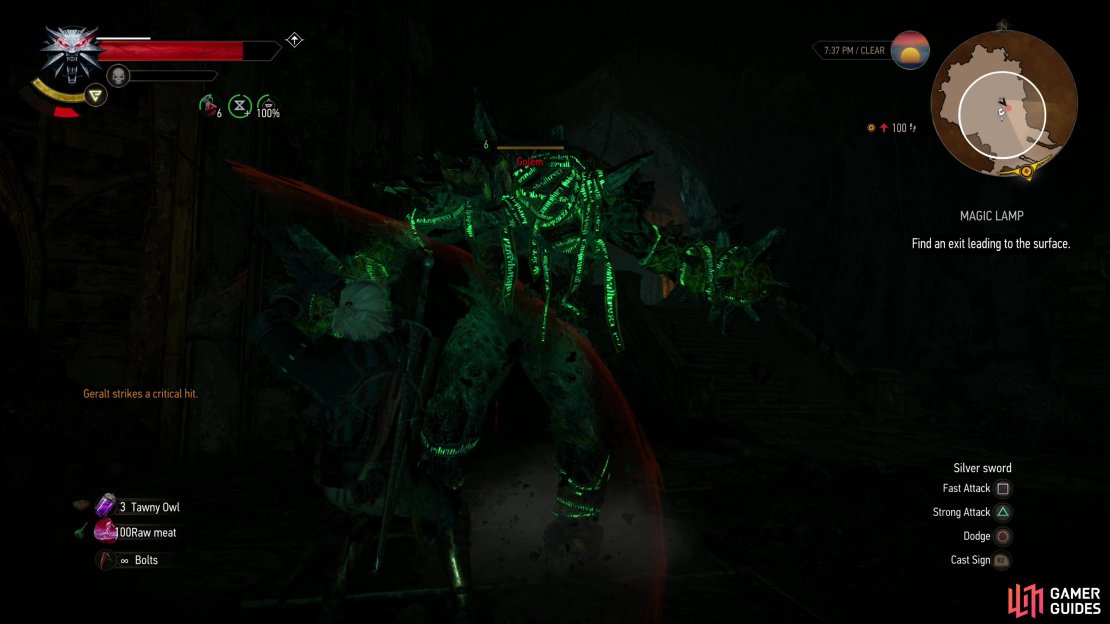
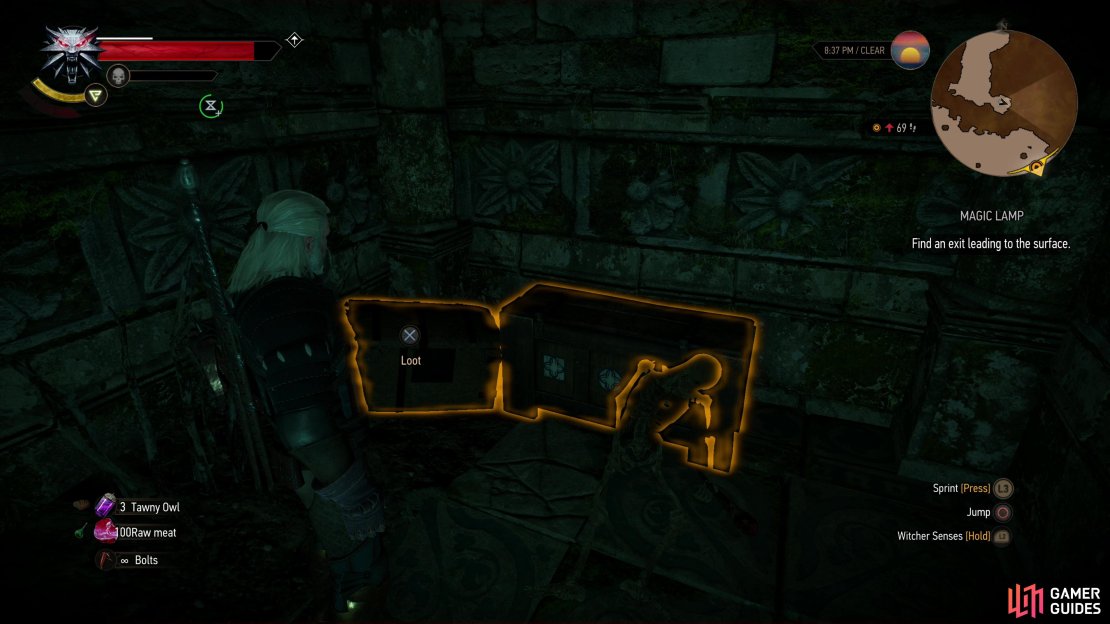
Keira will congregate near a sepulcher, where she’ll claim the Magic Lamp she was looking for. Easy peasy, eh? Loot a chest near the sepulcher and pick up the Sage’s ![]() Notes on the altar. To complete the quest you need to head back south, but if you climb some ledges to the west you’ll find a Place of Power. No good reason not to claim this now. If you head down some stairs to the northwest you’ll find a large chamber occupied by a Golem (Lv6). This is a Hidden Treasure event, and like the Place of Power, there’s no good reason not to take care of this while you’re here. Kill the Golem and loot a chest to the south, two more to the west, and a final chest to the northeast. Return to the stairs and turn south to find a weak section of wall you can blast through with
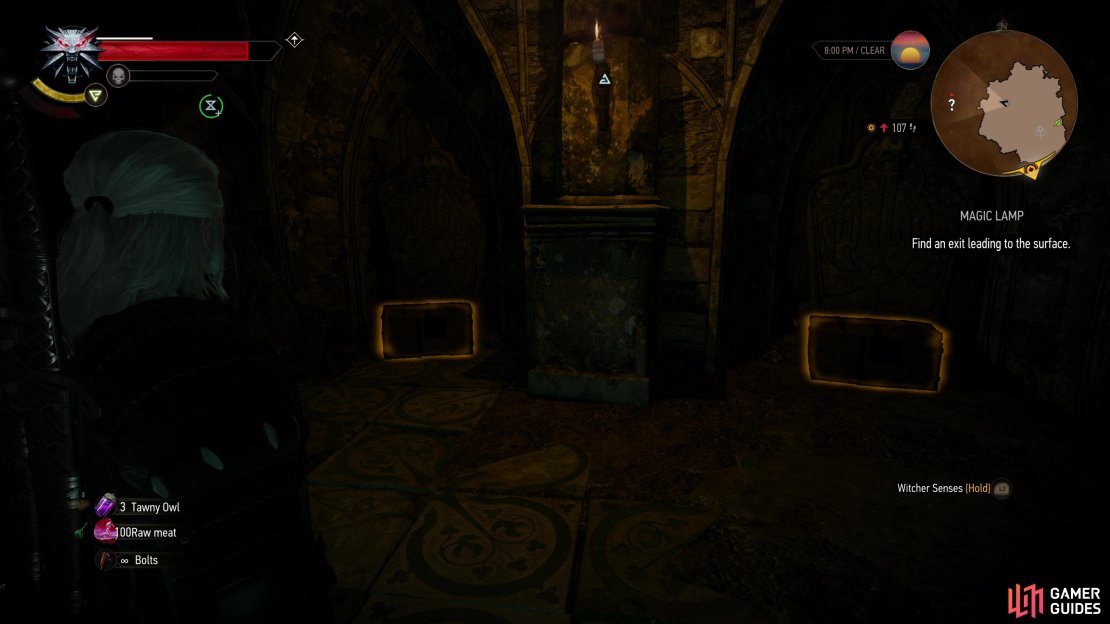
Notes on the altar. To complete the quest you need to head back south, but if you climb some ledges to the west you’ll find a Place of Power. No good reason not to claim this now. If you head down some stairs to the northwest you’ll find a large chamber occupied by a Golem (Lv6). This is a Hidden Treasure event, and like the Place of Power, there’s no good reason not to take care of this while you’re here. Kill the Golem and loot a chest to the south, two more to the west, and a final chest to the northeast. Return to the stairs and turn south to find a weak section of wall you can blast through with ![]() Aard, revealing a chamber beyond. At the southern end of this chamber is yet another chest, and in a small room to the southeast you can find two more chests.
Aard, revealing a chamber beyond. At the southern end of this chamber is yet another chest, and in a small room to the southeast you can find two more chests.
Exit the Elven Ruins
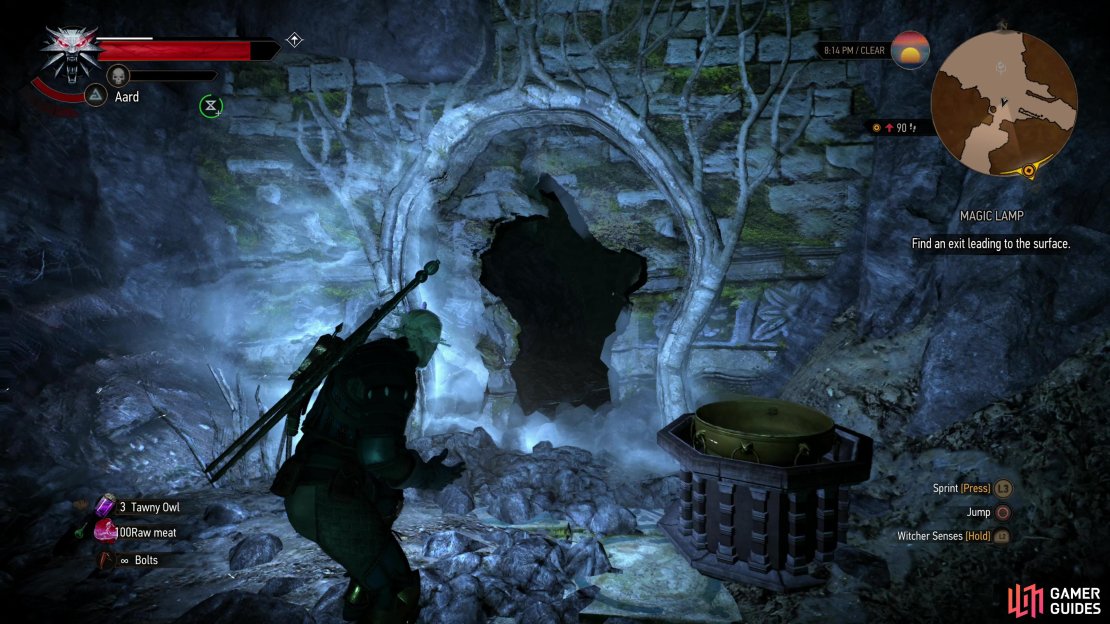
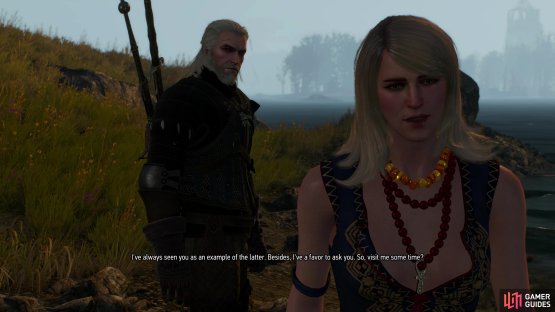
Now that you’ve thoroughly plundered this place, backtrack to where Keira asked you to find the Magic Lamp and exit through a doorway to the south, which leads upstairs to an illusory wall. Dispel it and you’ll finally find yourself back outside, where Keira will invite you to visit her some time, starting the secondary quest Invitation from Keira Metz. This in turn will lead to another quest on ![]() Fyke Isle, and ultimately to the end of Keira’s questline, which is now solidly in the realm of optional content. Family Matters is still dormant, but at least you have a new lead in the main quest Ladies of the Wood. You’re free to do whatever you want, but we recommend continuing with Keira Metz for now, as you do get a useful item that can provide additional information in rare circumstances.
Fyke Isle, and ultimately to the end of Keira’s questline, which is now solidly in the realm of optional content. Family Matters is still dormant, but at least you have a new lead in the main quest Ladies of the Wood. You’re free to do whatever you want, but we recommend continuing with Keira Metz for now, as you do get a useful item that can provide additional information in rare circumstances.
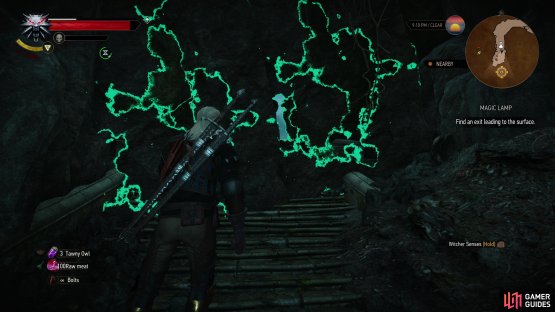
(1 of 2) Use the Eye of Nehaleni to dispel an illusion blocking the exit,


Use the Eye of Nehaleni to dispel an illusion blocking the exit, (left), and as you part ways with Keira, she’ll invite you to visit her again. (right)
No Comments