Walkthrough for the Side Quest Father Knows Worst in The Witcher 3 Blood and Wine.
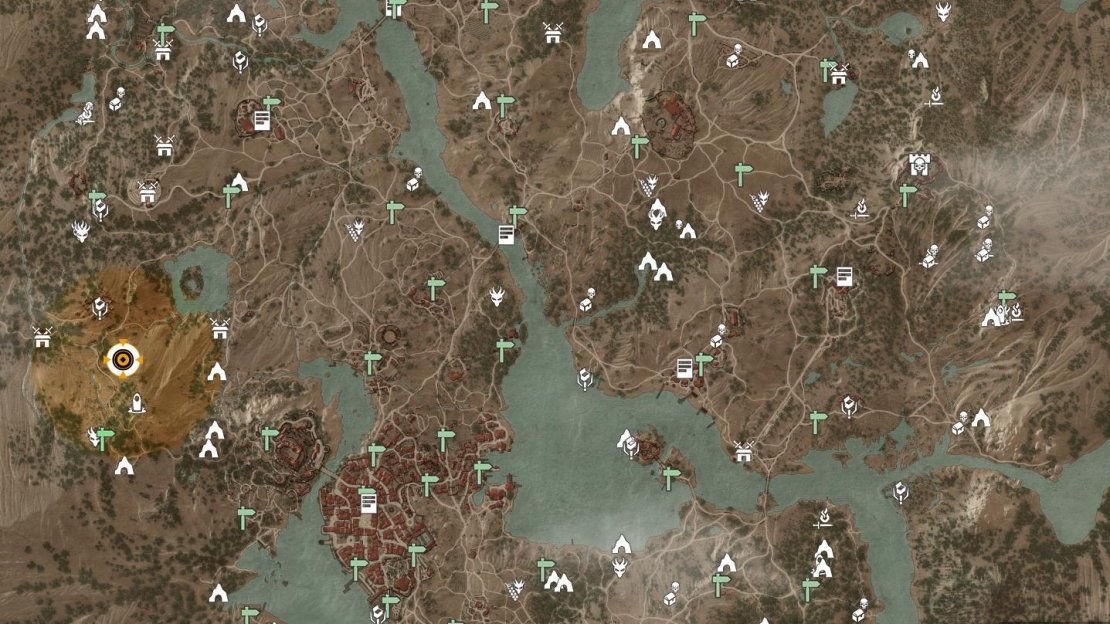
You can start this quest by reading the notice Armed Escort Wanted!, which should be posted on the notice board in Beauclair. You can also head right to the cave where the quest starts (see the map, below), which can be found northwest of Beauclair.
| Suggested Level |
|---|
| 37 |
| Important Items in this Area |
|---|
| Letter to Martina Crisca |
| Still Filter |
The location of the Side Quest “Father Knows Worst” in The Witcher 3 Blood and Wine.
However you choose to start this quest, when you arrive at the marked cave you’ll hear some cries for aid. Approach the cave and two men will run out, where they’ll waste little time begging for your aid. Apparently there are monsters in those caves, don’tcha know, and their brother Hugo didn’t make it out with them. Ask them questions if you wish, although they can’t give a good description of the monsters that attacked them, nor do they give a good reason for being in the cave in the first place. Oh well, their coin is good, and saving people from monsters… well, it doesn’t get much more Witchery than that, so haggle as you will, then agree to look for their brother.
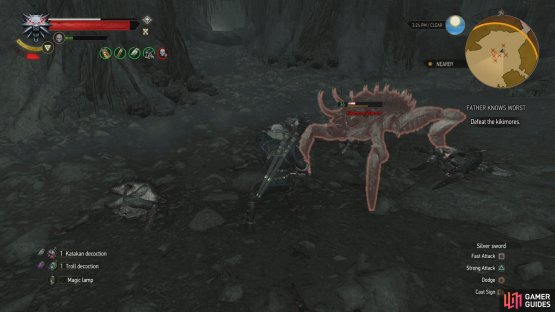
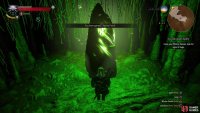
(1 of 2) Kill Kikimores in the cave, using Golden Oriole and Cat if you feel it necessary.
Kill Kikimores in the cave, using Golden Oriole and Cat if you feel it necessary. (left), Use Quen to block the damage dealt by Kikimores, and more importantly, the toxin buildup they inflict. (right)
How to Defeat the Kikimores in the Cave
Enter the cave and make your way south until you reach a larger chamber - the site of the first search area marked on your map. Be sure to have your Silver Sword out and consider drinking a Cat potion if you need more light. Drinking a Golden Oriole is useful alchemical boon, as the monsters that surface to challenge your intrusion, Kikimores, can inflict poison damage. Like Endrega, these insectoid monsters can be all but effectively neutralized with Superior Golden Oriole. The Kikimores in this cave come in two varieties: Warriors and Workers, and in this case expect to fight at least half a dozen of the latter, and one of the former. The size of a Kikimore Warrior makes it easy to differentiate, but you must also be wary of their ability - not shared by Endrega - to increase your toxicity when they strike, so perhaps go easy on the decoctions? Igni works well against them, and Quen will, of course, block their attacks and end any poison damage-over-time (but not toxicity) you may be suffering from.
(1 of 2) Use Aard to destroy a wall,
Use Aard to destroy a wall, (left), then draw from a Place of Power. (right)
How to Claim the Place of Power in the Kikimore Cave
When the bugs are dead, continue southwest and note the numerous side-passages you can explore. Along the southeastern wall is a passage blocked by a fragile wall that can be destroyed with Aard, while further to the southwest you’ll find a larger tunnel running south, while to the west is a dead-end. To find Hugo and continue this quest you’ll want to continue south, but first, use Aard to smash the wall to the southeast, then continue on to reach a fork.
If you head west you’ll return to the southern end of the large chamber where you fought the Kikimores, so continue south, instead, where you’ll find another chamber occupied by Kikimores. Kill a Kikimore Warrior and a few Kikimore Workers, then continue up a ledge to the southeast to find a Place of Power. Soak up your juicy new Ability Point, then return north and search the floor of the cavern for a corpse. Not Hugo, but you’ll find a good bit of treasure, including the note Letter to Martina Crisca which mentions Hugo and his brothers. Apparently their dear old dad dismantled his still and hid them, hoping to bond the quarreling brothers in the ensuing search for it. It doesn’t seem like his little scavenger hunt is going well. Perhaps monster-infested caves aren’t the best locale for such games?
How to Recover the Still Filter
Head down a tunnel to the southwest, climbing up ledges as you go, until you ultimately reach a chamber occupied by some hot springs. Such heat is oppressive to Kikimores, but at least it means they won’t be bothering you here. Unfortunately, if you were hoping for a relaxing dip, you’re out of luck, as the water is hot enough to cause harm should you enter unprotected.
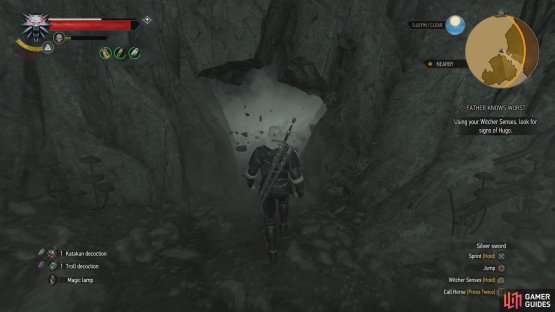
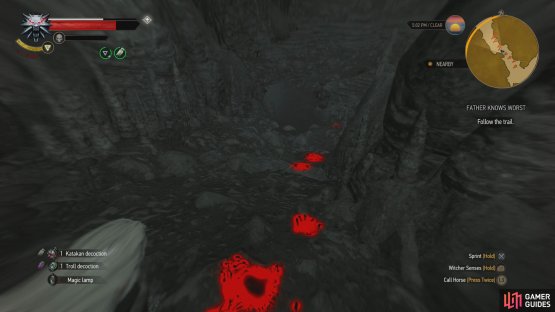
Before you go take a dip in the hot spring, make your way north around the steaming water and use your Witcher Senses to scan the western end of a tunnel running north, where you’ll find signs of Hugo’s passage. Blood. Not a good sign. If you follow the trail to the north (back to the chamber where you first encountered Kikimores) you’ll find Hugo’s discarded sword, a Nilfgaardian Longsword.
Return to the hot springs where you’ll have a decision to make: dive into the pool and see what treasure you can find (if you use your Witcher Senses to look into the water, you should see some loot glowing below the boiling water) or ignore it. Not only is diving lucrative enough on its own, but it’ll give you more options as far as resolving this quest goes… which mostly just means more rewards. You don’t need to bother with diving to complete the quest, however, so if you skip it now, you might as well neglect it altogether.
That said, if you want the loot in the pool cast Quen, then dive on it. There are three chests down here you can plunder, as well as the Still Filter which is relevant to this quest. Just keep an eye on the status of your Quen sign and exit the pool before it expires to avoid taking any damage (it took us two dives to get all the treasure safely) - the safe exit is the northeastern edge of the pool.
(1 of 2) Follow a blood trail to find Hugo.
Follow a blood trail to find Hugo. (left), Along the way, you’ll find a hot spring you can dive into to find a “Still Filter”, among other treasures. (right)
How to Rescue Hugo
When you’re done diving for treasure (or if you’ve decided you don’t care to bother), make your way west along the northern end of the hot spring, then turn northwest and head up a tunnel to reach a cavern where Hugo has made himself a camp. Approach and he’ll greet you with a measure of paranoia; apparently he and his brothers don’t get along well, and in light of the recent violence between them, he suspects you of being a hired sword.
Dispel his suspicions and he’ll tell you the whole story, most of which was detailed in the letter you read earlier. Their father, apparently in an effort to get the three brothers to cooperate, broke his still into three pieces. With something as valuable as the family business at stake, however, the worst natures of the brothers were bound to surface, and the other two brothers apparently decided that two shares in the business splits more tidily than three. Why they wanted a Witcher to go deal with the monsters that seemed willing enough to do their dirty work for them, and why they never mentioned the still are questions worth pondering. Maybe they thought Hugo was already dead, and you’d clear the way for them to recover the final piece of the still?
In any event, after Hugo is done telling his side of the story you’ll get some dialogue options. If you already dove for the Still Filter, respond with “Found the missing part.” to ensure you get rewarded for your effort. If you didn’t dive before, presumably you don’t intend to now (although you’ll get an opportunity to do so in place of the aforementioned dialogue option), in which case say “Couldn’t care less about your missing part. Let’s go.”, which will abandon this little scavenger hunt in favor of a more vital task - getting Hugo safely out of this Kikimore-infested cave.
Whatever you choose - assuming you don’t go back and dive for the missing Still Filter (if so, read the section above where it’s covered) - you’ll end up escorting Hugo back outside, where you’ll discover that the other brothers have now been joined by some rough-looking characters. Hugo, naturally, assumes the worst, and will call on you to defend him from these unknown ruffians.
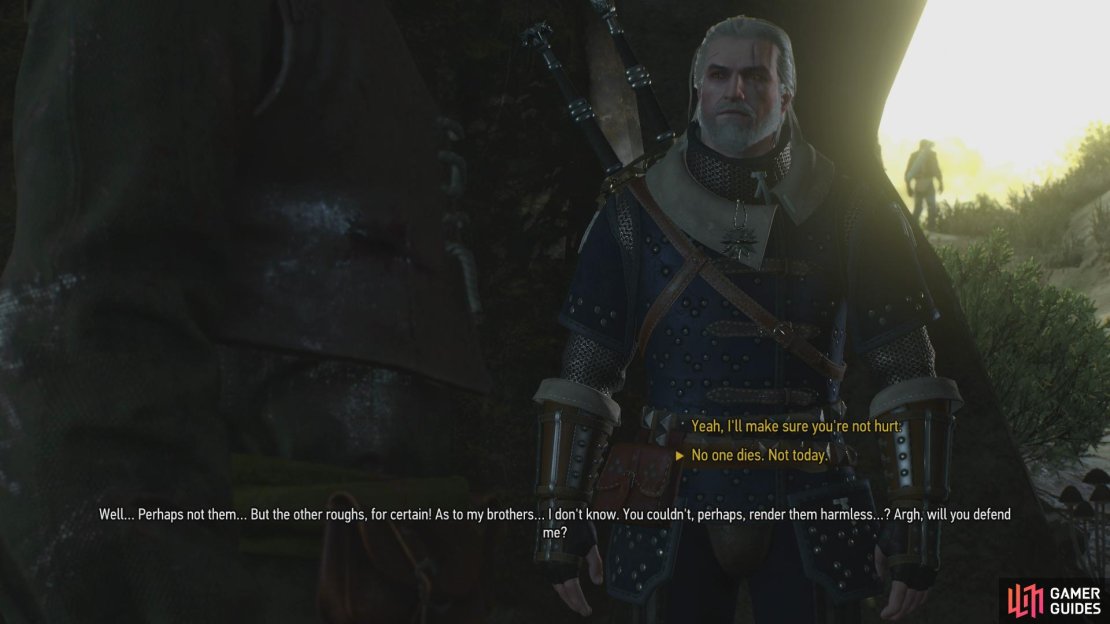
(1 of 3) After finding Hugo, you’ll need to decide to confront Hugo’s brothers with bloody intent, or let cooler heads prevail.
What Happens If You Attack Hugo’s Brothers?
If you respond with “Yeah, I’ll make sure you’re not hurt.” Geralt will - without due diligence - draw his weapon and attack, forcing you to put down a half-dozen or so Hunters (level thirty-six) and Hugo’s brothers. Through the magic of story expedience, your sword blows don’t kill Hugo’s brothers, but leaves them suitably chastised for their misdeeds. The Hunters, alas, are another story. Hugo will thank you for your murderous inclinations before heading off.
What Happens If You Refuse to Attack Hugo’s Brothers?
On the other hand, if you say “No one dies. Not today.” you’ll exit the cave in a more level-headed manner, and the two brothers will extend an olive branch to Hugo. If you bother asking, they’ll even explain who these Hunters are… which in this case makes restraint clearly the better of the two options, morally. If you didn’t bother diving for the Still Filter, the two brothers outside the cave will have implausibly retrieved it at some point, thus depriving you of the reward for collecting it yourself, but they’re thankful all the same that you rescued Hugo, inviting you to meet them at The Clever Clogs inn.
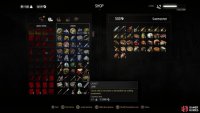
All in all, choosing not to come out the cave with murderous intent is the better choice morally, and more importantly, reward-wise. If you return to Beauclair and visit The Clever Clogs (which is along the road to the northwest of Lebioda’s Gate, on the western end of the street) you’ll find the three brothers prospering following their father’s advice. Hugo will now act as a merchant, and while he doesn’t have a great deal of coin, he’s unusual in that he’s willing to buy all sorts of items from you that most merchants won’t: junk, monster materials… even crossbow bolts! He also offers a good price for them.








No Comments