After tracking down Yennefer you’ll be brought in to meet the Nilfgaardian emperor, Emhyr, who tasks you with locating Ciri and bringing her back to Emhyr. There are leads in Velen, Novigrad and ![]() Skellige, but Velen is the lowest level, most accessible area, making it a natural starting point. You’re not going in blind, either, as one of Emhyr’s agents,
Skellige, but Velen is the lowest level, most accessible area, making it a natural starting point. You’re not going in blind, either, as one of Emhyr’s agents, ![]() Hendrik, has intel to pass on to you, the objective of the quest
Hendrik, has intel to pass on to you, the objective of the quest ![]() The Nilfgaardian Connection. This page will provide a walkthrough for The Nilfgaardian Connection, including how to deal with the
The Nilfgaardian Connection. This page will provide a walkthrough for The Nilfgaardian Connection, including how to deal with the ![]() Bloody Baron’s men at the Crossroads Inn and how to find Hendrik.
Bloody Baron’s men at the Crossroads Inn and how to find Hendrik.
Quest Objectives
Starting The Nilfgaardian Connection
This is a main quest that begins after you complete Imperial Audience, it can’t be missed. When you’re done in the royal palace in Vizima, travel to the Hanged Man’s Tree in Velen, which is the only place you can travel to in Velen. It’s a fine starting point for this quest.
Travel to Mulbrydale
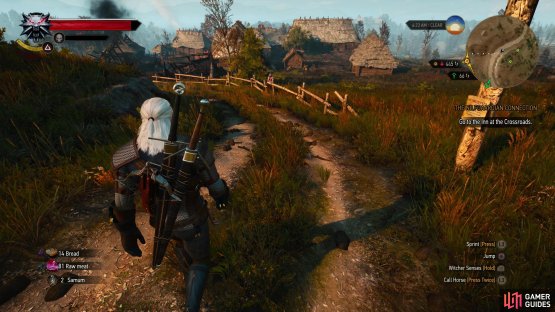
Your first destination is the ![]() Inn at the Crossroads, which is a good ways to the west, but we’ll take a bit of a roundabout way to get there to score some extra loot and signposts along the way. Follow the road southwest to reach the town of
Inn at the Crossroads, which is a good ways to the west, but we’ll take a bit of a roundabout way to get there to score some extra loot and signposts along the way. Follow the road southwest to reach the town of ![]() Mulbrydale. There’s not much to see and do here, but we might as well grab the notices on the notice board while you’re here. Grab the notice “Missing Wife” to start the quest Wild at Heart , which… well, it might be a while before we bother with this.
Mulbrydale. There’s not much to see and do here, but we might as well grab the notices on the notice board while you’re here. Grab the notice “Missing Wife” to start the quest Wild at Heart , which… well, it might be a while before we bother with this.
From the notice board turn southwest to spot a house, the door of which you can ![]() Aard into submission. Do so and head inside, then make your way through another, less stubborn door to the northeast, beyond which you’ll find an open cellar. Drop down and you’ll find several containers you can loot, including one awfully generous chest.
Aard into submission. Do so and head inside, then make your way through another, less stubborn door to the northeast, beyond which you’ll find an open cellar. Drop down and you’ll find several containers you can loot, including one awfully generous chest.
To find another generous house head down the dirt road southwest from the notice board and, at the Mulbrydale signpost turn up another road to the northwest. The first house to the left possess another Aardable door, beyond which another container potentially hiding exceptional loot can be found. There are also other houses, sacks, crates and whatnot around to loot for more mundane goods (how many Broken Rakes does one Witcher need, and why are peasants here so keen on storing them?), as it suits you.
(1 of 2) After reaching Velen, make your way to Mulbrydale,
After reaching Velen, make your way to Mulbrydale, (left), where you can find a new signpost and better yet, some loot. (right)
Travel to the Inn at the Crossroads
Now that you’ve popped some new map markers by reading the notice board in Mulbrydale, found a new signpost, and looted the village, it’s time to press on to the Inn at the Crossroads. From Mulbrydale follow the road west and you’ll pass a priest along the road - if you talk to him you’ll start the quest Funeral Pyres, which you can ignore or complete as you wish. It’s not going anywhere, and will see you running around quite a bit, but it’ll put some extra ![]() Crowns in your coin purse. At the end of this westward-running road you’ll find another road running north and south, and you should hear somebody screaming off the road southwest of the intersection. Approach and you’ll start the quest At the Mercy of Strangers - you might want to complete this one, as it’s a little more time-sensitive then
Crowns in your coin purse. At the end of this westward-running road you’ll find another road running north and south, and you should hear somebody screaming off the road southwest of the intersection. Approach and you’ll start the quest At the Mercy of Strangers - you might want to complete this one, as it’s a little more time-sensitive then ![]() Funeral Pyres.
Funeral Pyres.
(1 of 2) Between Mulbrydale and the Inn at the Crossroads you can find two quests; talk to a priest along the road to start “Funeral Pyres”,
Between Mulbrydale and the Inn at the Crossroads you can find two quests; talk to a priest along the road to start “Funeral Pyres”, (left), and dispatch some Drowners near a bound man to start “At the Mercy of Strangers”. (right)
When you’re done dealing with ![]() Drowners and deserters, follow the road north until you reach another fork, then turn southwest and cross the river. From here the Inn at the Crossroads is just down the road to the southwest.
Drowners and deserters, follow the road north until you reach another fork, then turn southwest and cross the river. From here the Inn at the Crossroads is just down the road to the southwest.
Ask About Hendrik at Inn at the Crossroads
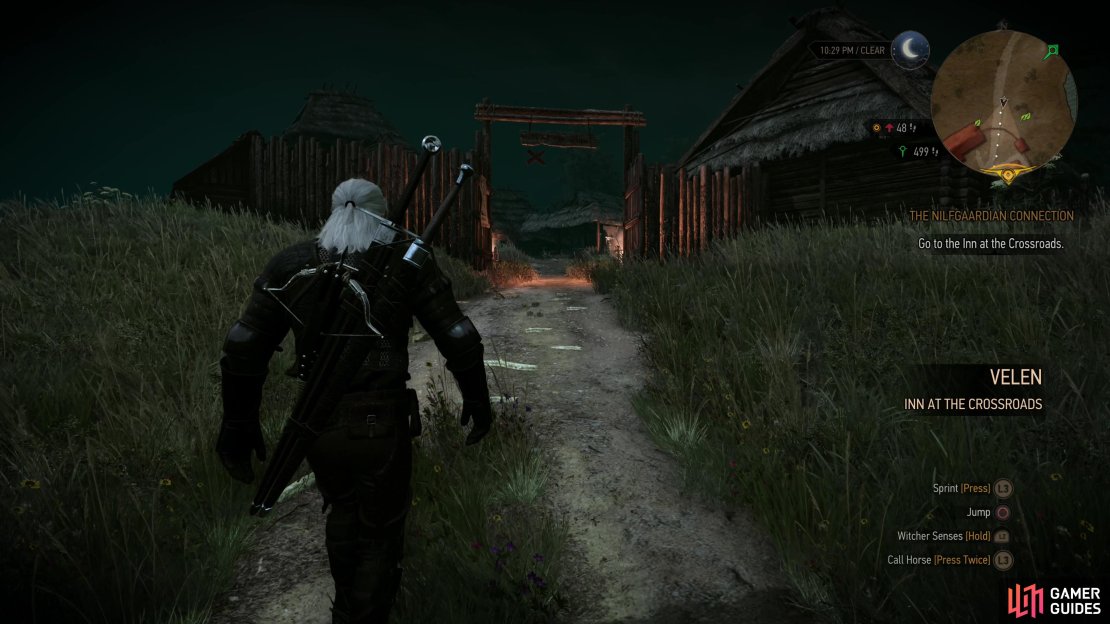
Enter the open gates to reach the interior of the palisade, where the inn is located. You’ll spot scenes of peasants in distress when you arrive - one man sequester his pig for covert slaughter, another sends his daughter to hide in the woods. Has Geralt’s reputation preceded him? Whatever the case, check out the signpost outside the inn to get the notice “Missing: Mikel”, which starts the quest ![]() Contract: Missing Brother … a quest with a whopping suggested level of thirty-three. Simply put, you won’t be doing it for a while.
Contract: Missing Brother … a quest with a whopping suggested level of thirty-three. Simply put, you won’t be doing it for a while.
Head inside the inn and talk to some peasants near the ![]() Innkeep to learn a bit about the area, namely that this “Baron” you heard about in Vizima apparently has claimed this land by right of might. You can also find Bruno, who will give you information about his brother (now spelled Mikkel), but you don’t need to bother with that just yet.
Innkeep to learn a bit about the area, namely that this “Baron” you heard about in Vizima apparently has claimed this land by right of might. You can also find Bruno, who will give you information about his brother (now spelled Mikkel), but you don’t need to bother with that just yet.
Deal With the Bandits
Talk to the Innkeeper and after a bit of chatter you’ll be interrupted by a trio of bandits, presumably the cause of the peasant’s distress earlier. These bandits aren’t fond of strangers, especially armed ones, and they’re not too bright, being incapable of inferring what Geralt is by his unusual armament. After they heckle Geralt you’ll get some timed dialog options:
-
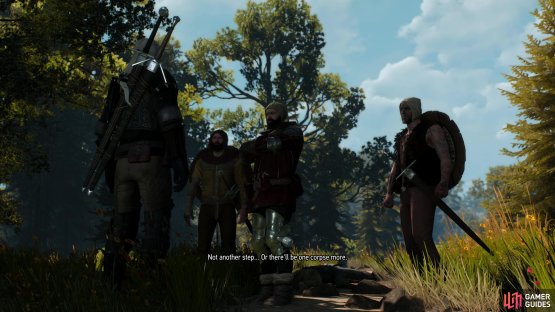
”Back off or die.”: The bandits find this argument surprisingly unpersuasive, and choose the “or die” option. You’ll have to kill them (Lv4) and the distraught innkeeper will confirm these were some of the Baron’s men before telling you where to find Hendrik. If you don’t leave quickly another trio of Bandits (Lv5) will show up inside and outside of the inn.
-
”I’m a witcher.”: While they might not be smart enough to identify a Witcher from his swords, they know what one is when told, and wisely decide to not pick a fight. Afterwards the Innkeeper will take you around the corner and tell you what you need to know.
-
”Care for a drink?”:Trying to win the bandits over takes a bit more work, and they’re not immediately receptive. After the first timed dialog choice you’ll need to make two more, so follow up with ”Heading to Noivgrad.” and ”Cheers.” to get the bandits to leave you alone. Like with the answer above, the Innkeeper will take you around the corner and tell you what you need to know.
Whatever you do, you’ll leave the Inn at the Crossroads with a new objective in mind - ![]() Heatherton, a village to the west.
Heatherton, a village to the west.
(1 of 4) After walking the side quest heavy road from Mulbrydale, you’ll finally reach the Inn at the Crossroads.
Travel to Heatherton
Exit the Inn at the Crossroads and follow a road west, then southwest. Cross some water and shortly you’ll reach a shrine at a crossroads, one replete with worshippers. From here follow the road northwest until you reach another fork. The breadcrumb trail should direct you northwest into the hills, but if you continue west you’ll find a group of bandits “harvesting” some corpses on the road. Talk to them and say ”No worries. I’m going.” to avoid a fight or ”What’s going on here?” to provoke them. Either way, it’s an inconsequential, optional encounter on the road to Heatherton, although defeating them will earn you a pittance of EXP.
(1 of 2) Along the road to Heatherton you’ll run afoul of some bandits. Confronting them could lead to violence.
Along the road to Heatherton you’ll run afoul of some bandits. Confronting them could lead to violence. (left), Once you reach Heatherton, dispose of some Rabid Dogs to hear the tale of a survivor. (right)
When you finally reach Heatherton you should notice the oddly out-of-season snow on the roofs and the odd mist cloying about. More urgent, albeit more mundane, is a peasant being harassed by several Rapid ![]() Dogs. Kill the mutts, then Geralt will calm the survivor down with
Dogs. Kill the mutts, then Geralt will calm the survivor down with ![]() Axii, which will enable the Witcher to extract some useful information about what befell the ill-fated village. The peasant’s recollection is unusually helpful, and while it doesn’t seem Hendrik will be in any condition to tell you anything, you’ll still need to search his hut to see if you can uncover any info.
Axii, which will enable the Witcher to extract some useful information about what befell the ill-fated village. The peasant’s recollection is unusually helpful, and while it doesn’t seem Hendrik will be in any condition to tell you anything, you’ll still need to search his hut to see if you can uncover any info.
Search Hendrik’s Hut
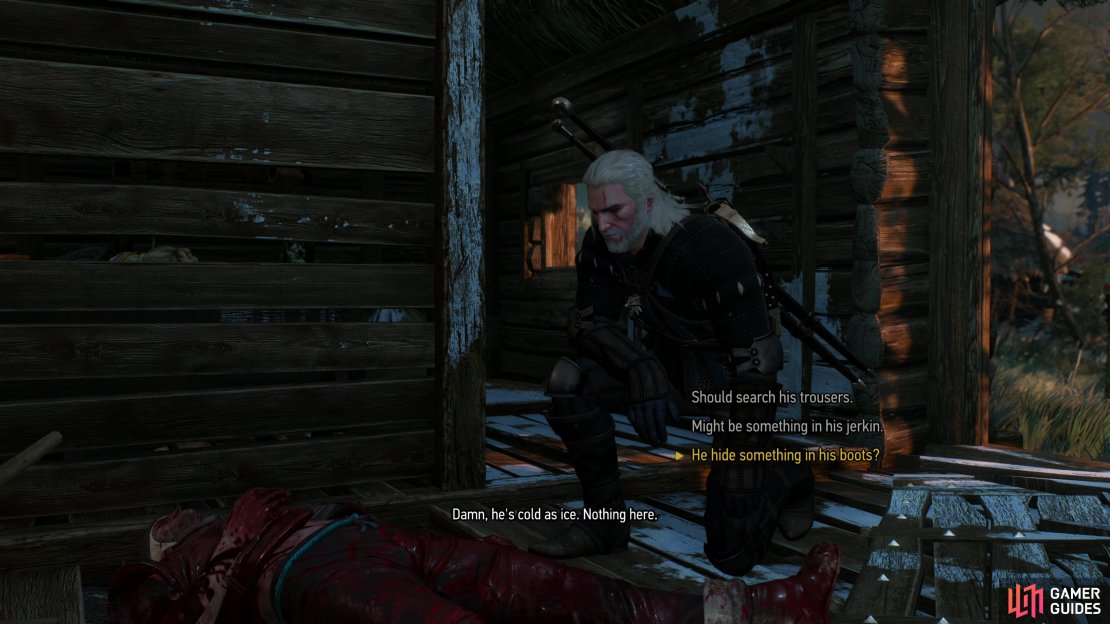
Activate your Witcher senses and search the southern end of the village to find hoof prints outside of one of the houses - nice of the Wild Hunt to mark Hendrik’s abode for us. Head inside the nearby house and investigate the body on the floor, more specifically, the corpse’s boots, to find Hendrik’s ![]() Key . Go into the next room and search the hay to discover a trap door in the floor, which you can open with Hendrik’s Key.
Key . Go into the next room and search the hay to discover a trap door in the floor, which you can open with Hendrik’s Key.
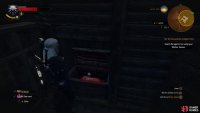
Climb down into the cellar and search a candle on the wall, then investigate a chest in a cubby along the northwestern wall to find a ledger. Read the entries and Geralt pick up on two of Hendrik’s leads, starting the quests Bloody Baron and Hunting a Witch , and after reading you’ll also get Hendrik’s ![]() Notes. Before you leave, loot the chest in this room to score some Crowns, then note the poster in the northern room. Apparently the daughter of the Bloody Baron is missing. This will probably come up again. You should also search the ruins of Heatherton before leaving - you likely won’t find anything exceptional, but the alchemical components and crafting materials do add up.
Notes. Before you leave, loot the chest in this room to score some Crowns, then note the poster in the northern room. Apparently the daughter of the Bloody Baron is missing. This will probably come up again. You should also search the ruins of Heatherton before leaving - you likely won’t find anything exceptional, but the alchemical components and crafting materials do add up.
(1 of 4) Search Hendrik’s corpse to find a key,
You now have two viable main quests you can pursue. Hunting a Witch takes you further afield, but is a lower level, while Bloody Baron is closer, but higher level. Both lead to their own somewhat lengthy quest chains, although you’re not obligated to complete the entire questline in one go. Either way, you’re heading south if you wish to continue the main questline in Velen.













Some ppl are way too picky... Considering the amount of work which went into this guide, time and effort, one would think they wouldn't nit-pick. I personally think that this guide is AWESOME, thanks for posting it!
Part of the quest "Returning to the Priest in Funeral Pyres Quest in Witcher 3": https://www.gamerguides.com/the-witcher-3-wild-hunt/guide/walkthrough/velen/the-niflgaardian-connection#returning-to-the-priest-in-funeral-pyres-quest-in-witcher-3
does not fit with subsequent parts "Monster Den (Level 6)" and "Person(s) in Distress (level 10) Walkthrough", because you have to find priest in the area beyond this POI. It would be more logical if it was after these events.
"When you’re done in Mulbrydale, head out along a road to the north-west and follow it until you find a Priest of the Eternal Fire standing north of the road, along with two guards."
Not to the north-west, but to the west.