
Walkthrough for the secondary quest A Portrait of the Witcher as an Old Man in The Witcher 3: Wild Hunt - Blood and Wine.
| Suggested Level |
|---|
| 43 |
You can find a painter in a square south of The Gran’Place signpost. Talk to him to start this quest.
How to Start A Portrait of the Witcher as an Old Man
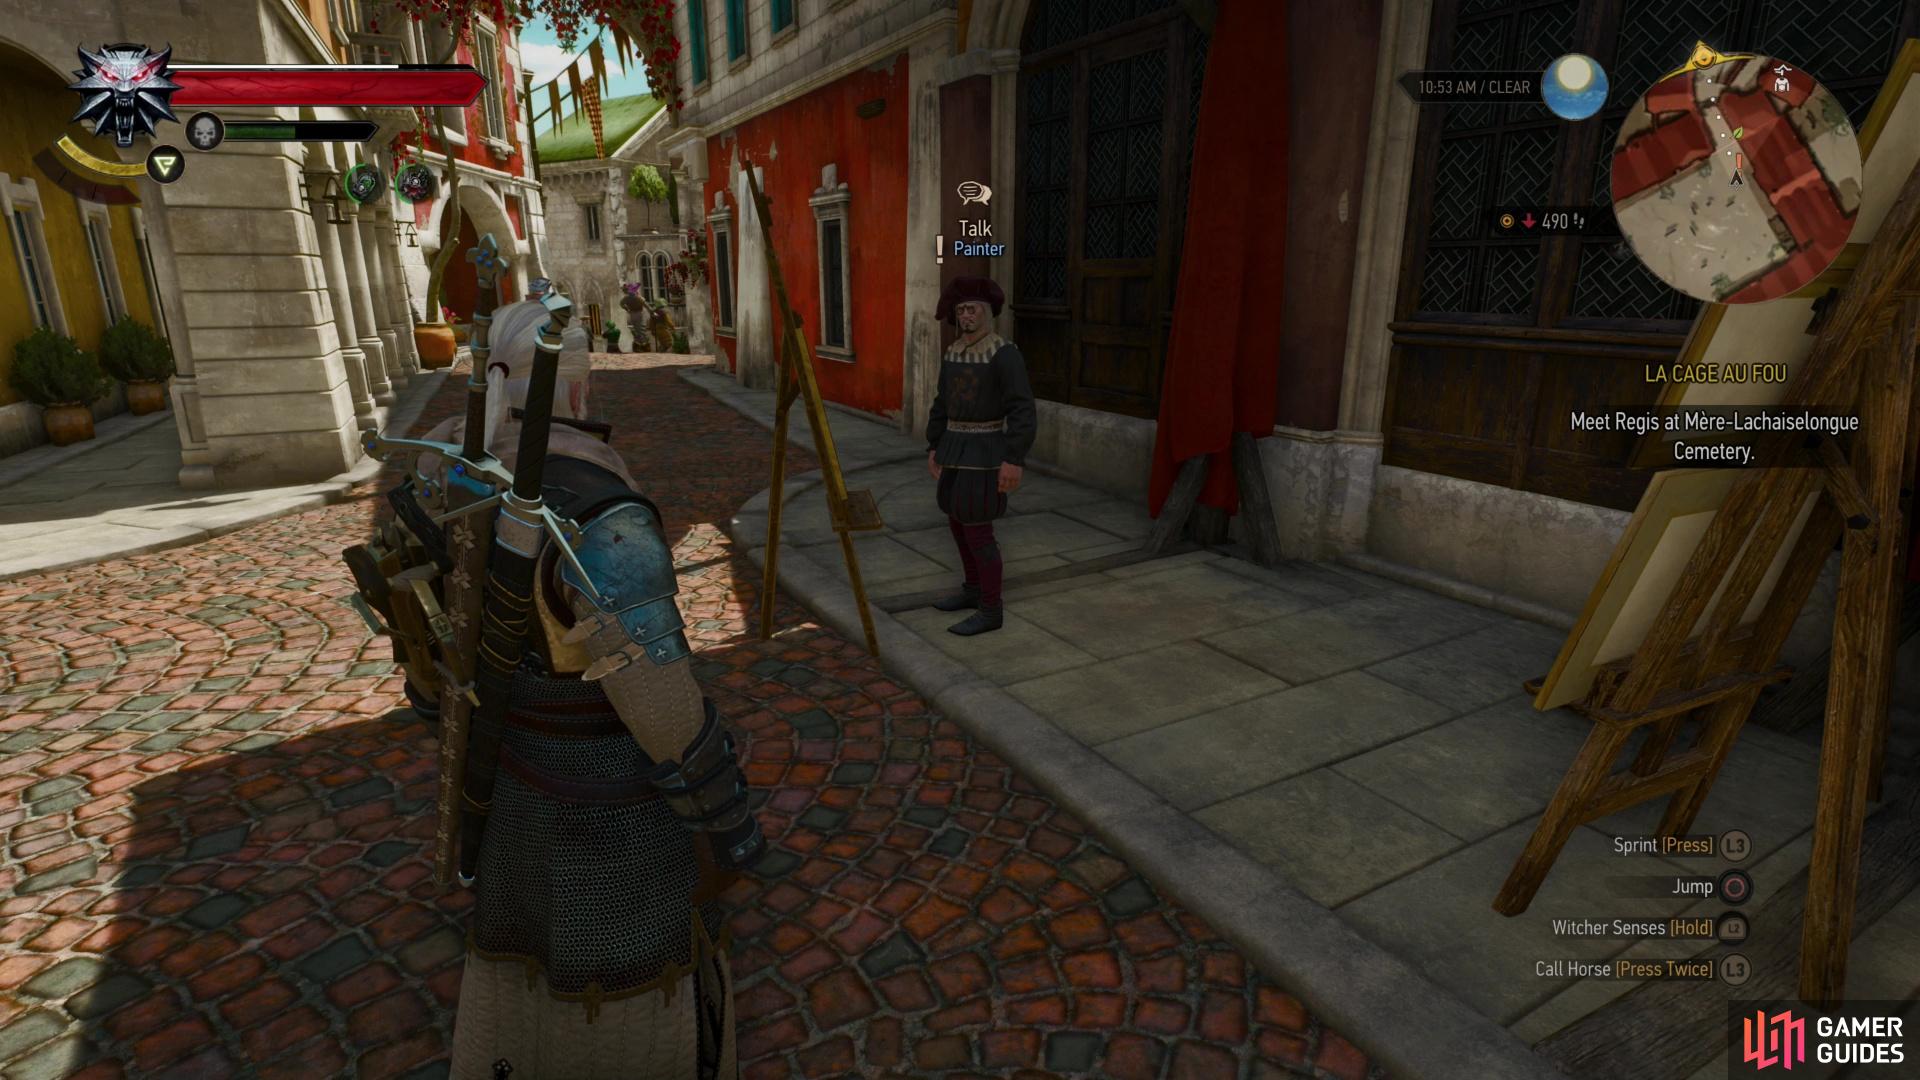
To start this quest, head to “The Gran’place” signpost and from there travel south through a tunnel to reach a square filled with tents. Make your way to the southeastern corner of this square to find a Painter with a quest for you. Talk to him and he’ll gush about Geralt for a while before asking to paint a portrait of our dear Witcher. Agree (respond with “Fine. Have it your way.”) to start this quest.
First up you’ll need to meet with the painter “at noon at the western gate, near the palace”. Easier done than said, just head north to “The Gran’place” signpost and use it to fast travel northwest to the “Beauclair Palace” signpost. You’ll find the Painter waiting for you just west of the sign. Talk to him, then follow him on horseback to his ideal painting location, where you’ll come across some campers. After some chatter you’ll be tasked with another trivial chore: locate the Painter’s missing paints.
(1 of 3) Search for the Painter’s paints in a cave,
How to Find the Painter’s Paints
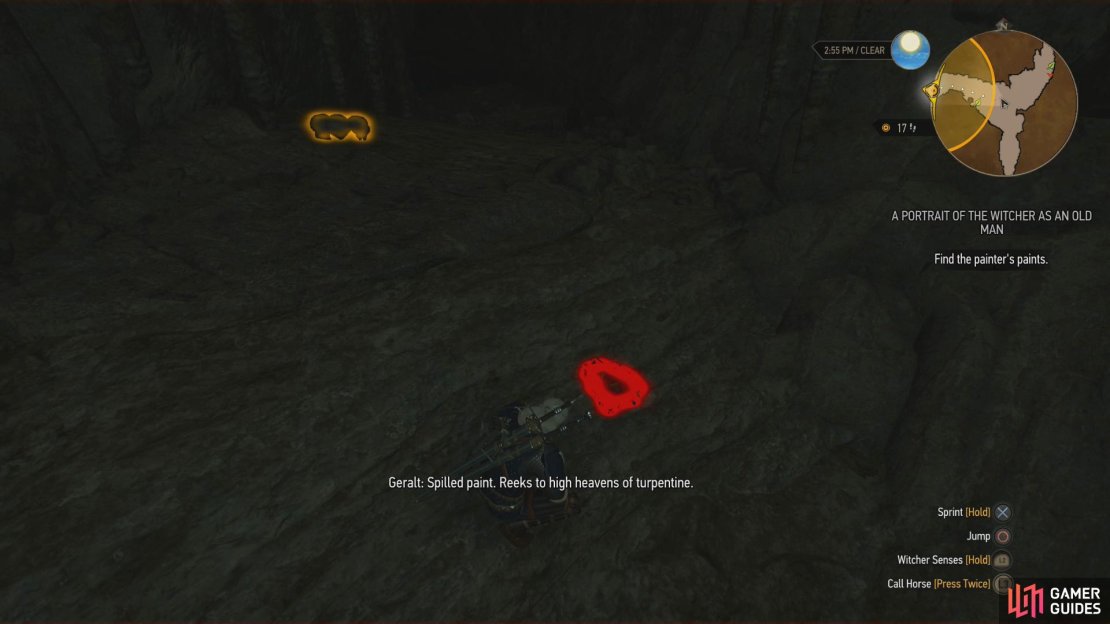
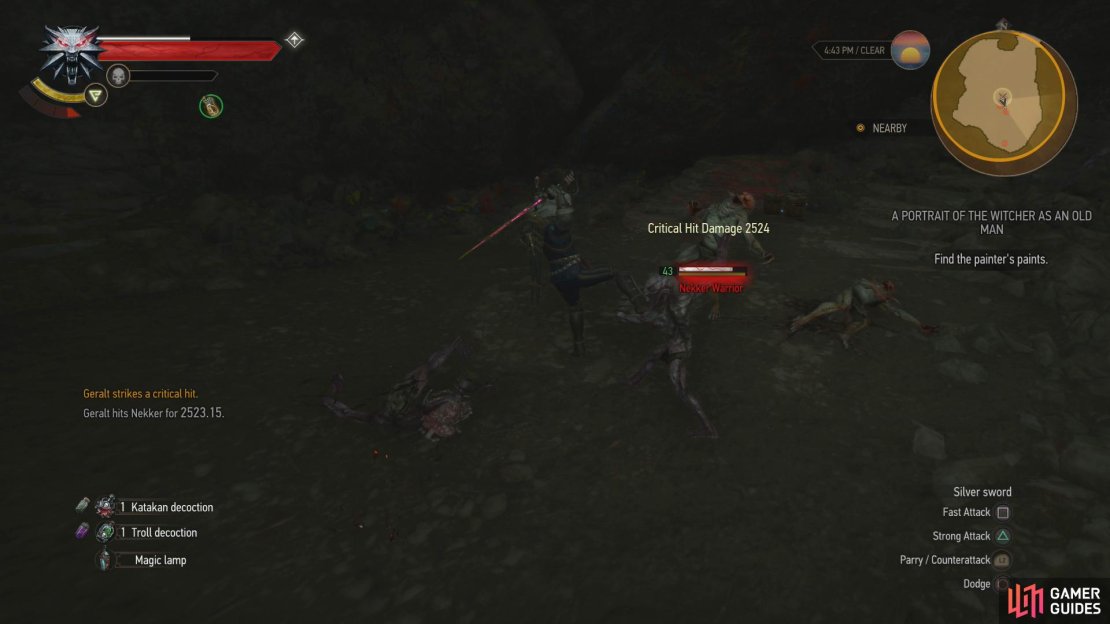
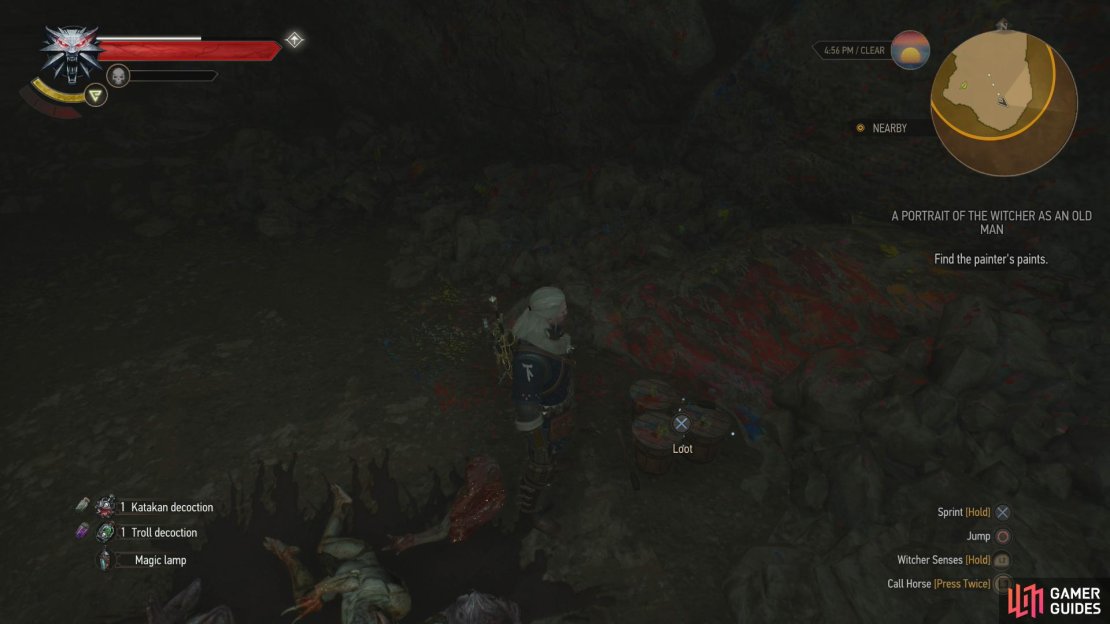
Downhill and south of the picnickers you’ll find a cave. Head inside and use your Witcher Senses to locate some spilled paint. It seems doubtful that this paint managed to end up this far into a cave on its own… Anyways, you’ll notice you’re at a fork. To the northeast is another exit out of the cave - the way the quest wanted you to come, in fact, as there are footprints, spilled paint and a scent trail you can follow… but just heading down the hill to the south from the picnickers spared you a lot of running around. Instead, continue down another tunnel to the northwest to find a chamber occupied by several Nekkers (level forty-three). Kill them, then search the chamber for the missing Painting Accessories.
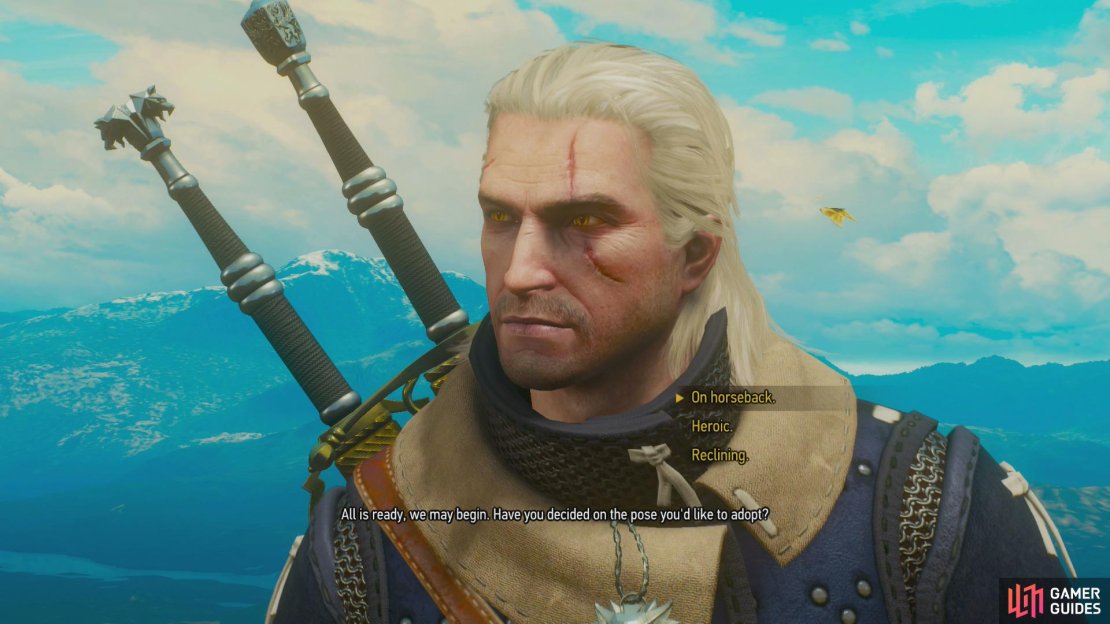

(1 of 3) Choose your pose,
Pick a Pose and Defeat the Griffin
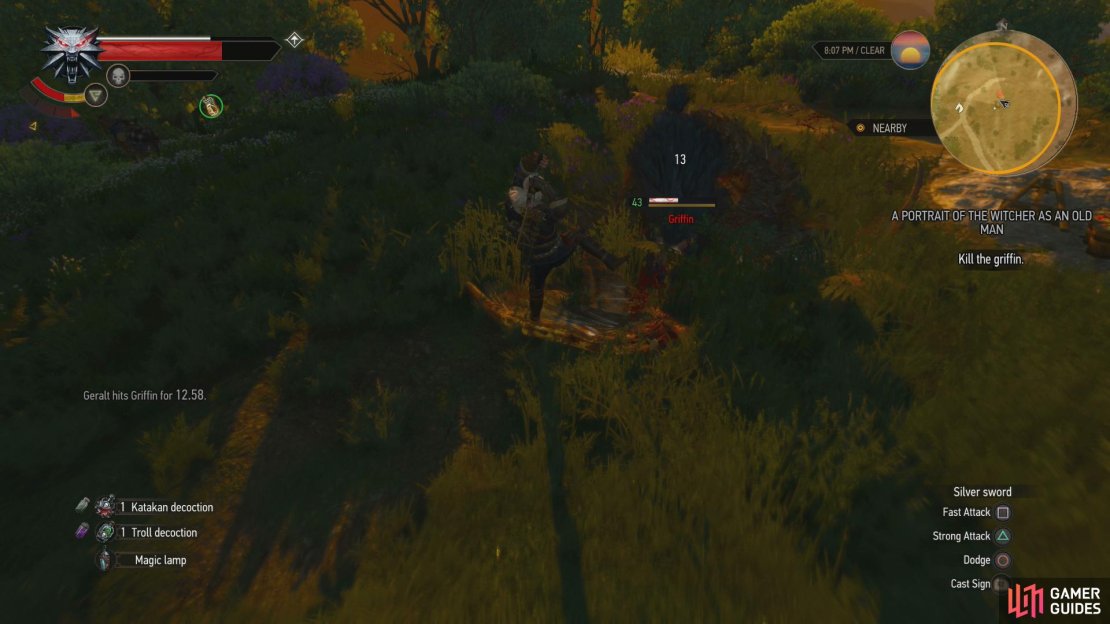
Exit the cave and return to the painter with his missing Painting Accessories, then follow him on horseback to the landscape chosen for the painting. Once you arrive, you’ll get to pick between three poses: “On horseback”, “Heroic” or “Reclining”. These affect what painting will be produced in the end, but otherwise don’t really matter. Pick whichever sounds most appealing to you, then confirm your choice. The Painter will mention a “griffin he’ll add in later”, and wouldn’t you know it, during the painting a live specimen (level forty-three) will arrive.
You’ve doubtlessly fought plenty of Griffins by now, but in case you’re rusty, use your crossbow to shoot it down when it flies around (or just use Quen to tank its attacks) and when it’s on the ground, hit it with Igni, which has a high chance of setting it on fire, giving you plenty of time to sneak in two or three sword strikes. Be sure to roll (not dodge) from its well-telegraphed attacks. Tawny Owl will help keep your Stamina up during this battle, while Hybrid Oil will increase the potency of your sword strikes.
Once the Griffin is dead, the Painter will confirm his painting survived and ask if you want the Griffin you slew to be painted in. I mean… he’s got a fresh prop, so adding the Griffin in now isn’t really a fabrication as much as it’s just a portrayal of reality. Make whatever decision you wish, it’ll affect how the painting looks later, but it’s merely a cosmetic choice. After that the Painter will leave to finish up his painting… but not before giving you another reward, including 300 Crowns.
Be sure to loot the Griffin for a Griffin Trophy before leaving.
How to Prove your Generosity
You’ve now got to wait one day to see the painting, which you’ll find being exhibited in the square where you initially met the Painter. Respond how you wish to the… liberties… taken by the Painter. After you make whatever comment you want, the Painter will offer to sell it to you at a discounted rate of… 1,000 Crowns. Do so and you’ll prove you possess the virtue of Generosity.
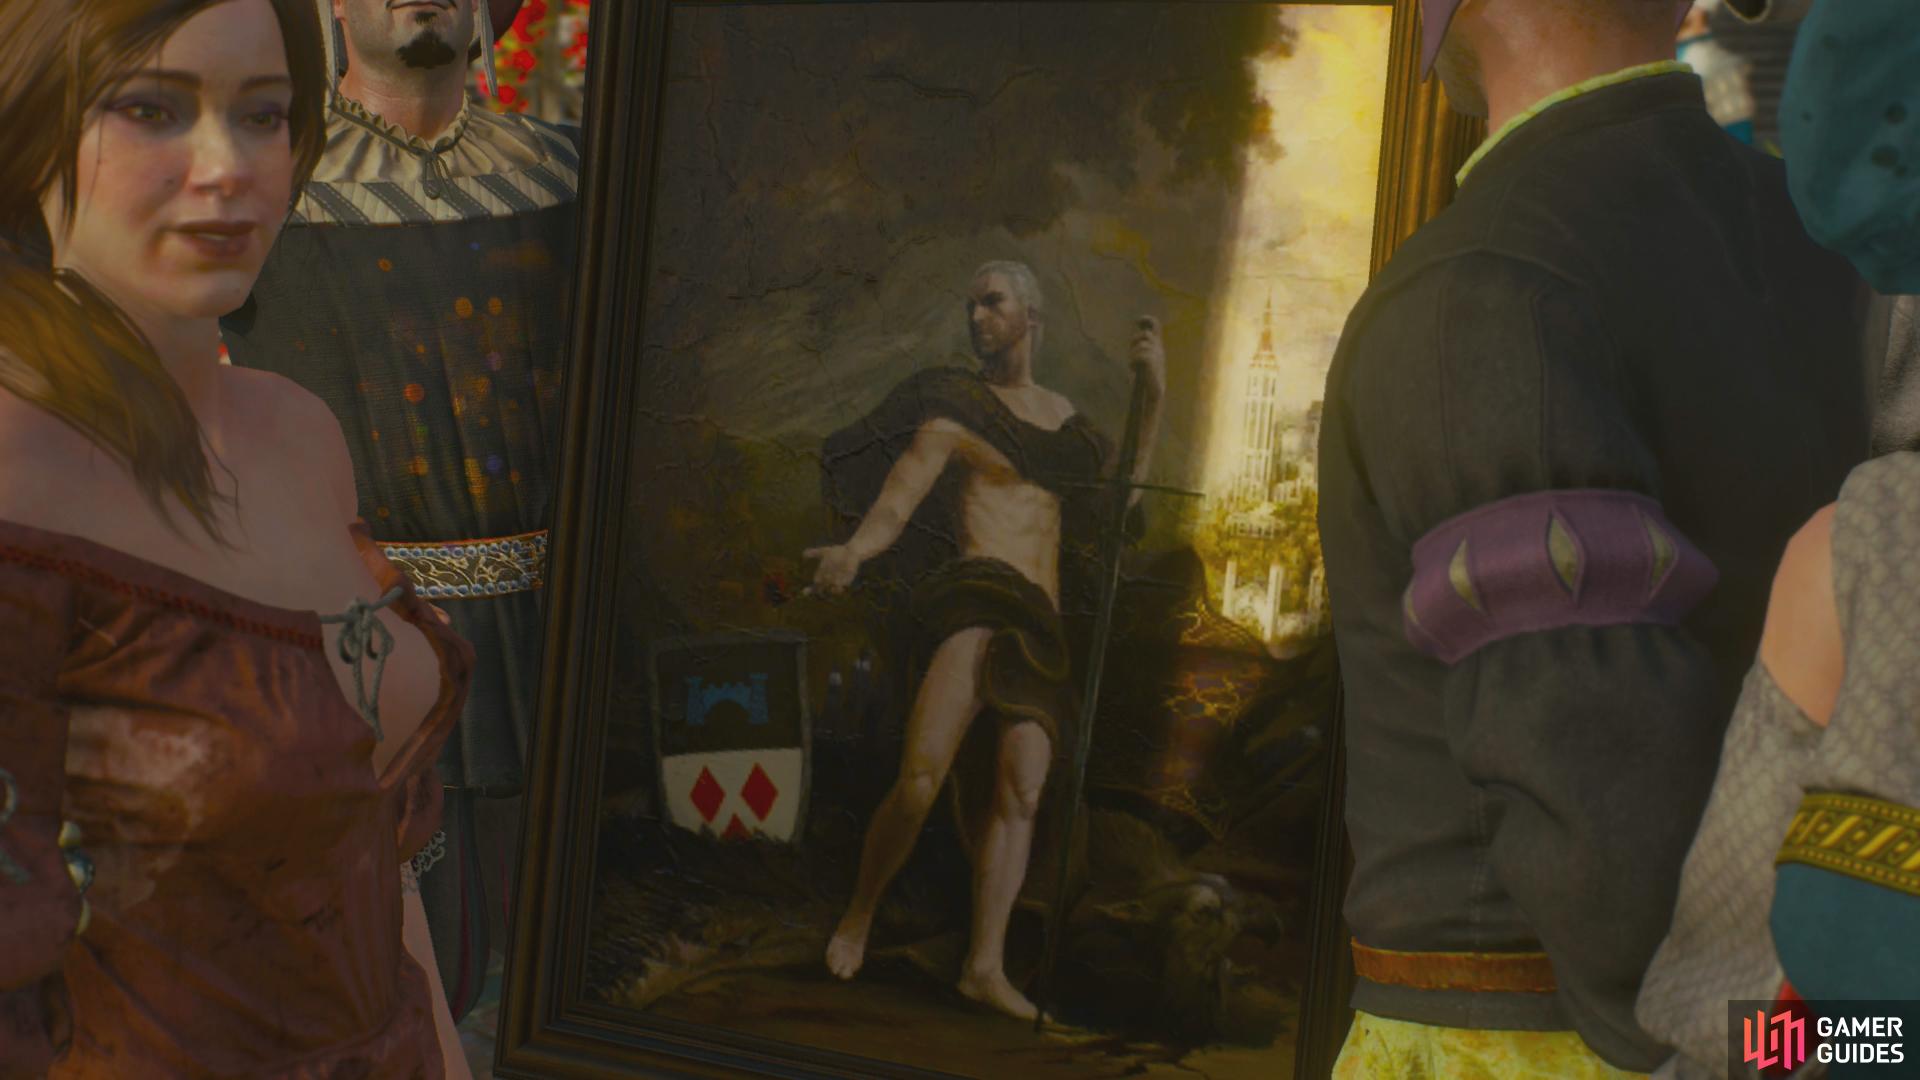
The fruits of your labors are… interesting, to say the least.
No Comments