
While the ![]() Bloody Baron was keen to divulge information about Ciri so he could string you along and keep you searching for his own missing family, nobody in Novigrad has firsthand knowledge of freedom and either the desire or ability to tell Geralt about it. This results in a lengthy search before eventually cornering
Bloody Baron was keen to divulge information about Ciri so he could string you along and keep you searching for his own missing family, nobody in Novigrad has firsthand knowledge of freedom and either the desire or ability to tell Geralt about it. This results in a lengthy search before eventually cornering ![]() Whoreson Junior at the end of the main quest Get Junior, and with a bit of persuasion Geralt is able to convince the degenerate crime lord to speak of his encounter with Ciri. This naturally takes the form of the playable main quest
Whoreson Junior at the end of the main quest Get Junior, and with a bit of persuasion Geralt is able to convince the degenerate crime lord to speak of his encounter with Ciri. This naturally takes the form of the playable main quest ![]() Ciri’s Story: Visiting Junior.
Ciri’s Story: Visiting Junior.
Quest Objectives
| Quick Search |
|---|
| Starting Ciri’s Story: Visiting Junior |
| Kill Whoreson Junior |
| Escape from Whoreson Junior’s Hideout |
Starting Ciri’s Story: Visiting Junior
To start this quest you’ll need to reach the end of the aforementioned main quest Get Junior, which is quite a lengthy endeavor coming after completing three other main quests in Novigrad. Break into Whoreson Junior’s estate in Oxenfurt, fight through his henchmen, and confront him upstairs to trigger a cutscene that ultimately triggers this quest.
Kill Whoreson Junior
After some chatter between Ciri and ![]() Dandelion (feel free to say whatever you wish) you’ll need to climb a ladder and some ledges to reach the roof of a building. Make your way southwest across the interlocking rooftops of Novigrad’s jumbled buildings and drop down onto a wooden balcony and approach a window to trigger another scene, which ends with Ciri and Whoreson Junior fighting.
Dandelion (feel free to say whatever you wish) you’ll need to climb a ladder and some ledges to reach the roof of a building. Make your way southwest across the interlocking rooftops of Novigrad’s jumbled buildings and drop down onto a wooden balcony and approach a window to trigger another scene, which ends with Ciri and Whoreson Junior fighting.
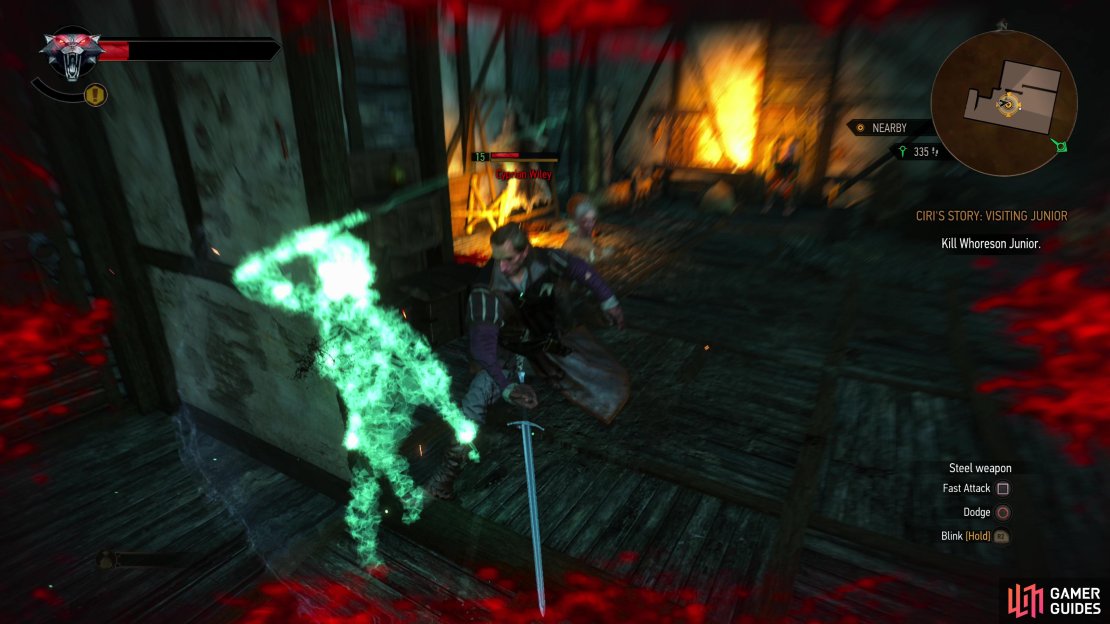
If you were in control of Geralt, this fight would be trivial - just parry at the right time to counterattack Whoreson Junior and after a few swats you’d be done. Ciri can’t parry like Geralt can, however, and she doesn’t have ![]() Quen to stagger Whoreson Junior with, either, so you’ll have to try to dodge around your foe to land attacks or abuse your newly unlocked Blink special ability. To use Blink your Energy meter must be full - a blue semi-circle under your health bar - and when it is full just hold
Quen to stagger Whoreson Junior with, either, so you’ll have to try to dodge around your foe to land attacks or abuse your newly unlocked Blink special ability. To use Blink your Energy meter must be full - a blue semi-circle under your health bar - and when it is full just hold  /
/  to charge the attack. The longer you charge the attack the more ground you’ll cover, striking up to five enemies in Blink’s area-of-effect, just watch for glow marking the area affected. Of course, against the lone Whoreson Junior, you don’t have to worry about this too much, as long as he’s in the area of effect you’ll be fine.
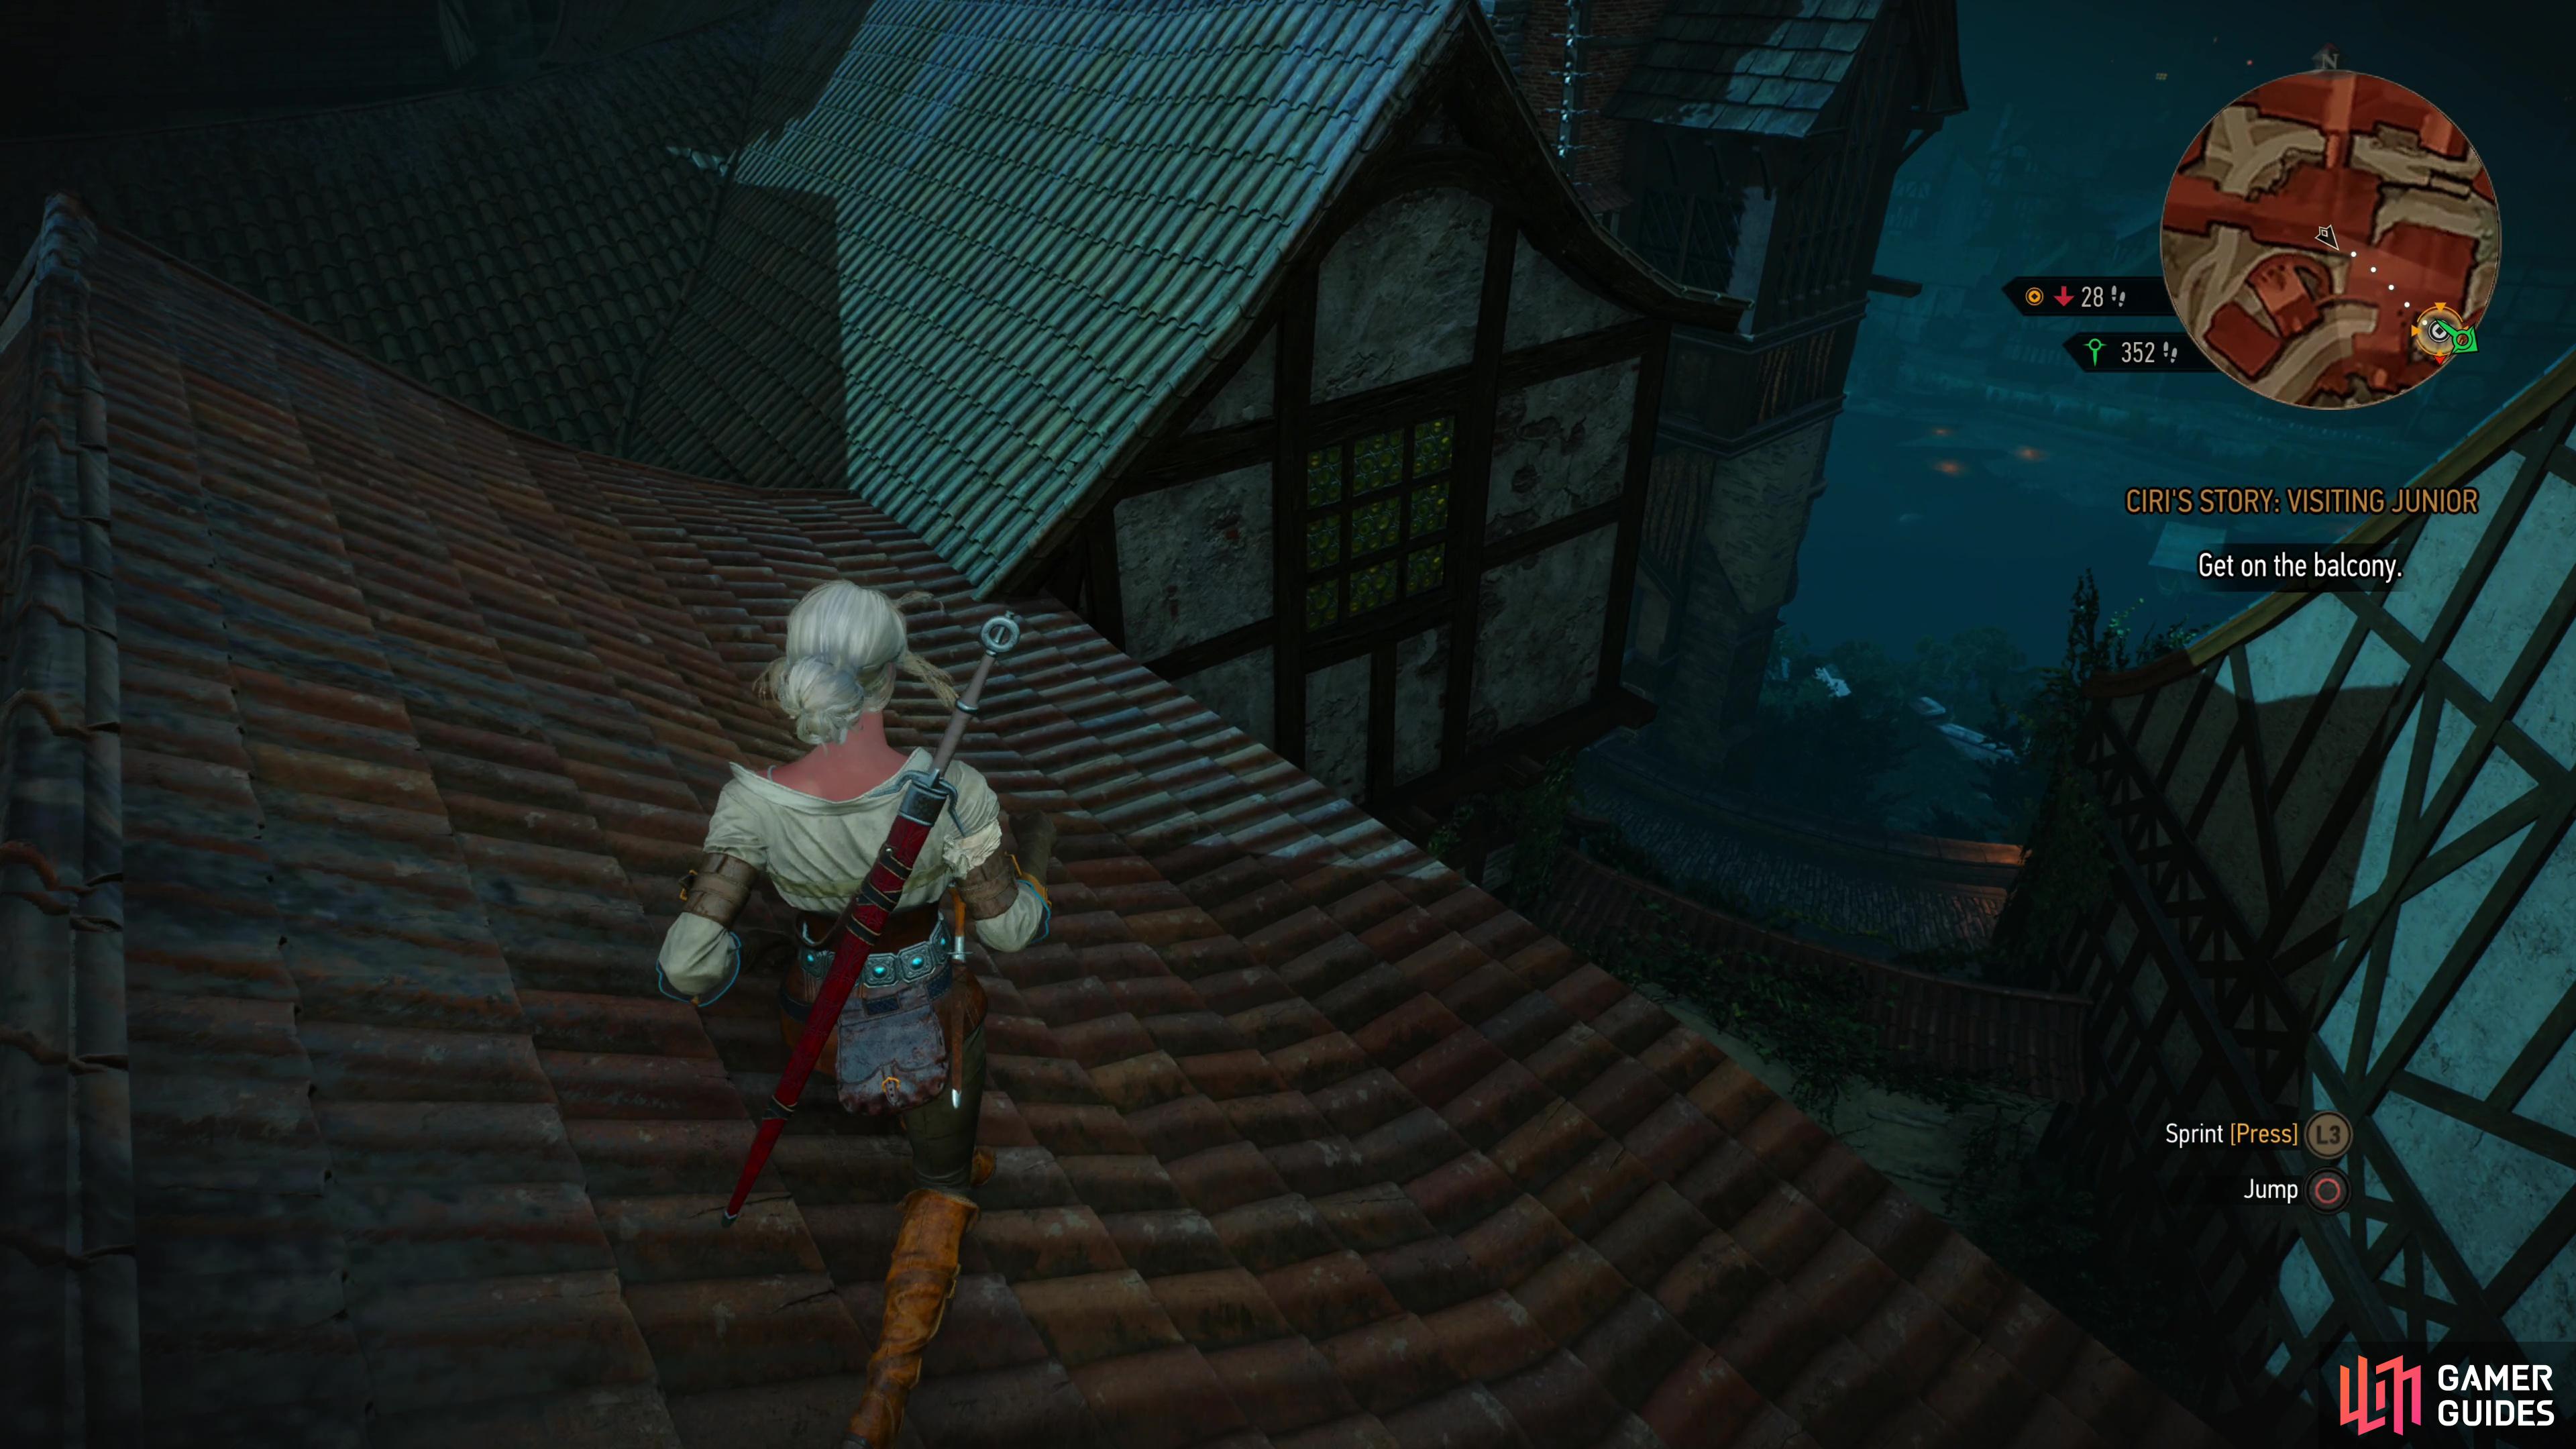


(1 of 3) Climb up, the run across the rooftops,
All that said, this attack has one huge, sneaky drawback - even though you’re phasing out of reality and teleport-striking enemies, you’re apparently not intangible enough to avoid damage. This is especially true when you initiate the Blink attack. Common gamer sense would dictate that you’ve got some invulnerability frames after letting to of the / buttons, but you really don’t, and using Blink is just a good way to get hit by enemies. It’s actually surprising how long you remain vulnerable and unable to control Ciri or dodge while using Blink, to the point where even distant melee enemies can still charge and land a hit while you’re using Blink. Be wary of the risks that come with using Blink and only try to use it when you’re safe… which is to say, you might be better off not trying to get much use out of it in this fight. Hiding behind walls or other barriers may mitigate Blink’s more frustrating aspects, however.
Escape from Whoreson Junior’s Hideout
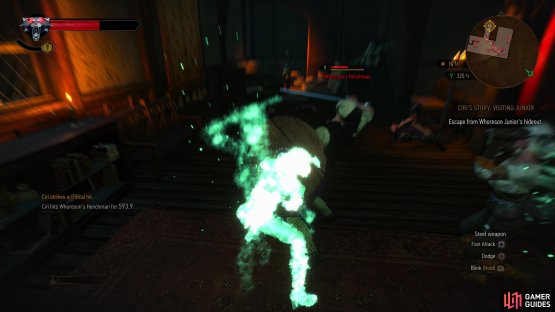
Defeat Whoreson Junior and after some more scenes you’ll have to defeat three of Whoreson’s Henchmen (Lv9). This is an even simpler fight than against Whoreson Junior, as none of Whoreson’s Henchmen are particularly skilled combatants. Block their attacks, dodge to position yourself advantageous and strike whenever it’s safe to do so, and once they’re smote head downstairs to find another group of Whoreson’s Henchmen, this time lead by a shield-bearing specimen. Against this foes Blink stops being a liability and becomes a necessity - dodge around to lure the shieldless henchmen away from the shield-bearer so you can cut them down, and once the shield-bearer is isolated finish him off with Blink.

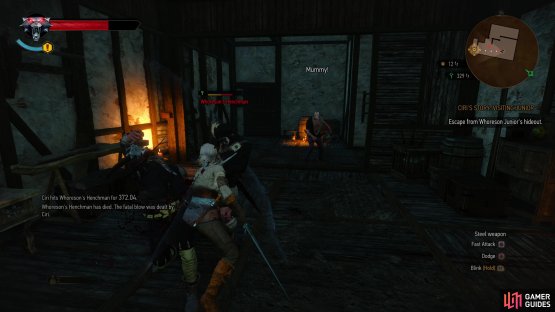
(1 of 2) Defeat Whoreson Junior, then the reinforcements he calls for,

Defeat Whoreson Junior, then the reinforcements he calls for, (left), then head downstairs to make good use of the Blink ability by picking on a shield-bearing henchman. (right)
Once all these foes are dead you’ll be back with Geralt, where the quest Get Junior will finally and its followup, The Play’s the Thing will begin… assuming you’ve also finished Count Reuven’s Treasure. Before you can get back to the business of main questing, however, you’ll have to deal with A Favor for Radovid after which another secondary quest Redania’s Most Wanted will begin.
No Comments