Necrophages are a loose collection of monsters whose unifying trait is their preference for consuming corpses. This, of course, makes them especially dangerous, as they tend to congregate where bodies pile up, and they’re not above attacking the living to make themselves a fresh corpse to feast upon. Despite sharing a preference in cuisine, not all necrophages are dumb prowlers like ![]() Drowners,
Drowners, ![]() Ghouls and
Ghouls and ![]() Rotfiends - some are smart enough to realize that humans like burying their dead, and this tradition serves as an all-you-can eat buffet for monsters cunning enough to take advantage of it. This page will provide a walkthrough for the contract
Rotfiends - some are smart enough to realize that humans like burying their dead, and this tradition serves as an all-you-can eat buffet for monsters cunning enough to take advantage of it. This page will provide a walkthrough for the contract ![]() Contract: The Merry Widow in The Witcher 3.
Contract: The Merry Widow in The Witcher 3.
Quest Objectives
| Quick Search |
|---|
| Starting Contract: The Merry Widow |
| Investigate the Cemetery |
| Find the Monster’s Lair |
| Defeat Mourntart |
Starting Contract: The Merry Widow
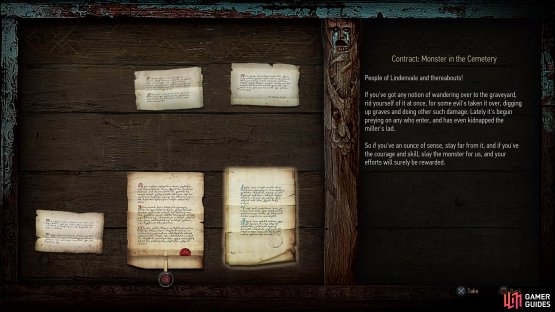
As is often the case with contracts, you can start this one by visiting the notice board in Lindenvale and grabbing the notice Contract: Monster in the Cemetery. Read it to start the quest, then head east to find the local Gravedigger, who will tell you of some creature that started consuming corpses in the local graveyard, but this already worrying behavior escalated, and now a “youngin from the village” has gone missing. Haggle for a better wage, and once you’re done you’ll need to head to the local cemetery.
(1 of 2) Pull the notice “Contract: Monster in the Cemetery” off the notice board to start the quest,
Pull the notice “Contract: Monster in the Cemetery” off the notice board to start the quest, (left), then talk to the local gravedigger to learn about the town’s woes and settle on a price. (right)
Investigate the Cemetery
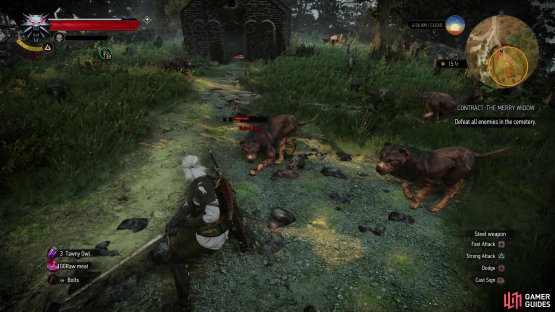
A known, local feeding ground like the cemetery might be bad for the villagers, but it makes things easier for Witchers - at least you know where to look for clues. The cemetery is on a hill east of town, so head on over there and kill several Rabid ![]() Dogs (Lv5). After they’re dead Geralt will dismiss them as the source of the villager’s woe. Activate your Witcher sense and search the graves, especially one along the southwestern edge of the village to find a scent trail.
Dogs (Lv5). After they’re dead Geralt will dismiss them as the source of the villager’s woe. Activate your Witcher sense and search the graves, especially one along the southwestern edge of the village to find a scent trail.
(1 of 2) Head to the cemetery and kill some Rabid Dogs,
Head to the cemetery and kill some Rabid Dogs, (left), then search a grave to find a scent trail. (right)
Find the Monster’s Lair
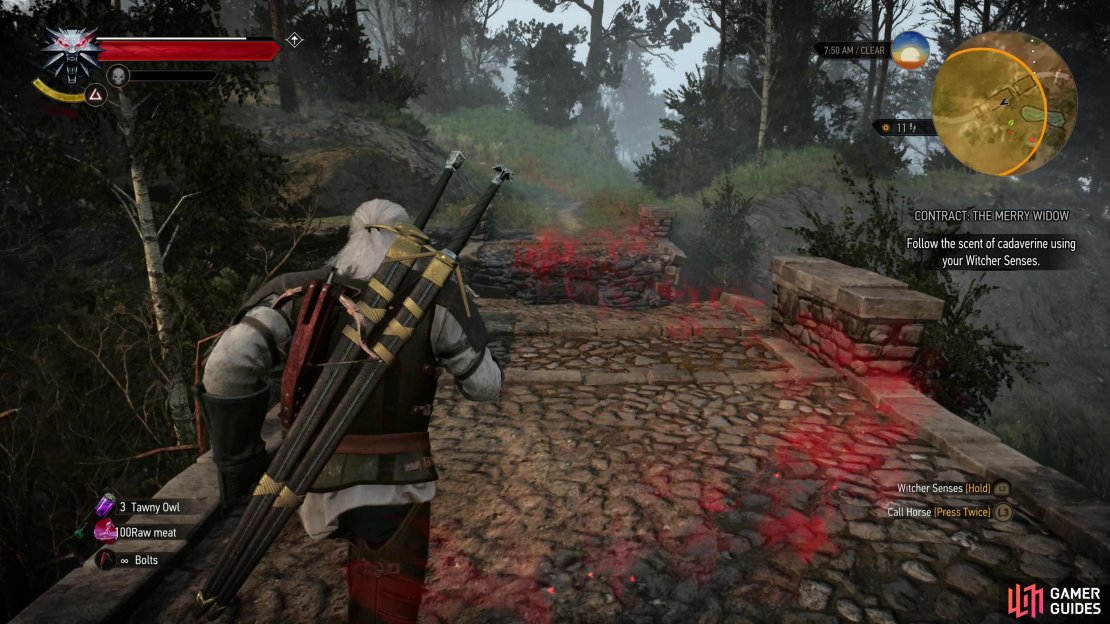
Climb the cemetery wall, then keep your Witcher senses active and follow the scent trail south, southeast to a ruined stone bridge. ![]() Note that this bridge marked the end of the trench you could explore as Ciri during the quest Ciri’s Story: The King of the Wolves, so if you want to take a trek down memory lane, jump into the low-ground south of the bridge. Just be wary of a Bear (Lv6). Or better yet, stay on track and follow the scent trail southwest across the bridge, jumping two gaps and following the road beyond until you hit a fork. At this fork turn south a short distance and you’ll find a hut alongside the road, which is where the scent trail leads.
Note that this bridge marked the end of the trench you could explore as Ciri during the quest Ciri’s Story: The King of the Wolves, so if you want to take a trek down memory lane, jump into the low-ground south of the bridge. Just be wary of a Bear (Lv6). Or better yet, stay on track and follow the scent trail southwest across the bridge, jumping two gaps and following the road beyond until you hit a fork. At this fork turn south a short distance and you’ll find a hut alongside the road, which is where the scent trail leads.
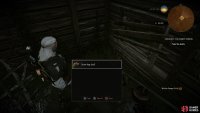
Inside the hut, search a bowl on the floor, a pot hanging over a fire and finally some skulls in the corner of the hut. This will be sufficient for Geralt to identify his monster, and devise a plan for confronting it, earning you a pittance of EXP in the process. Pick up the ![]() Grave Hag
Grave Hag ![]() Skull then return to the cemetery, enter the shrine and interact with the altar inside. This will cause Geralt to wait until nightfall, and sure enough, the Grave Hag
Skull then return to the cemetery, enter the shrine and interact with the altar inside. This will cause Geralt to wait until nightfall, and sure enough, the Grave Hag ![]() Mourntart will appear, aggrieved at the theft of her skulls.
Mourntart will appear, aggrieved at the theft of her skulls.
(1 of 4) Follow the scent trail over a ruined bridge,
Defeat Mourntart
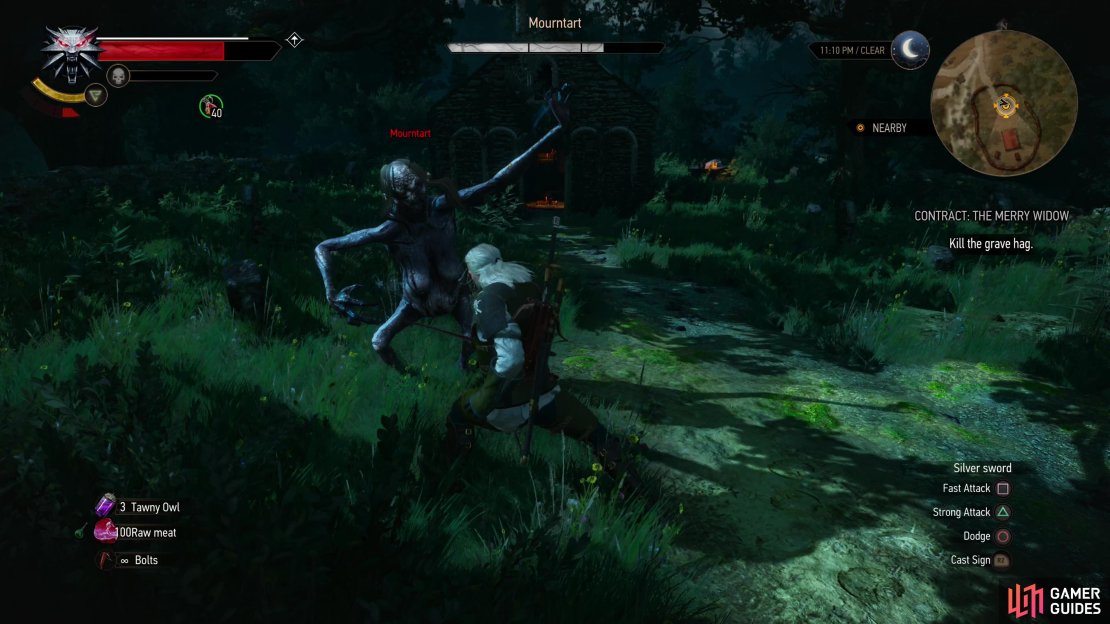
While Mourntart looks like a ![]() Water Hag - which you’ve likely fought by now - a Grave Hag and a Water Hag fight somewhat differently. Grave Hags don’t sink into the ground and teleport around, nor do they throw globs of goo at you - they’re far less subtle and aggressive. Instead, Grave Hags, Mourntart included, prefer to wade into melee, tearing at foes with their claws and occasionally lashing with their prehensile tongues. Their claws are the real damage dealers, and they’ll either swipe once or twice in a combo with them, but if they land a hit with their tongue they’ll stagger Geralt, giving them time to move in for a claw attack. Like with most monsters, you cannot block a Grave Hag’s attacks, but they’re easy enough to dodge. That doesn’t mean blocking is completely useless, however, as you can parry Mourntart’s tongue-lashing if you’re quick enough, but this can be tricky to do without
Water Hag - which you’ve likely fought by now - a Grave Hag and a Water Hag fight somewhat differently. Grave Hags don’t sink into the ground and teleport around, nor do they throw globs of goo at you - they’re far less subtle and aggressive. Instead, Grave Hags, Mourntart included, prefer to wade into melee, tearing at foes with their claws and occasionally lashing with their prehensile tongues. Their claws are the real damage dealers, and they’ll either swipe once or twice in a combo with them, but if they land a hit with their tongue they’ll stagger Geralt, giving them time to move in for a claw attack. Like with most monsters, you cannot block a Grave Hag’s attacks, but they’re easy enough to dodge. That doesn’t mean blocking is completely useless, however, as you can parry Mourntart’s tongue-lashing if you’re quick enough, but this can be tricky to do without ![]() Yrden slowing the Grave Hag down enough to see the attack coming.
Yrden slowing the Grave Hag down enough to see the attack coming.
Special tricks aren’t really needed for this fight, however, as her attacks aren’t overwhelmingly powerful. ![]() Quen is proof against anything Mourntart can throw at you, and if you use Active Shield + Exploding Shield you can just use Quen to absorb a hit, drop Quen to stagger the Grave Hag, then score a few fast attack strikes. Repeat until she’s dead. Heck, even
Quen is proof against anything Mourntart can throw at you, and if you use Active Shield + Exploding Shield you can just use Quen to absorb a hit, drop Quen to stagger the Grave Hag, then score a few fast attack strikes. Repeat until she’s dead. Heck, even ![]() Igni’s a powerful sign against her, as a single Igni can, if it sets her on fire and you let her burn for its duration, drain a quarter of her health… and you should be able to land a few hits just before she recovers from the damage-over-time, amplifying you damage output even further. Point is, you have options. The only thing you really need to be wary of is her scuttling charge attack, which is rather quick and might catch you off guard if you’re not ready for it.
Igni’s a powerful sign against her, as a single Igni can, if it sets her on fire and you let her burn for its duration, drain a quarter of her health… and you should be able to land a few hits just before she recovers from the damage-over-time, amplifying you damage output even further. Point is, you have options. The only thing you really need to be wary of is her scuttling charge attack, which is rather quick and might catch you off guard if you’re not ready for it.
(1 of 6) Mourntart prefers to mix it up in melee, and while her claw swipes are easy enough to dodge,
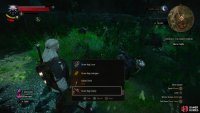
Kill Mourntart and remove the Grave Hag Trophy from the vanquished monster. She’ll also drop ![]() Addan Deith, a relic quality silver sword. Return to the gravekeeper in
Addan Deith, a relic quality silver sword. Return to the gravekeeper in ![]() Lindenvale and tell him the news about both the Grave Hag and the missing boy to collect your reward.
Lindenvale and tell him the news about both the Grave Hag and the missing boy to collect your reward.











No Comments