
Necrophages prefer to feast on corpses - it’s in the name, really - but won’t shun fresher fare when it’s available. Fortunately humans generally prefer to avoid the putrescence that inevitably goes hand-in-hand with the remains of the dead, making most necrophages a persistent nuisance rather than a dire threat. As with many things, however, war changes the natural balance of things, and when looters find themselves lured to the fields of the dead left in the wake of battles, unfortunate encounters with necrophages become inevitable. This page will provide a walkthrough for the secondary quest ![]() Bitter Harvest in The Witcher 3: Wild Hunt.
Bitter Harvest in The Witcher 3: Wild Hunt.
Quest Objectives
| Quick Search |
|---|
| Starting Bitter Harvest |
| Defend Albin Hart and His Crew from Necrophages |
| Get Your Reward from the Survivors |
Starting Bitter Harvest
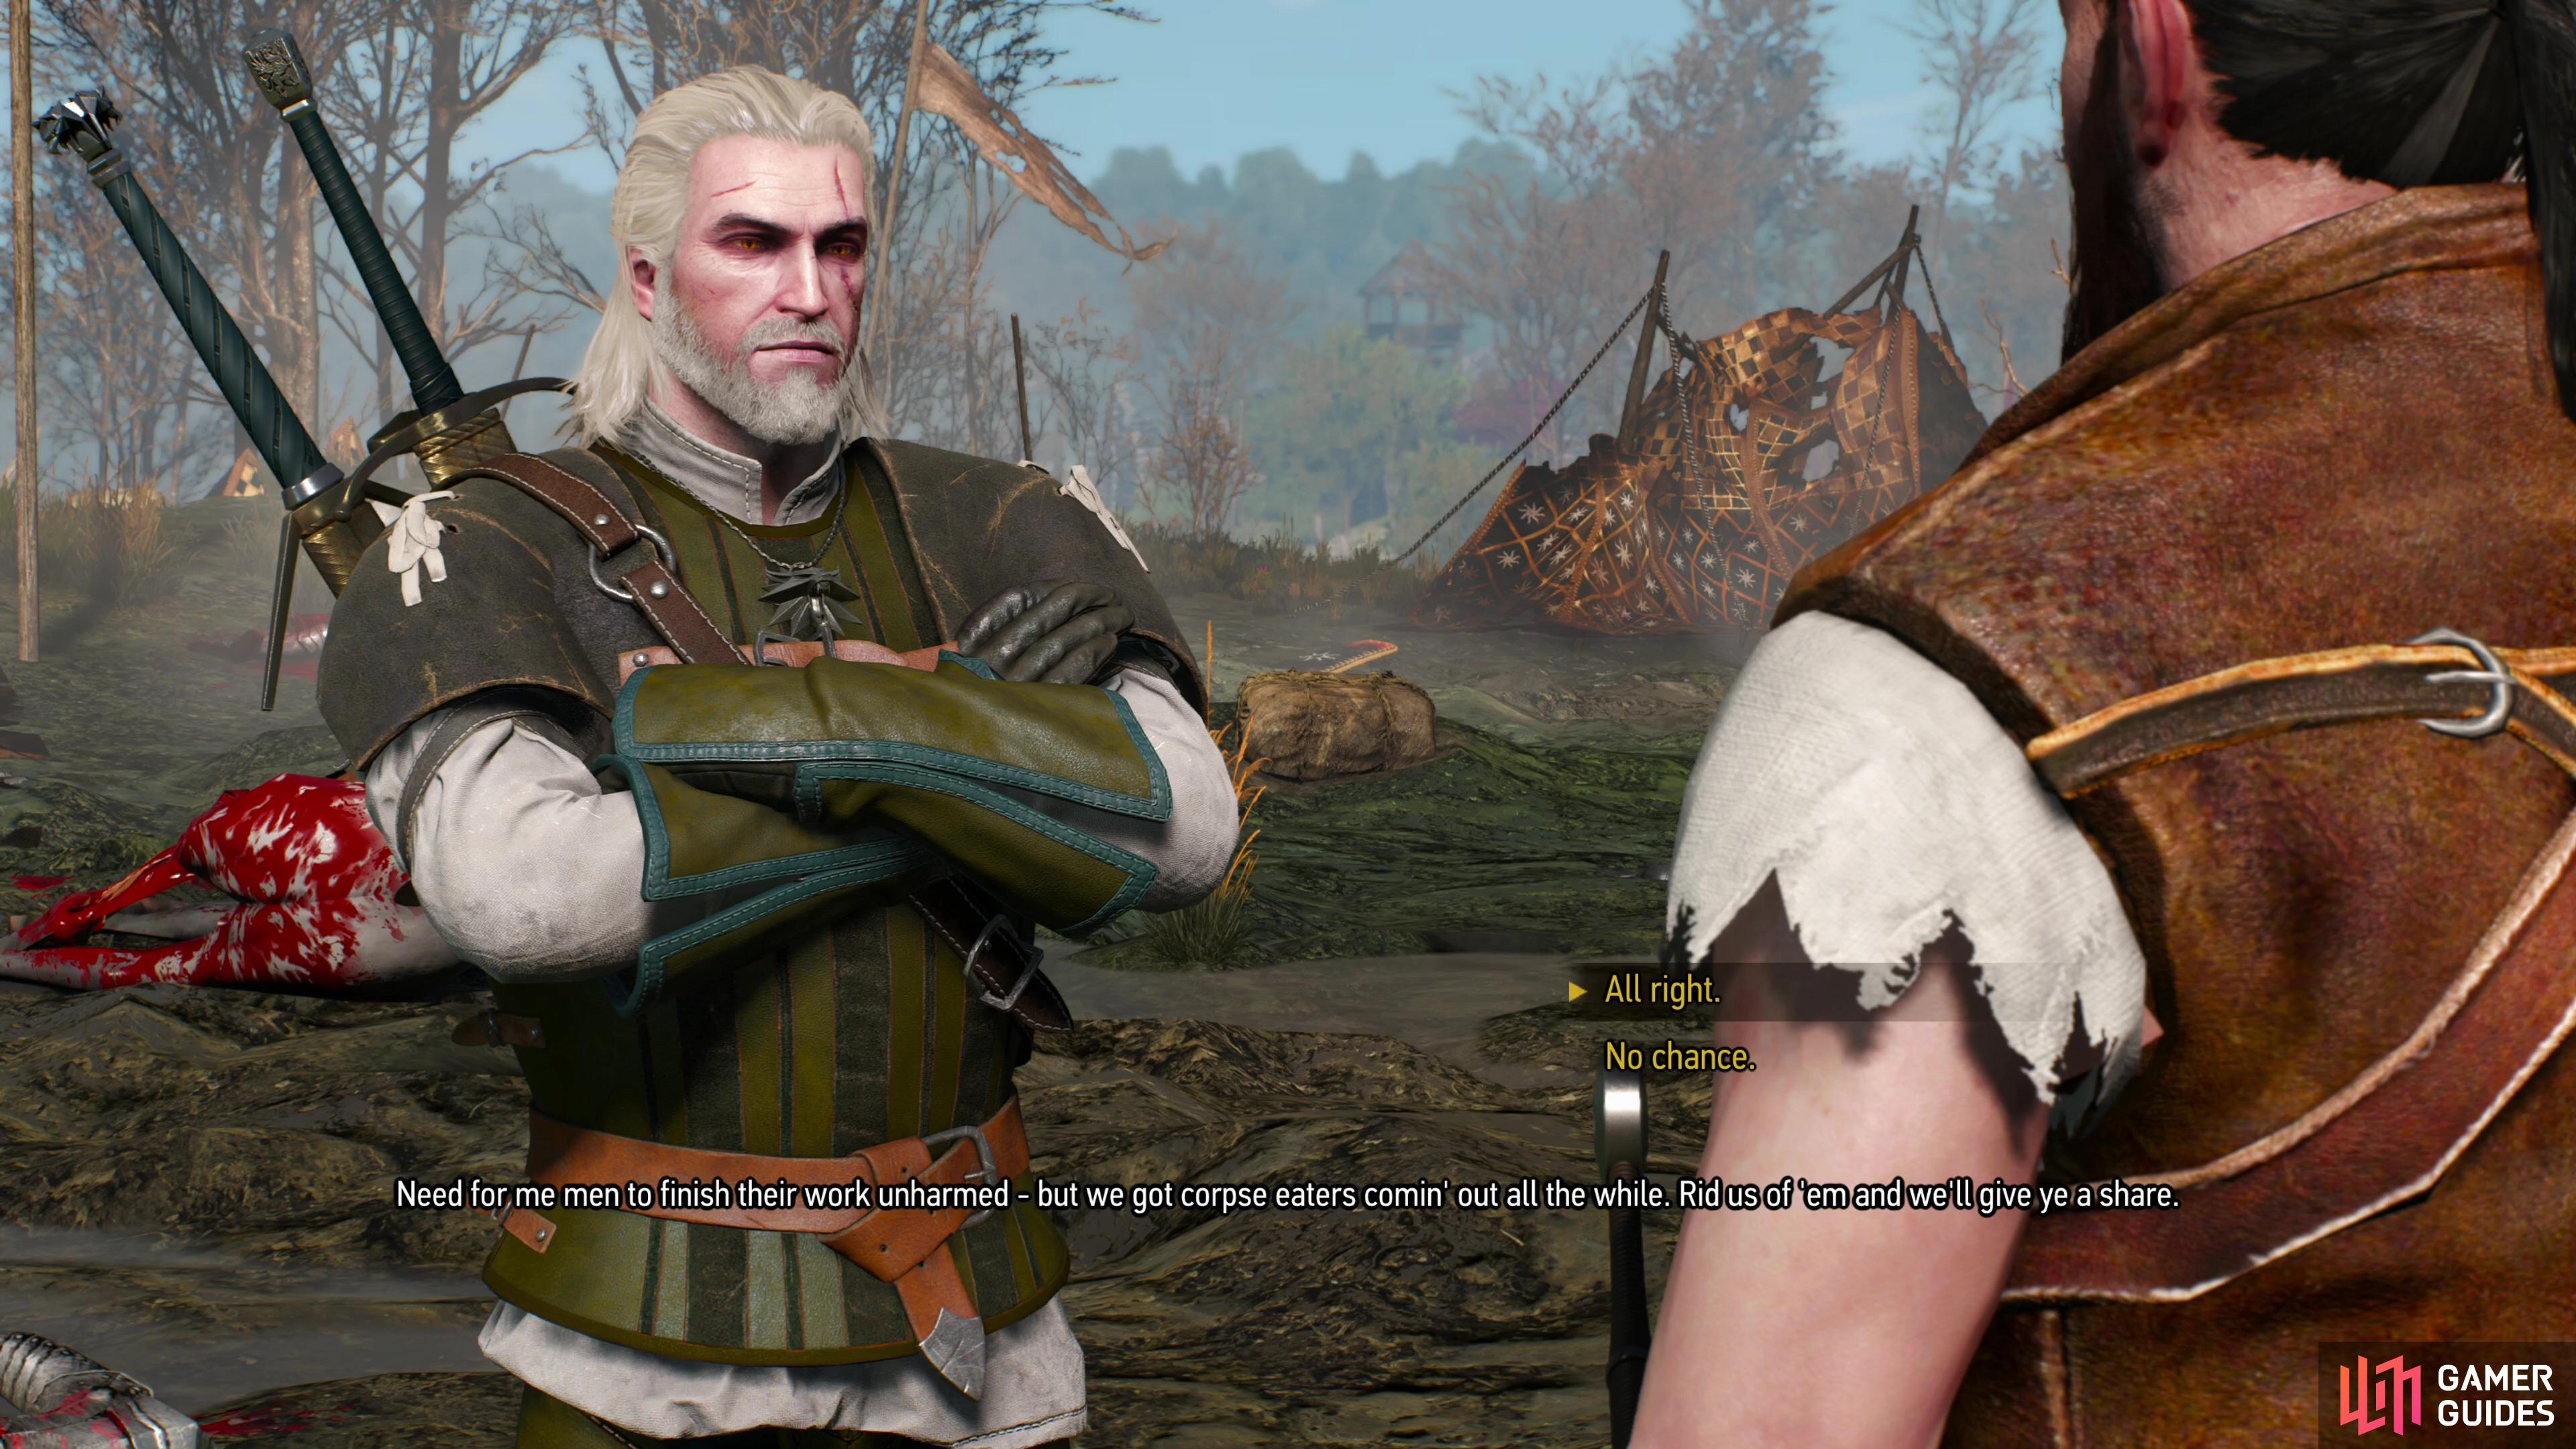
To start this quest you’ll need to talk to Albin Hart, who can be found on a battlefield along the muddy bank on the Pontar river, just south of the Border Post signpost. He’s got a simple proposition for you - his men and necrophages both seek to plunder the bodies here, and they can’t share due to the nasty habit of necrophages to indiscriminately attack the living. He’s willing to pay a Witcher to help keep the necrophages at bay.
Seems like a pretty straightforward job for a Witcher, and in many ways it is, but there are a few complications with this quest that should give you pause at lower levels. Namely those complications are Albin and his retinue - they’re made of paper and will fall over and die at a necrophage’s slightest caress, and the more of them that die the worse your reward will be. This in effect turns this quest into a test of your offensive prowess, and however talented of a gamer you might be, much of this will come down to your level and gear. If you’re fresh out of White Orchard it will be very, very difficult to keep Albin and his crew alive, and if they all die you’ll fail the quest. If you’ve waited a bit and crafted Griffin School Gear you’ll fare better, but it can still be a struggle to cleanly complete this quest even when your level is in the late teens.
On the plus side this quest doesn’t expire, so you can effectively just wait until you’re over-leveled to the point where completing the quest is easy(ier). It’ll help keep nasty red marks out of your journal and put more ![]() Crowns in your coin purse. It’s a good idea to save your game before approaching Albin Hart just in case you find that you’re not quite up to snuff, so you can return later - checking back after every major silver sword upgrade isn’t the worst idea, especially if you also manage to, say, upgrade your Necrophage
Crowns in your coin purse. It’s a good idea to save your game before approaching Albin Hart just in case you find that you’re not quite up to snuff, so you can return later - checking back after every major silver sword upgrade isn’t the worst idea, especially if you also manage to, say, upgrade your Necrophage ![]() Oil in the meantime.
Oil in the meantime.


(1 of 2) Start this quest by talking to Albin Hart on the banks of the Pontar.
Start this quest by talking to Albin Hart on the banks of the Pontar. (left), You can also be referred to Albin by a Shady Merchant near the road to the Border Post. (right)
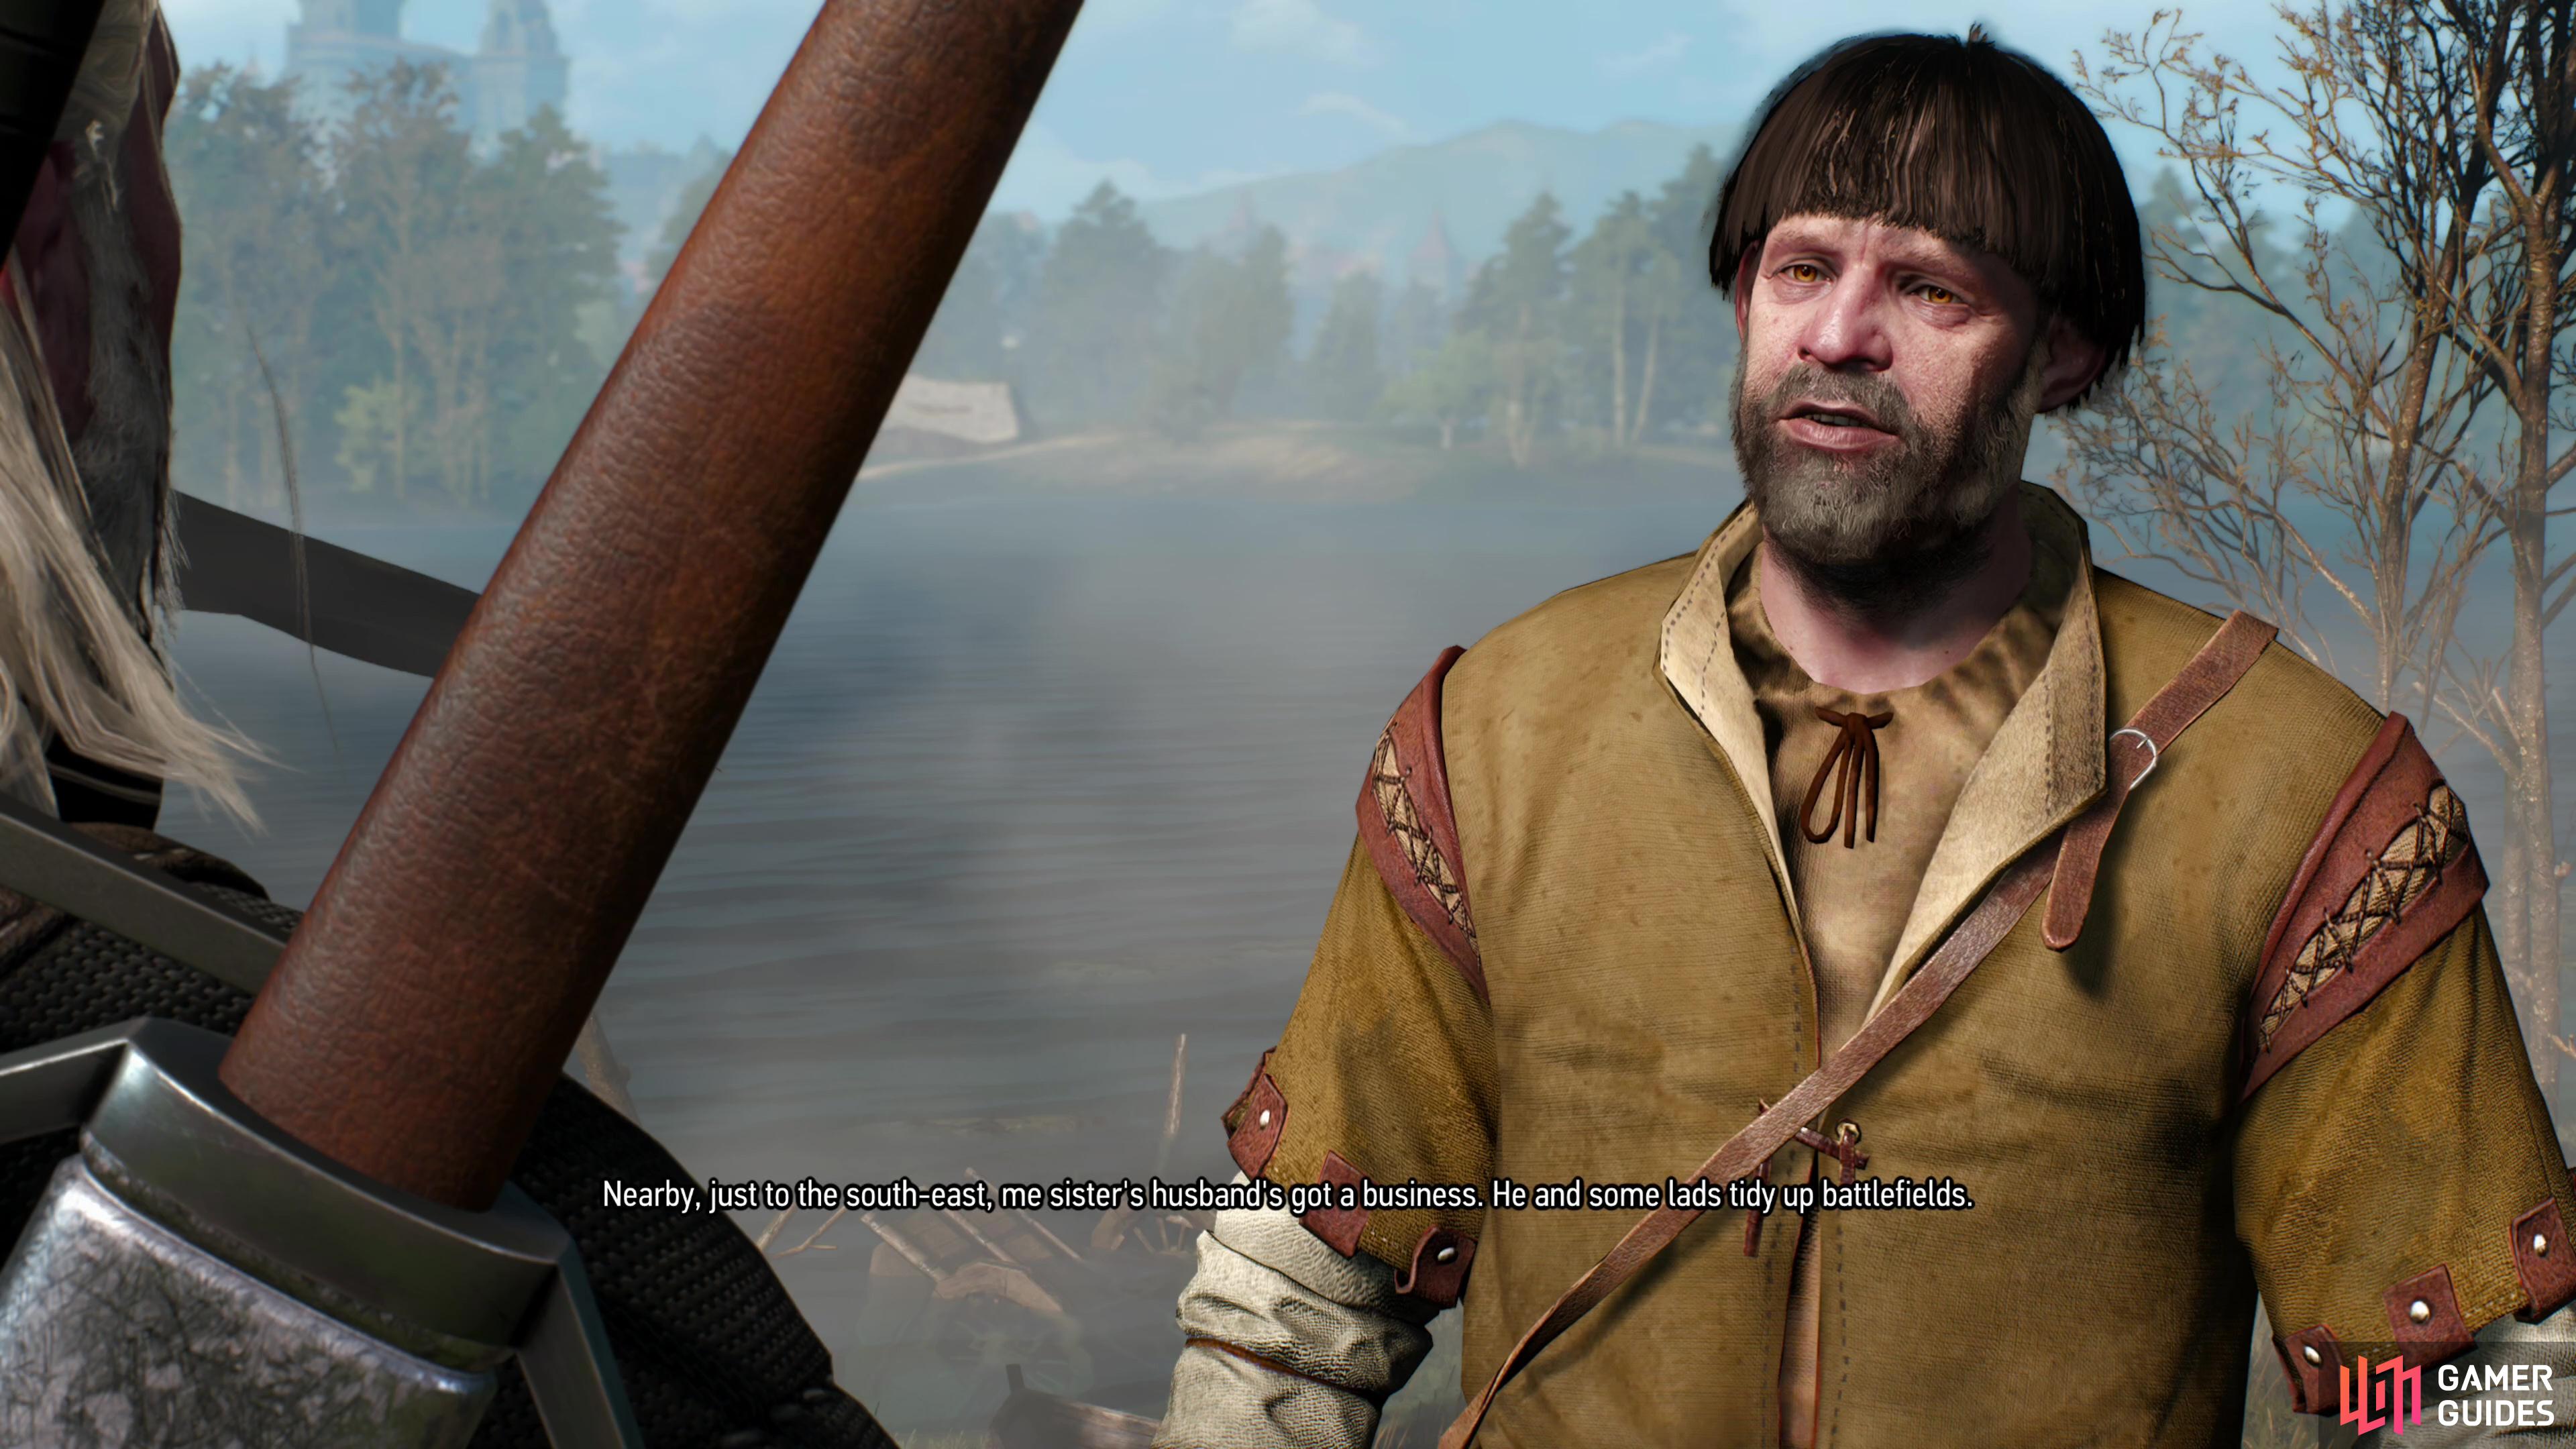
It’s also worth noting that you can be referred to Albin Hart - and hence, this quest - by talking to the Shady Merchant down the road from the ![]() Notice Board outside of the
Notice Board outside of the ![]() Border Post. He’ll ask you to help Alivin out in order to get a discount on a Transit Pass, which functionally means completing Bitter Harvest by keeping at least Albin alive. A dubious prospect, at best, especially considering by the time you’re high enough level to reliably complete this quest, you’ll probably get a Transit Pass or Letter of Safe Conduct by other means (including by just using
Border Post. He’ll ask you to help Alivin out in order to get a discount on a Transit Pass, which functionally means completing Bitter Harvest by keeping at least Albin alive. A dubious prospect, at best, especially considering by the time you’re high enough level to reliably complete this quest, you’ll probably get a Transit Pass or Letter of Safe Conduct by other means (including by just using ![]() Axii on the Shady Merchant - a much better option) and if you fail to keep Albin alive you’ll also fail the quest Fake Papers, as the death of his in-law disinclines the Shady Merchant to do business with you.
Axii on the Shady Merchant - a much better option) and if you fail to keep Albin alive you’ll also fail the quest Fake Papers, as the death of his in-law disinclines the Shady Merchant to do business with you.
Out recommendation? Just use Axii on the Shady Merchant to get a Transit Pass, ignore Albin Hart and his quest until you’ve got more levels and better silver.
Defend Albin Hart and His Crew from Necrophages
When you’re ready, accept Albin’s offer. The objectives for this quest are simple enough - defeat several waves of necrophages as quickly as possible to keep Albin and his crew safe. They’ll fight back and are fairly spread out, but they’ve no hope in combat against any necrophage - between their terrible combat AI, their lack of silver weapons and pathetic health pool, there’s just not much they can do except fall over and die when attacked. This means you’ve got to do three things in this quest: 1) draw aggro, 2) kill quickly and 3) get lucky. Of course, not getting killed is a priority, too, and you may have to fight a bit more recklessly than usual to pull this off. Chugging ![]() Tawny Owl so you can use
Tawny Owl so you can use ![]() Igni or
Igni or ![]() Quen more frequently and a
Quen more frequently and a ![]() Thunderbolt potion to boost your damage output are both fine ideas.
Thunderbolt potion to boost your damage output are both fine ideas.
Take up position a good ways south of Albin and his crew, as all the necrophages will attack from this direction, and putting yourself in the line of fire might draw aggro. The first wave consists of a trio of ![]() Ghouls (Lv7), the second wave includes a Rotfiend (Lv8) and two
Ghouls (Lv7), the second wave includes a Rotfiend (Lv8) and two ![]() Ghouls (Lv7) and the third wave features two Ghouls (Lv7) and a Ghoul (Lv9). Keep track of your enemies via the minimap and if you’re certain you completed a wave without losses, consider saving - you have a bit of time to prepare between each wave, which also means that potions will likely not carry over between waves.
Ghouls (Lv7) and the third wave features two Ghouls (Lv7) and a Ghoul (Lv9). Keep track of your enemies via the minimap and if you’re certain you completed a wave without losses, consider saving - you have a bit of time to prepare between each wave, which also means that potions will likely not carry over between waves.
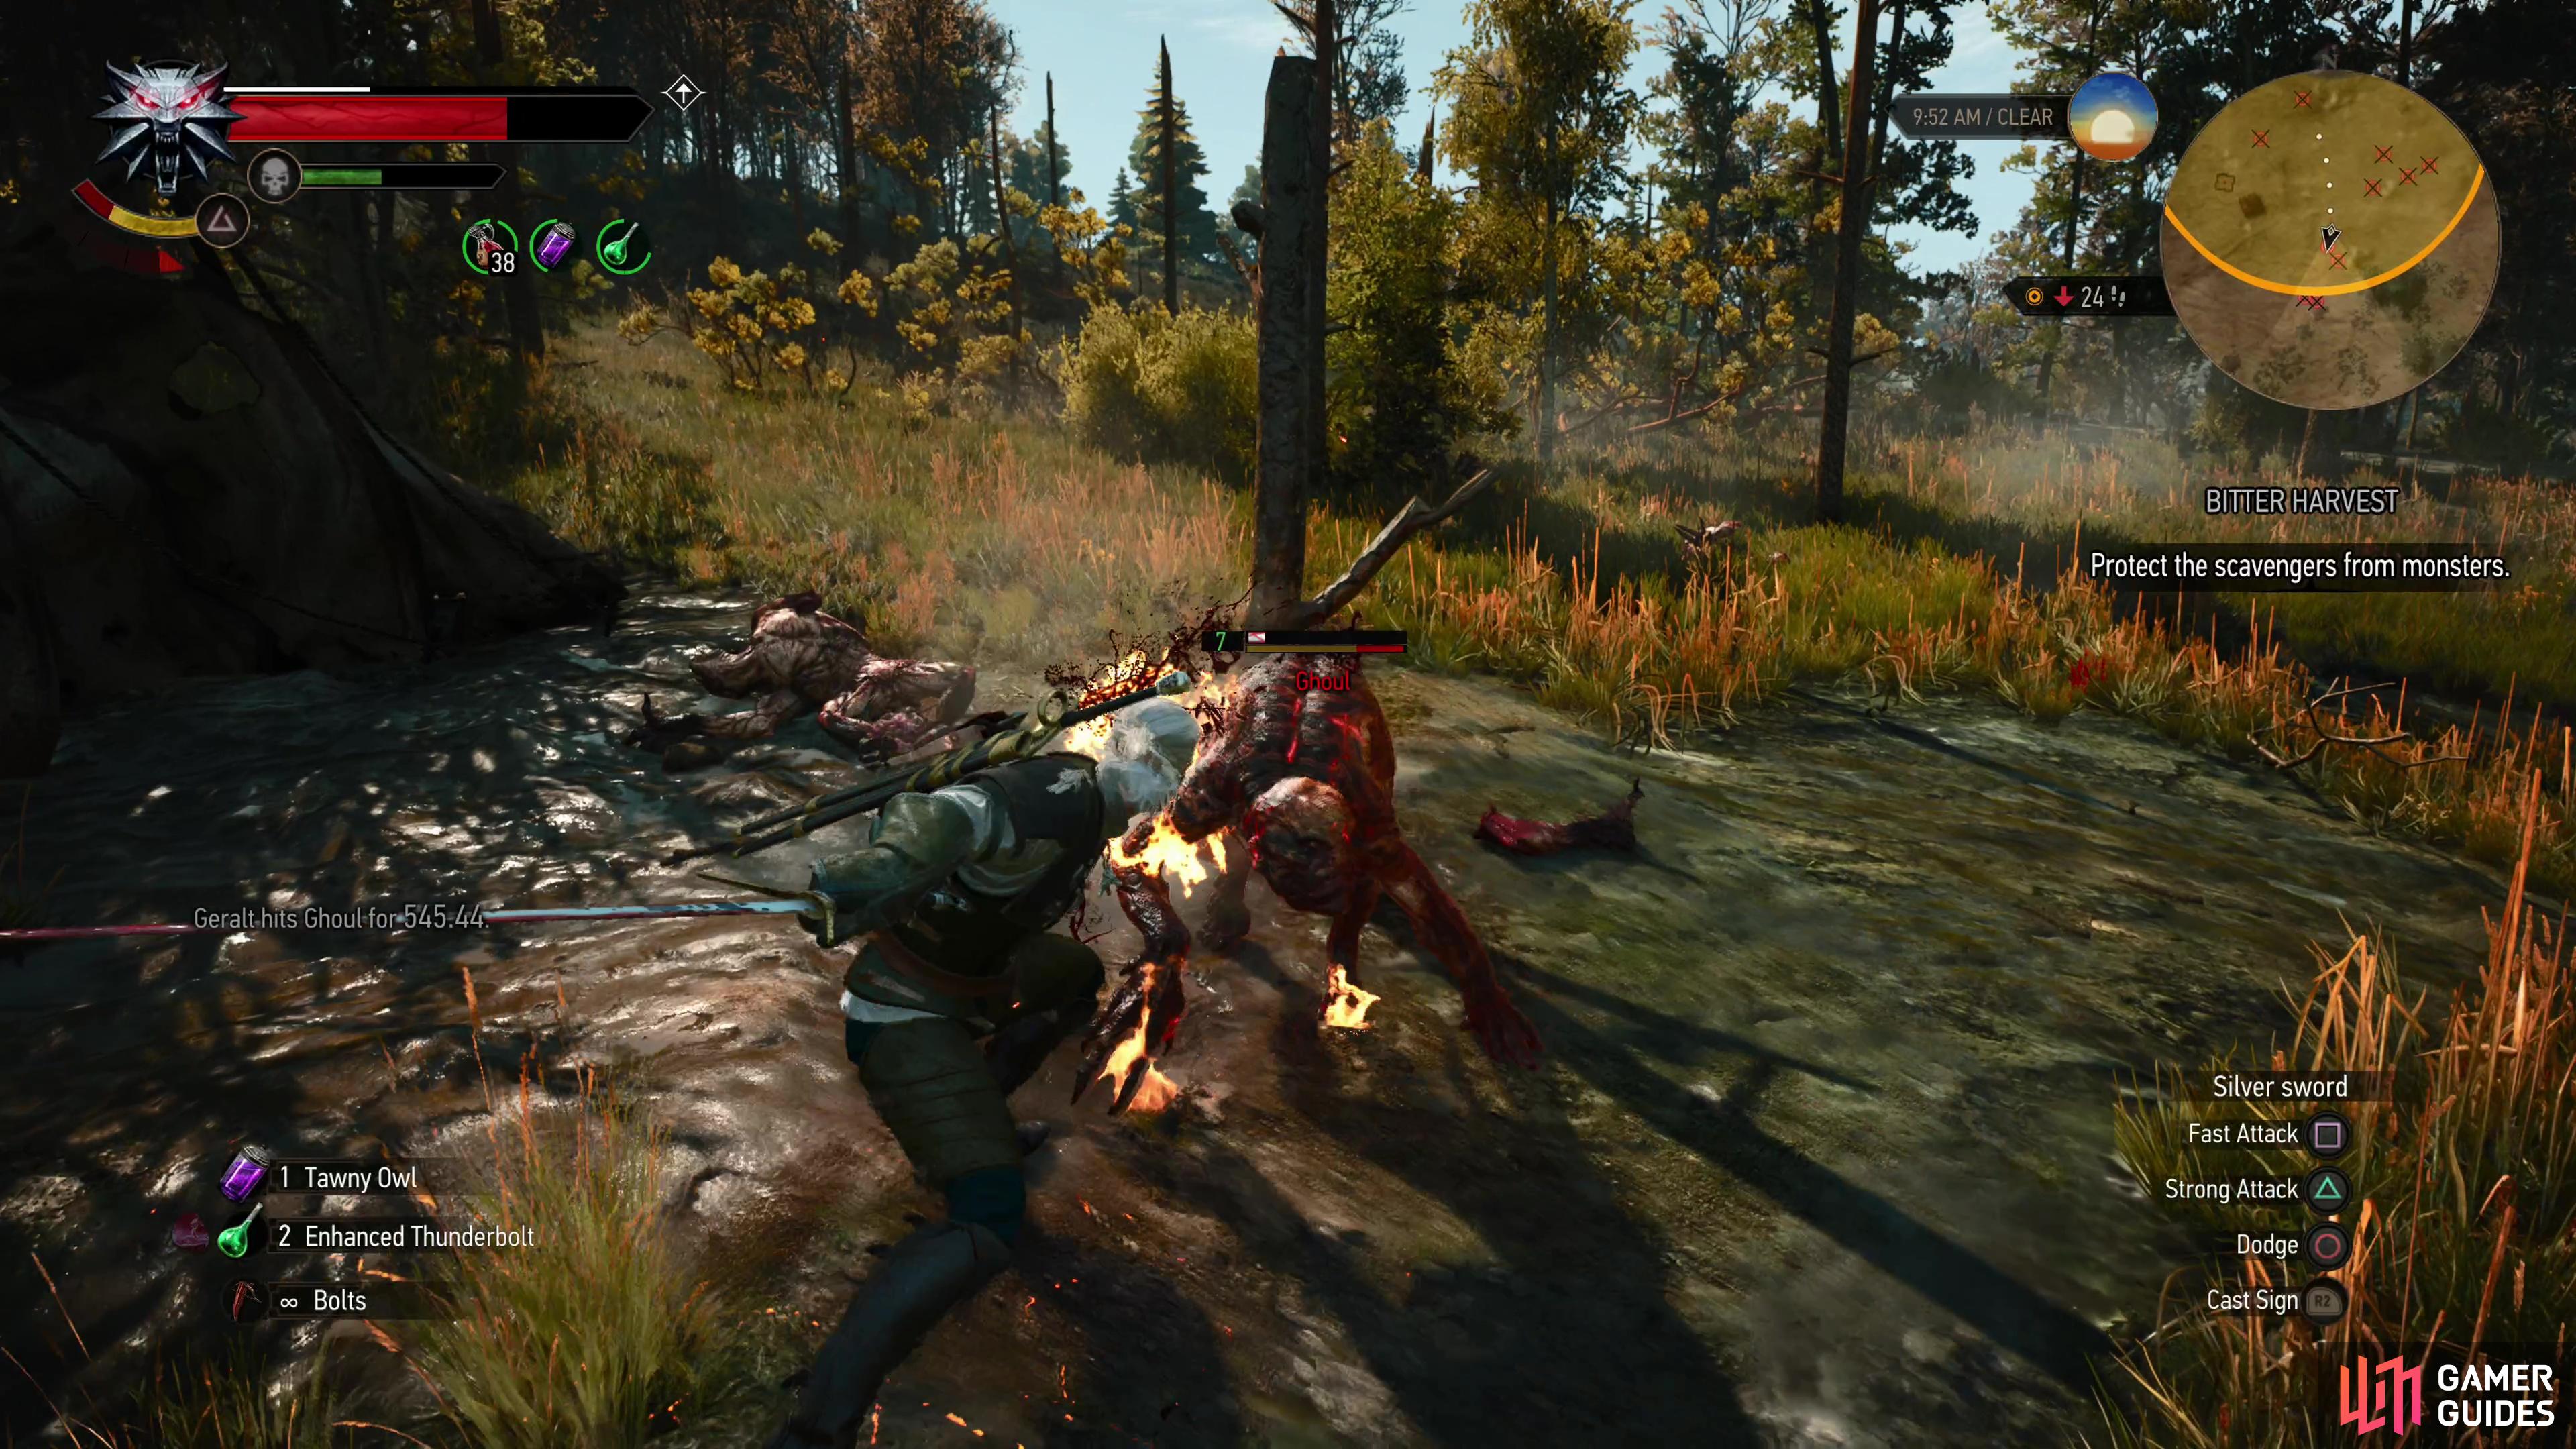
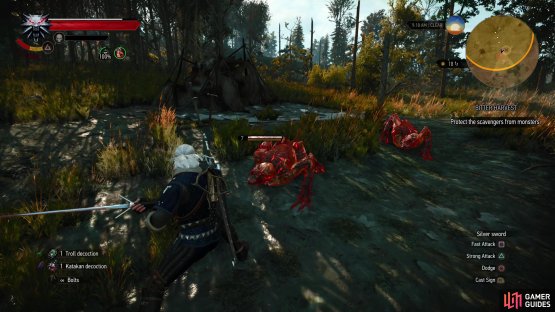
(1 of 2) Simple in theory, but difficult in practice, you need to intercept waves of necrophages and keep Albin and his crew safe.

Simple in theory, but difficult in practice, you need to intercept waves of necrophages and keep Albin and his crew safe. (left), This is very difficult at lower levels, but you can ignore the quest until you’re strong enough to dispatch your foes quickly. (right)
Get Your Reward from the Survivors
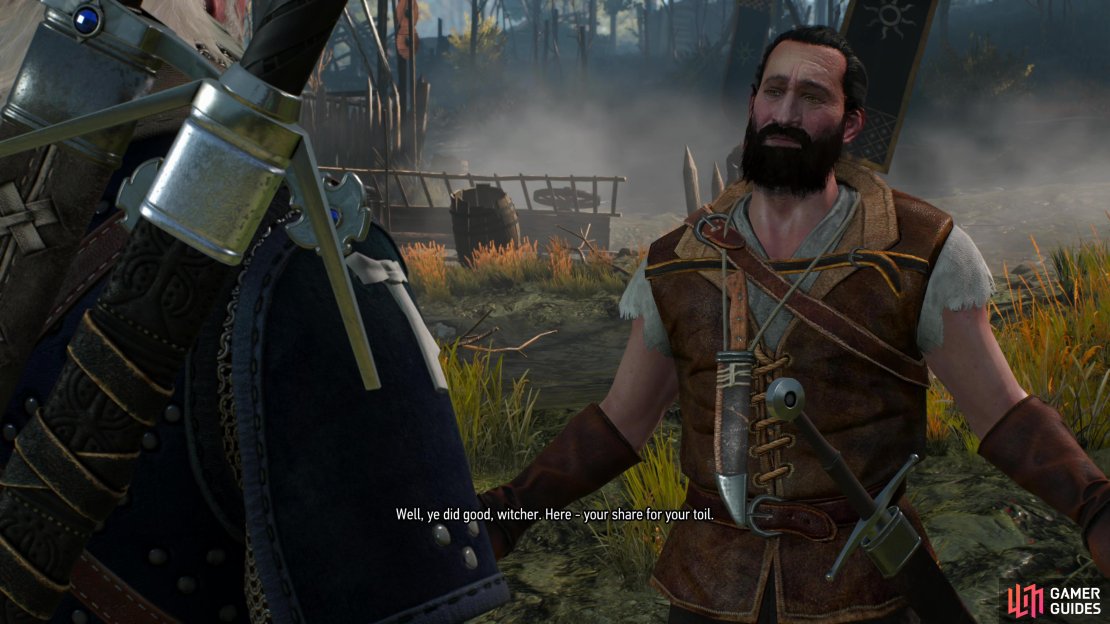
Weather all three waves then talk to Albin, if he’s still alive, or one of his crew, if he’s not. If you kept everybody alive you’ll get 50 EXP and 100 Crowns from Albin. If some of the crew died you’ll get 50 EXP and 50 Crowns, while if Albin died and any of the crew survived you’ll get 50 EXP and 20 Crowns. If Albin and his entire crew died, you’ll fail the quest.
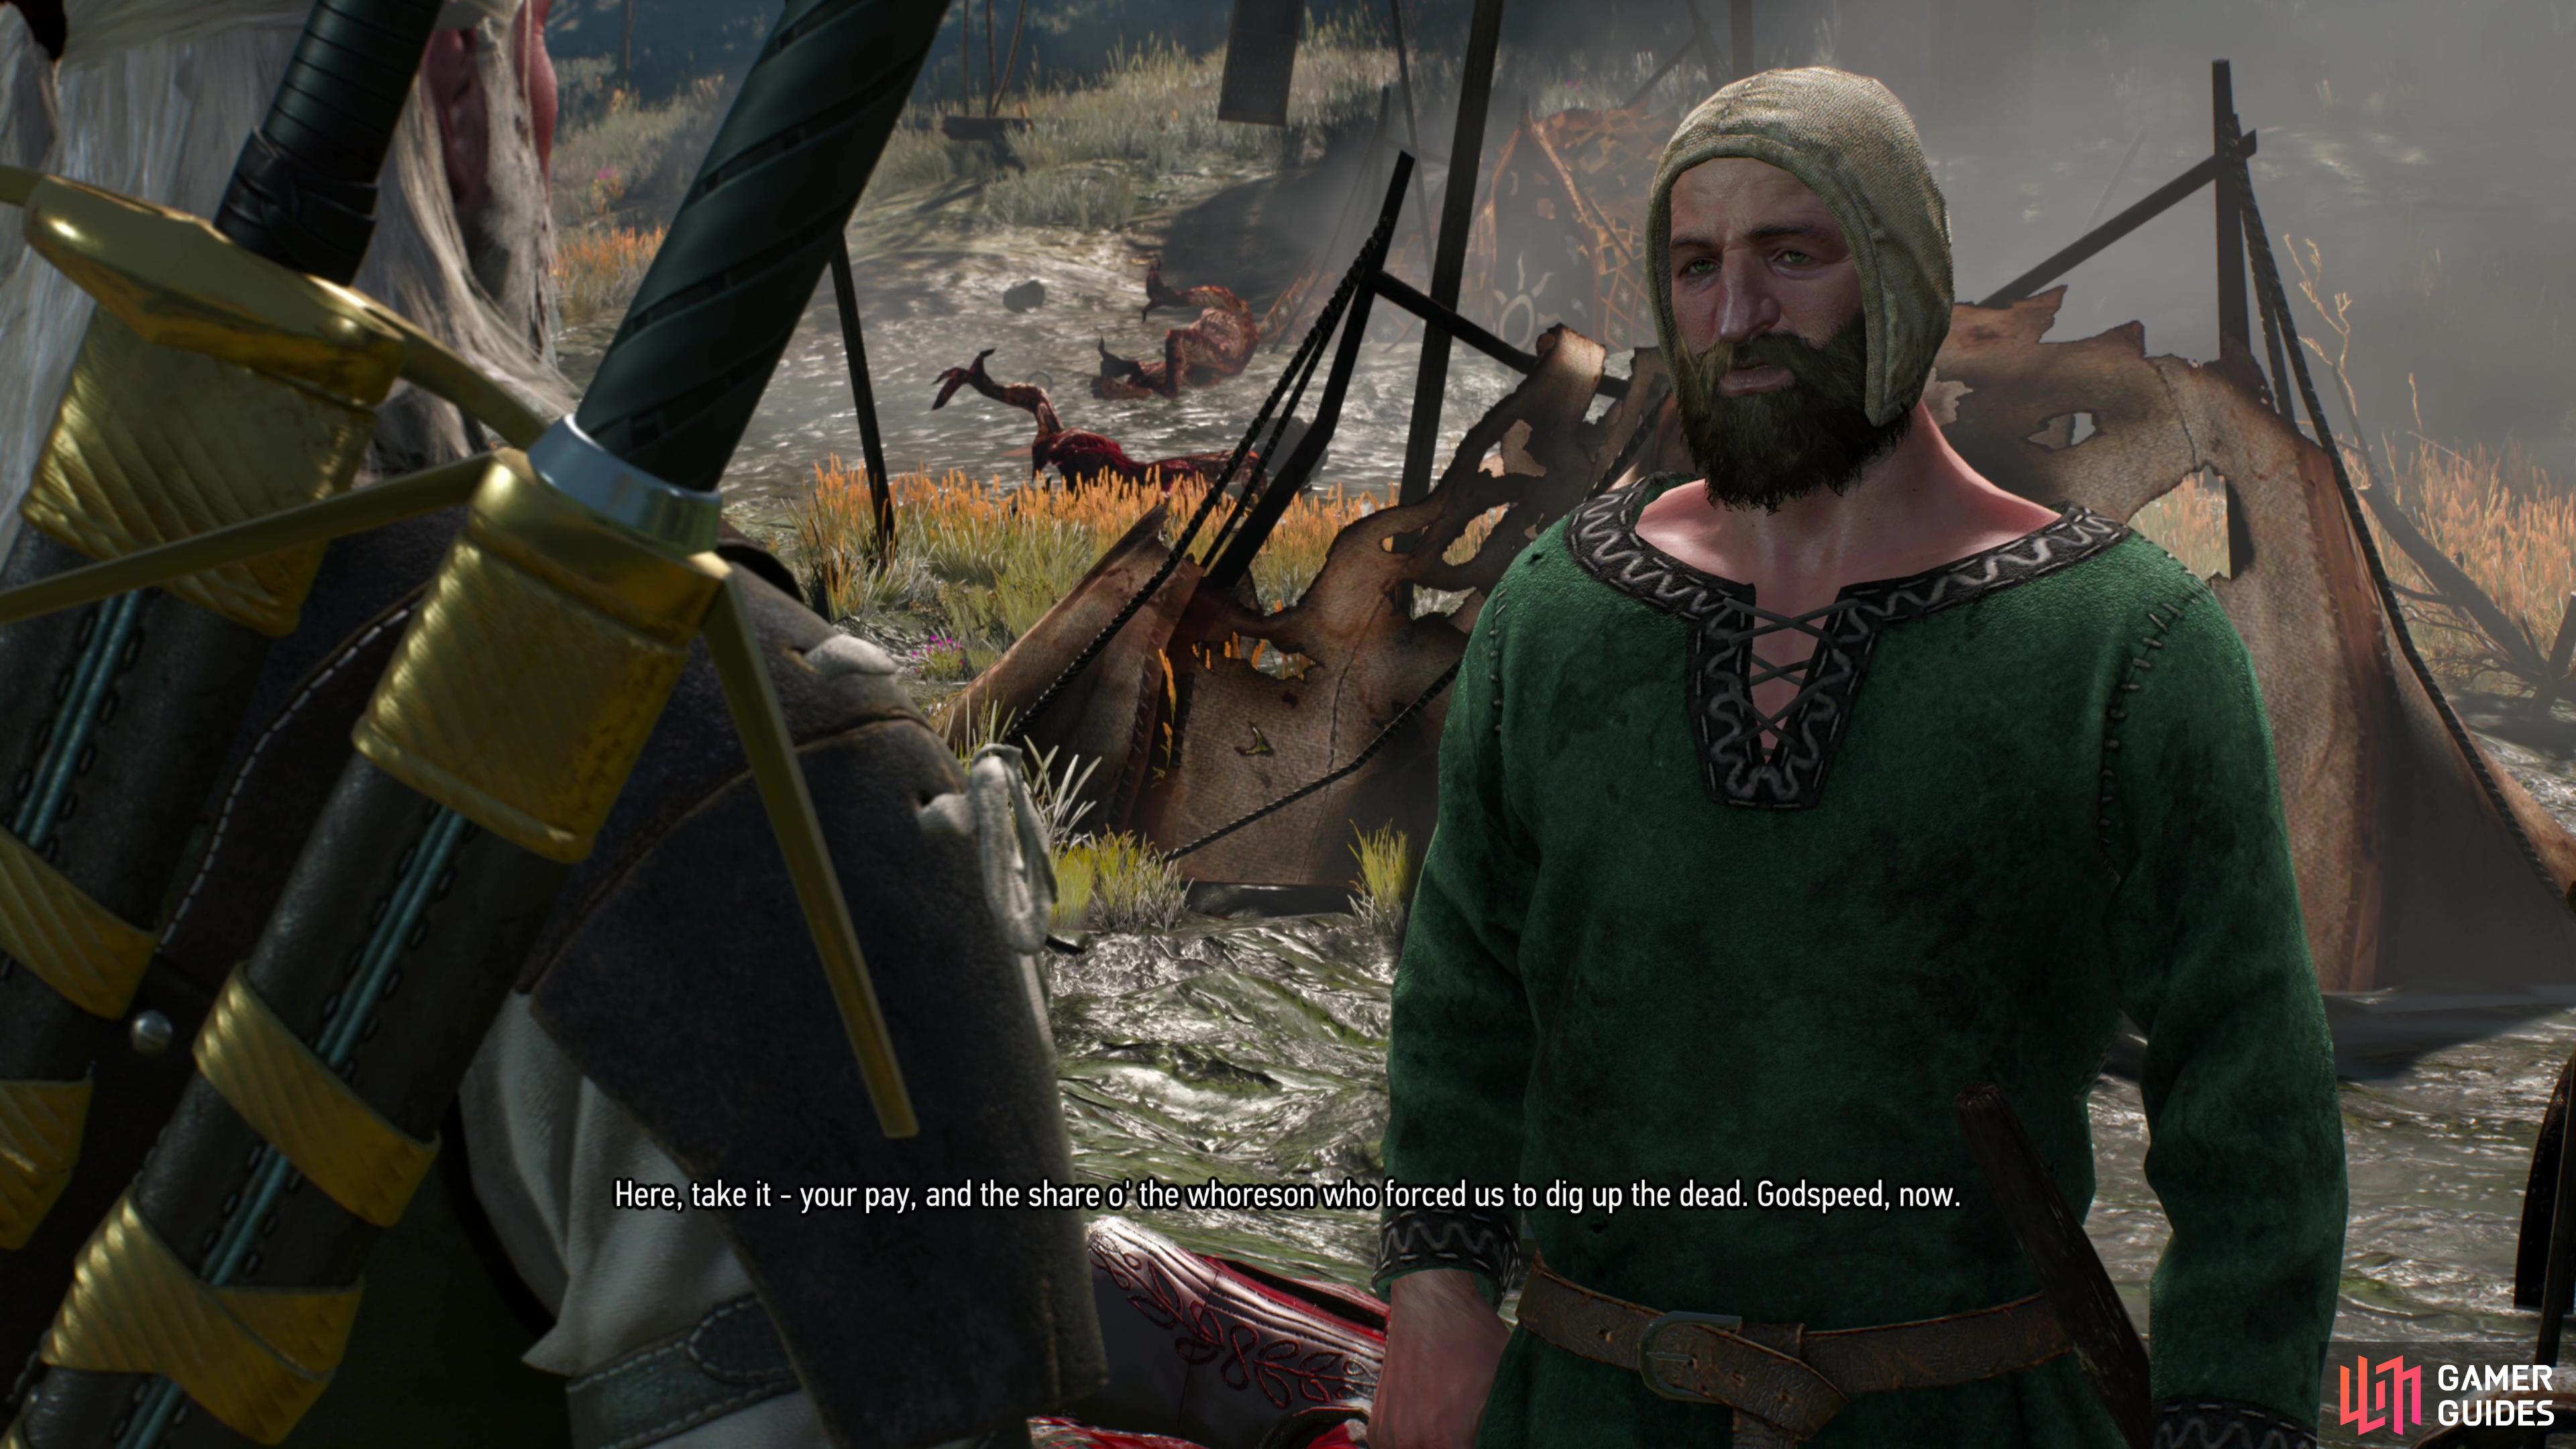


(1 of 3) If Albin died you can still complete the quest, but you’ll earn a much smaller reward,
No Comments