
Sorceresses and Geralt seem irresistibly drawn to each other, and while the carnal excesses of these entanglements are overly fixated upon by outsiders, the reality is somewhat more complicated and contentious. Geralt’s own inclinations may be base and lecherous, but oftentimes these wily wizards are just using Geralt for their own ends, their dalliances being at best secondary to their political machinations. Whatever the case may be, Radovid surface-level understanding of Geralt’s troubled relationship with sorceresses has led him to conclude Geralt might be a fine bloodhound, and demands that Geralt capture ![]() Philippa Eilhart - one sorceress who is uniquely immune to Geralt’s charm. This page will provide a walkthrough for the secondary quest
Philippa Eilhart - one sorceress who is uniquely immune to Geralt’s charm. This page will provide a walkthrough for the secondary quest ![]() Redania’s Most Wanted in The Witcher 3.
Redania’s Most Wanted in The Witcher 3.
Quest Objectives
Starting Redania’s Most Wanted
During Get Junior Radovid will sell out his minion ![]() Whoreson Junior for an unspecified favor to be called in at a later date. The call just so happens to come immediately upon leaving Whoreson Junior’s estate in Oxenfurt, whereupon the quest A Favor for Radovid will begin - and end - with the Redanian king commanding Geralt to make good on his promise and bring him Philippa Eilhart. This is the start of a secondary questline that involved Radovid, ultimately encompassing several quests over the course of the game that will determine the fate of Radovid and the north. Starting it out as a main quest and spinning it off - much like the
Whoreson Junior for an unspecified favor to be called in at a later date. The call just so happens to come immediately upon leaving Whoreson Junior’s estate in Oxenfurt, whereupon the quest A Favor for Radovid will begin - and end - with the Redanian king commanding Geralt to make good on his promise and bring him Philippa Eilhart. This is the start of a secondary questline that involved Radovid, ultimately encompassing several quests over the course of the game that will determine the fate of Radovid and the north. Starting it out as a main quest and spinning it off - much like the ![]() Keira Metz questline back in Velen - serves to indicate it’s importance in spite of it being optional, and hence completing this quest and its followup quests comes highly recommended. This quest begins as soon as you’re done talking to Radvodid on his ship, but you’re free to ignore it up until you depart for the The Isle of Mists in a quest of the same name.
Keira Metz questline back in Velen - serves to indicate it’s importance in spite of it being optional, and hence completing this quest and its followup quests comes highly recommended. This quest begins as soon as you’re done talking to Radvodid on his ship, but you’re free to ignore it up until you depart for the The Isle of Mists in a quest of the same name.
Rendezvous with the Witch Hunters
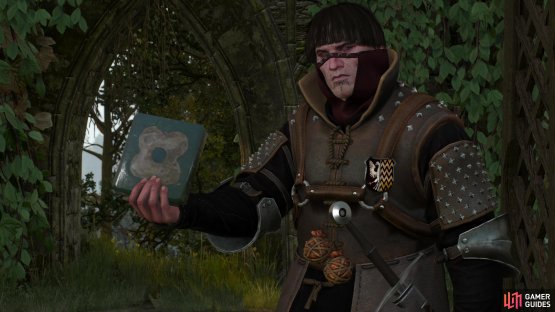
When Radovid said Philippa Eilhart was hiding out “in the mountains east of Oxenfurt” he really meant some elven ruins northeast of Oxenfurt. No harm, though - a quest marker will guide you true, regardless. Make your way to Est Tayiar, which is northeast of the Herbalist’s Hut and east of the Temerian Partisan Hideout. Outside of these ruins you’ll find some Witch Hunters, whose expertise at hunting rogue sorceresses seems to only served to get around of dozen of their number killed or wounded. On top of that bit of good news, they also managed to dig up the ![]() Key to Philippa Eilhart’s Hideout, a plot device that kept you from exploring the place before this quest. In any event, providing you a key is the height of the Witch Hunter’s usefulness, and they don’t seem keen to have their glory stolen by a mutant.
Key to Philippa Eilhart’s Hideout, a plot device that kept you from exploring the place before this quest. In any event, providing you a key is the height of the Witch Hunter’s usefulness, and they don’t seem keen to have their glory stolen by a mutant.
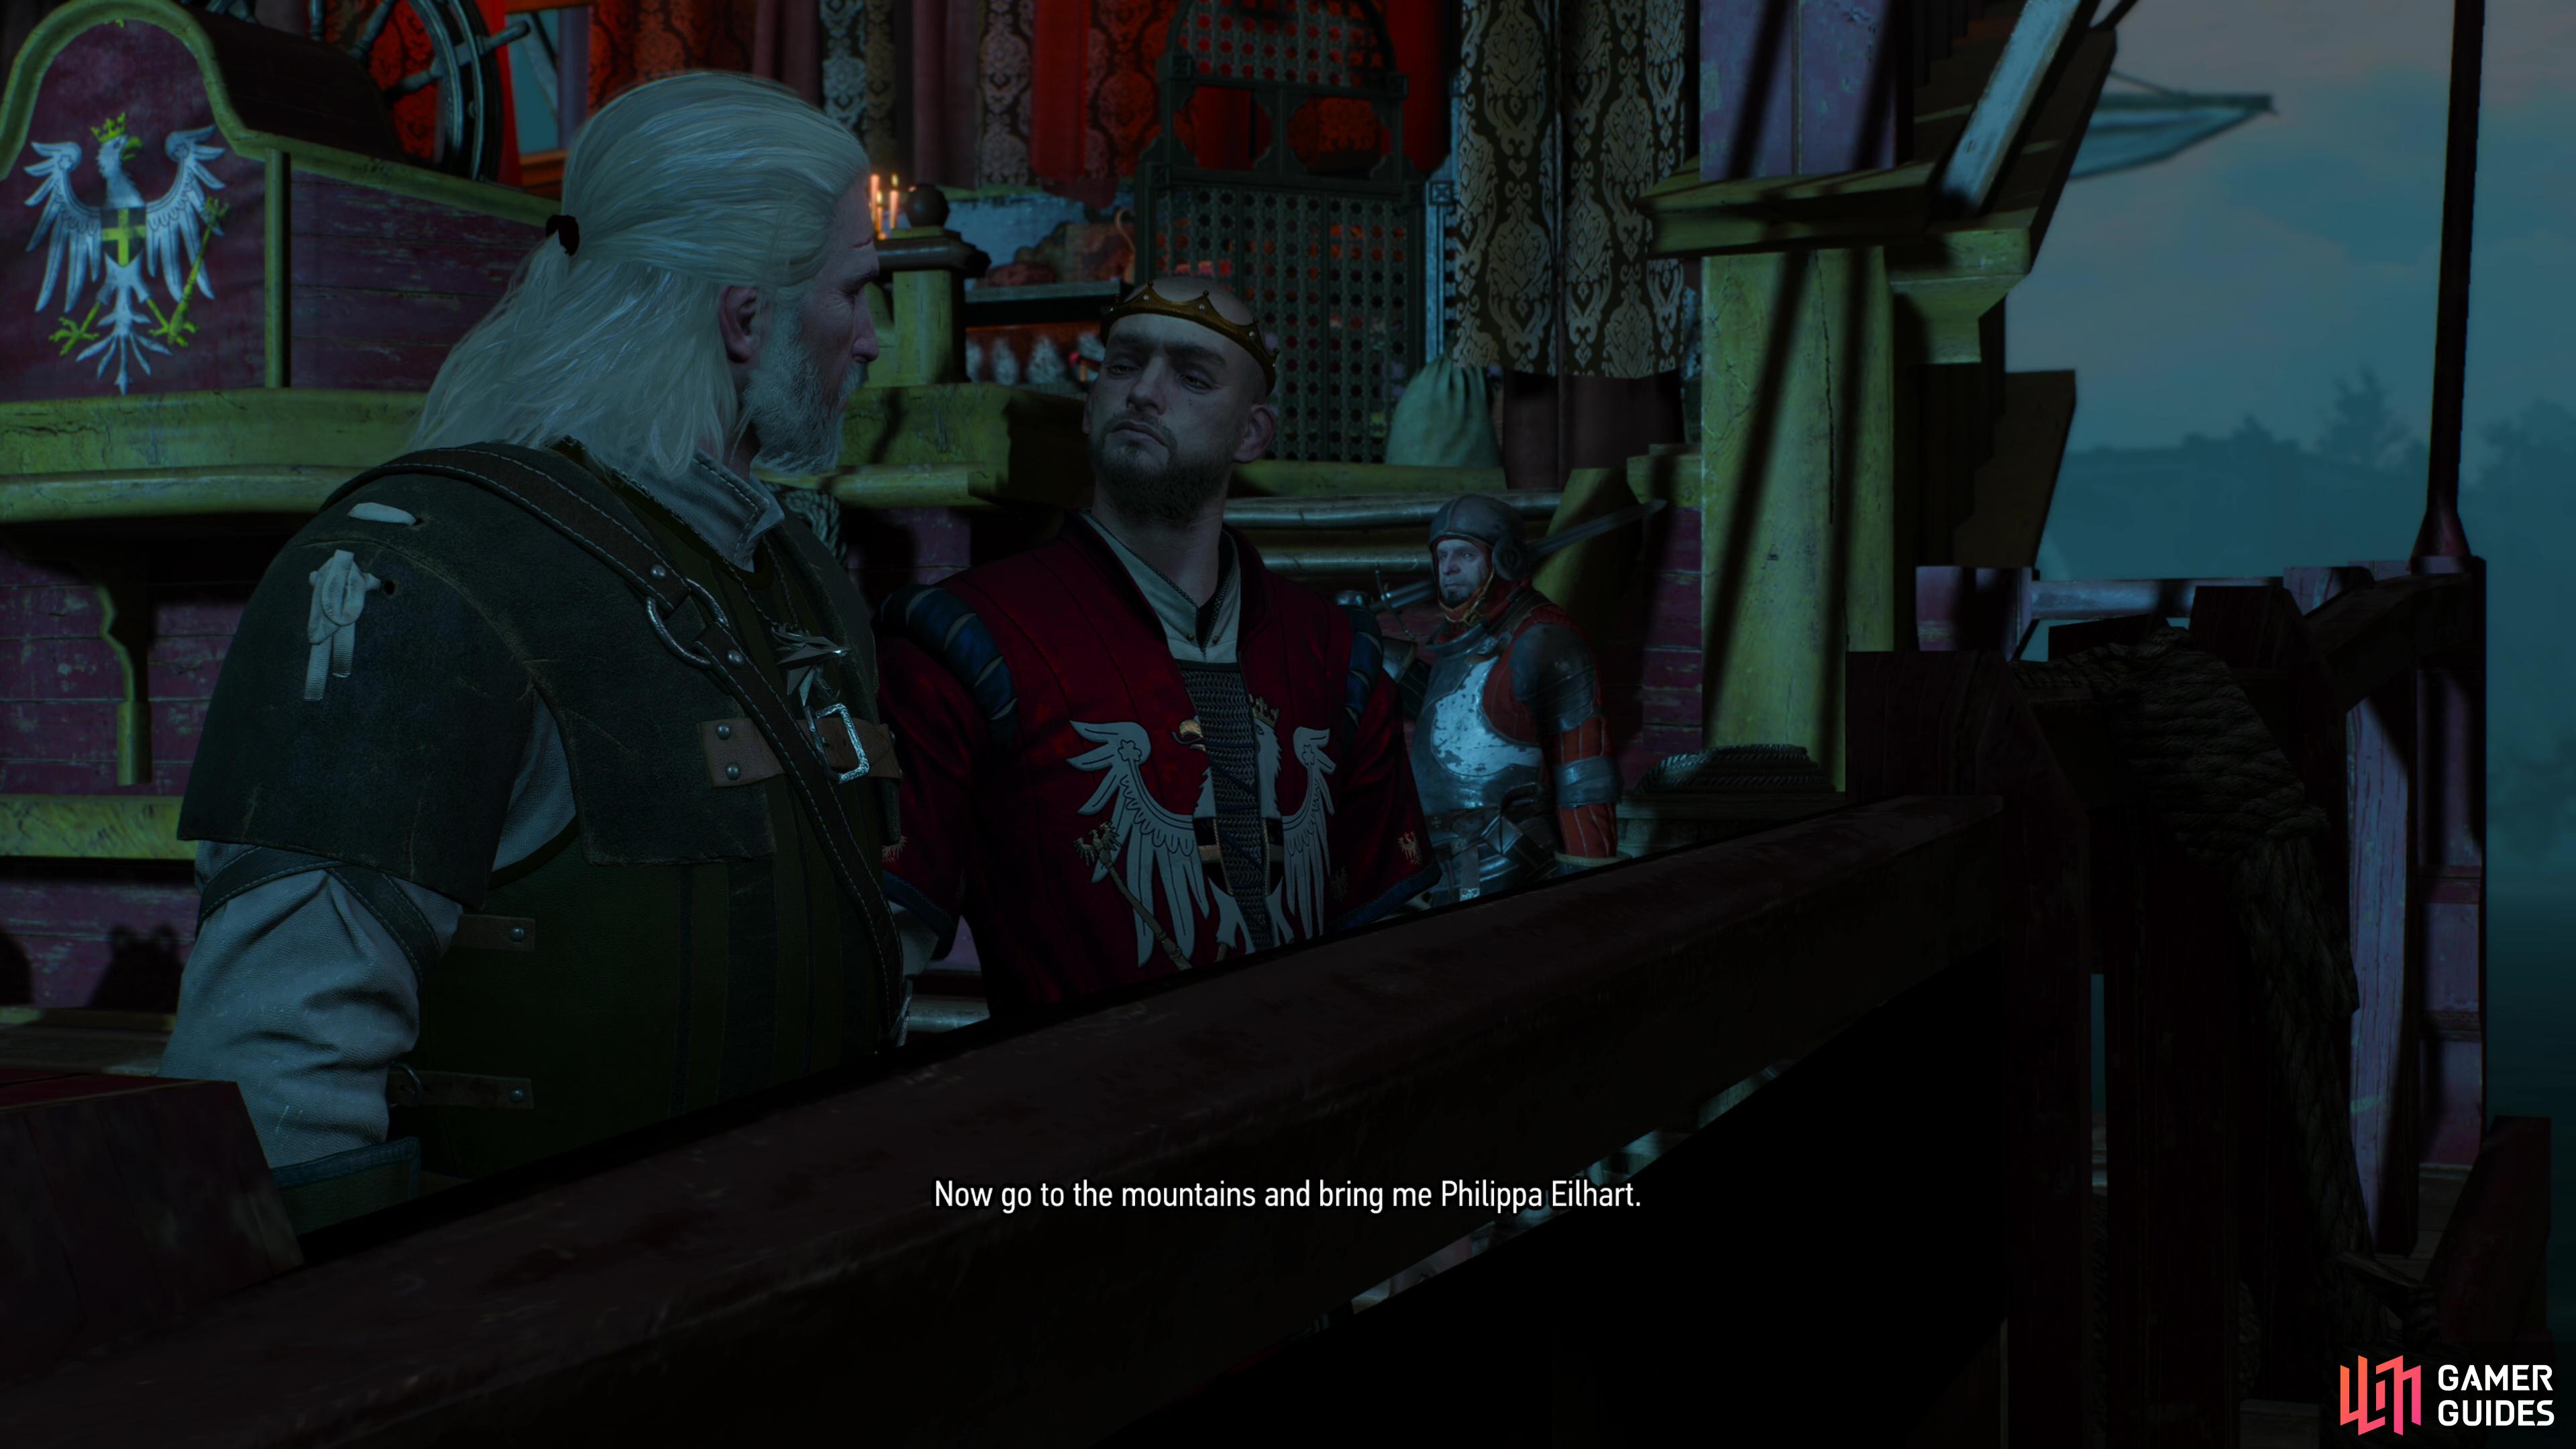
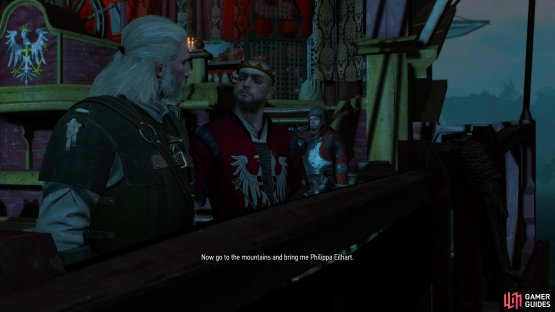
(1 of 2) Meet with Radovid and he’ll give you a clear, simple command - bring him Philippa Eilhart.
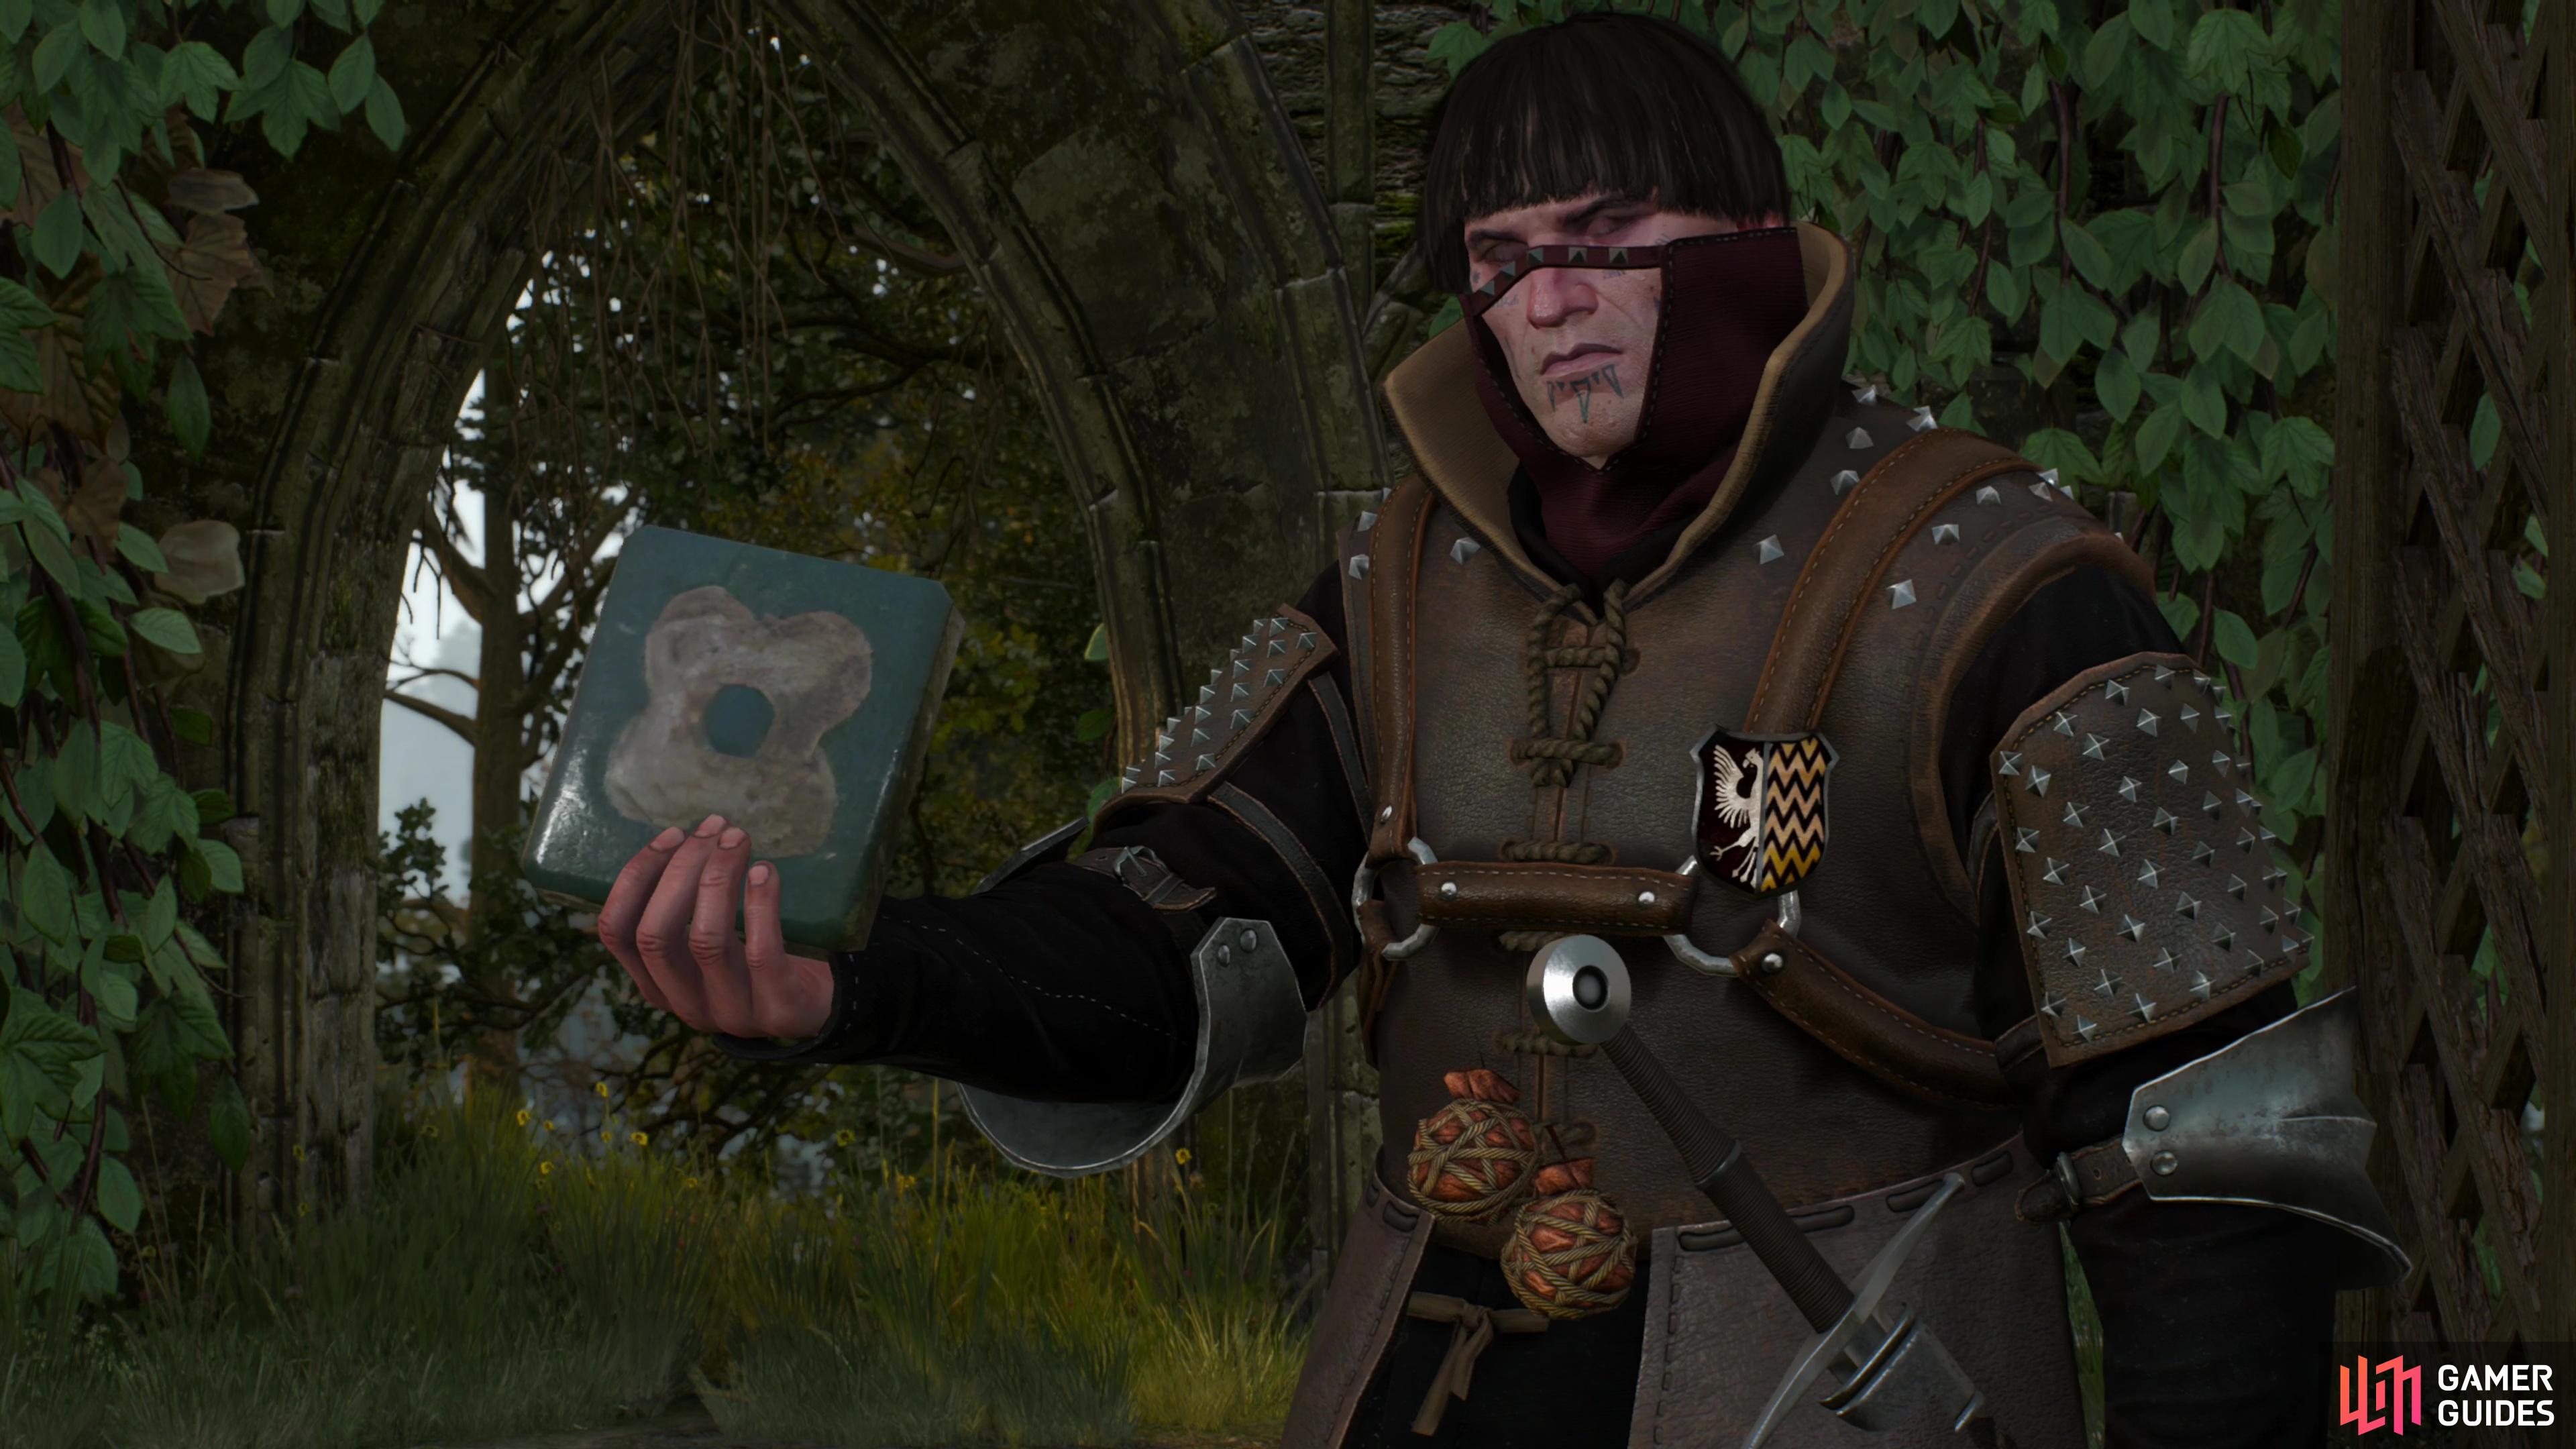
Meet with Radovid and he’ll give you a clear, simple command - bring him Philippa Eilhart. (left), Rendezvous with the Witch Hunters outside of the Est Tayiar ruins and they’ll give you a key. (right)
Find the Diagram: Feline Silver Sword
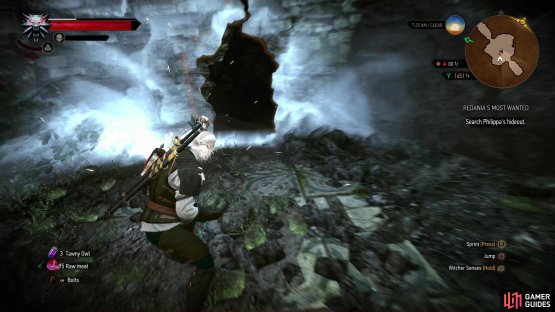
Oh well, sucks to suck. From the Witch Hunters head northeast down into a hole in the ground, descend some ledges until you reach a small chamber, then turn south-east and blast a weak section of wall with ![]() Aard, beyond which you’ll find a corpse with Professor Sigismund Gloger’s
Aard, beyond which you’ll find a corpse with Professor Sigismund Gloger’s ![]() Notes and the
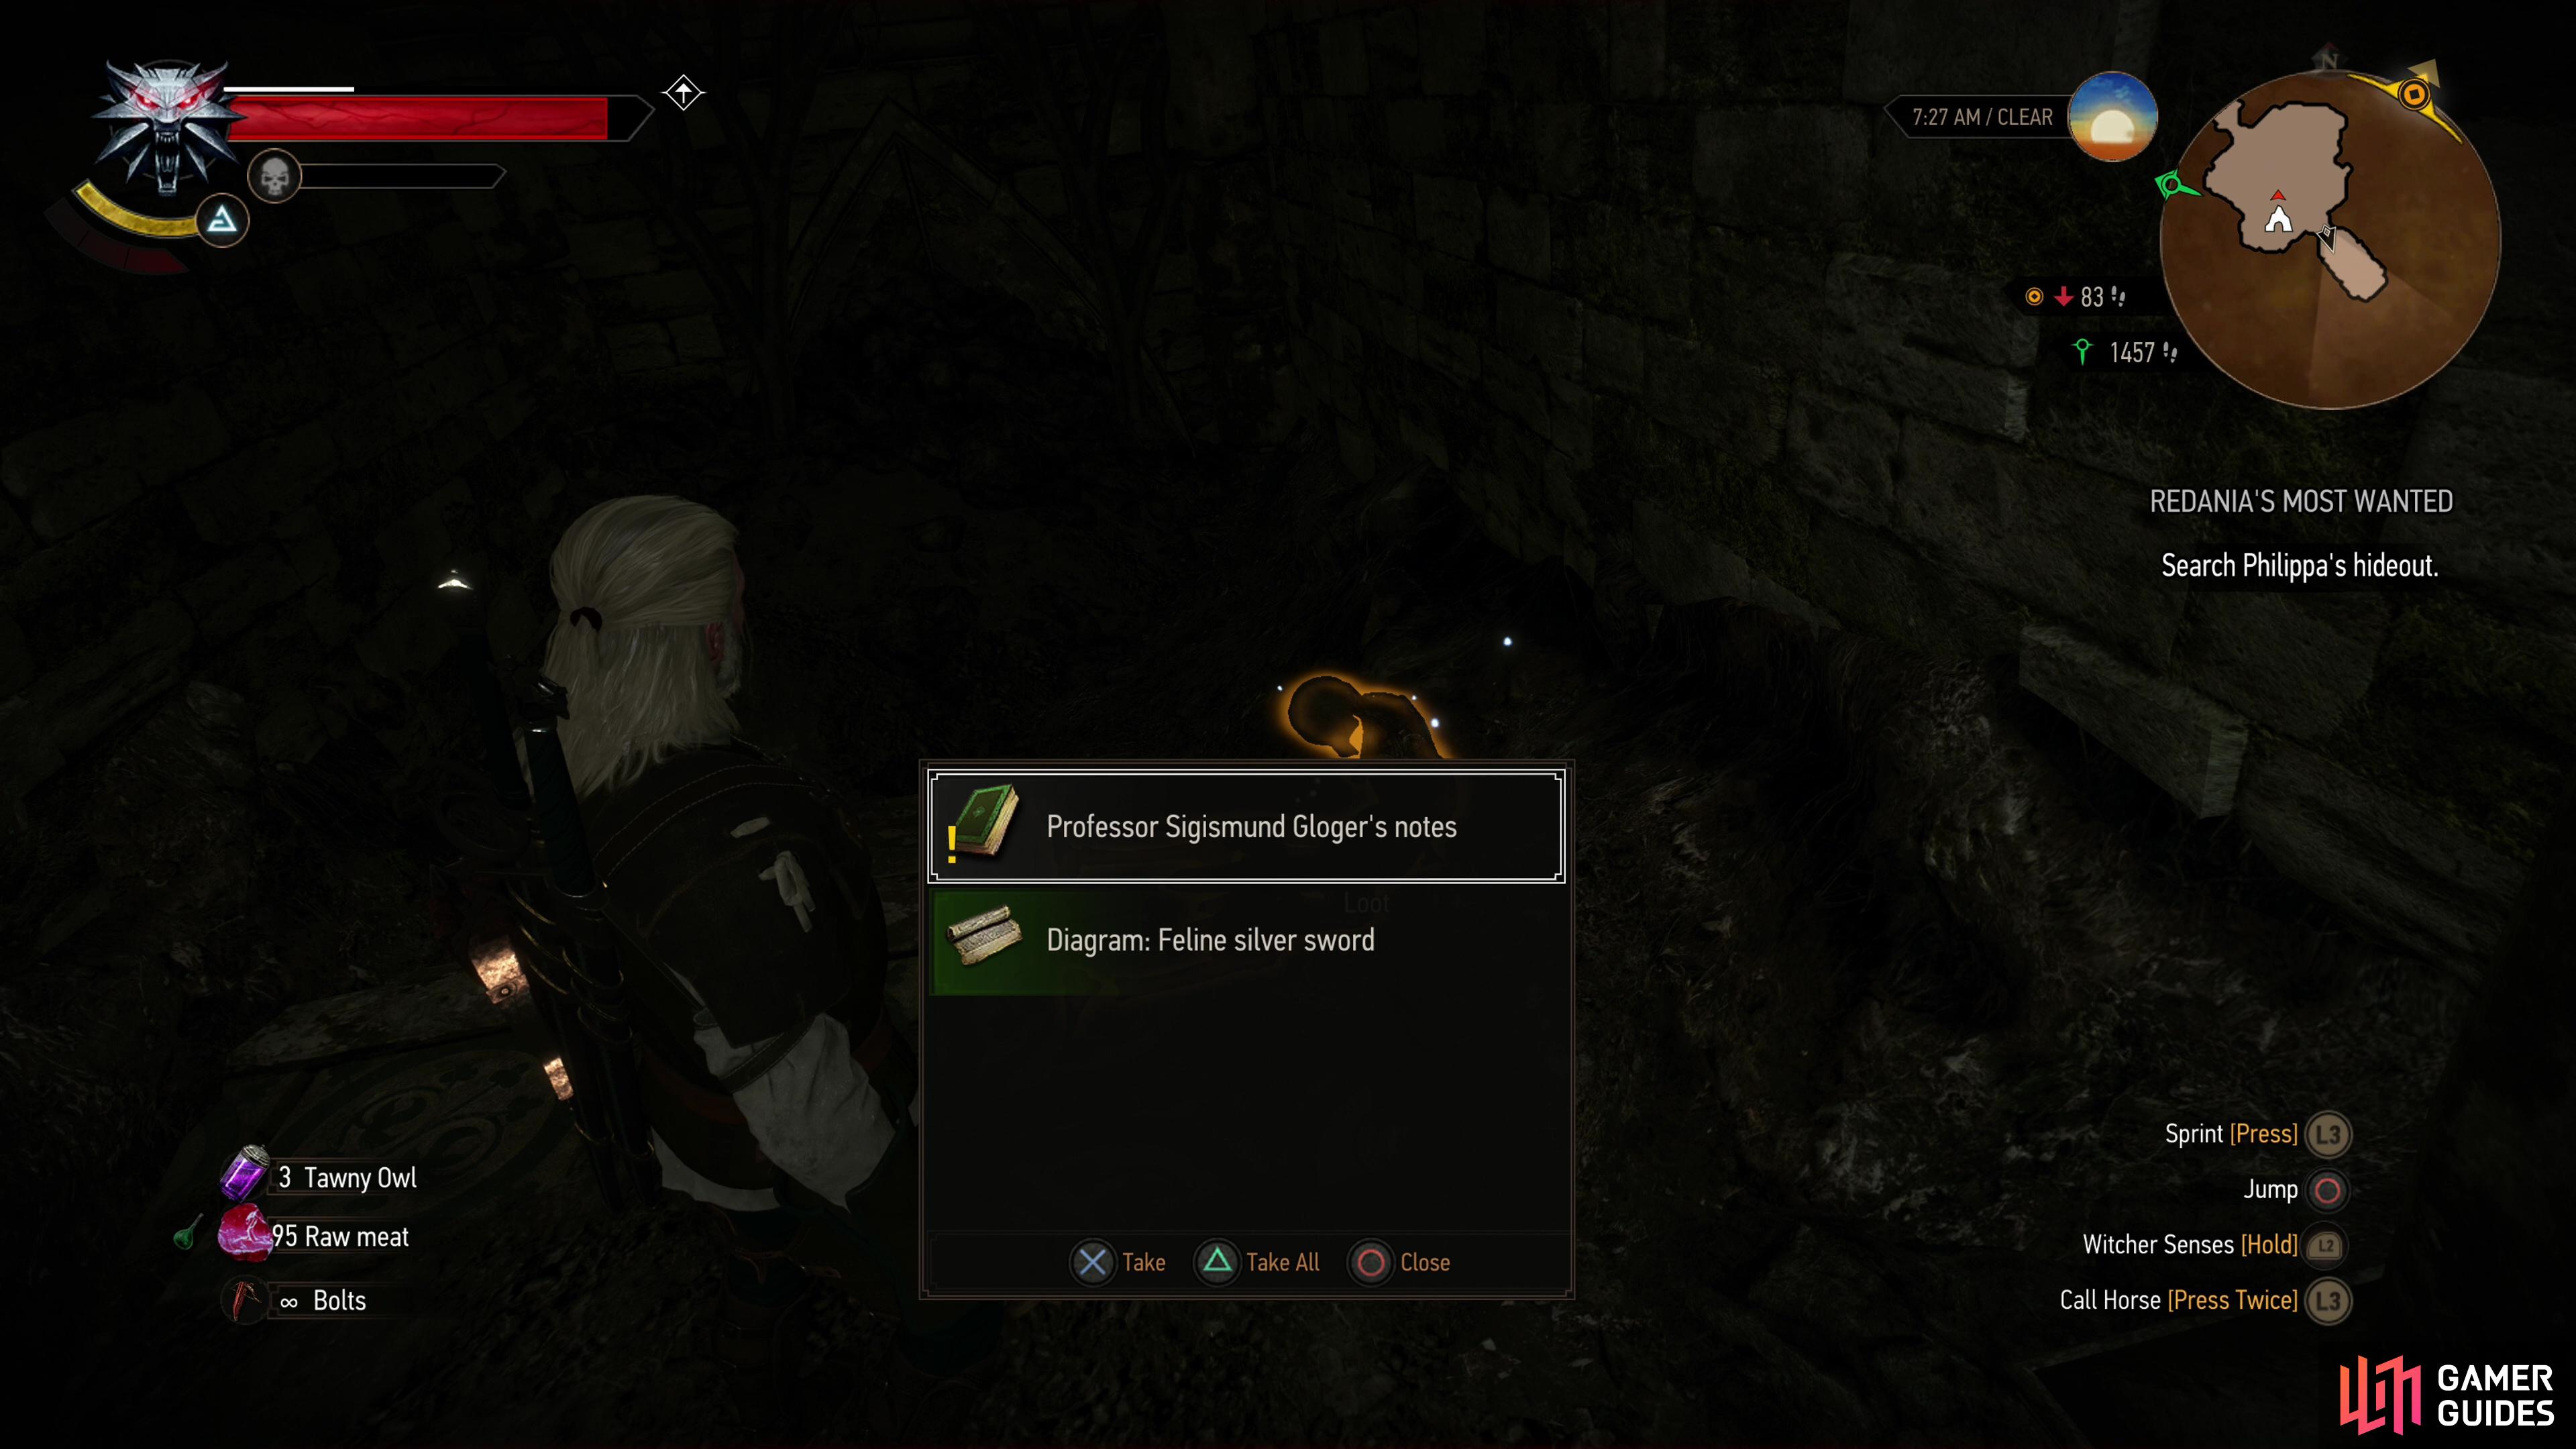
Notes and the ![]() Diagram: Feline
Diagram: Feline ![]() Silver Sword . This has already been a profitable little venture! Reading Professor Sigismund Gloger’s
Silver Sword . This has already been a profitable little venture! Reading Professor Sigismund Gloger’s ![]() Notes will advance the quest Scavenger Hunt: Cat School Gear, pointing you in the direction of the diagram for the Feline Steel Sword.
Notes will advance the quest Scavenger Hunt: Cat School Gear, pointing you in the direction of the diagram for the Feline Steel Sword.


(1 of 2) Enter the ruins and blast a hole in the wall,
Enter the ruins and blast a hole in the wall, (left), to find the Diagram: Feline Silver Sword. (right)
Enter Philippa Eilhart’s Hideout
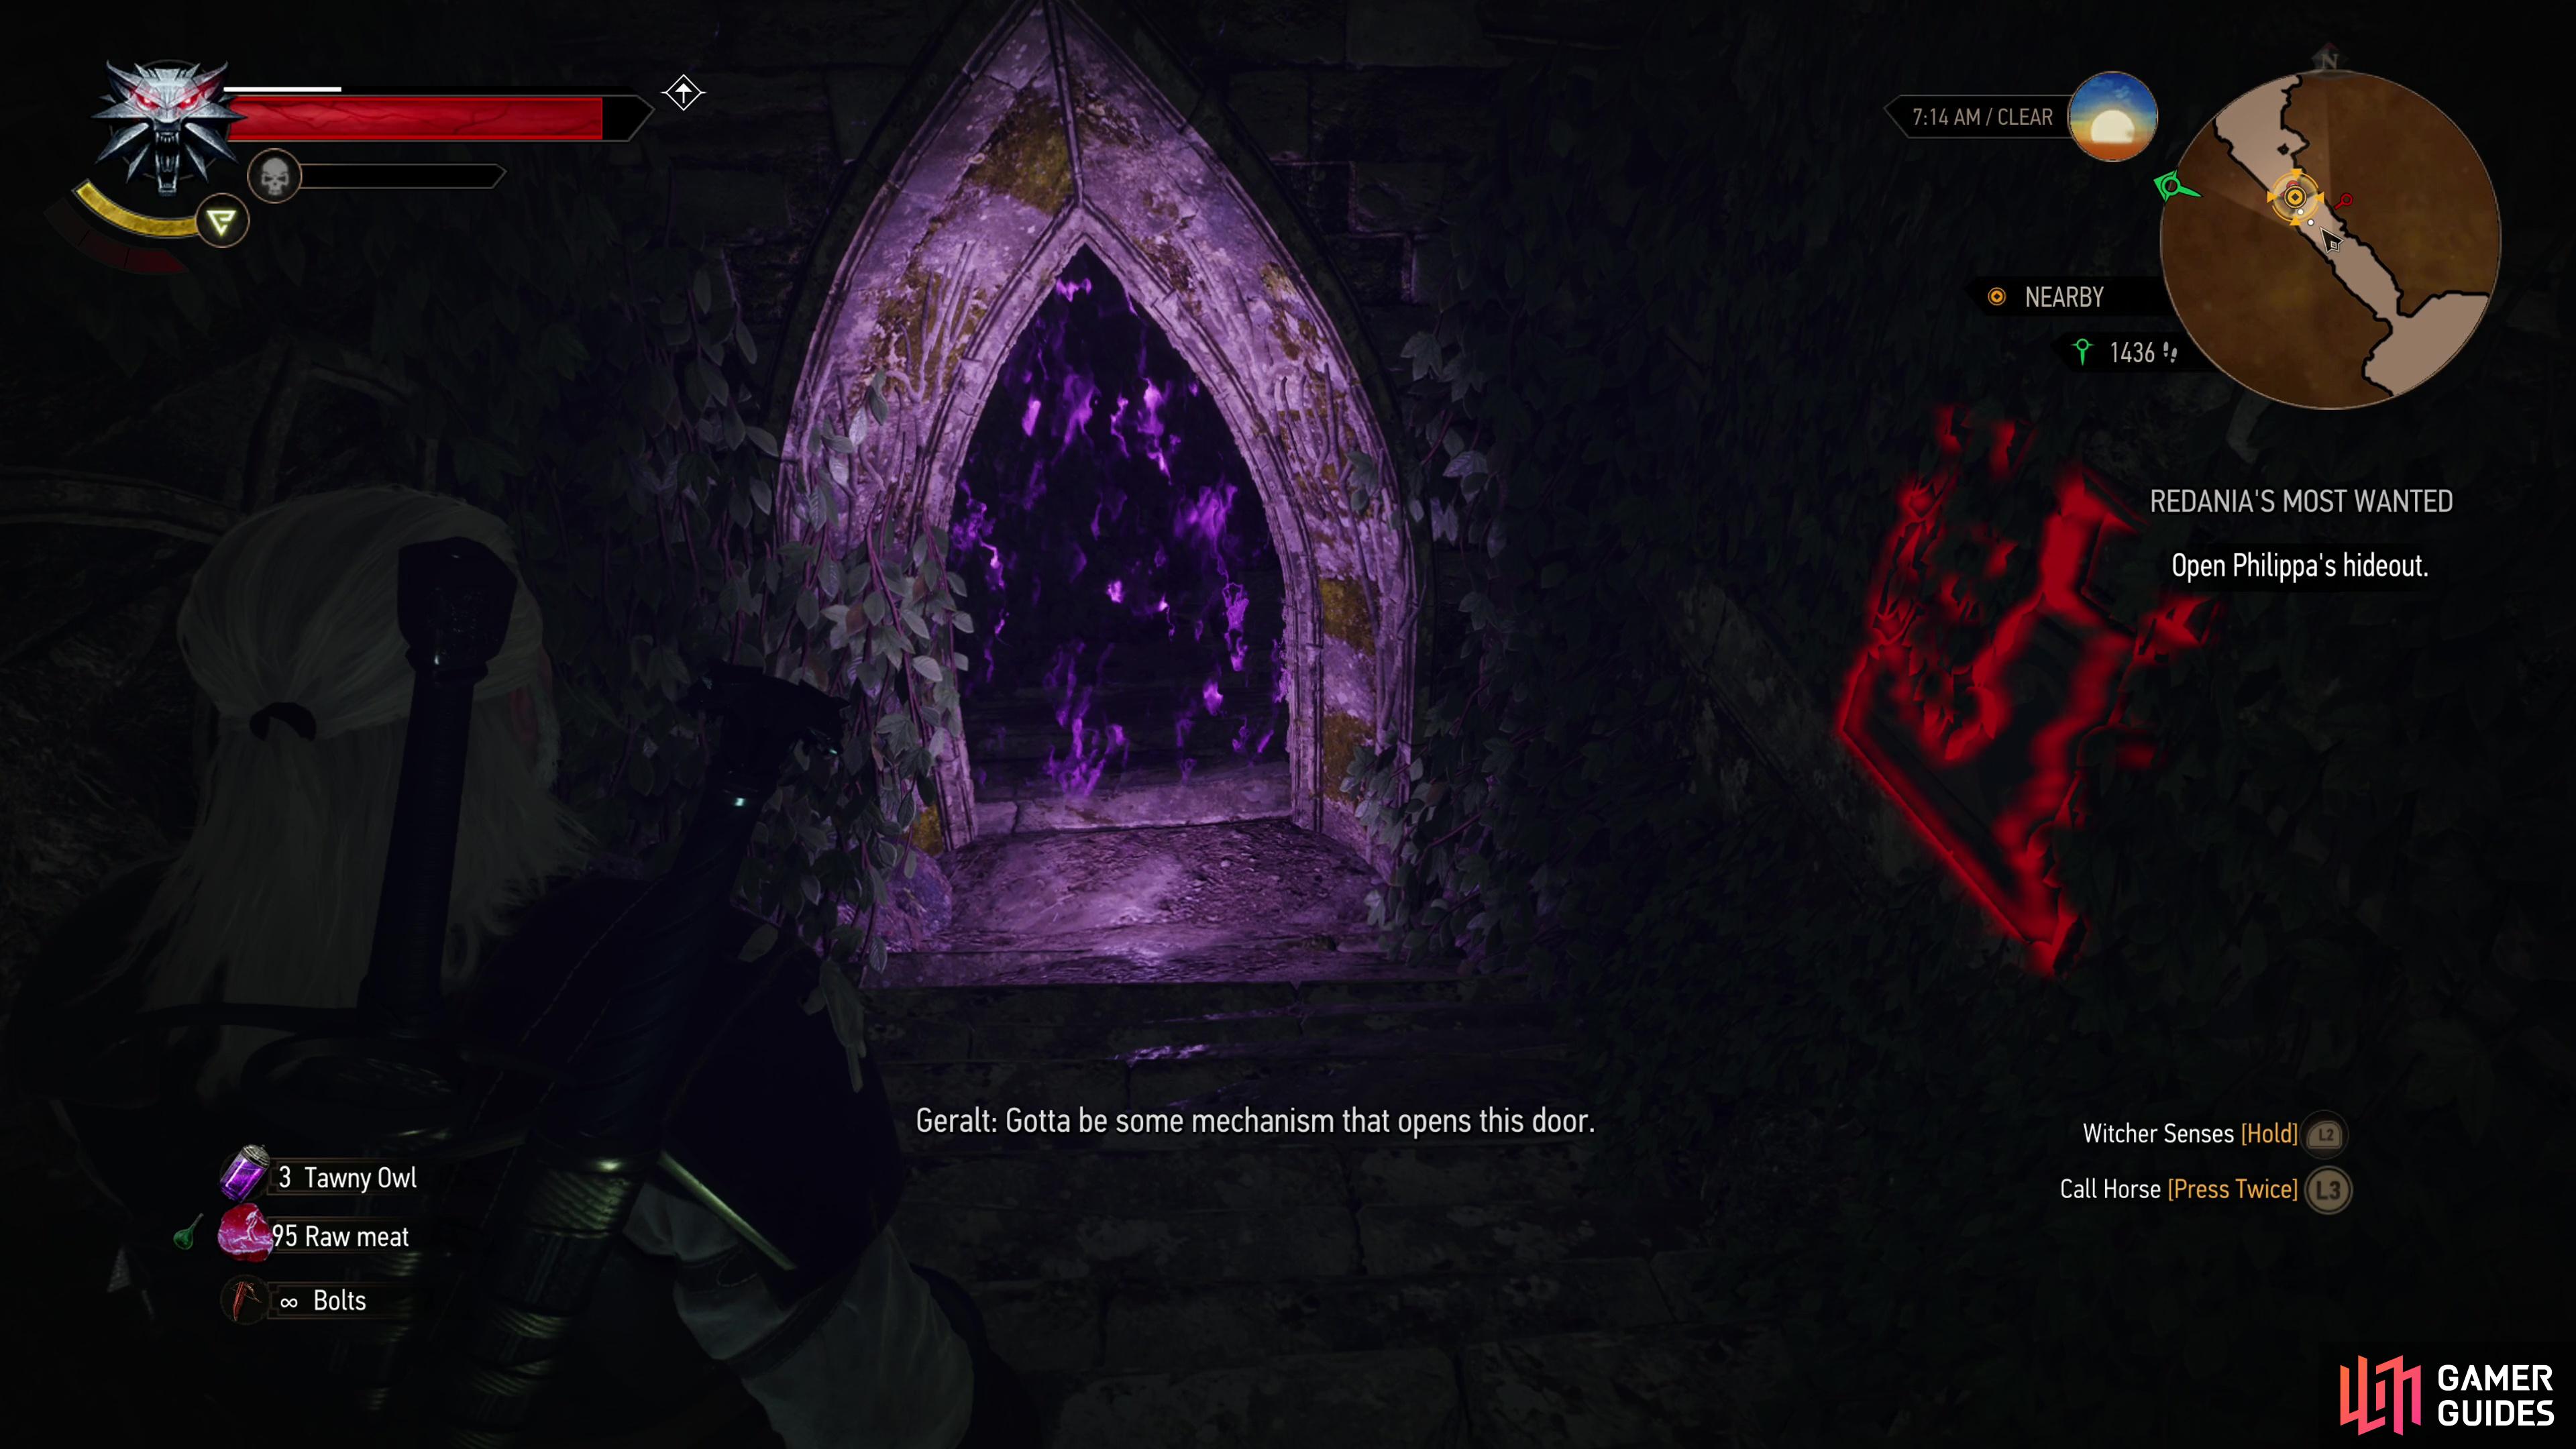
After you collect the diagram, head down some stairs to the northwest only to find your progress impeded by a magic barrier. Turn right from this ensorcelled doorway (northeast) and use your Witcher senses to detect an alcove into which the key the Witch Hunters gave you fits. Plant it and the barrier will fall. It might be in your best interests to chug a ![]() Cat potion here, as the place is pretty dark, although not prohibitively so, if you’re feeling stingy. In any event, you’ll get 50 EXP for dispelling the barrier.
Cat potion here, as the place is pretty dark, although not prohibitively so, if you’re feeling stingy. In any event, you’ll get 50 EXP for dispelling the barrier.
Explore Philippa Eilhart’s Hideout
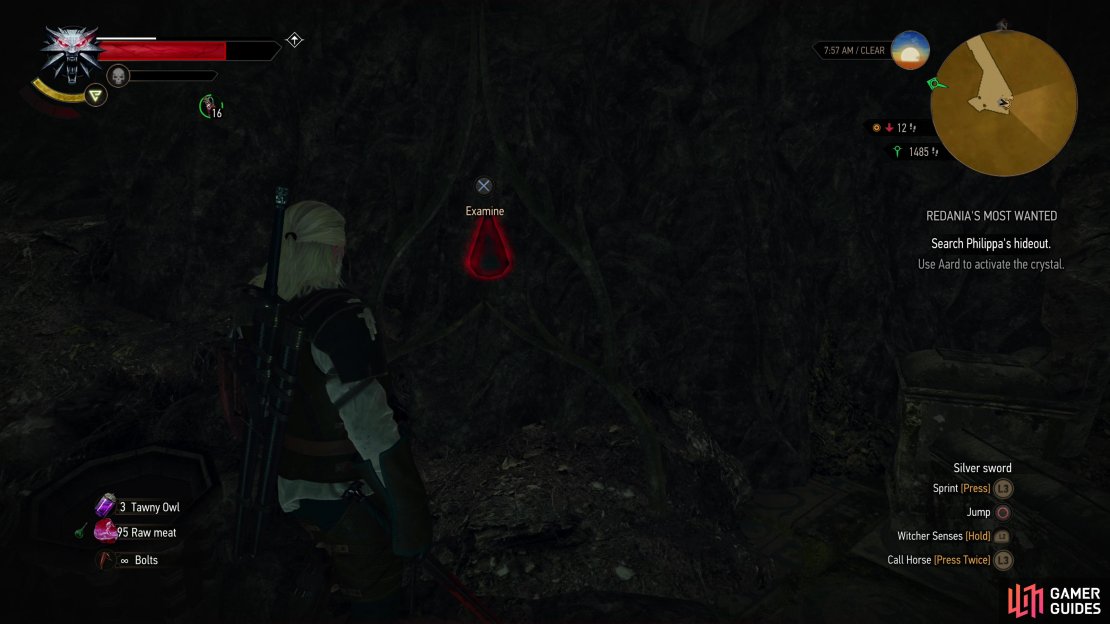
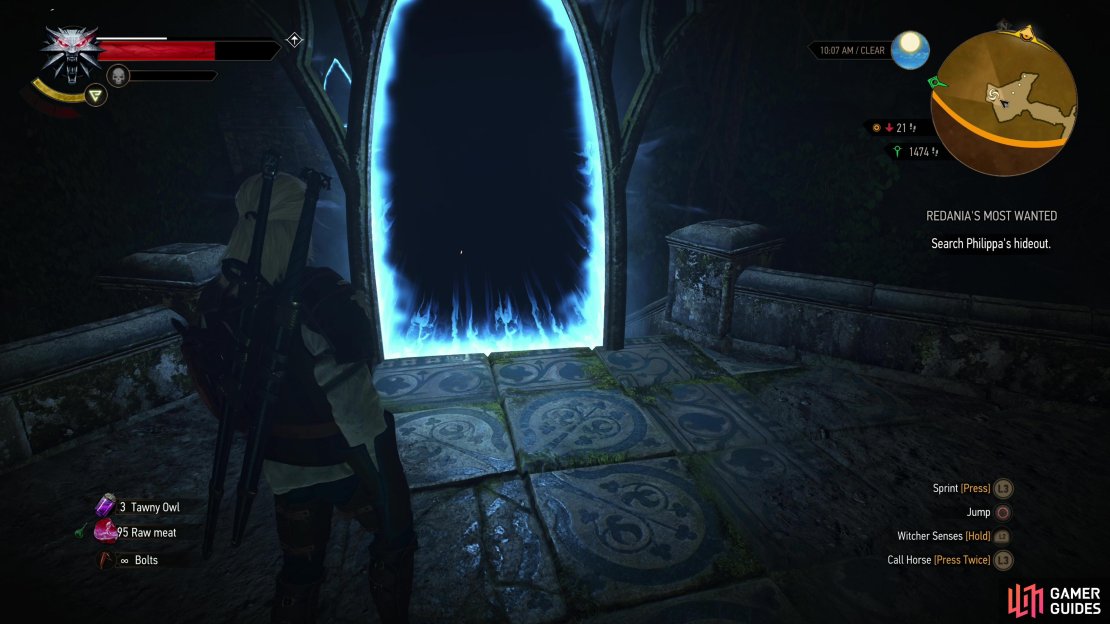
Continue into the ruins until you find a portal to the left. Head through it in spite of Geralt’s unrelenting complaints and when you appear deeper in the ruins Investigate a feather on the floor of the chamber you find yourself in, then continue southeast to find a pair of ![]() Nekkers (Lv9) guarding some stairs. Kill the pests, then head down the stairs they guarded to find an inactive portal. Search to the southeast with your Witcher senses to find an inactive power cell still in its mysterious holder, then blast it with Aard to power the portal up.
Nekkers (Lv9) guarding some stairs. Kill the pests, then head down the stairs they guarded to find an inactive portal. Search to the southeast with your Witcher senses to find an inactive power cell still in its mysterious holder, then blast it with Aard to power the portal up.

(1 of 4) Use the key given to you by the Witch Hunters to dispel a barrier,
Get the Power Cell from the Witch Hunter
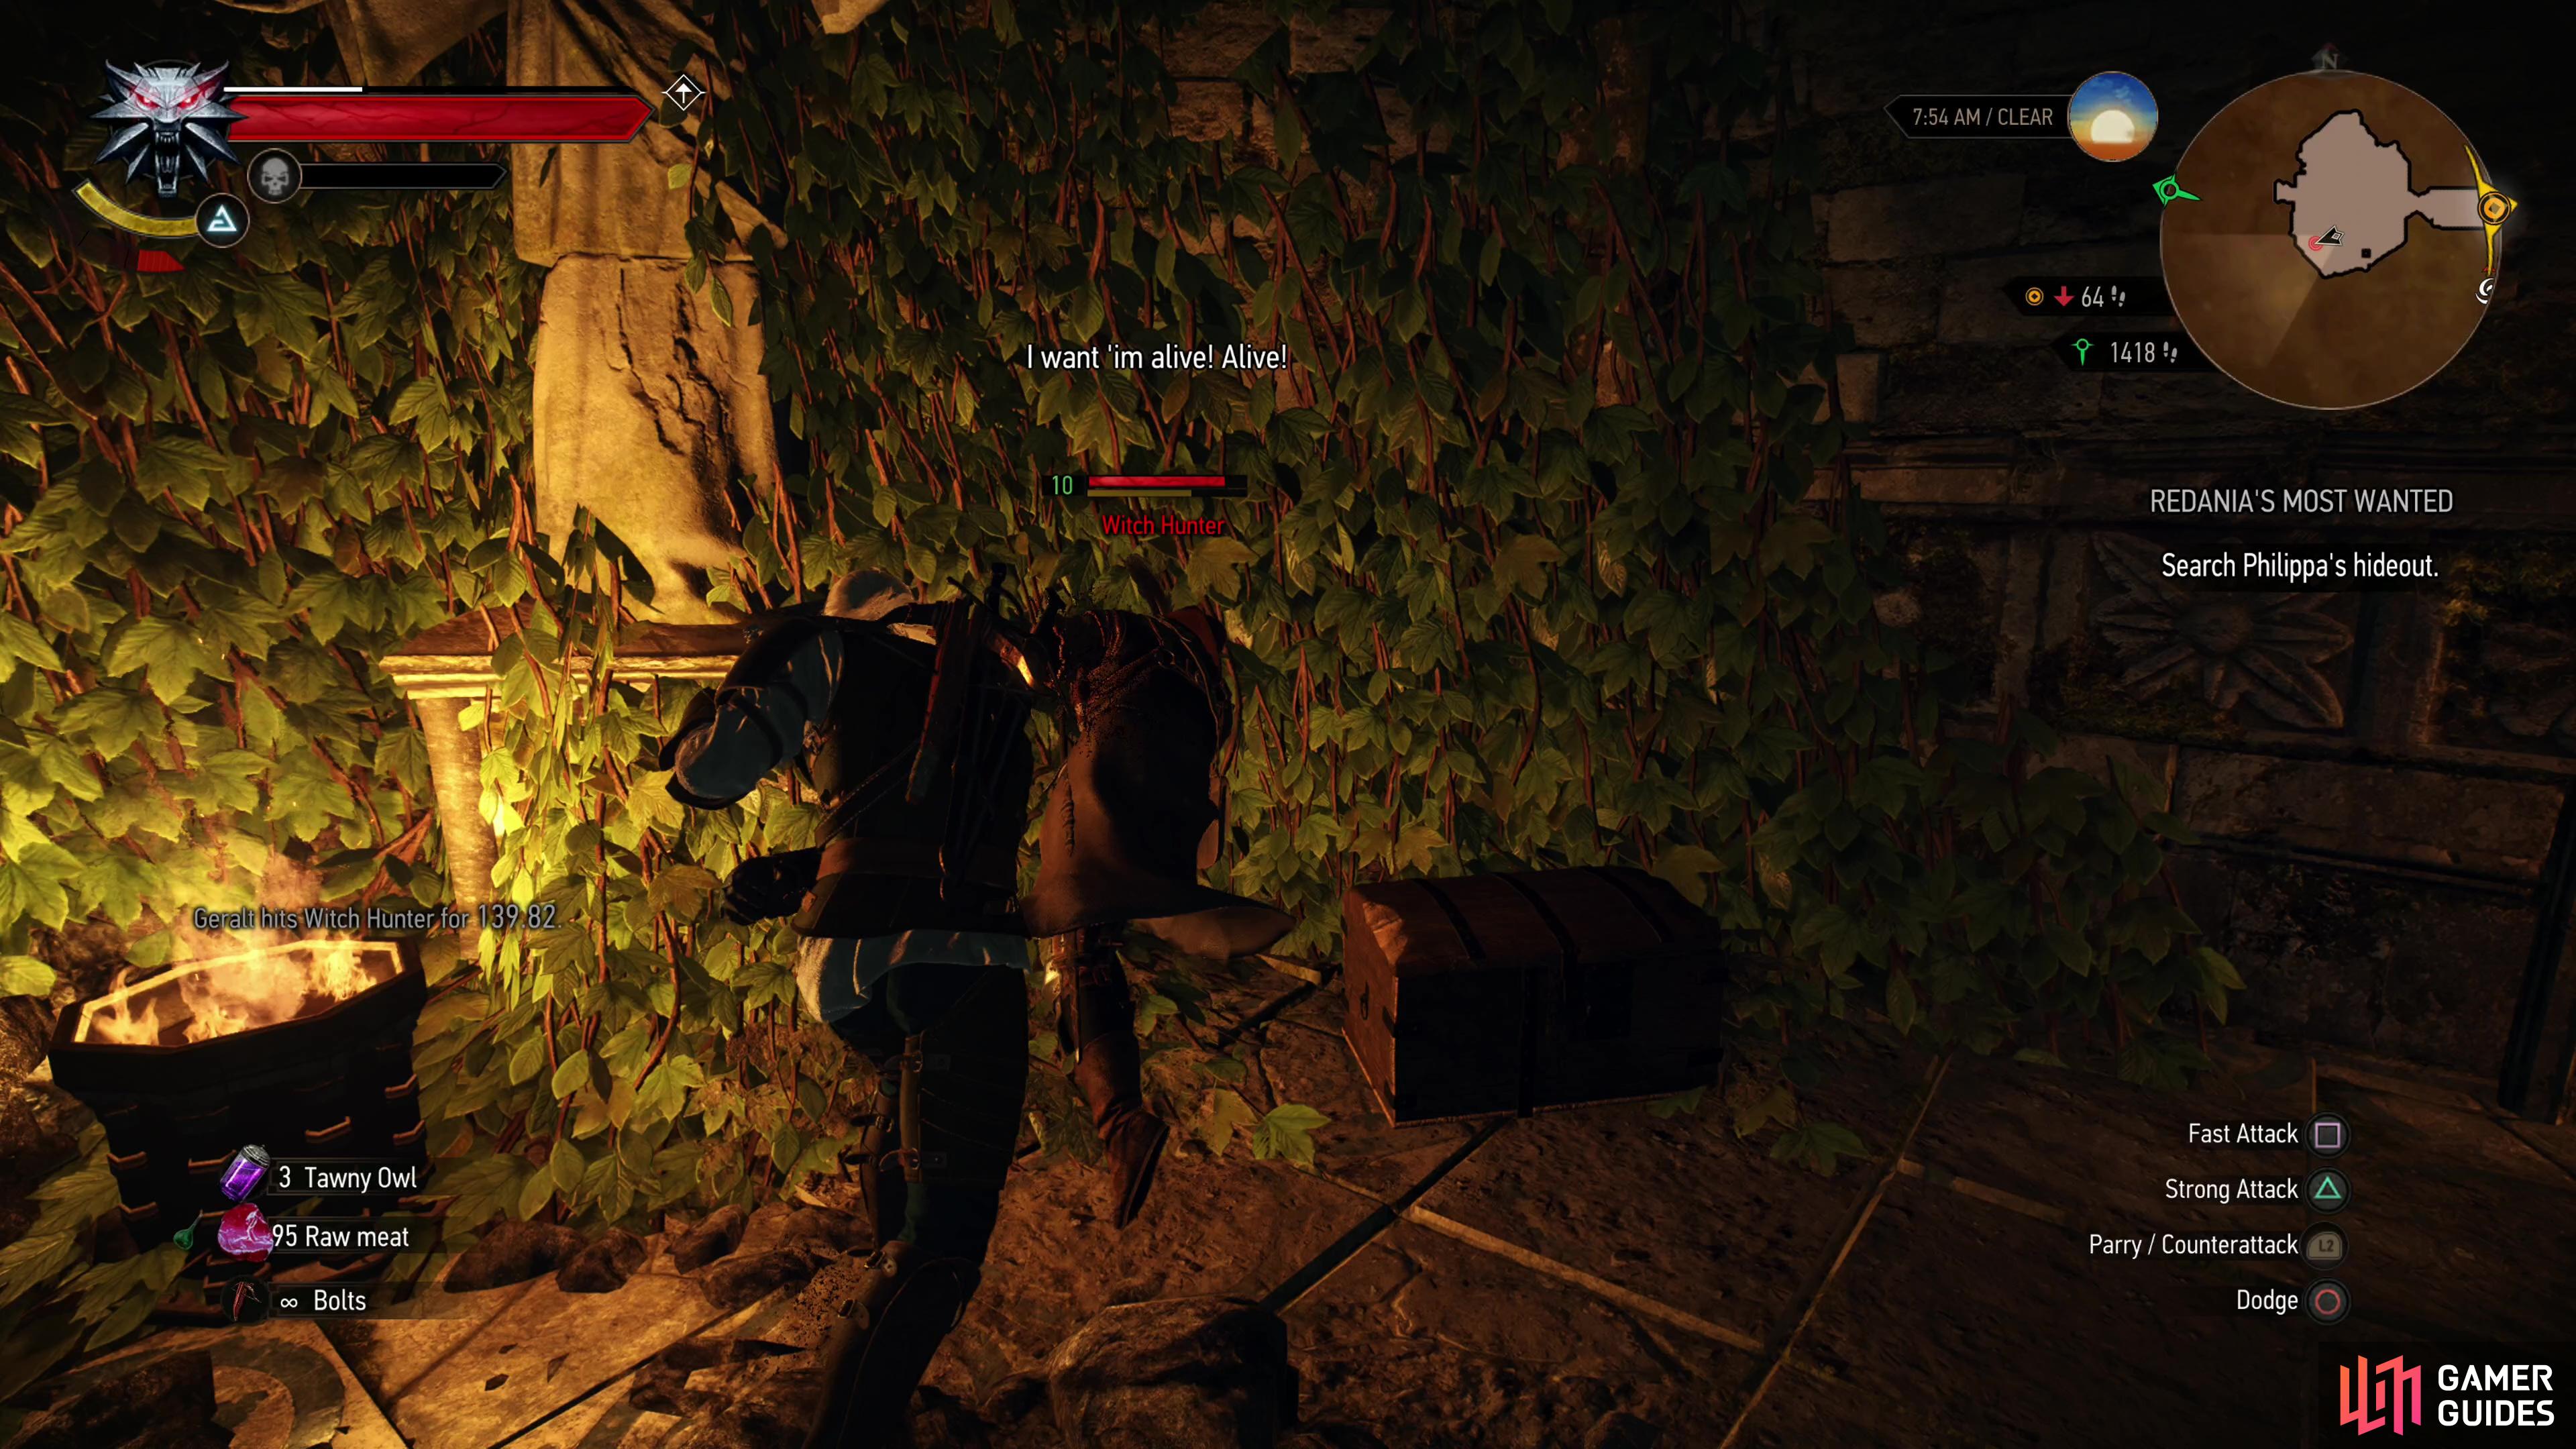
On the other side of the portal you’ll meet a stranded witch Hunter, presumably a survivor from the earlier, failed expedition the Witch Hunters undertook before Geralt arrived. Exhaust his dialog options and he’ll refuse to hand over a Power Cell he found when asked - you can either pick the option to take it by force (”Gimme the crystal or you’re in for a world of hurt.”) which results in a fist fight against the Witch Hunter (Lv10) or you can just ![]() Axii him to get the Power Cell. There’s more EXP and less fuss if you use Axii, but do what you will to get the Power Cell, then search a chest to find a
Axii him to get the Power Cell. There’s more EXP and less fuss if you use Axii, but do what you will to get the Power Cell, then search a chest to find a ![]() Letter to Philippa, which is just lore, not quest-essential.
Letter to Philippa, which is just lore, not quest-essential.
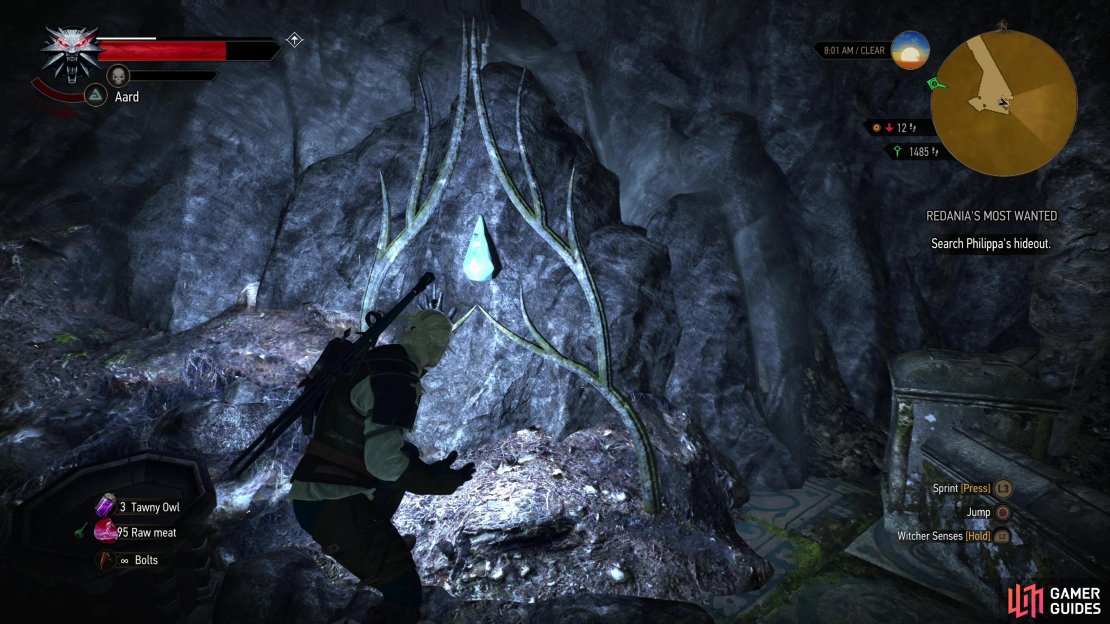
In any event, go through the doorway to the east to find another inactive portal. From this dormant portal, turn southwest to find the holder for the Power Cell on the wall - interact with it to place the crystal, hit it with Aard to boot the portal back up, then go through it. This also opens up another portal in the room with the Witch Hunter, if you’re keen on leaving for whatever reason.
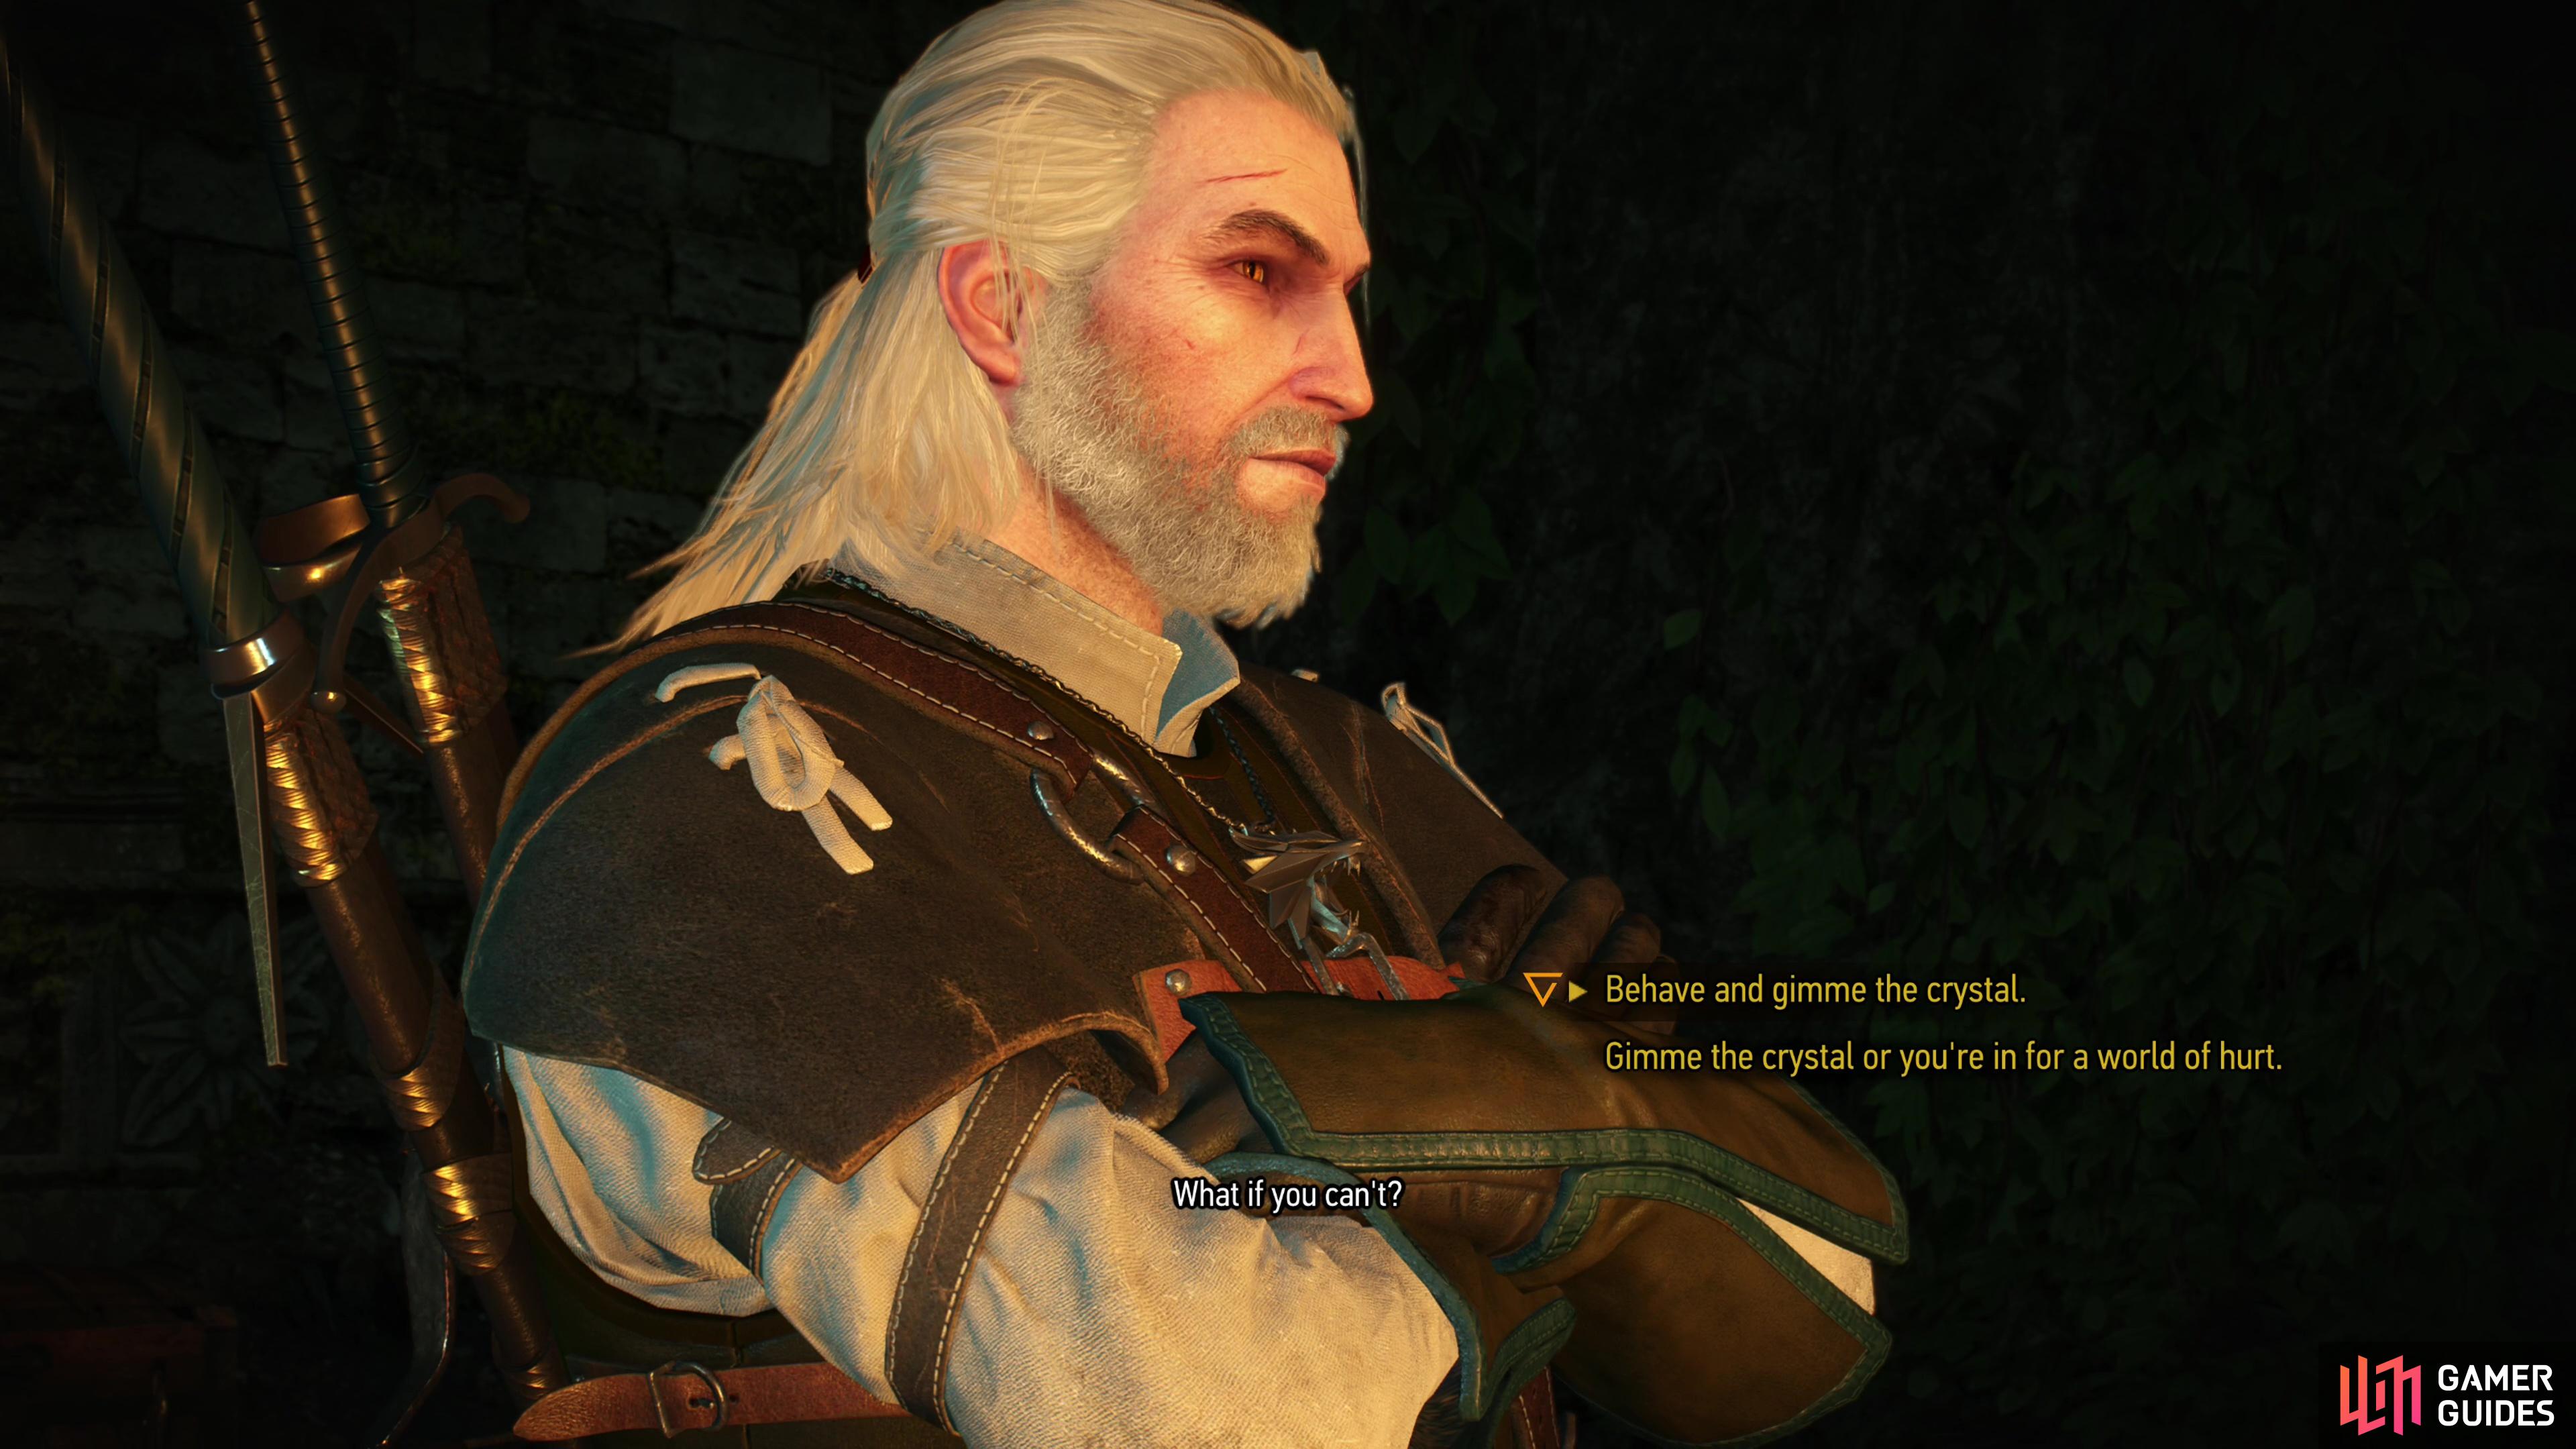

(1 of 2) Either use Axii to convince the Witch Hunter to give you the Power Cell you need,
Either use Axii to convince the Witch Hunter to give you the Power Cell you need, (left), or beat him up and take it. (right)
Reach the Bottom of the Ruins
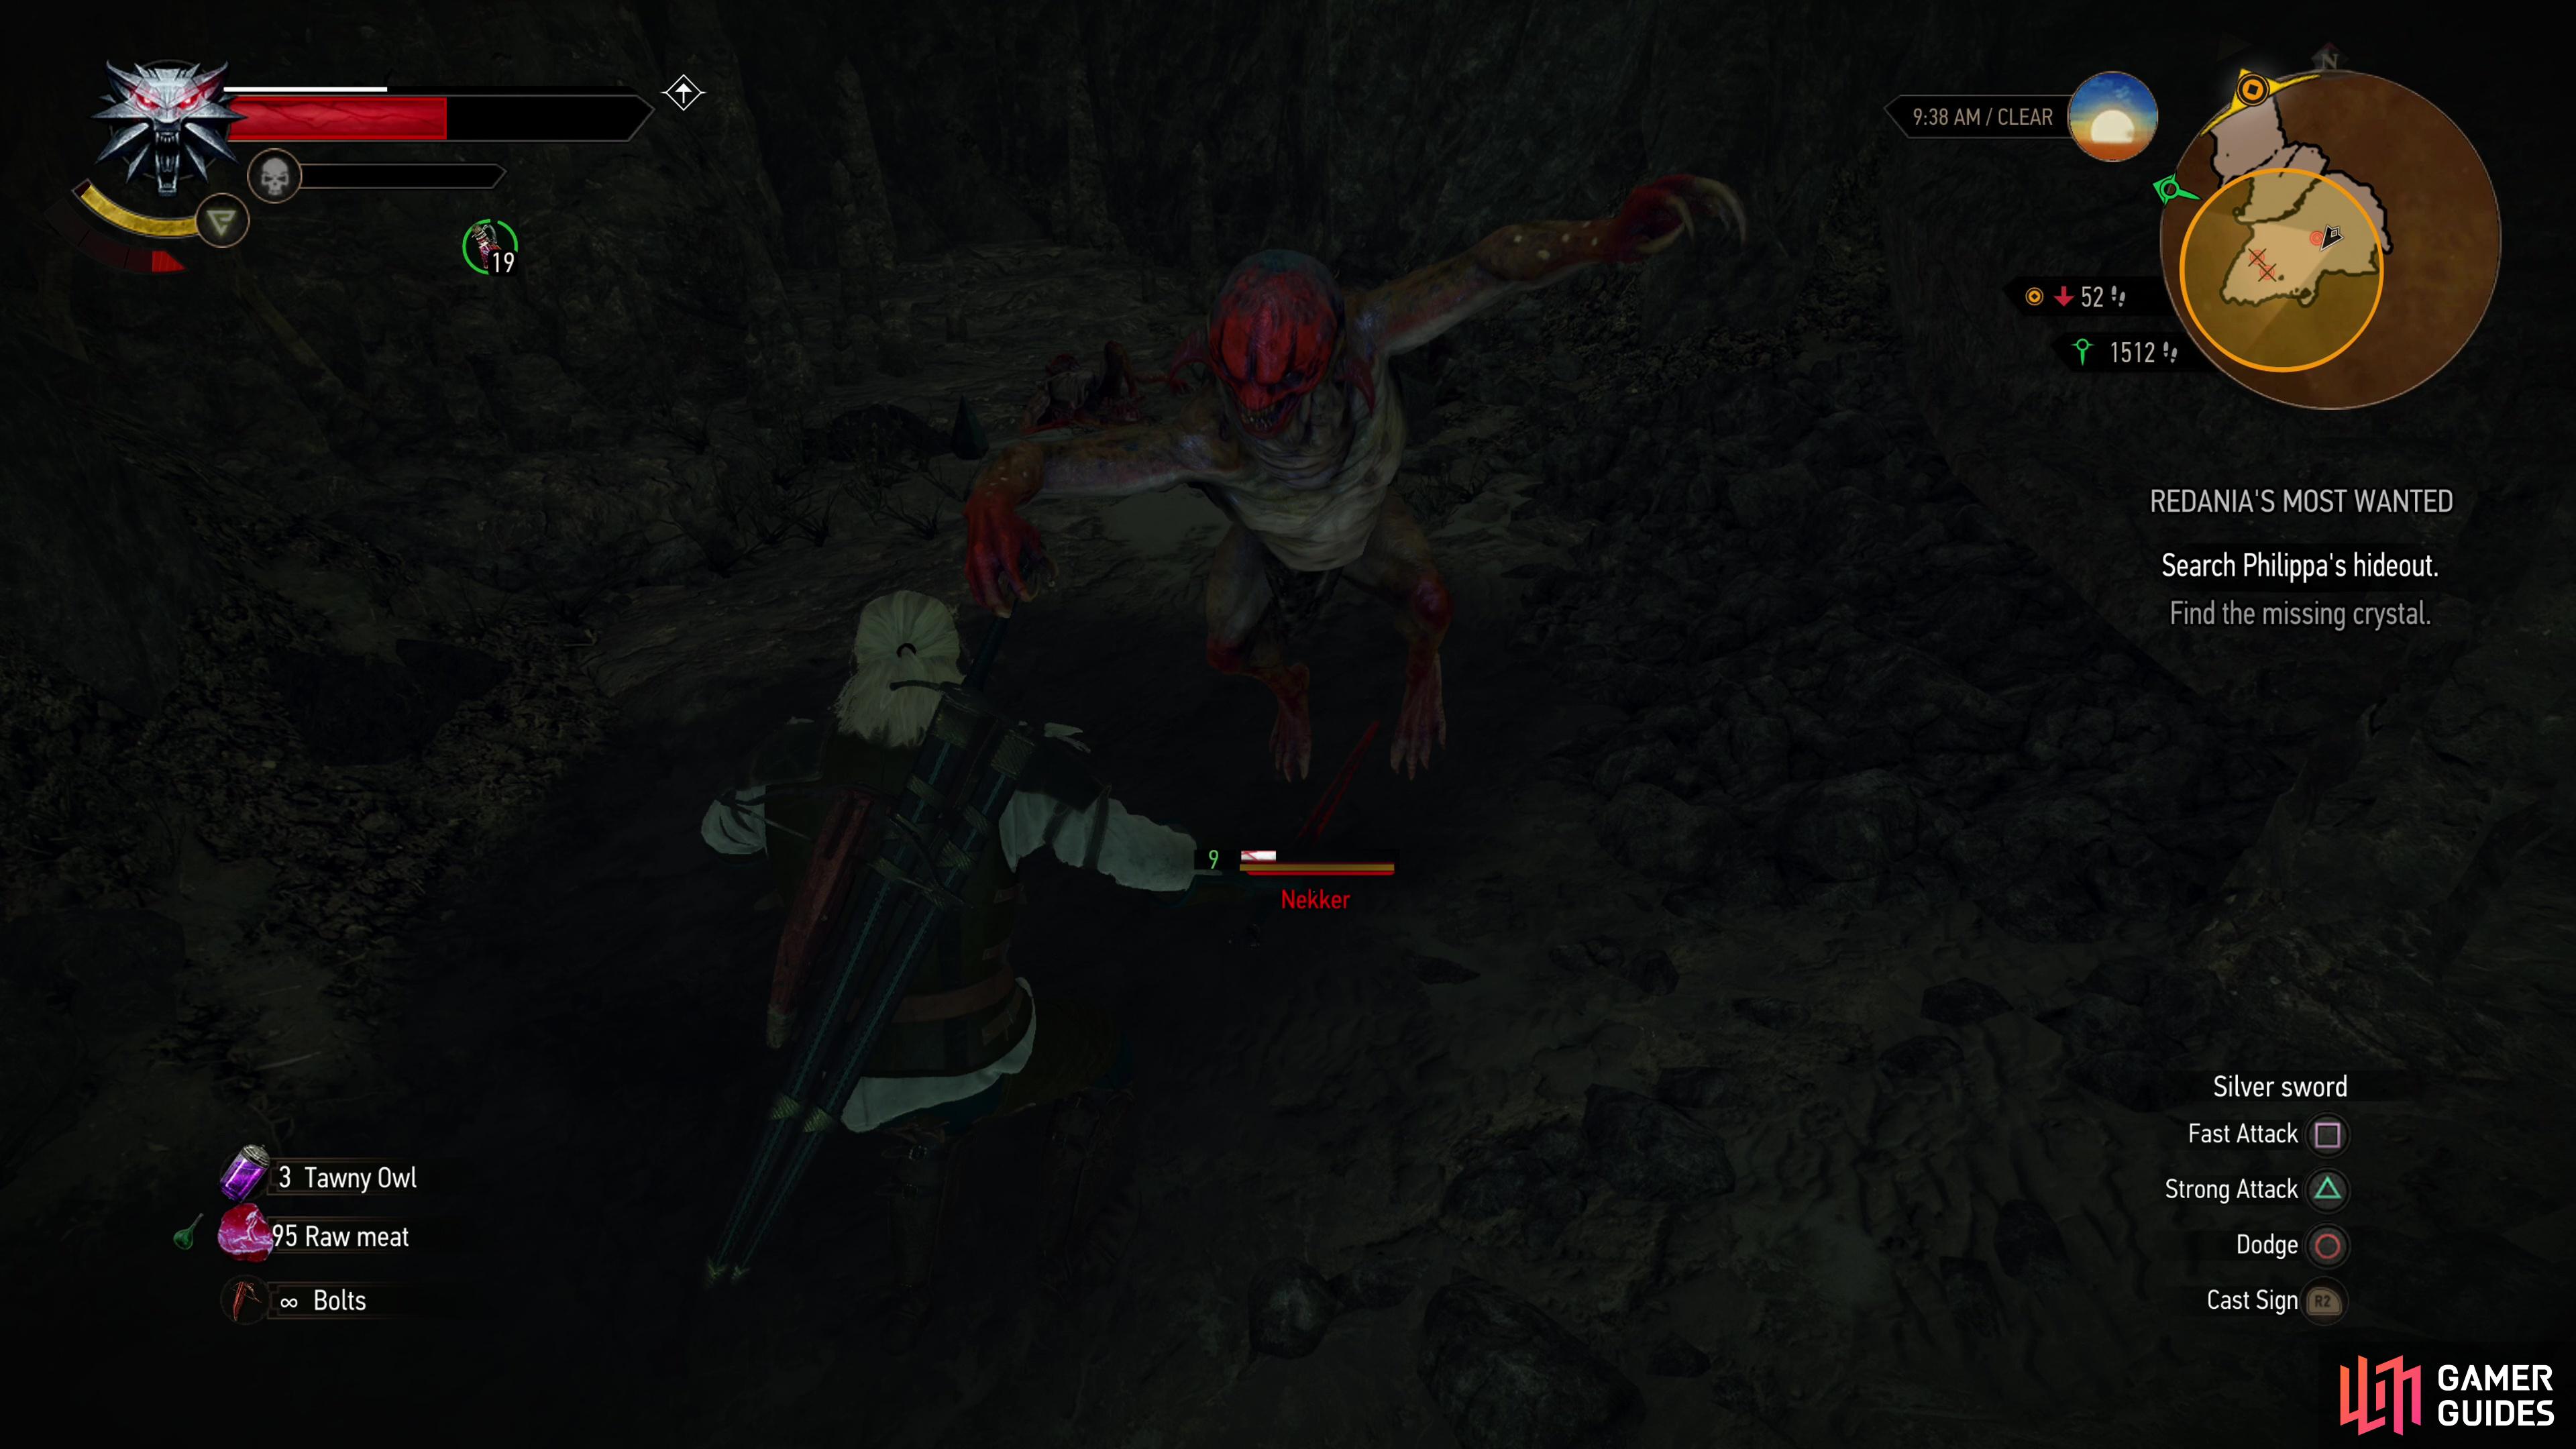
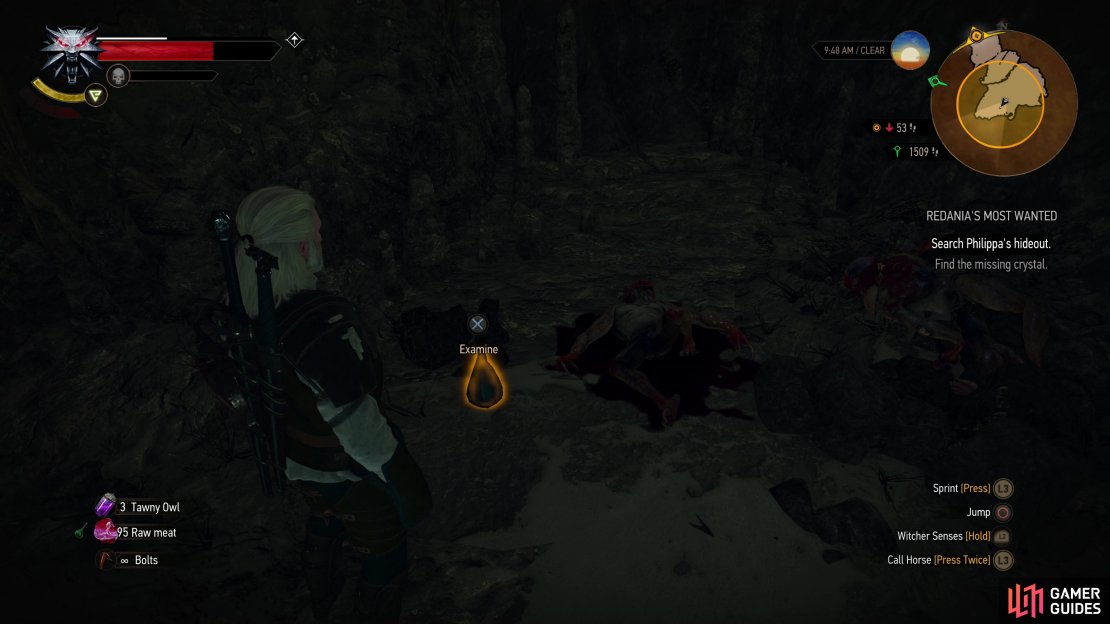
When you arrive, kill a trio of ![]() Nekkers (Lv9), loot a chest, then examine another shed feather, if you wish, but eventually head northwest to find another inactive portal, and this time no Power Cell is immediately forthcoming. Fortunately Geralt is here to guide you, suggesting one of the Nekkers might have it. Backtrack southeast into the room you portaled into, then drop down a hole to the south to find another trio of Nekkers roaming about. Cut them down and sure enough you’ll find a fresh Power Cell just lying on the ground. Pick it up, return to the portal, socket the Power Cell in its holder, and hit it with Aard to power up the portal, which will take you deeper into the ruins.
Nekkers (Lv9), loot a chest, then examine another shed feather, if you wish, but eventually head northwest to find another inactive portal, and this time no Power Cell is immediately forthcoming. Fortunately Geralt is here to guide you, suggesting one of the Nekkers might have it. Backtrack southeast into the room you portaled into, then drop down a hole to the south to find another trio of Nekkers roaming about. Cut them down and sure enough you’ll find a fresh Power Cell just lying on the ground. Pick it up, return to the portal, socket the Power Cell in its holder, and hit it with Aard to power up the portal, which will take you deeper into the ruins.

(1 of 3) Kill some more Nekkers in a pit,
Defeat Ifrit
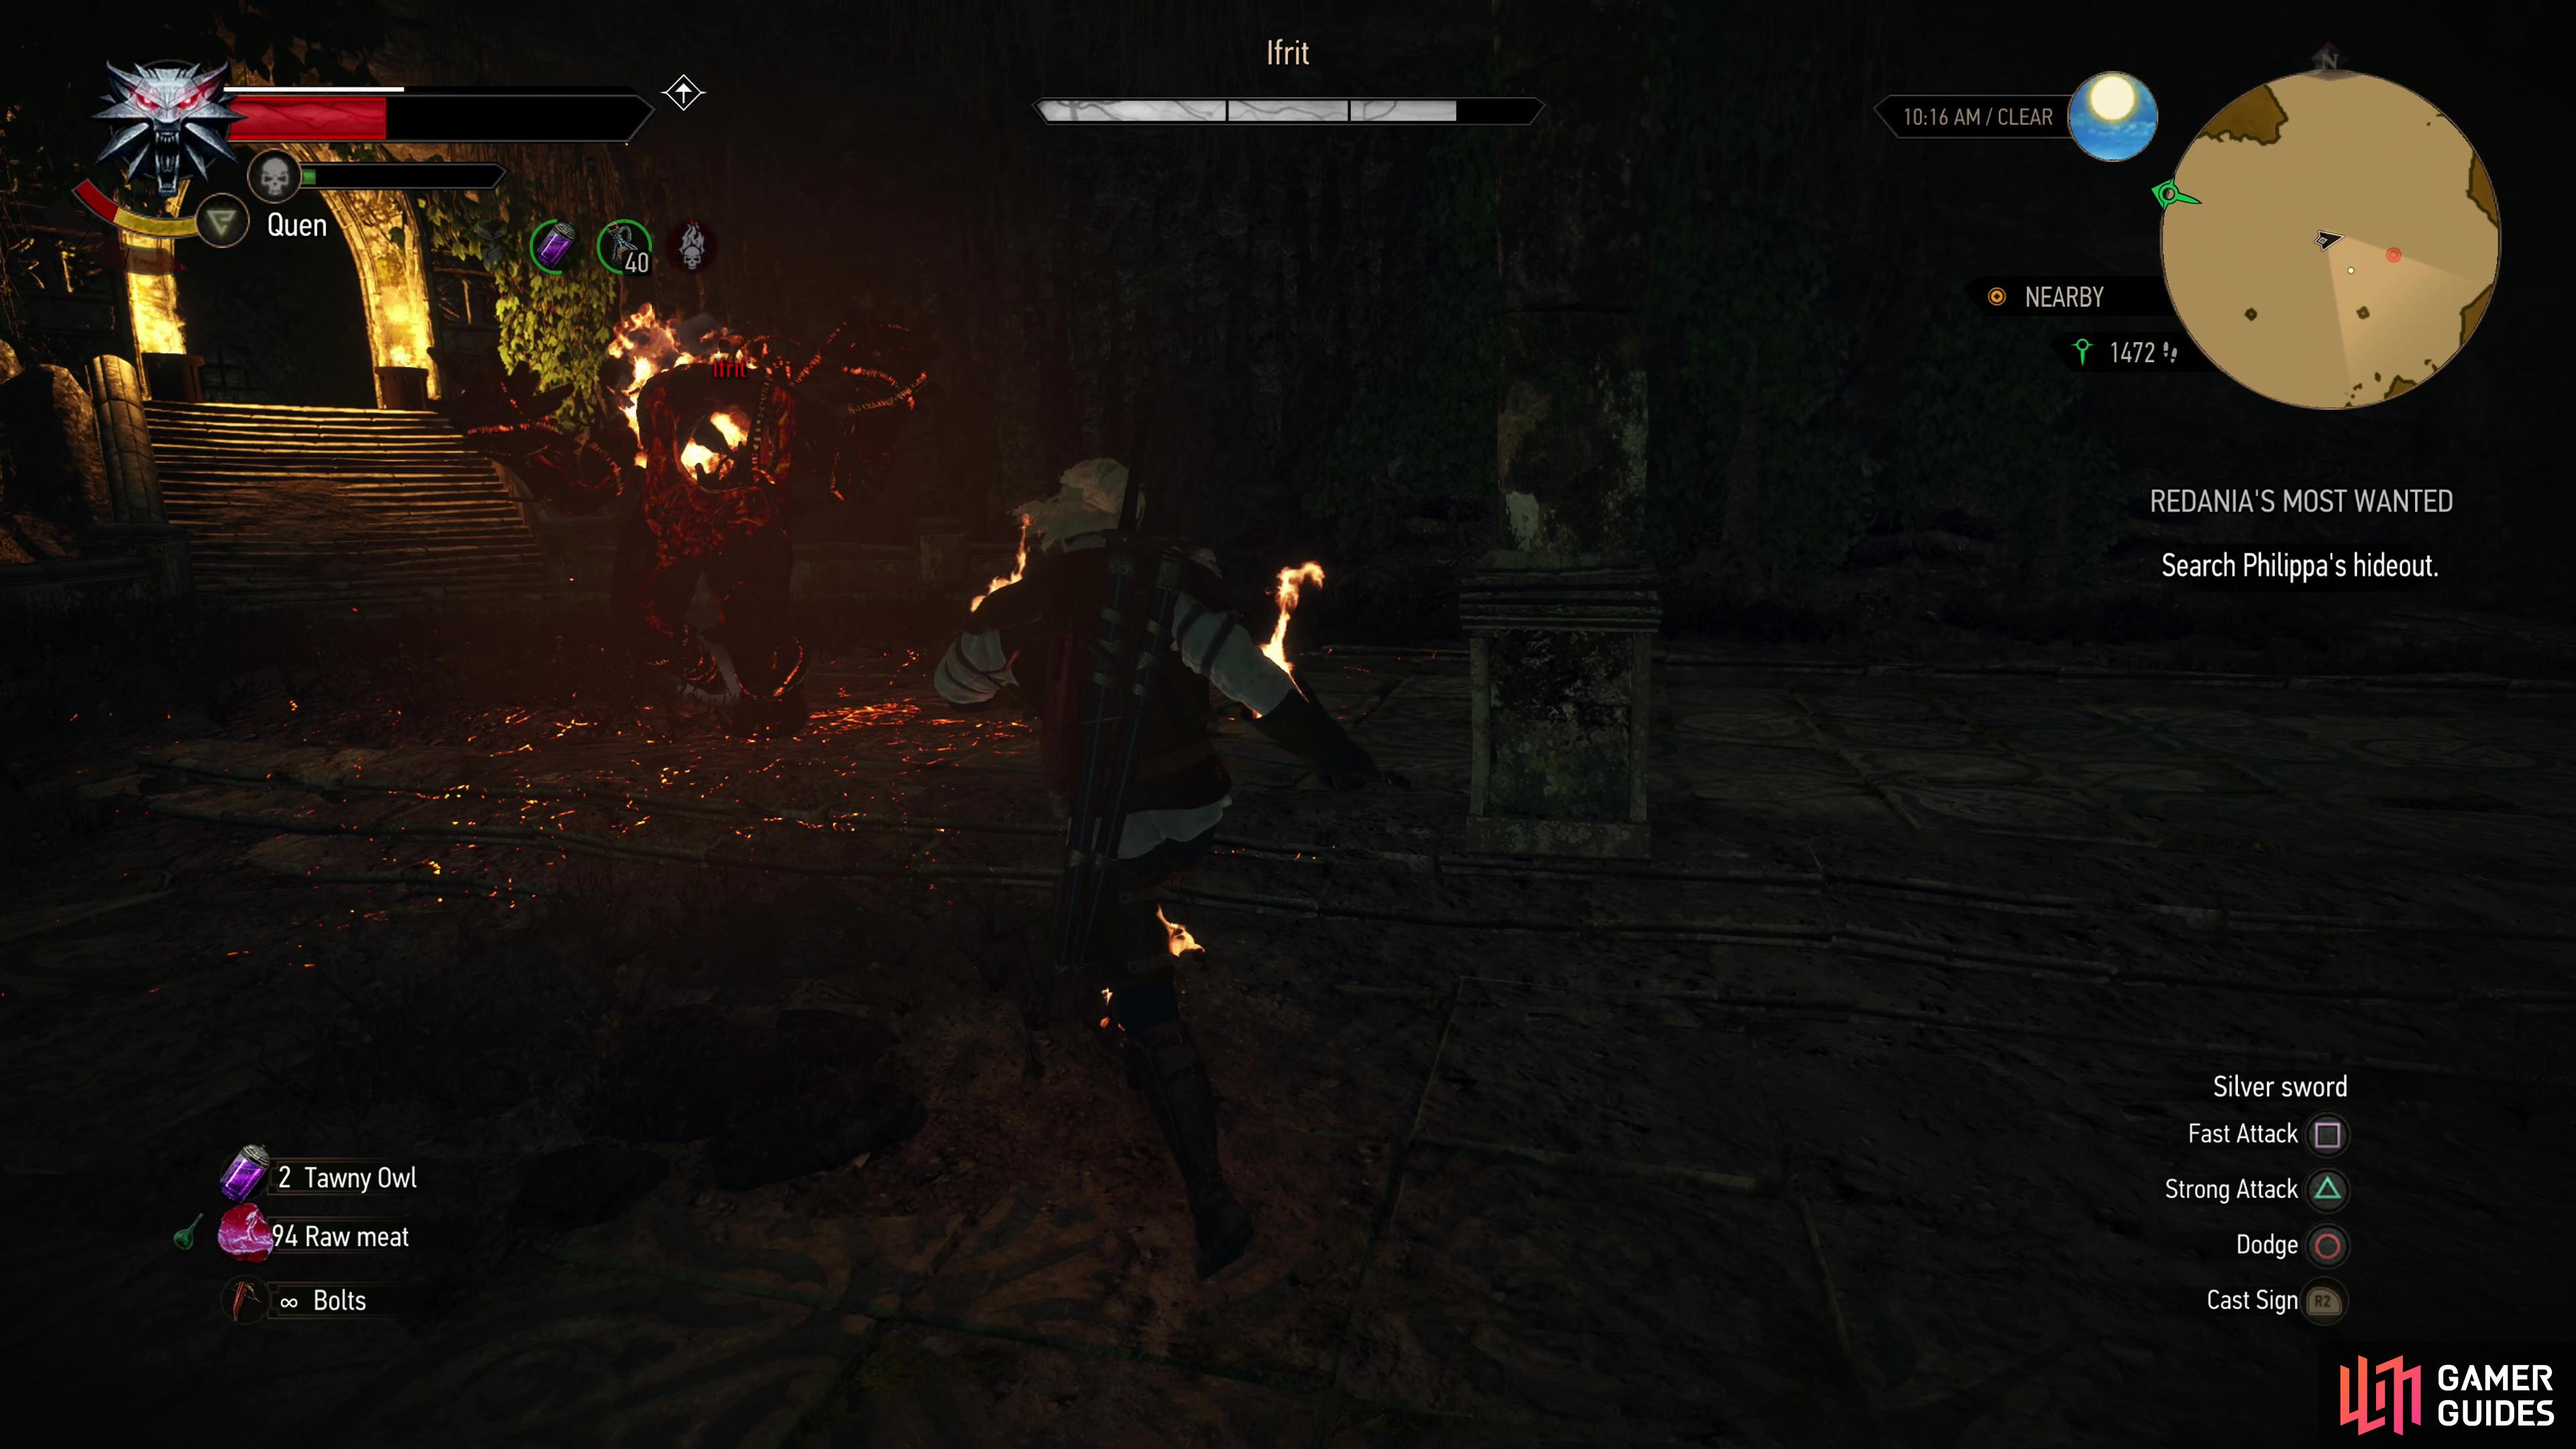
To the bottom of the ruins, in fact. There’s a few things to loot here, but before you get to that make sure you’re healed and advance to the northeast to find some stairs leading up to the east. Before you can ascend these stairs, however, you’ll be greeted by an elemental guardian - an Ifrit.
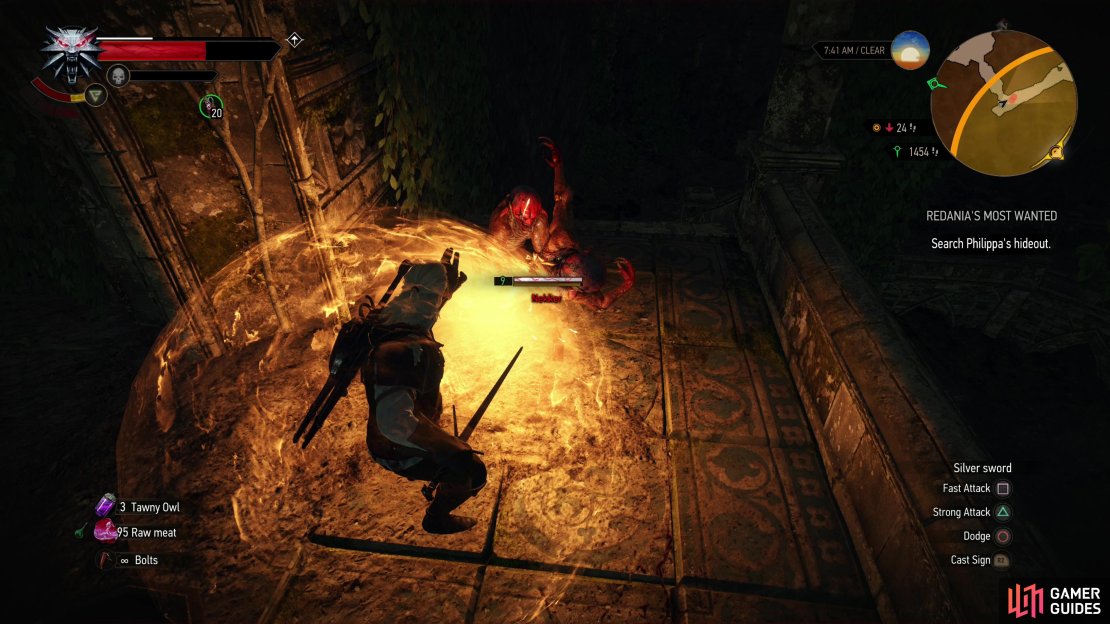
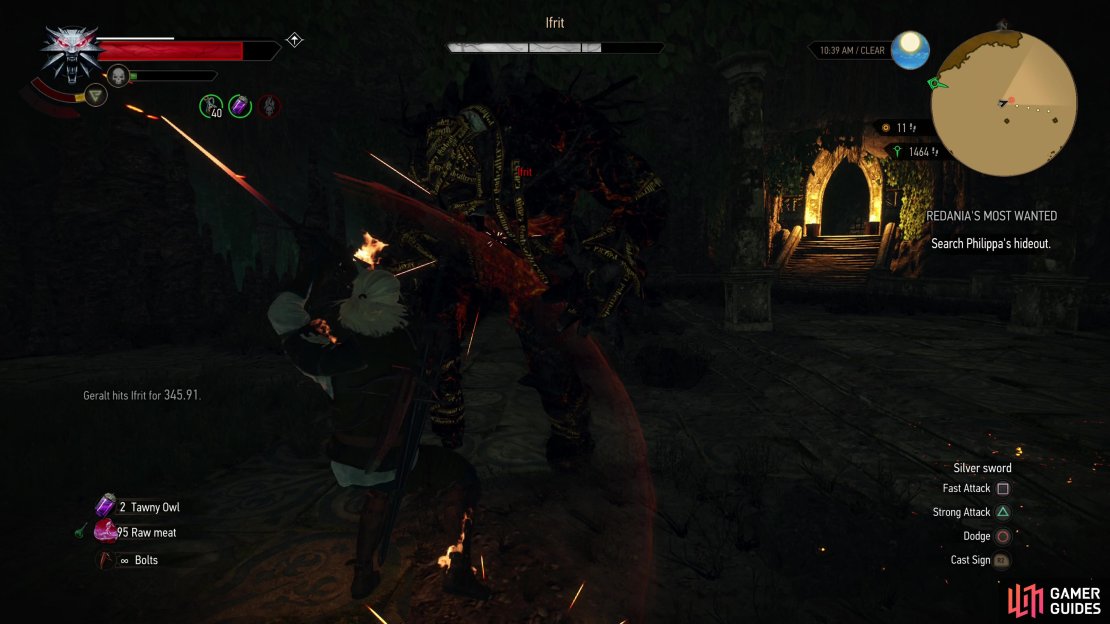
These things sure have changed since the first game, where they were basically fiery canine creatures. Now they’re more hulking fiery elemental humanoids. Expect powerful punches from its fists, explosive ground-pounds, ranged fire bolts, lines of fire on the ground and persistent fire damage while you’re nearby. The latter can be temporarily disabled by blasting the beast with Aard, which will (depending on Sign Intensity) temporarily squelch the Ifrit’s flames, but you’re probably better off just using ![]() Quen (standard cast) to shield yourself and getting in close to cut the elemental down with the tried-and-true strong attack + dodge combo.
Quen (standard cast) to shield yourself and getting in close to cut the elemental down with the tried-and-true strong attack + dodge combo.
Many of its attacks leave lingering patches of fire on the ground that you’ll need to avoid, and its explosive fire bolts present a rare instance where rolling is actually preferable to dodging. Active Quen is actually rather weak here, as the Ifrit’s fire will drain your Stamina awfully quickly and many of its attacks will knock you off-balance, often resulting in little to no health gain. Despite the burning effect it inflicts, staying close and fighting aggressively in an attempt to simply out-damage it is probably your best bet. ![]() Tawny Owl will help your Stamina regeneration keep up with the Ifrit’s damage output and White Rafford’s Decoction can give you some emergency healing, if you need it.
Tawny Owl will help your Stamina regeneration keep up with the Ifrit’s damage output and White Rafford’s Decoction can give you some emergency healing, if you need it.
Once it’s dead you can safely search the remainder of the ruins. You can find a chest down a slope to the north, another chest in a room through a doorway northwest of the portal you took to get here, a third chest in the stalagmite-filled pit near the stairs leading to the aforementioned portal, and a fourth chest behind the portal you arrive through (go up some stairs to the northwest to reach it). Once all these are looted, go through the doorway guarded by the Ifirt to reach Philippa’s laboratory.
Search Philippa Eilhart’s Lab
Time to search for clues! Search a chest to the northwest to find an ![]() Agate, then activate your Witcher senses to find some disinfectant near a pillar to the north, some surgical instruments on a table further north, some burnt notes to the east, and finally a megascope to the south-east. From the megascope head west over some rubble to find a Polished Crystal near a pillar. With these baubles in hand you can leave the ruins and make your report to Radovid.
Agate, then activate your Witcher senses to find some disinfectant near a pillar to the north, some surgical instruments on a table further north, some burnt notes to the east, and finally a megascope to the south-east. From the megascope head west over some rubble to find a Polished Crystal near a pillar. With these baubles in hand you can leave the ruins and make your report to Radovid.

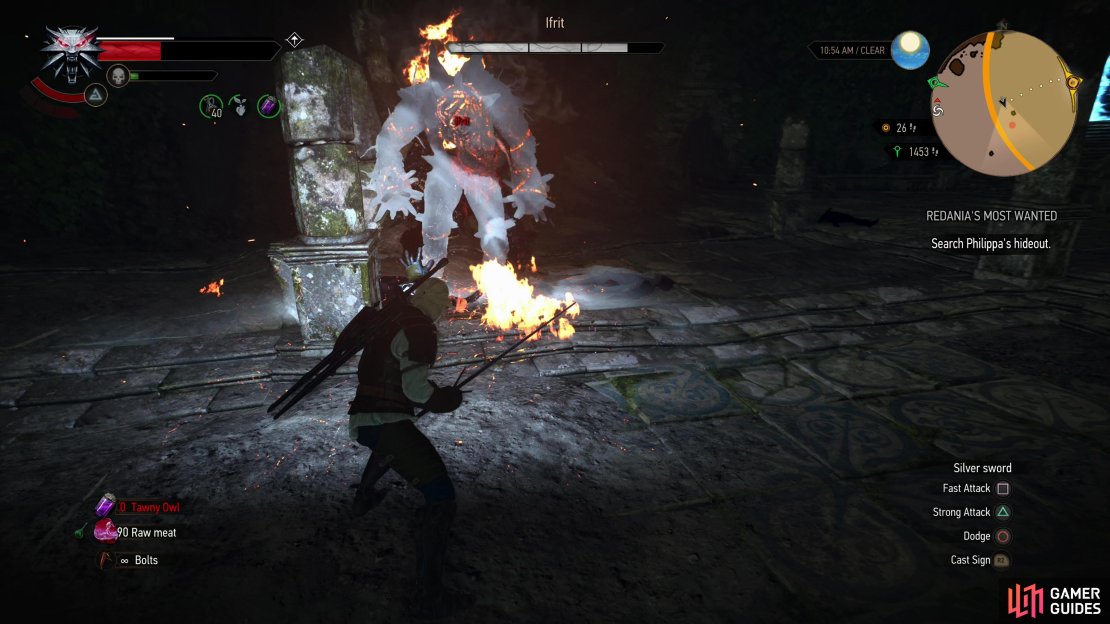
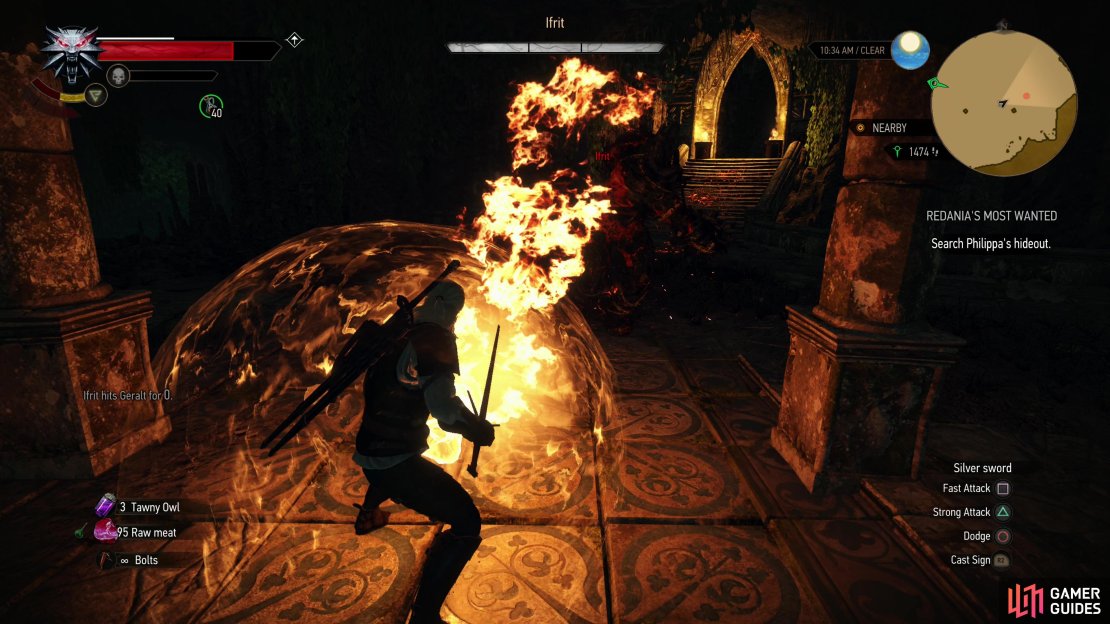

(1 of 5) The Ifrit can shroud itself in flame, dealing fire damage over time when you’re close to the elemental.
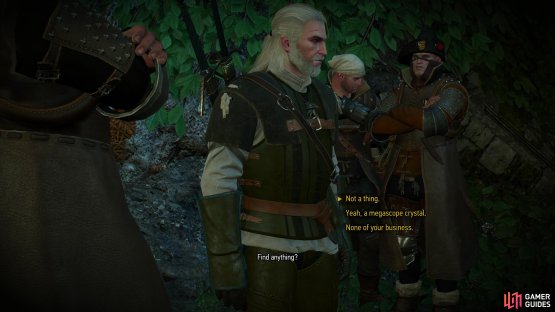
Choice: Give the Megascope Crystal to the Witch Hunters, Radovid, Triss or Yennefer
Unfortunately this is where the quest gets complicated. Not necessarily consequential, but complicated nonetheless. Leave the ruins and you’ll be accosted by the Witch Hunters, who want to know what you found. Say whatever you wish but ultimately you’ll have to choose between handing the Megascope Crystal over or fighting them in order to retain it. This is just the first of a few choices, and it should be noted that whatever you do with the Megascope Crystal, the quest won’t actually end until you talk to Radovid.
Give the Megascope Crystal to the Witch Hunters
If you hand over the Megascope Crystal to the Witch Hunters you’ll avoid a fight and will get 50 EXP, but when you report back to Radovid you won’t get the customary monetary reward, as the Witch Hunters will have… embellished their role at the ruins, while demeaning your own accomplishments. Radovid finds it convenient to play they-said-he-said and ultimately sends you away with nothing.

(1 of 2) Escape from the ruins and you’ll be confronted by the Witch Hunters. Either give them the Megascope Crystal,
Escape from the ruins and you’ll be confronted by the Witch Hunters. Either give them the Megascope Crystal, (left), or fight them to keep it. (right)
Give the Megascope Crystal to Radovid
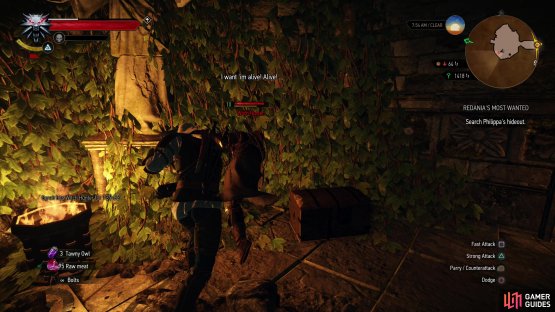
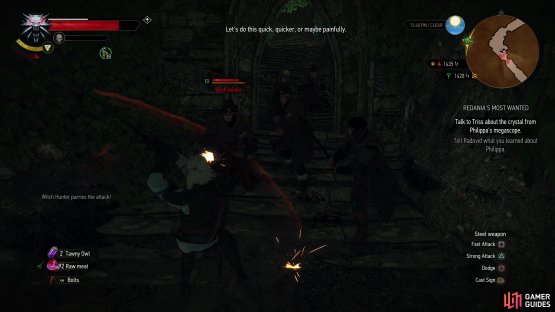
Alternatively you could opt to kill the Witch Hunters (Lv10), which is a prerequisite for every other route. They’re numerous and are decent fighters inasmuch as you can’t spam fast attacks without fear of being countered. Taking advantage of doorways and bottlenecking them while striking with the ol’ strong attack + dodge combo works as long as you’re willing to give up ground and protect yourself with Quen. Don’t underestimate these foes and be willing to invest some potions into their demise, if you need to.
Once the Witch Hunters are dead, just take the Megascope Crystal back to Radovid and he won’t seem too concerned about the fate of his Witch Hunters. Handing over the Megascope Crystal will earn you the standard 50 EXP and well as 135 ![]() Crowns. You can do this after showing the Megascope Crystal to Triss or Yennefer and they won’t hold a grudge, so in terms of pure gameplay there’s no good reason not to give Radovid the Megascope Crystal.
Crowns. You can do this after showing the Megascope Crystal to Triss or Yennefer and they won’t hold a grudge, so in terms of pure gameplay there’s no good reason not to give Radovid the Megascope Crystal.
Give the Megascope Crystal to Triss or Yennefer
Defeat the Witch Hunters and instead of heading directly back to Radovid to give him the Megascope Crystal, you can also take it to Triss or Yennefer in Novigrad or ![]() Skellige, respectively. Showing the Megascope Crystal to either sorceress will give you some extra dialog, but it’s all lore and doesn’t affect anything going forward. It’s also worth noting that if you show the Megascope Crystal to one sorceress you’ll fail an objective to show it to the other, so this dialog comes at the cost of some red ink in your quest log.
Skellige, respectively. Showing the Megascope Crystal to either sorceress will give you some extra dialog, but it’s all lore and doesn’t affect anything going forward. It’s also worth noting that if you show the Megascope Crystal to one sorceress you’ll fail an objective to show it to the other, so this dialog comes at the cost of some red ink in your quest log.
If you show the Megascope Crystal to either sorceress you’ll then have the option to give it to them instead of to Radovid. Again, this affects nothing gameplay-wise - you get no reward for doing so and it doesn’t change your relationship with the sorceress in question for better or worse. In fact, you’ll lose money by handing the Megascope Crystal to one of the sorceresses, as you won’t be able to present it to Radovid, forfeiting the 135 Crowns he’d otherwise have paid you. Gameplay-wise there’s no reason to give the Megascope Crystal to anybody save Radovid, unless you want to hand the crystal off for pure roleplay reasons.

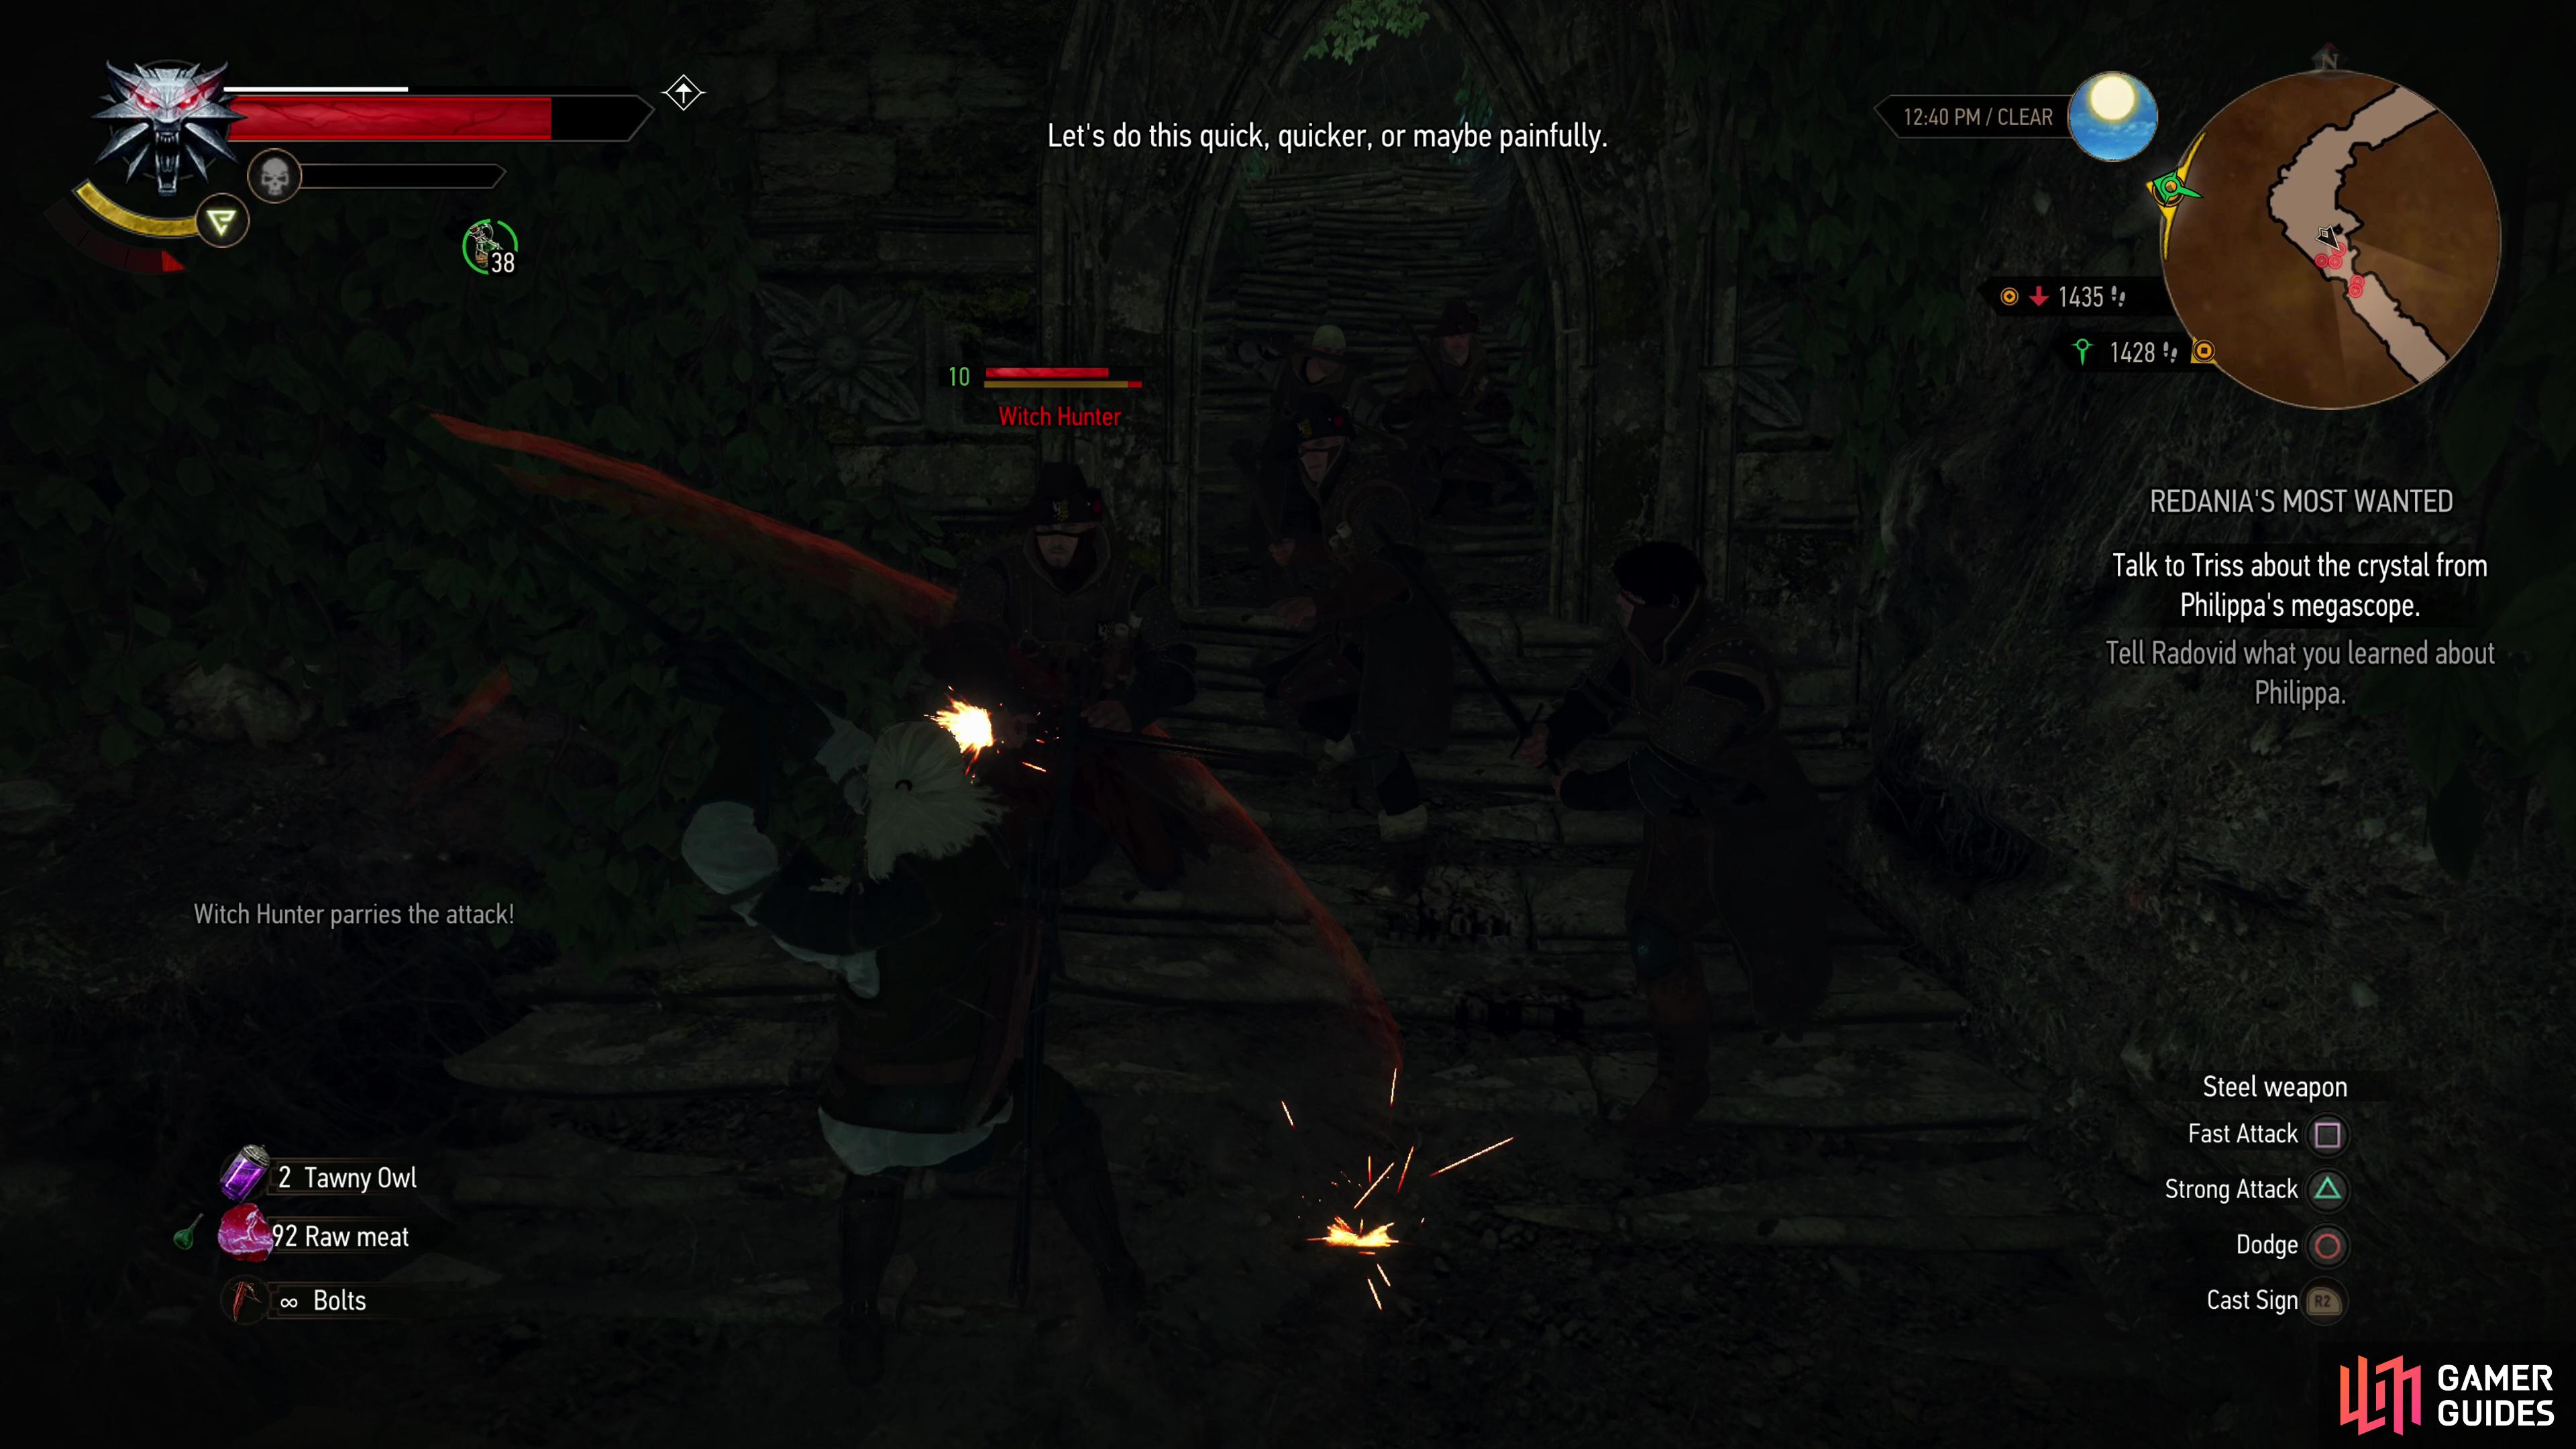
(1 of 2) You can give the Megascope Crystal to Triss,
You can give the Megascope Crystal to Triss, (left), or Yennefer, but doing so actually reduces your reward and is more trouble than it’s worth. (right)
There are other complications when it comes to the sorceresses, namely progression and availability issues, which will be covered in the spoiler box below. Once you return to Radovid - with or without the Megascope Crystal - this quest will end.
Depending on your quest progress it can be surprisingly difficult to hand the Megascope Crystal off to Triss or Yennefer… especially considering how little doing so matters. In the case of Triss you must have completed Count Reuven’s Treasure and started A Matter of Life and Death in order to meet with Triss at her hideout, but you cannot have started Now or Never, otherwise she’ll become unavailable again. Yennefer is even more of a pain, as you have to travel to Skellige and complete a string of several main quests and ultimately start The Last Wish. Furthermore at the end of this quest you must choose to keep your romance with Yennefer intact by saying ”I still love you, too.”, after which you’ll be back at the inn in Kaer Trolde where you can show the Megascope Crystal to Yennefer after exhausting her post-quest dialog options. If you spurn her following your newfound freedom, she’ll be in no mood to talk. Simply put, showing this crystal to Yennefer is more trouble than it’s worth.
"it can determine one of the major side plots that can affect the ending of the game."
Why info about achievement is here? Where not even close to get it at this point, am I wrong?